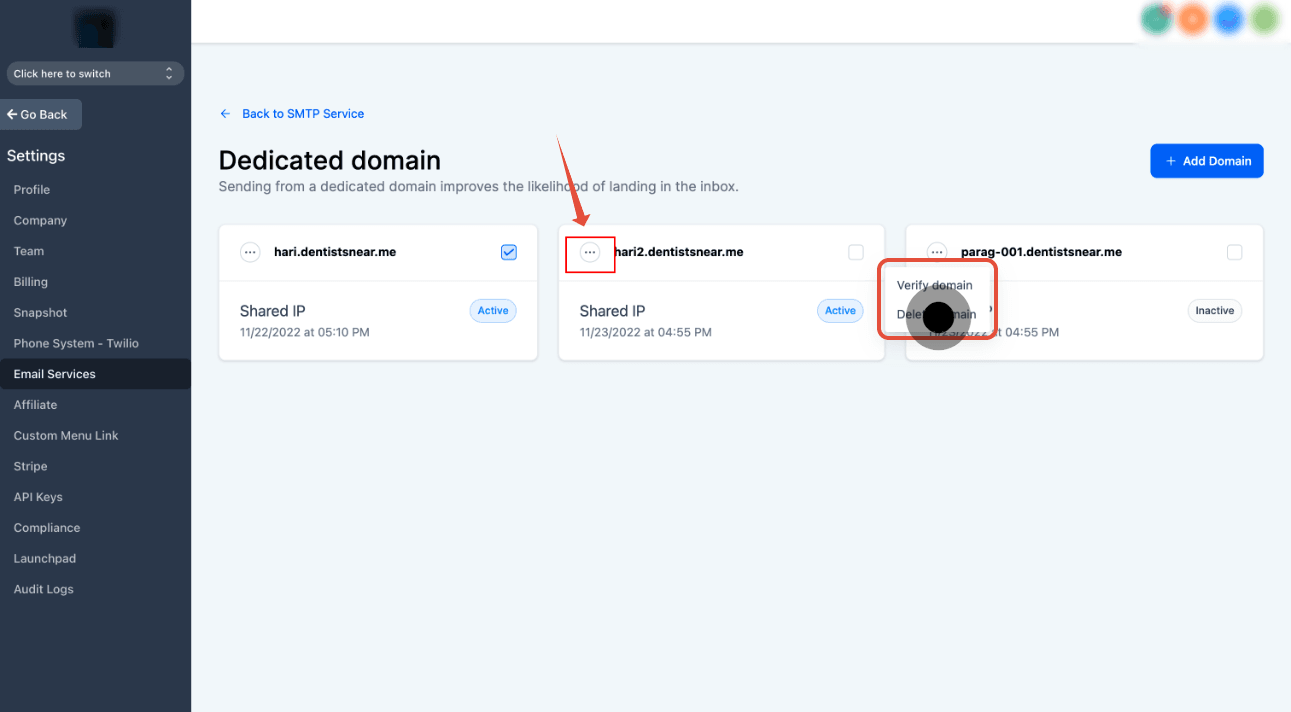
You can set up multiple sending domains under your account and activate one at a time by following these steps:
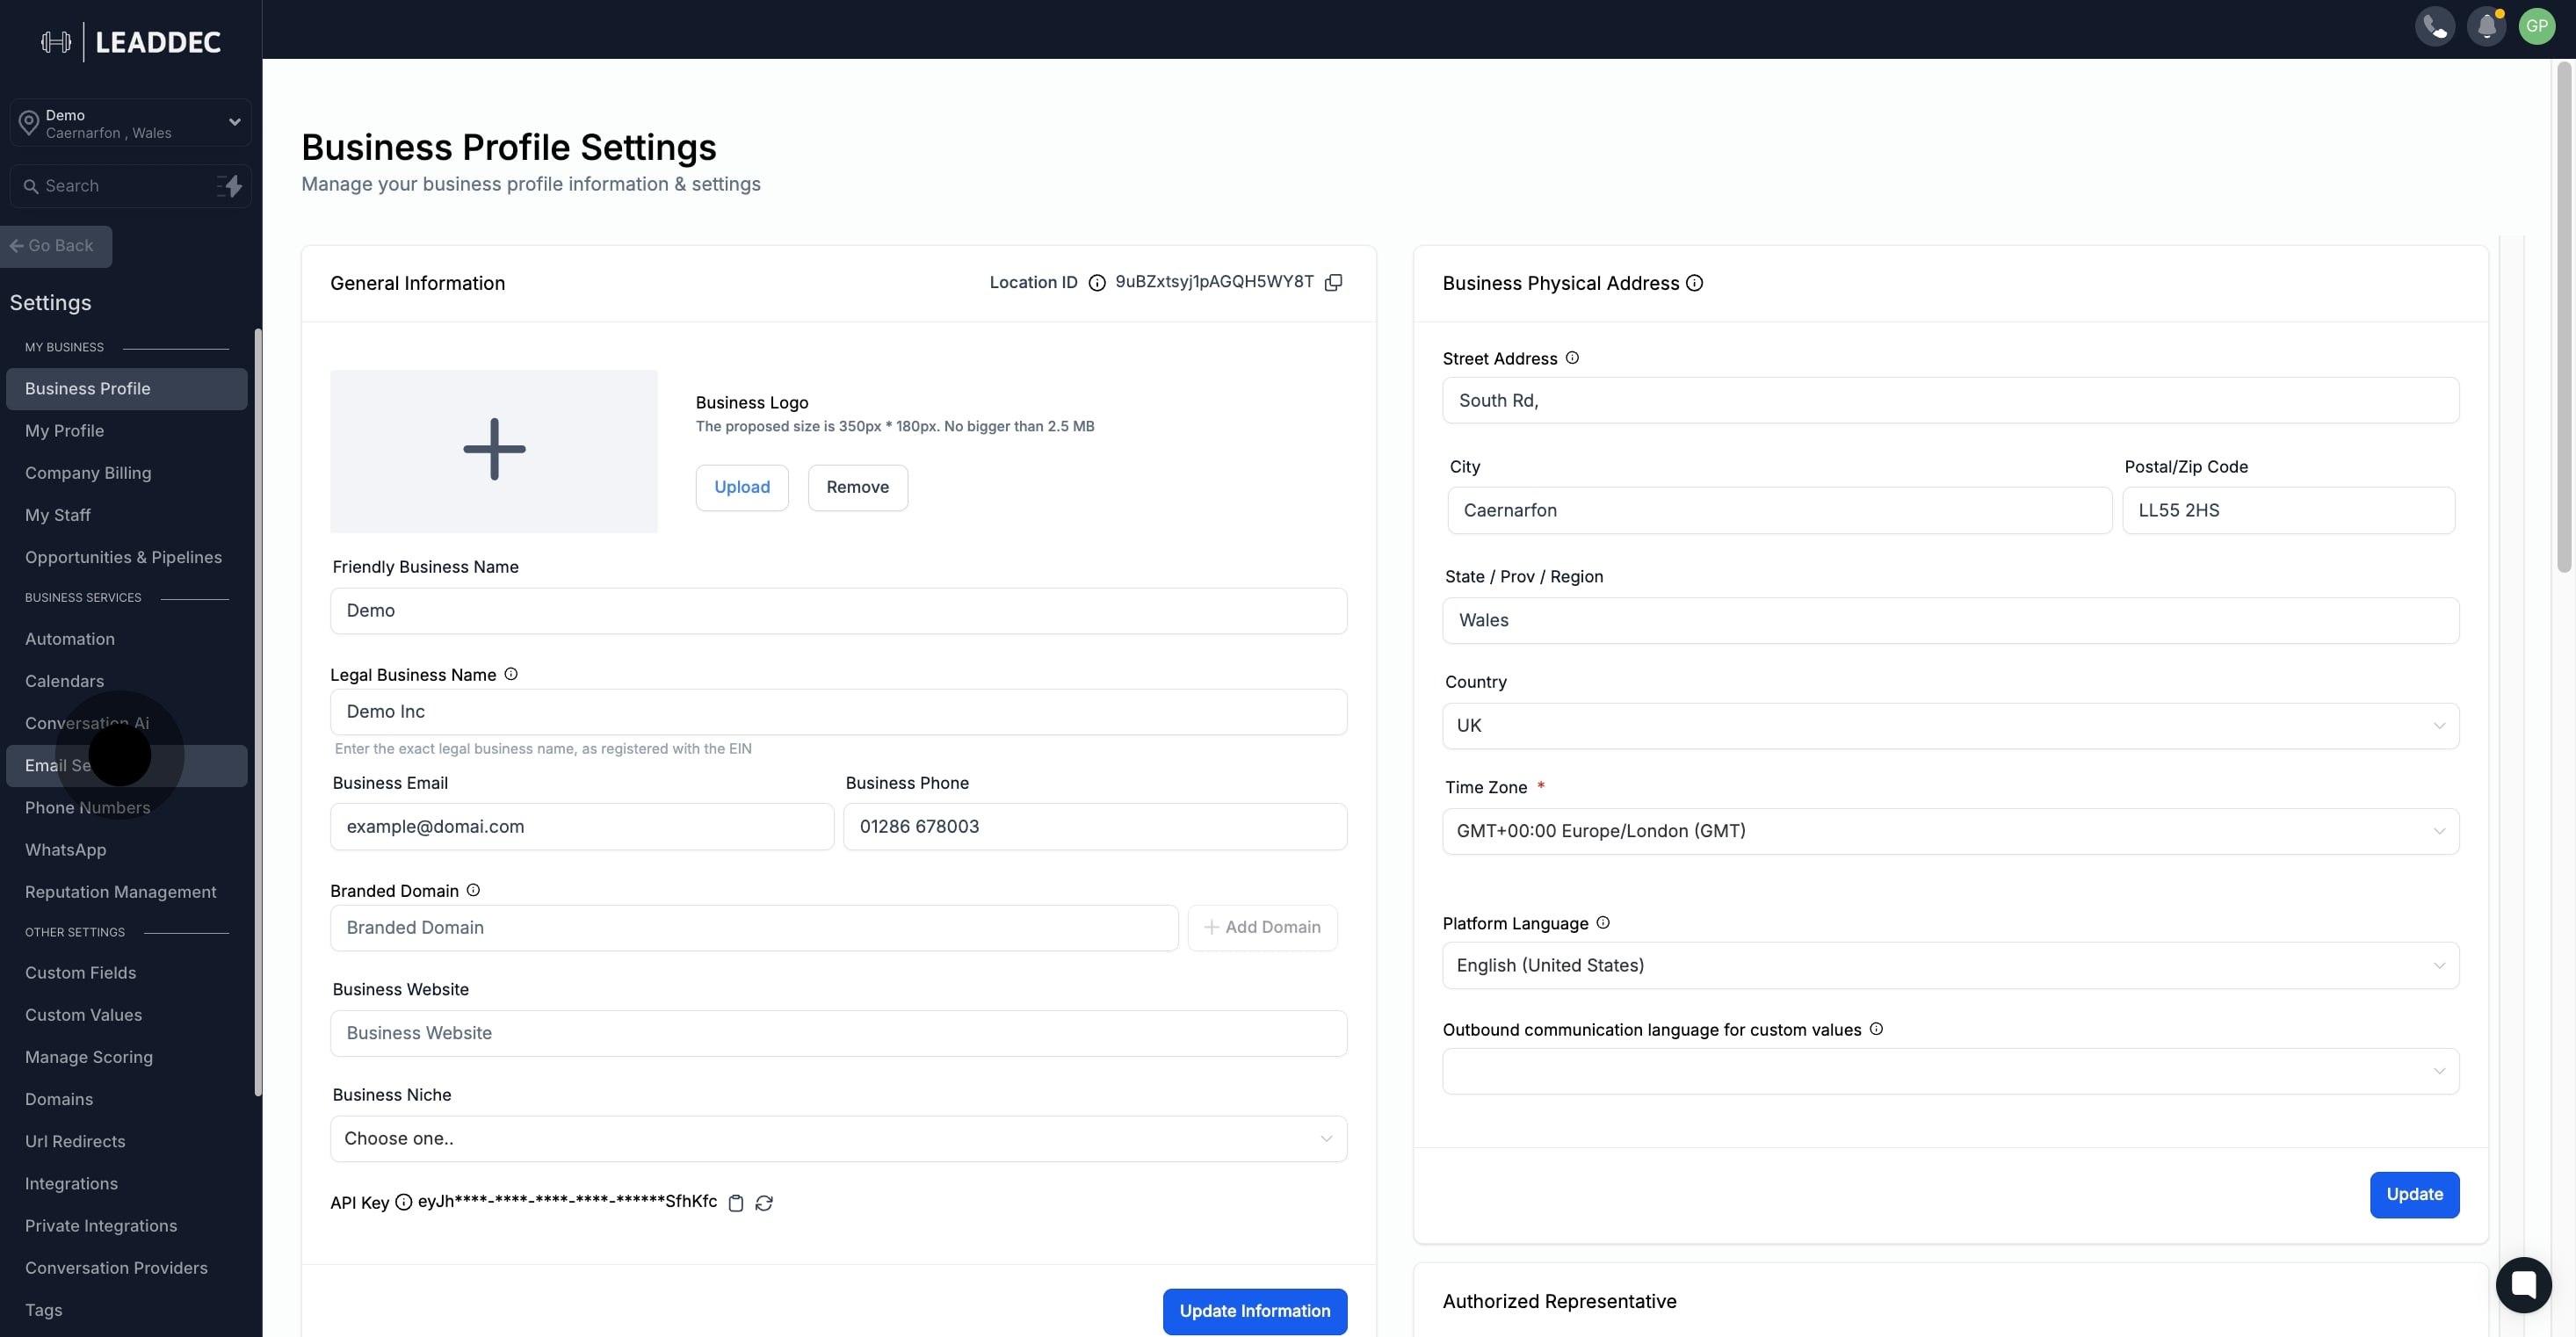
1. Begin by selecting the 'Settings' option.

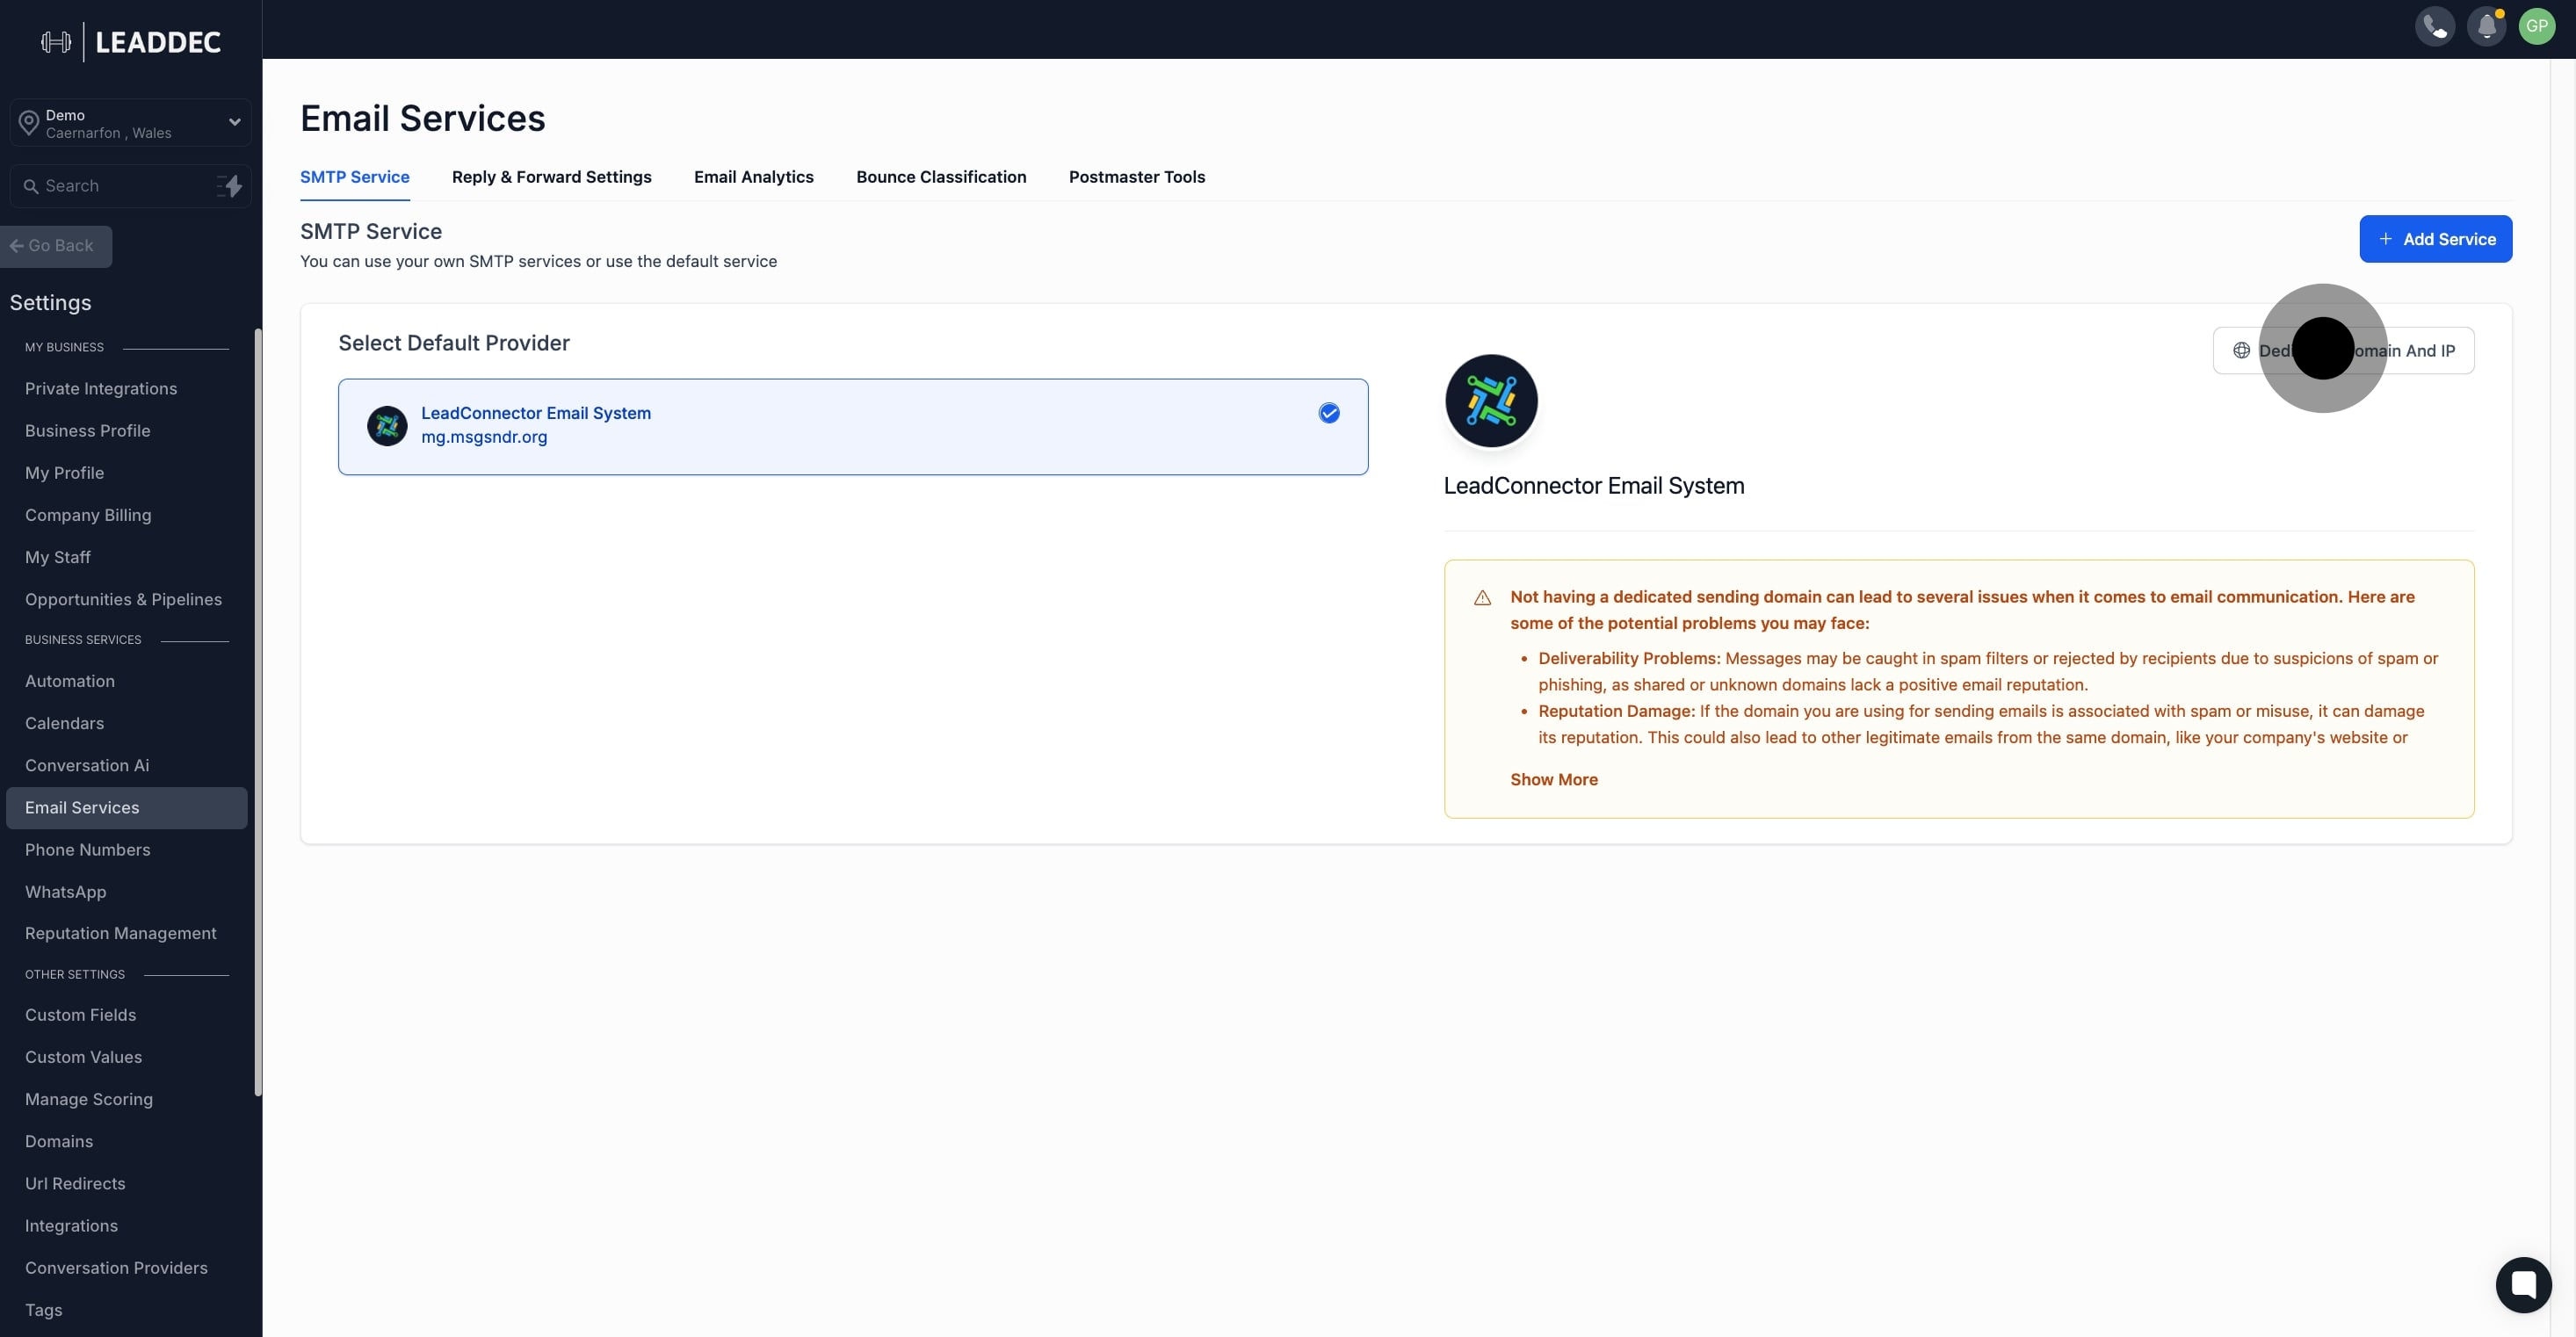
2. Next, navigate to 'Email Services' under settings.

3. Then, choose 'Dedicated Domain And IP' from the list.
Switch to the LC Email System if you aren’t already in it. This will allow access to the dedicated domain feature.

5. Add your Domain Details
Here are instructions for common DNS providers: Dedicated Sending Domain Setup on Godaddy (LC Email)
Note: The propagation proces can take up to 24 hours. If it has been longer than 24 hours, please double-check your DNS settings by following the process above.5. Finally, proceed to verify your domain.
Apply the new DNS records to your company’s DNS platform to activate your dedicated sending domain. Each DNS provider may have slightly different methods for this.

