NOTE: This article will assume that you have customized forms already set up in your account. For an overview of how to create customized forms, see our article, “How To Customize a Form Or Survey”.1. Start by accessing the 'Automation' section.
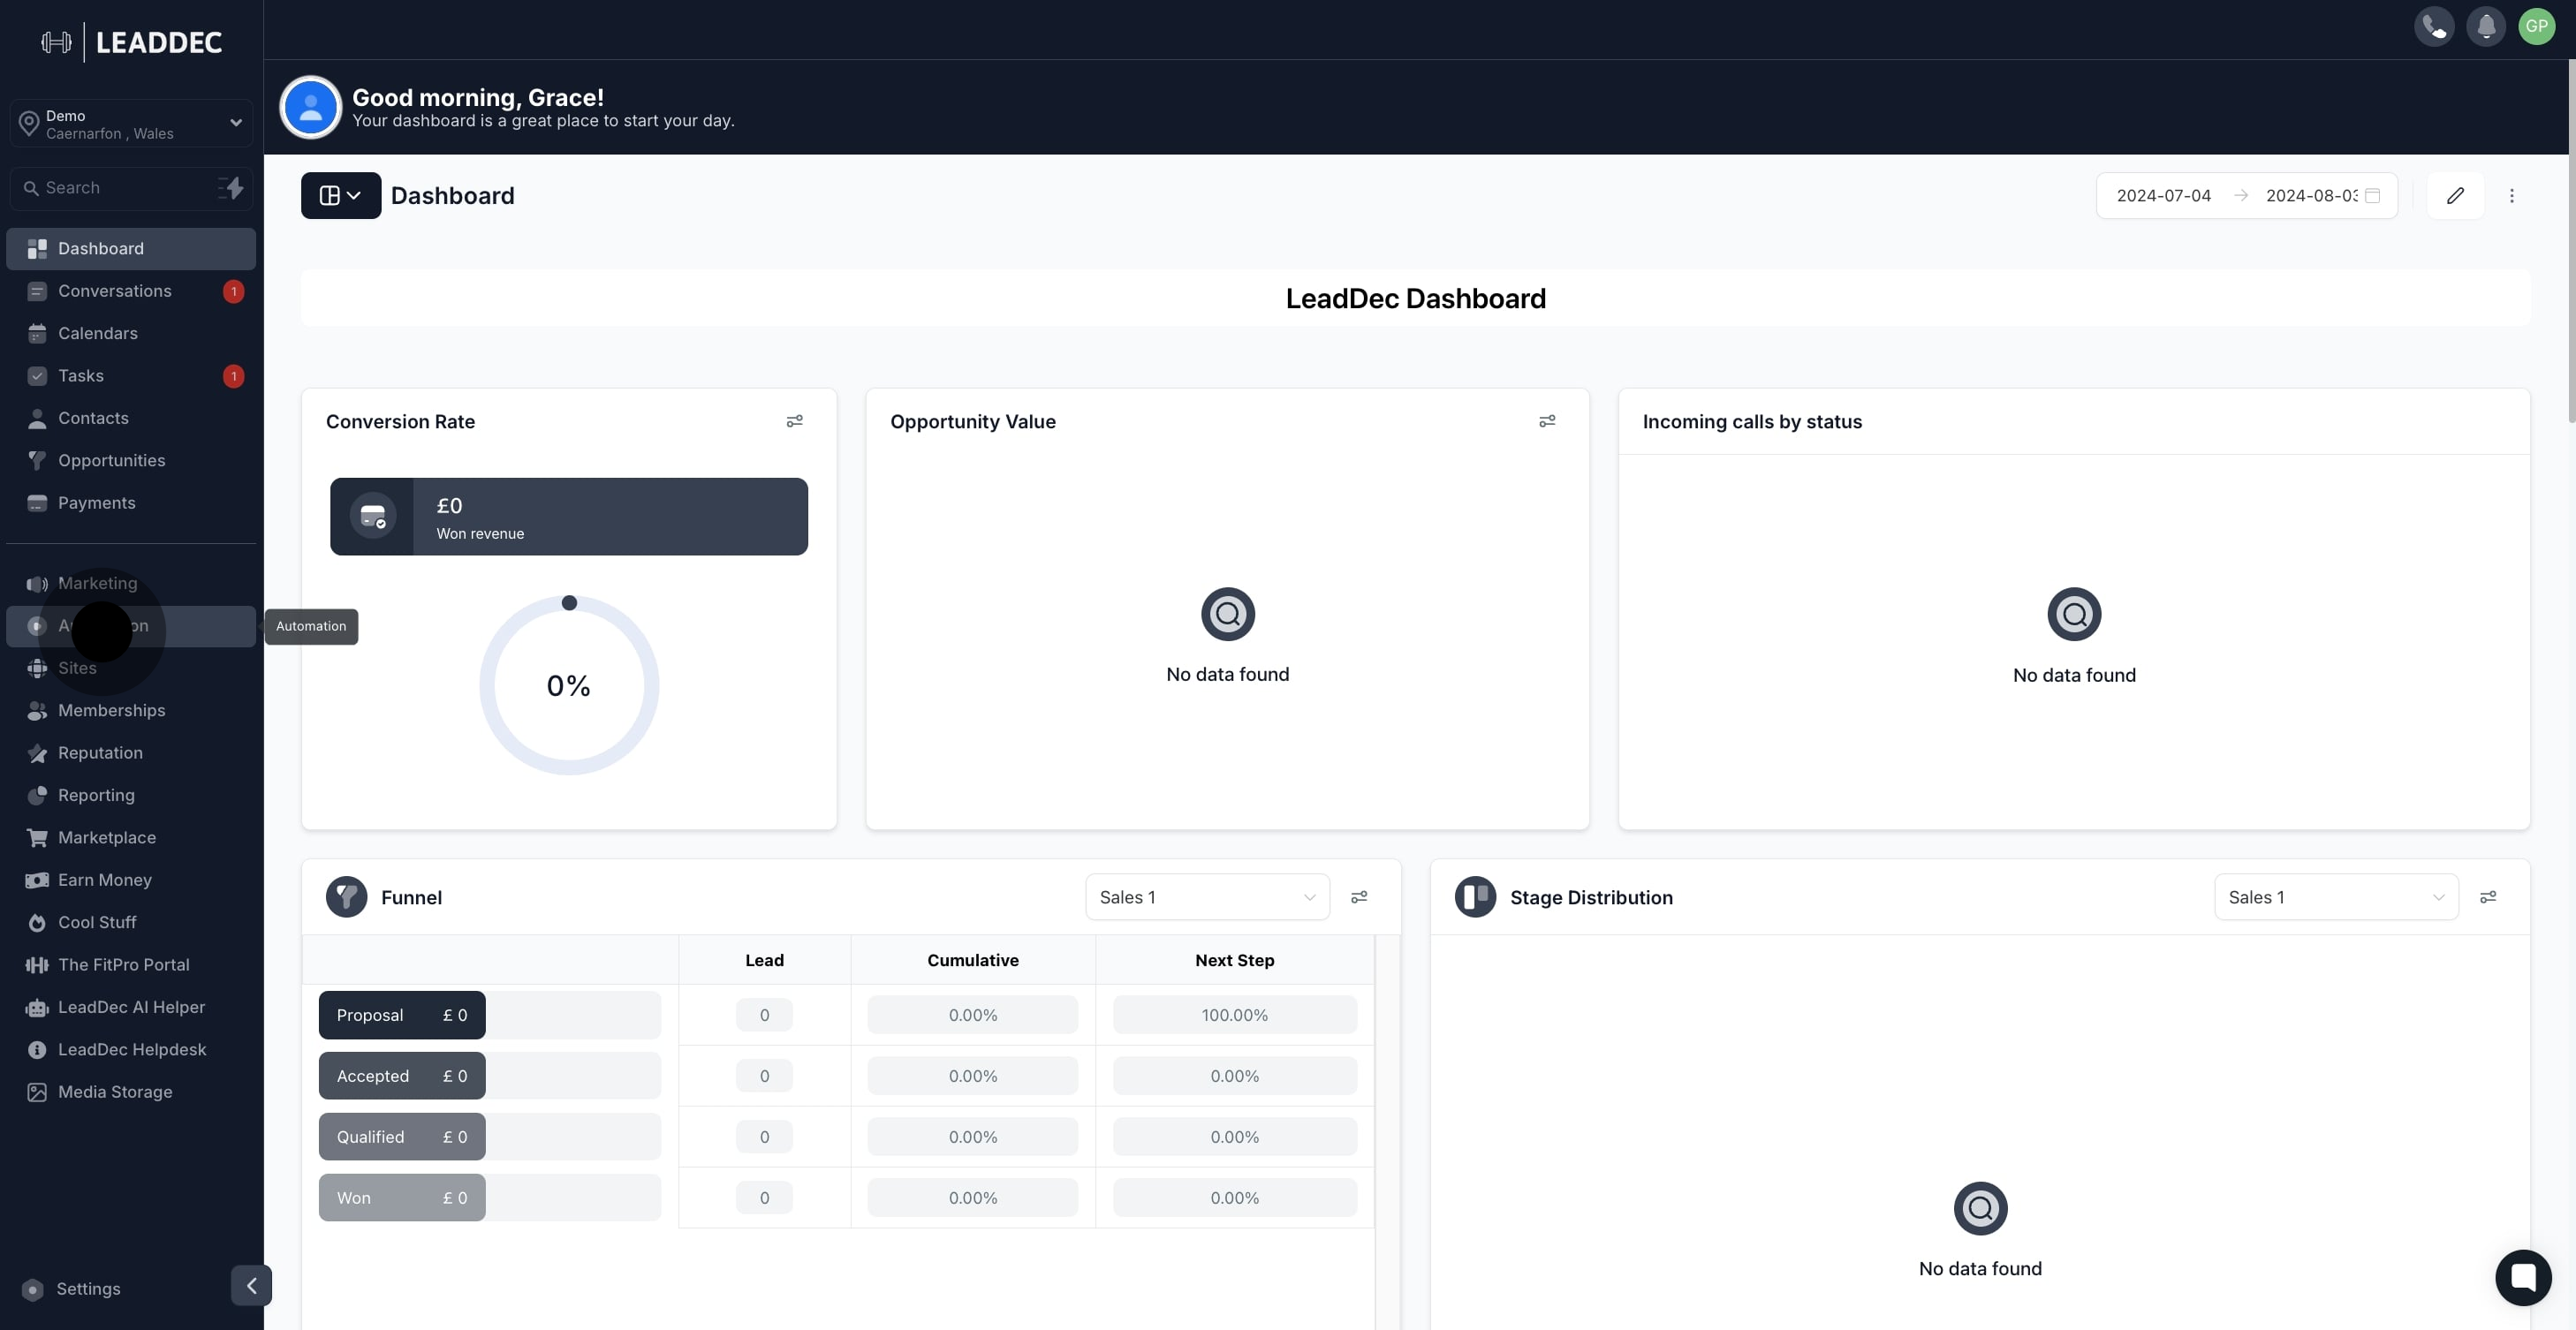
2. Next, initiate creating a new workflow.

3. Then, choose to 'Start from Scratch'.
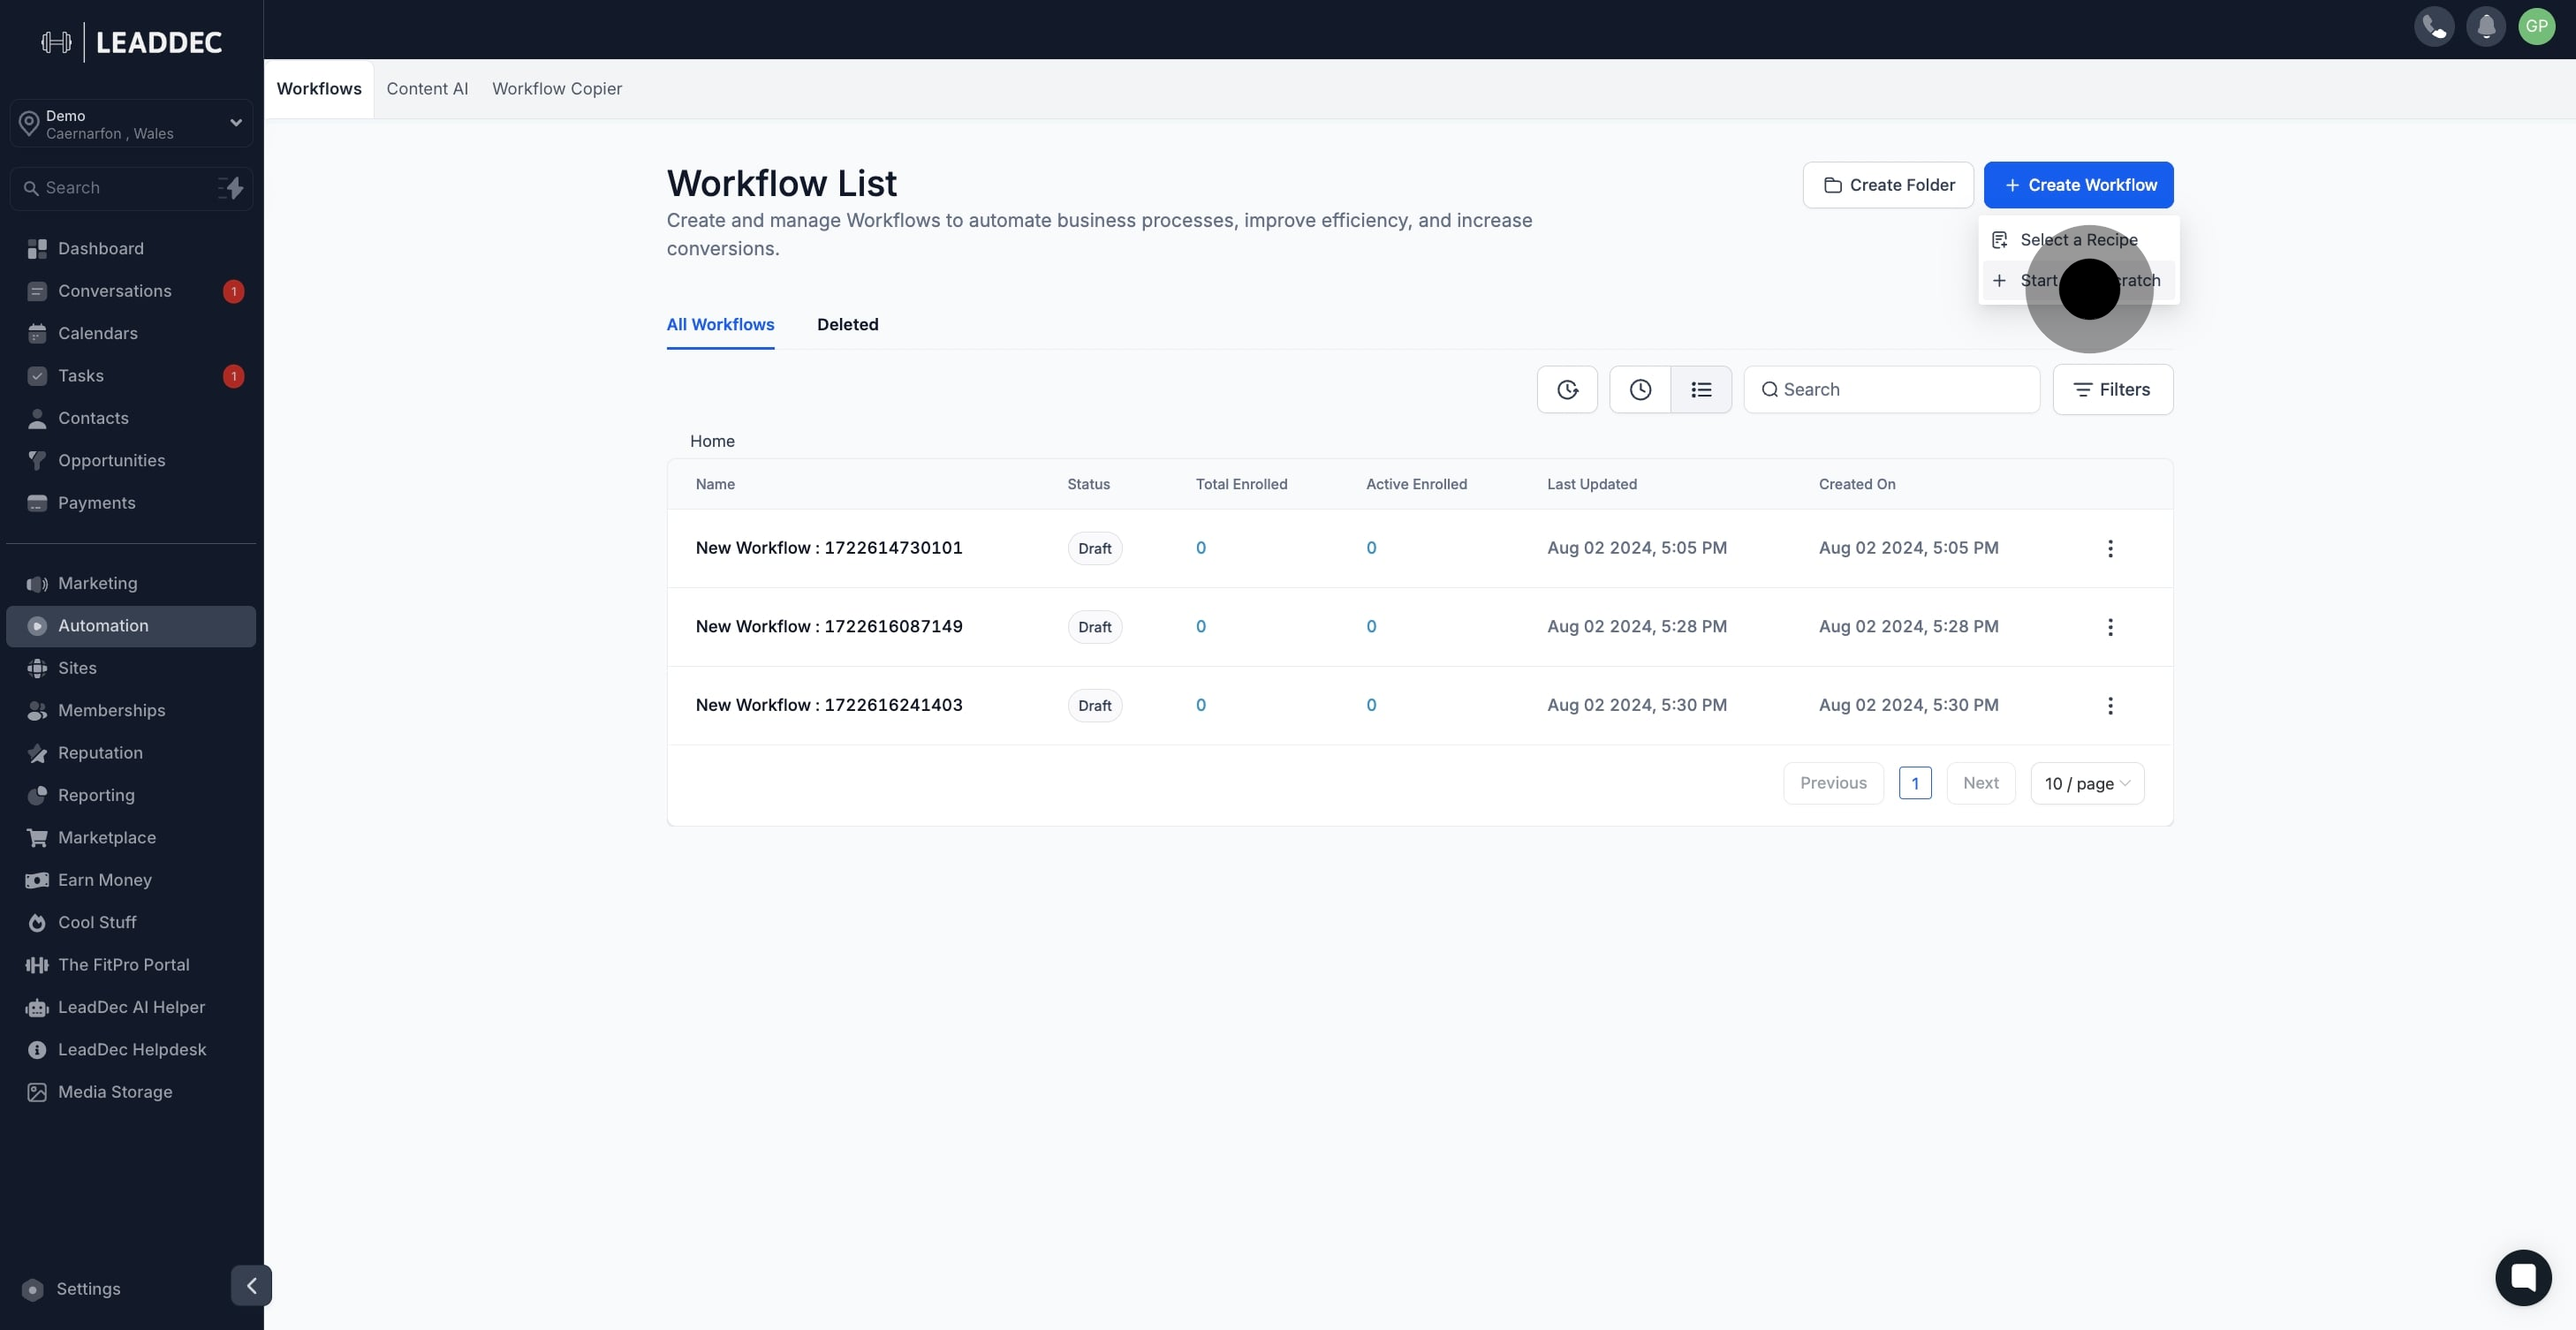
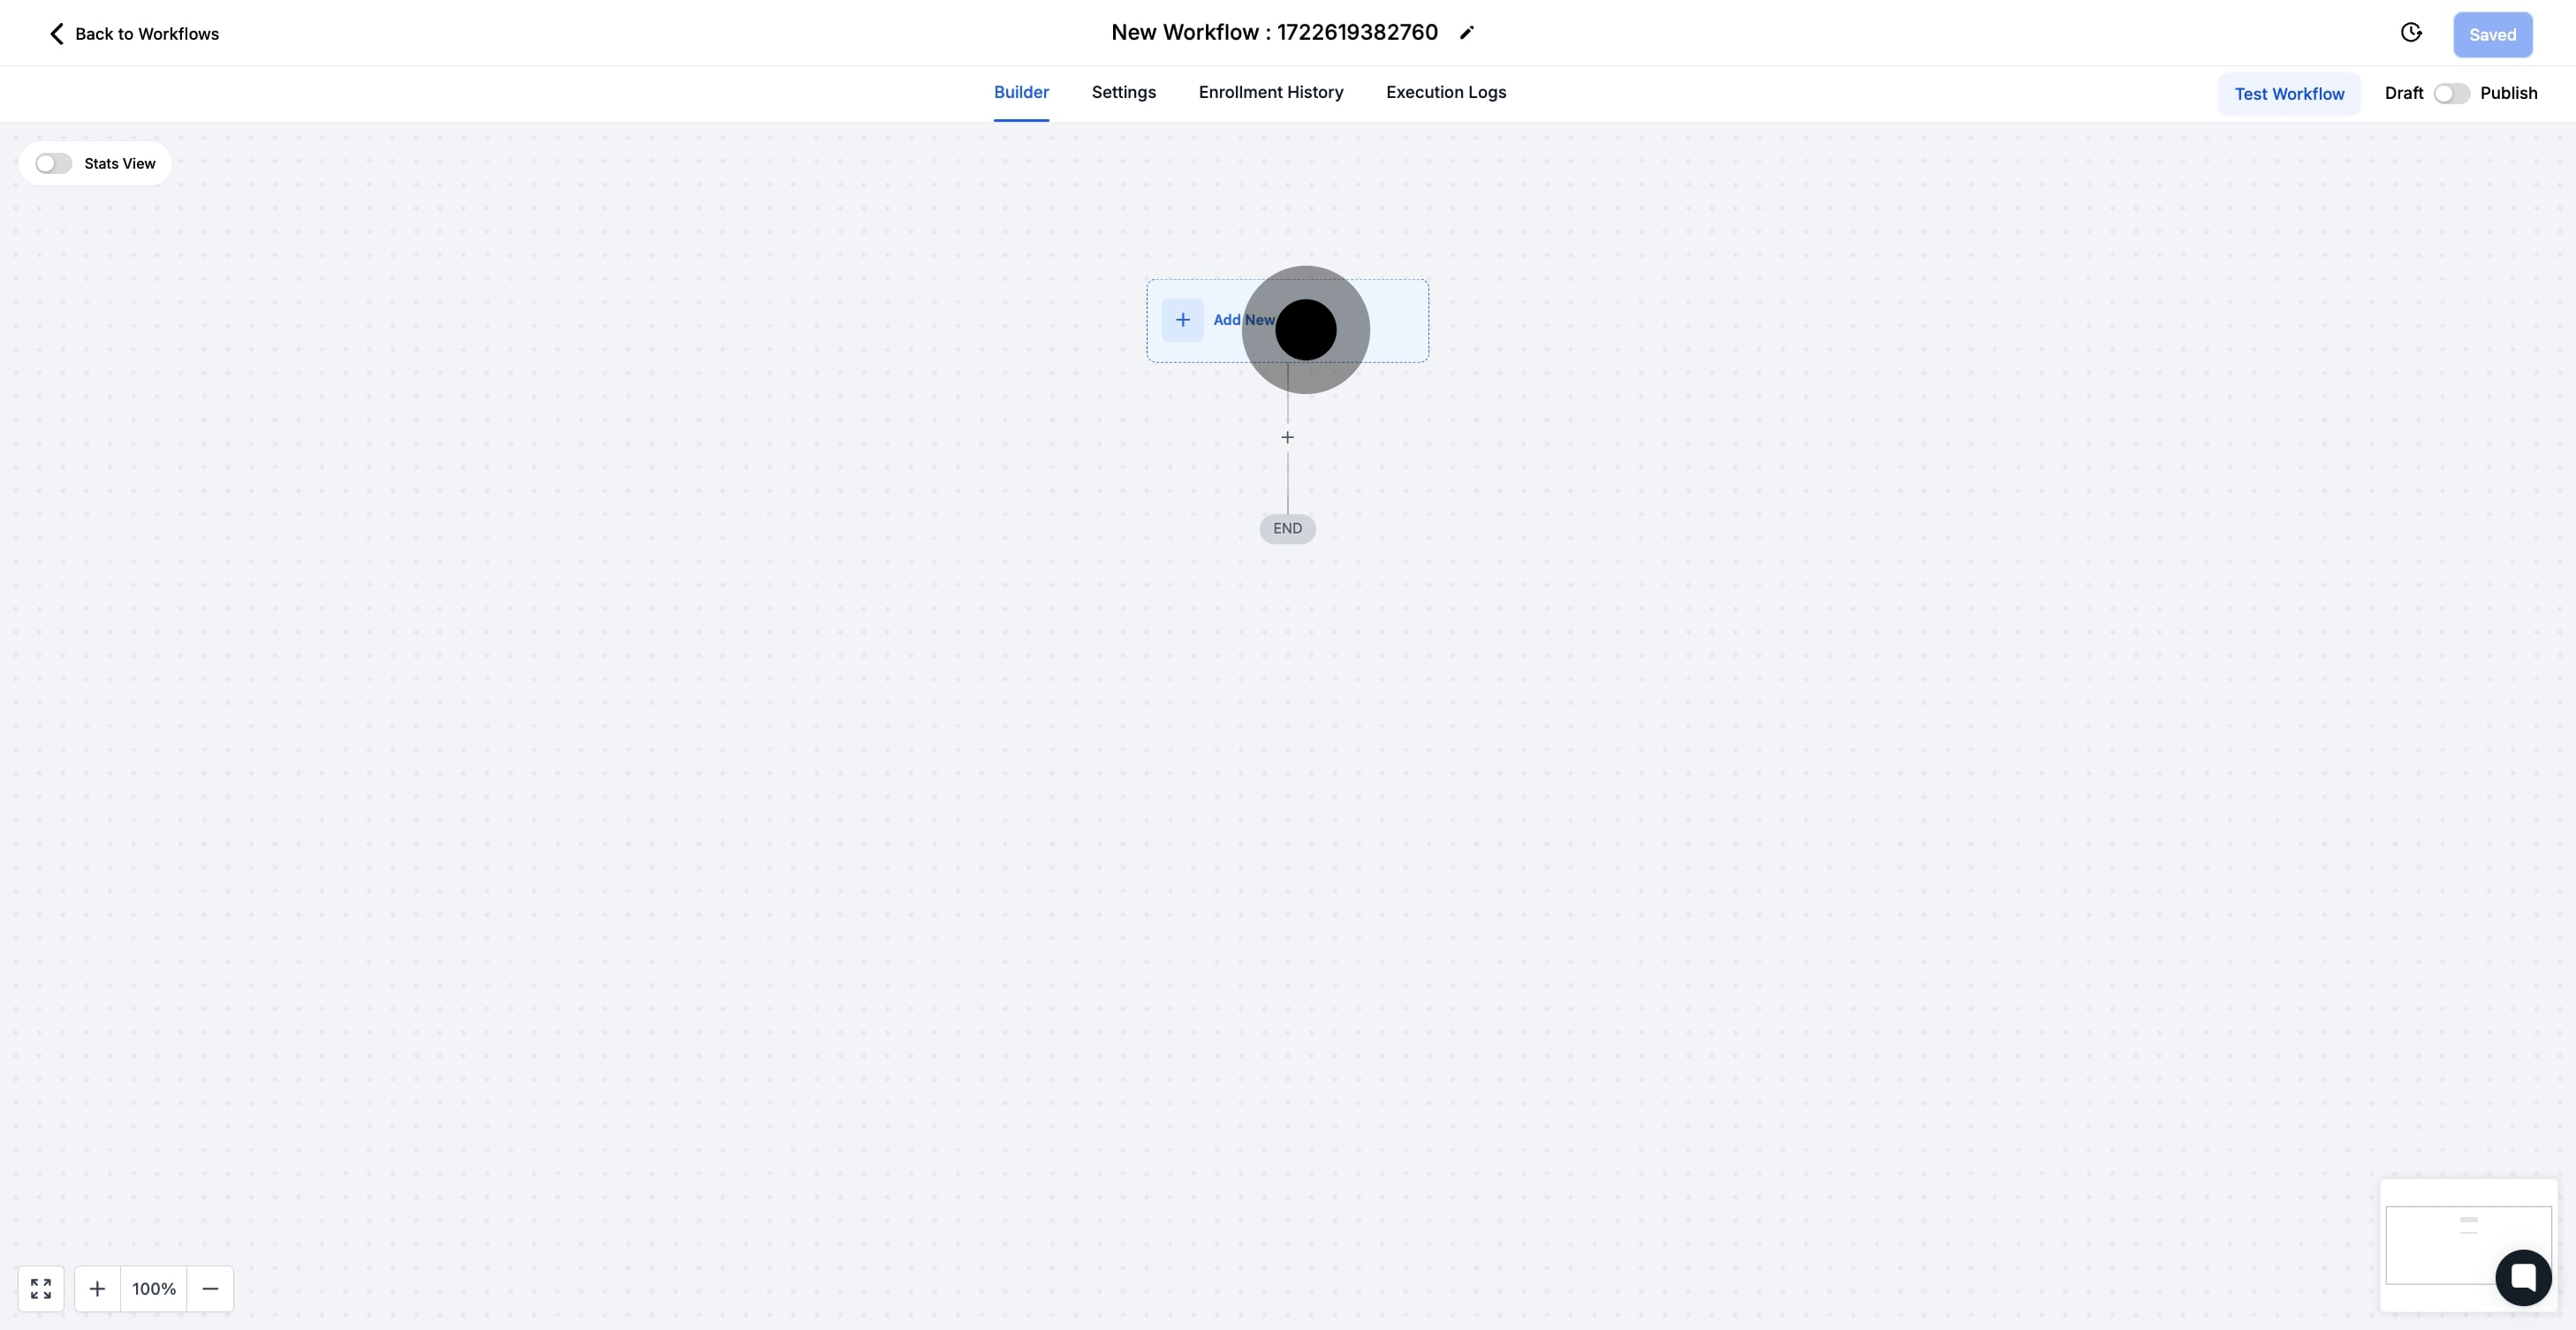
4. Now, add a new trigger to your workflow.
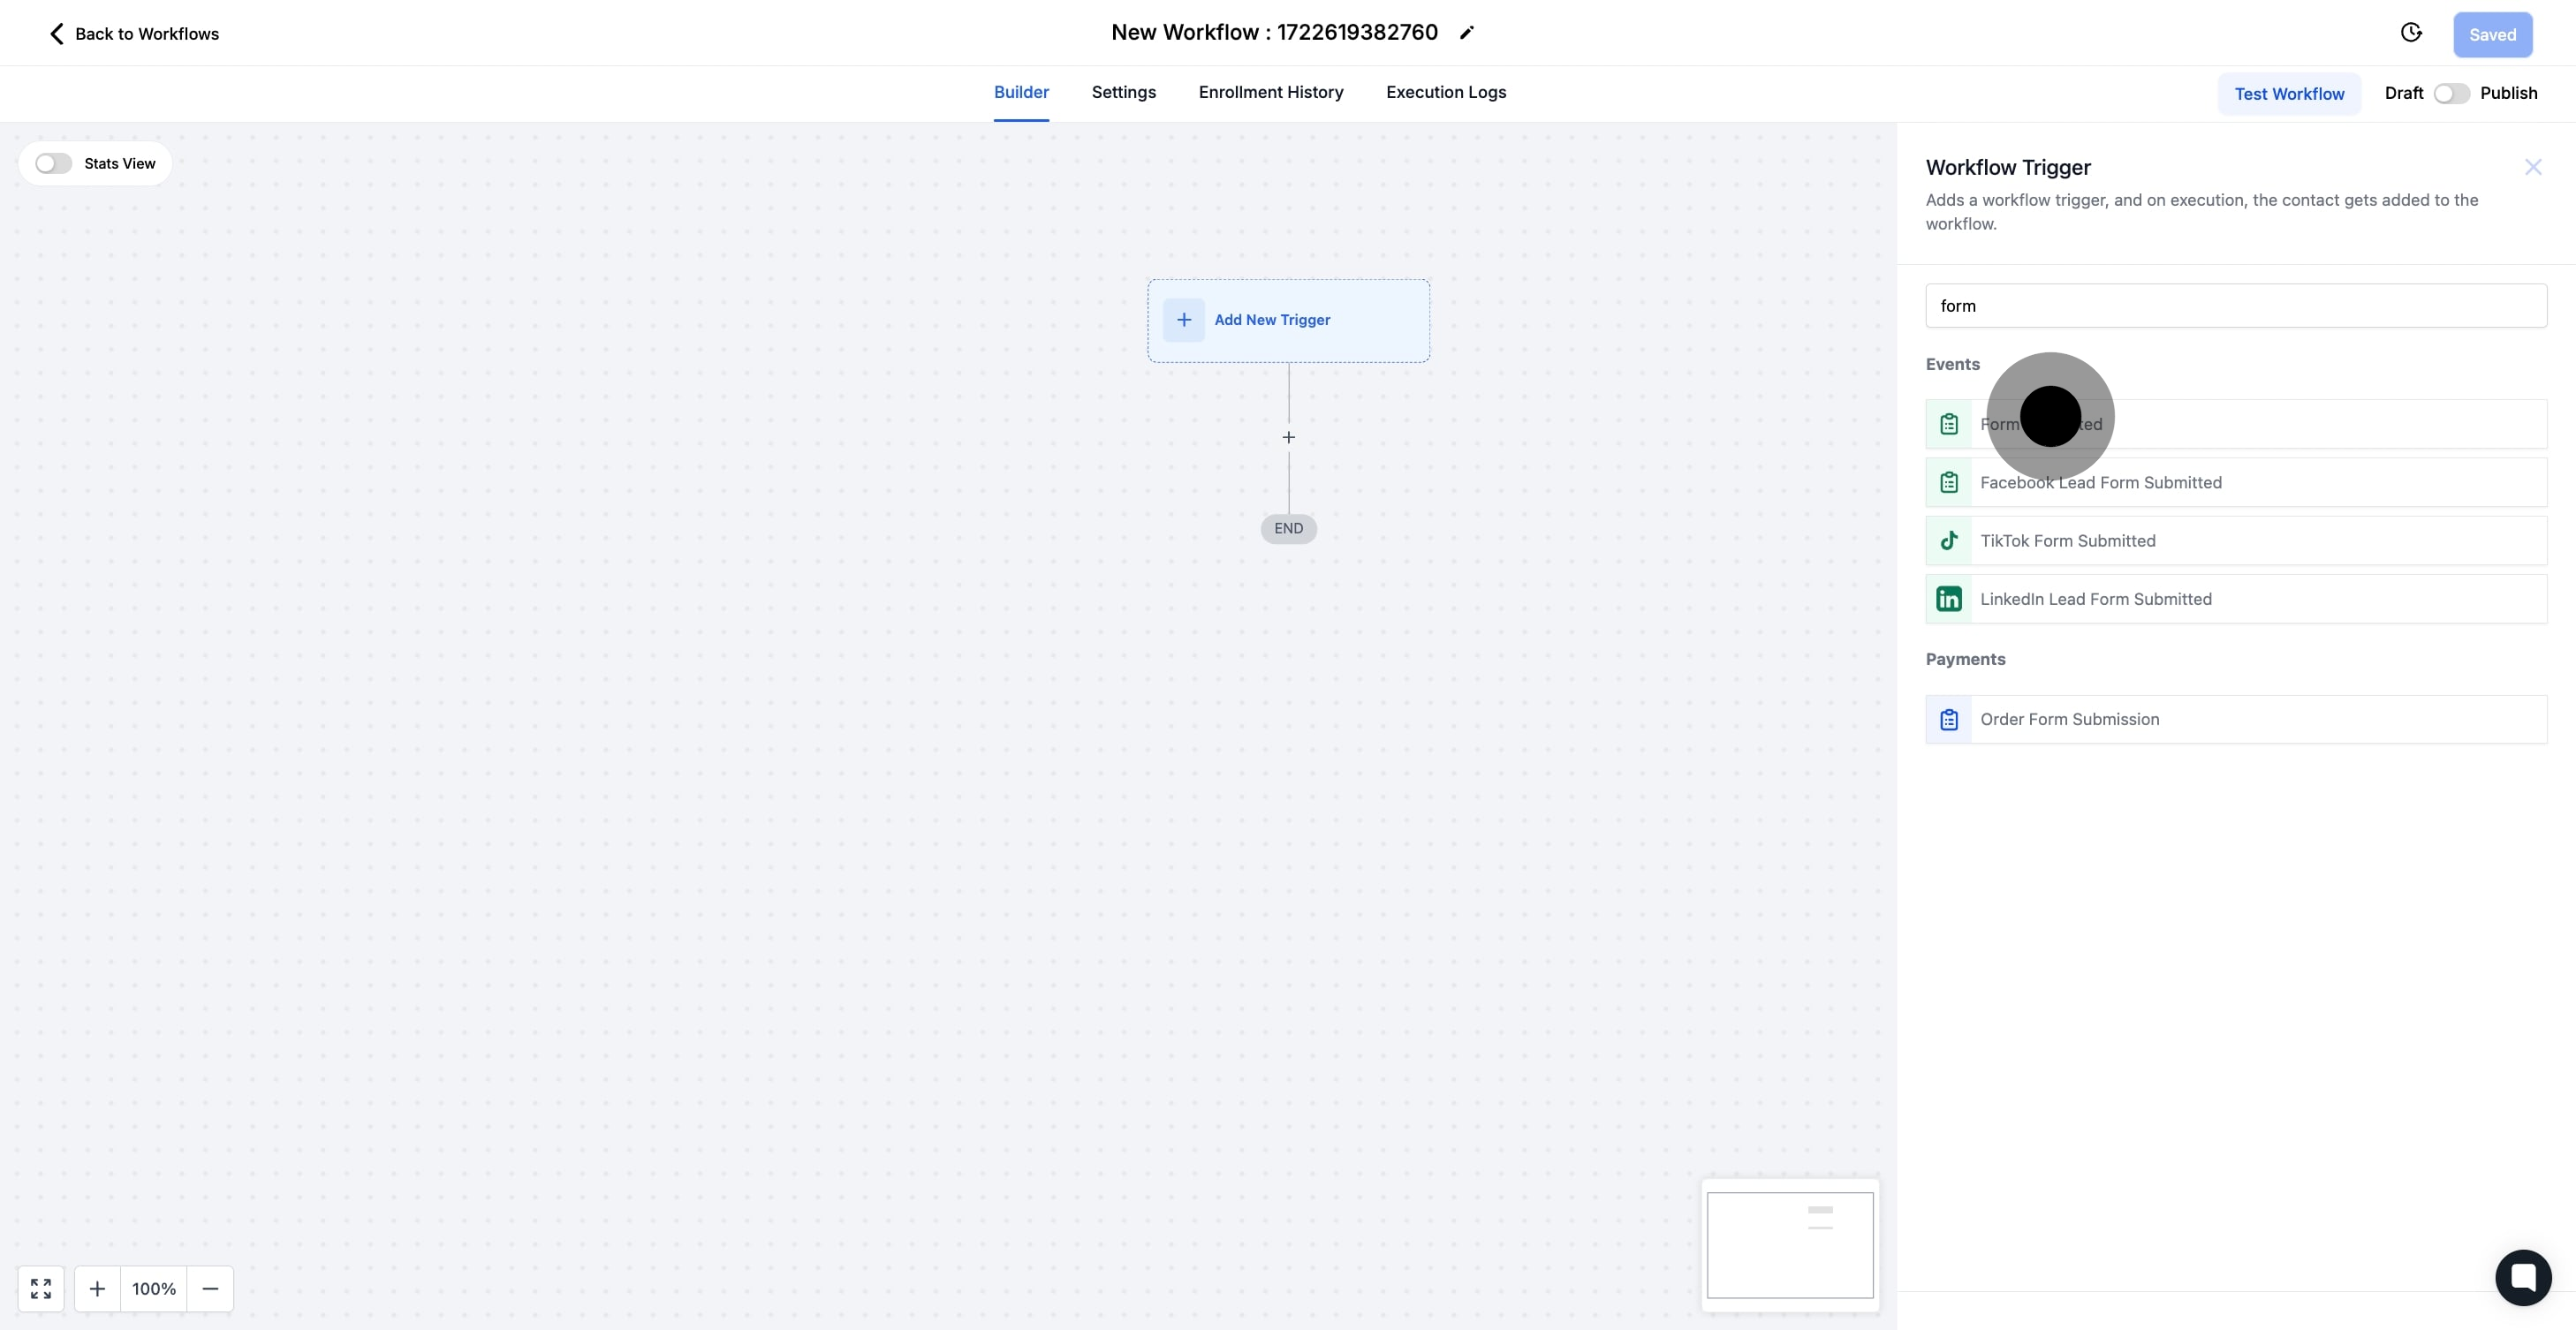
5. Subsequently, select the 'Form Submitted' option.
Select Form Submitted in the Contact Actions section of the Workflow Triggers Menu or use the search feature. Once selected, the Trigger setup menu will appear.
6. Optionally, rename your workflow trigger for clarity.
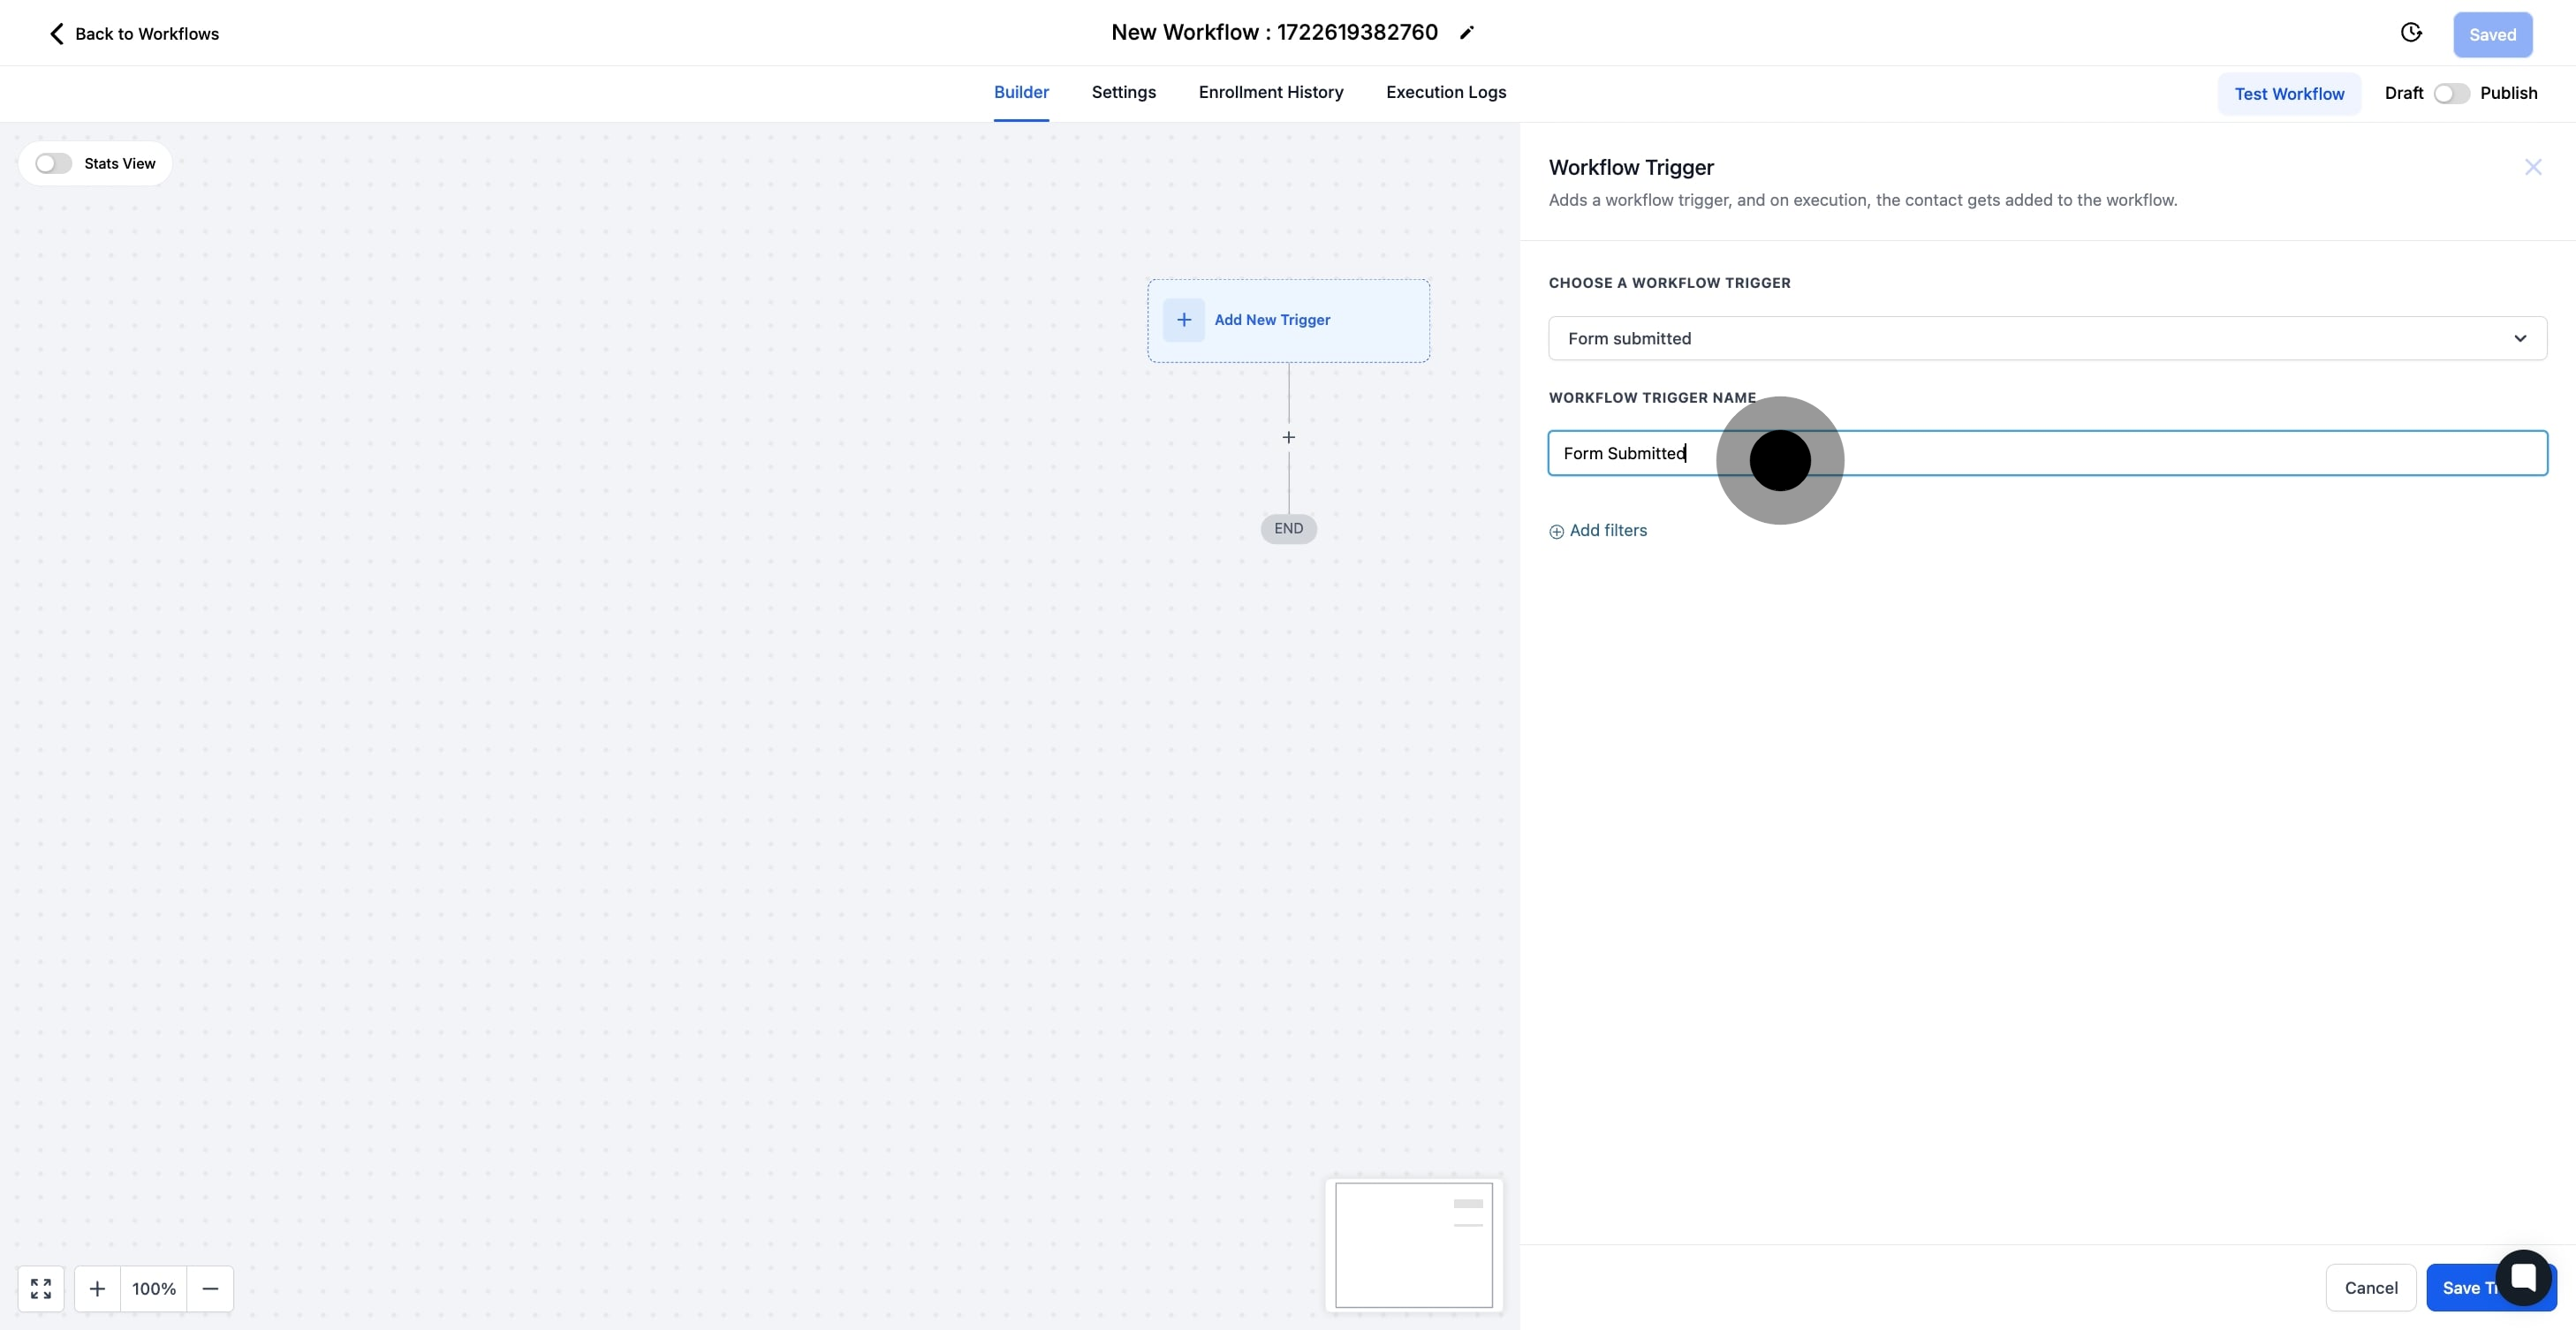
7. Proceed by adding necessary filters.
Press + Add filter to bring up the Filters section. We highly recommend filtering by the name of the form they will be optin in.
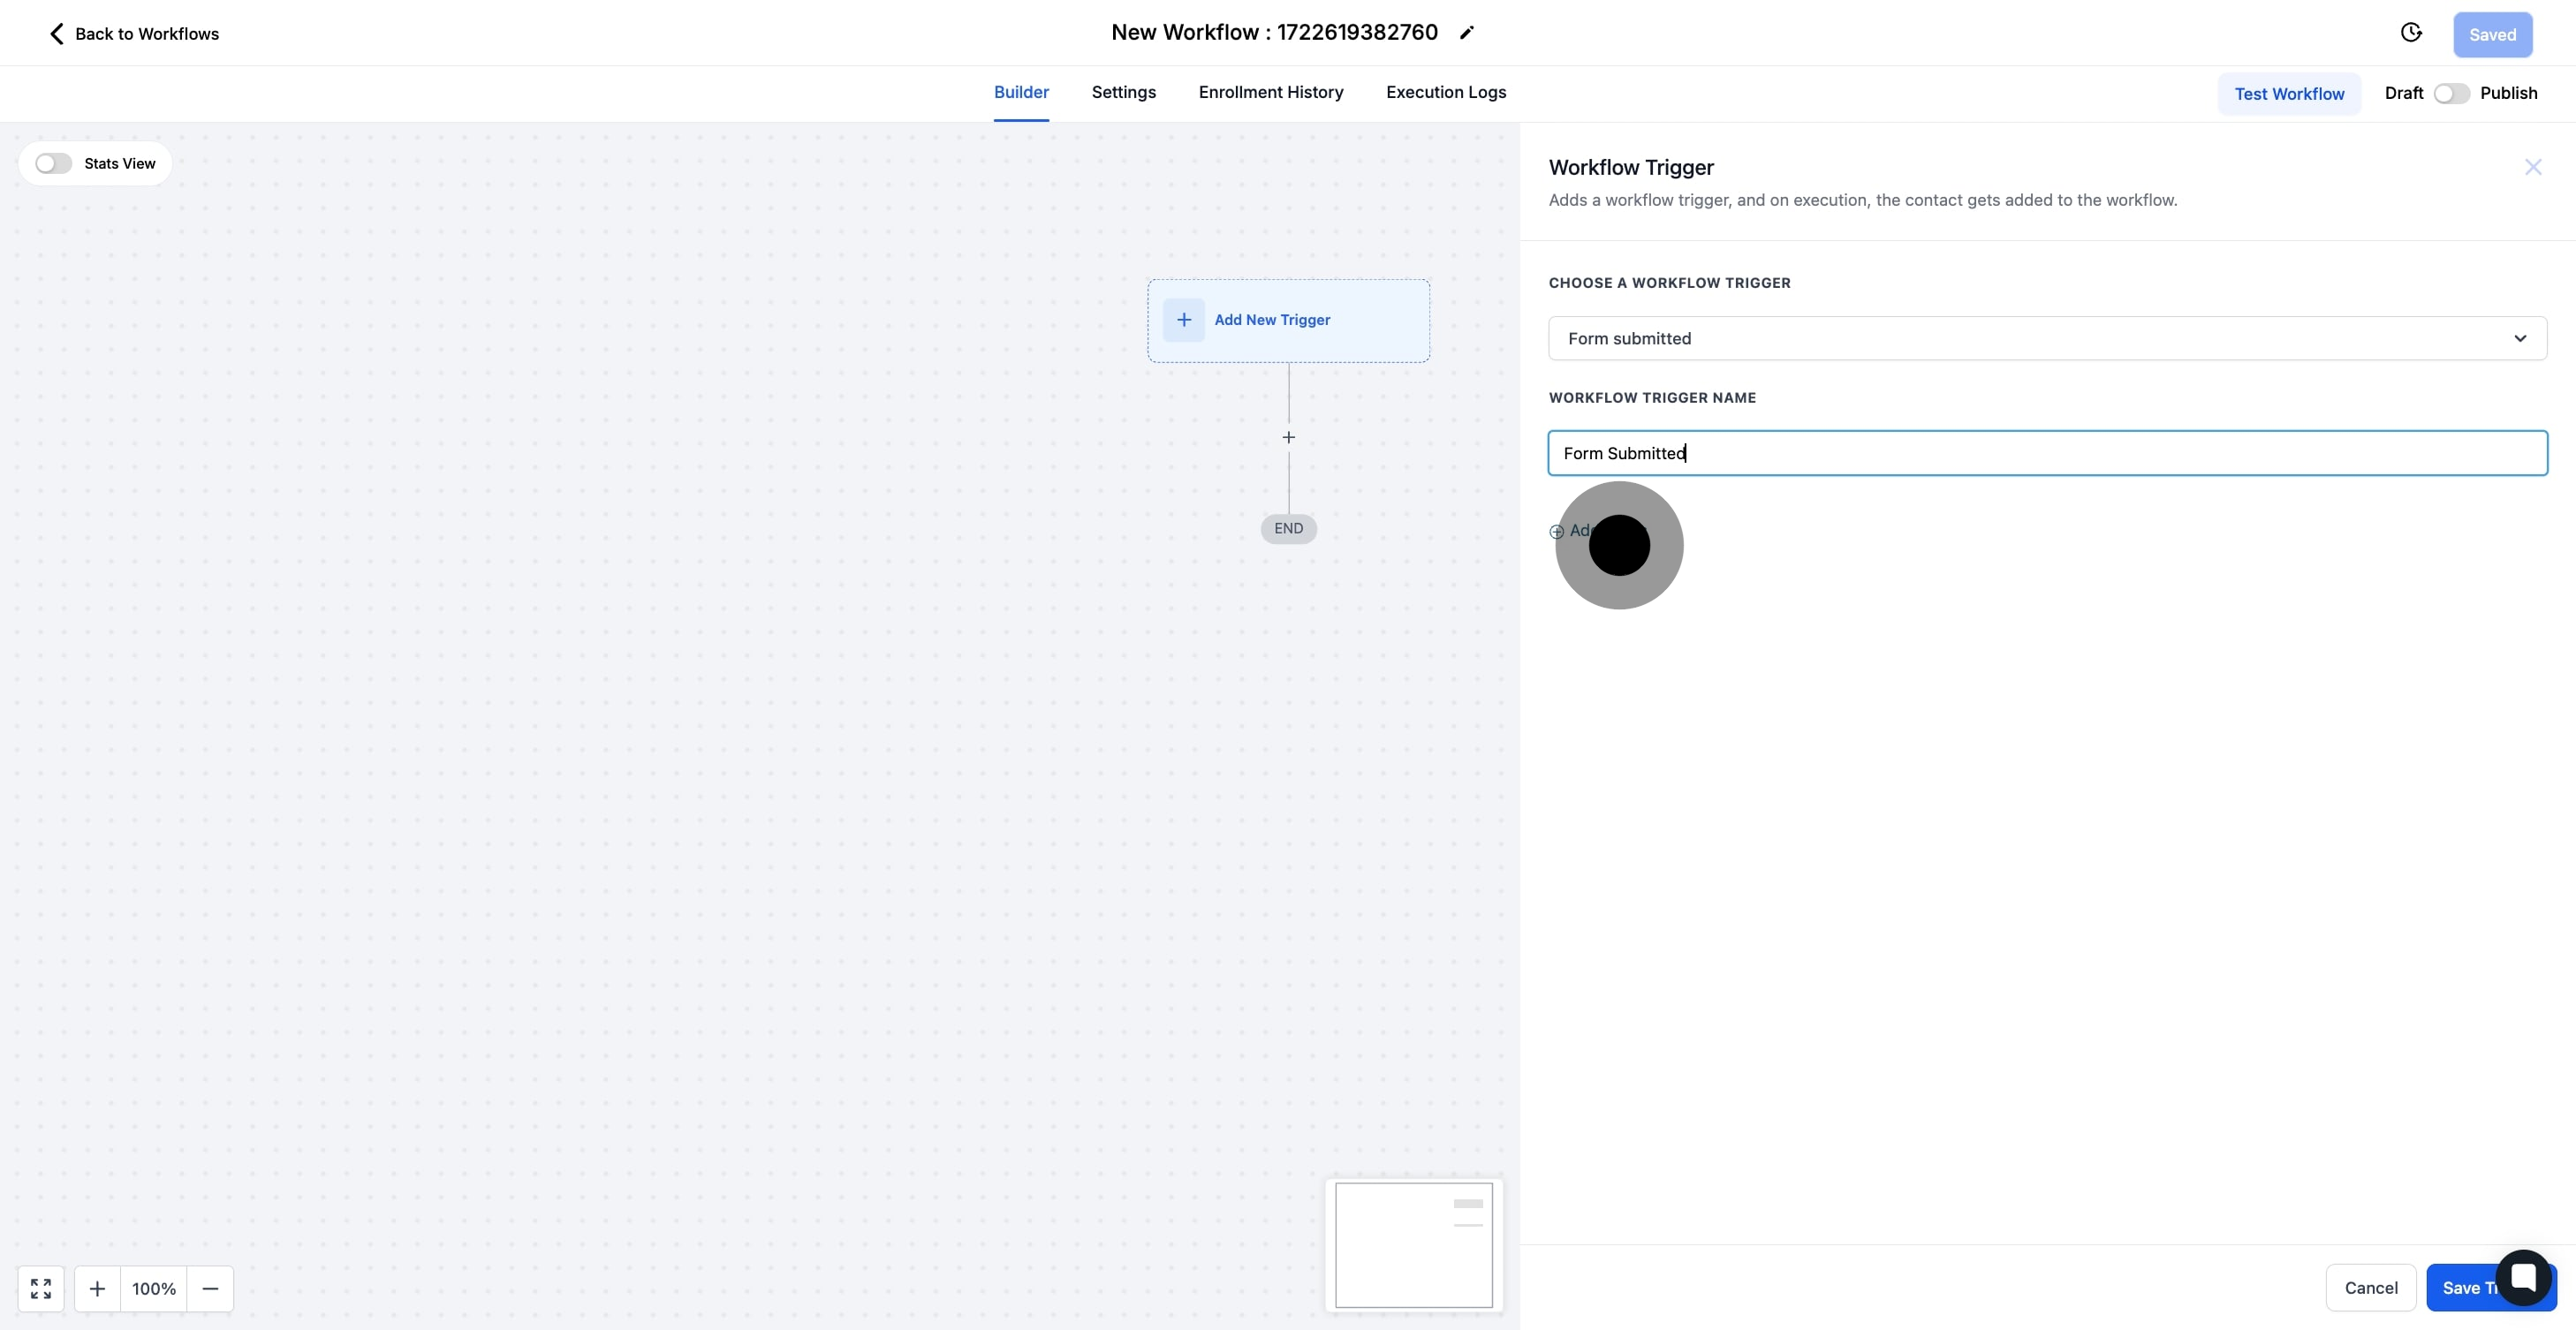
8. 'Form is' is selected
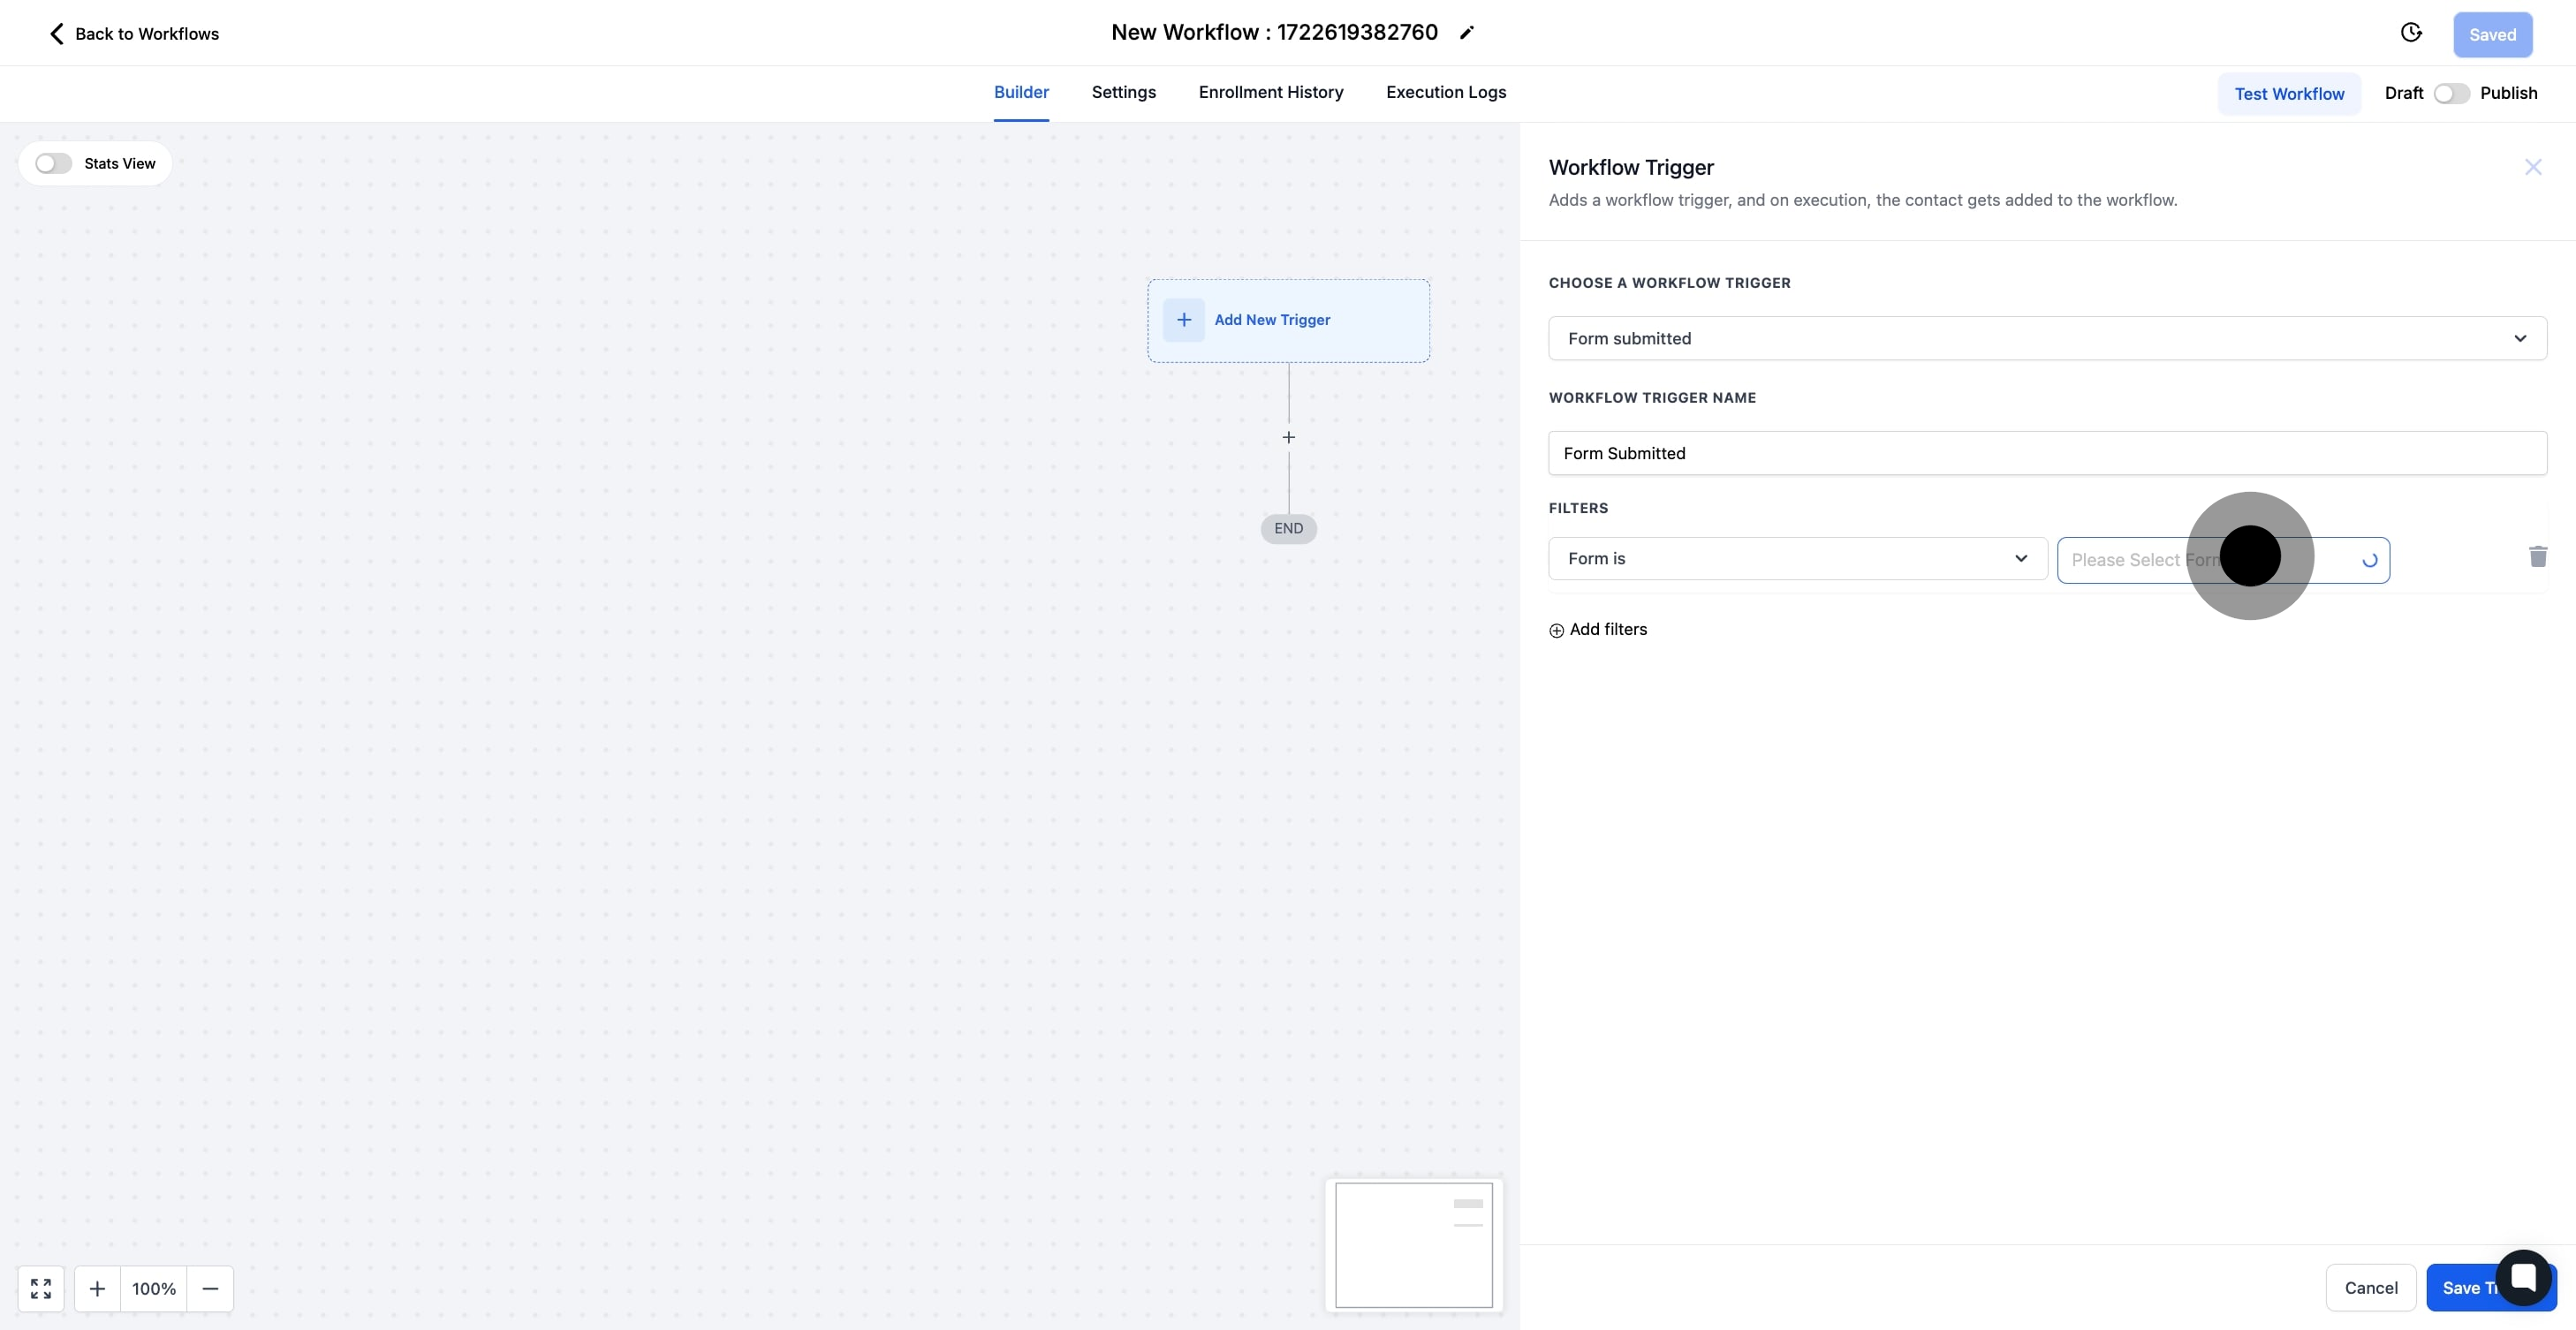
The Form is parameter allows you to only allow submissions of specified forms to trigger this workflow

9. Choose the relevant form from the options presented.
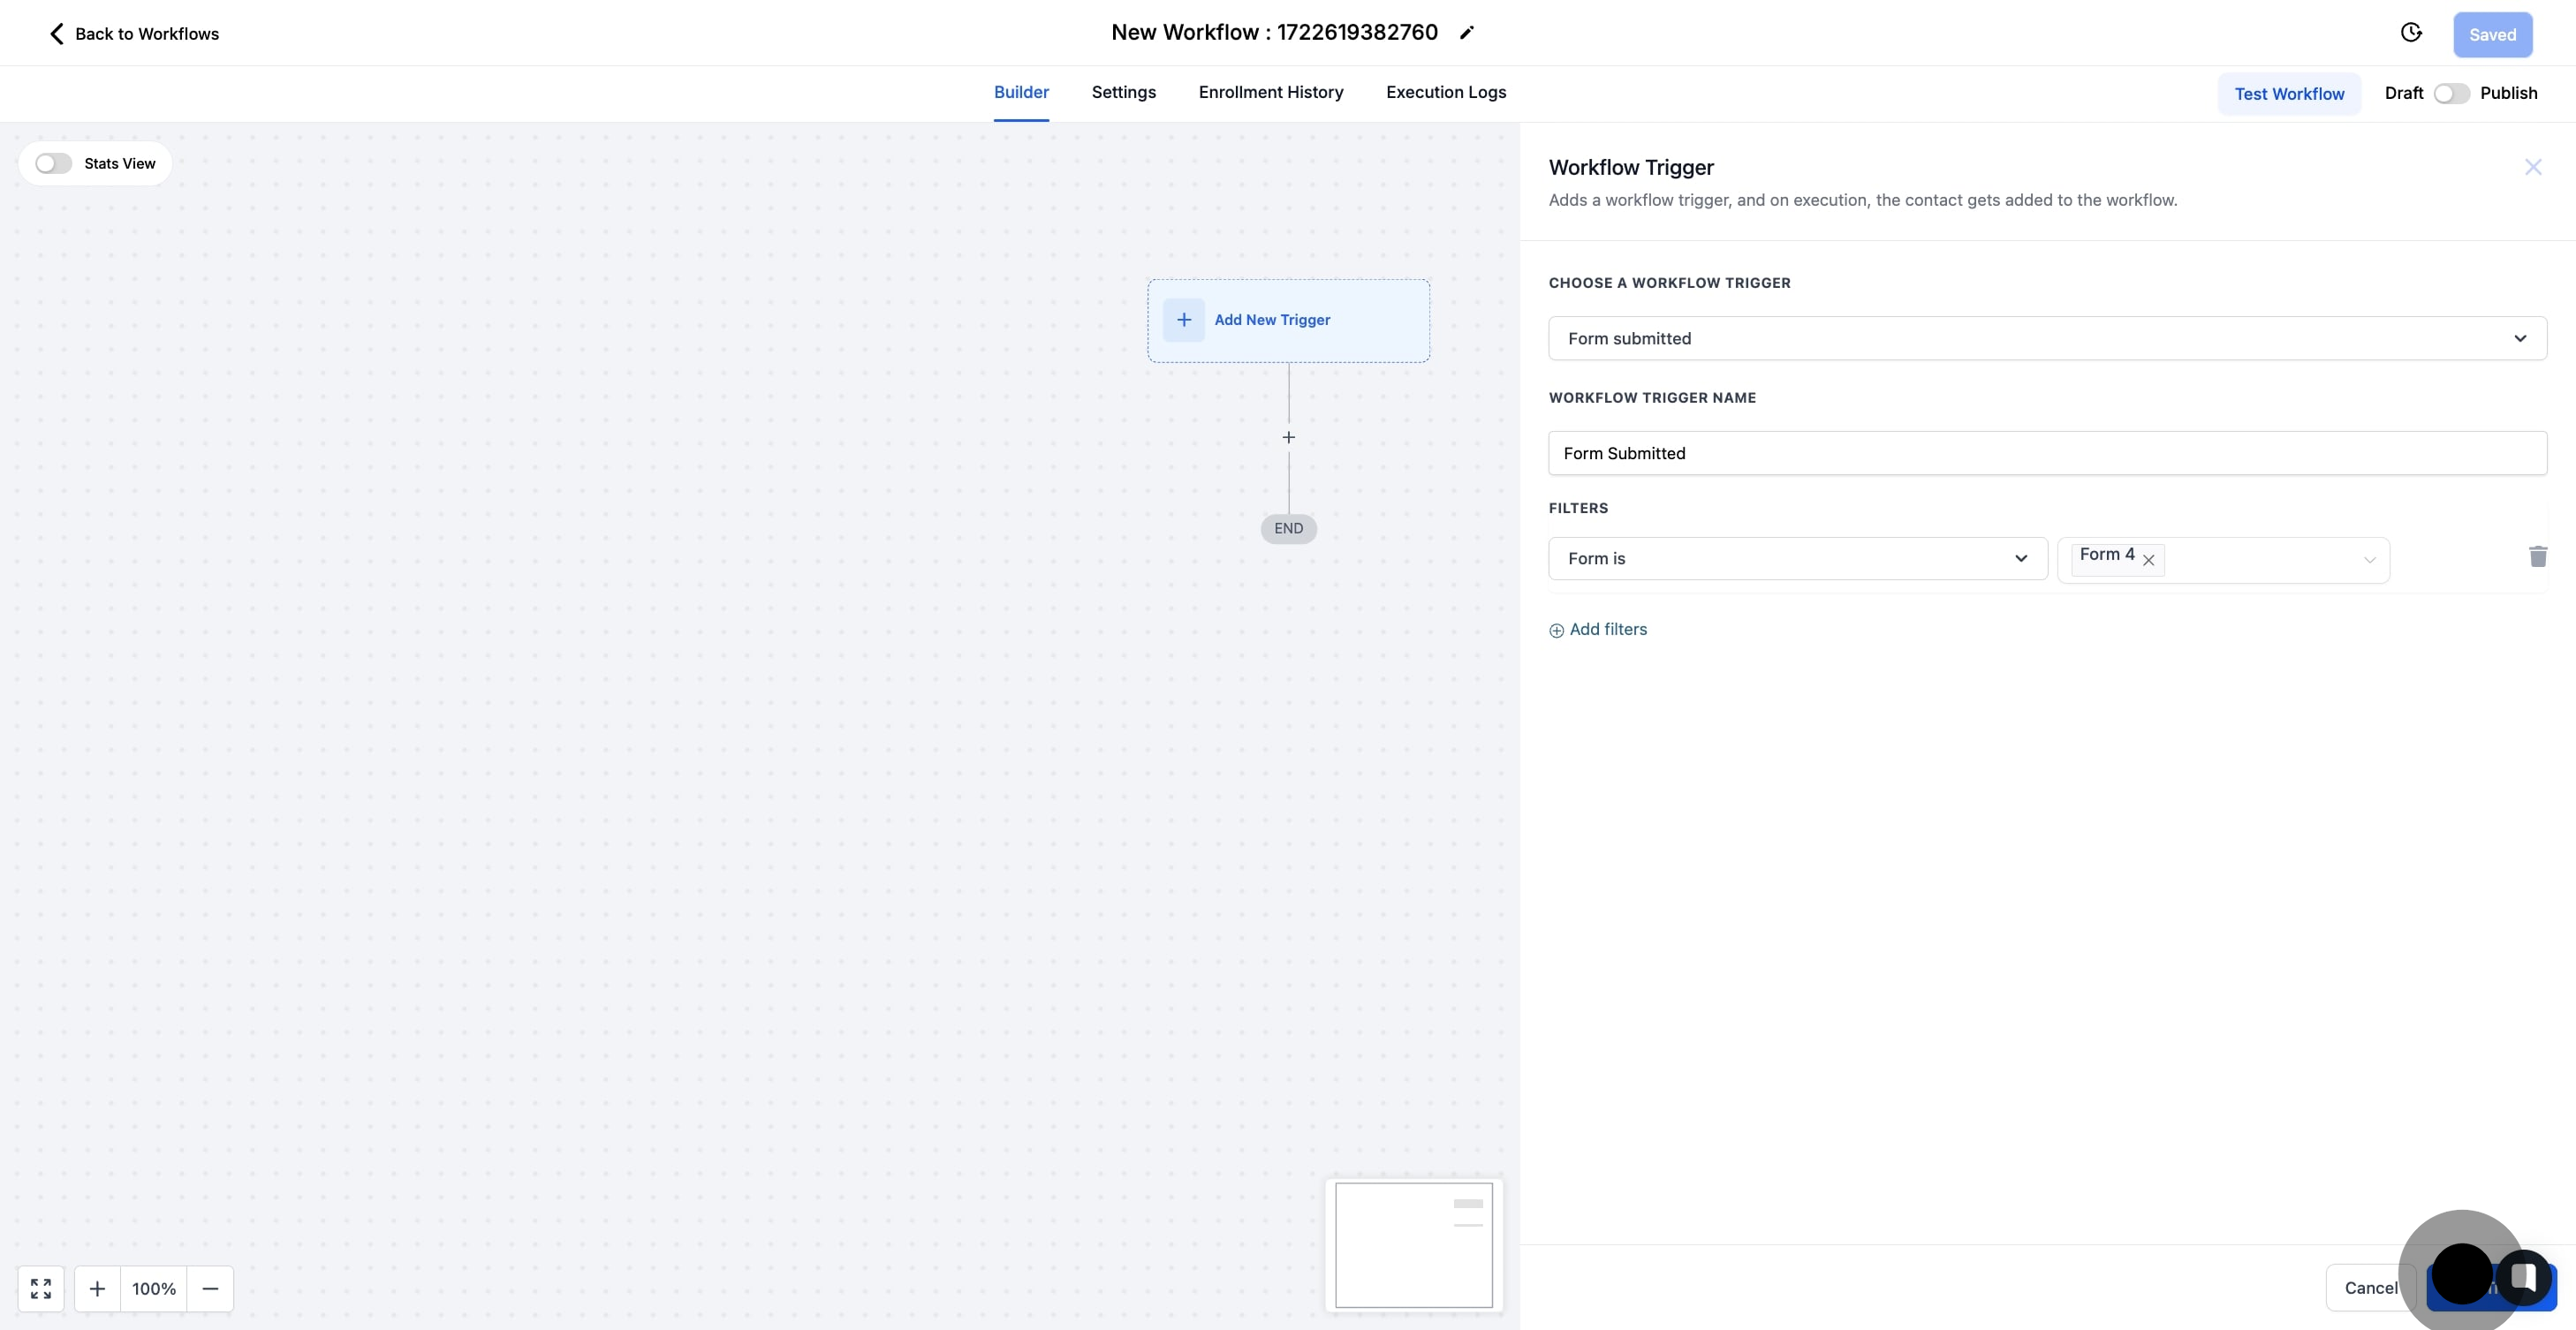
10. Finally, ensure to save the trigger to update your workflow.
Set up applicable Workflow Action(s). We have multiple articles available to explain the setup of each of the Workflow Actions. Feel free to review our articles on these for more information on setting these up.
Pro Tip: You can use any Workflow Actions to be triggered by the Form Submitted trigger or you can leave this workflow without any actions.
