
1. Start by clicking 'Automation' to proceed.
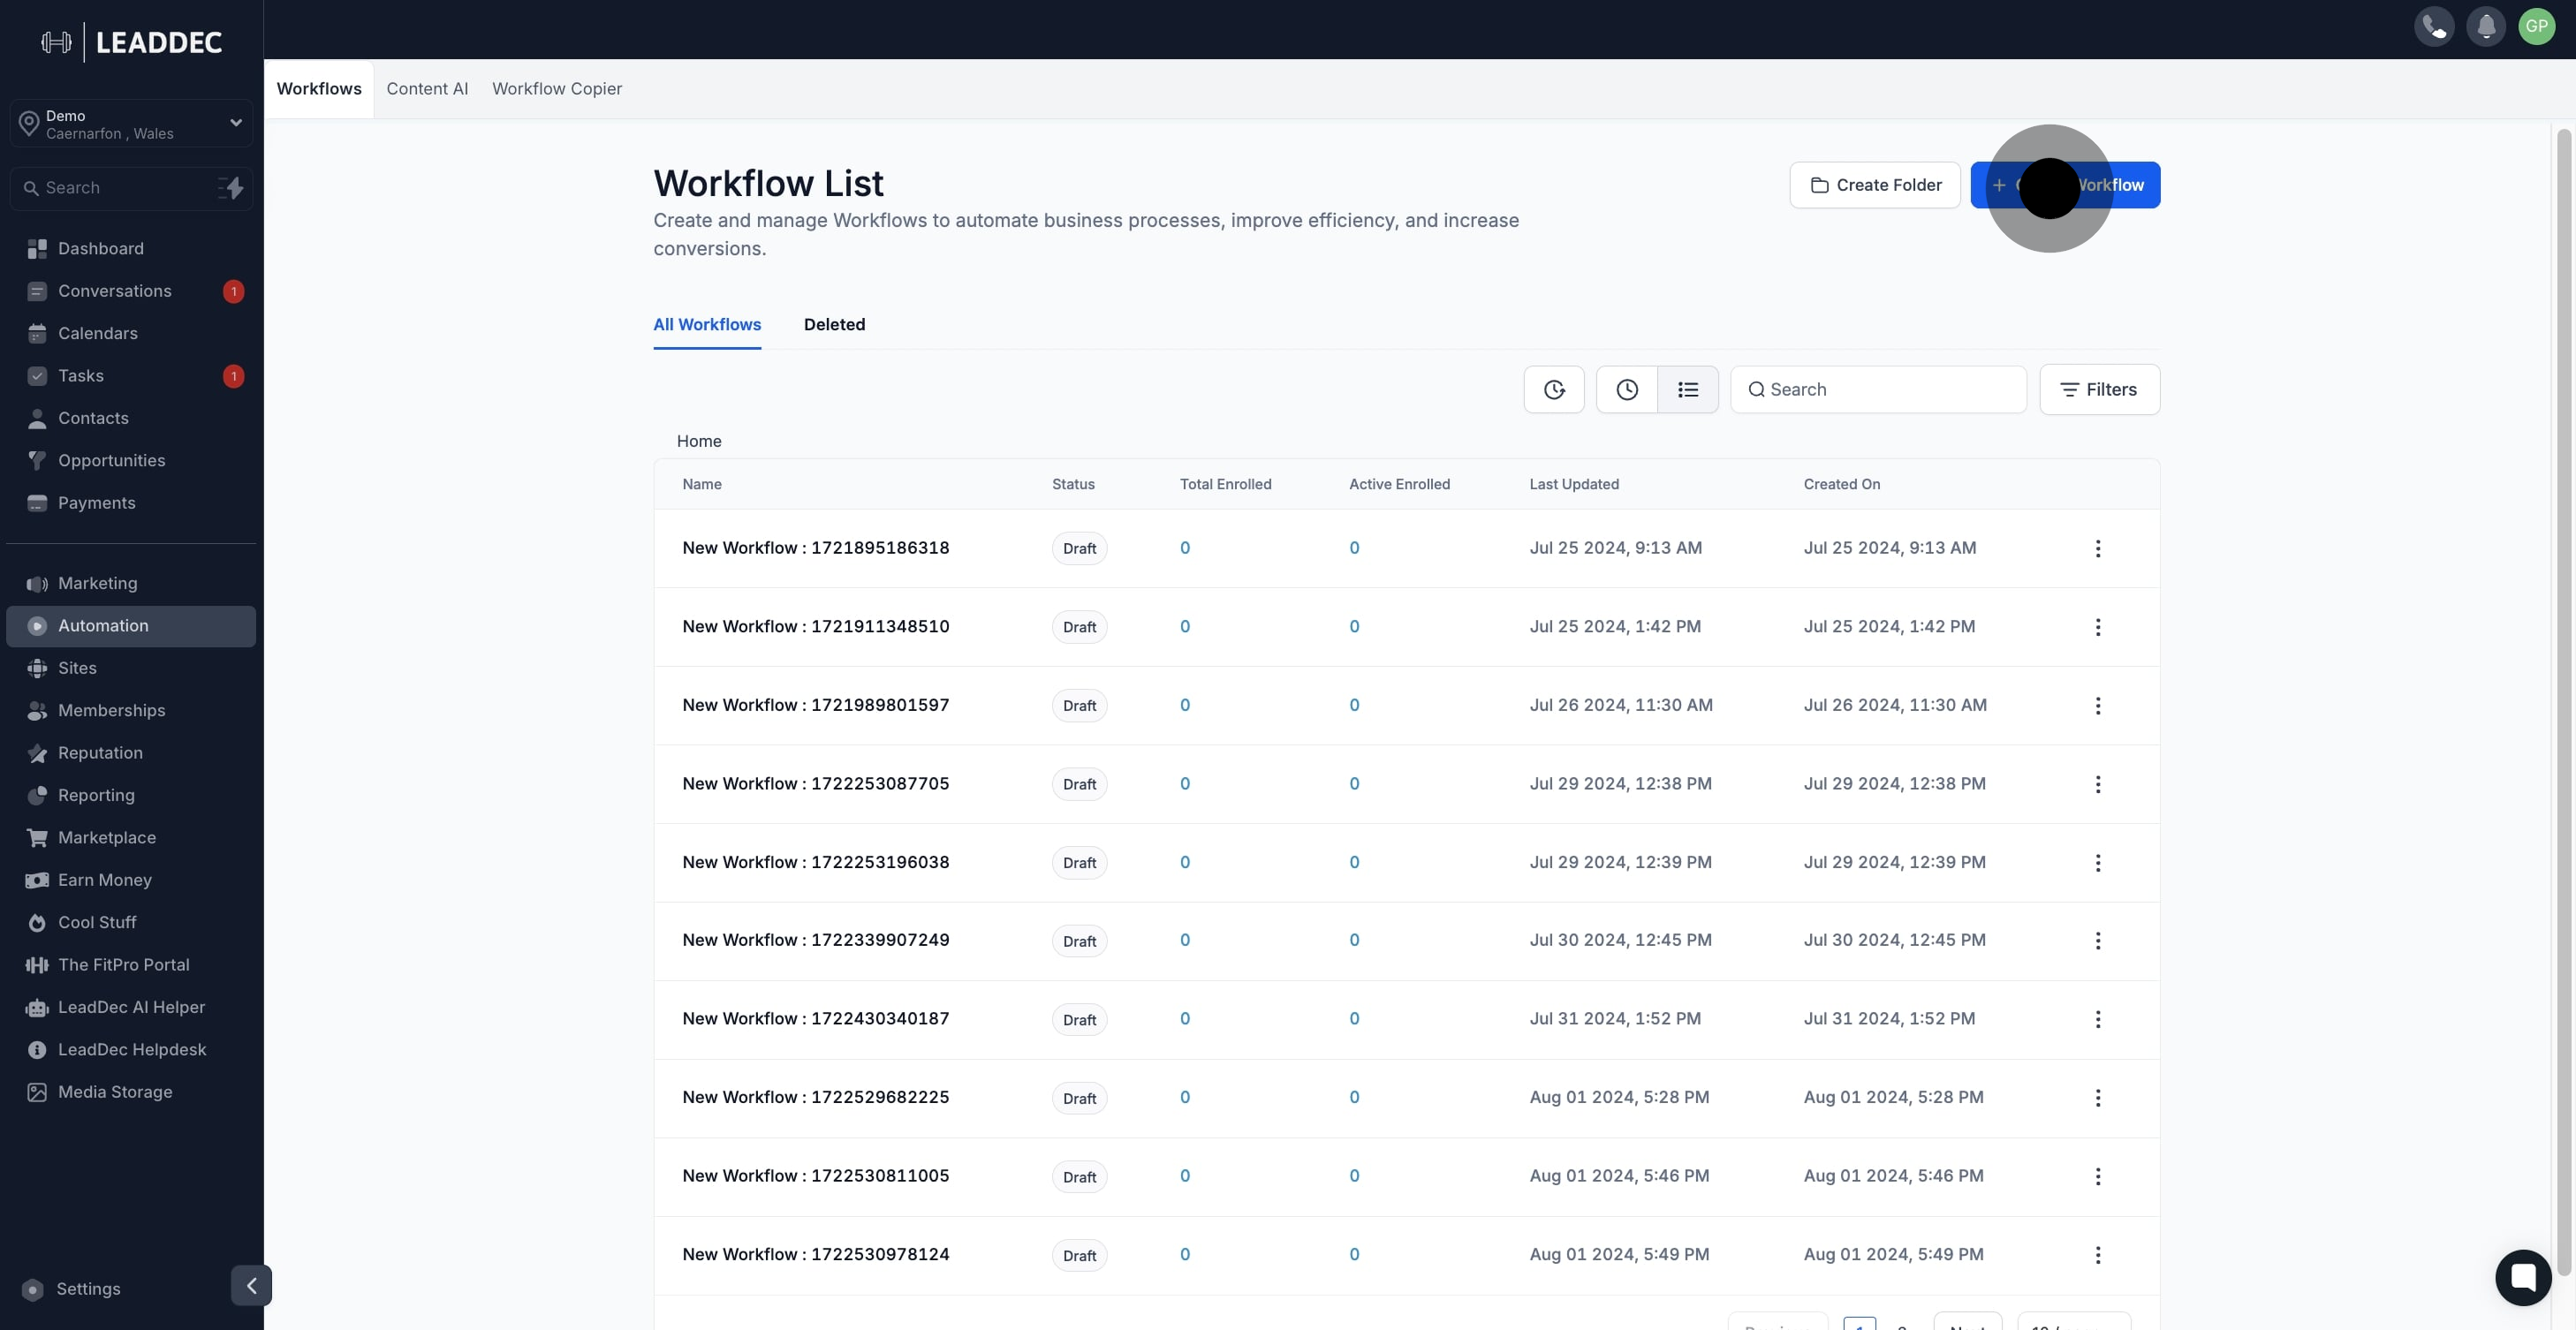
2. Next, select 'Create Workflow' to begin setting up your process.
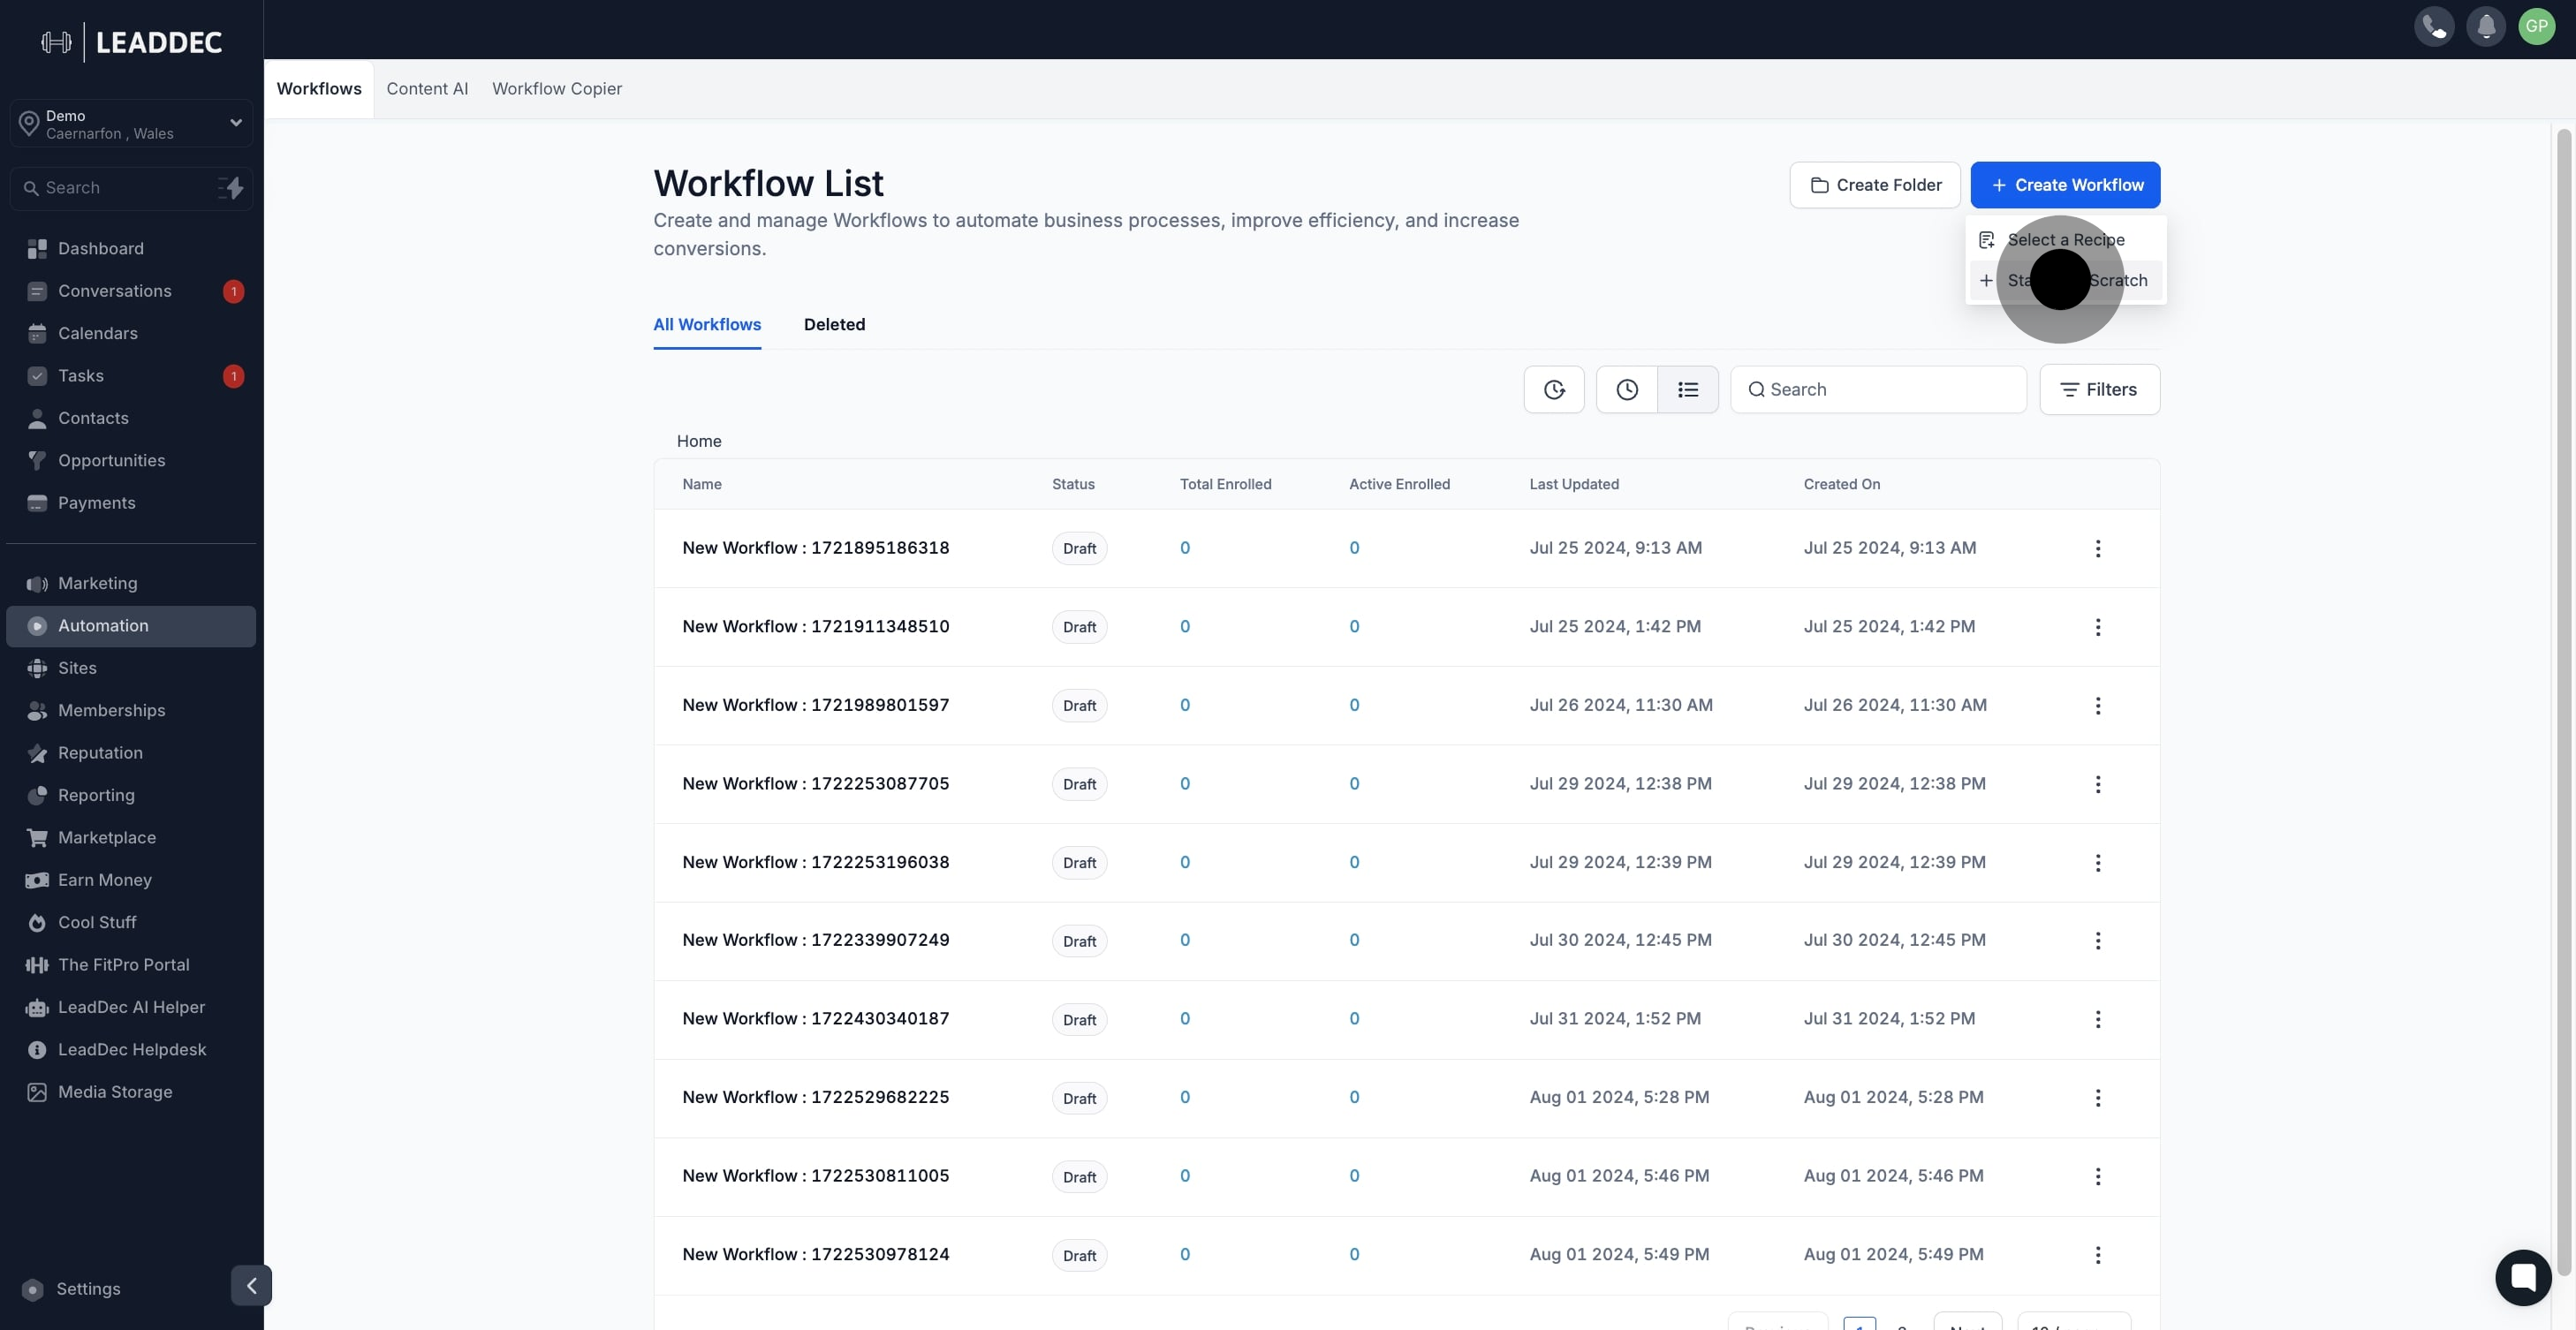
3. Choose 'Start from Scratch' to create a custom workflow.
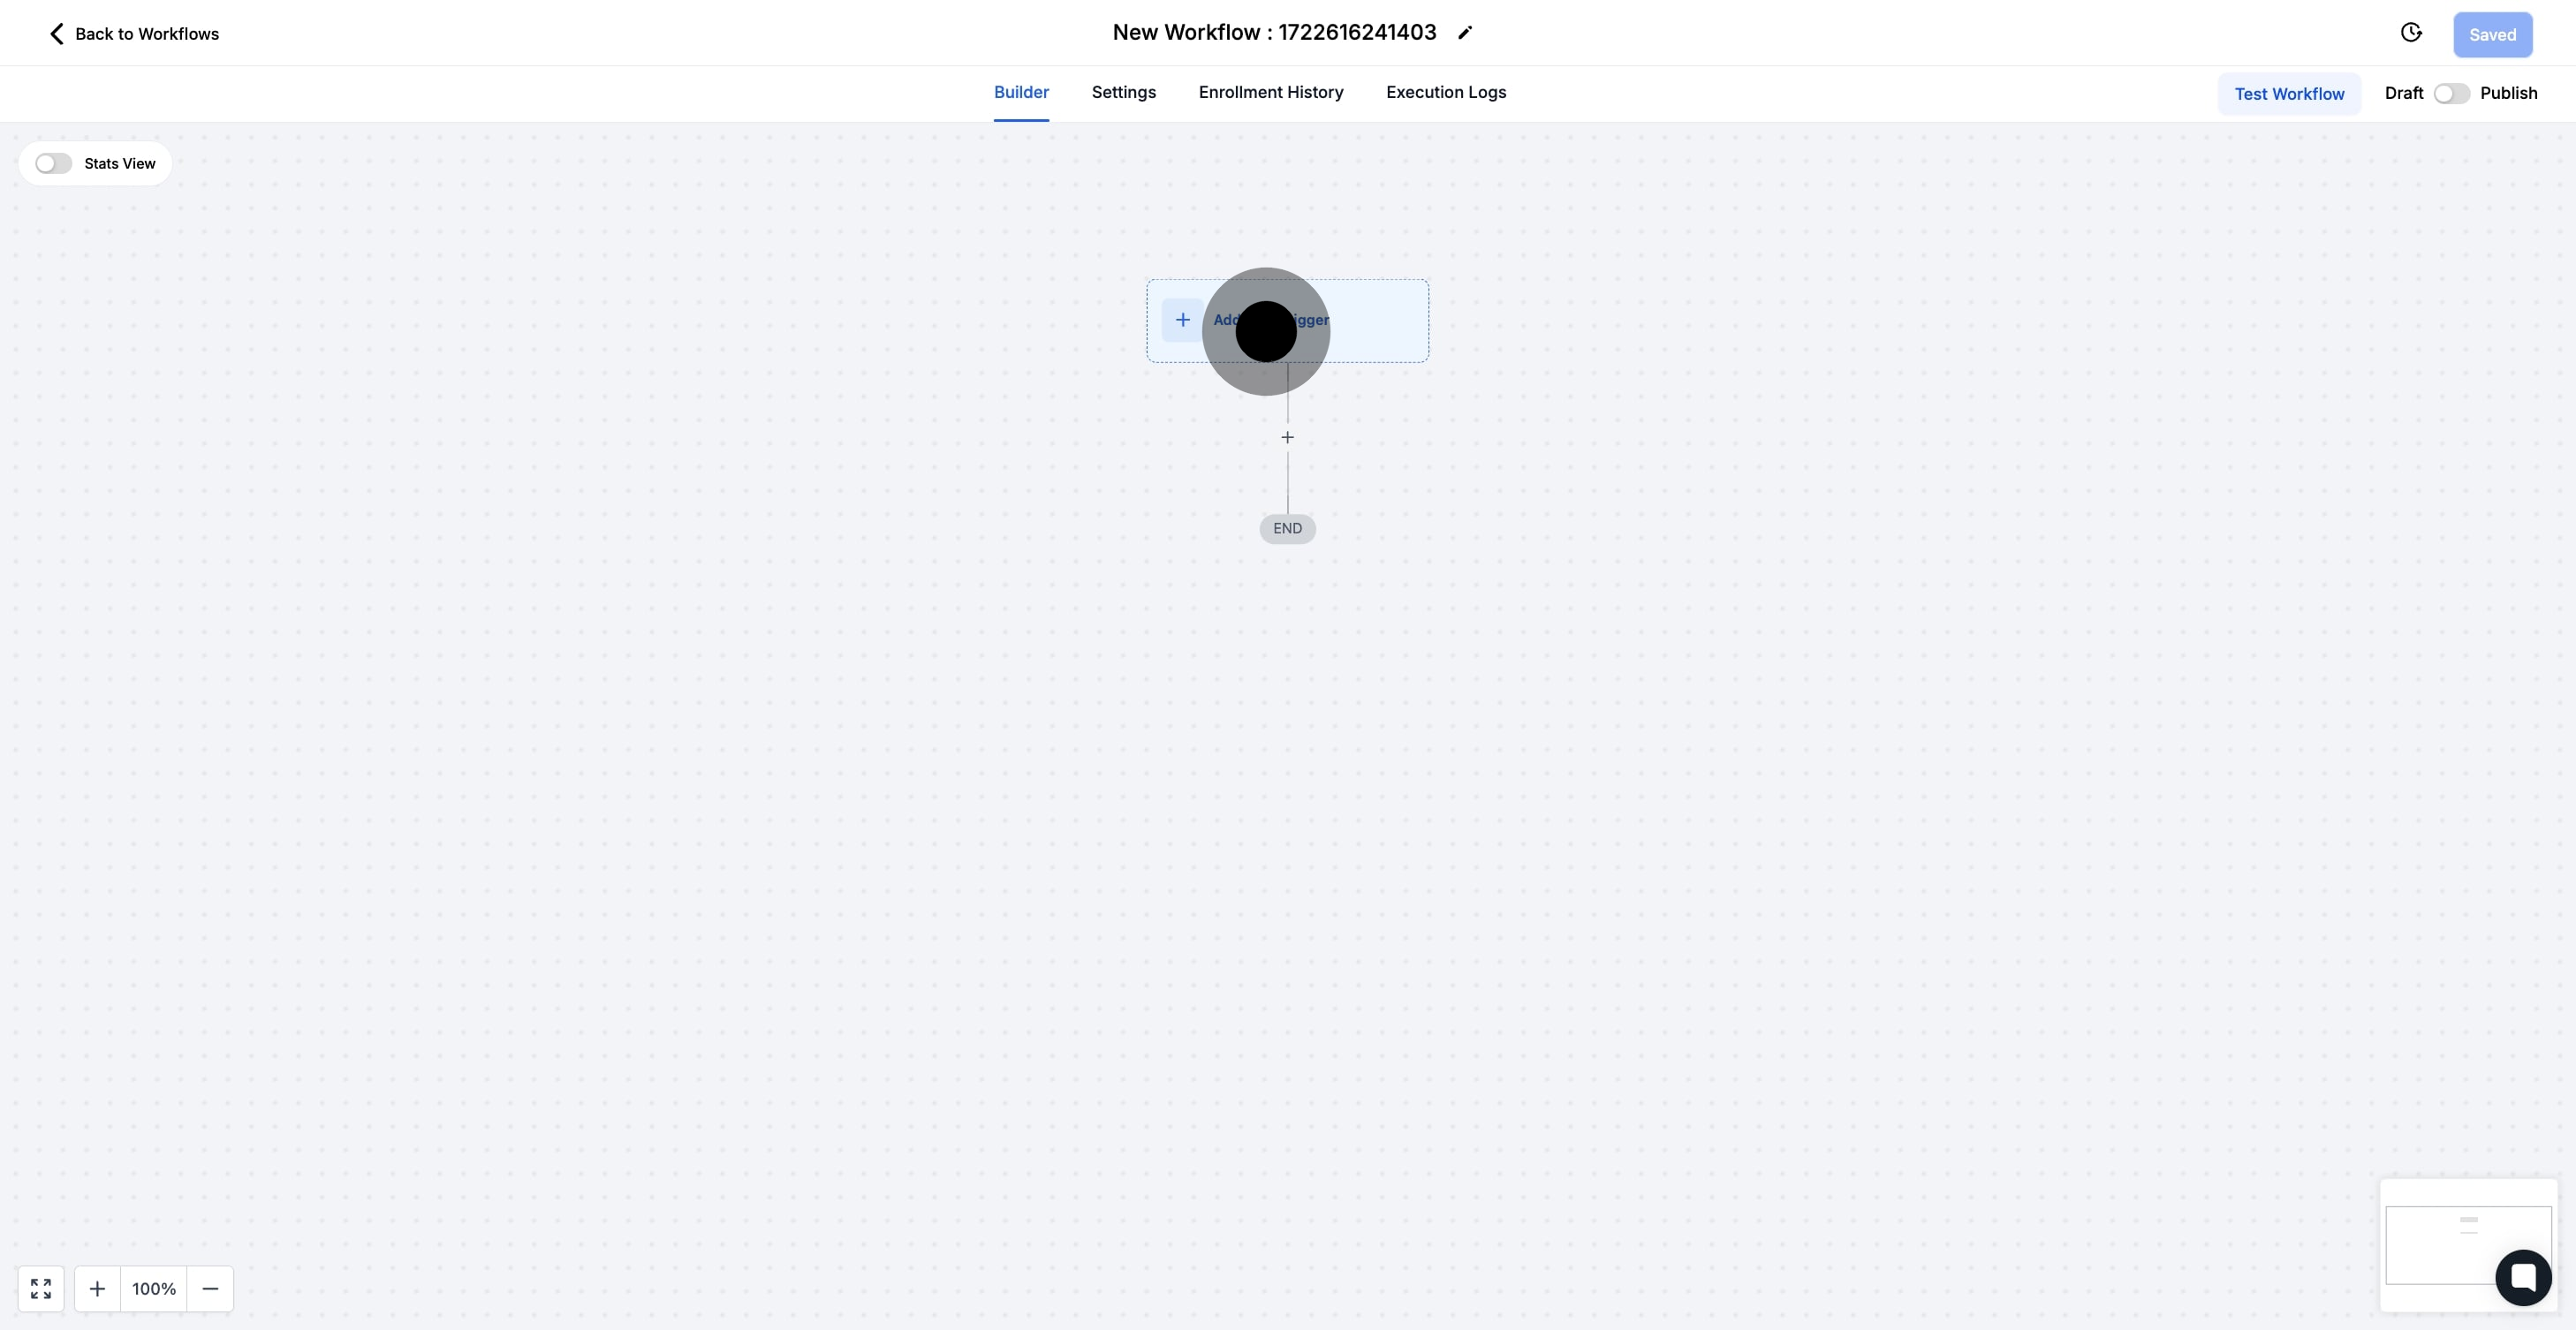
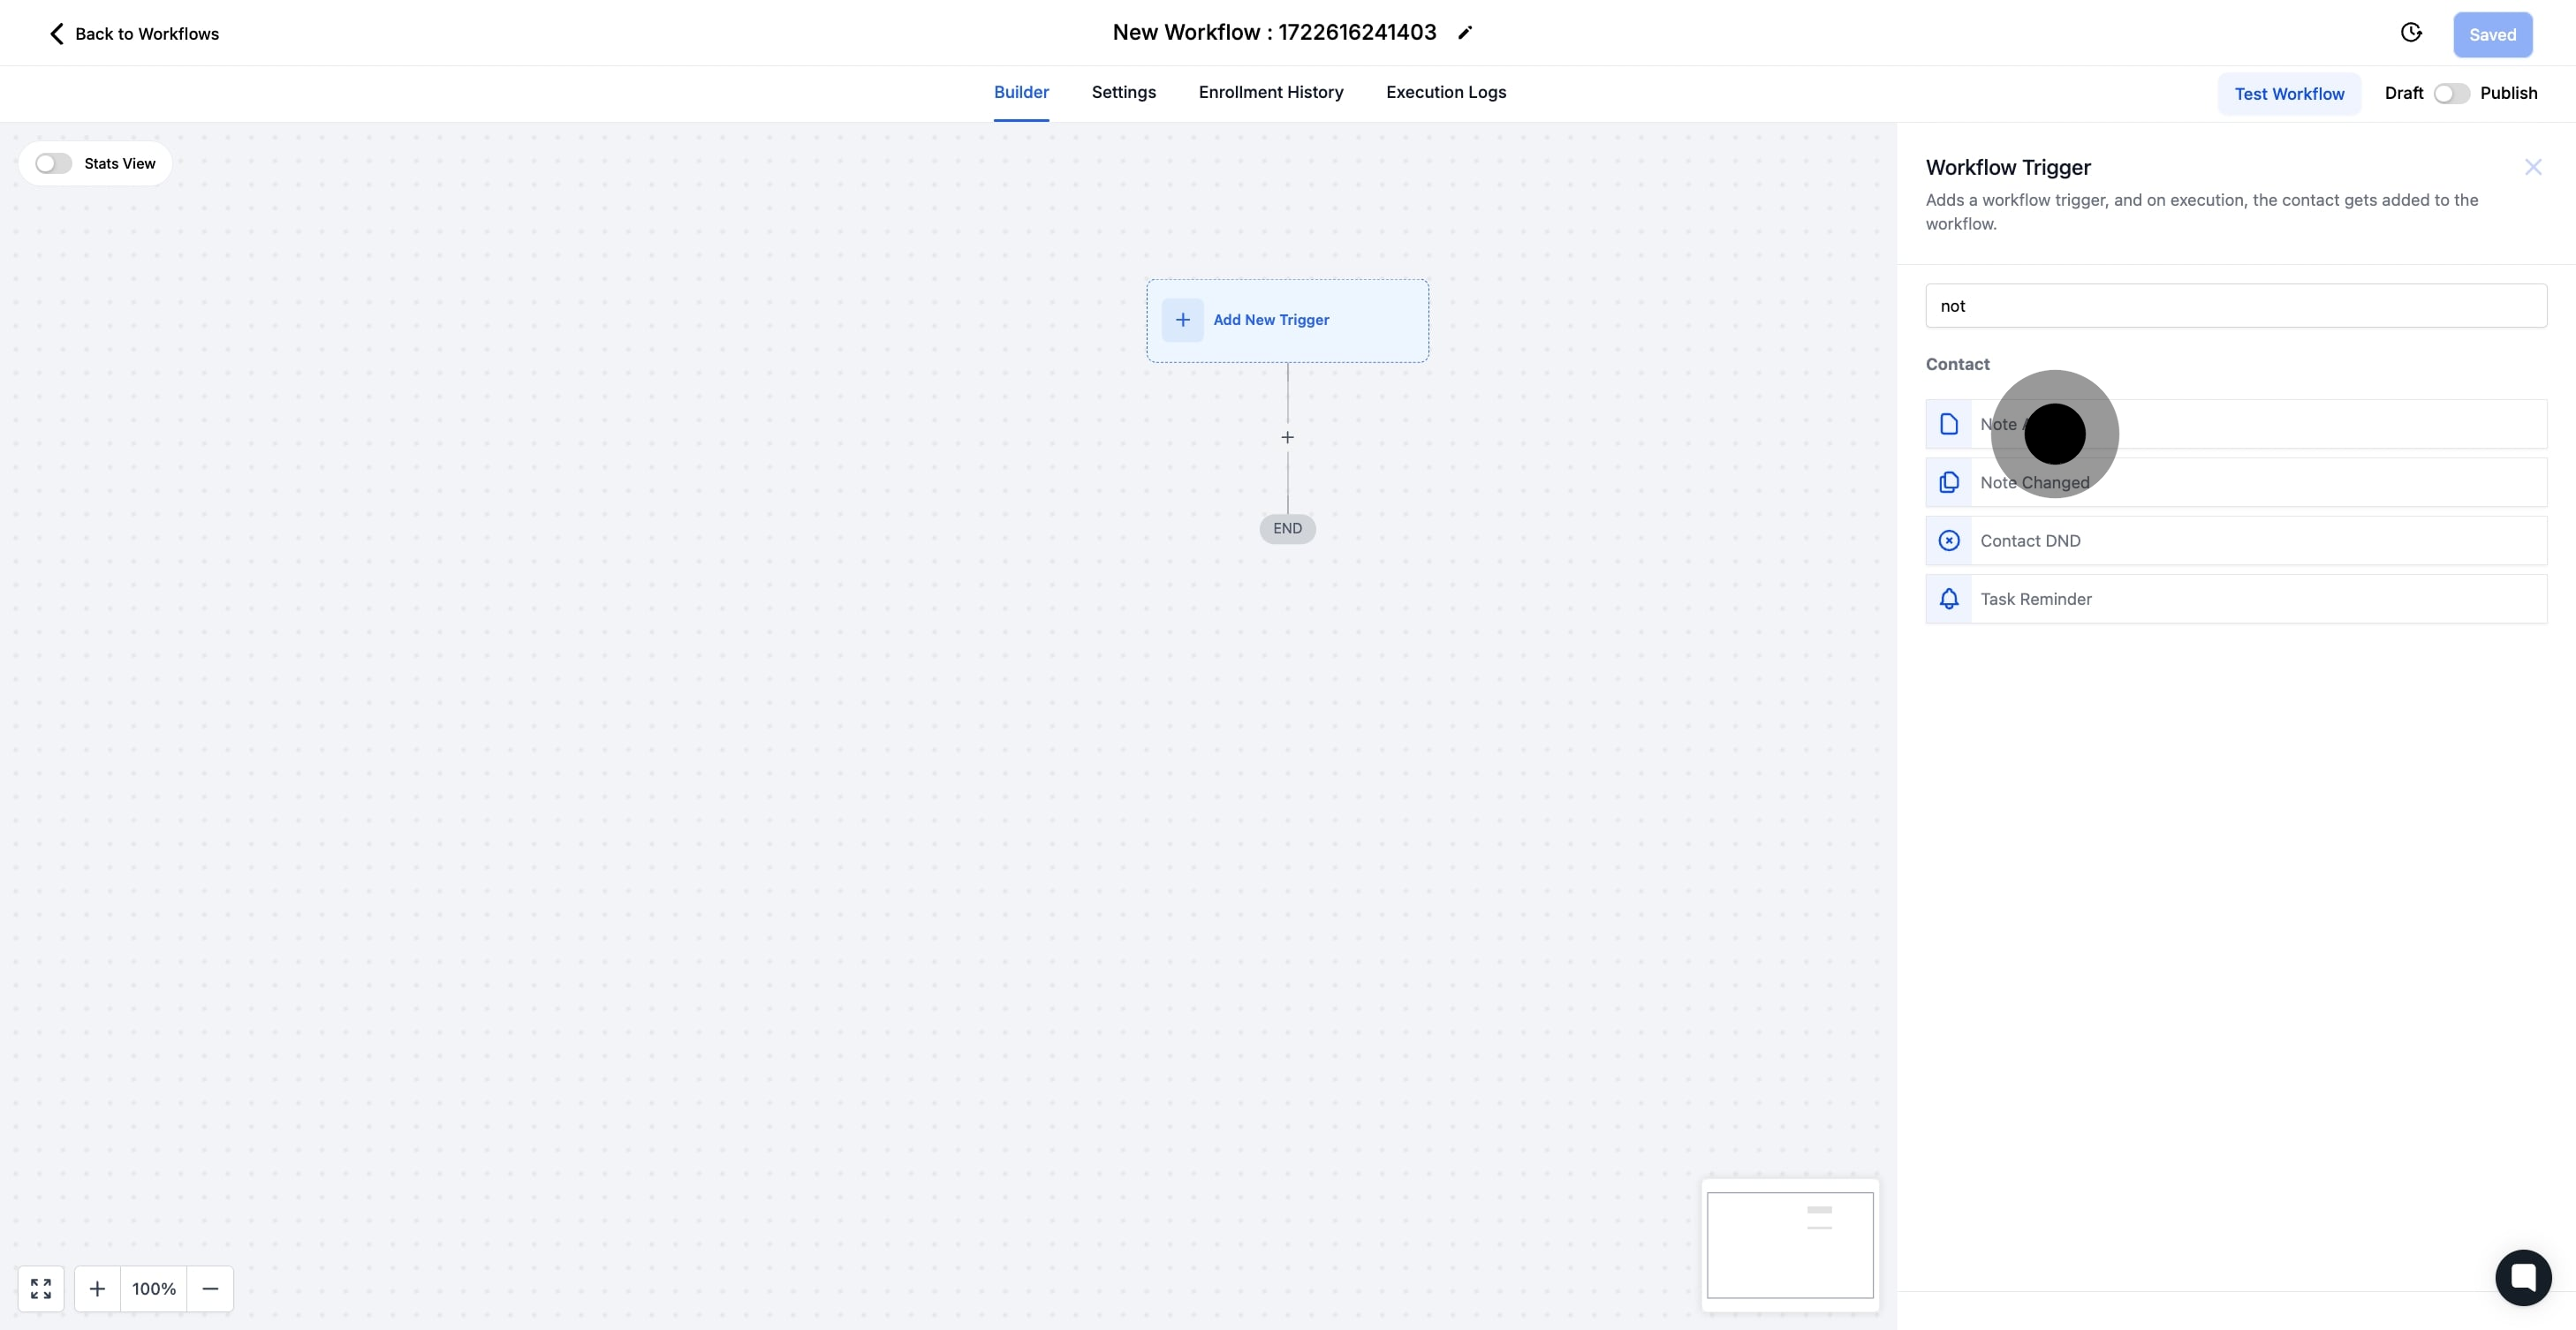
4. Now, add triggers to define workflow conditions.
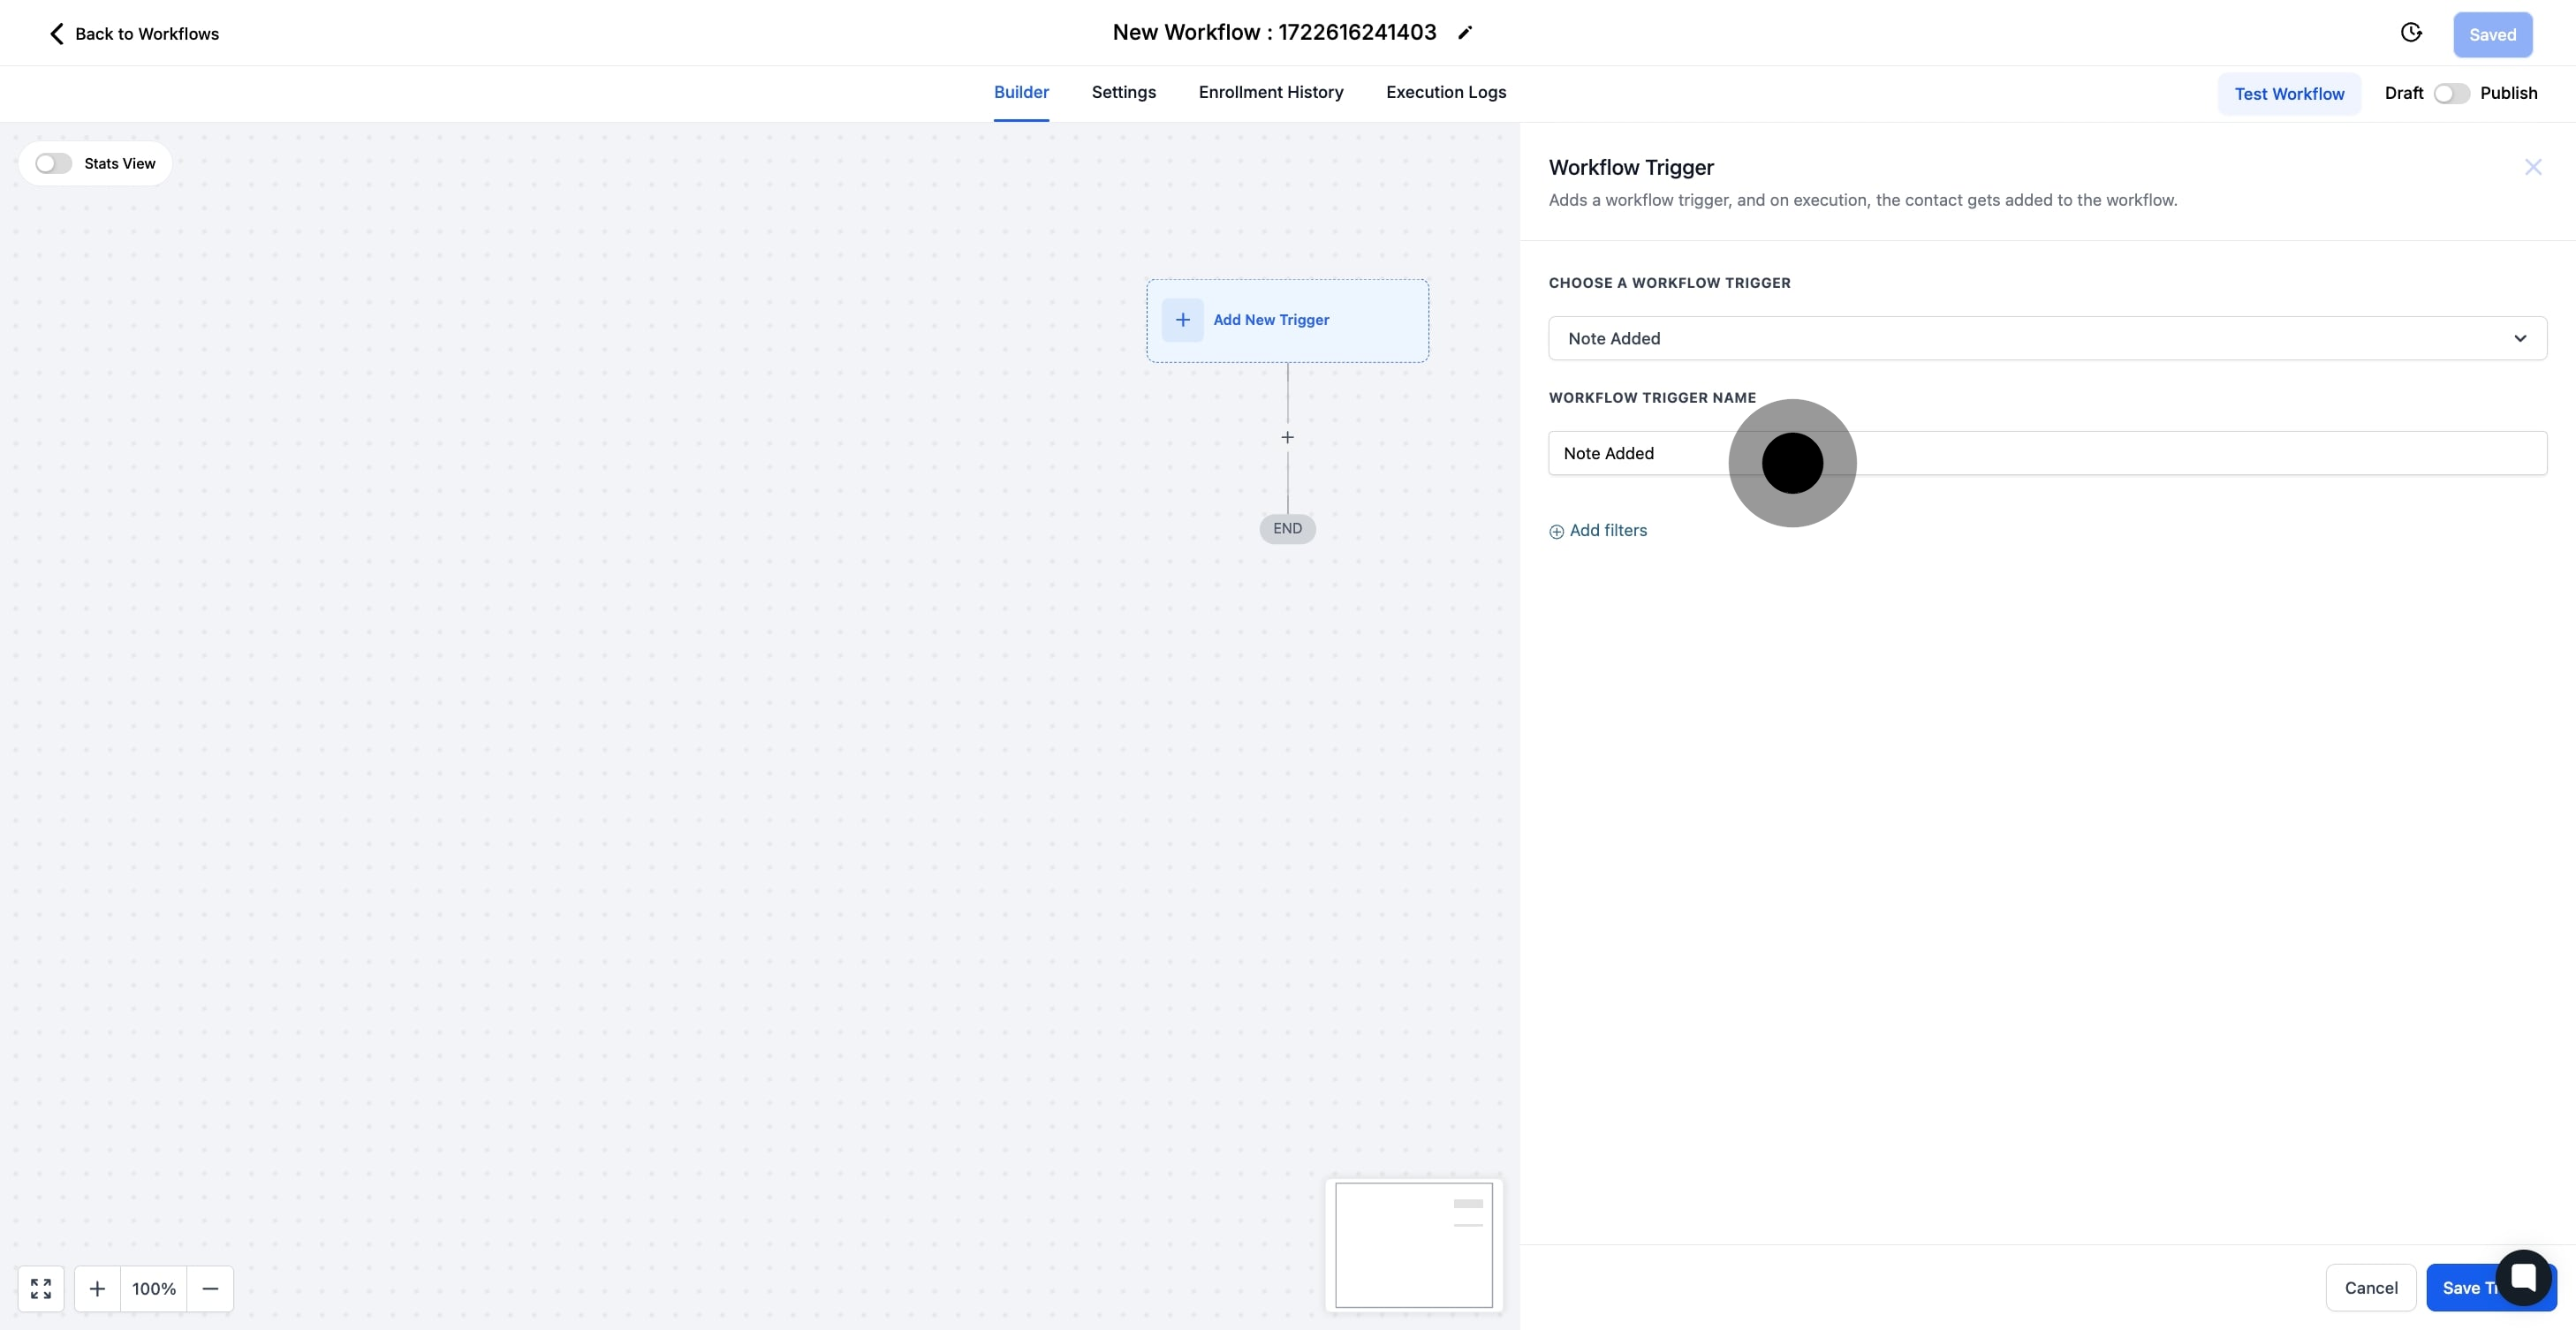
5. Then, specify by clicking on 'Note Added'.
6. Optionally, rename the workflow trigger for clarity.
7. Click 'Add filters' to refine trigger conditions.
You can filter by the parameters Has Tag and Doesn’t Have Tag which will only allow contacts who have or do not have a selected tag assigned to them.
Pro Tip: You are capable of applying both of these filters to the trigger, but these can cancel each other out in many cases. In light of this, it is best to use only one or the other depending on your needs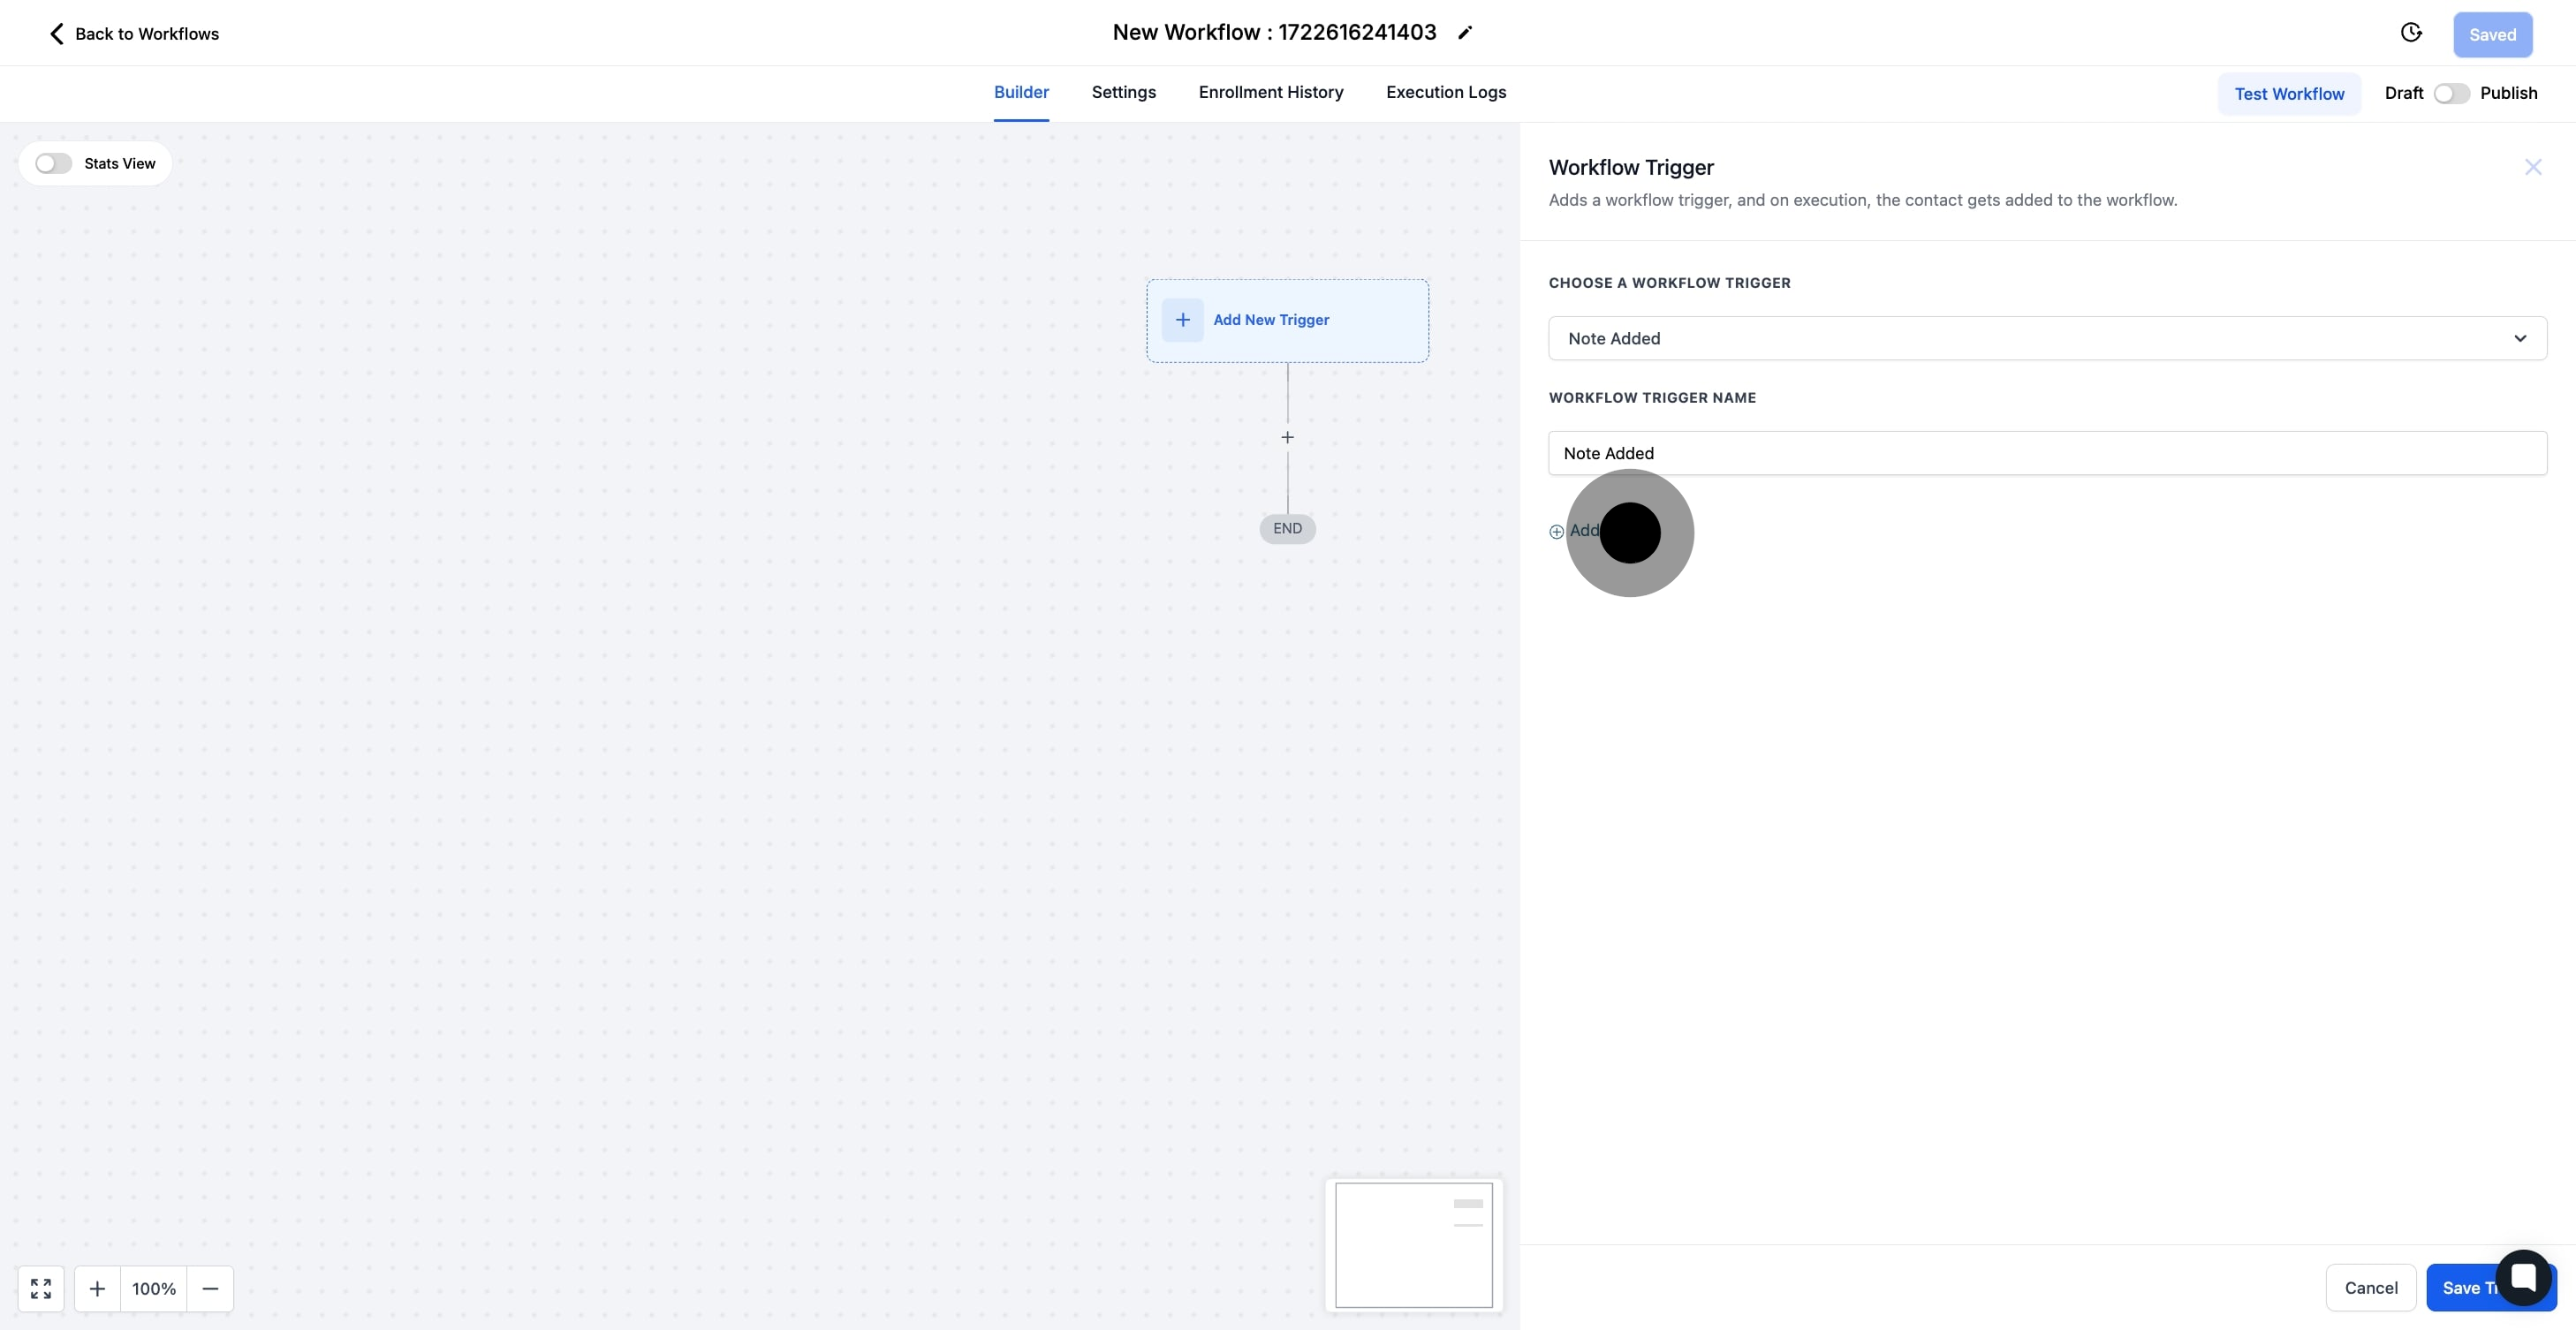
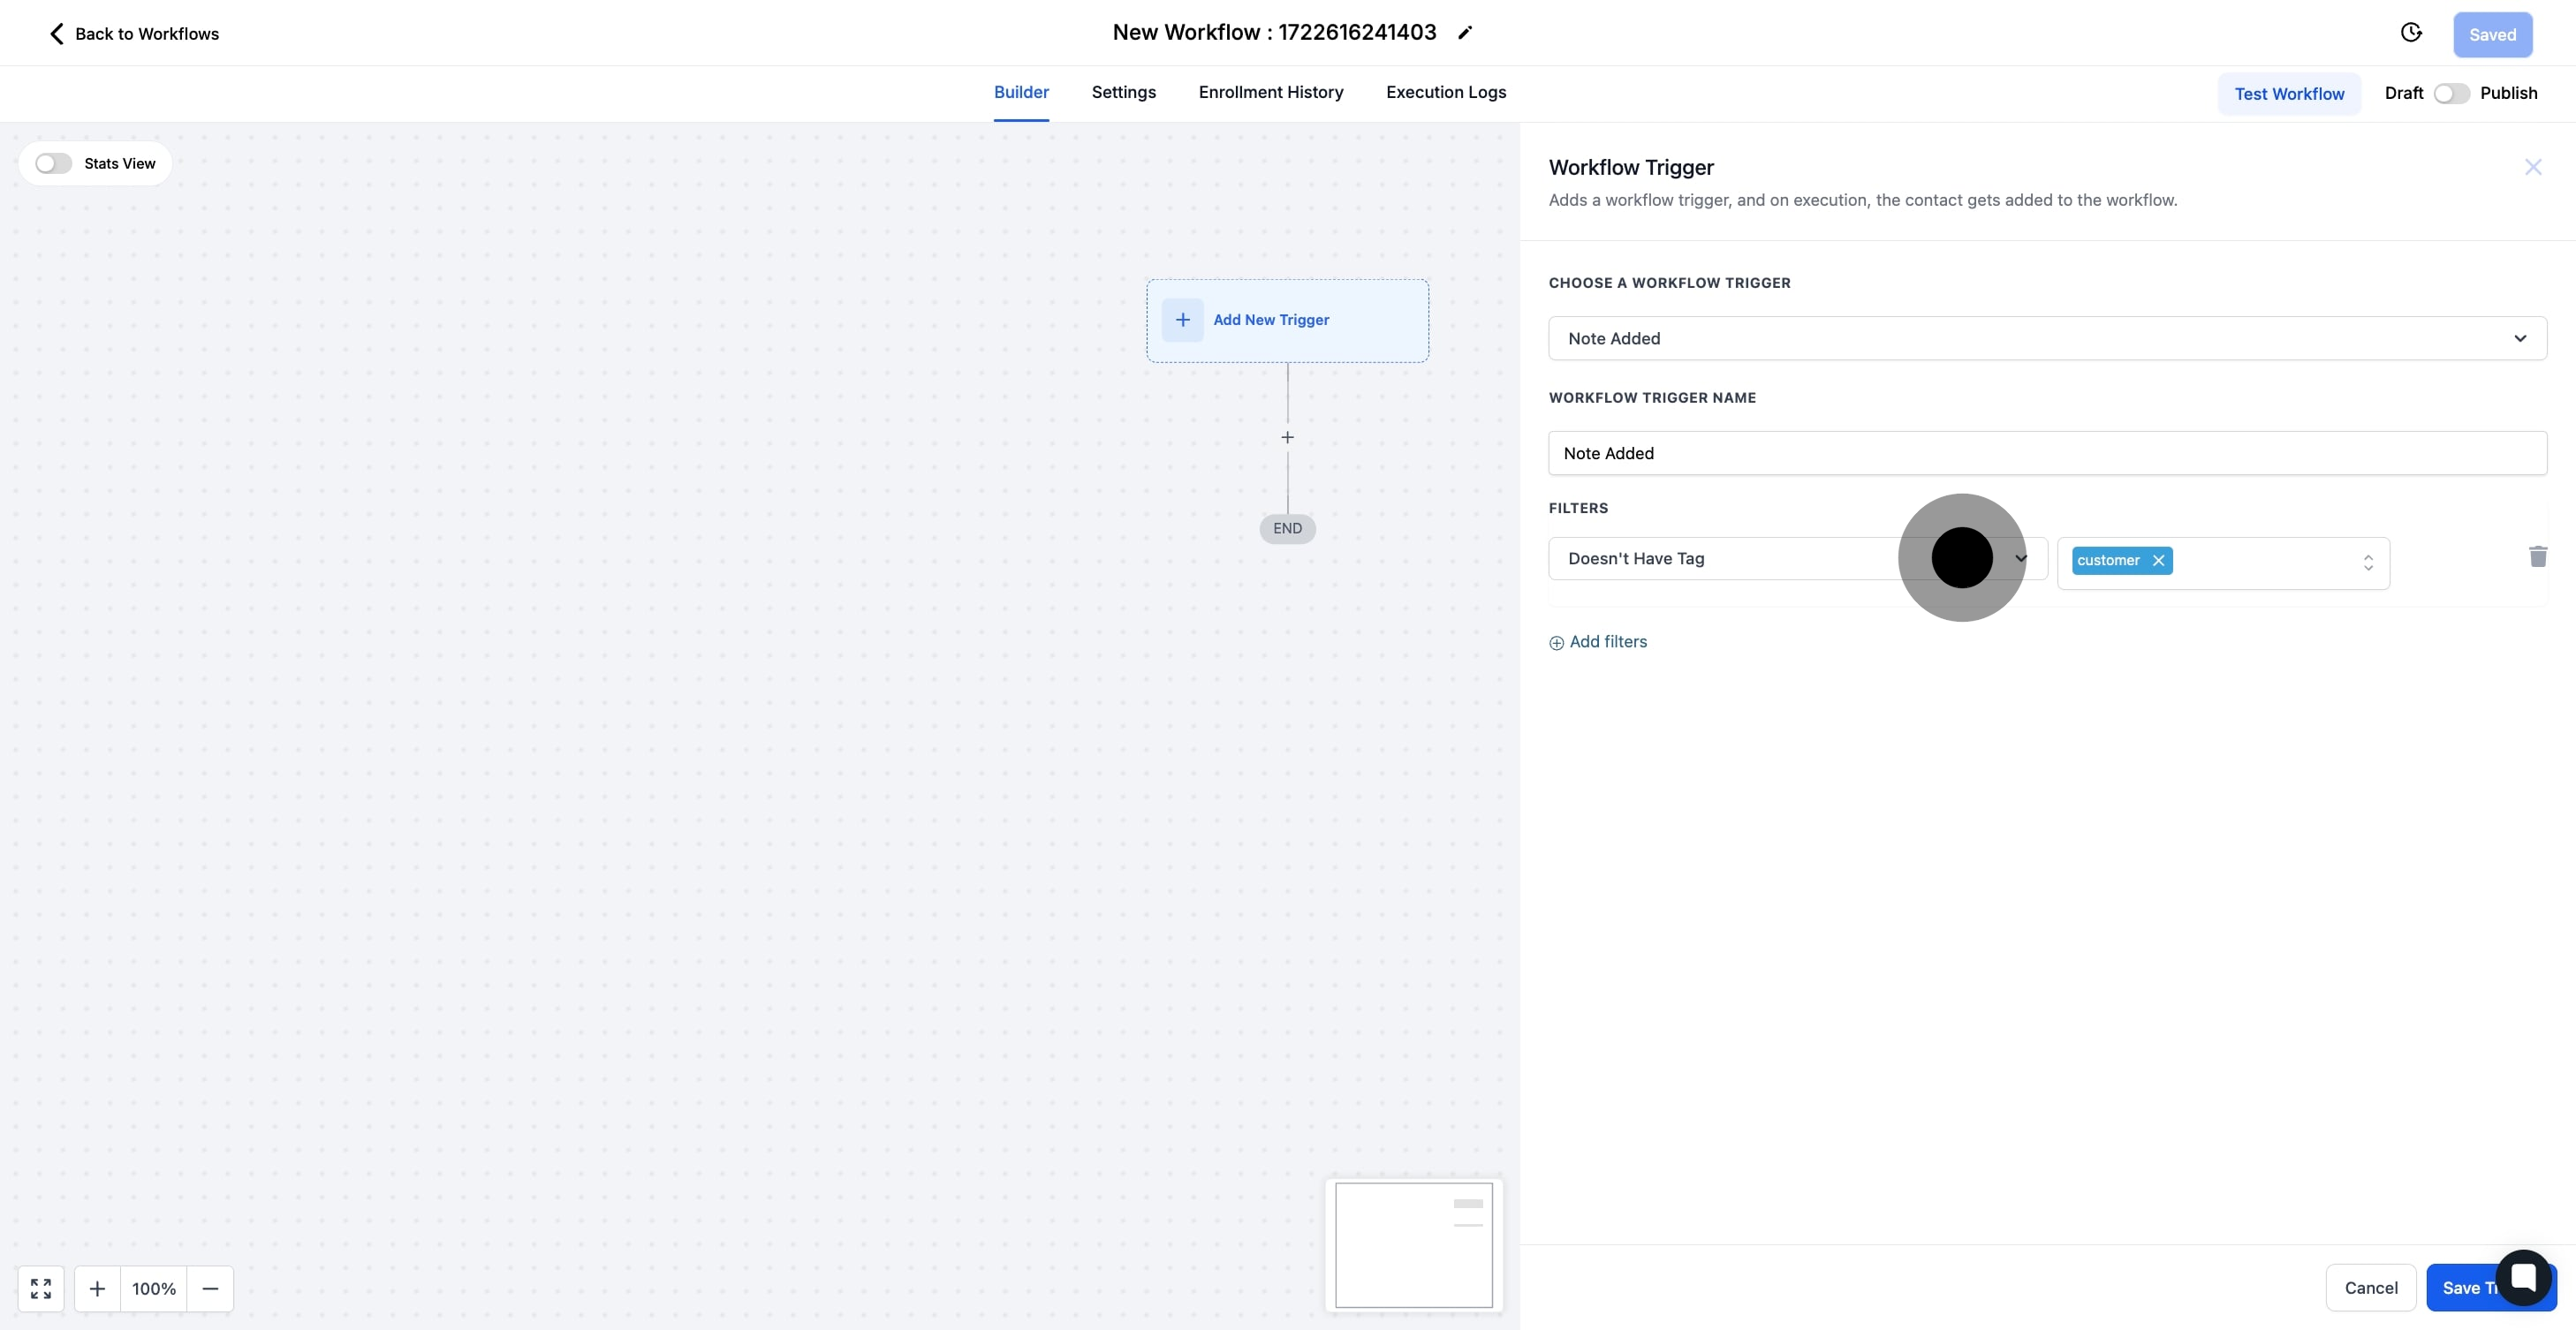
8. 'Doesn't have tag' is selected
Using Doesn’t Have Tag will allow all contacts to be added EXCEPT those who have the selected tag
9. "Has tag" is selected
Using Has Tag will only allow contacts who have the selected tag to be added to this workflow. No other contacts may be added
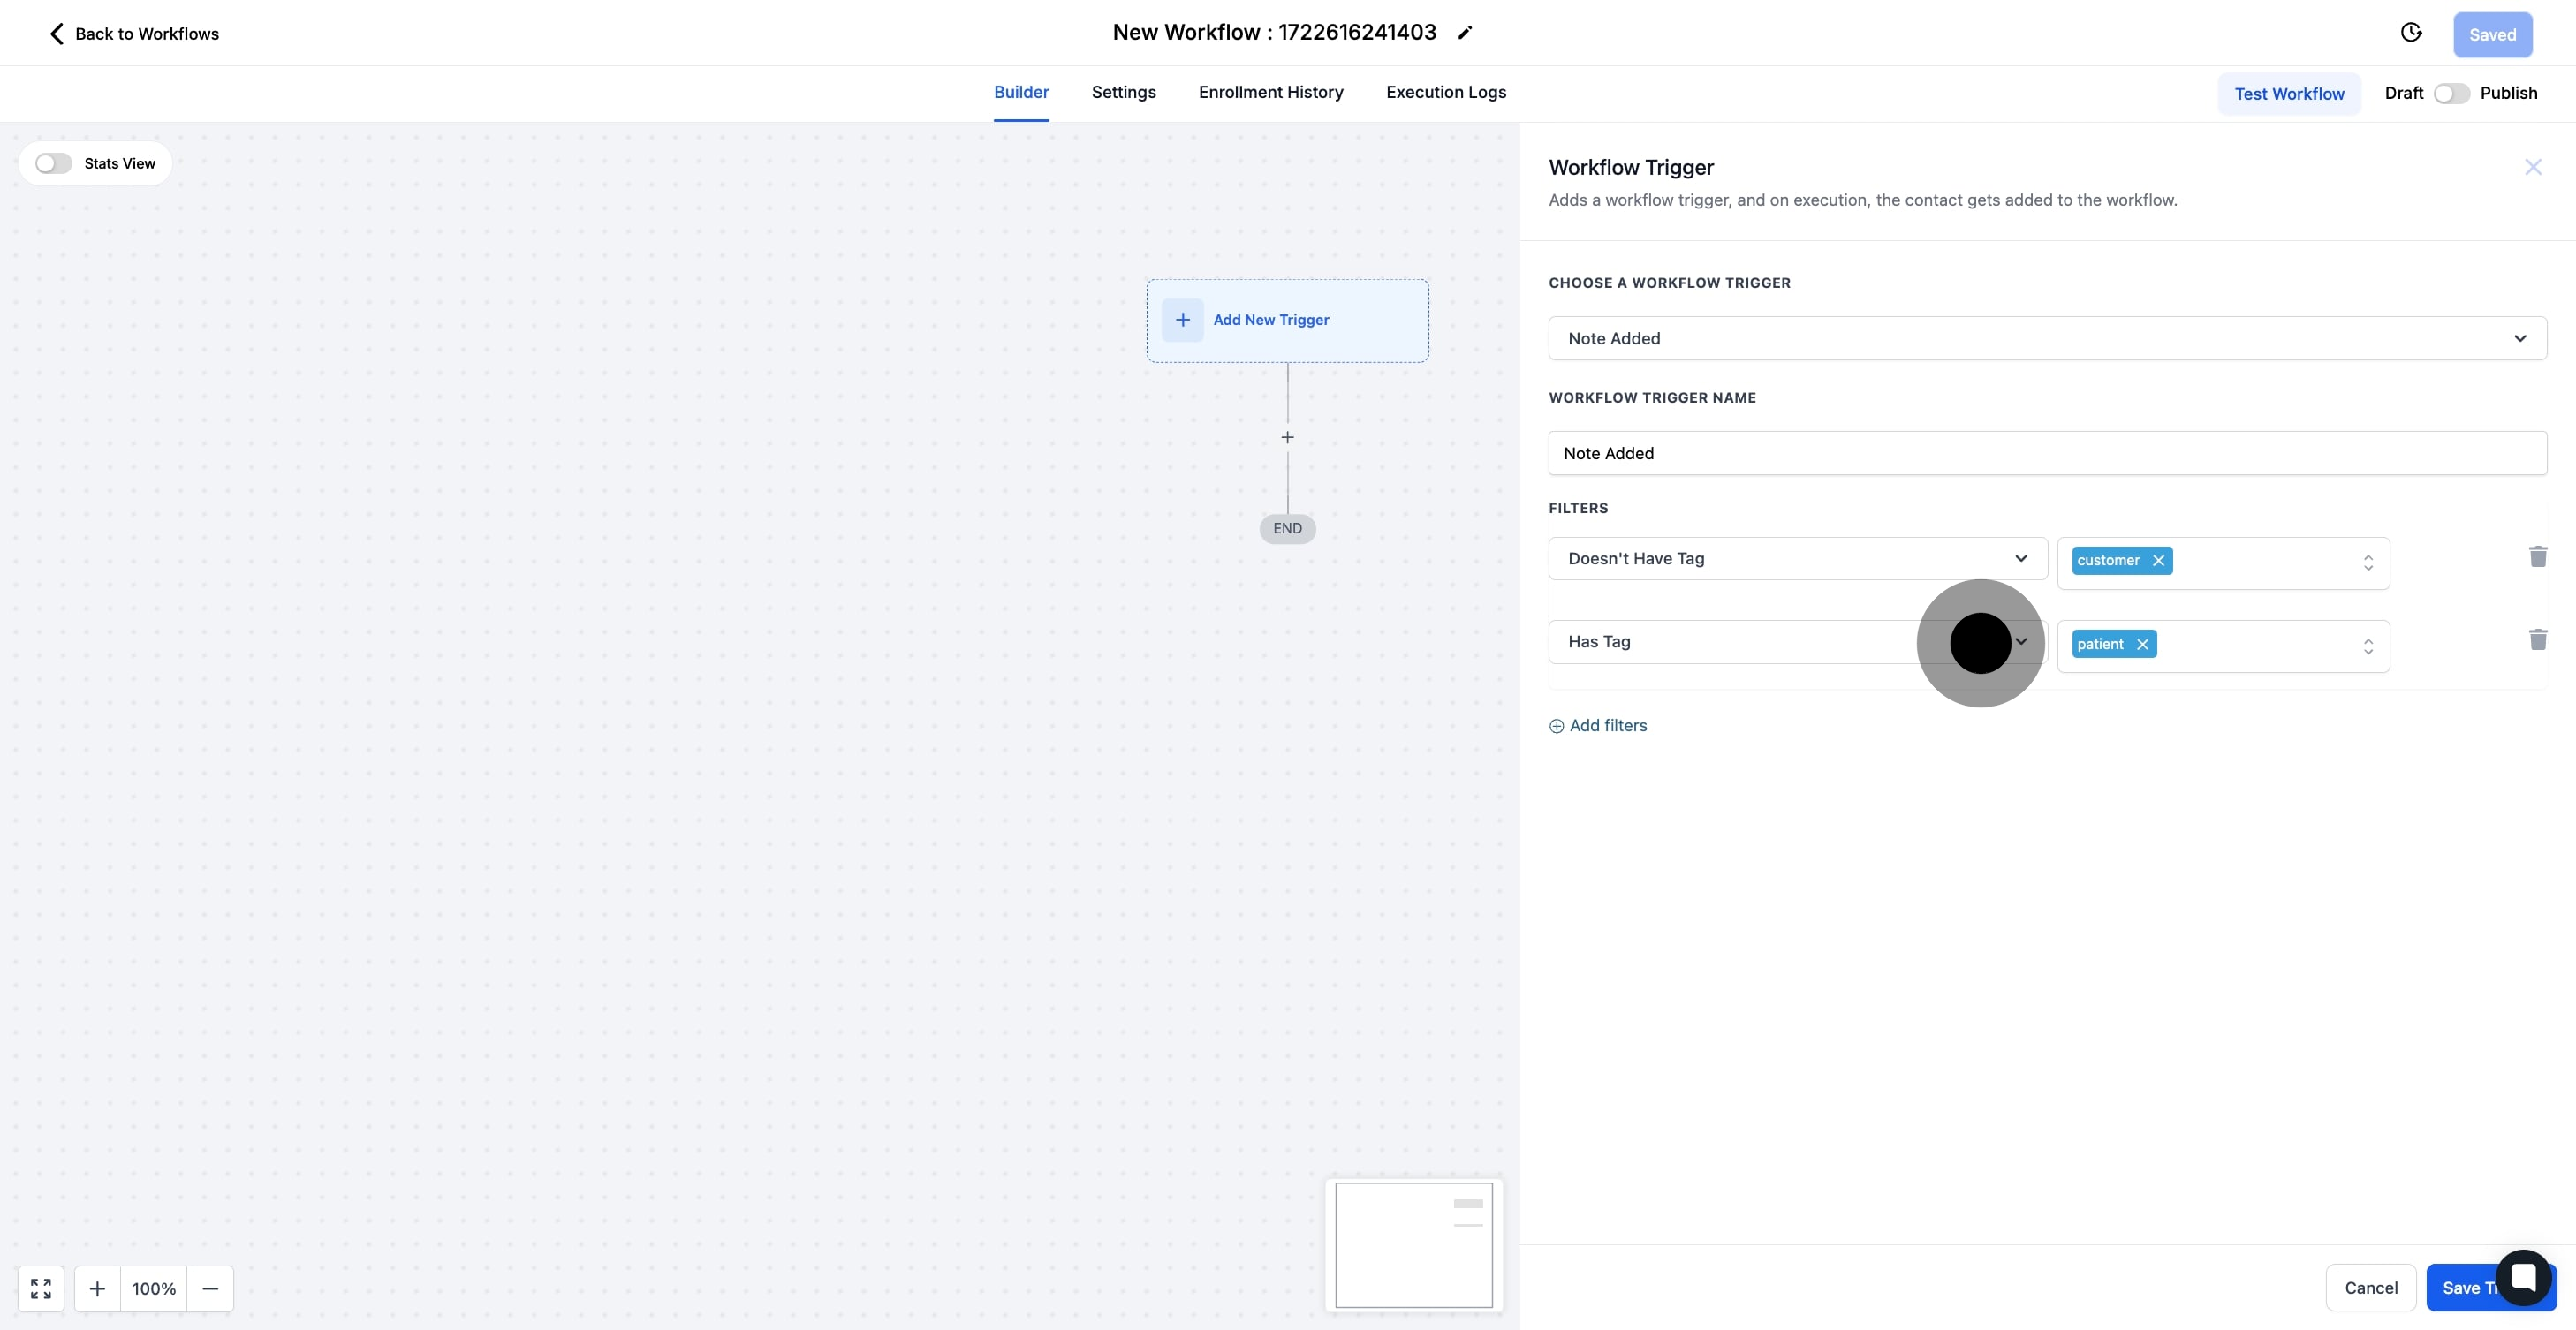
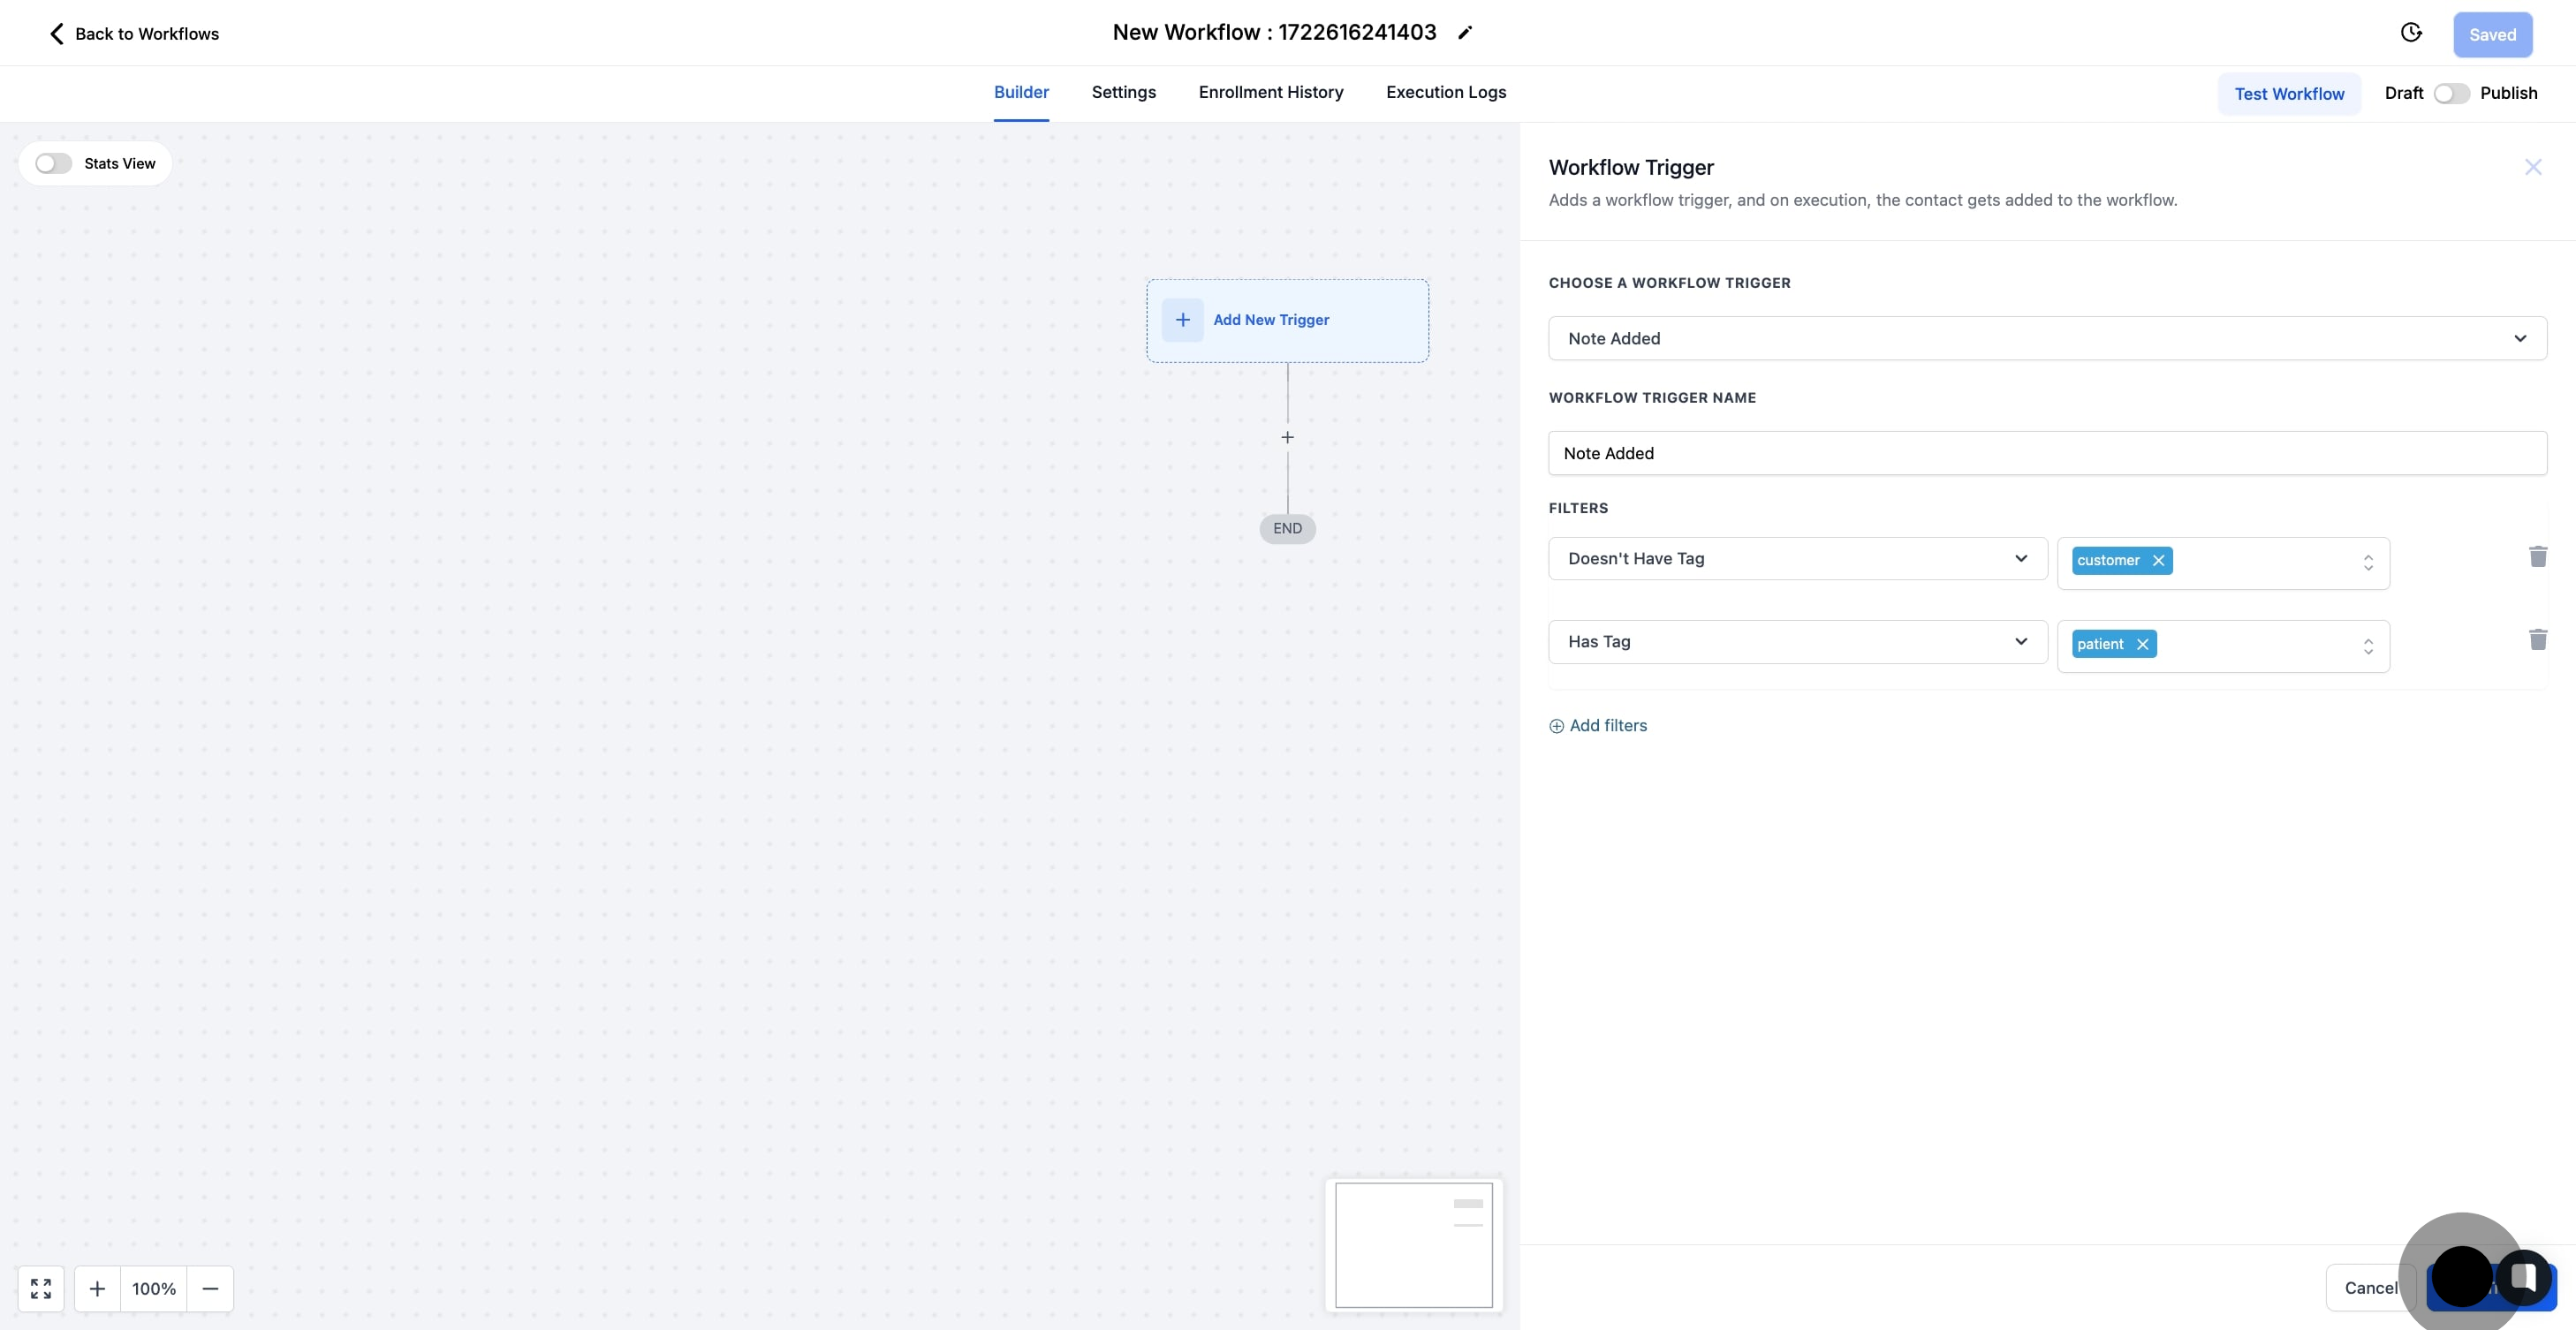
10. Click "Save trigger"
Set up applicable Workflow Action(s). We have multiple articles available to explain the setup of each of the Workflow Actions. Feel free to review our articles on these for more information on setting these up.
Pro Tip: You can use any Workflow Actions to be triggered by the Note Added trigger or you can leave this workflow without any actions.