
1. Begin by selecting 'automation' to initiate workflow creation.

2. Then, choose 'Create Workflow' to proceed with setup.

3. Next, select 'Start from Scratch' to start afresh.

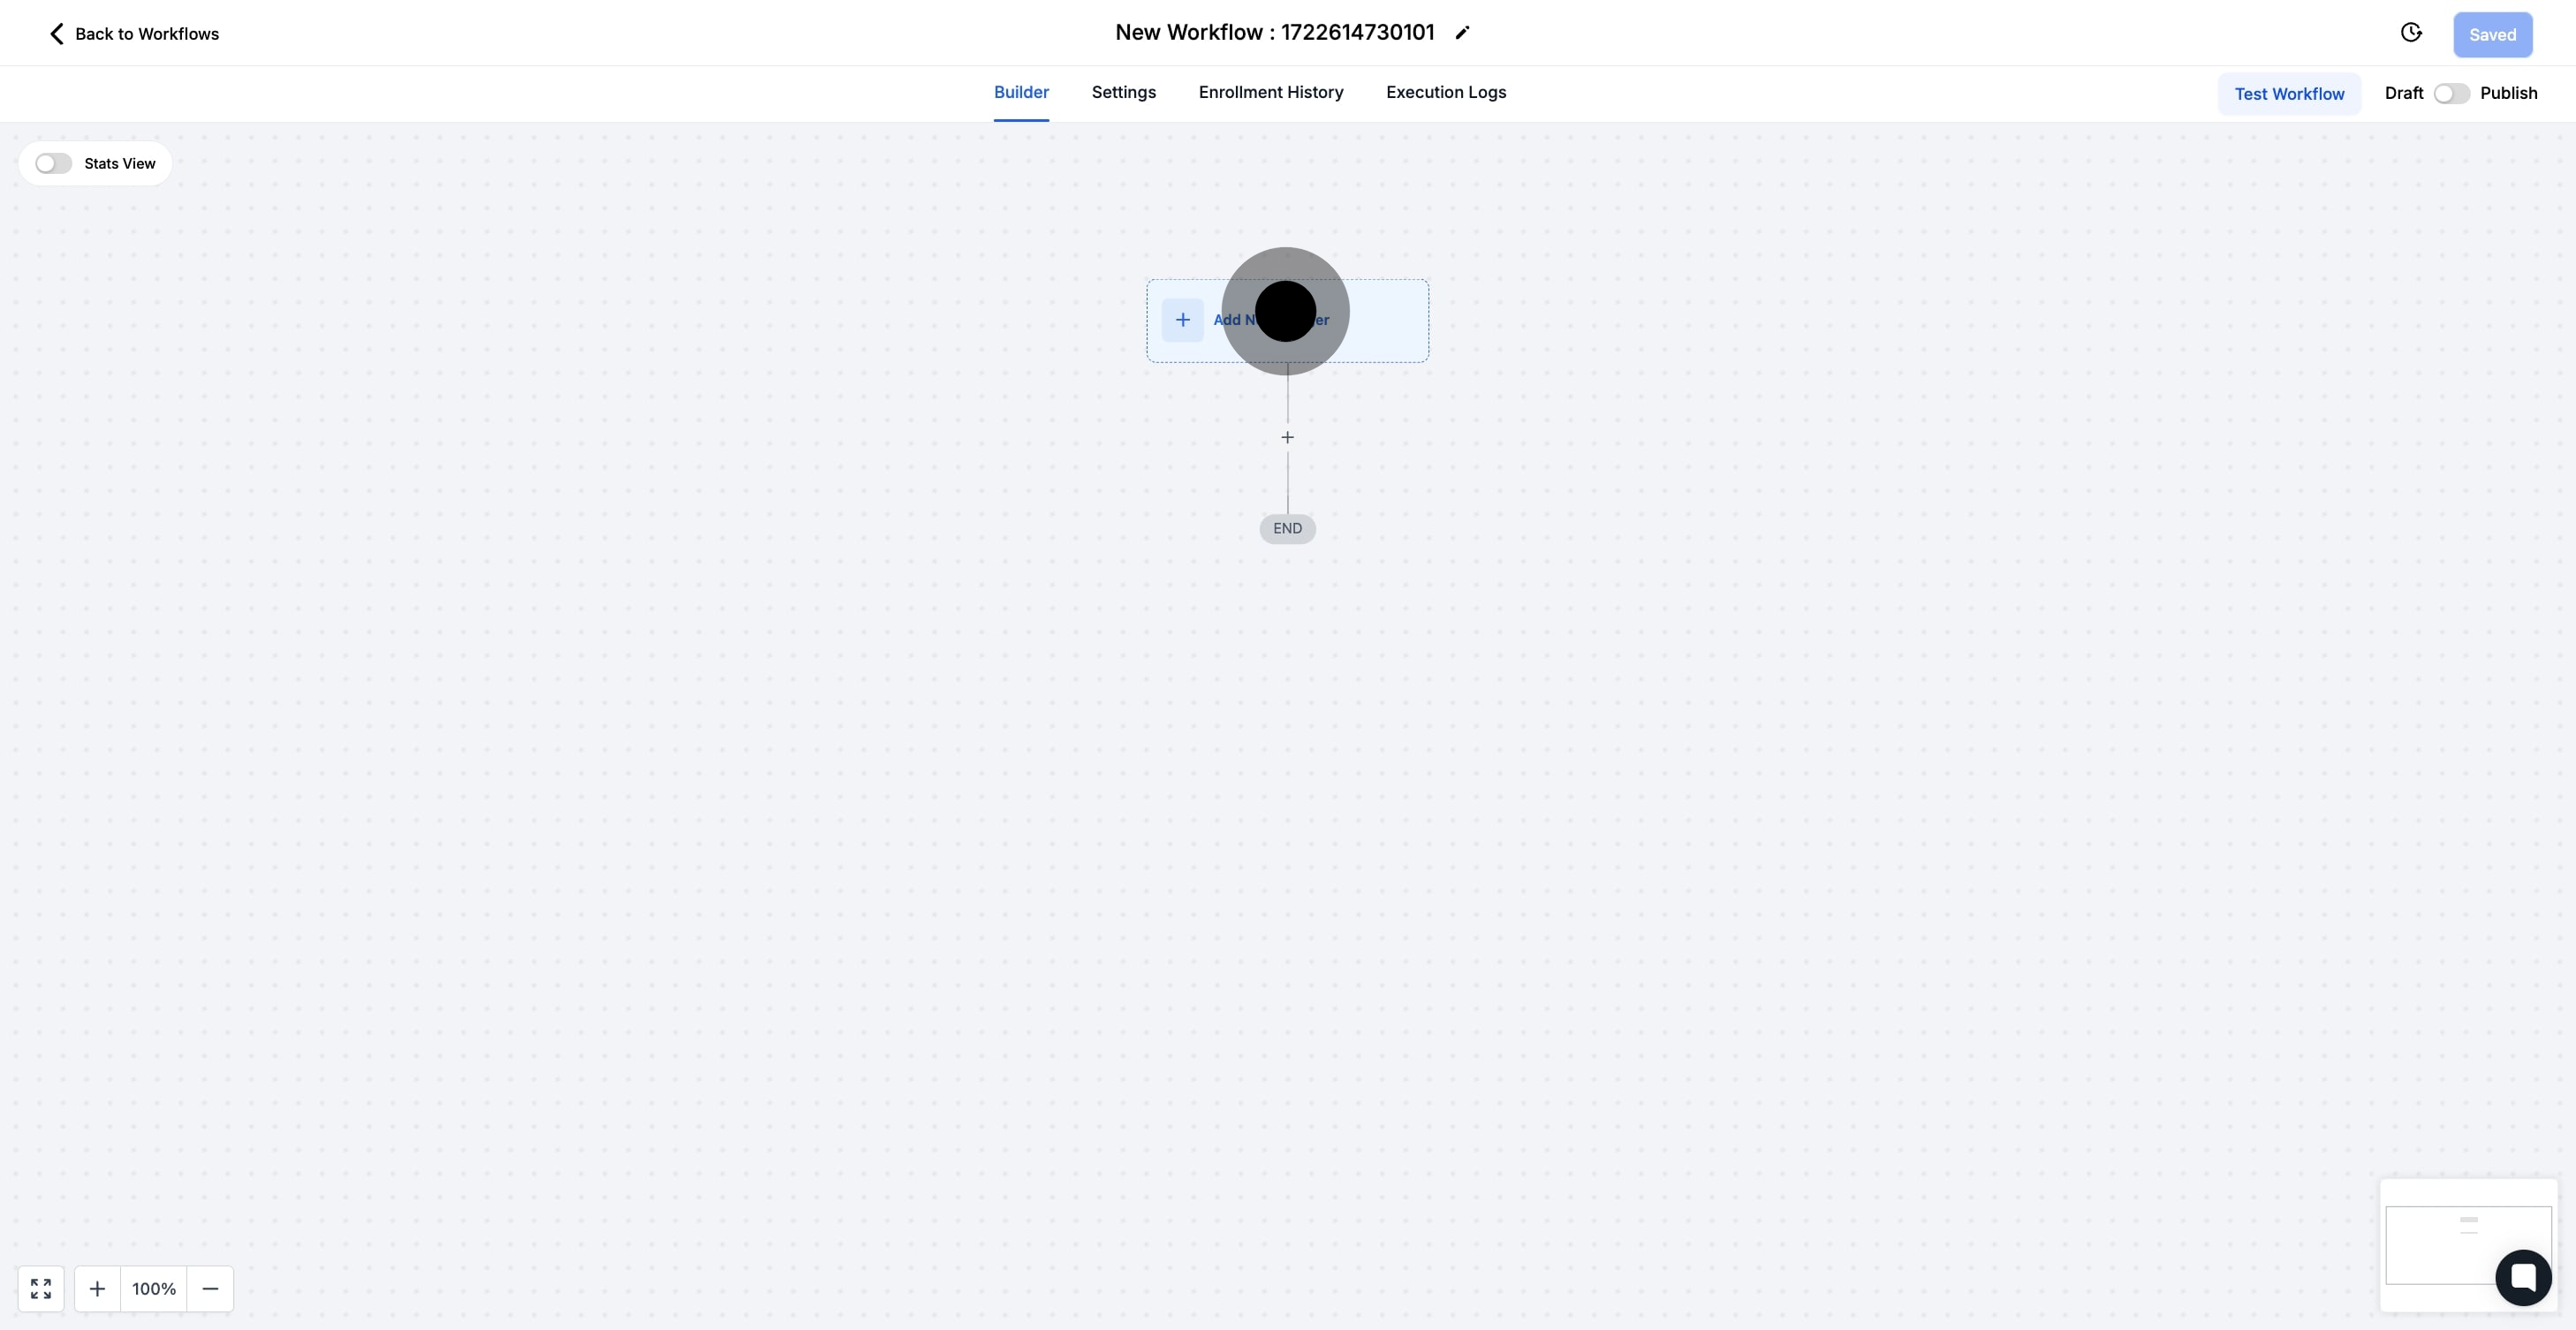
4. Proceed by clicking 'Add Trigger' to add a new trigger.
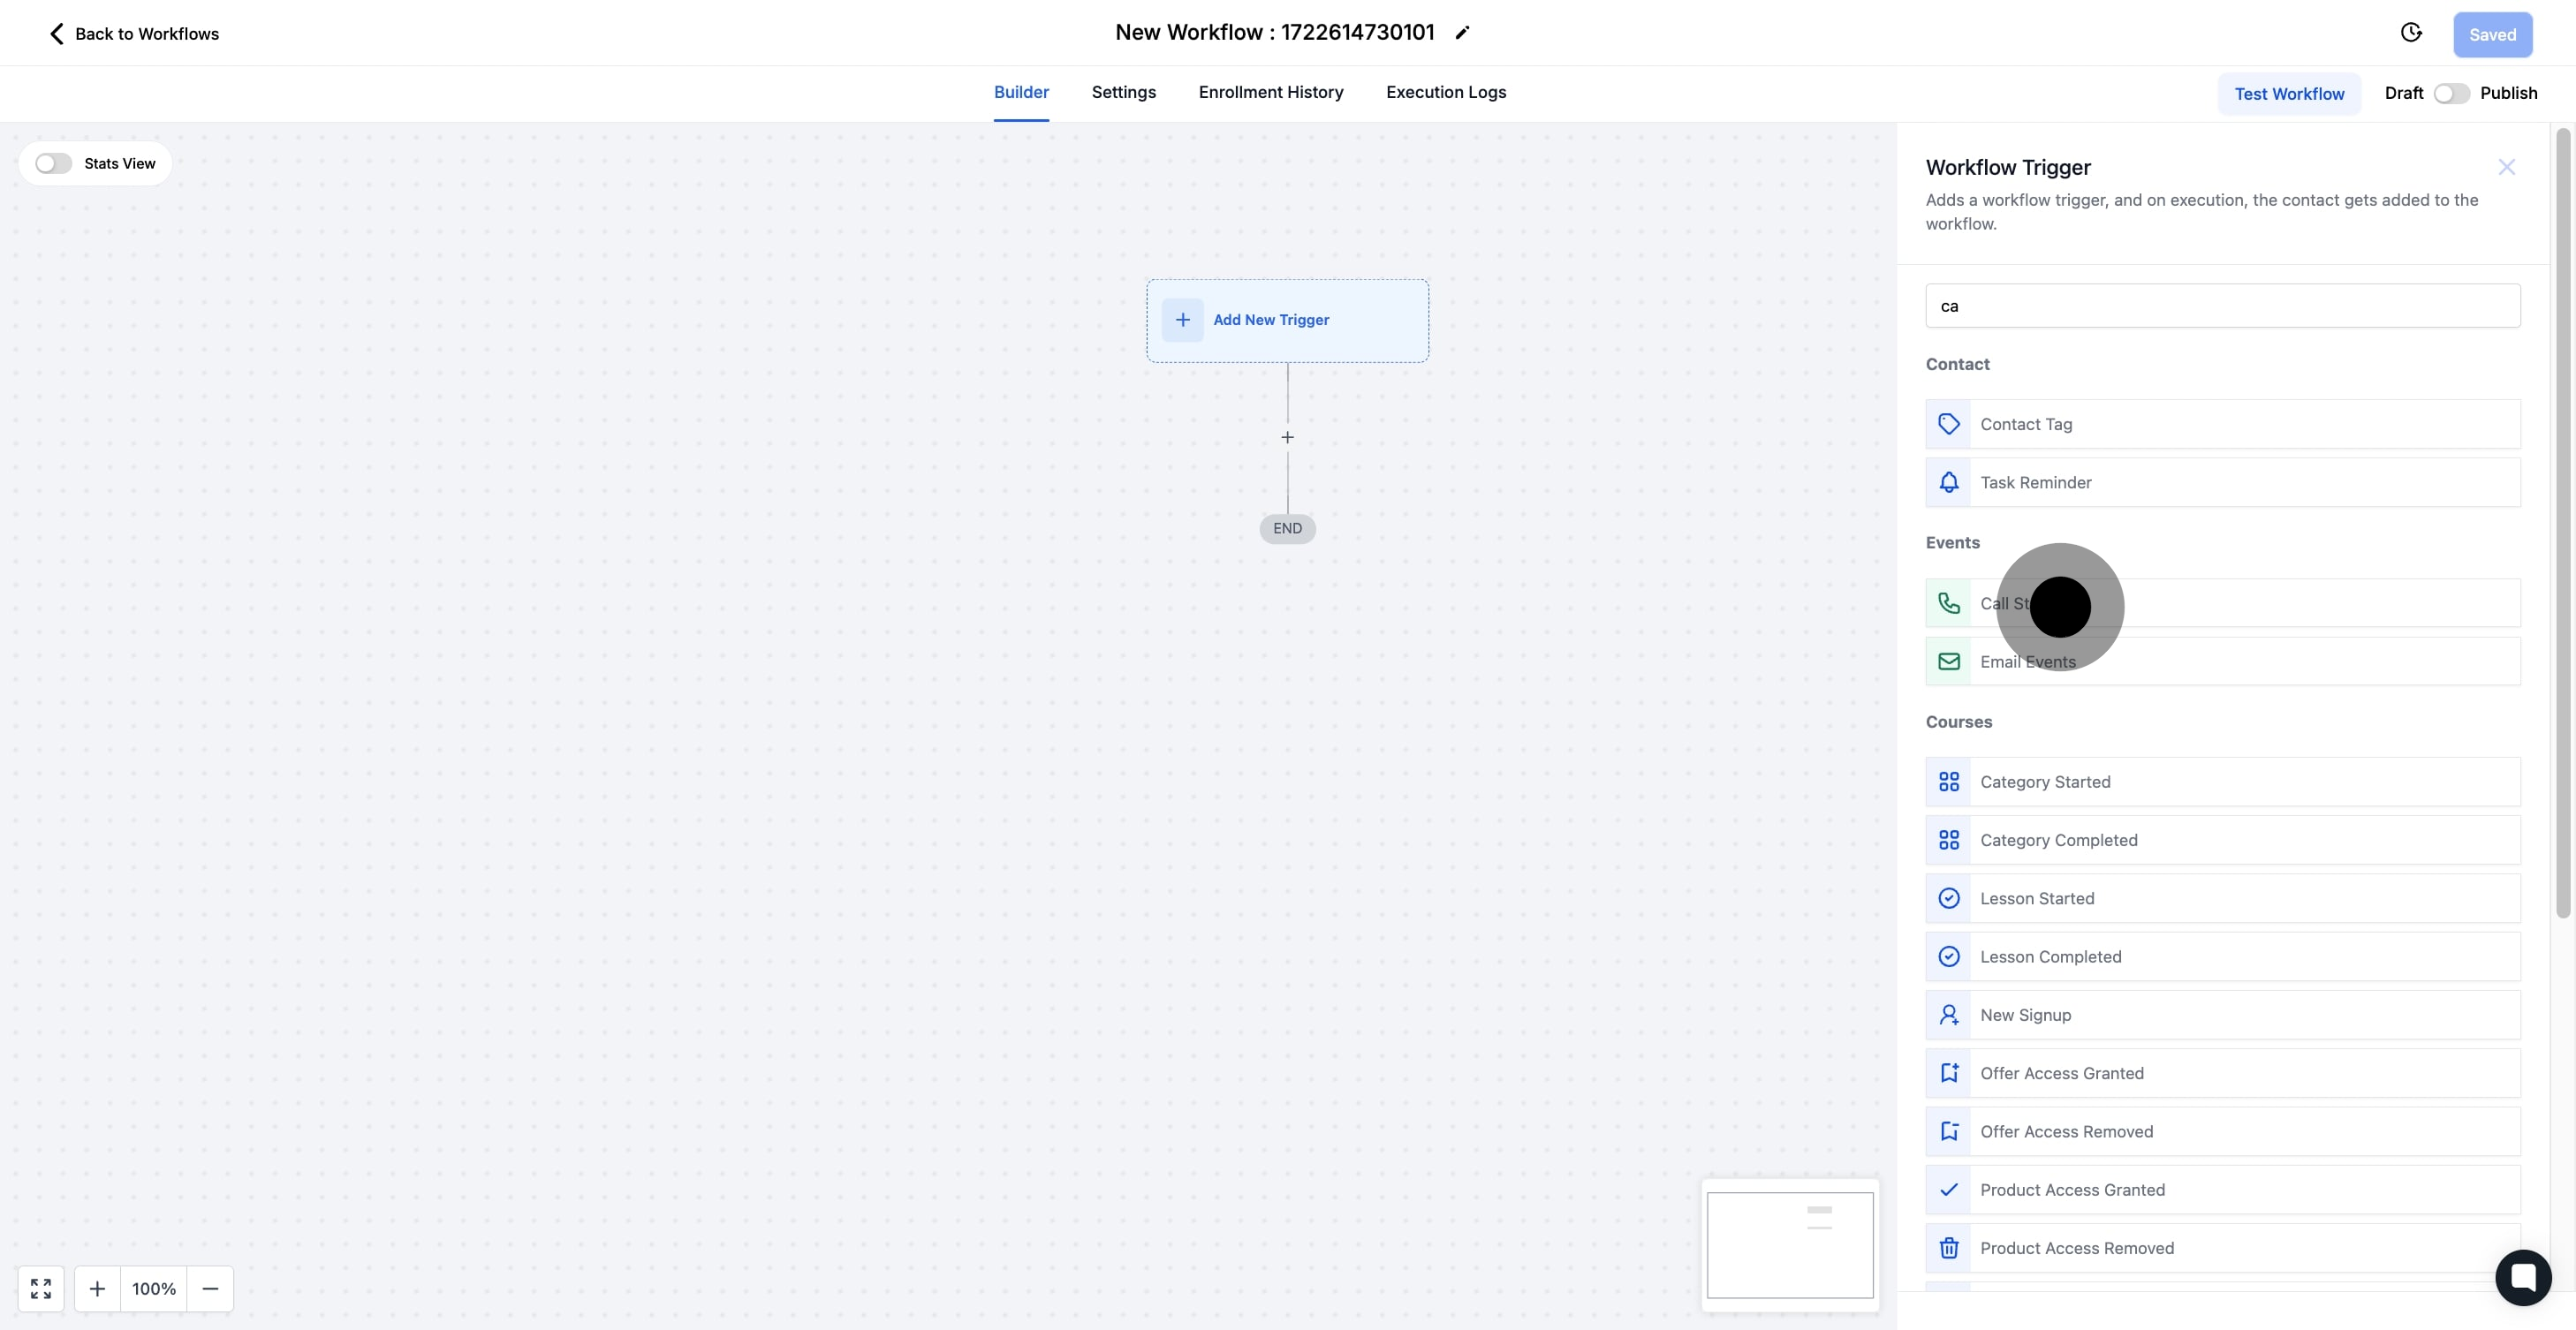
5. Choose 'Call Status' as the trigger type to monitor call events.
In its base form, this workflow will be triggered any time a call status is assigned for any contacts. This is likely too broad of an application, so the Call Status Workflow Trigger has additional filters to specify which call statuses and contacts can trigger this particular workflow
6. Now, enter a unique name for your workflow trigger.
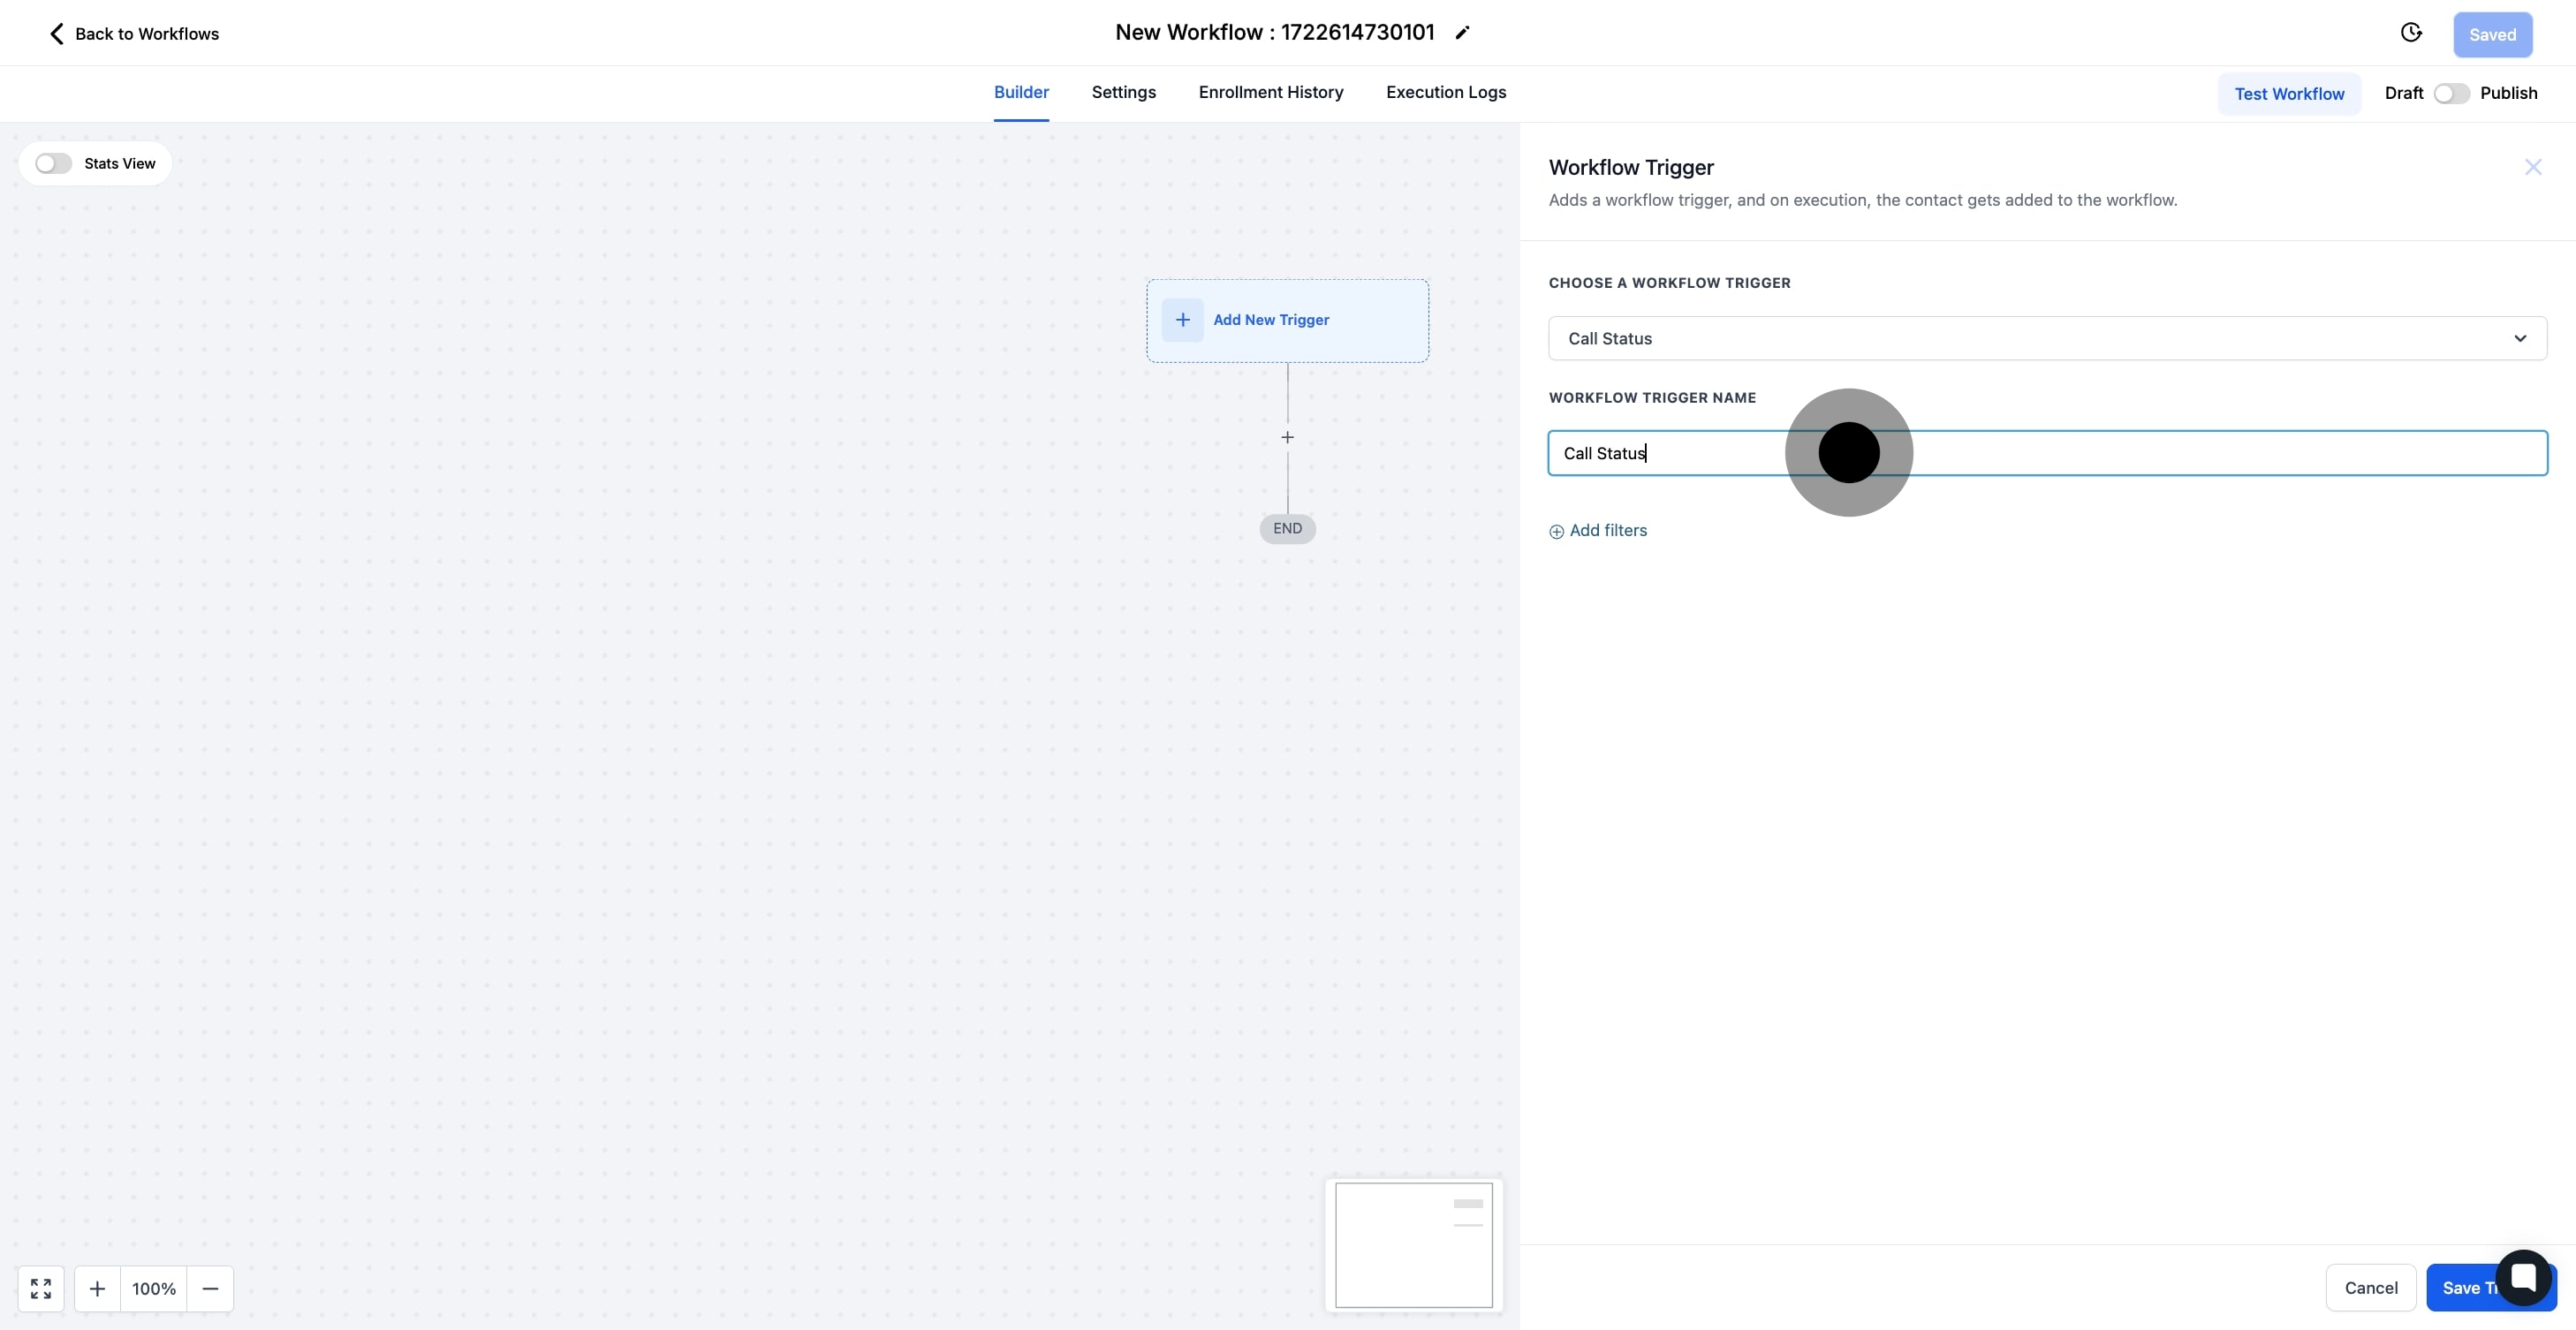
7. Continue by selecting 'Add filters' to refine trigger conditions.
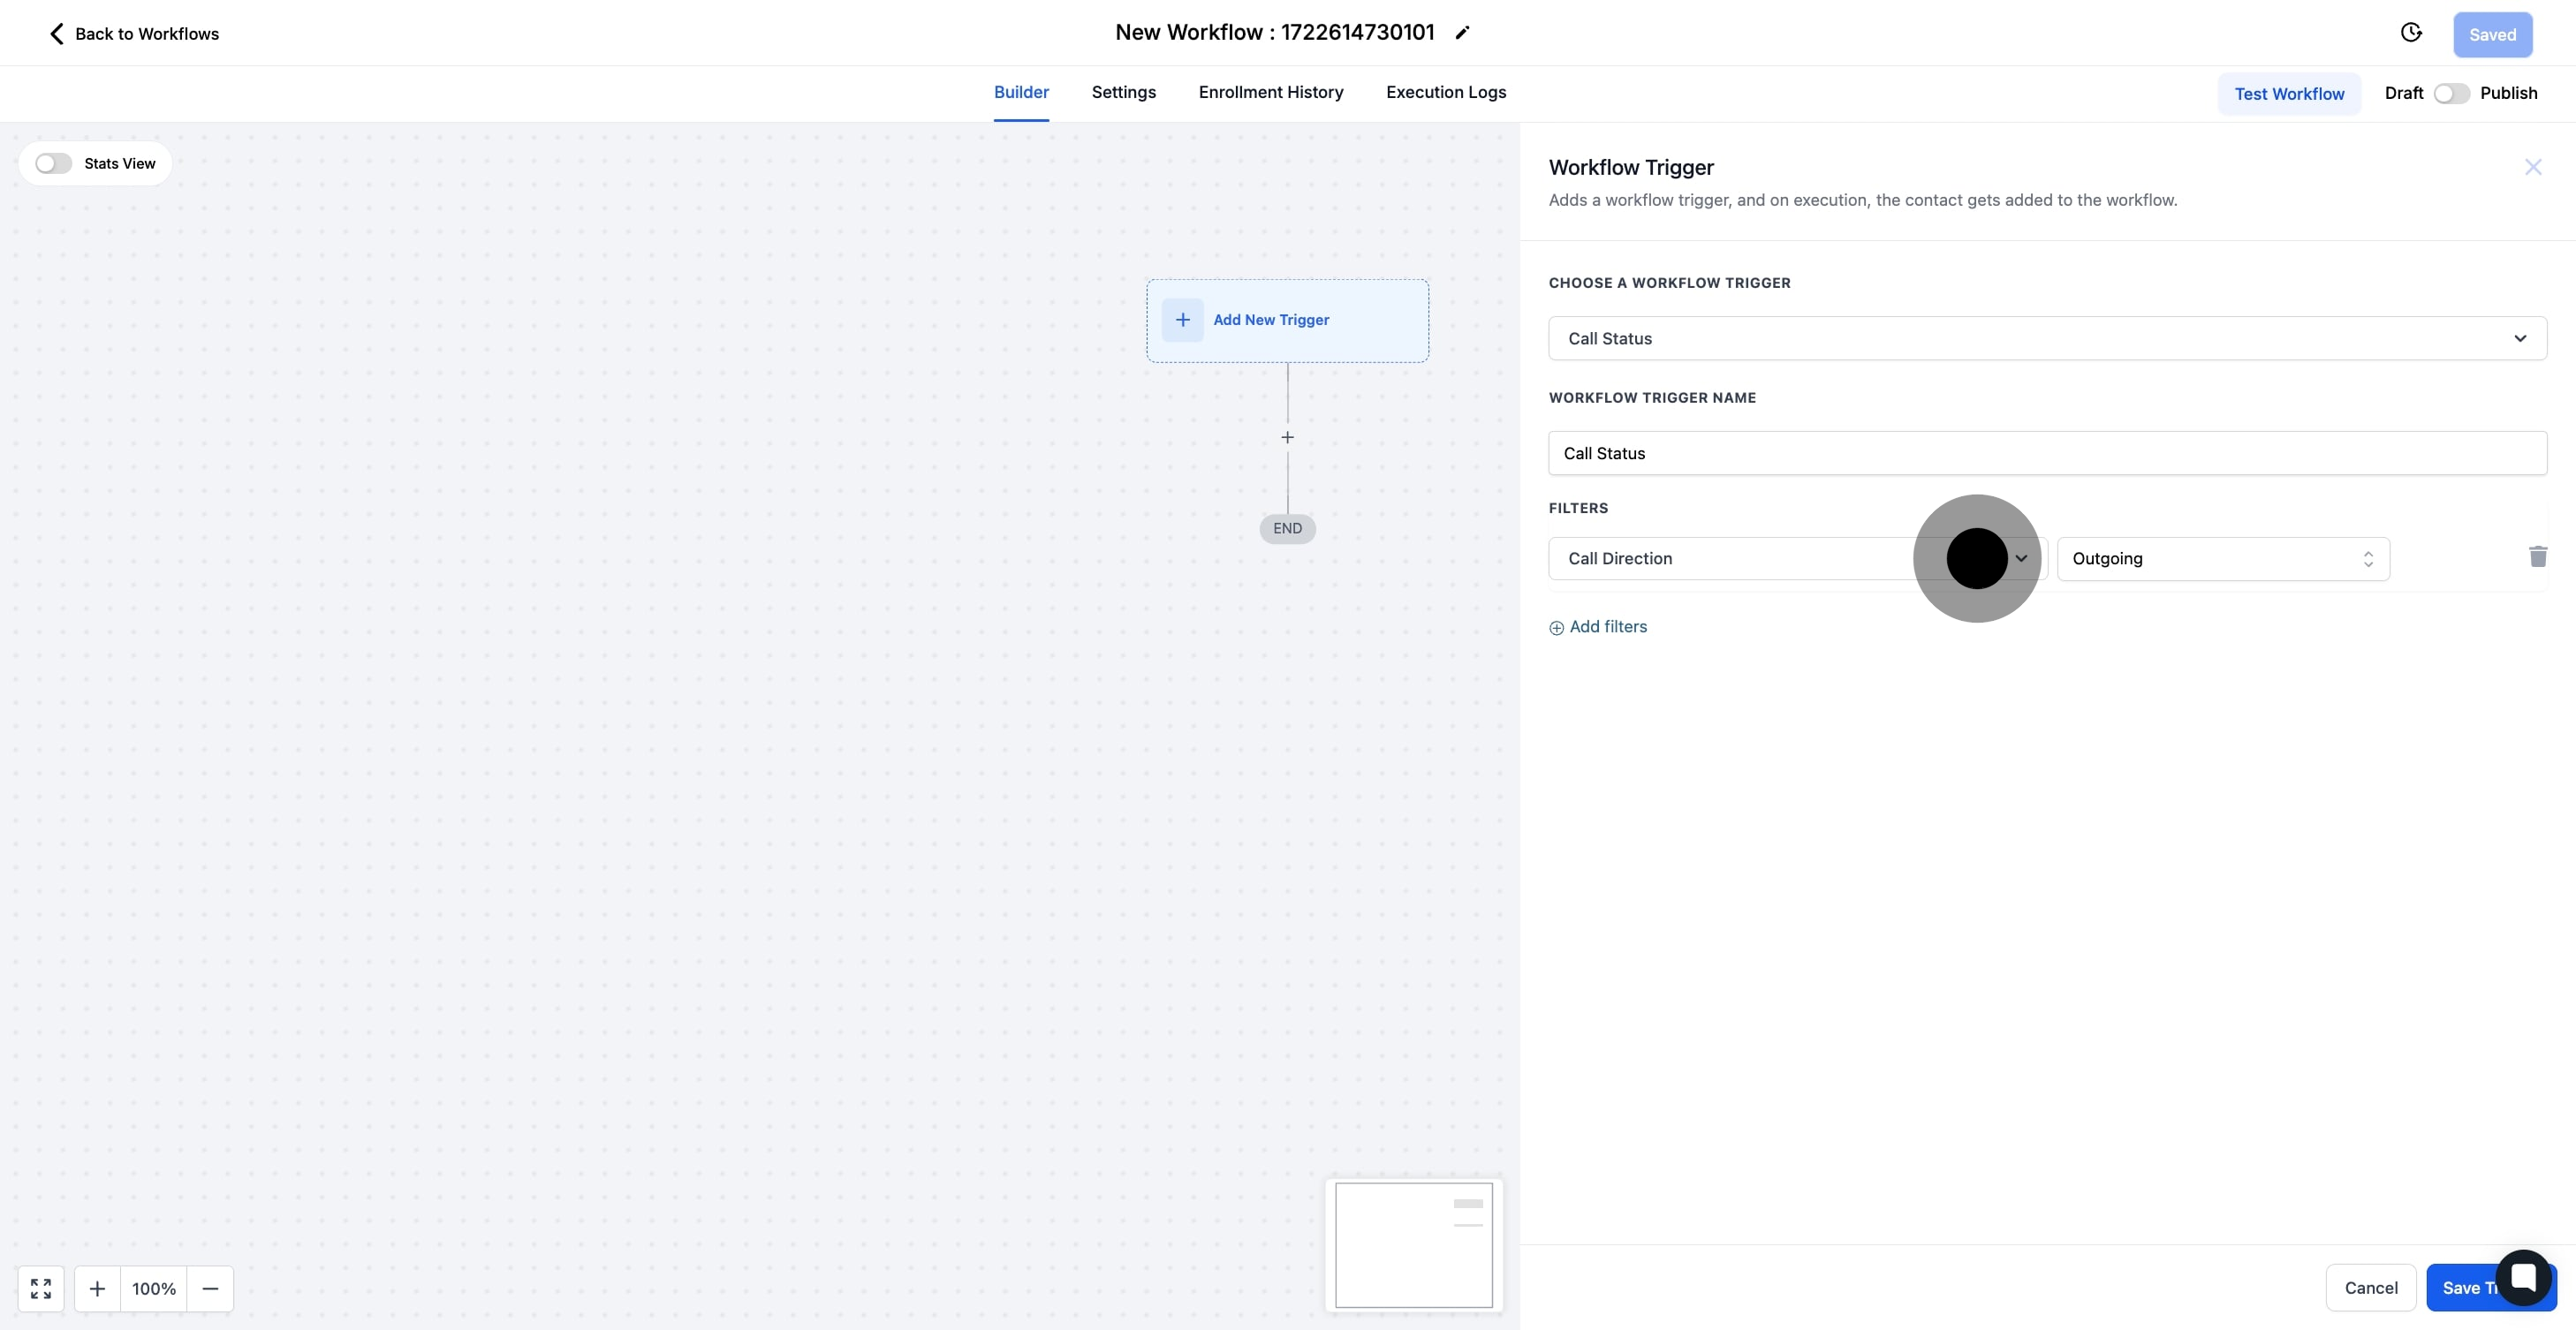
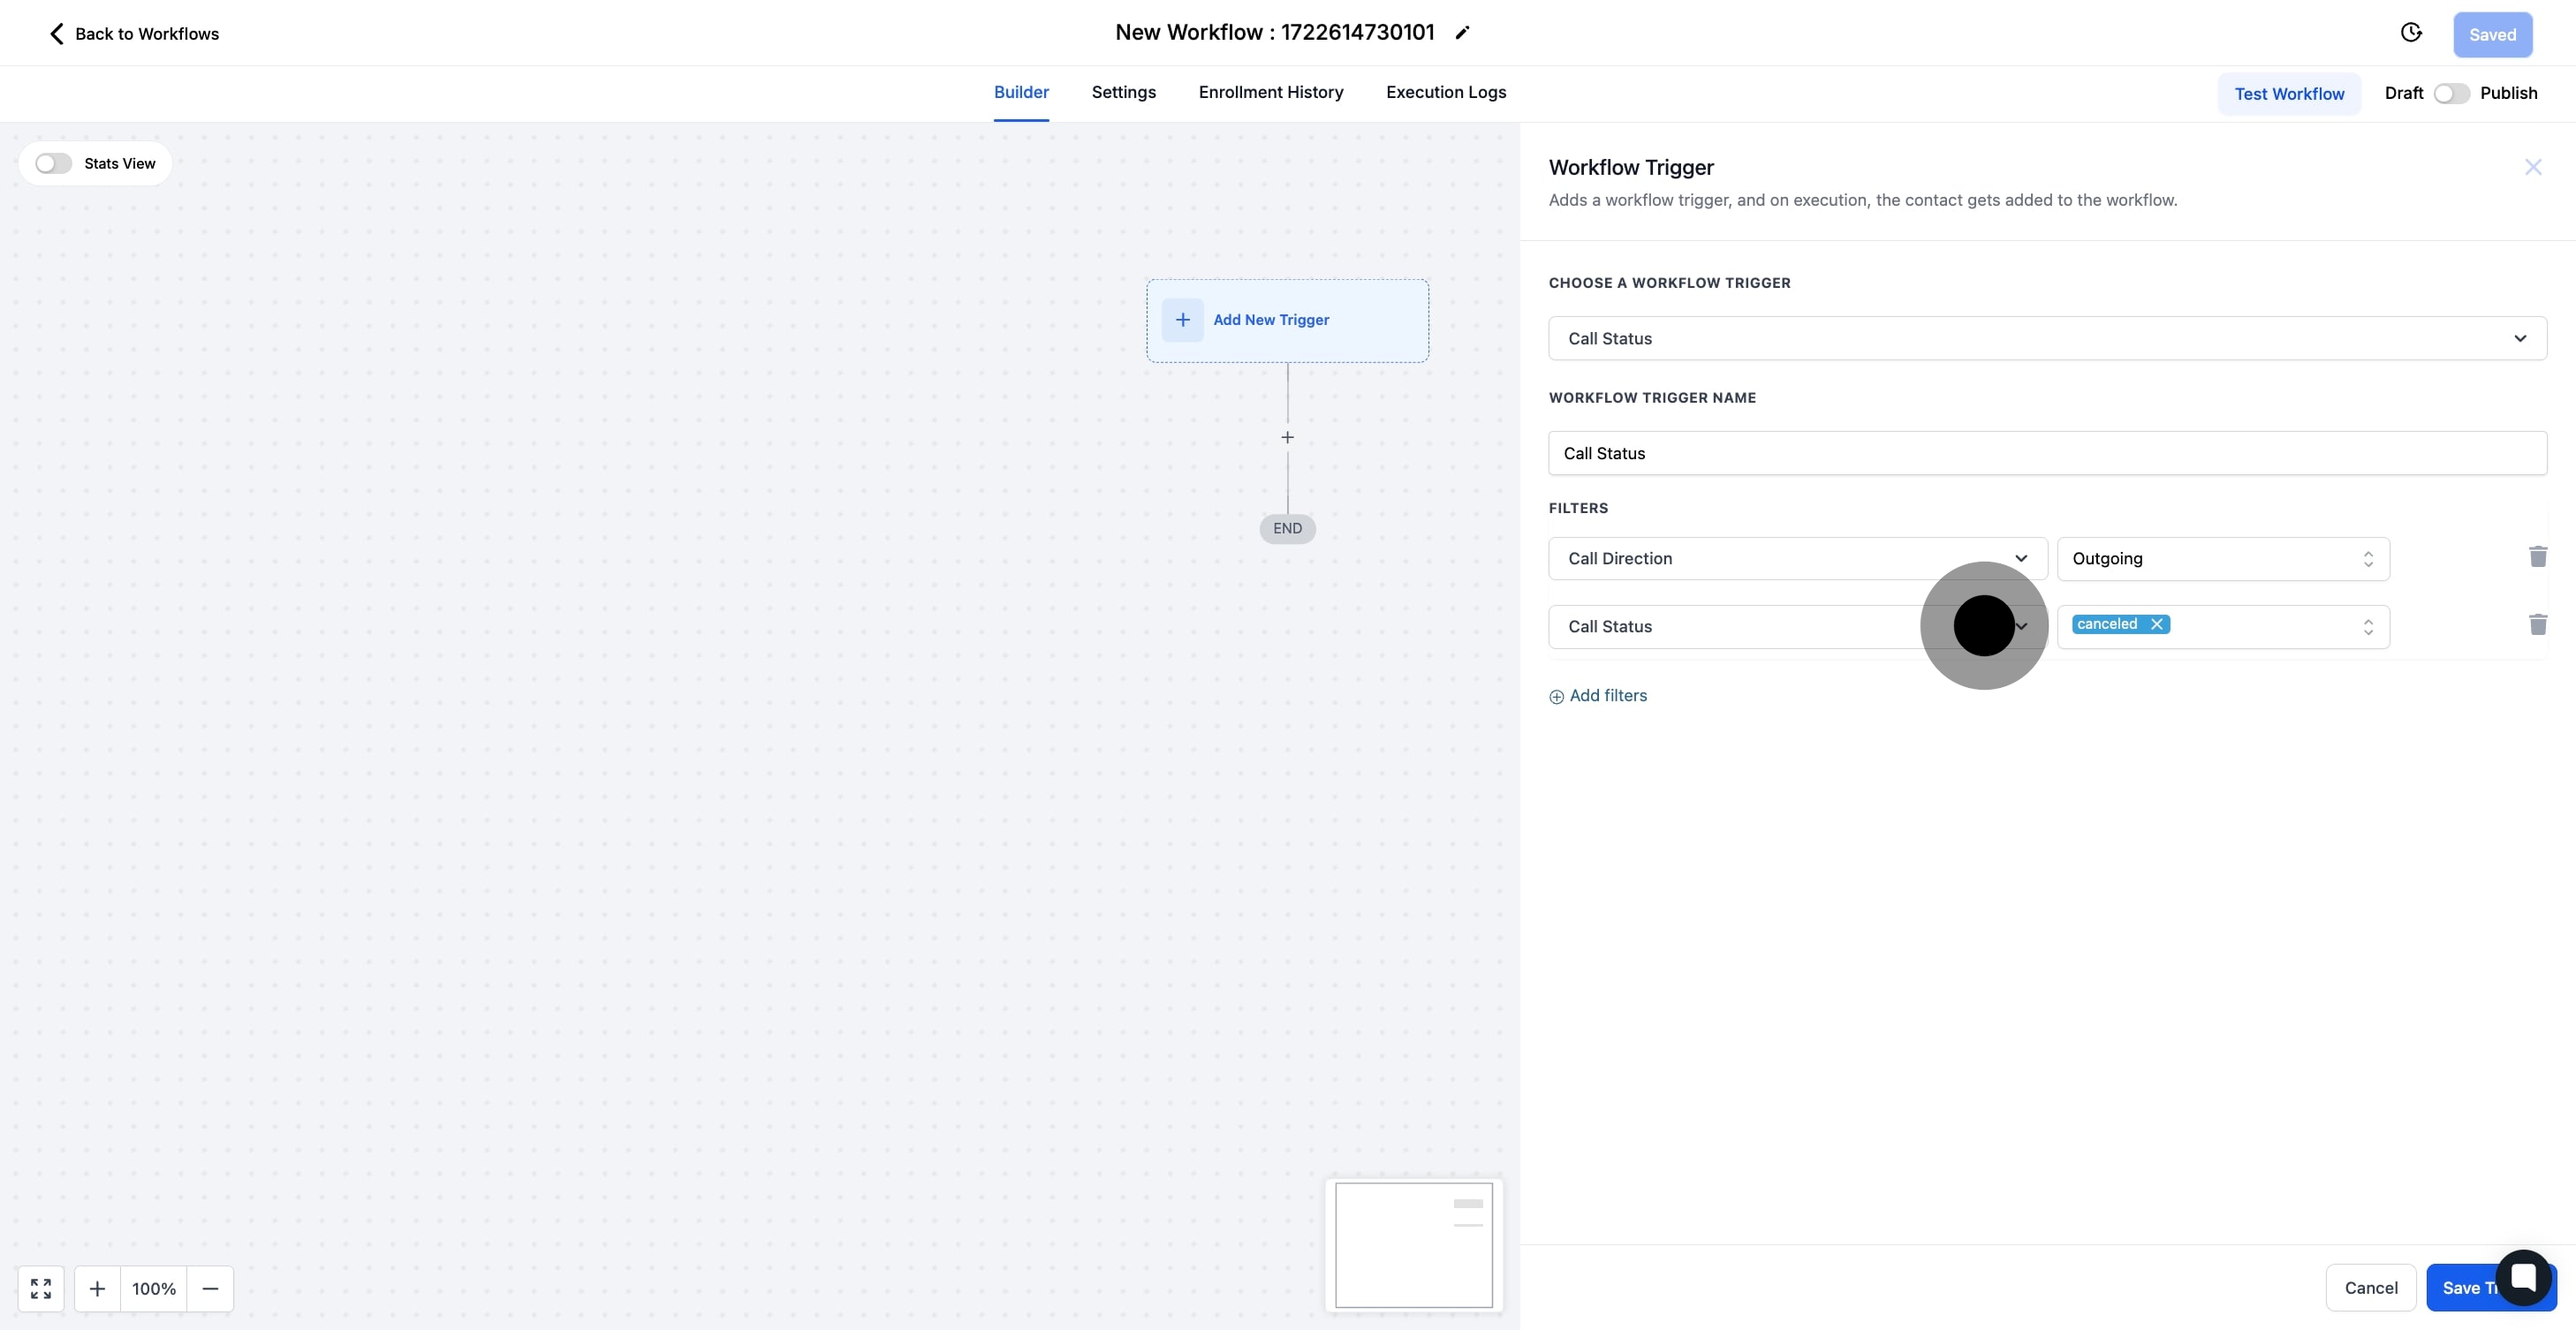
Under Filters, there are many options for filtering out which call status situations can trigger this workflow

8. 'Call Direction' is selected
allows you to delineate between Incoming and Outgoing calls
9. 'Call Status' is selected
will enable you to specify which call status(es) can trigger this workflow
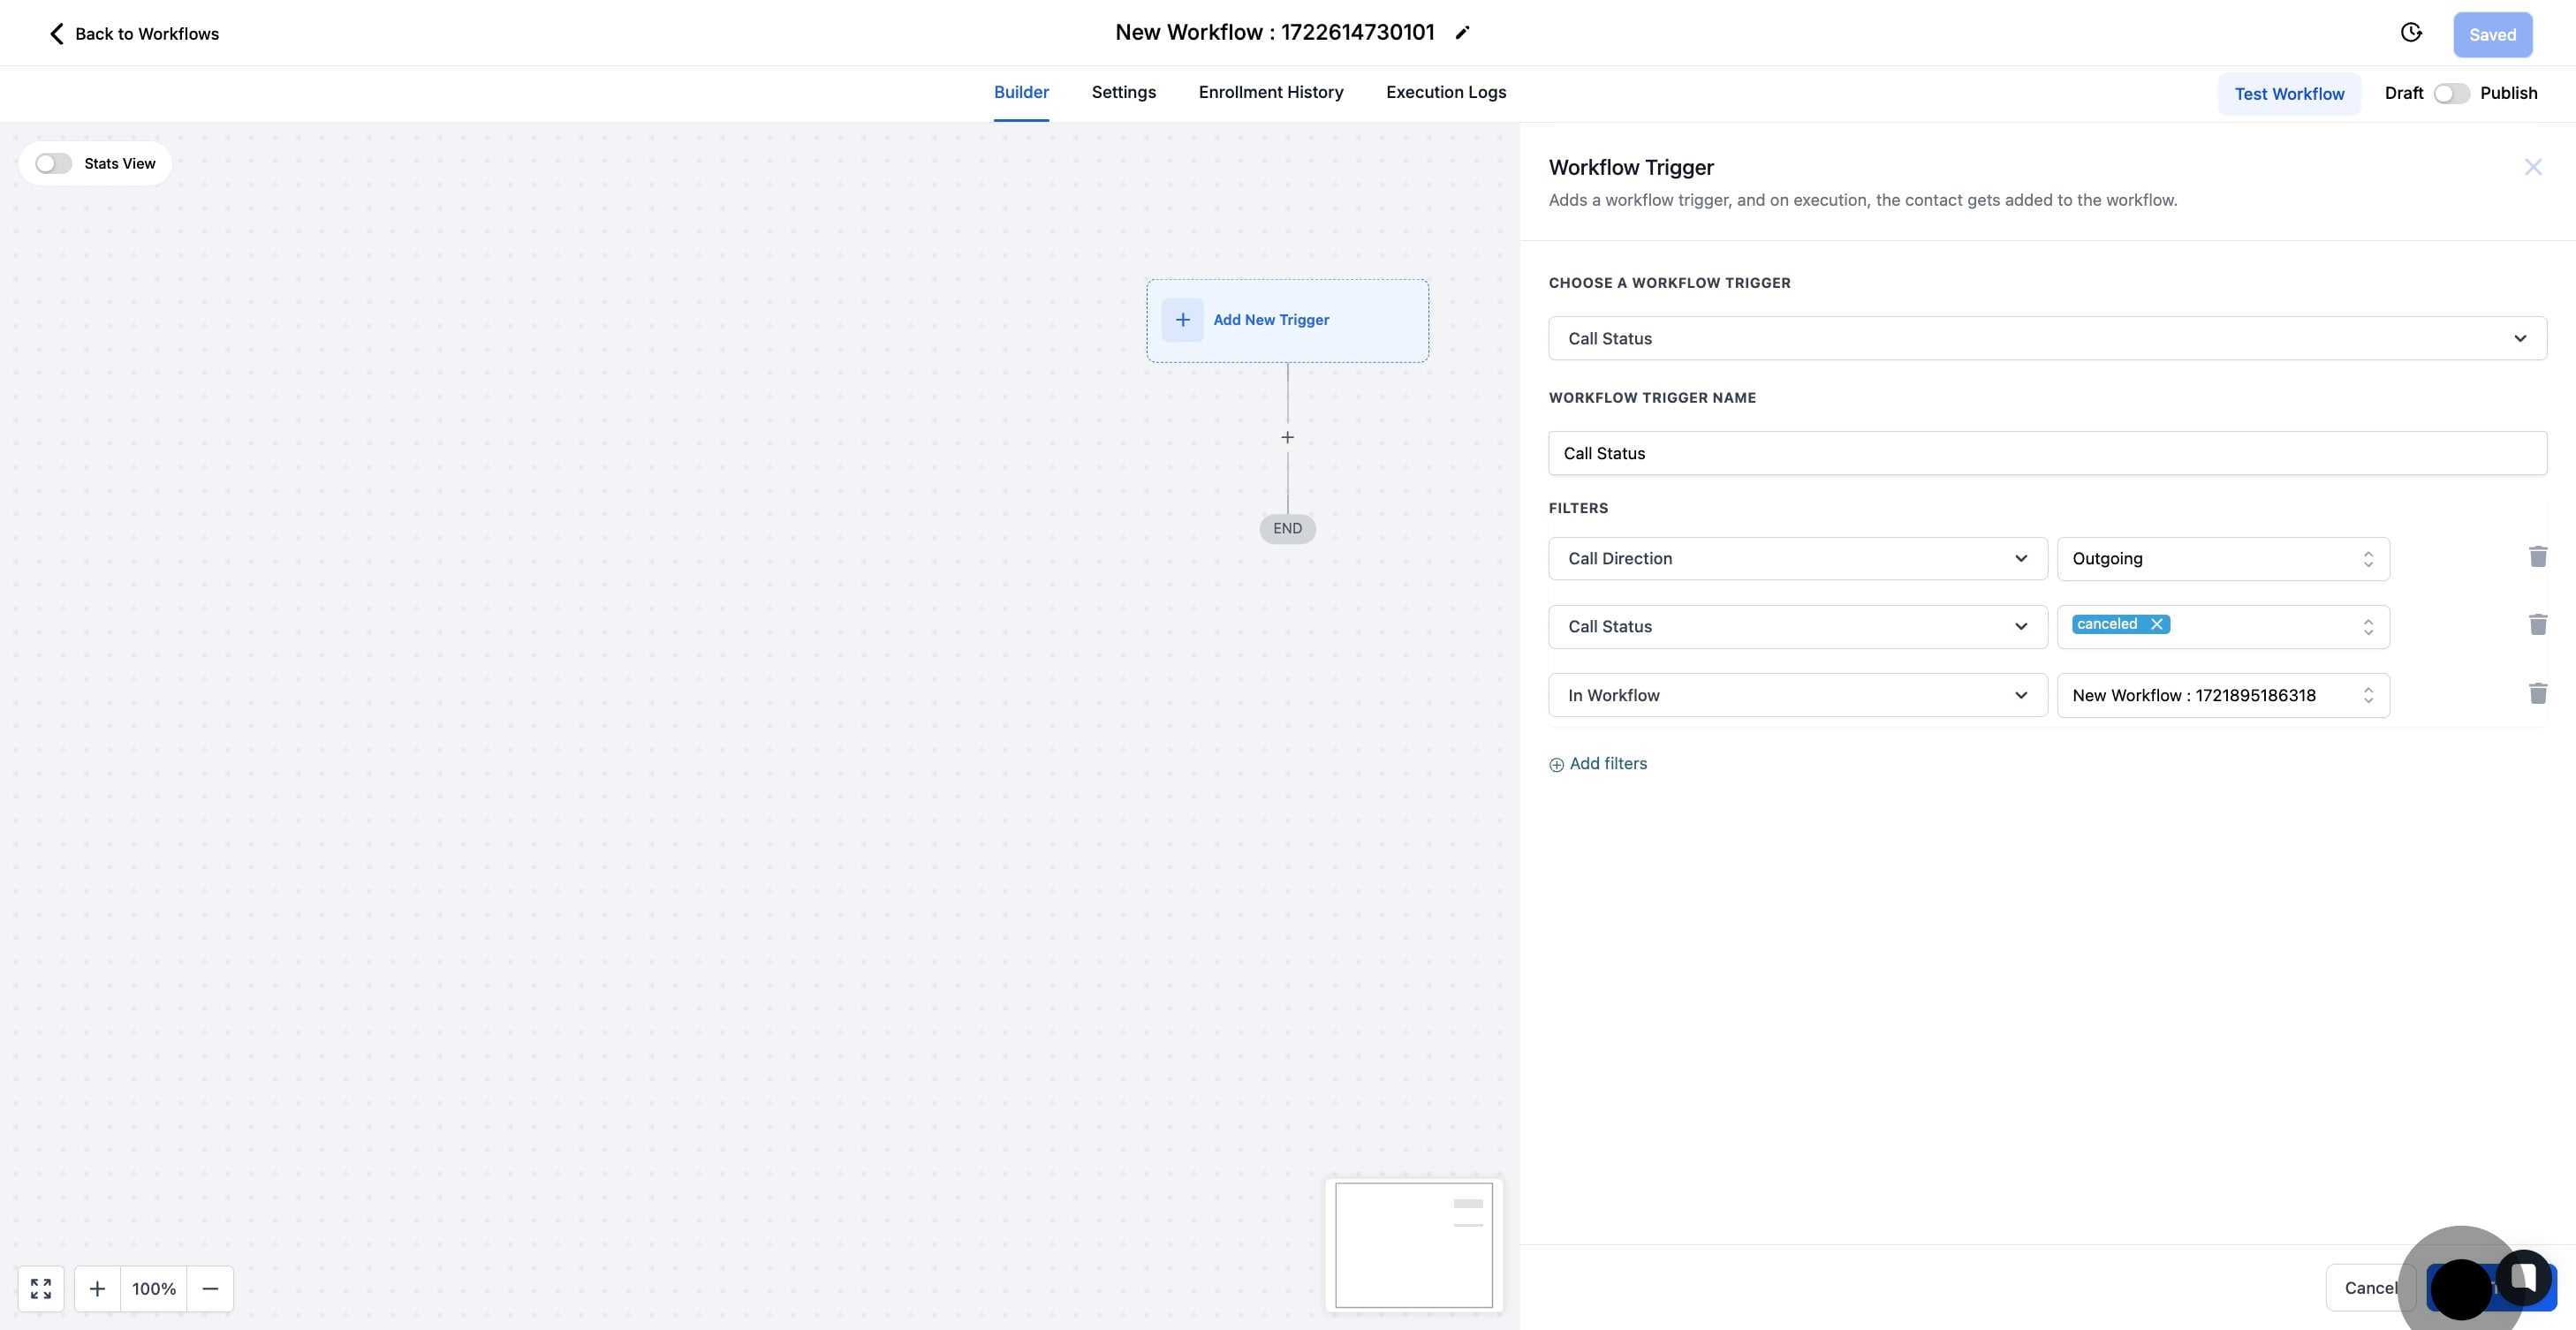
10. 'In workflow' is selected
will enable you to make it so that only calls that occur within a separate workflow can trigger this workflow

11. Finally, save your settings by clicking 'Save Trigger'.
Set up applicable Workflow Action(s). We have multiple articles available to explain the setup of each of the Workflow Actions. Feel free to review our articles for more information on setting these up.
Pro Tip: You can use any Workflow Actions to be triggered by the Call Status Workflow Trigger or you can leave this workflow without any actions.