1. Begin by selecting 'Automation' to proceed.
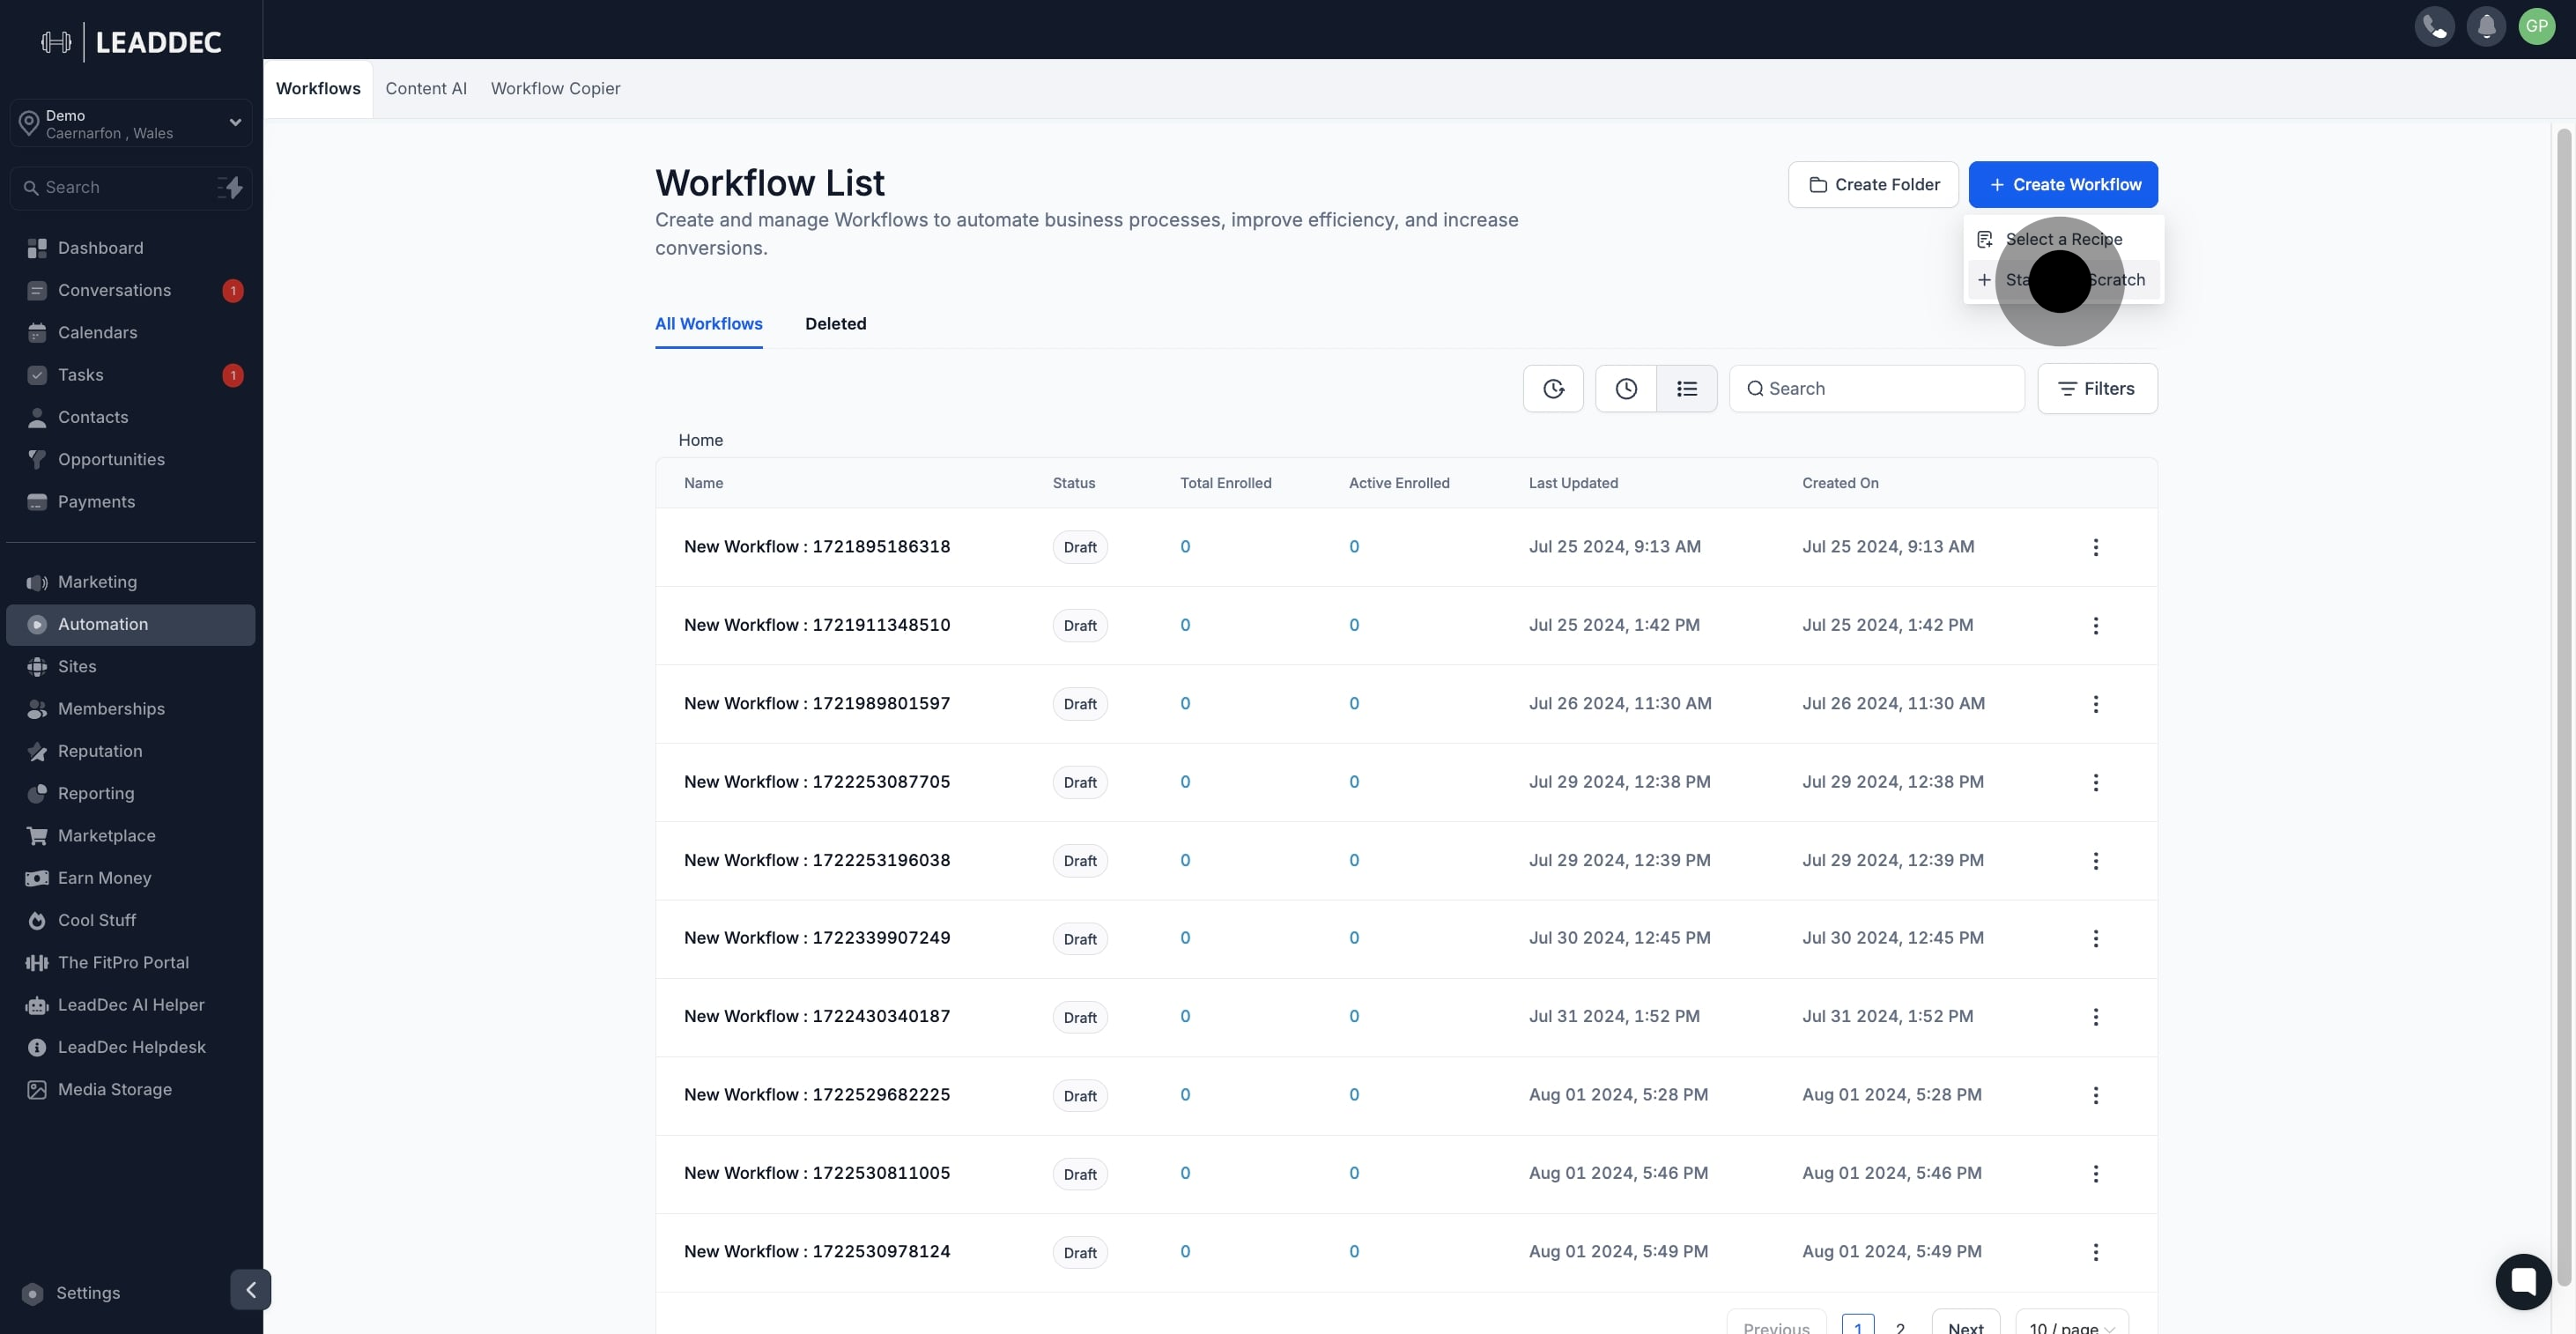
2. Next, create a new workflow from the options provided.

3. Now, start building your workflow from scratch.
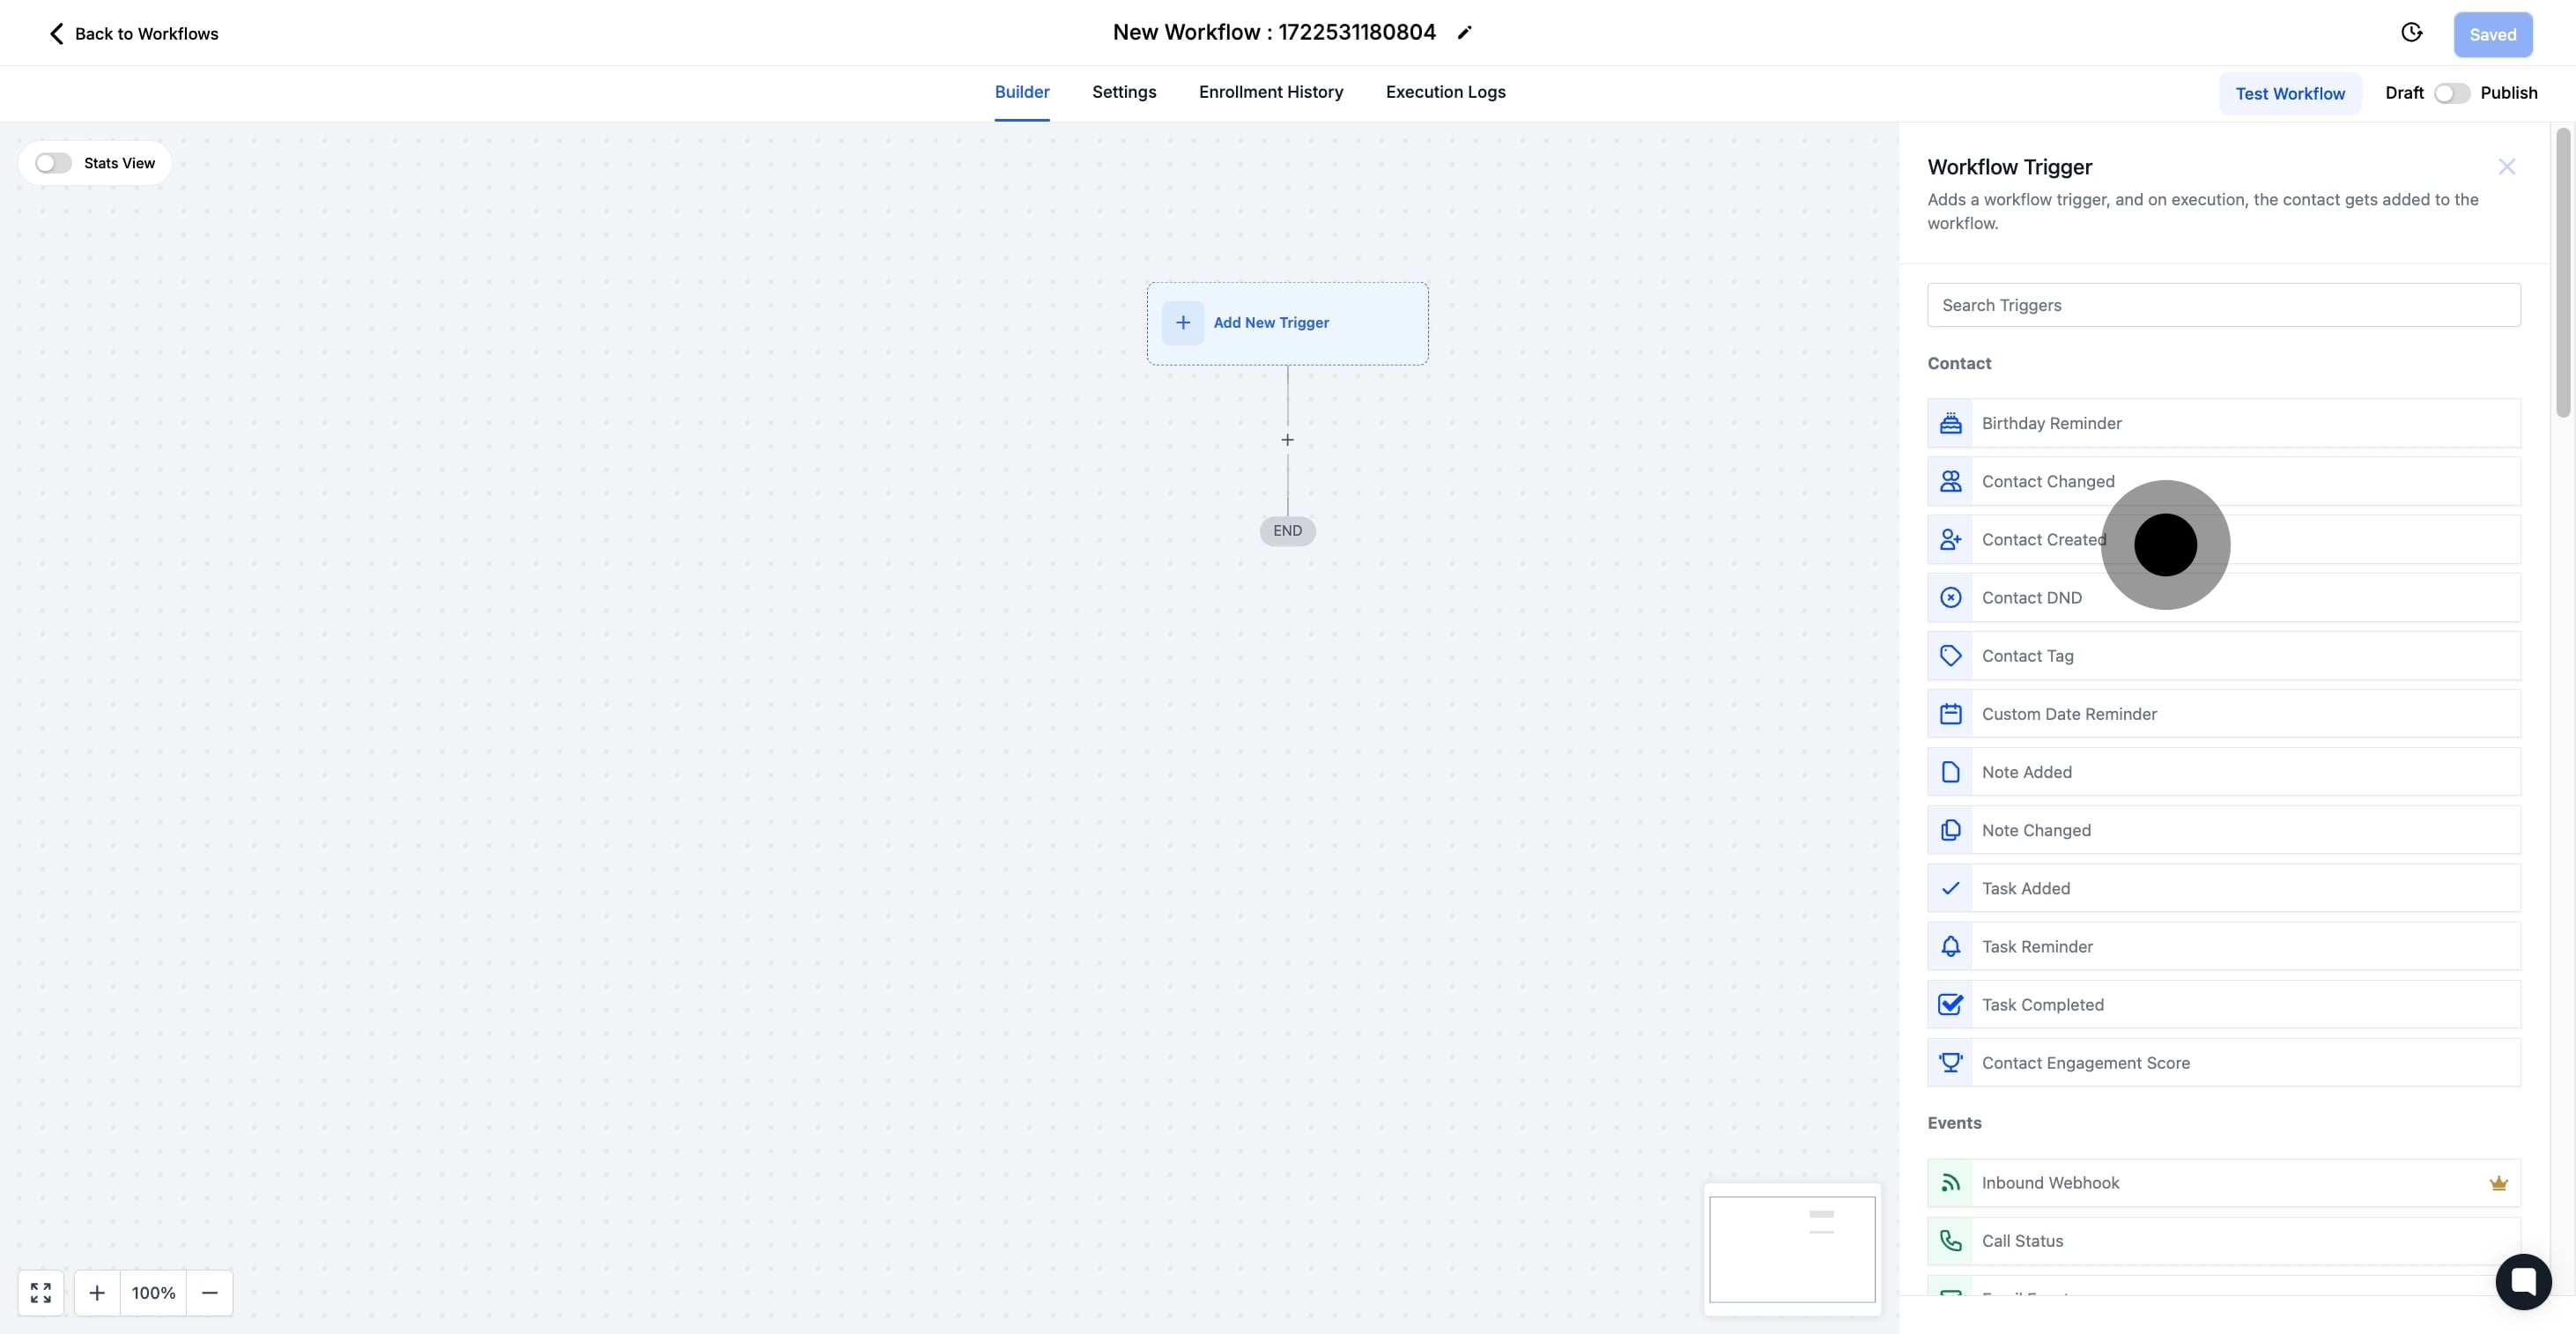
4. Then, add a new trigger to your workflow.

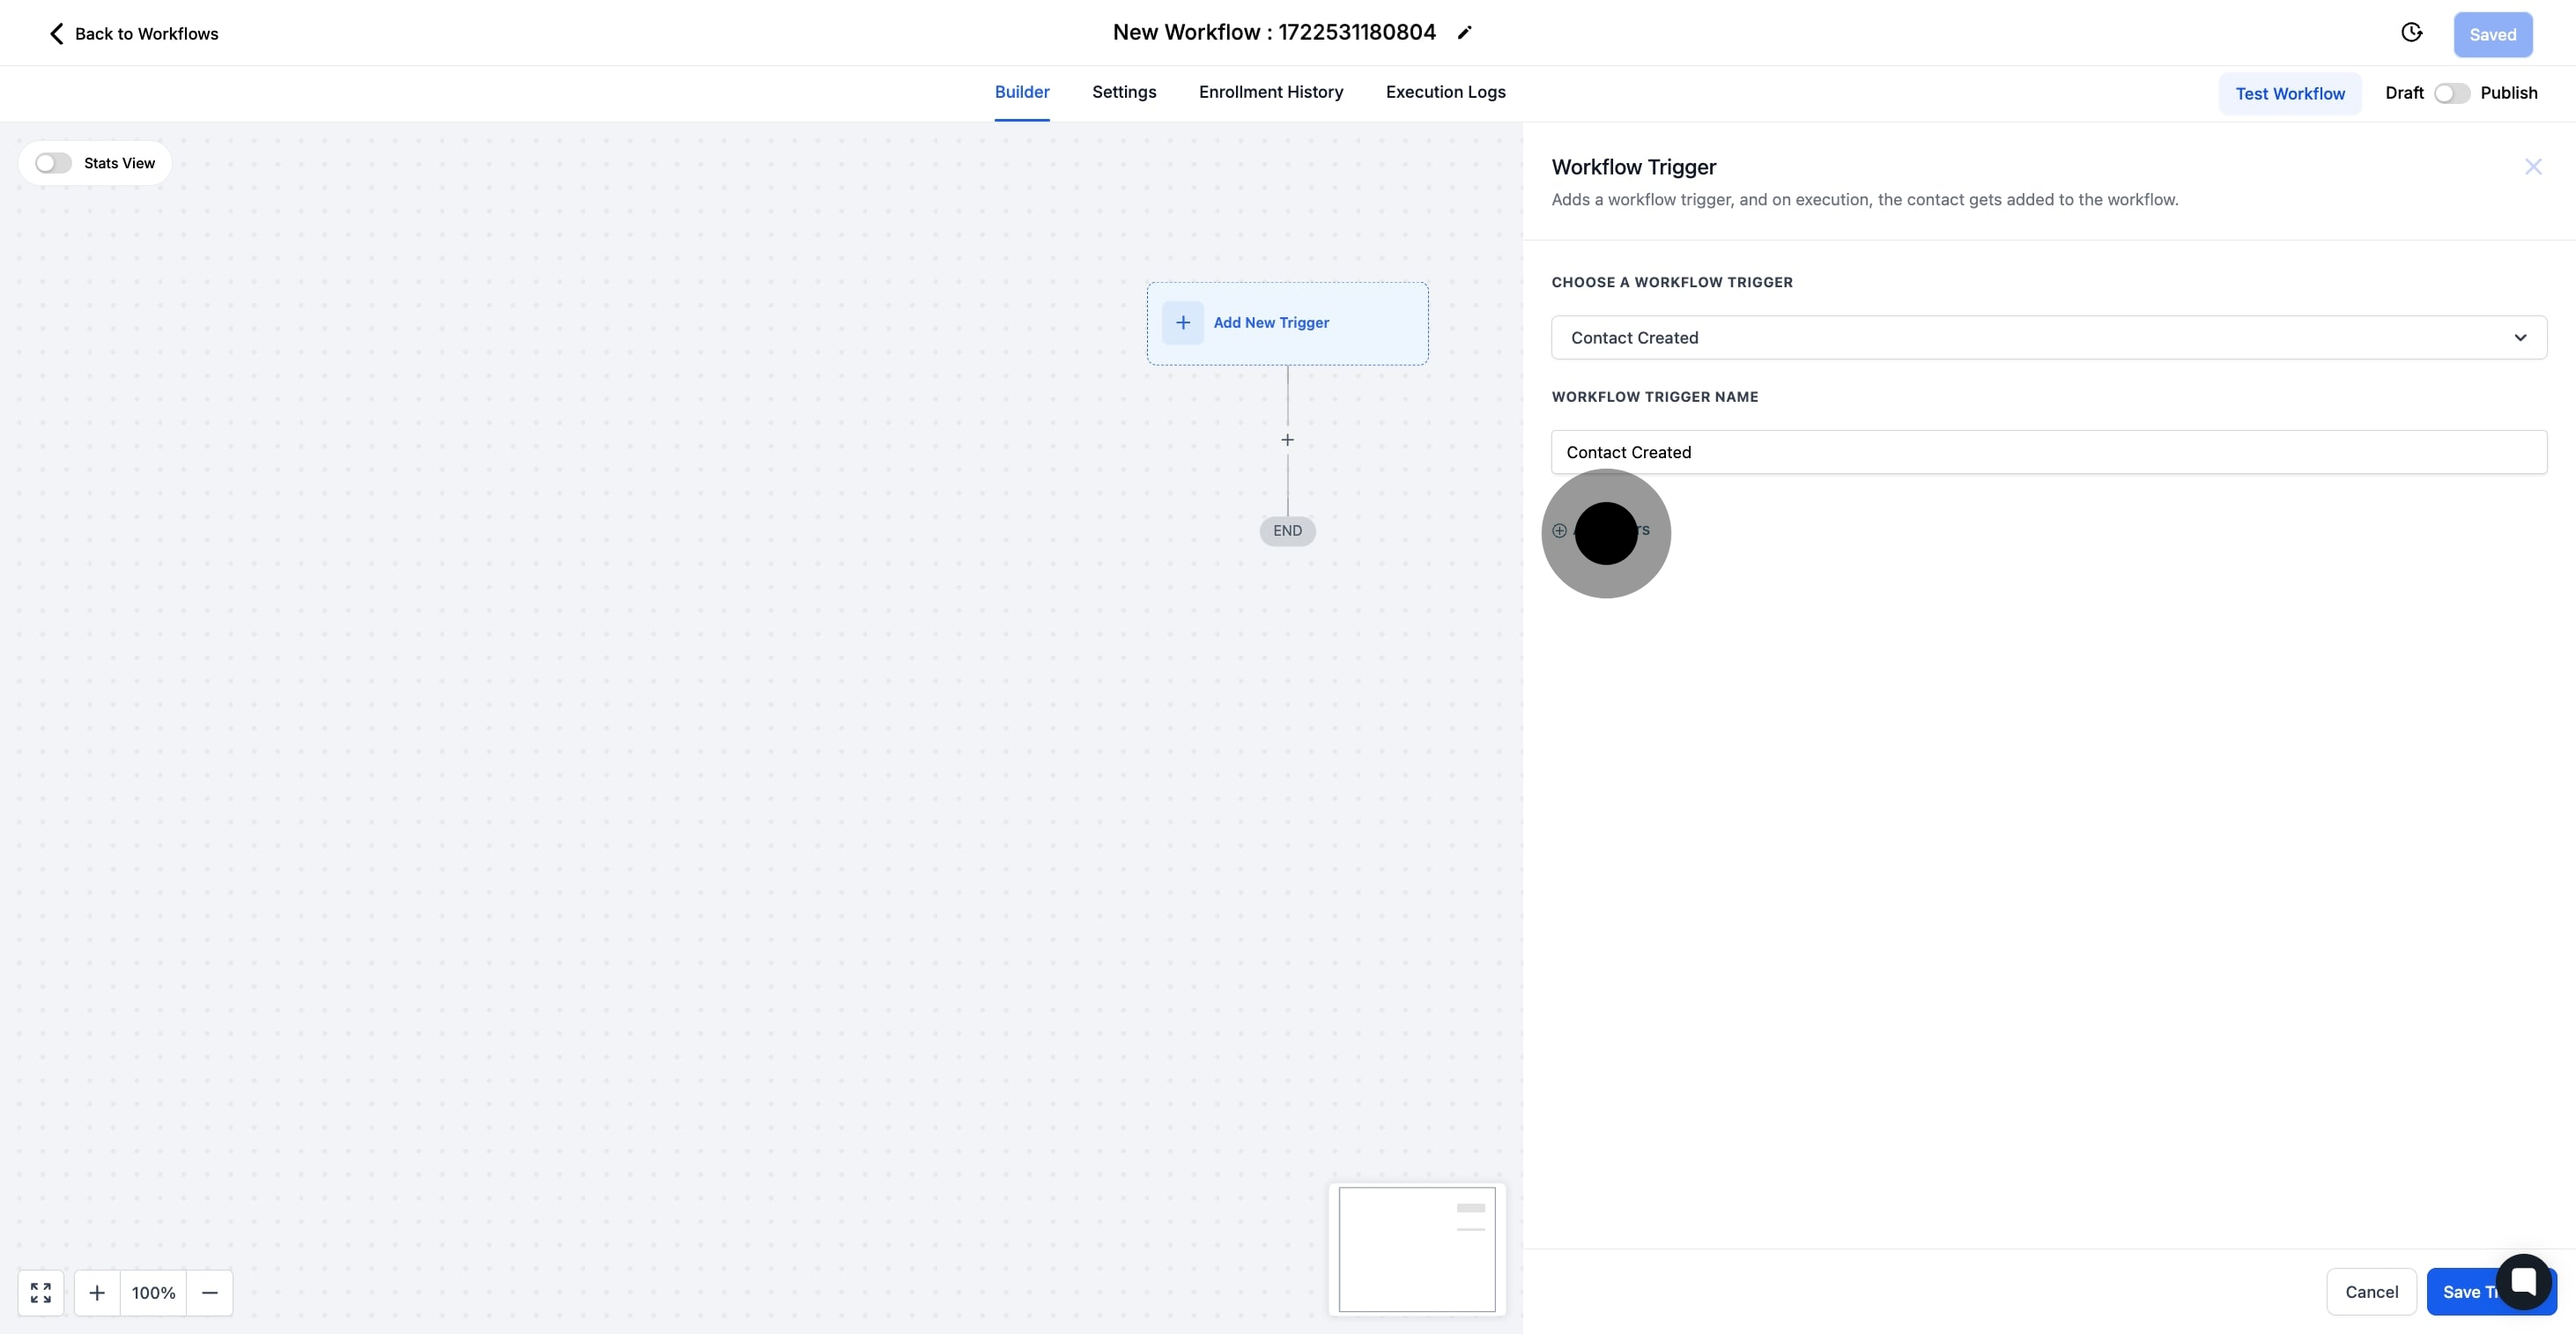
5. Proceed by selecting the 'Contact Created' trigger.
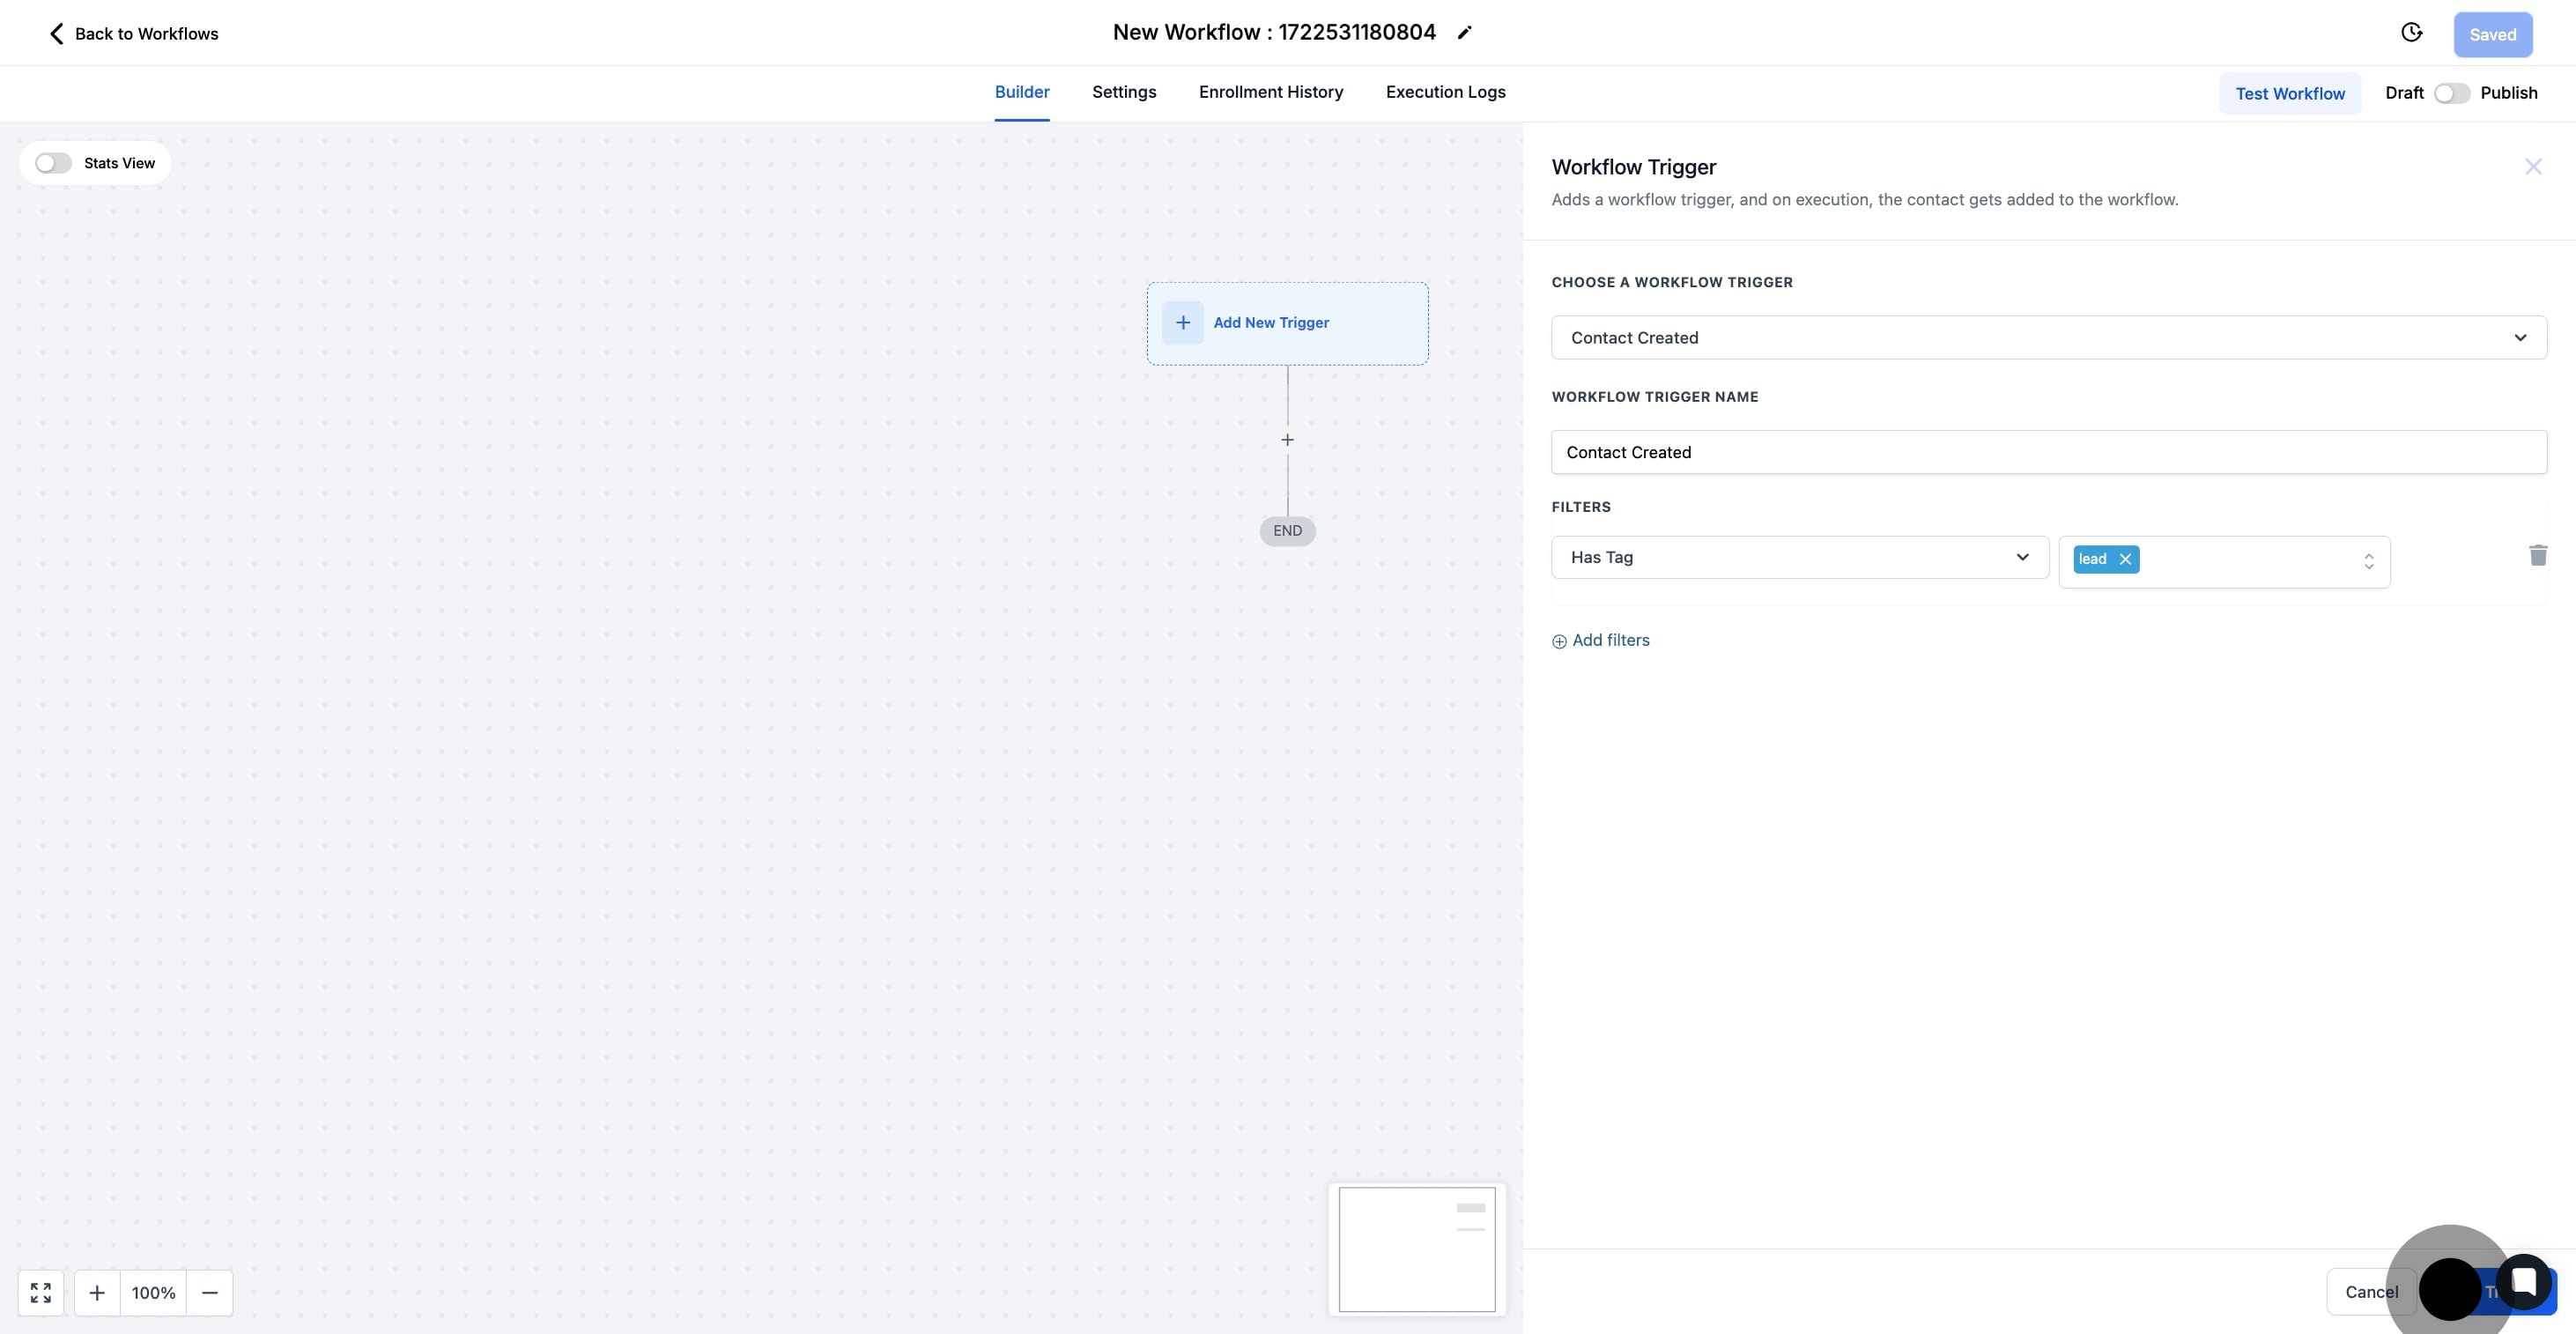
6. Continue by adding necessary filters to refine your trigger.
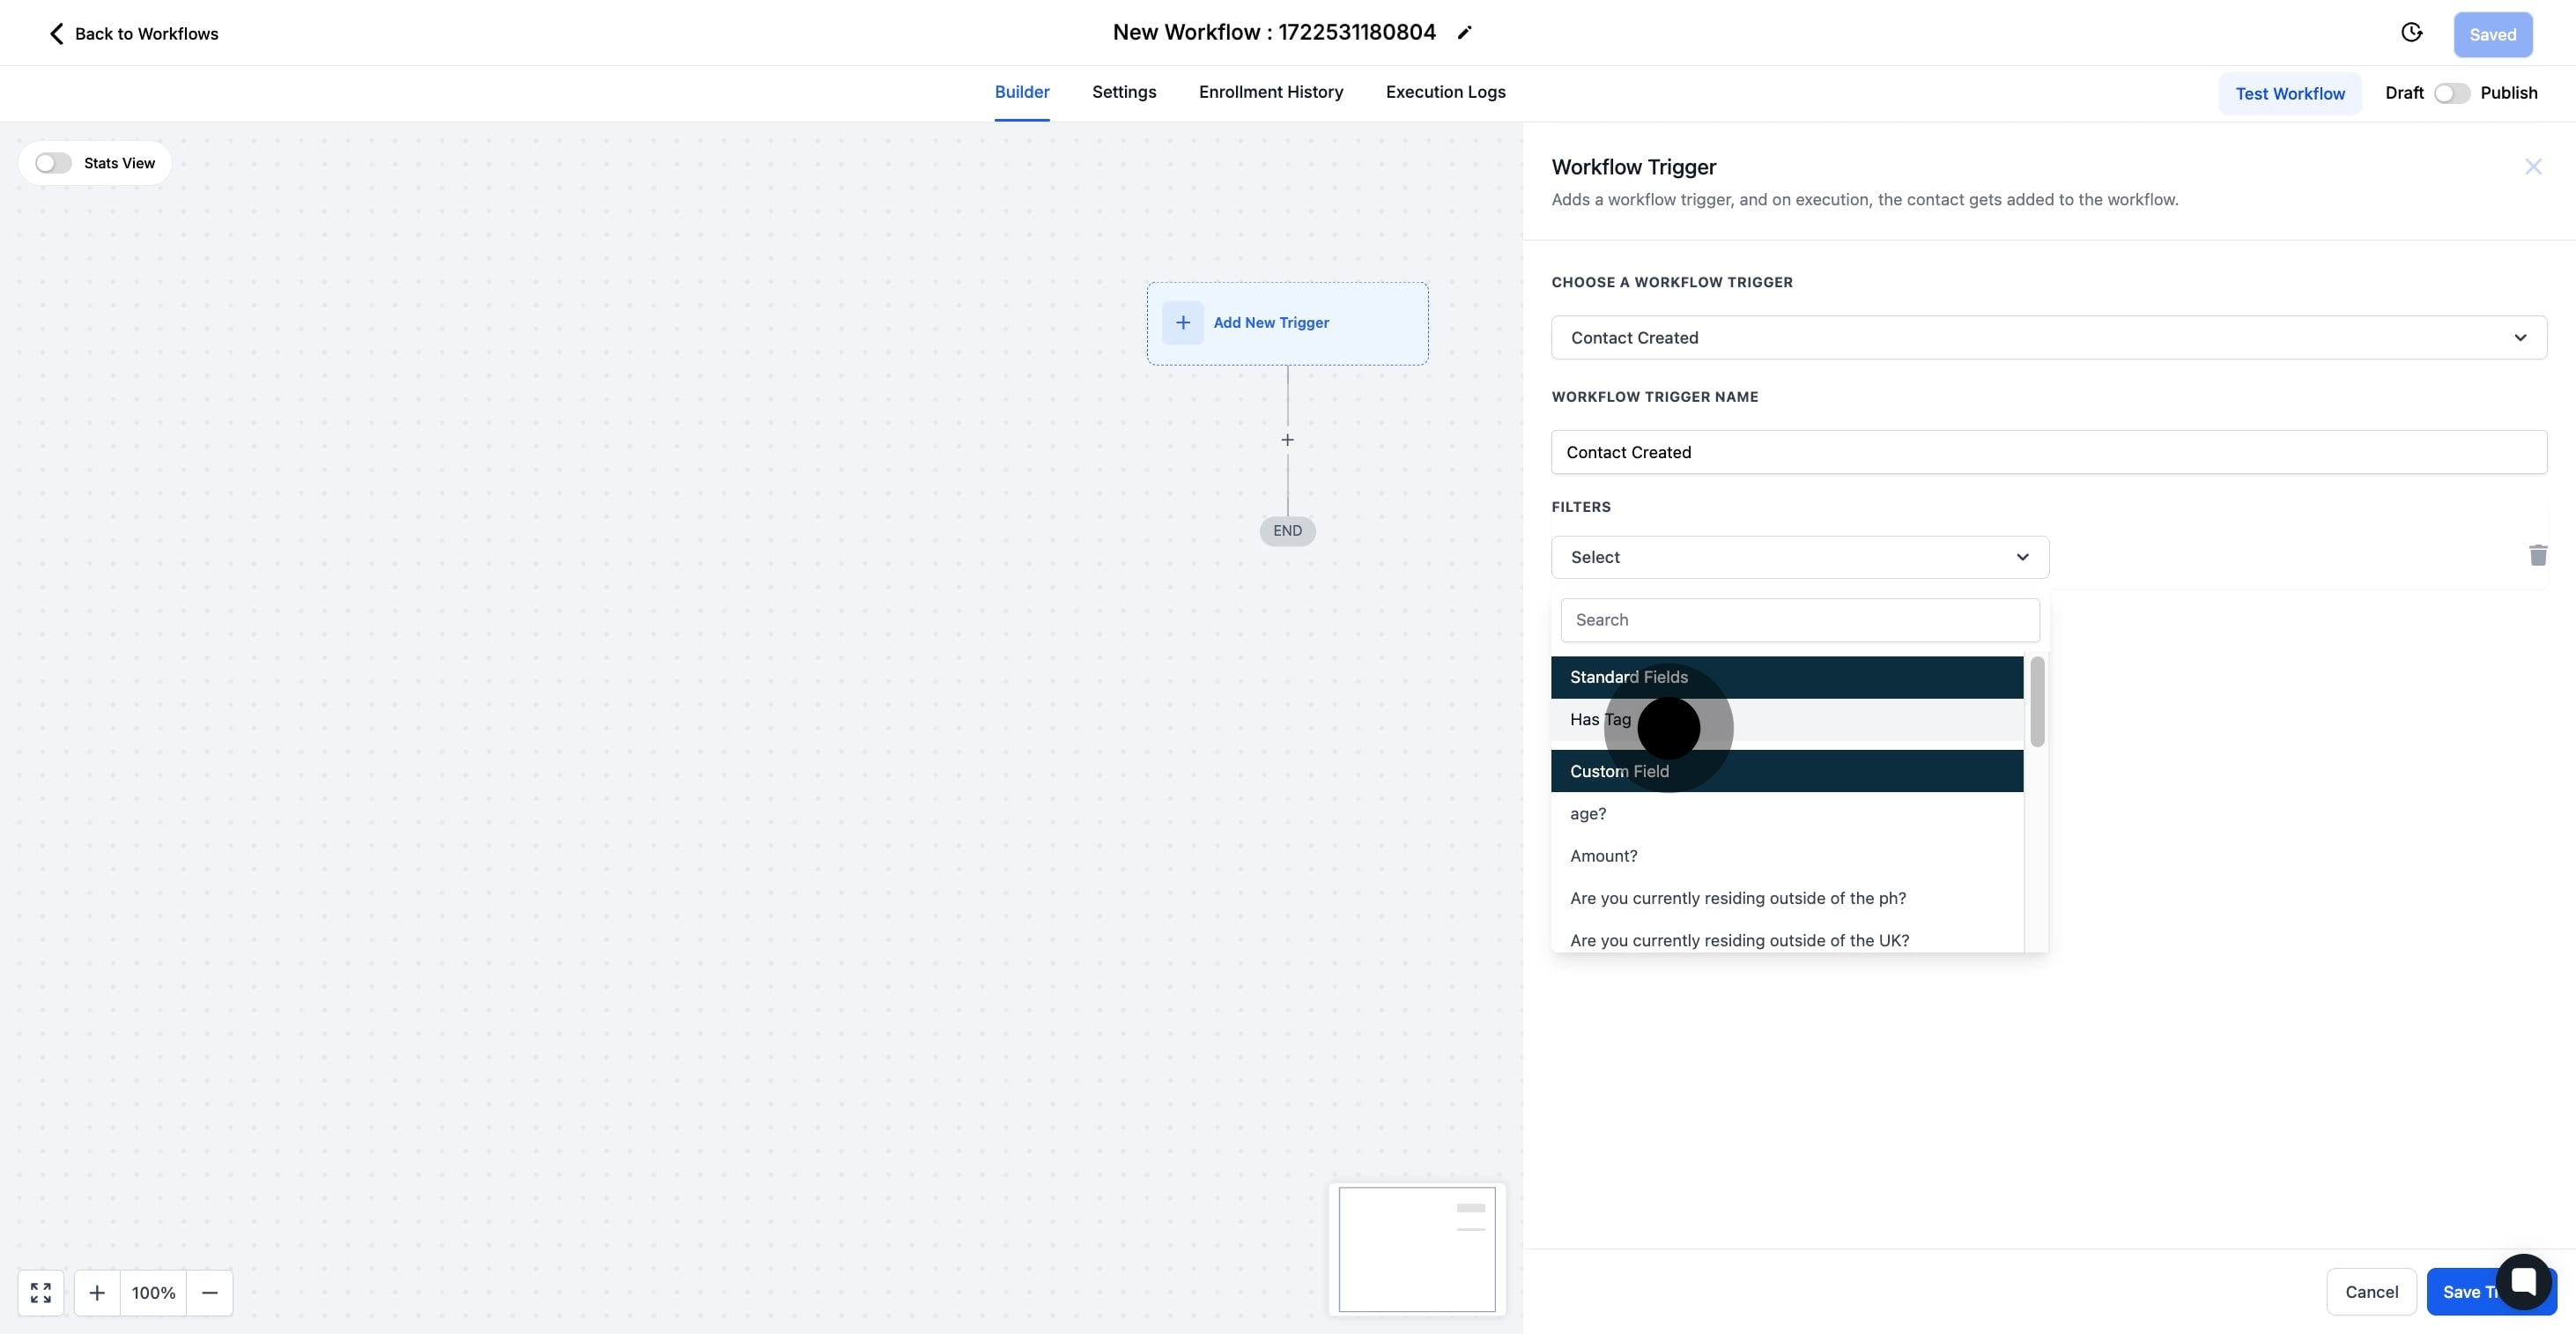
7. In this example we choose 'Has Tag' from the filter options.
In its base form, any newly created contact will be added to this workflow, but you can filter this to only include specific contacts
Has Tag will only add contacts to this workflow that have a particular tag assigned to them
8. Finally, select the specific tag you wish to apply.
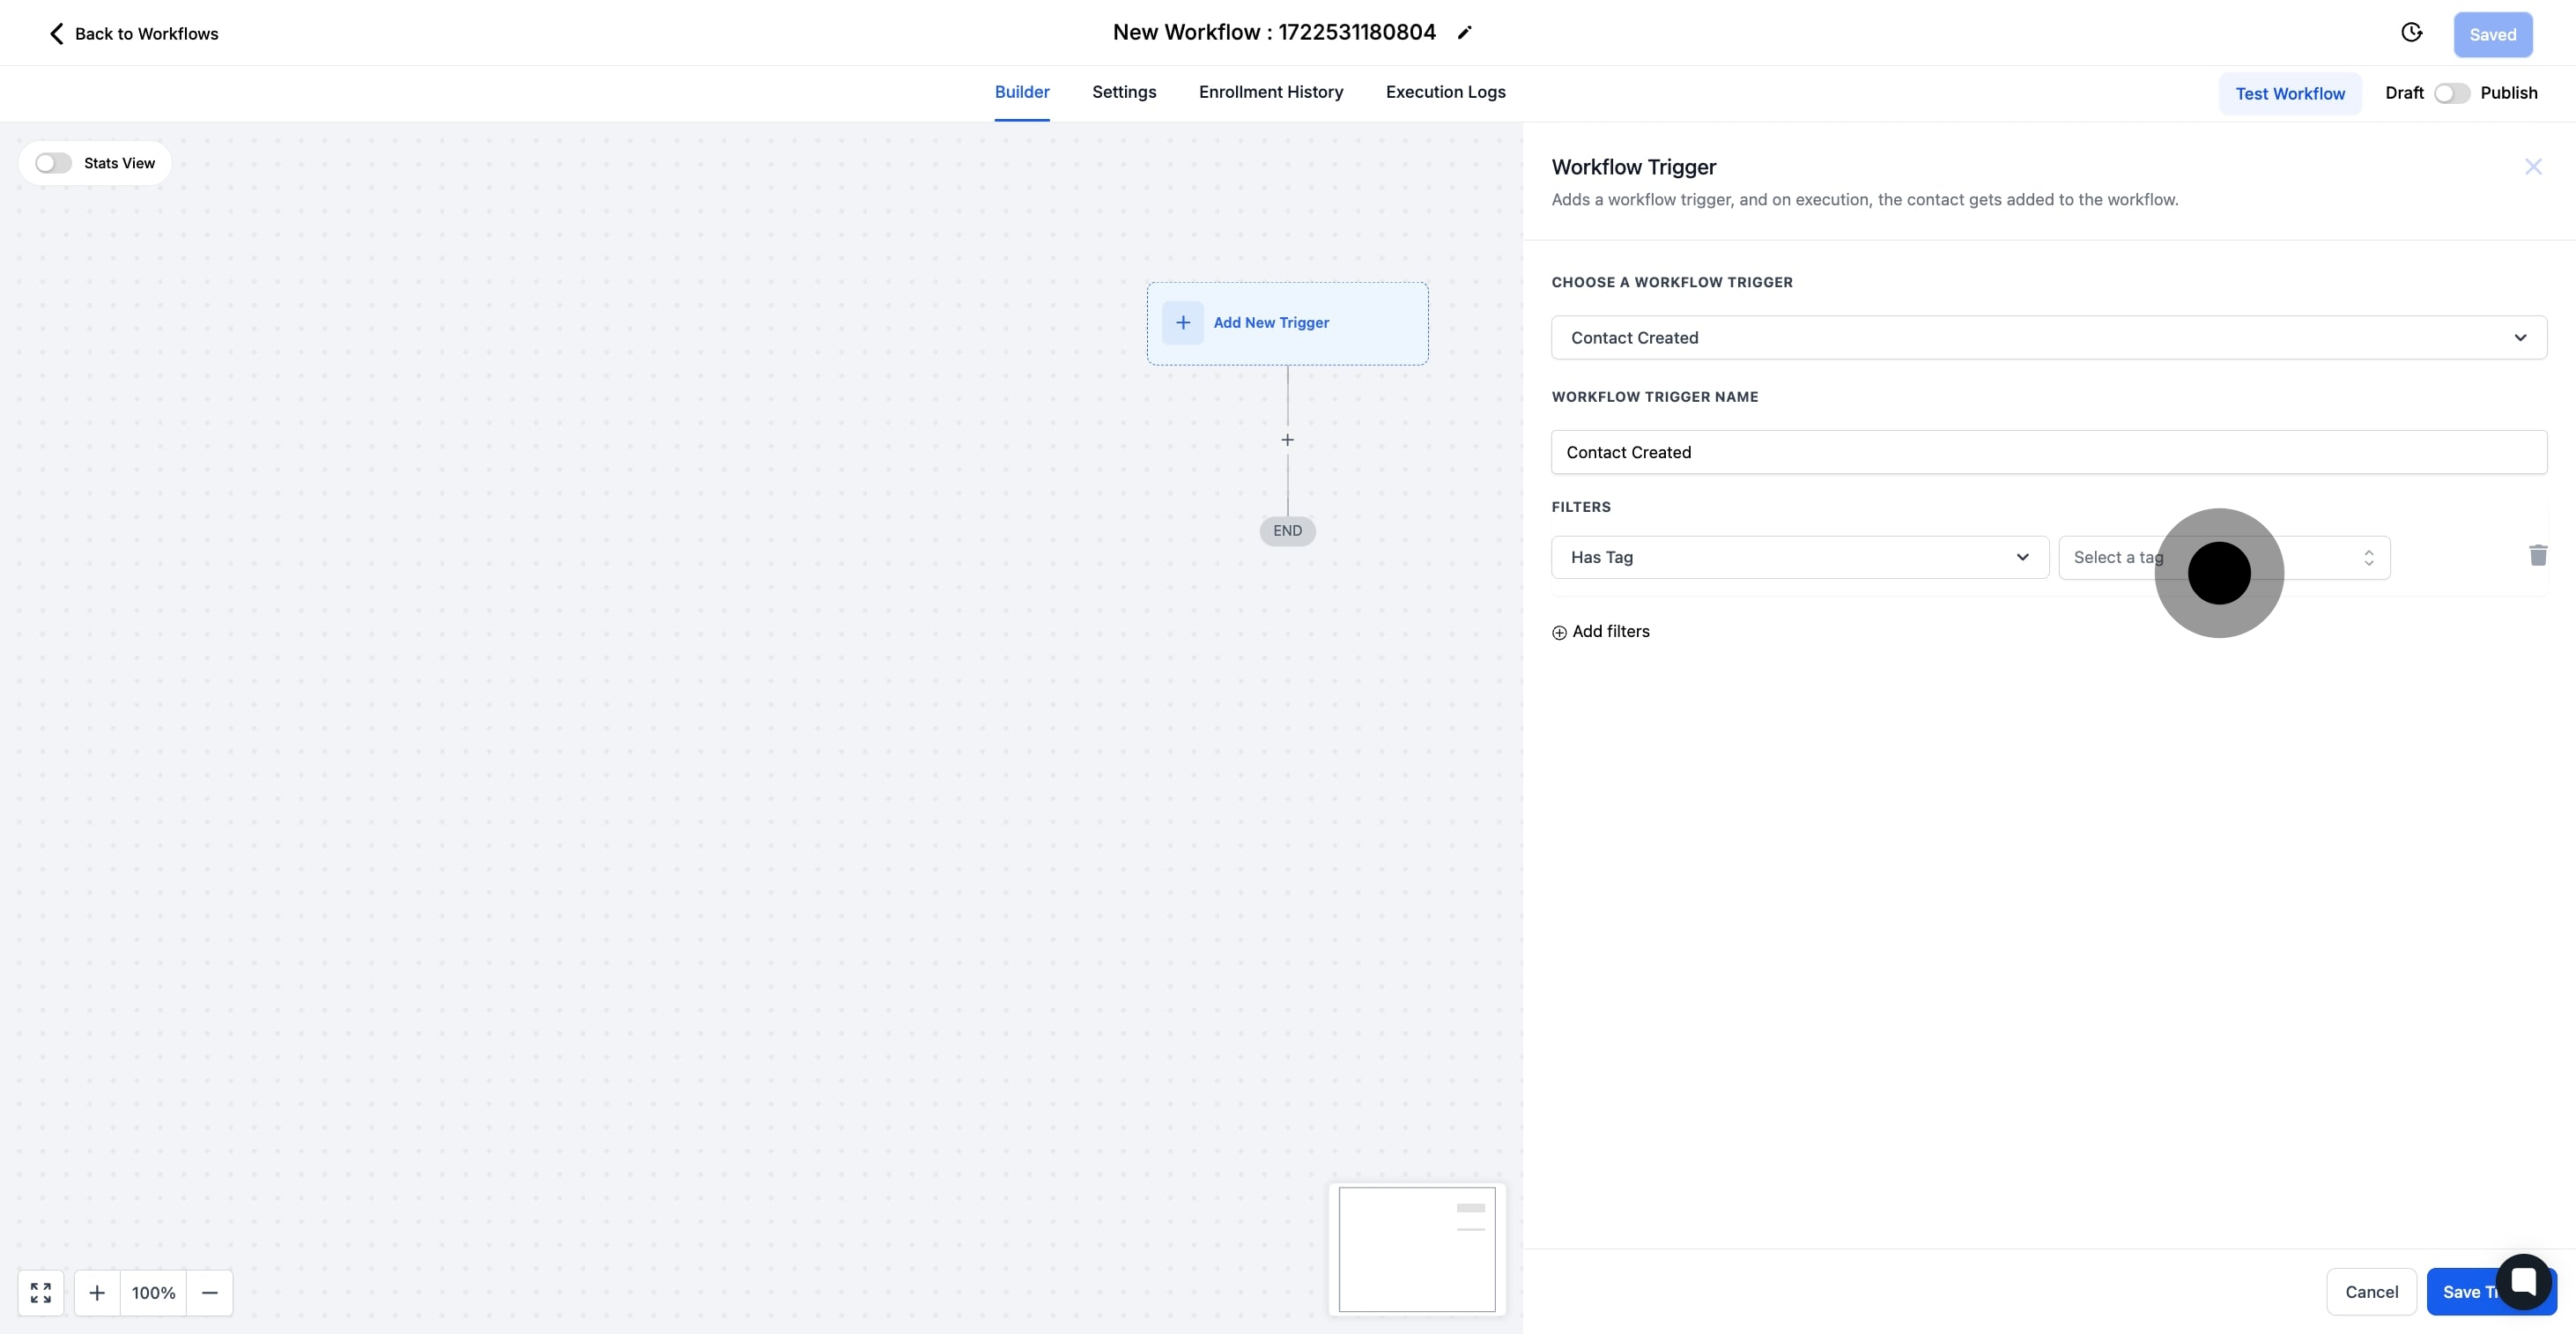
9. To conclude, save your trigger settings.