
Tip: Usually you would want to send a reminder every year, so for this workflow please make sure to enable “Allow re-entry” in the workflow settings.1. Start by clicking 'Automation' on the navigation bar.
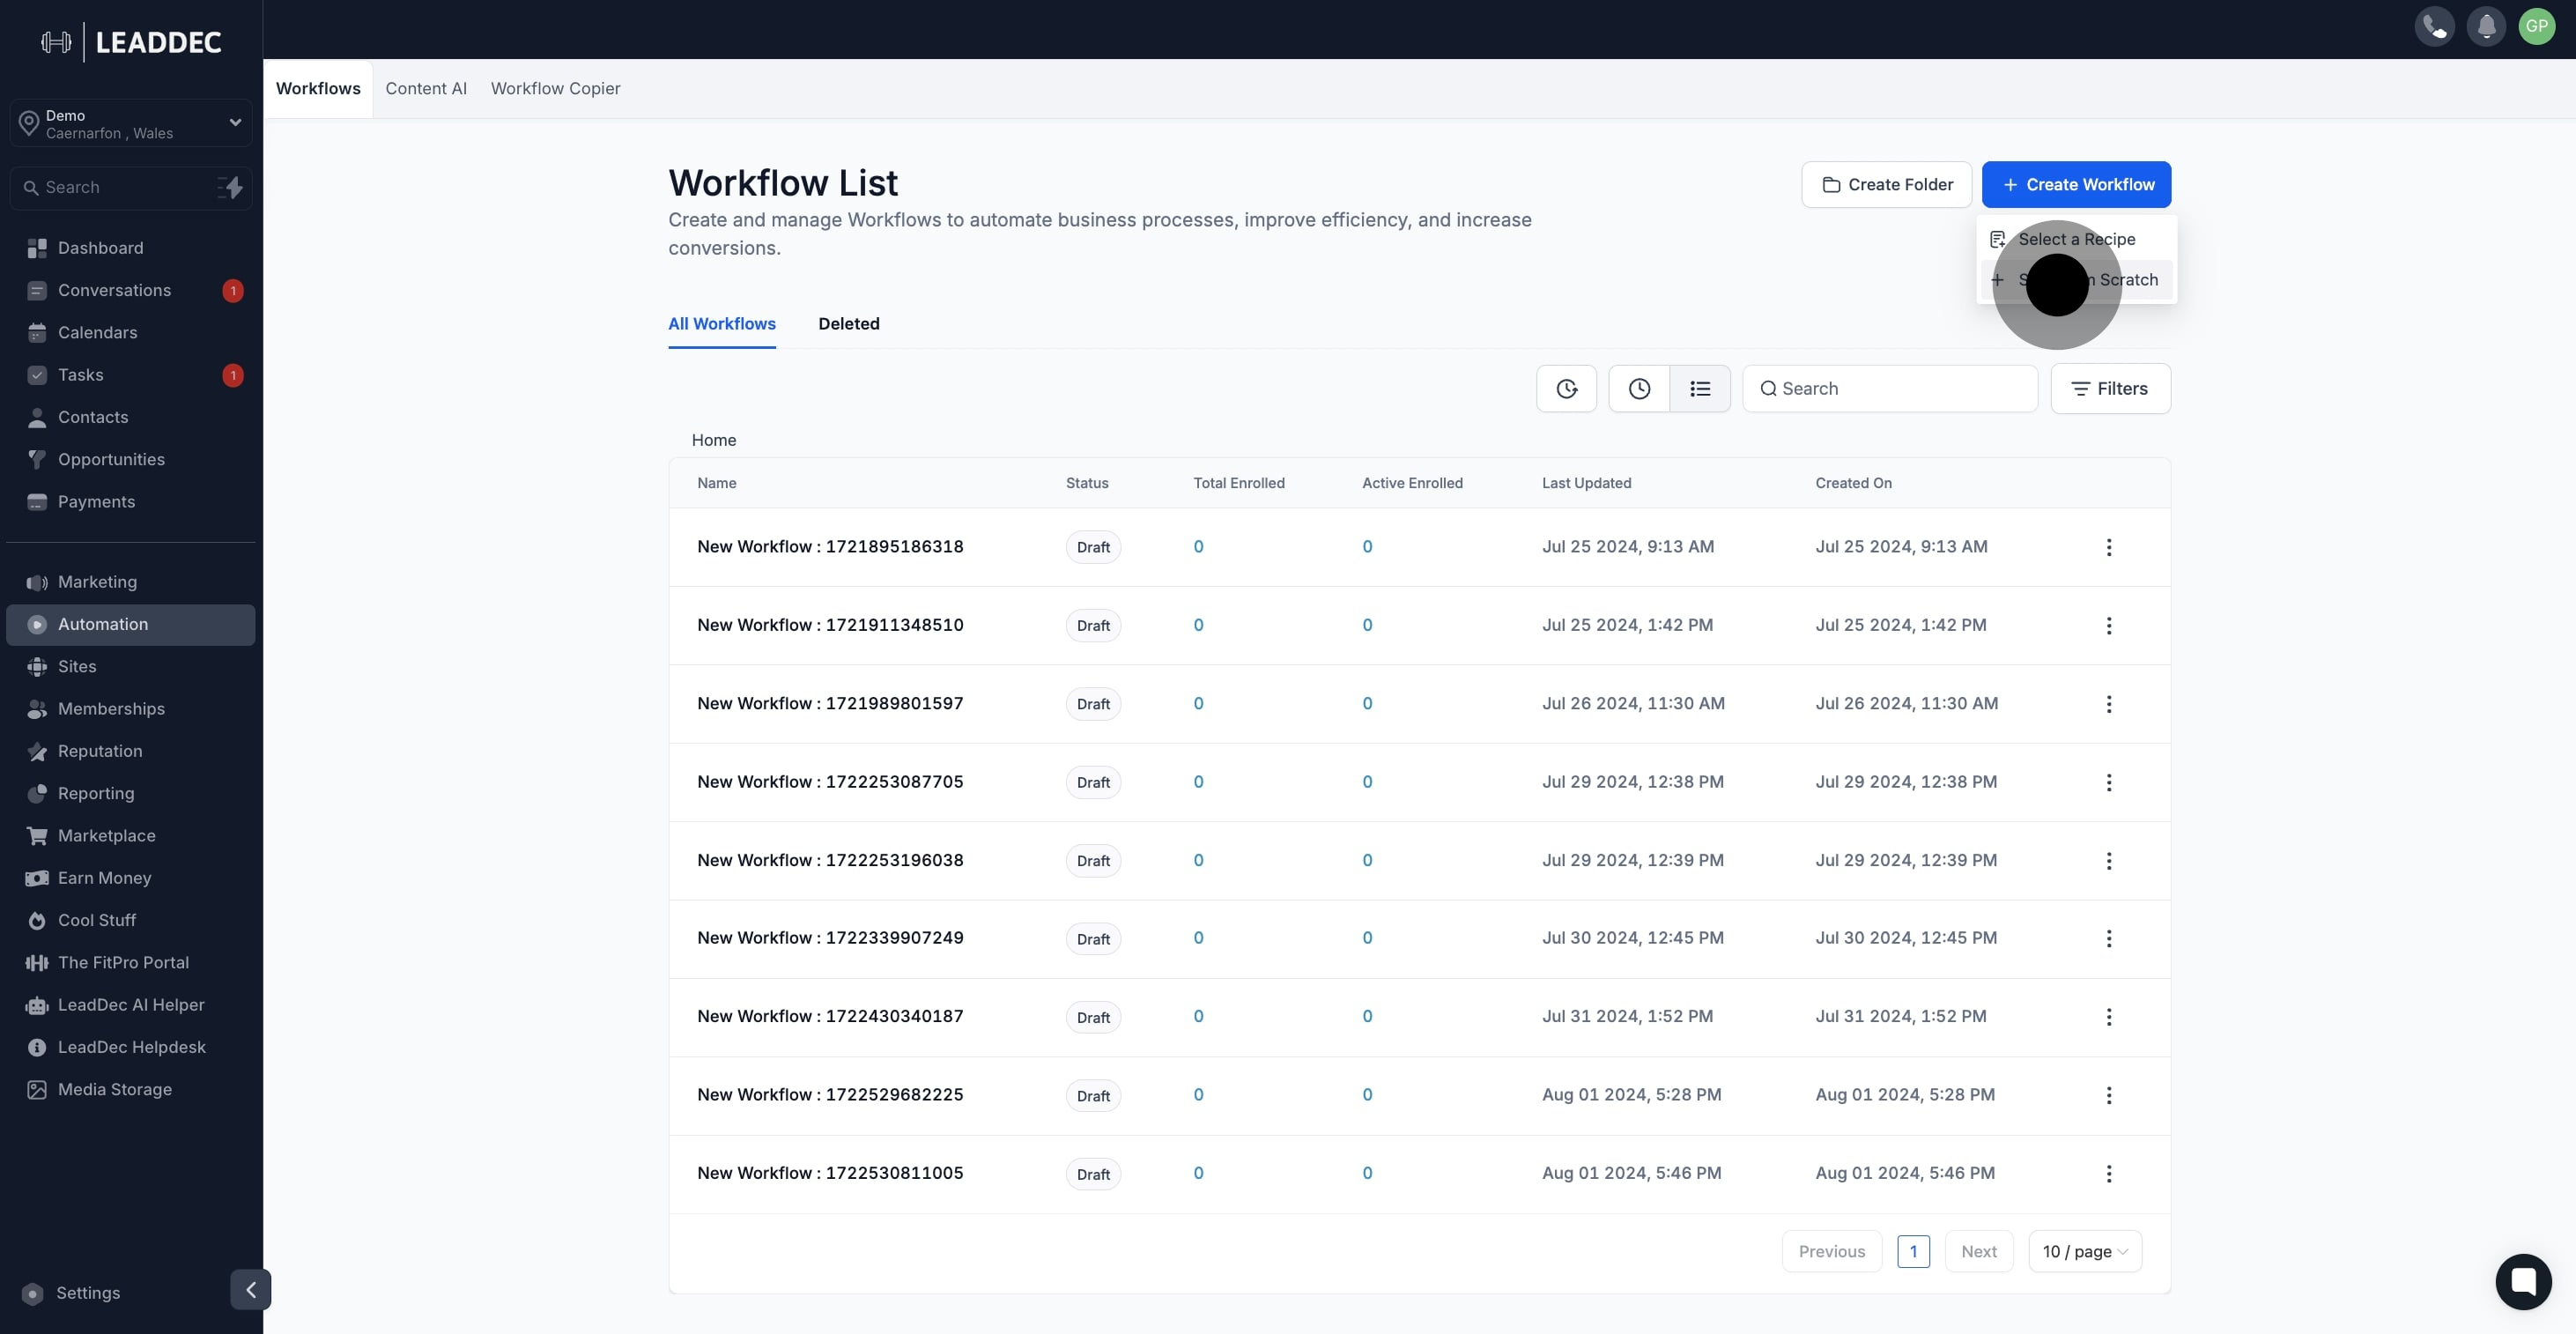
2. Next, select 'Create Workflow' to proceed.

3. Choose 'Start from Scratch' to initiate a new workflow.
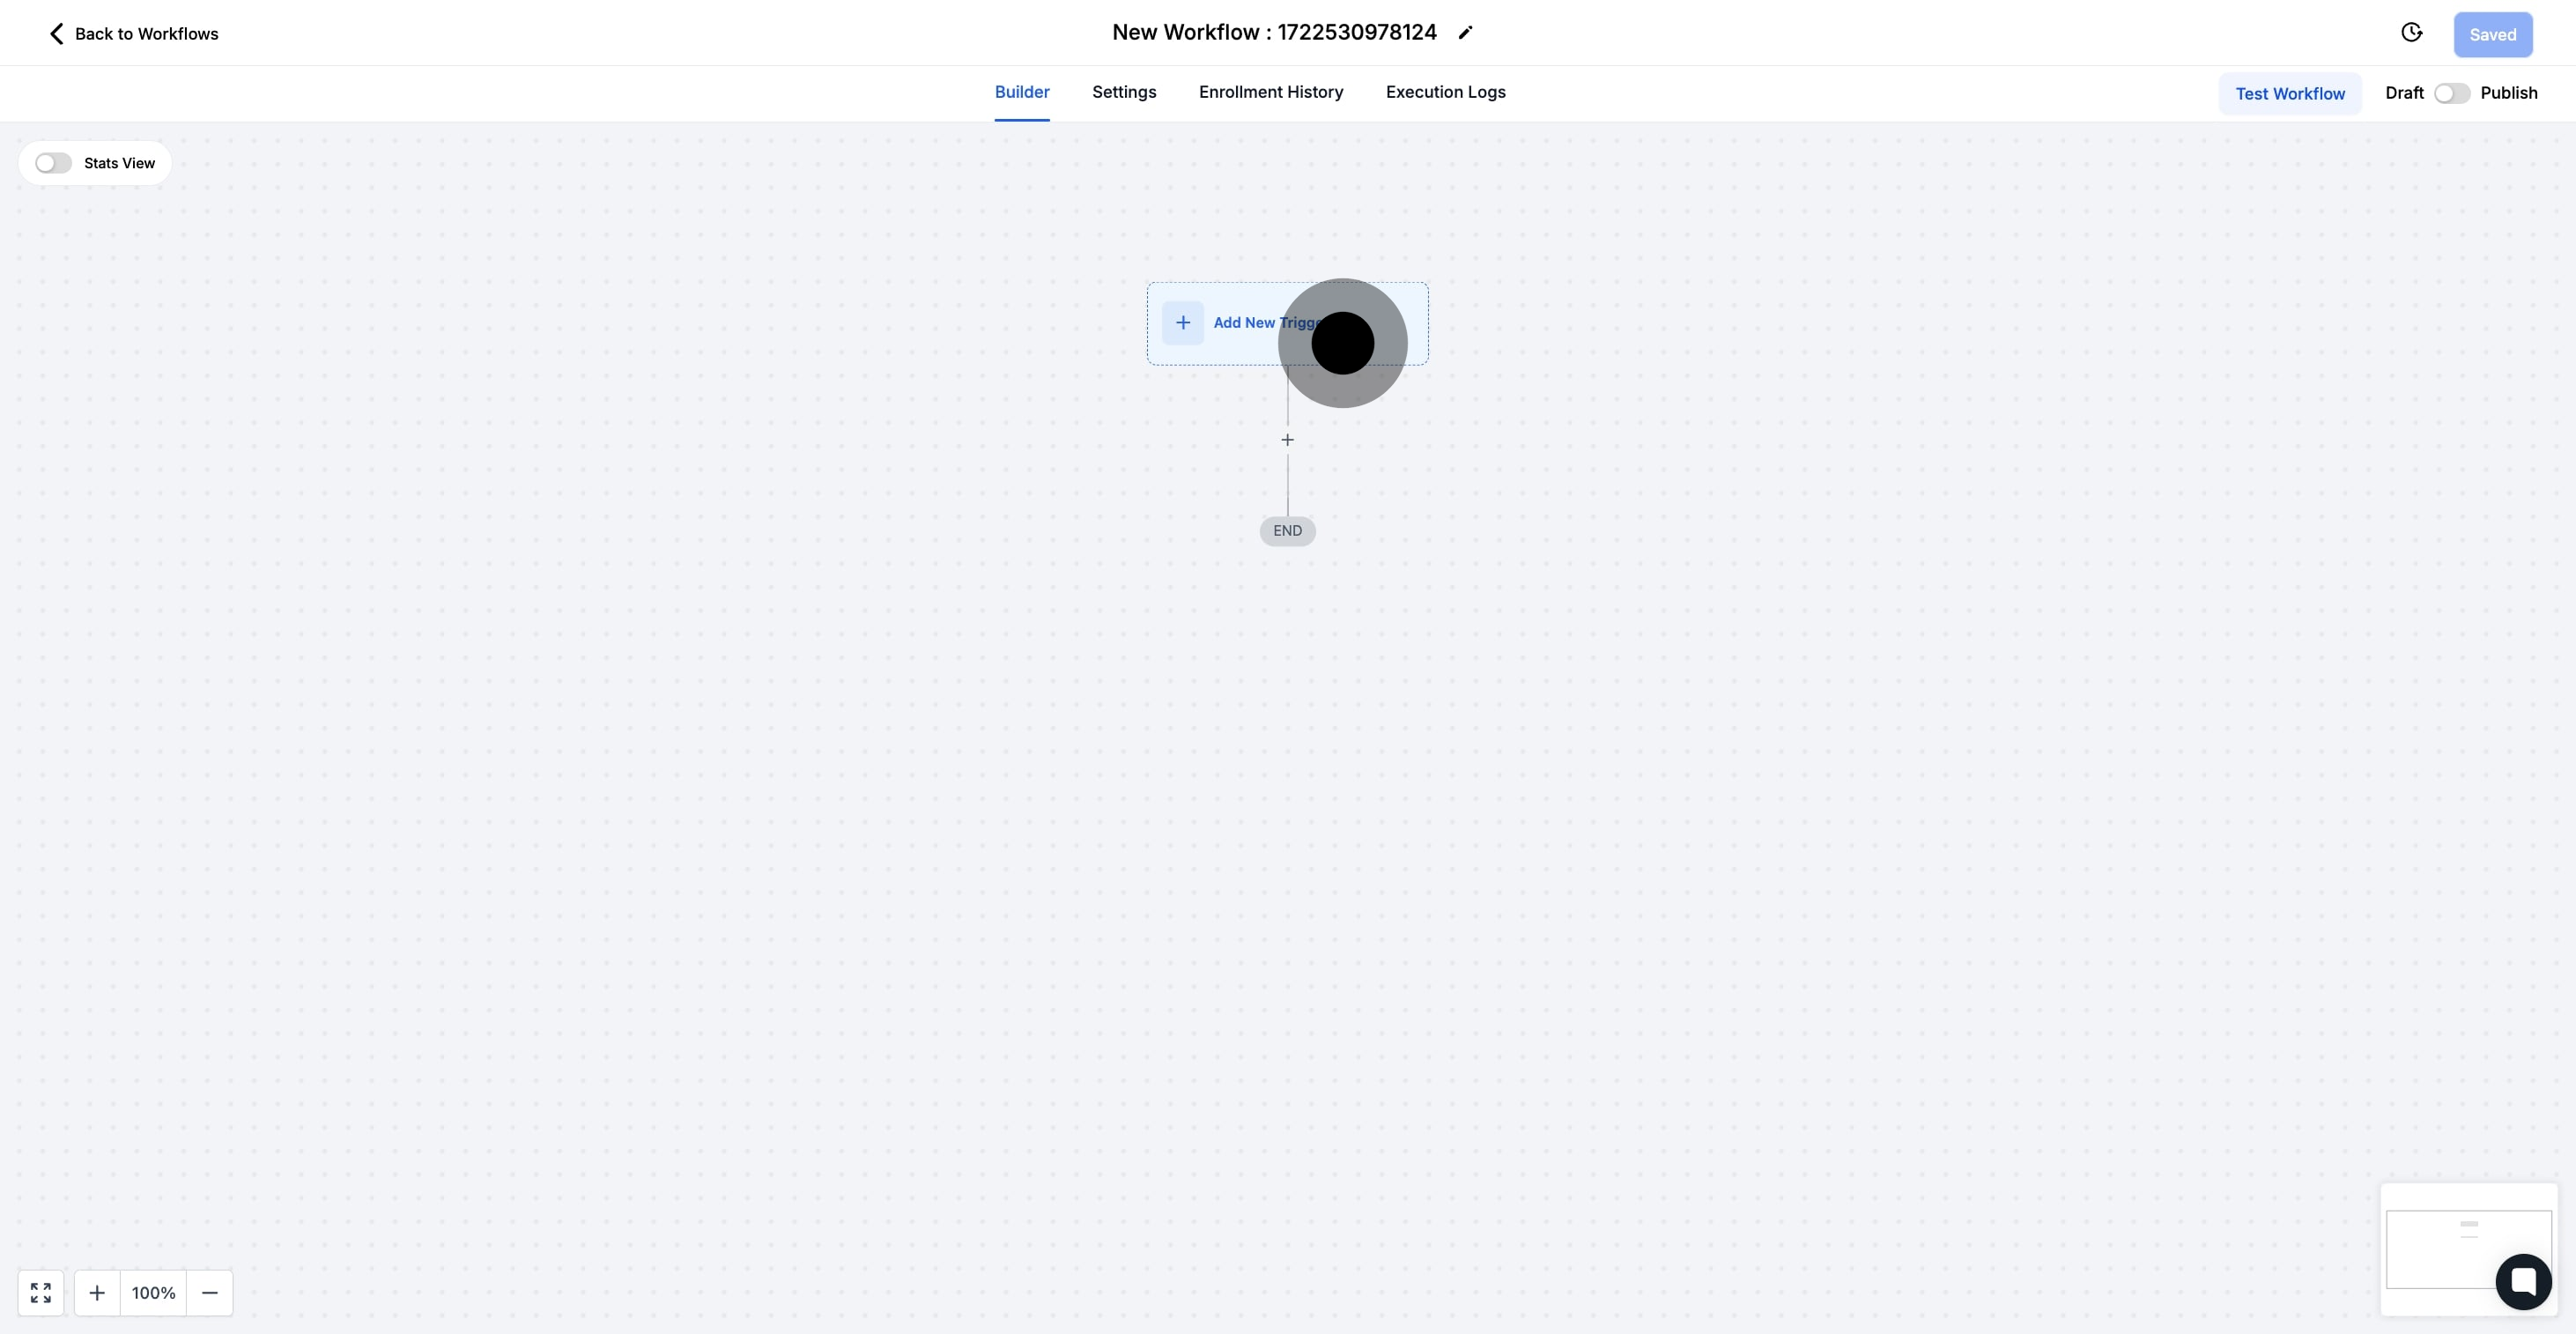
4. Now, tap here to add a new trigger to your workflow.
5. Then, click on 'Birthday reminder' to set the trigger type.

6. After setting the trigger, go ahead and click 'Add filters'.

7. Continue by selecting 'Select' to specify filter options.

8. This is just an example of filters.
Under Filters, there are multiple options available to you
Before no. of days and After no. of days impacts the timing of when this workflow will trigger. Respectively, this will trigger on the selected number of days before or after the contact’s listed birthdate.
Month is and Day is allow you to specify which dates or months can trigger this workflow. For example, you can make this workflow only trigger for birthdays in March, or for birthdays that coincide with a holiday.
Custom Field allows you to filter which contacts can be added to this workflow based on custom fields you have created.
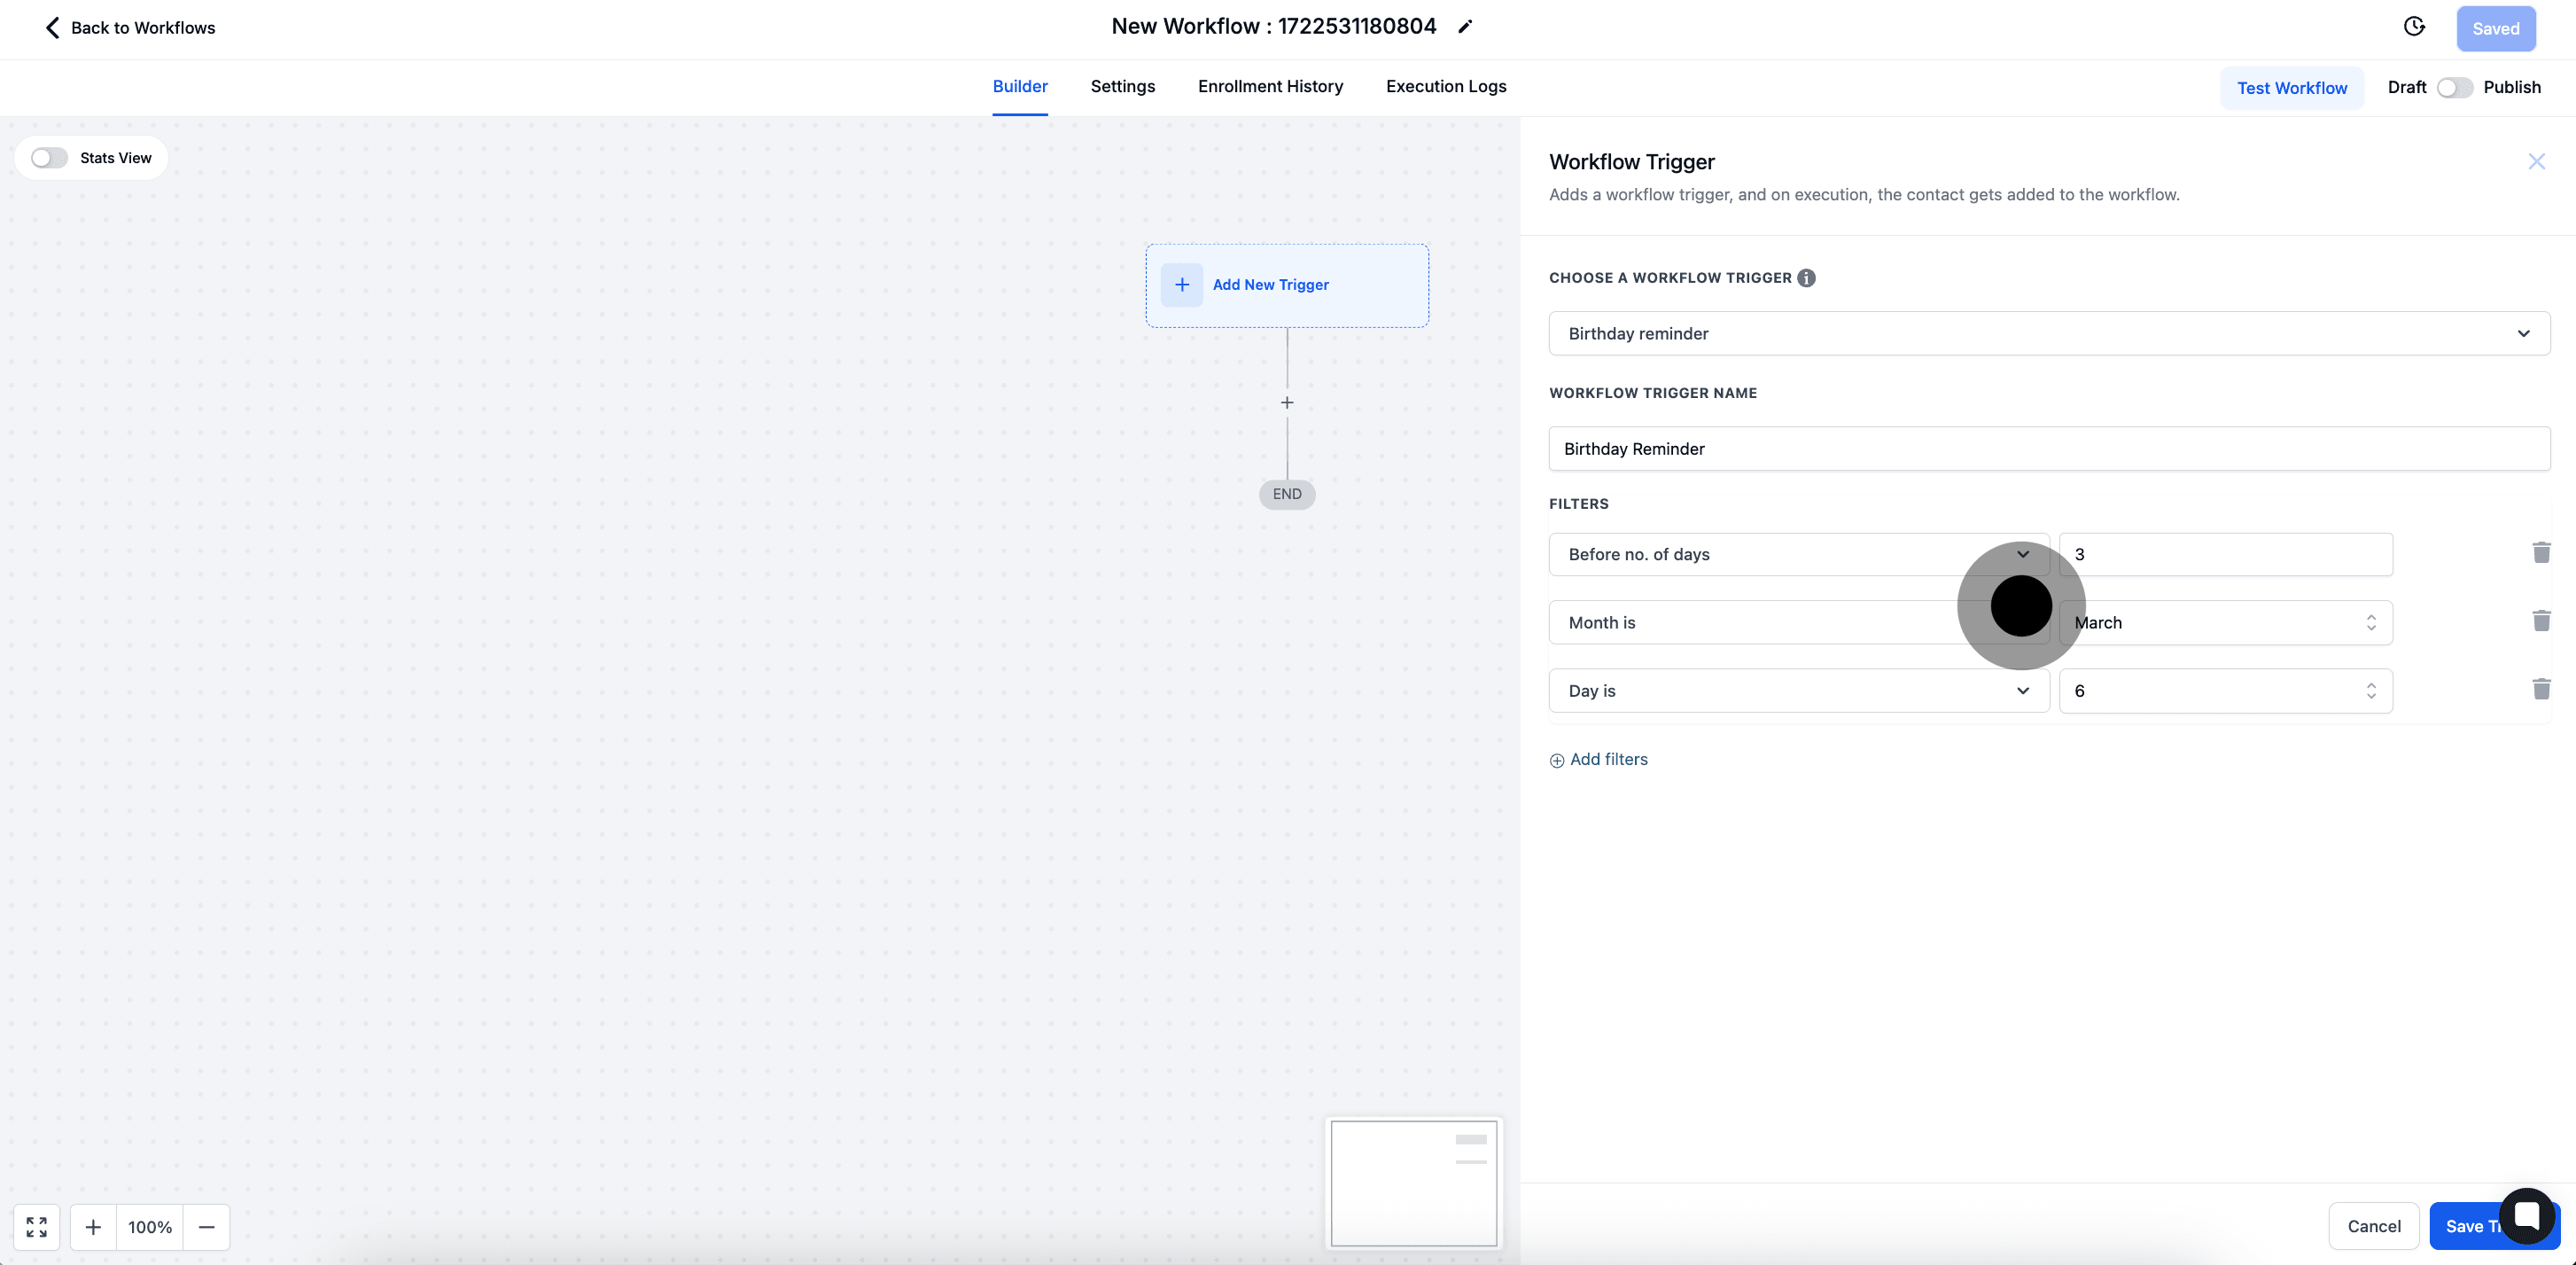
9. After, Click "Save Trigger"
