How to Use the "Remove Workflow" Action in Your Workflow on LeadDec

Optimize your workflow management by learning how to use the "Remove Workflow" action in LeadDec. This article offers a step-by-step guide on setting up this feature, allowing you to automatically remove or stop workflows as part of your process. Ideal for users looking to streamline their operations and eliminate outdated or unnecessary workflows efficiently.


1. Start by clicking on automation.

1 First off, click on "automation".

2. Next, select Create Workflow.

2 After that, click on "Create Workflow".

3. Then, choose Start from Scratch.

3 Click on "Start from Scratch".

4. Now, add a new trigger.

4 Click on the element.

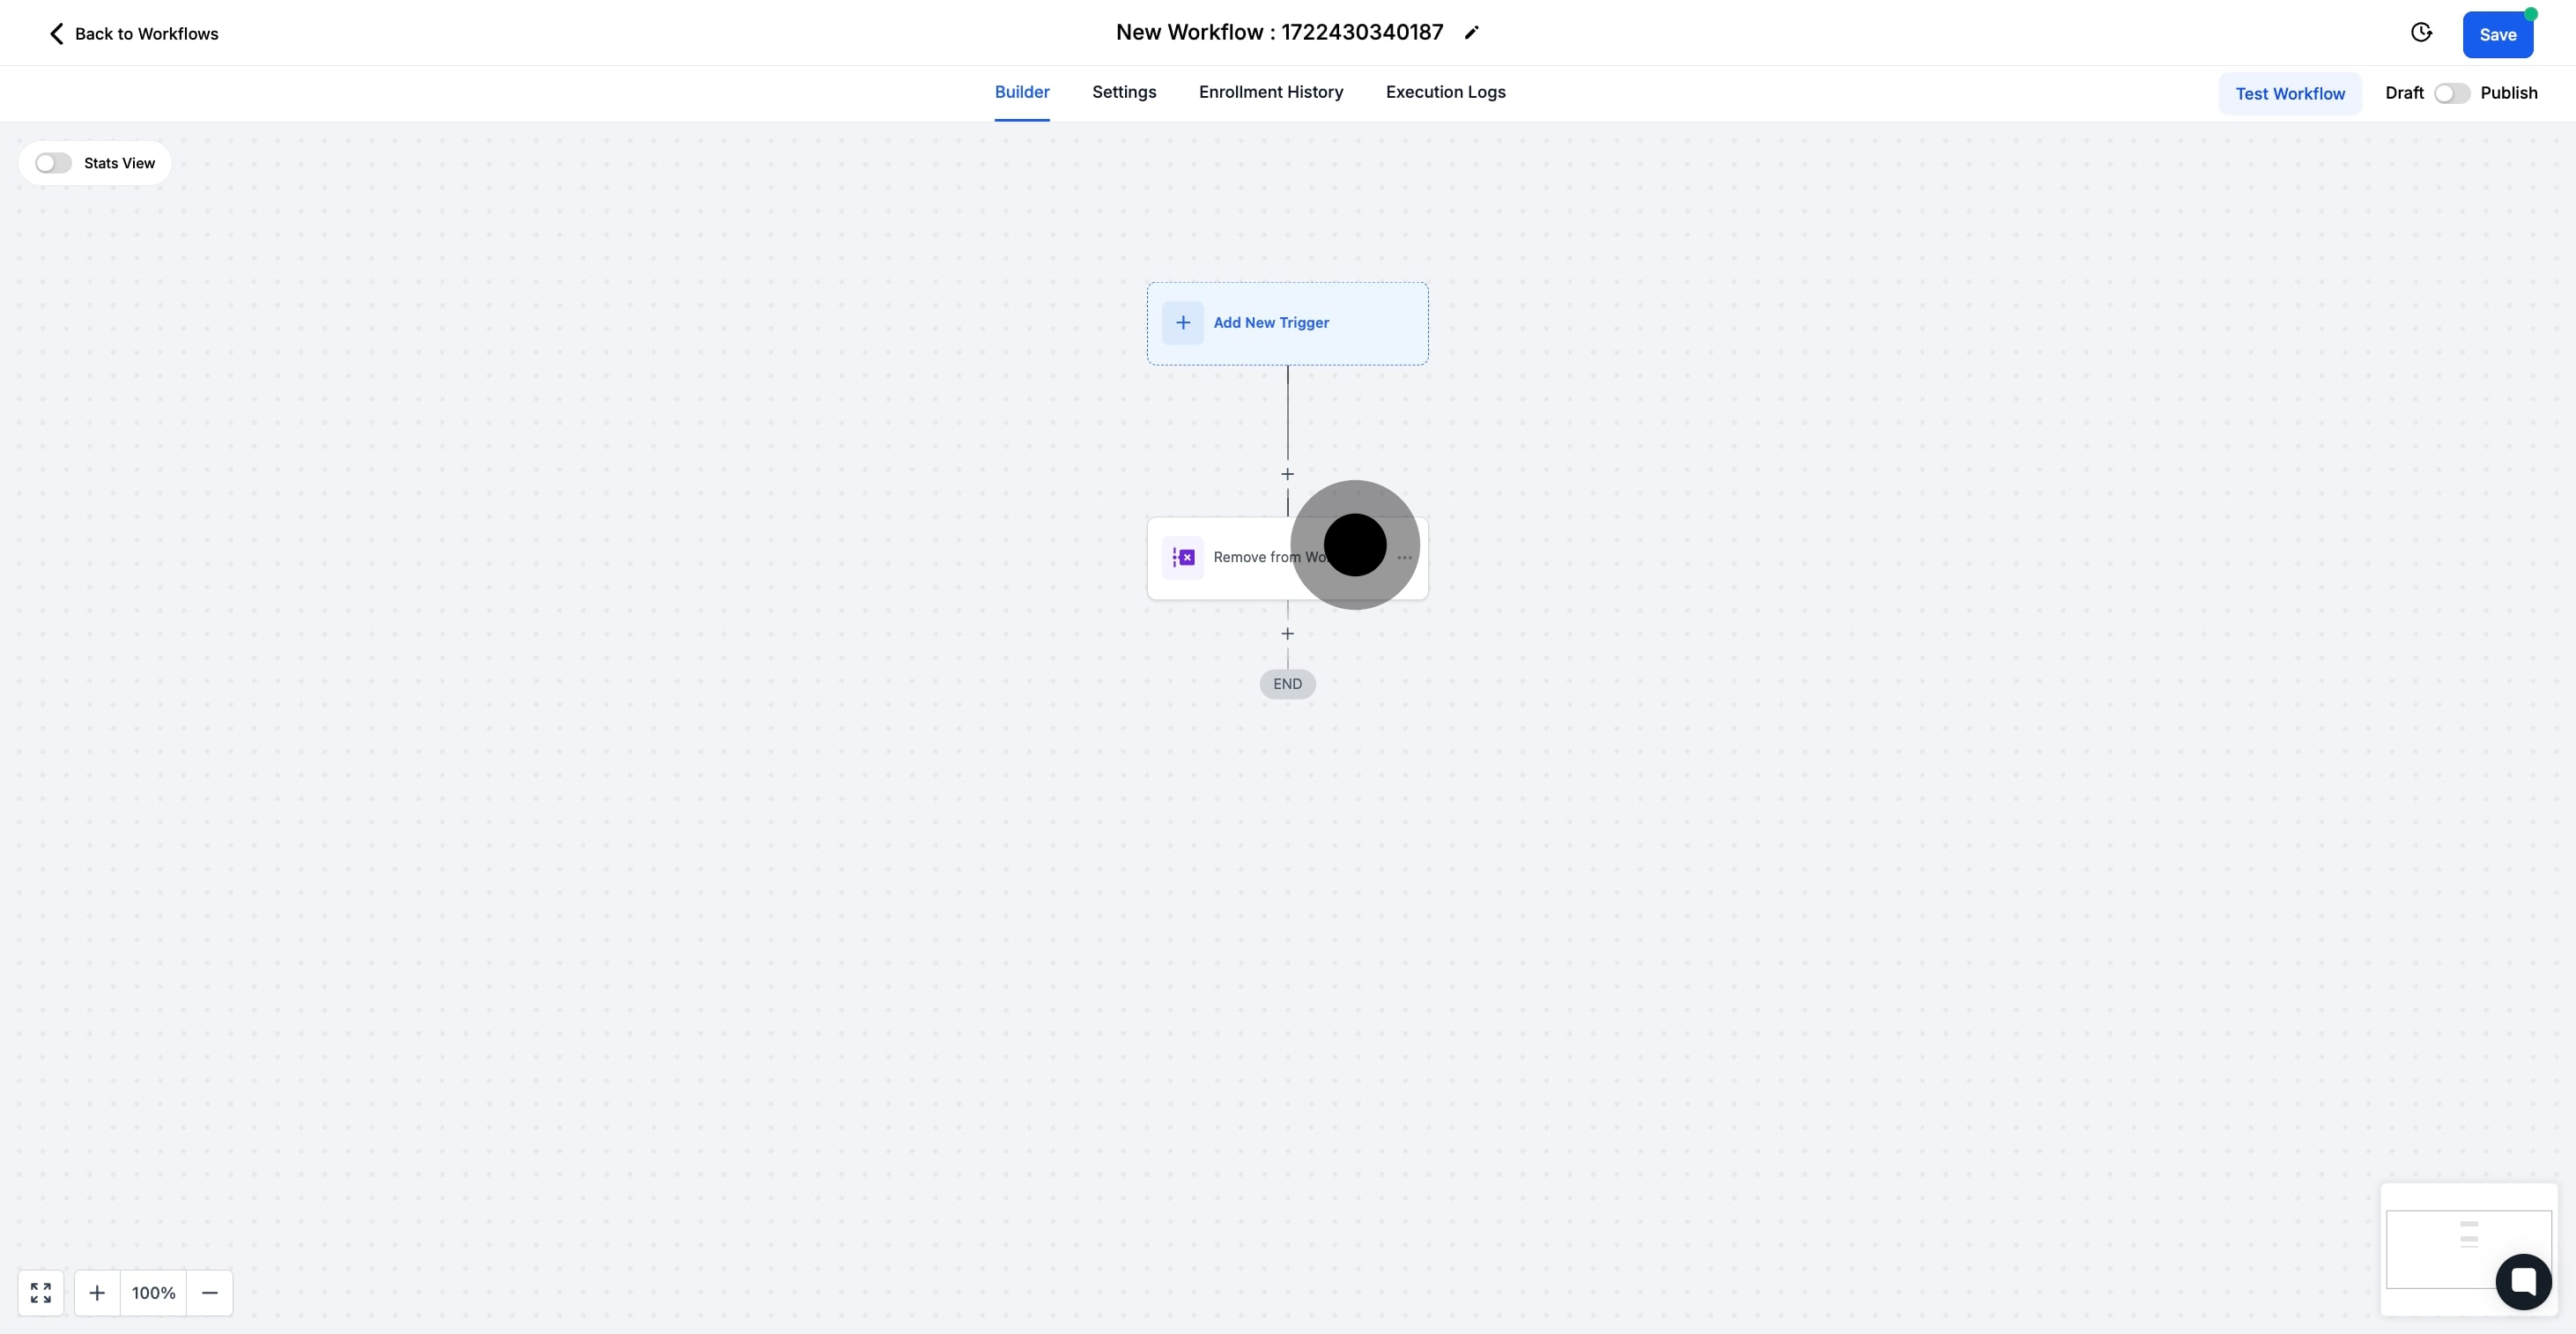
5. Click the + sign to include an action step.

5 Click on the element.

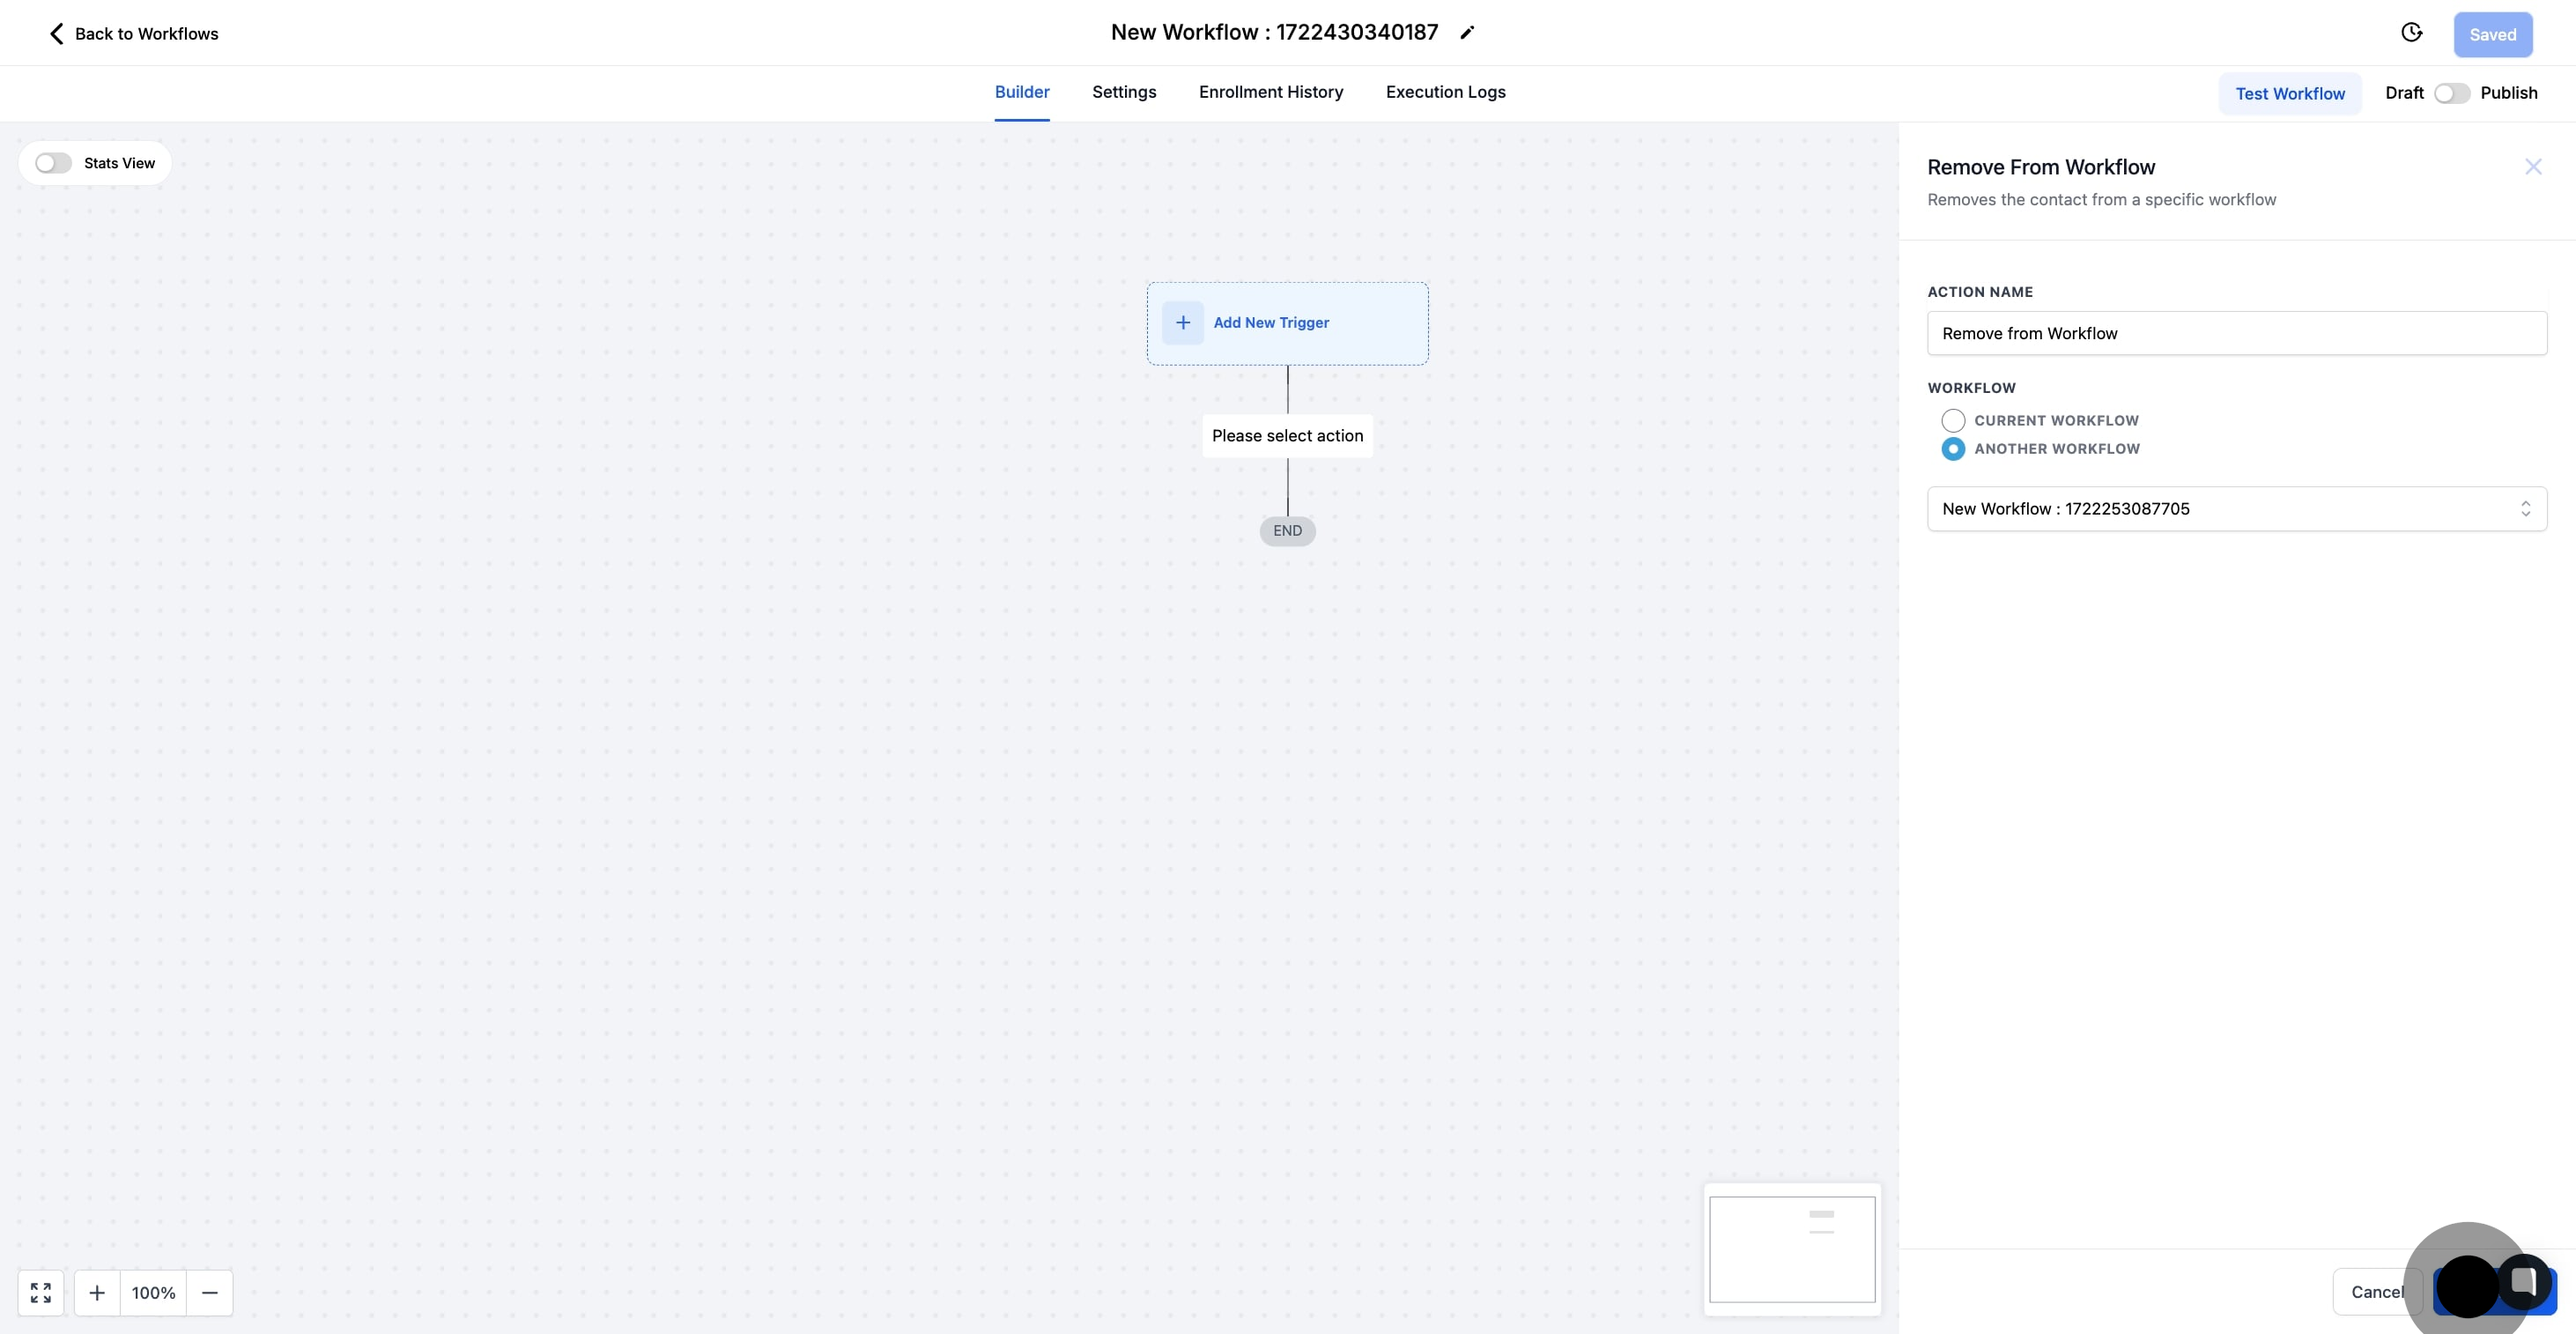
6. Proceed to click current workflow to manage it.

6 Then, click here.

7. Optionally, select another workflow to manage another.

7 After, click here.

8. Then, choose the specific workflow you wish to revise.

8 Next up, click on "New Workflow : 1722430340187".

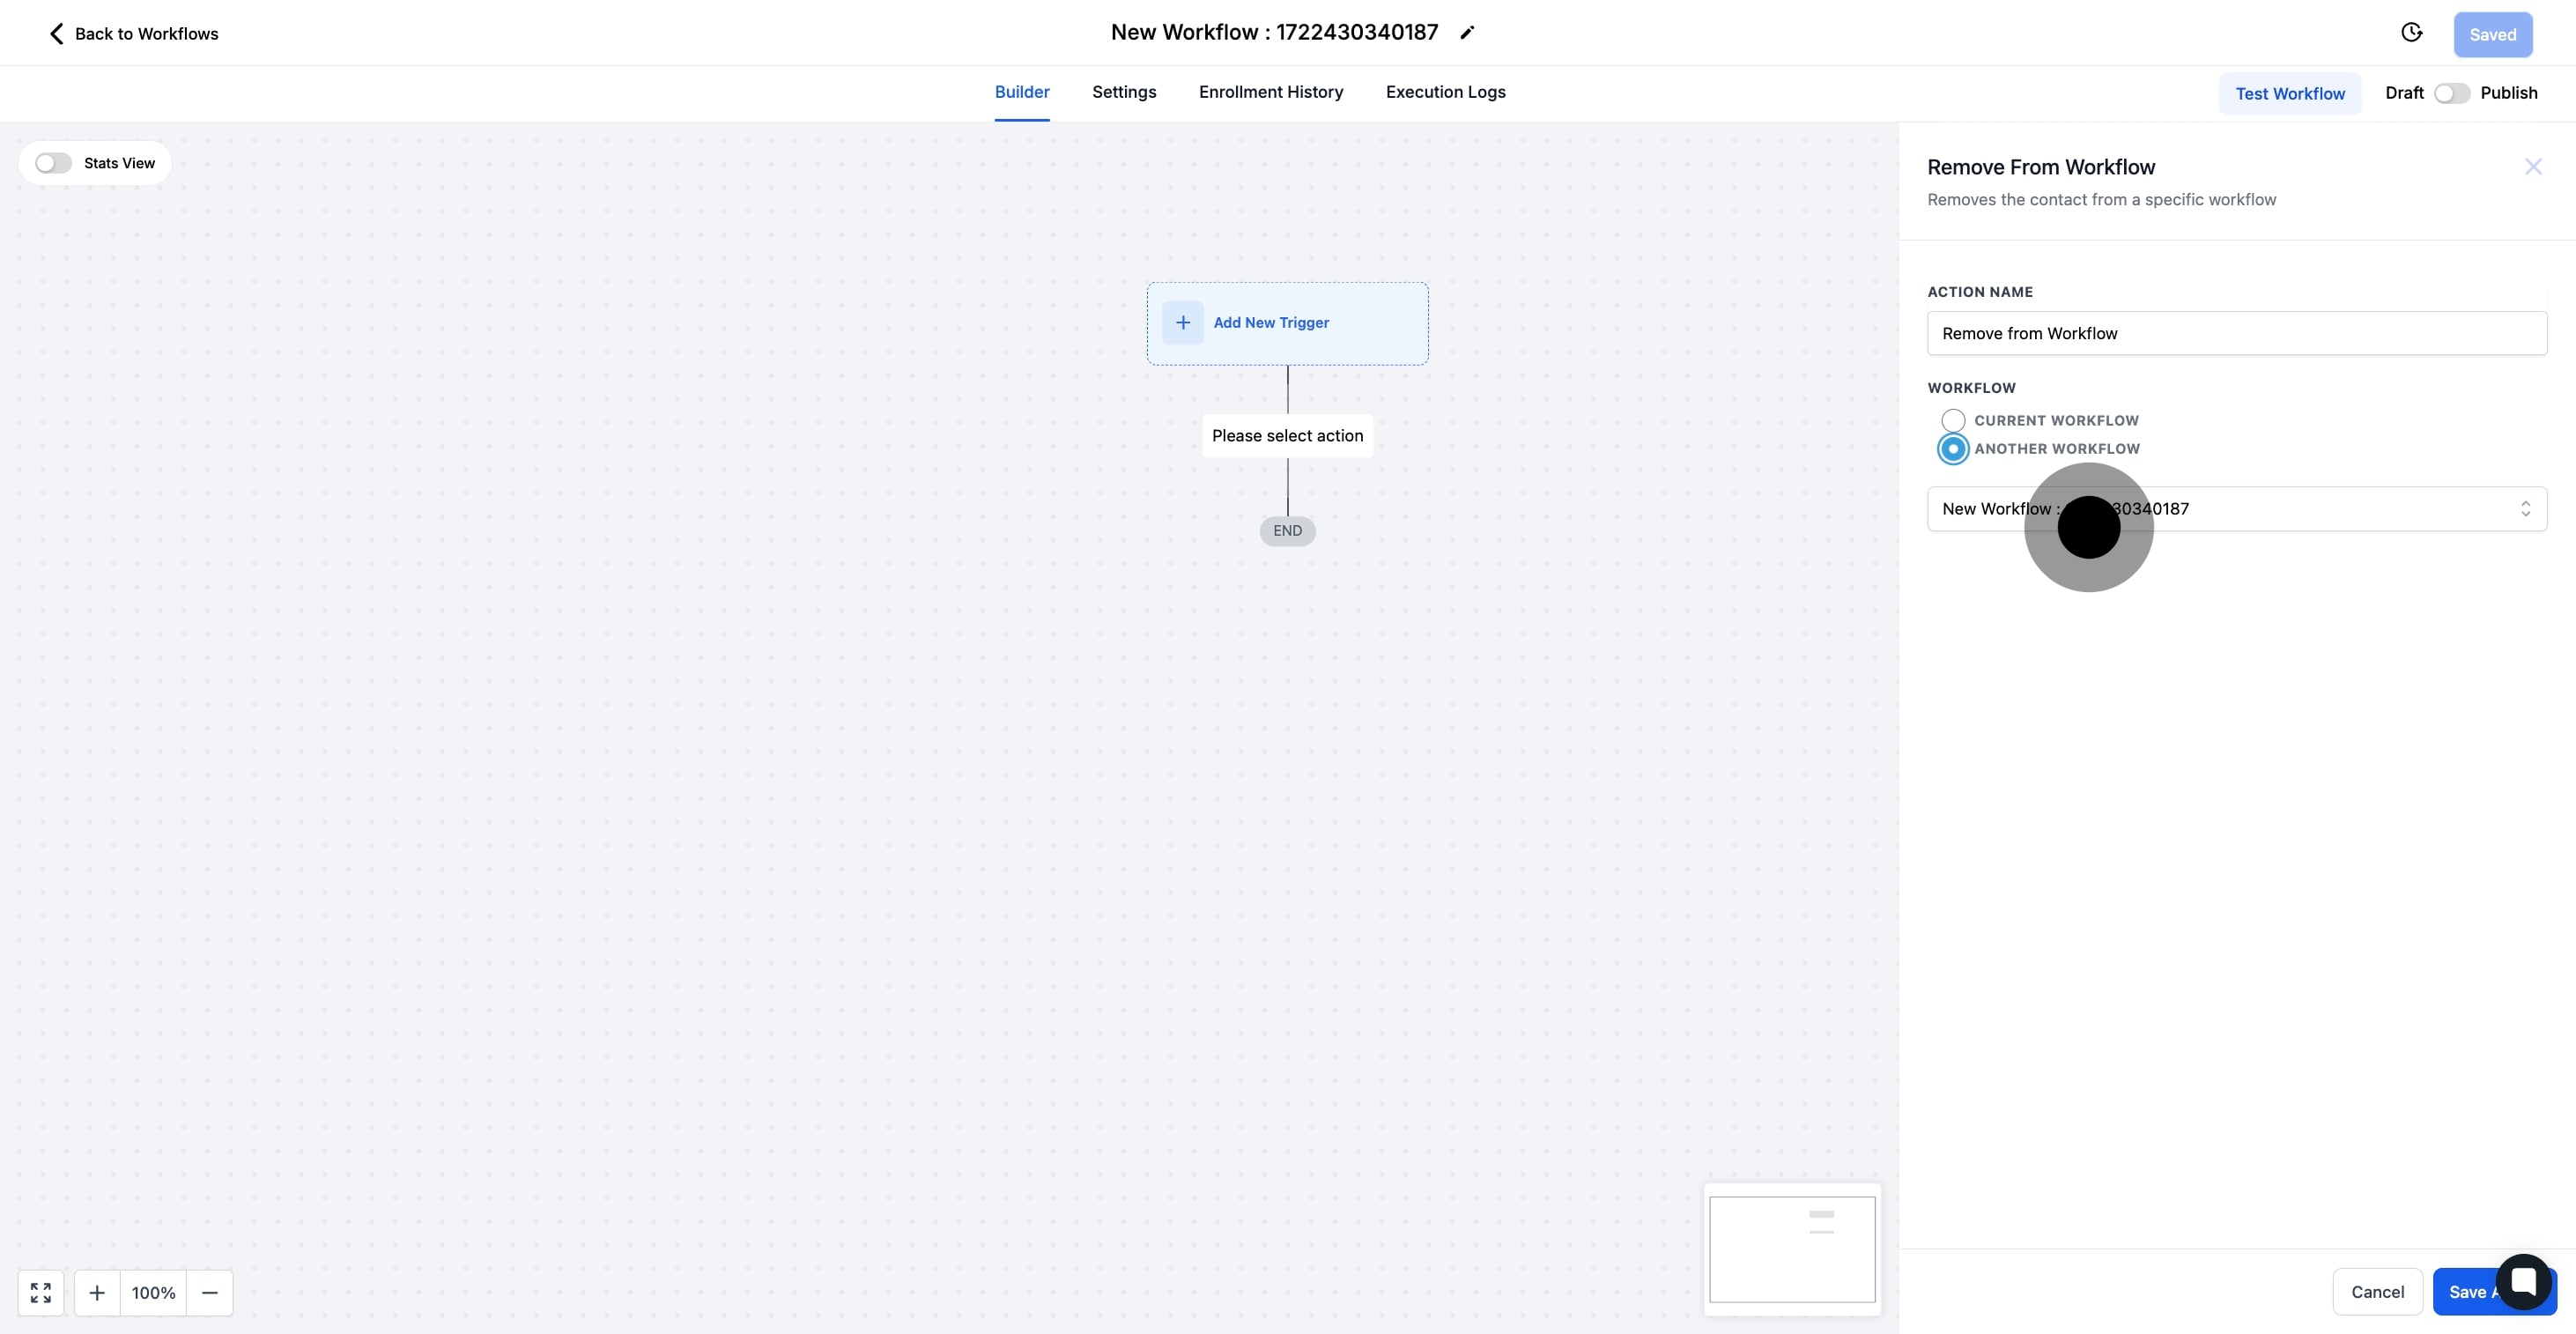
9. Finally, click Save Action to apply changes.

9 Now, click on "Save Action".

10. Ensure you save and publish after finalizing the workflow.

10 Click here.

Did this answer your question?
😞
😐
😁