How to Use the "Update Contact Field" Action in Your Workflow on LeadDec

Enhance your contact management by learning how to use the "Update Contact Field" action in your workflow on LeadDec. This article provides a detailed, step-by-step guide on setting up this feature, allowing you to automatically update contact information based on specific criteria. Ideal for users looking to keep their contact records accurate and up-to-date effortlessly.


1. Start by clicking 'Automation' to proceed.
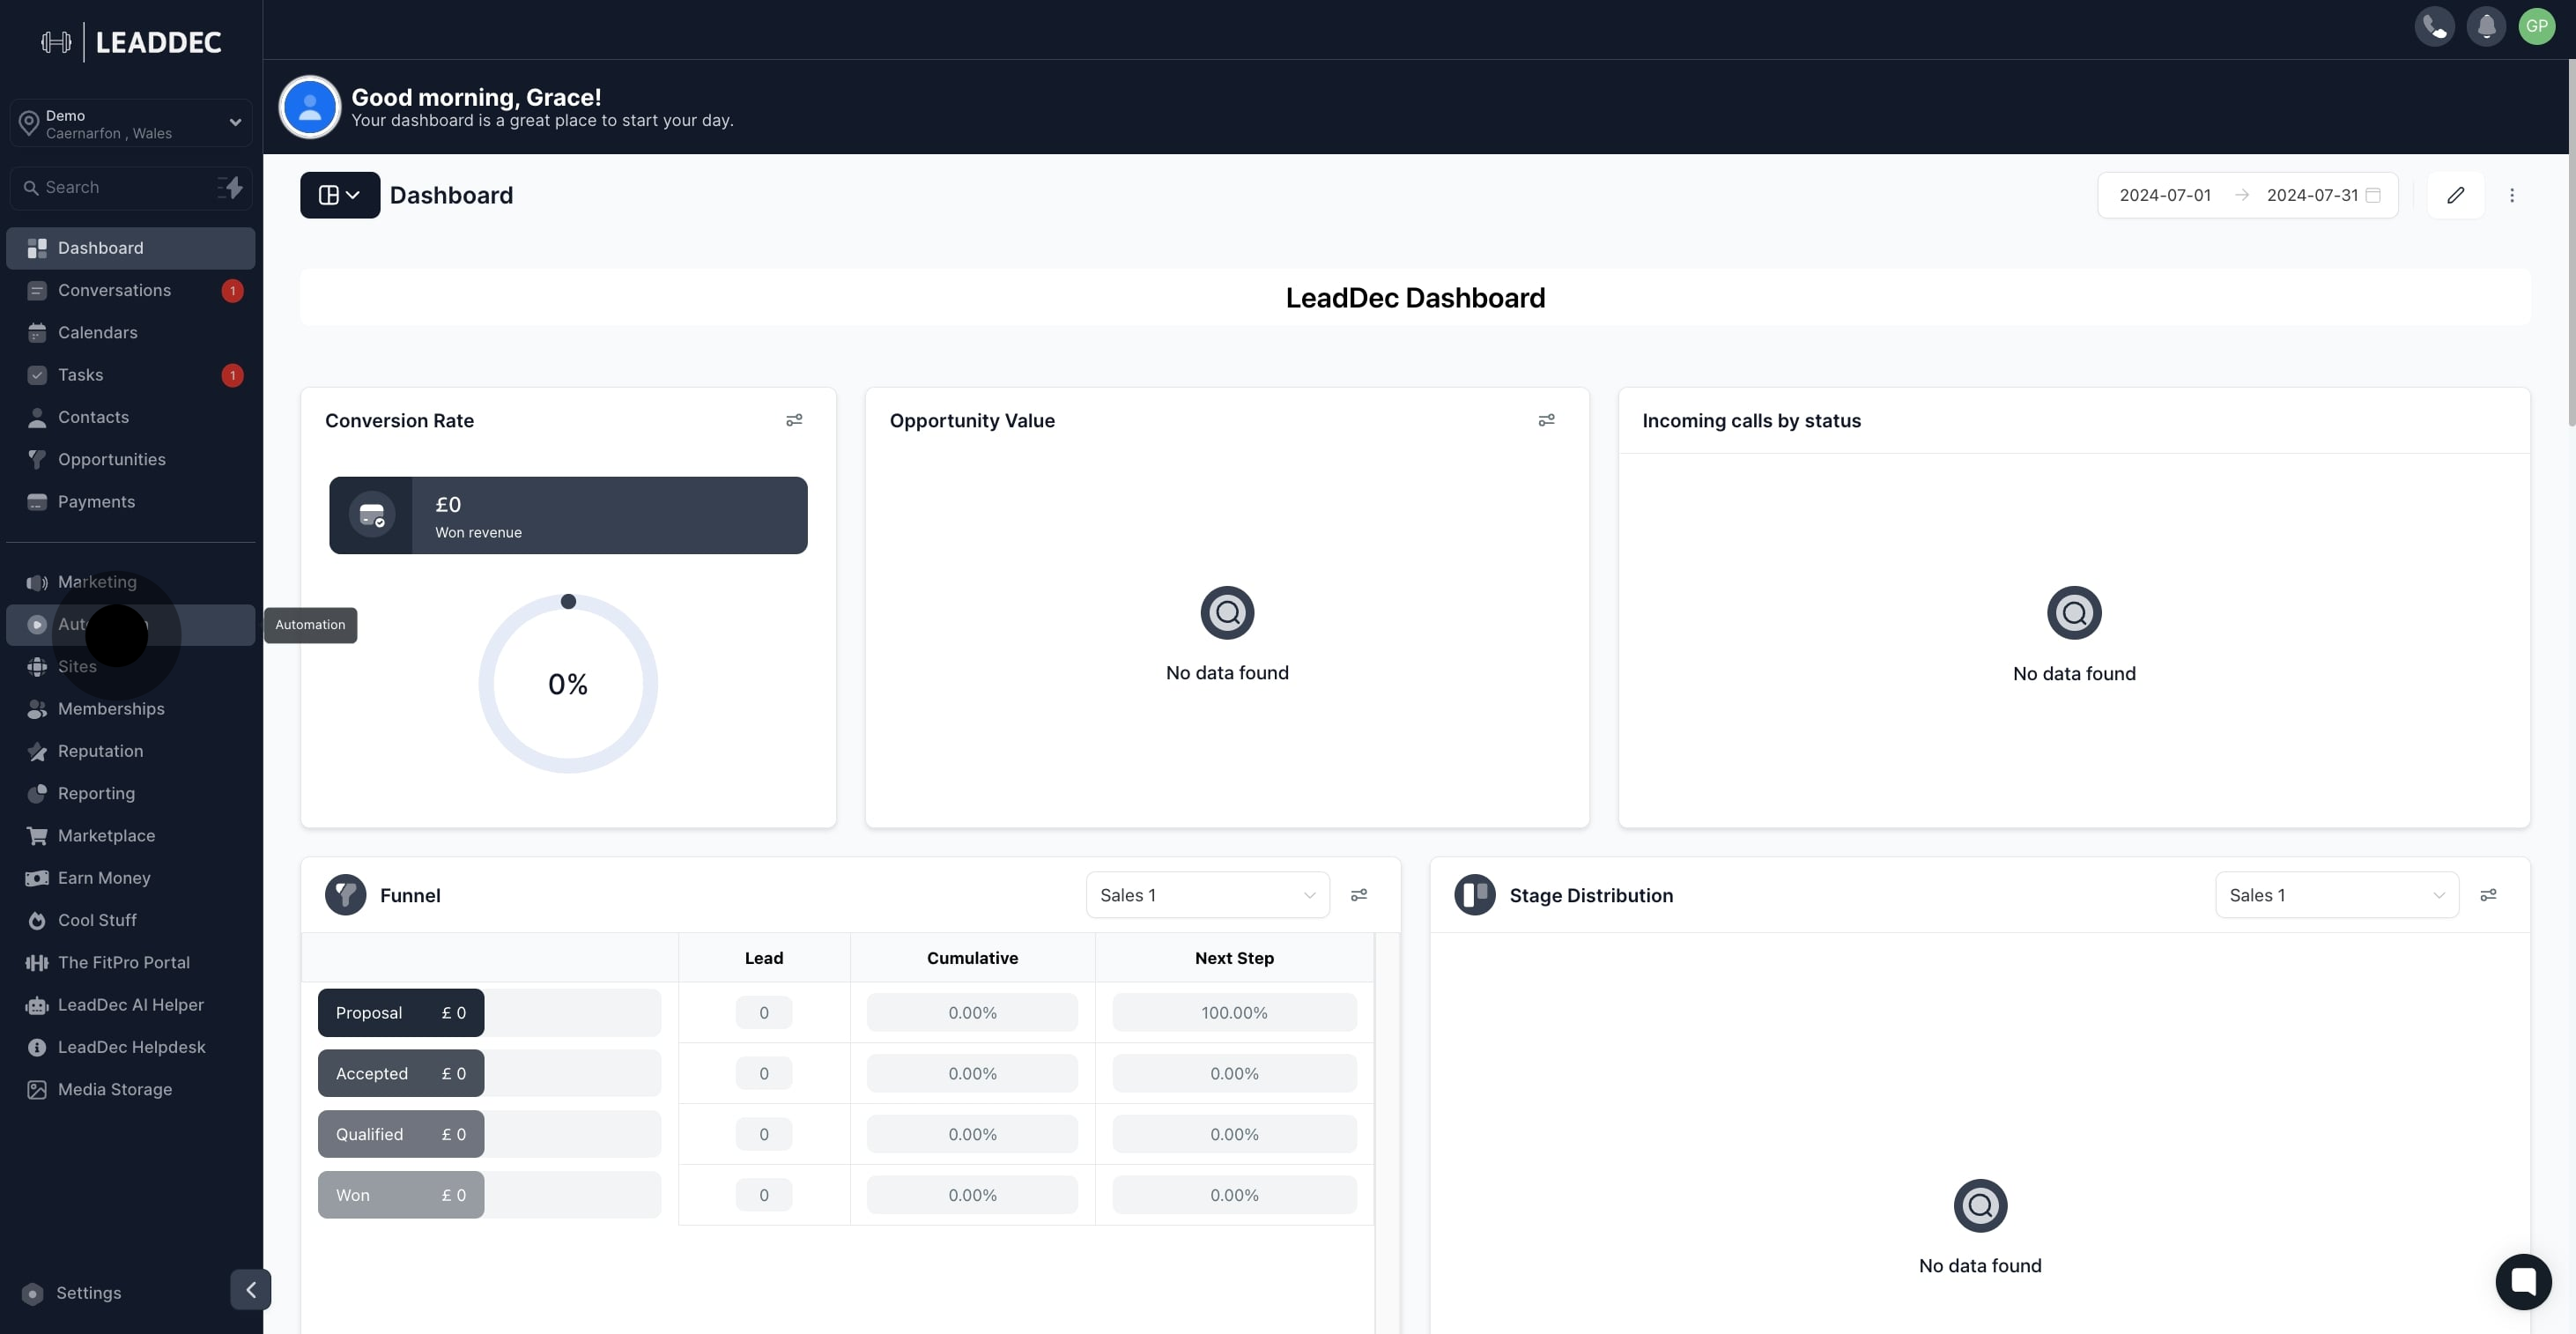
1 First, click on "automation".

2. Now, select 'Create Workflow' to begin.

2 Click on "Create Workflow".

3. Choose 'Start from Scratch' to set up from ground zero.
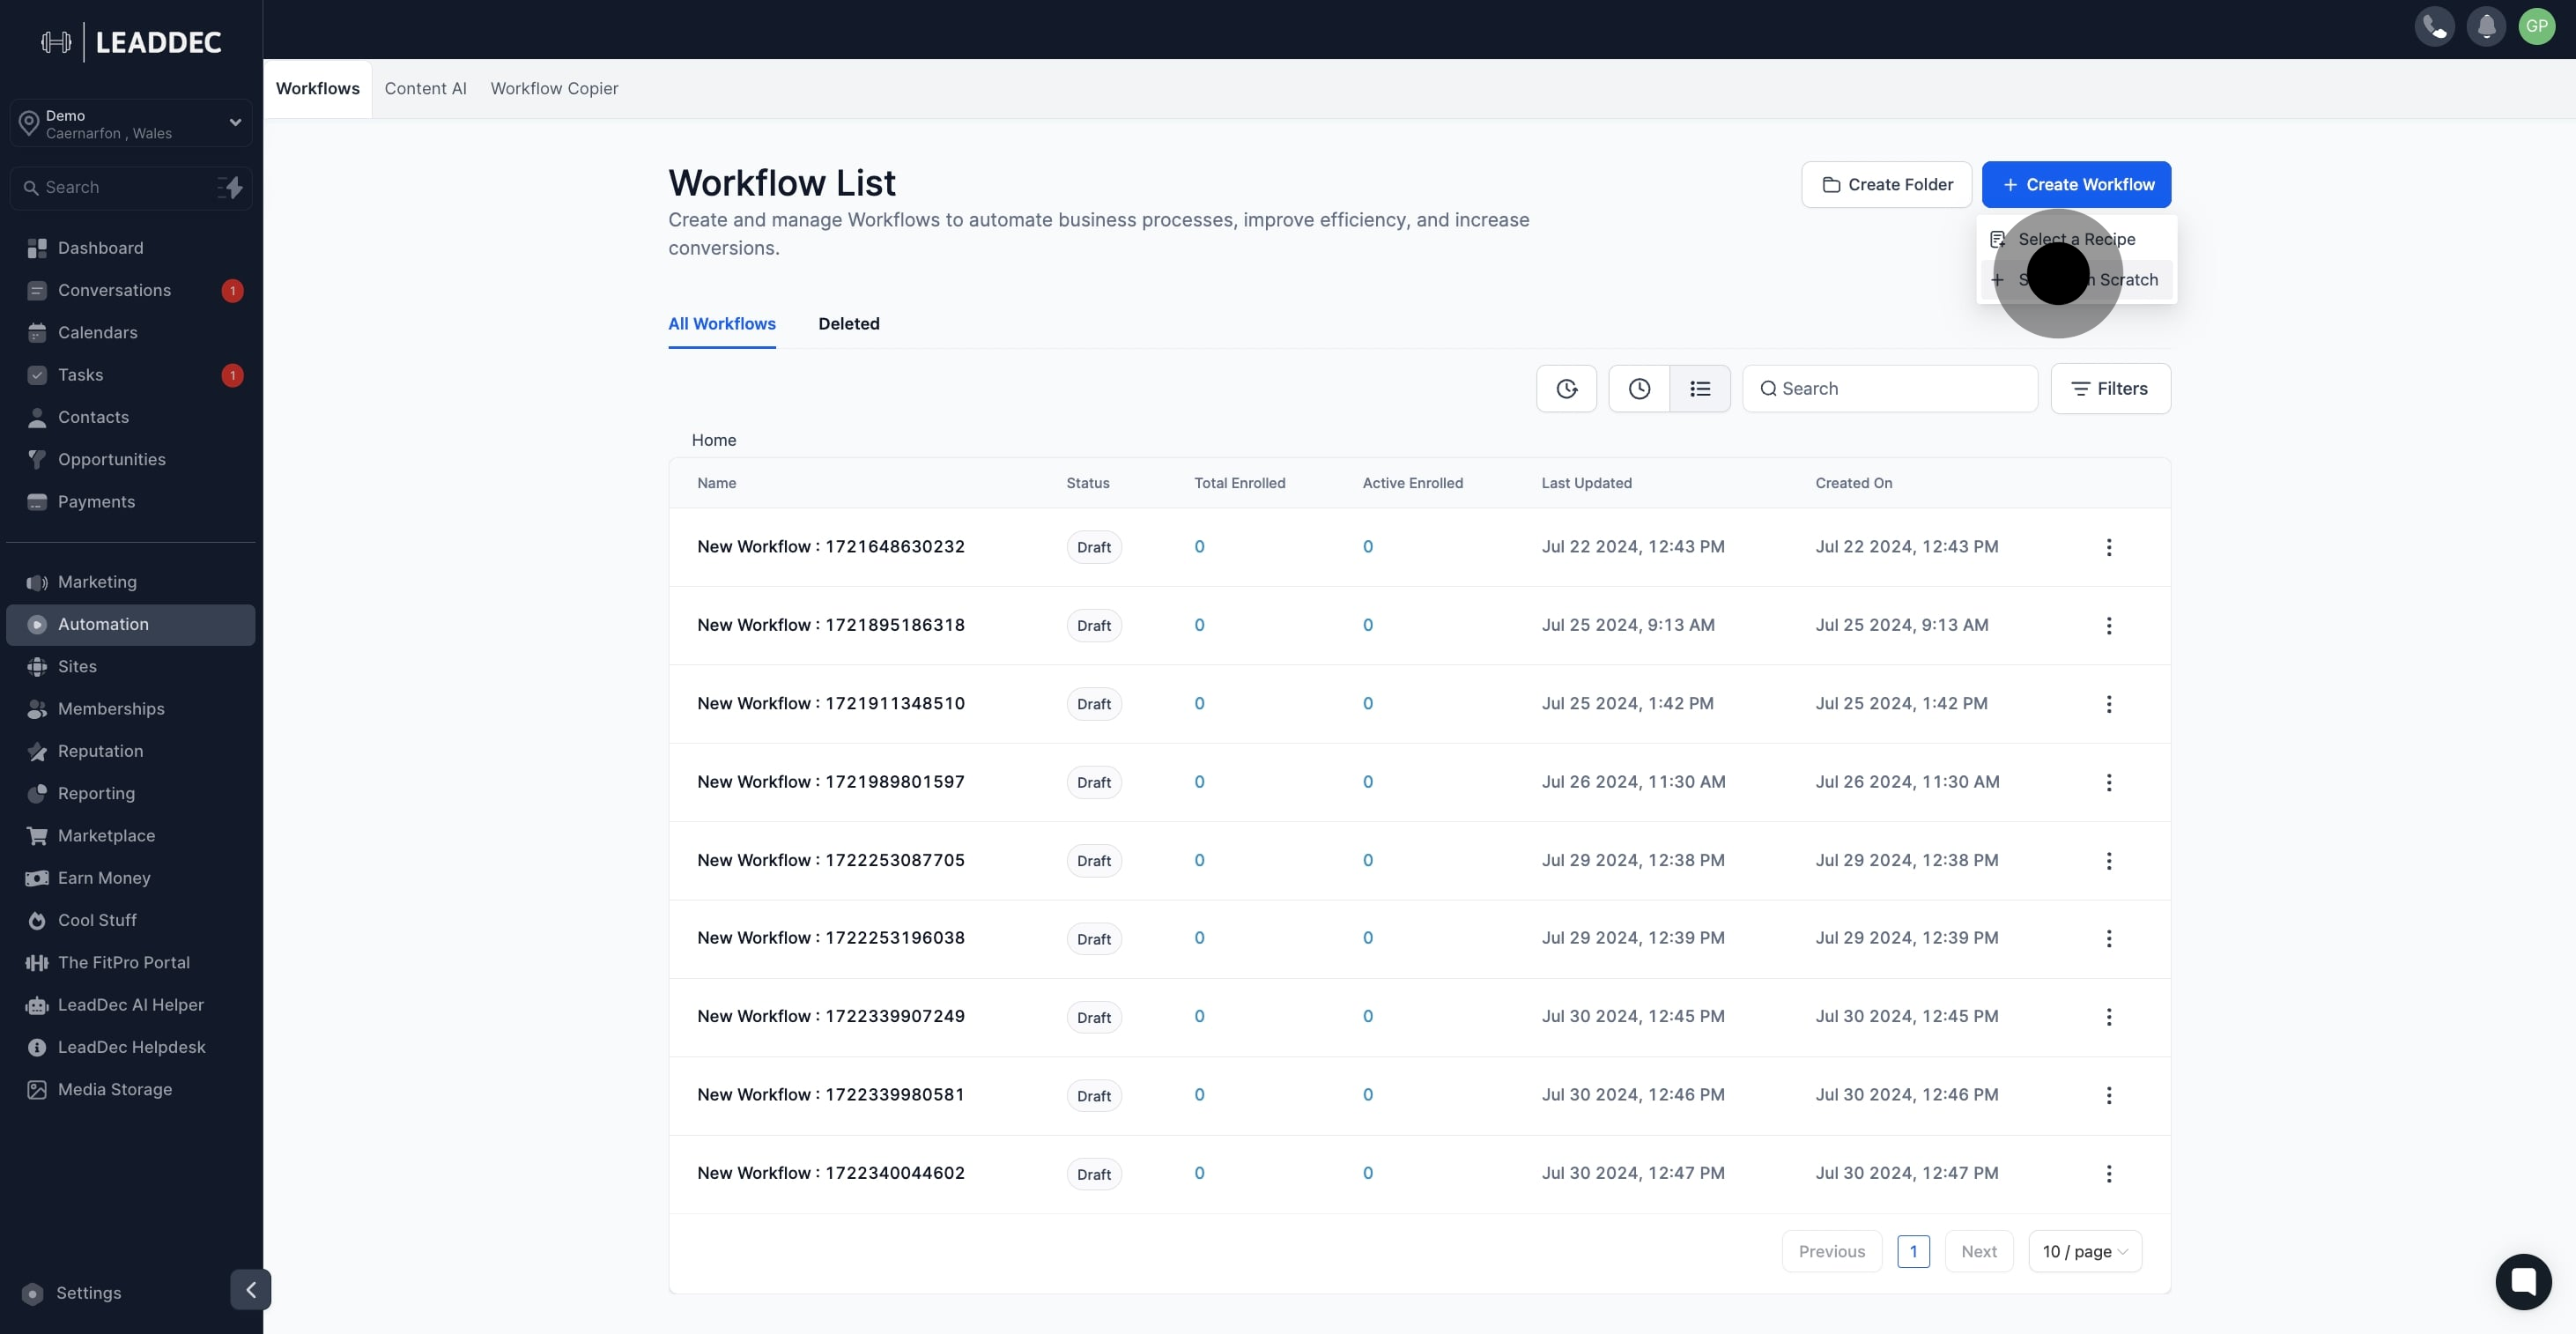
3 Click on "Start from Scratch".

4. Add a trigger to initiate your workflow.
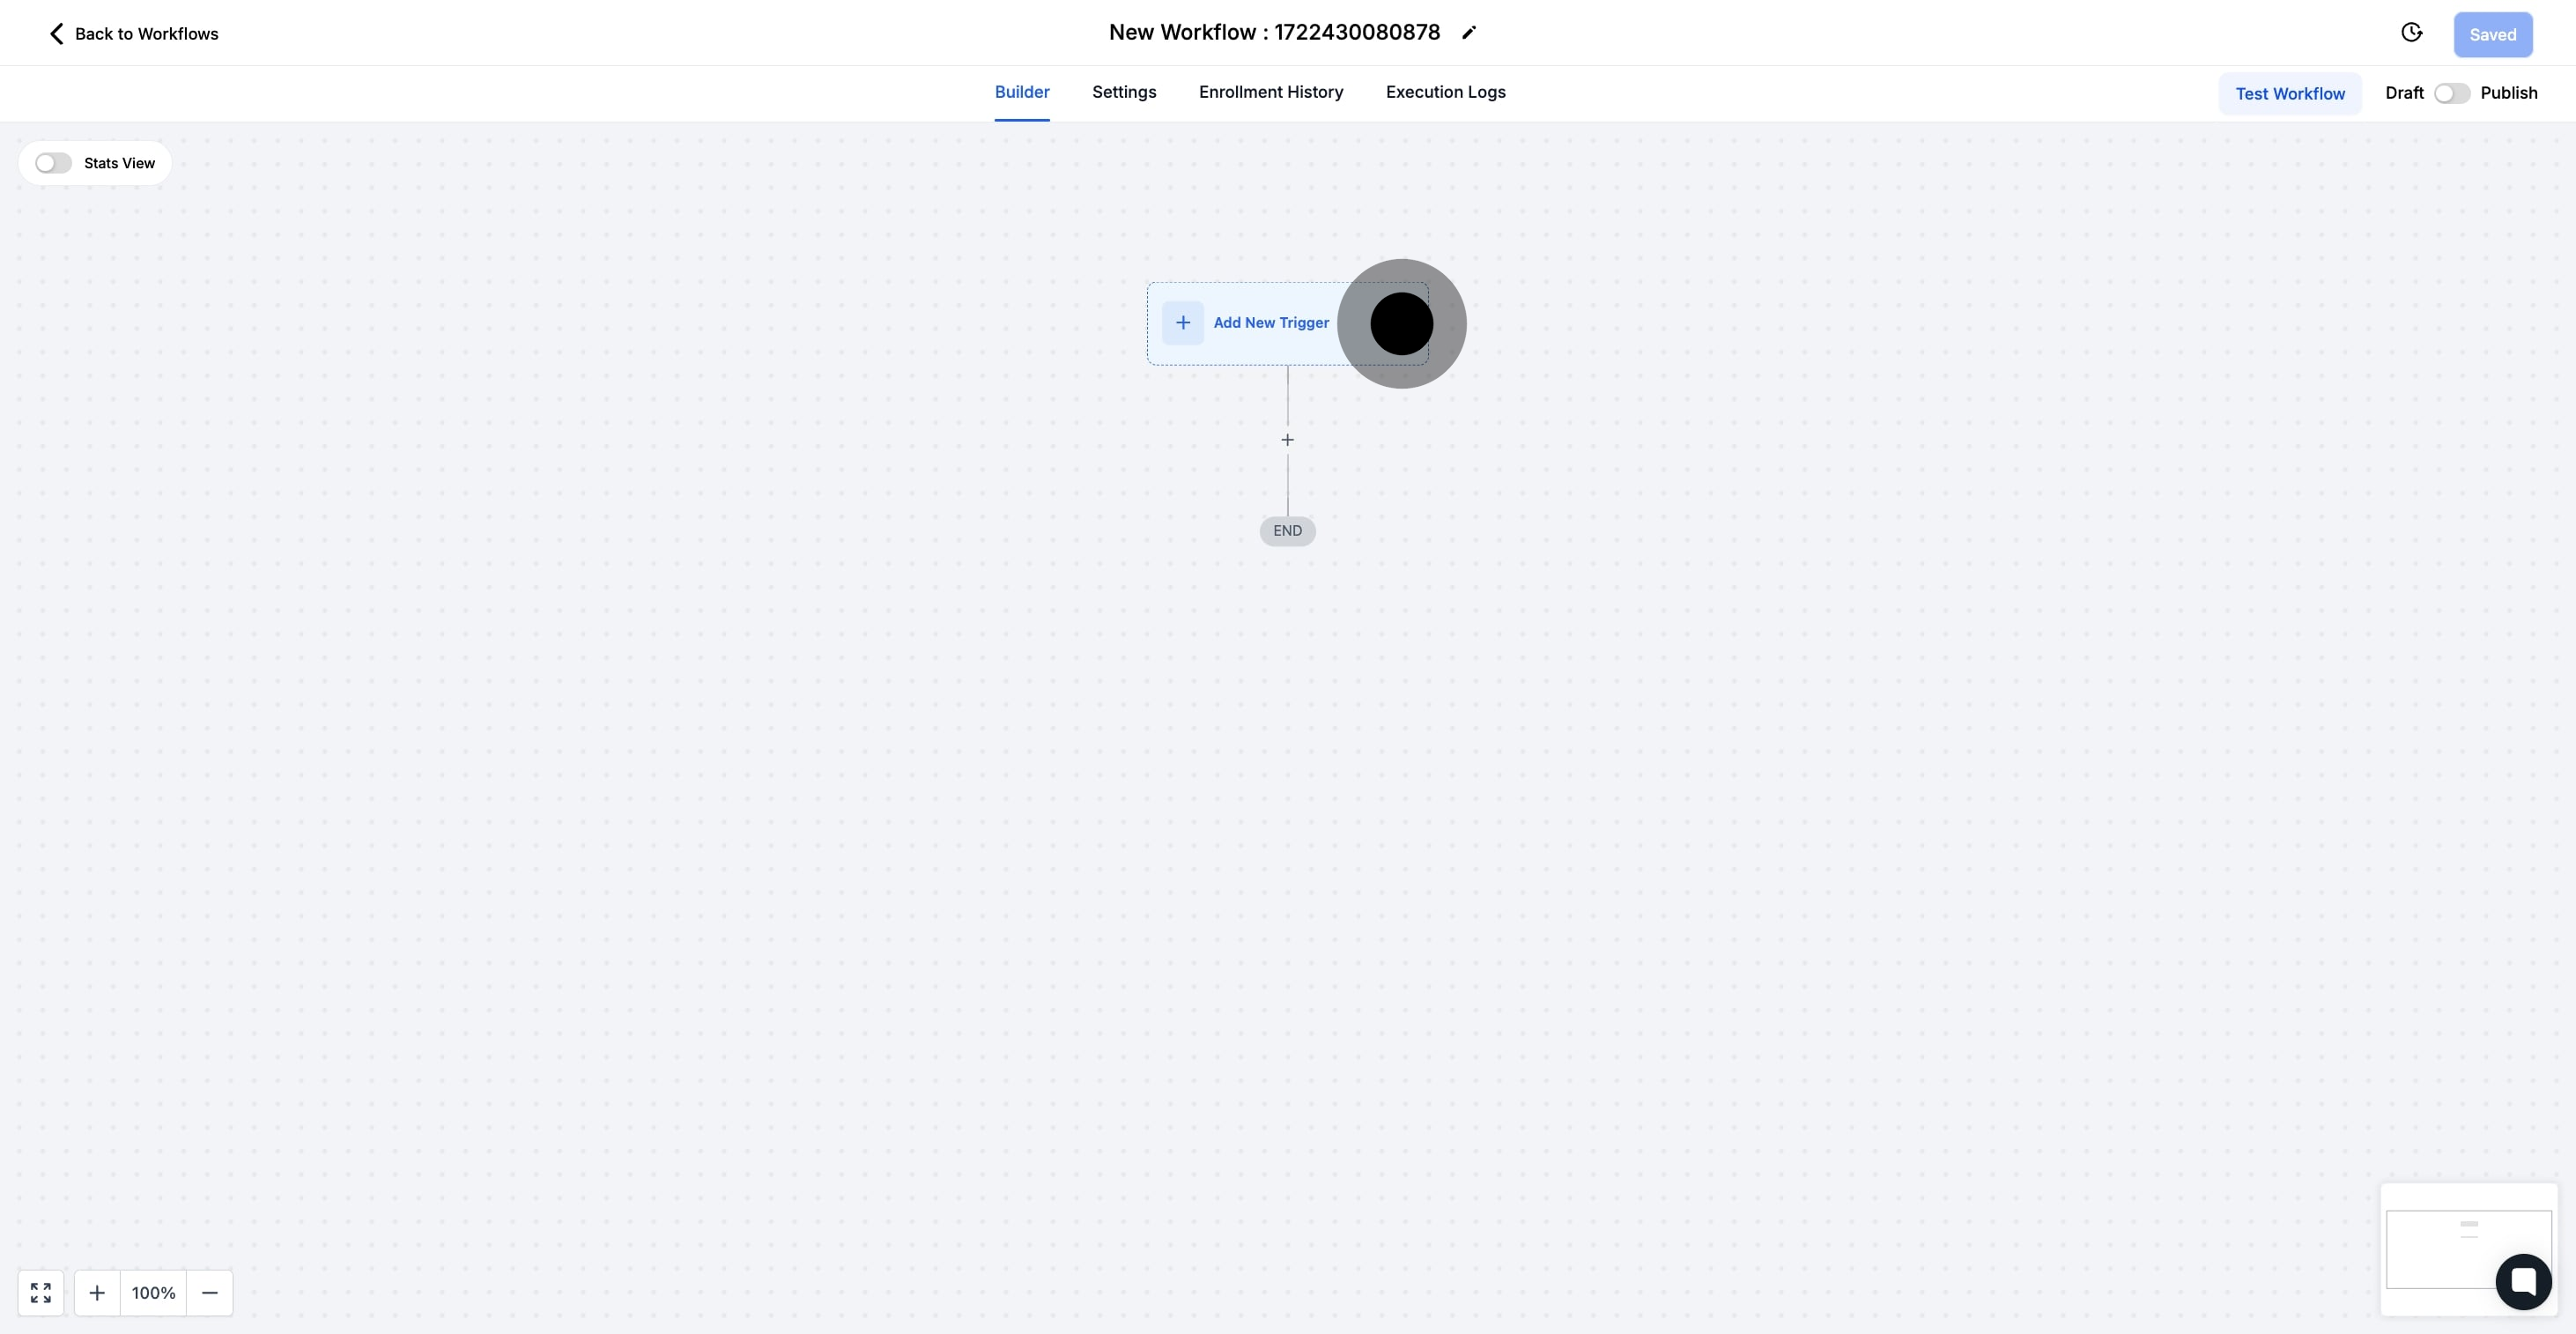
4 Click on the element.

5. Next, click the '+' icon to define an action step.
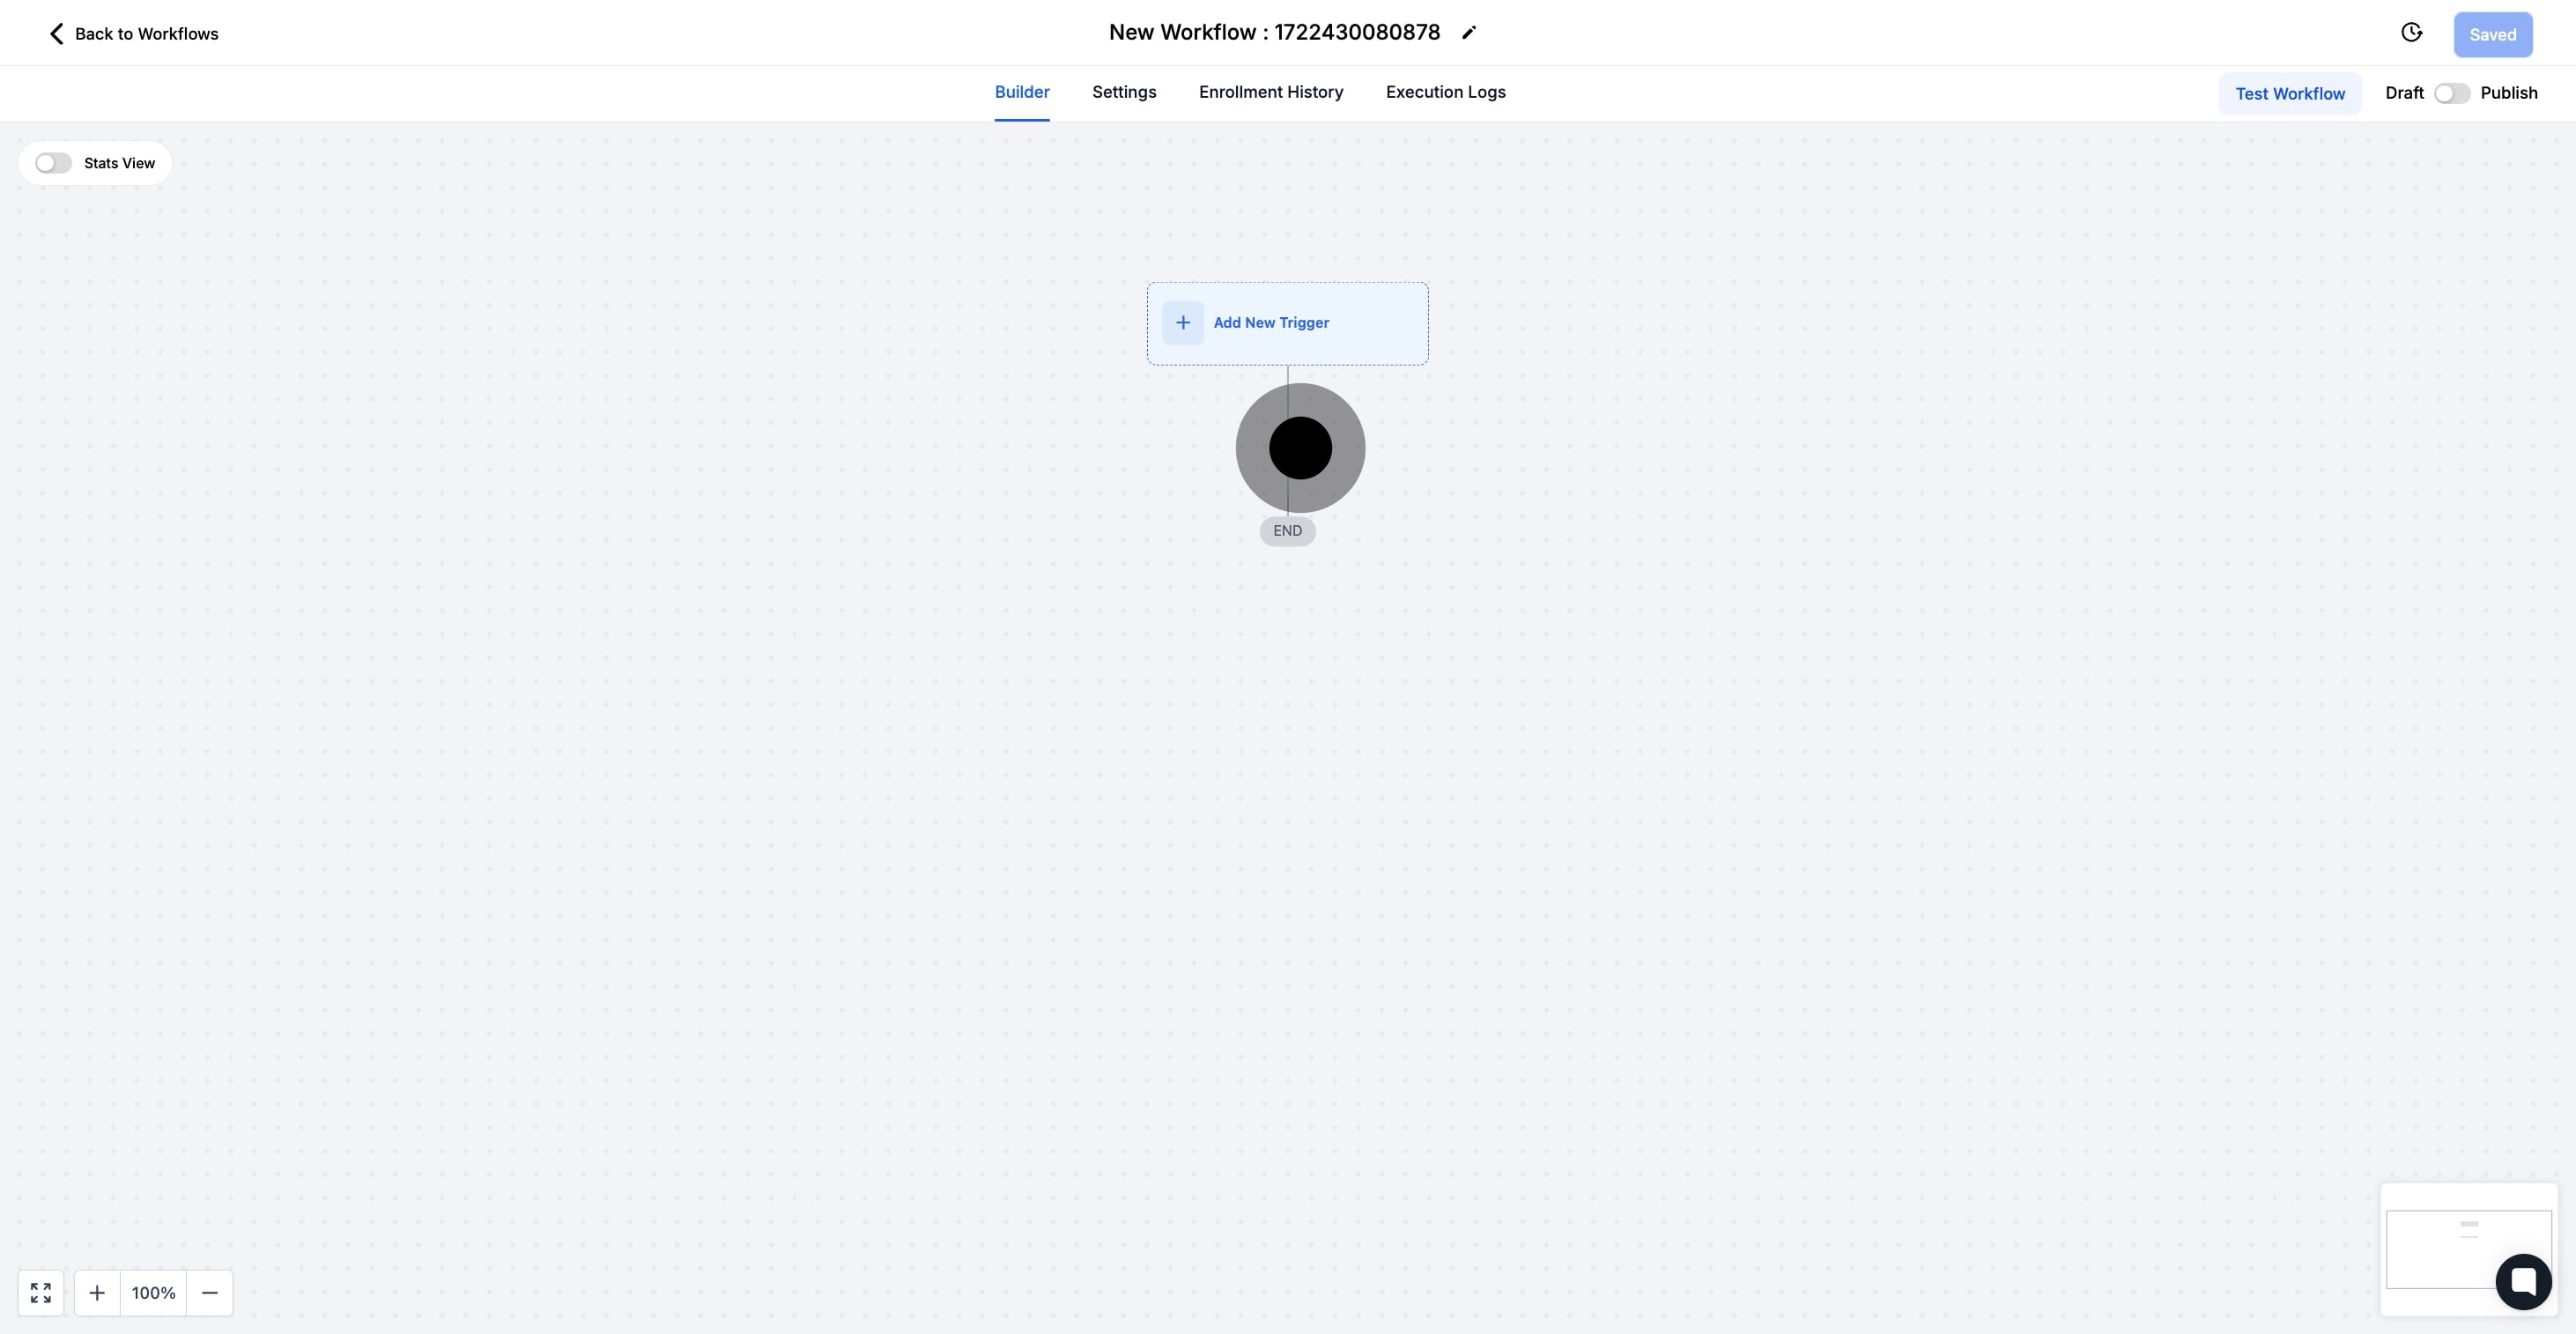
5 Click here.

6. Choose 'Update Contact Field' to specify the action.
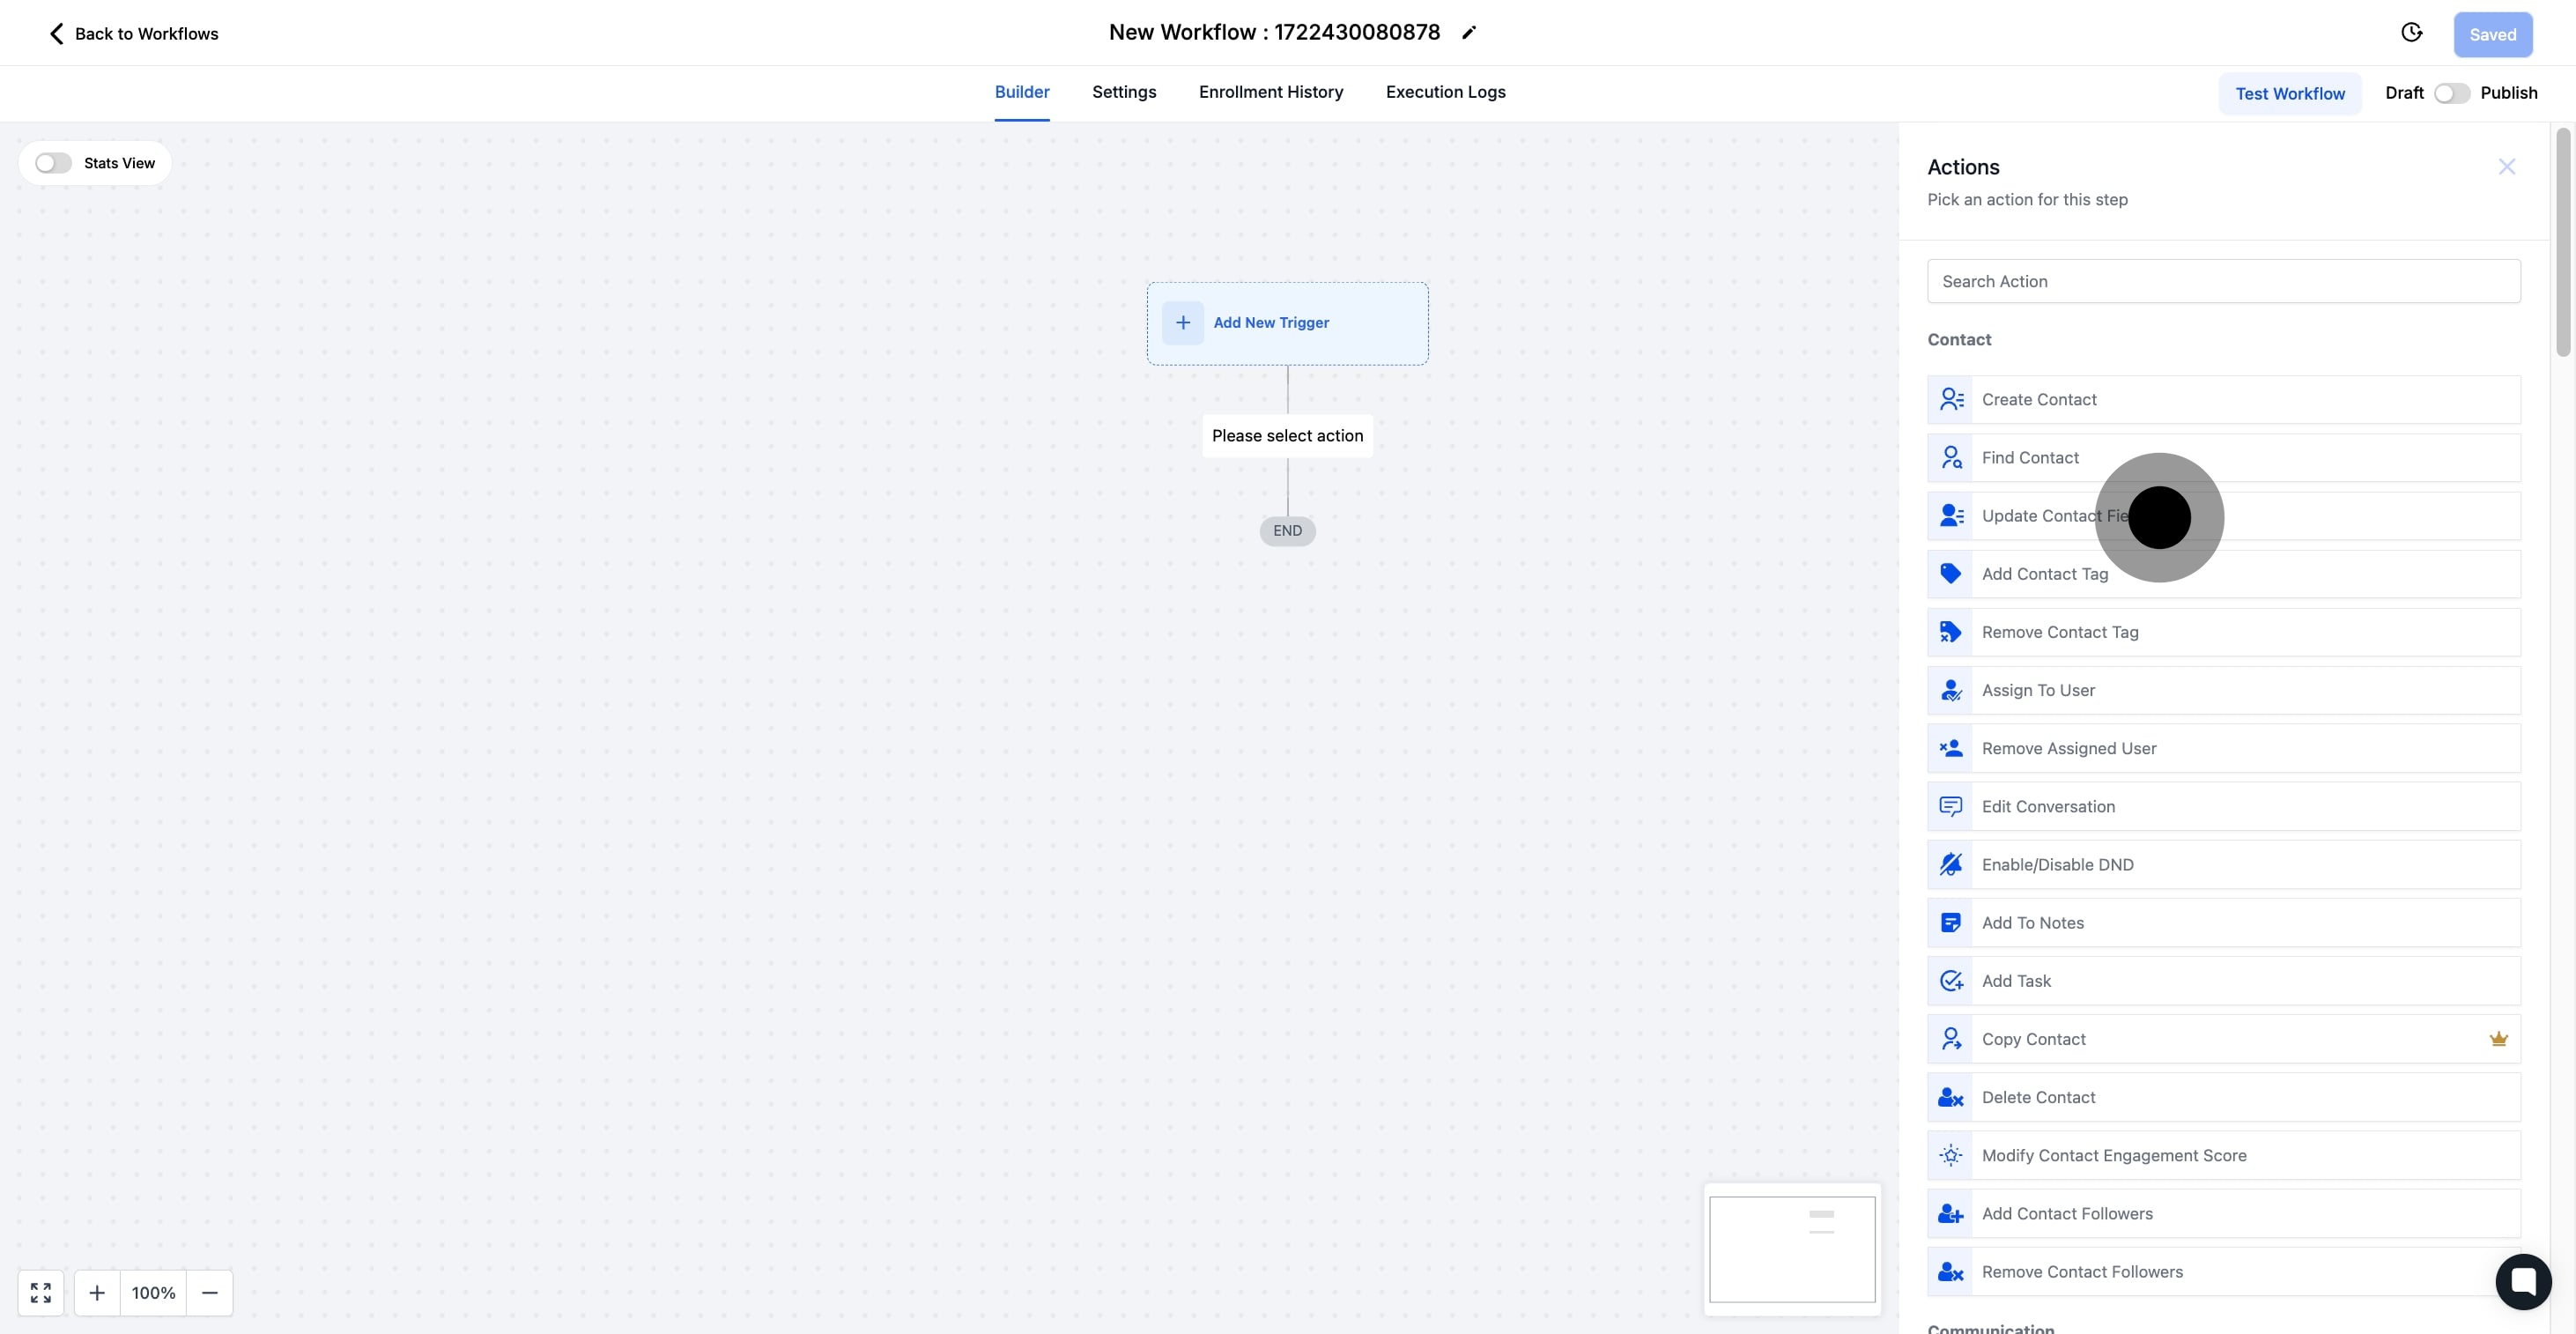
6 Click on "Update contact field".

7. Define the action type as 'Update Field Data'.
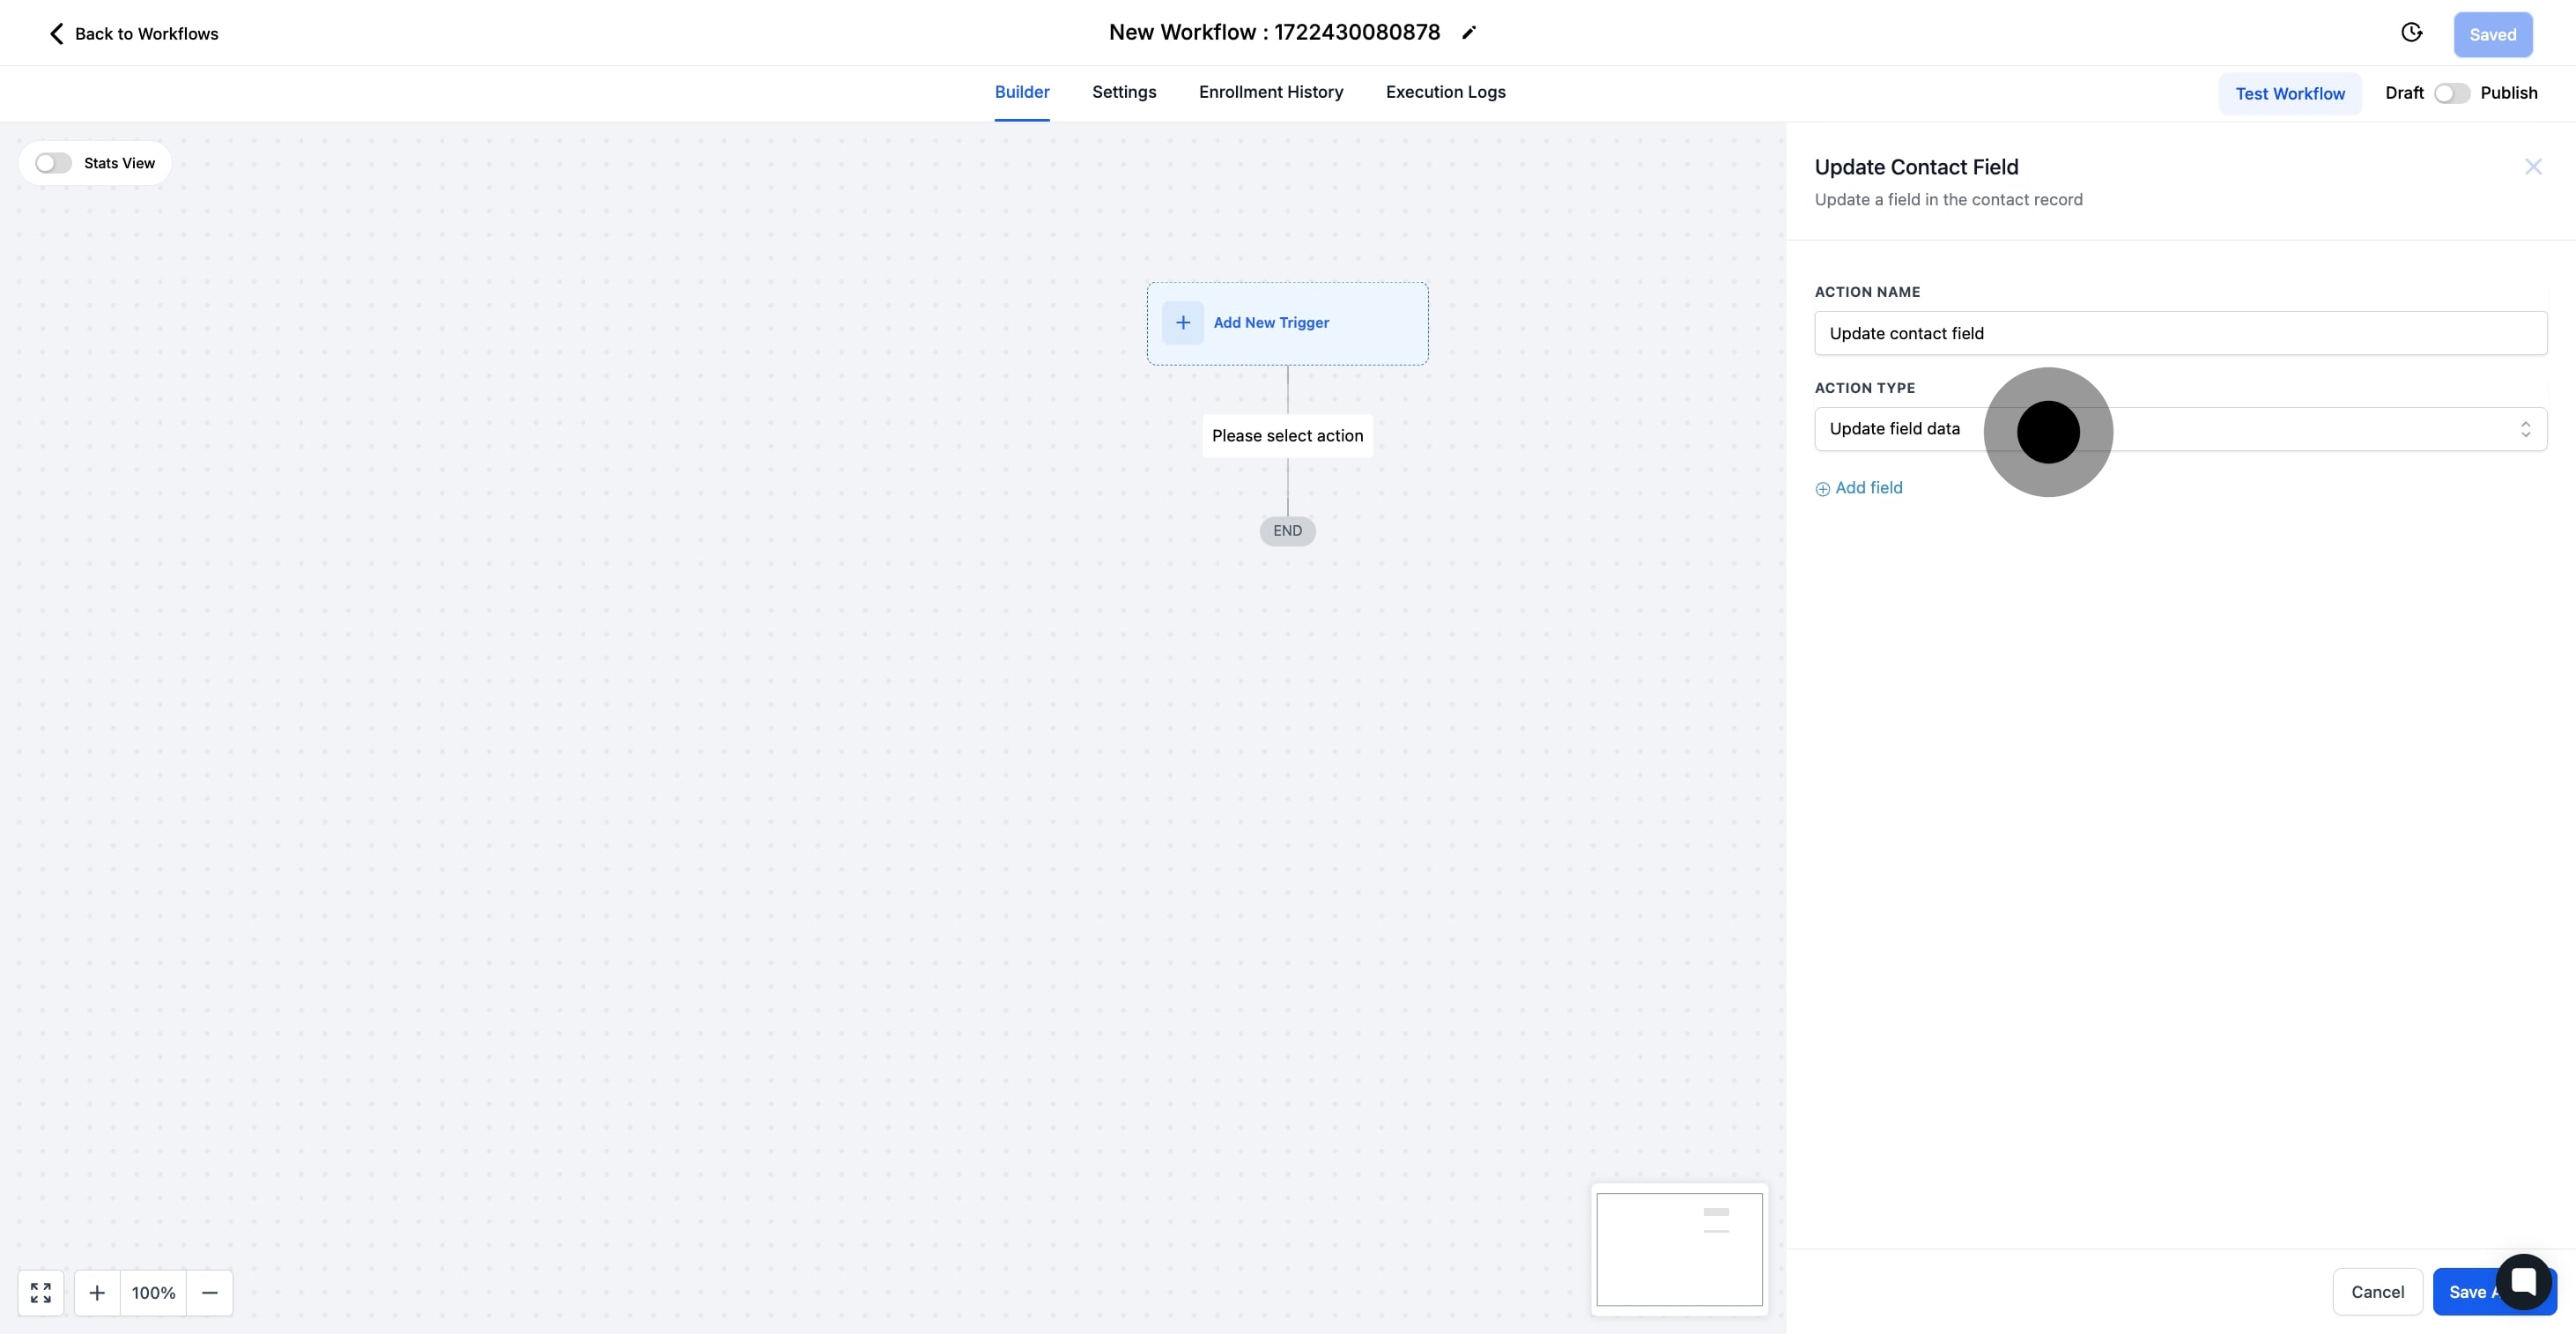
7 Click on "Action Type".

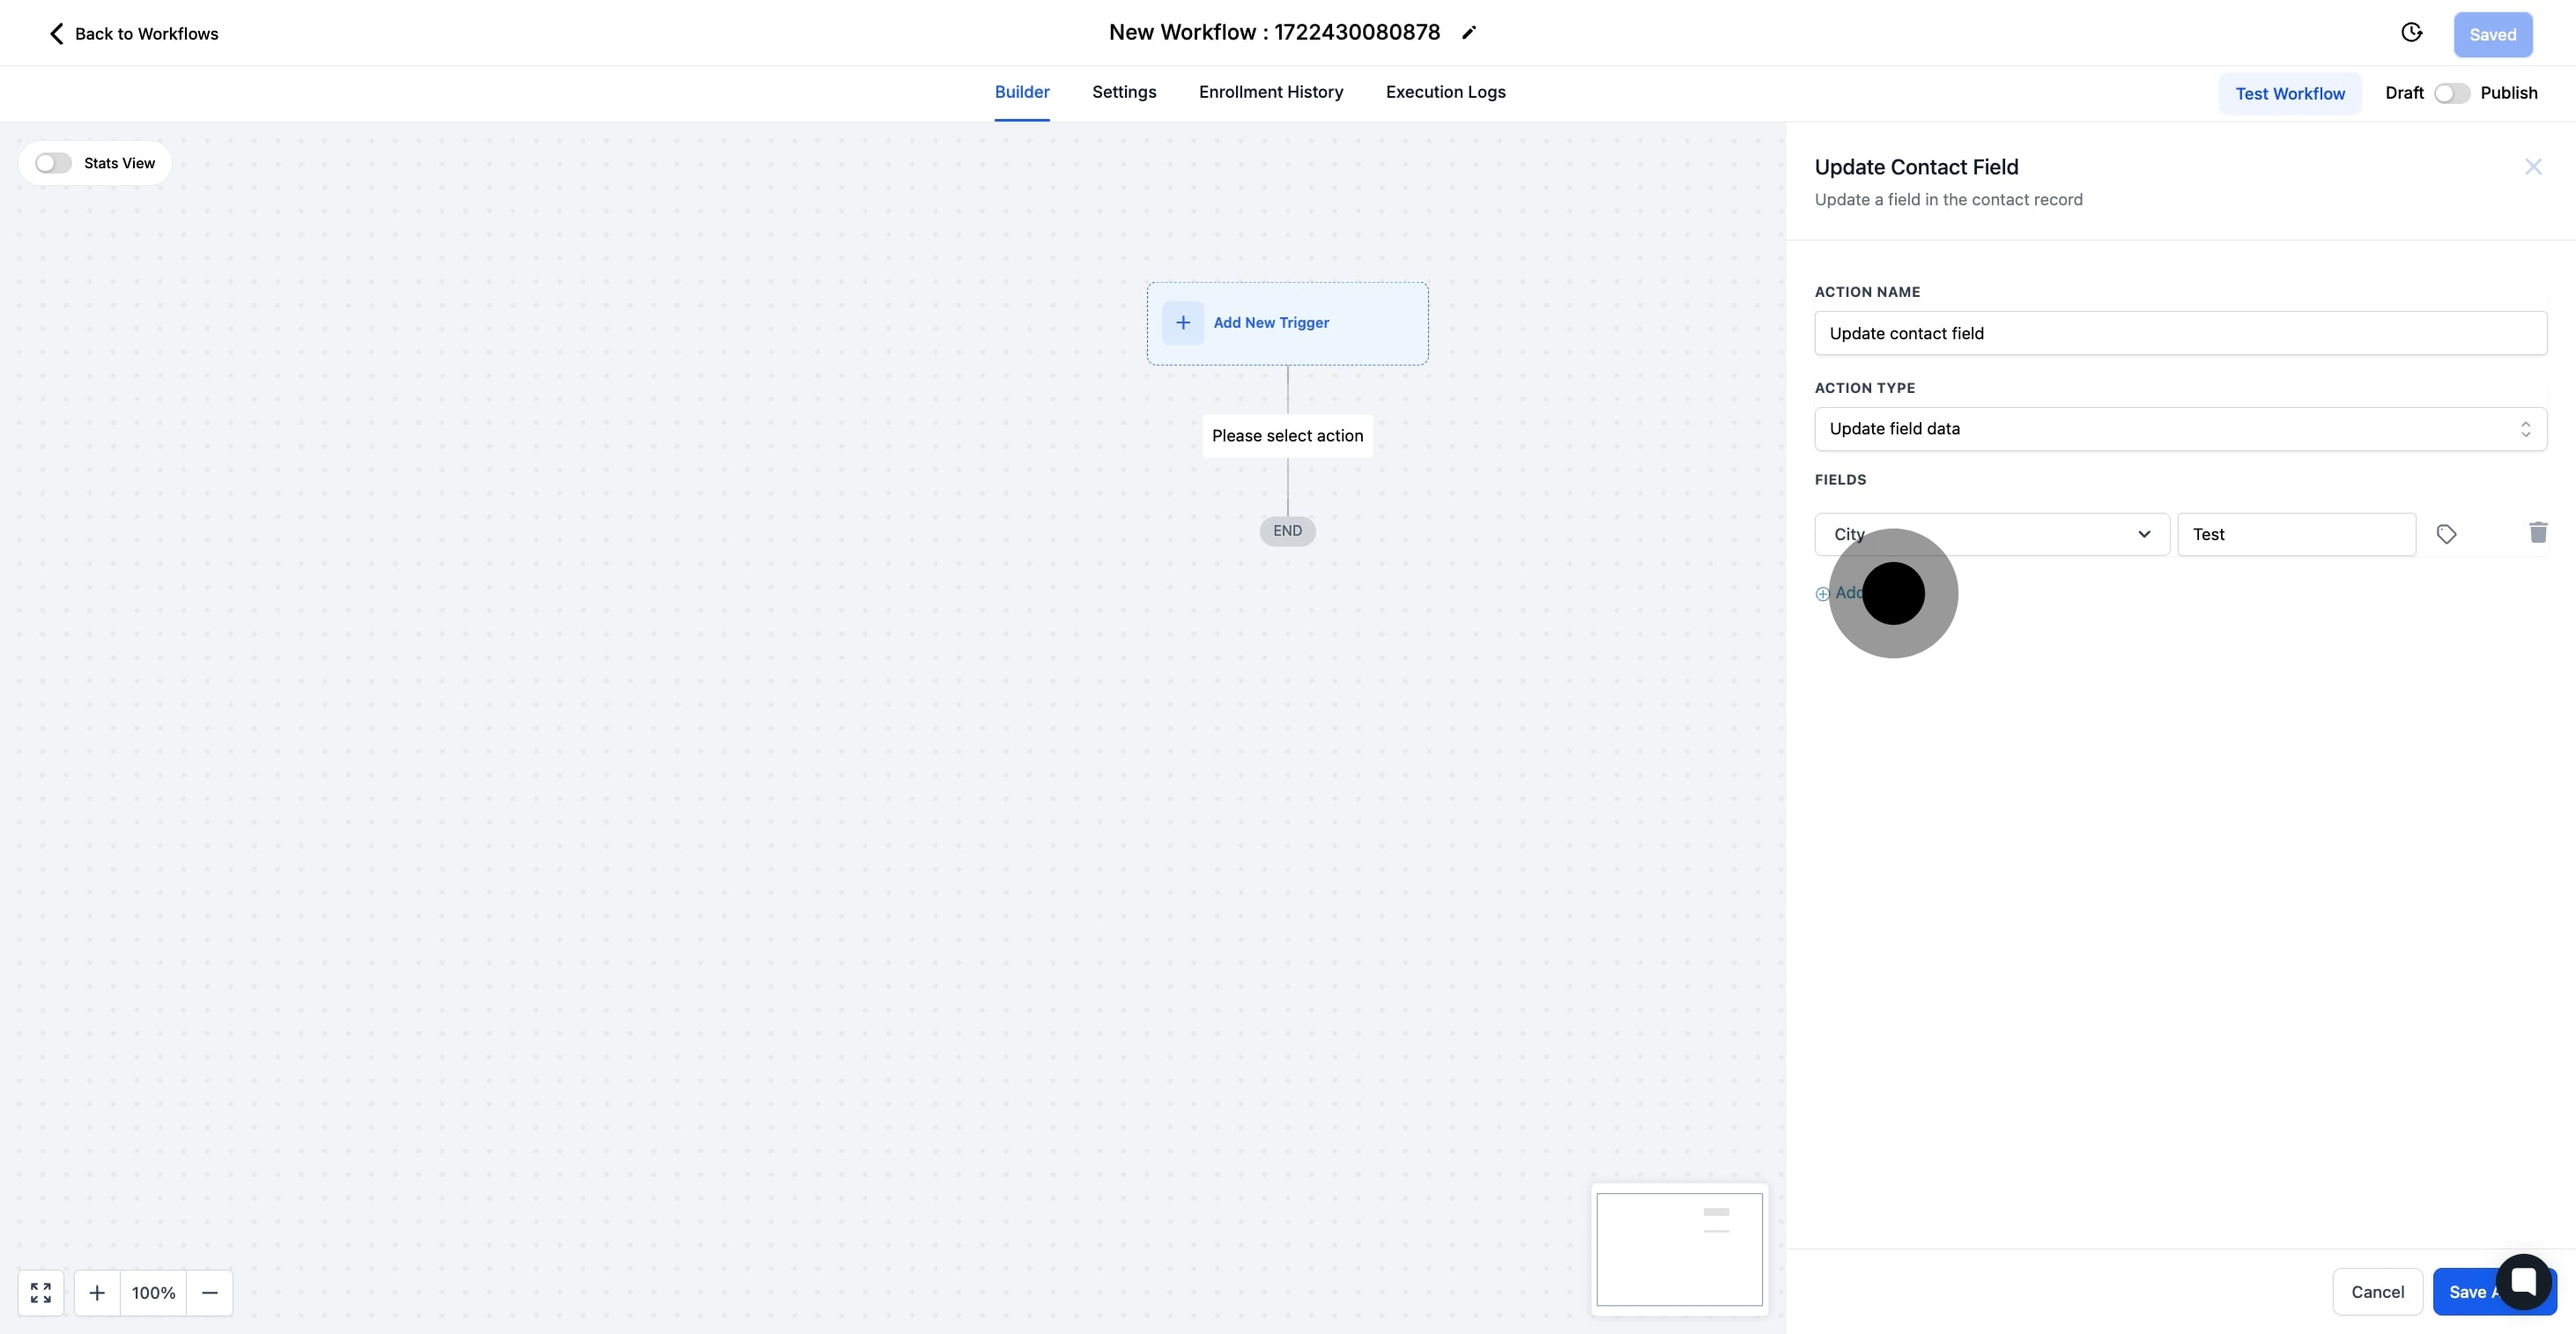
8. Click 'Add Field' to insert a new field.

8 Click on "Add field".

9. Then, click 'Select Field' to continue.
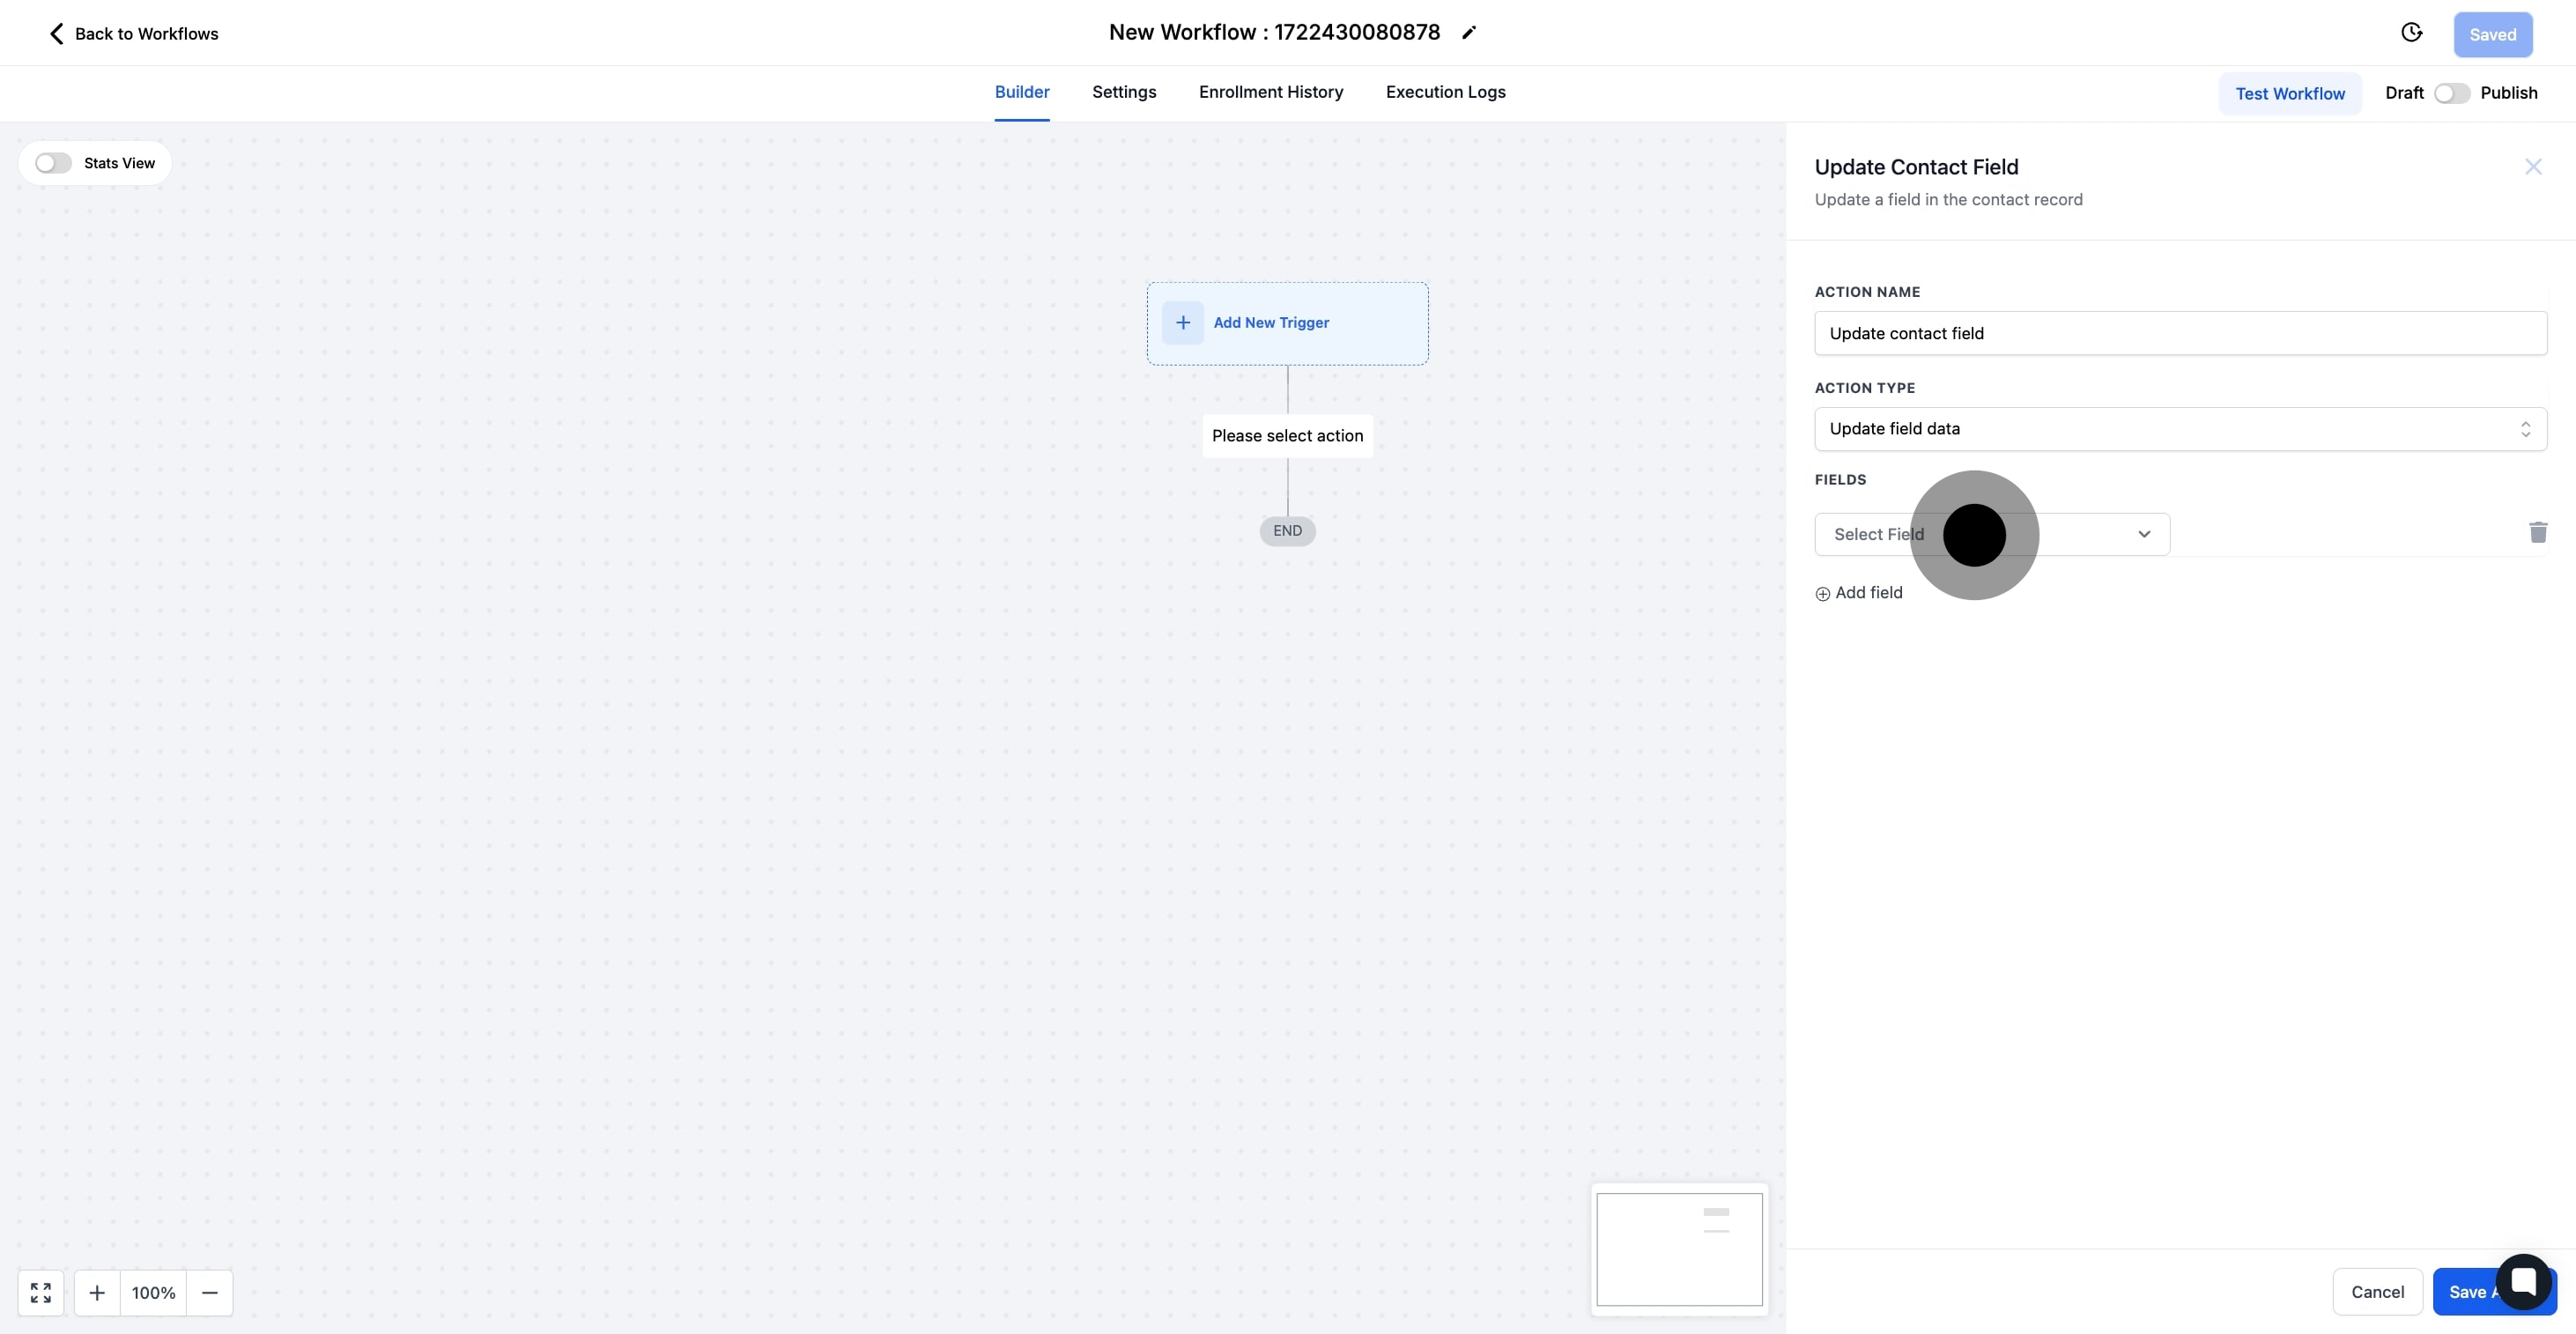
9 Next up, click on "Select Field".

10. Select the relevant field you wish to update.
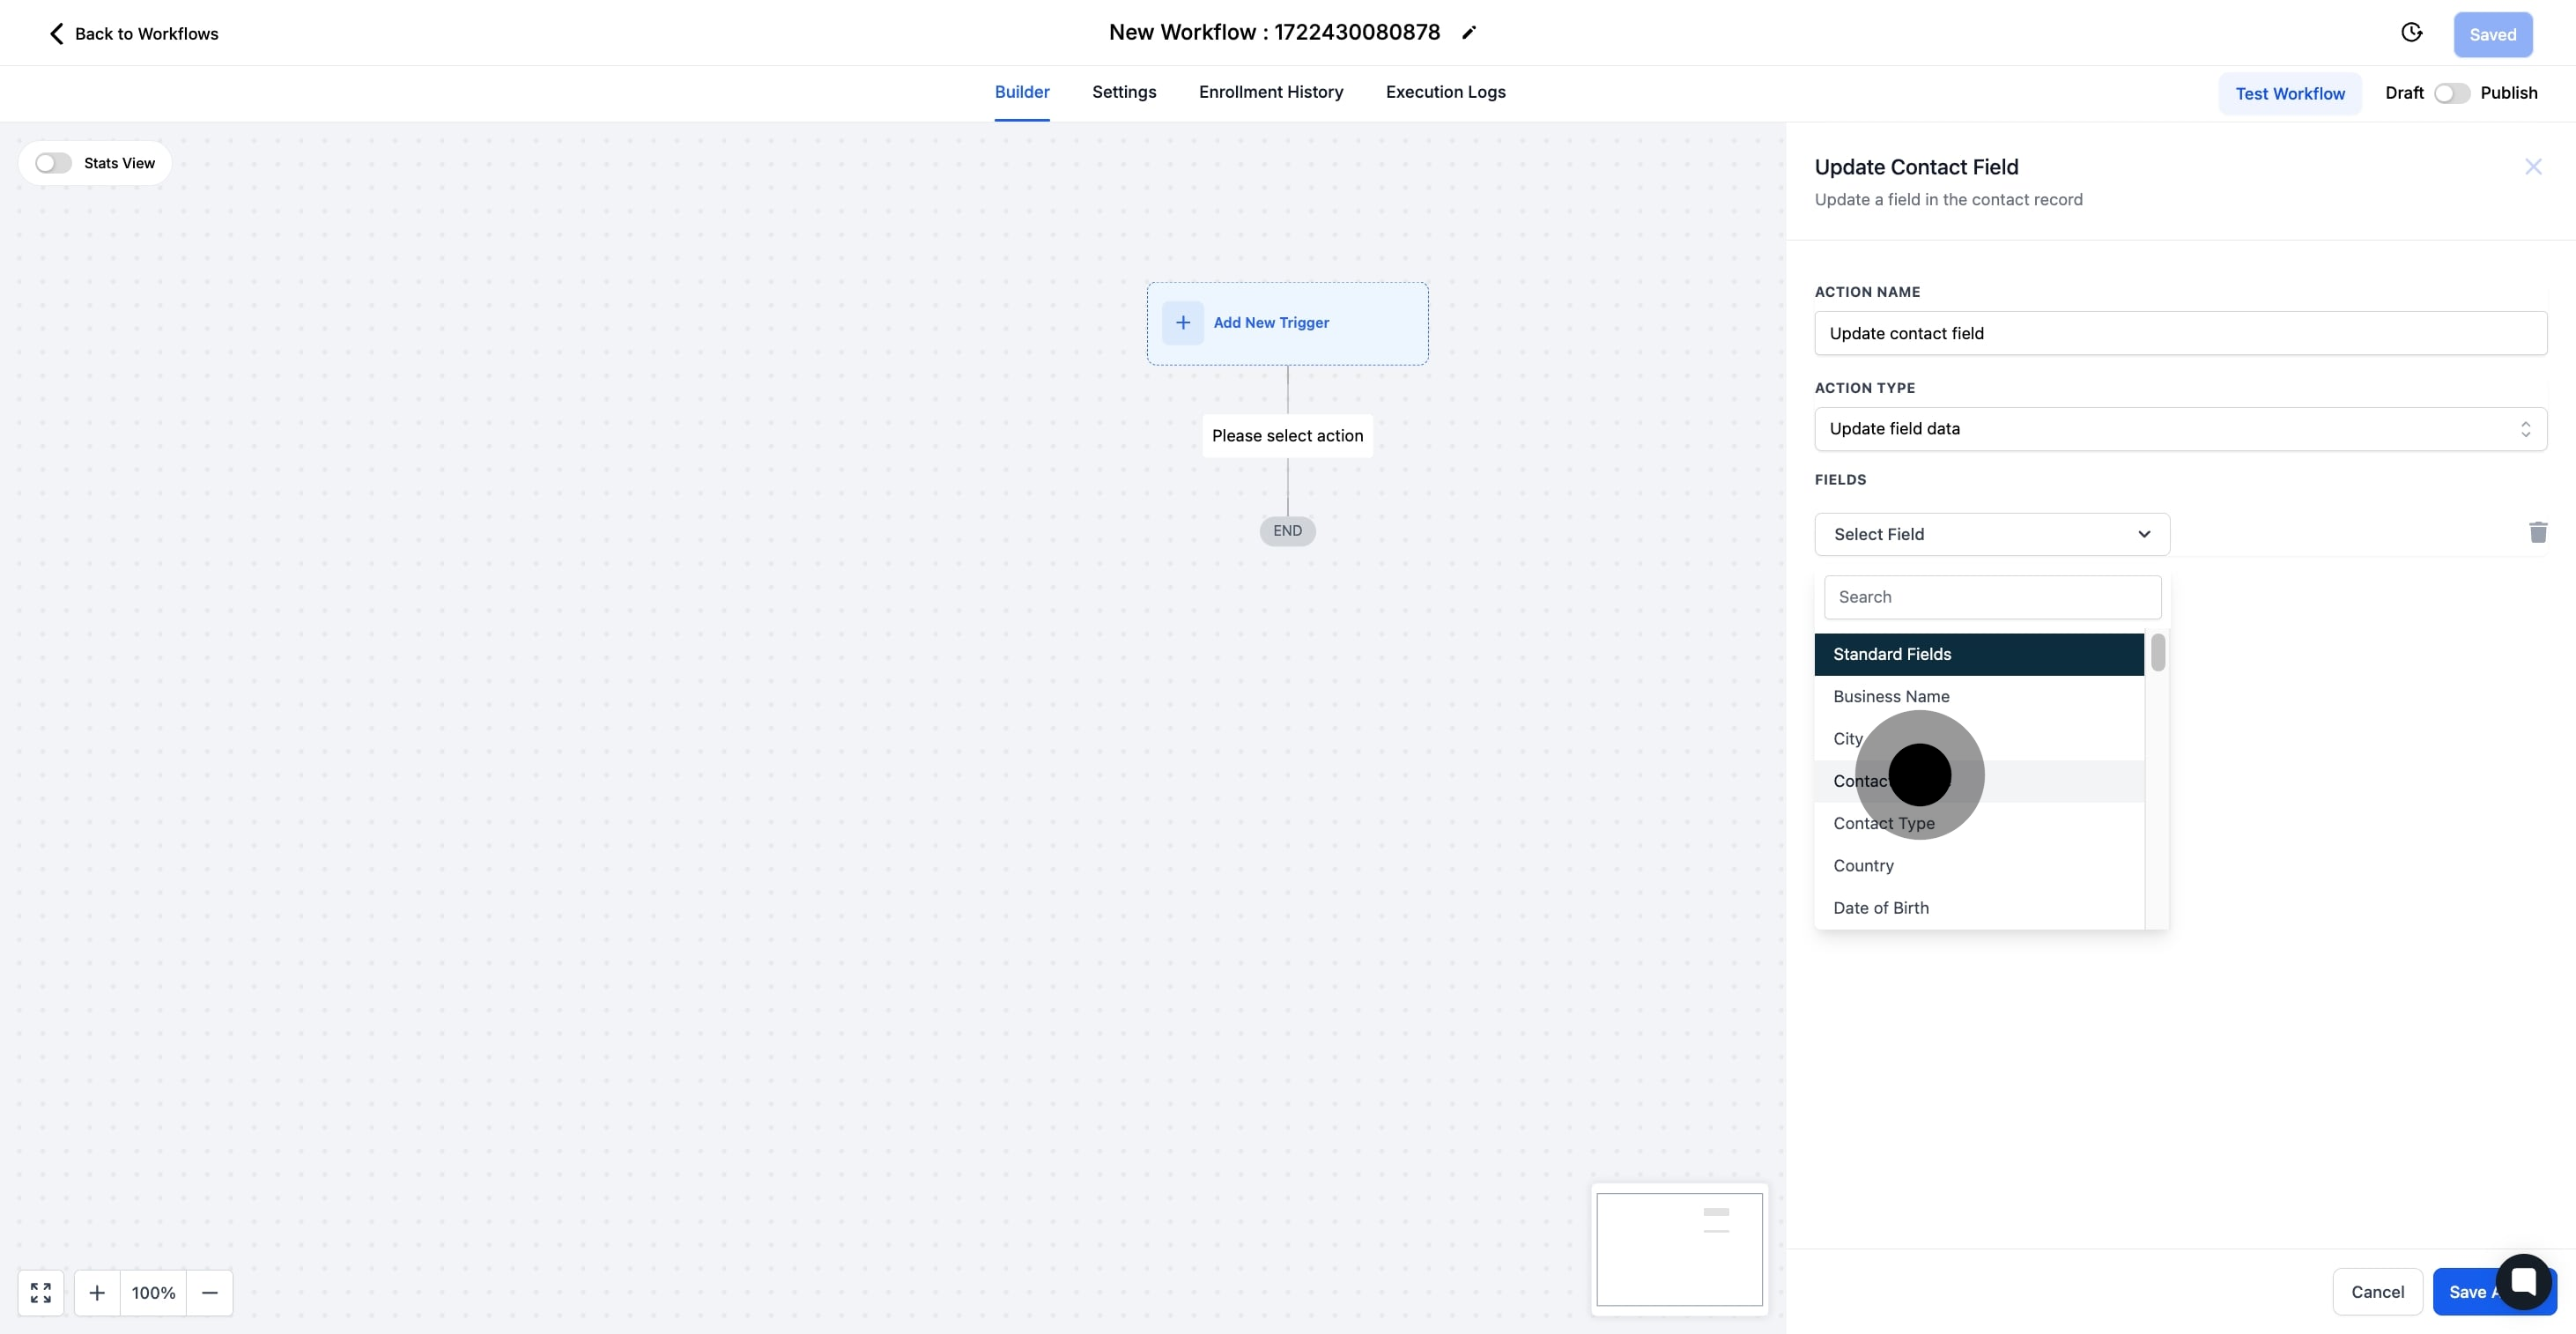
10 Click on "Contact Source".

11. Enter the new data you aim to update.
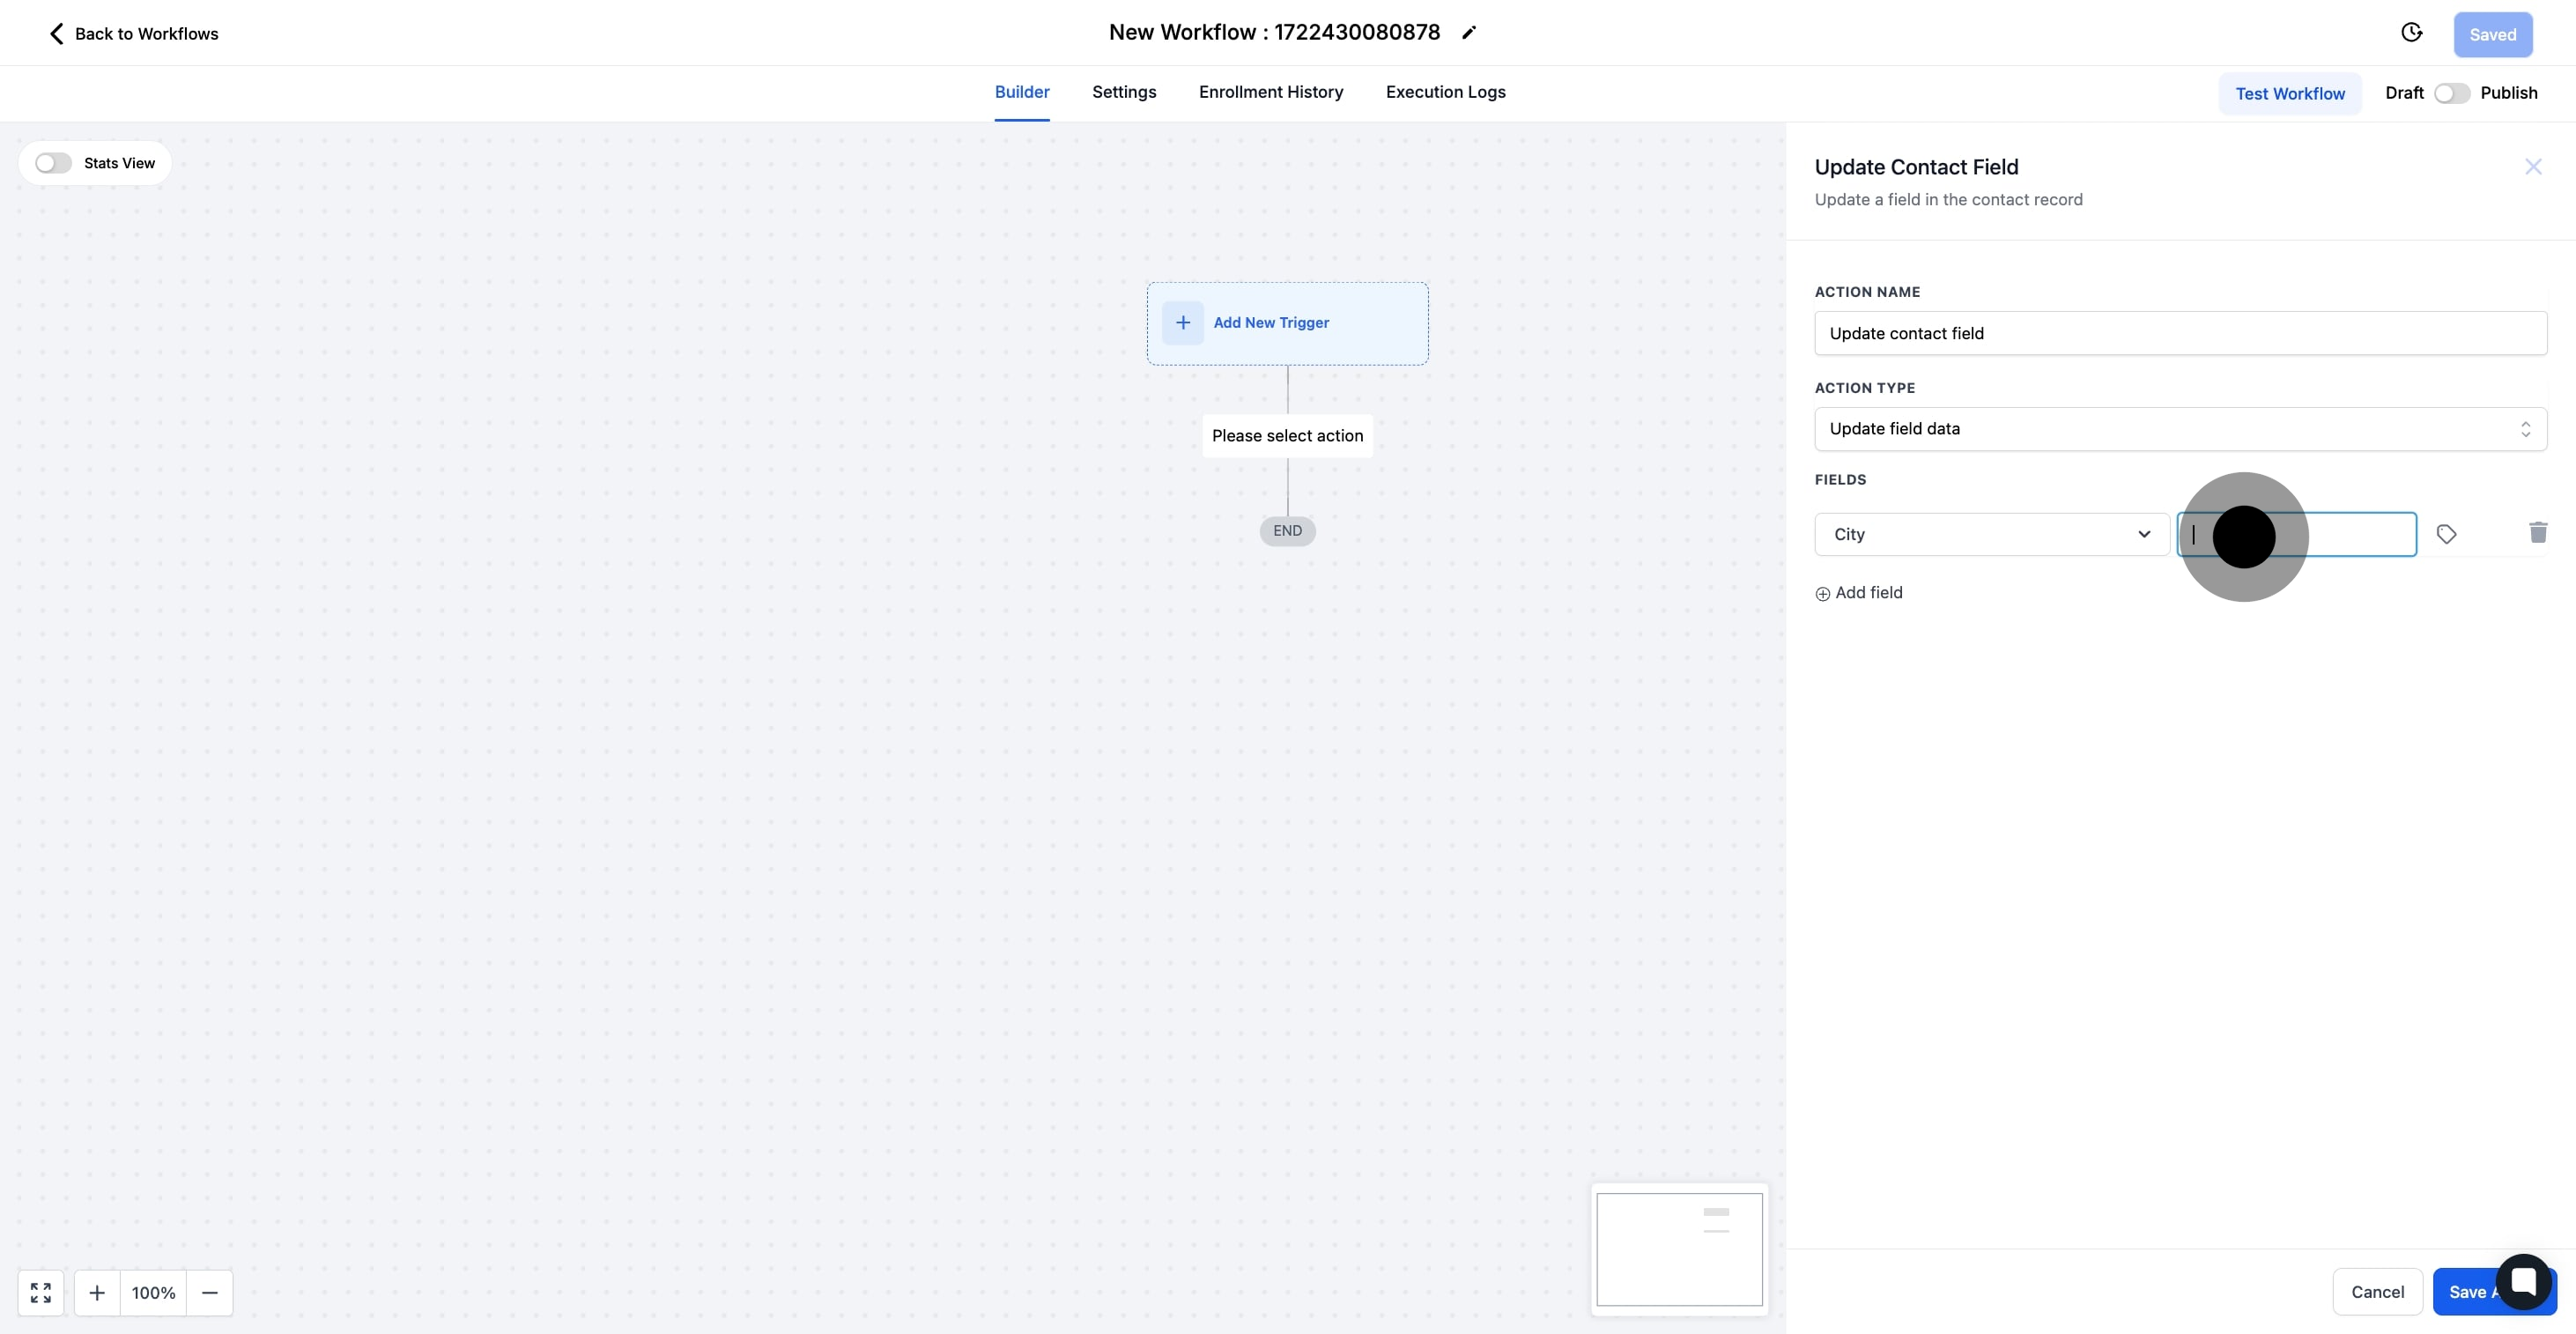
11 Now, click on the element.

12. Add another field if necessary.

12 Click on "Add field".

13. For Example: Select 'Disable DND for all Channels' as needed.
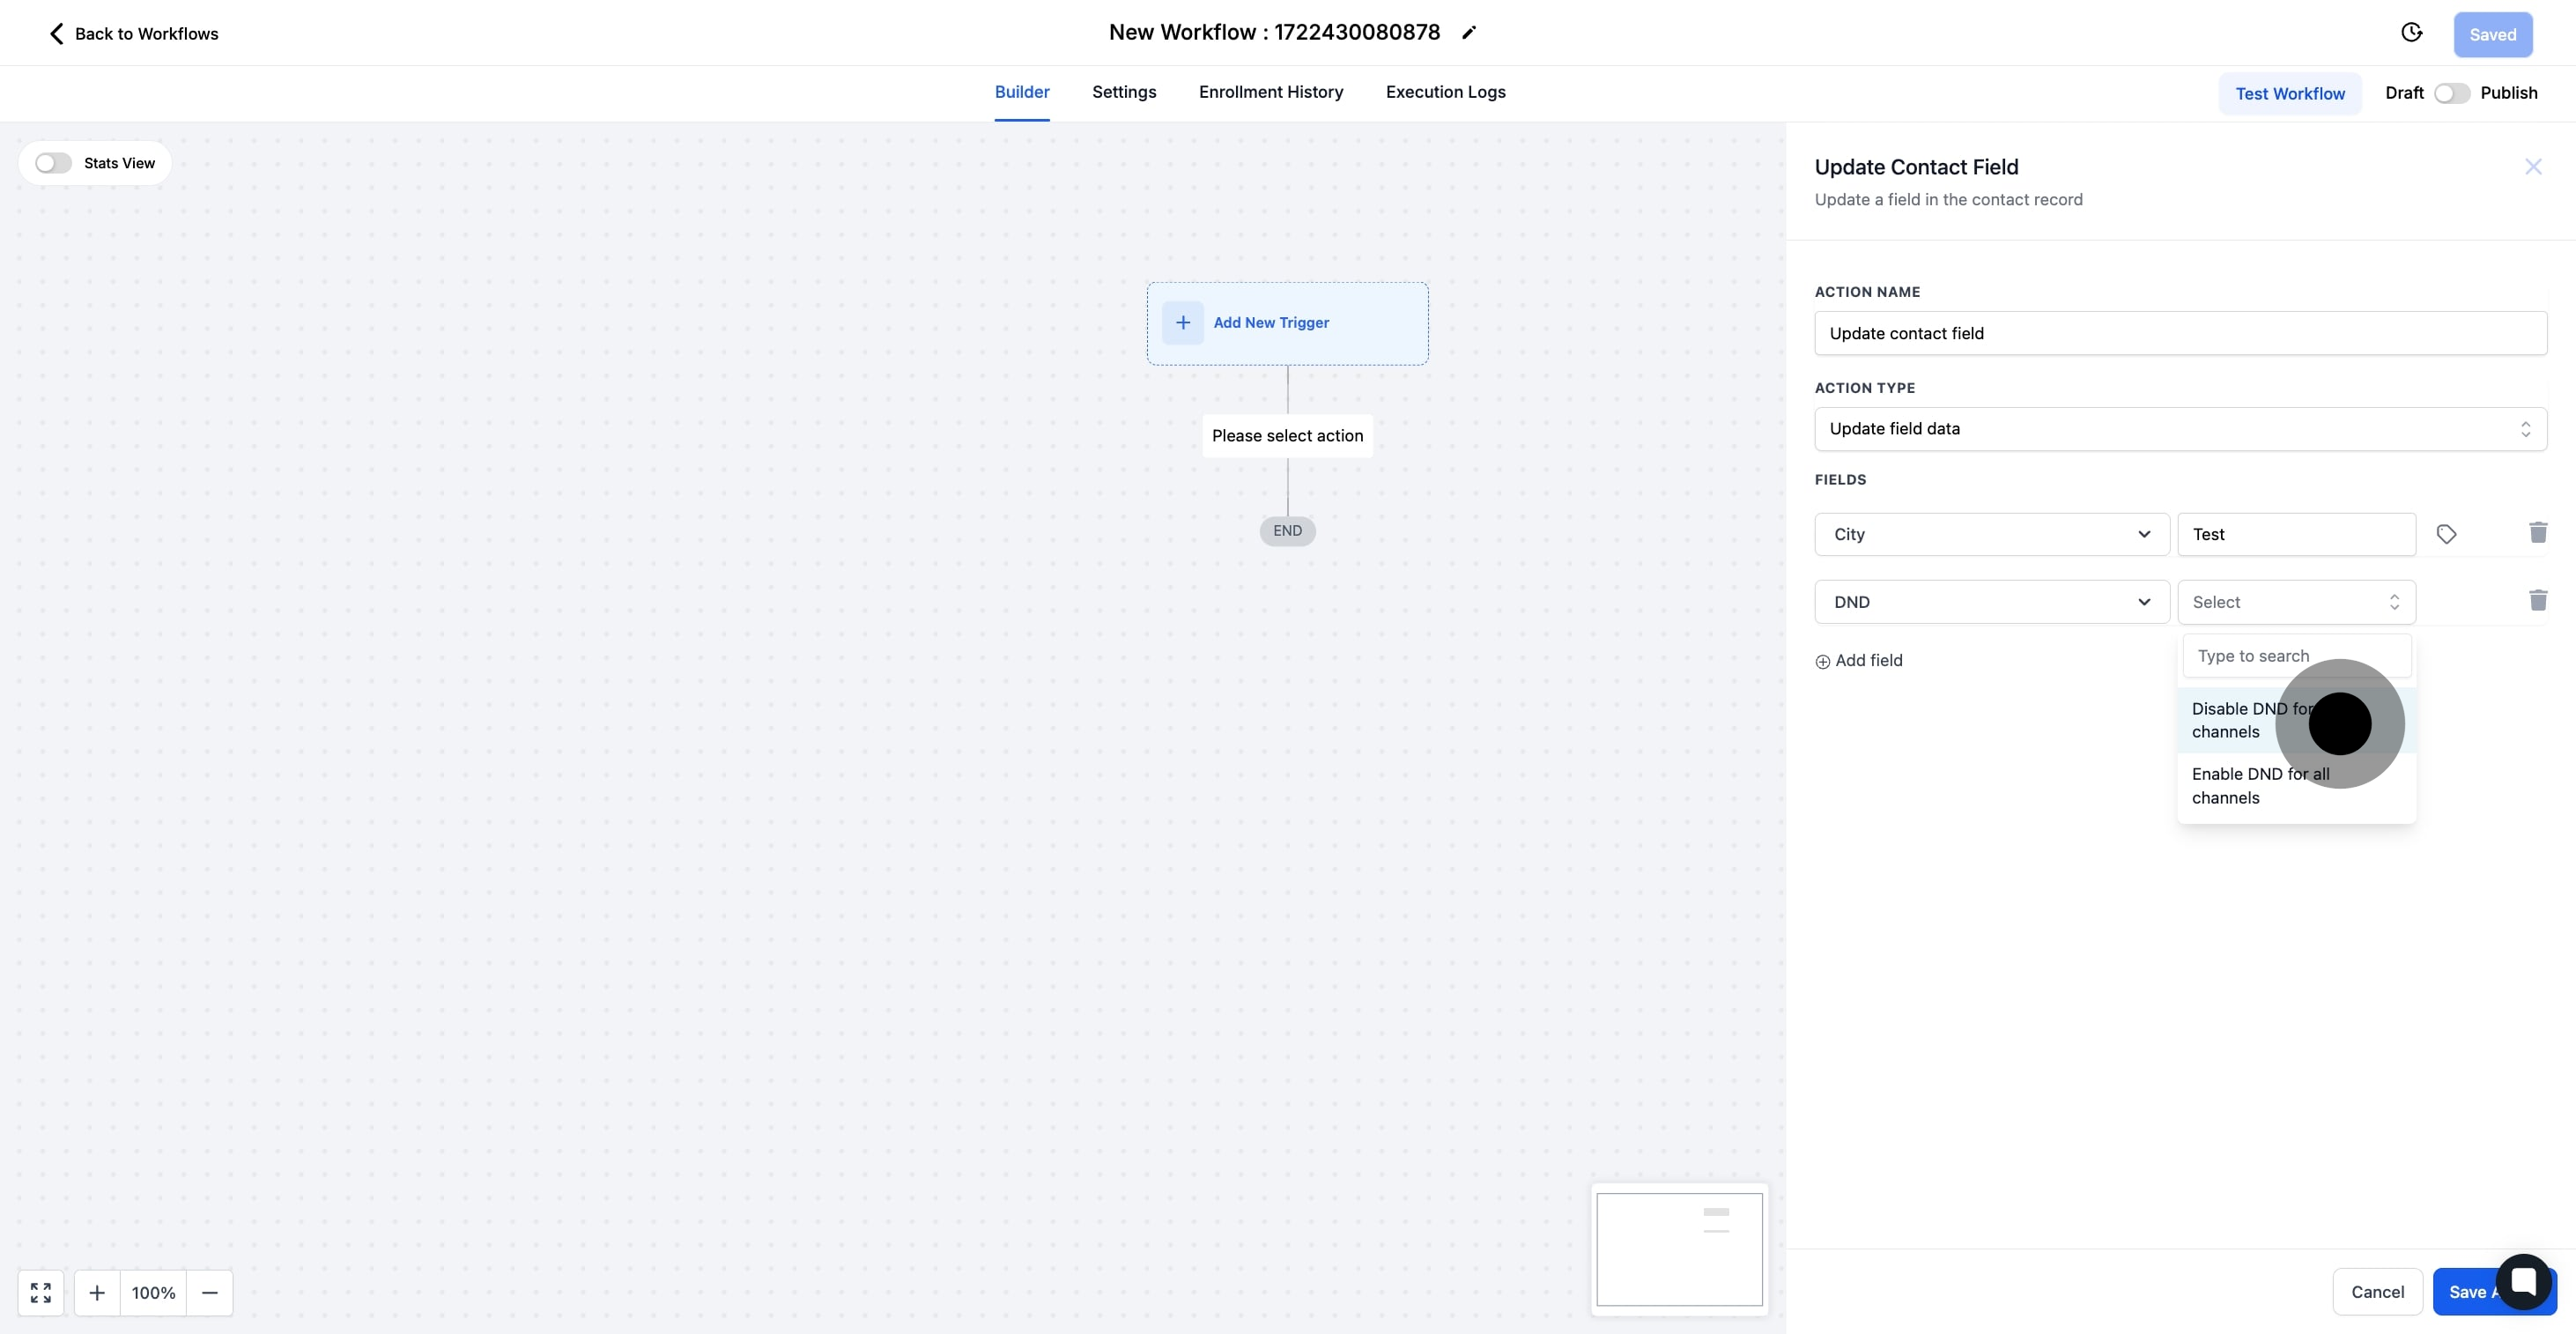
13 Click on "Disable DND for all channels".

14. Click 'Save Action' to secure your configurations.
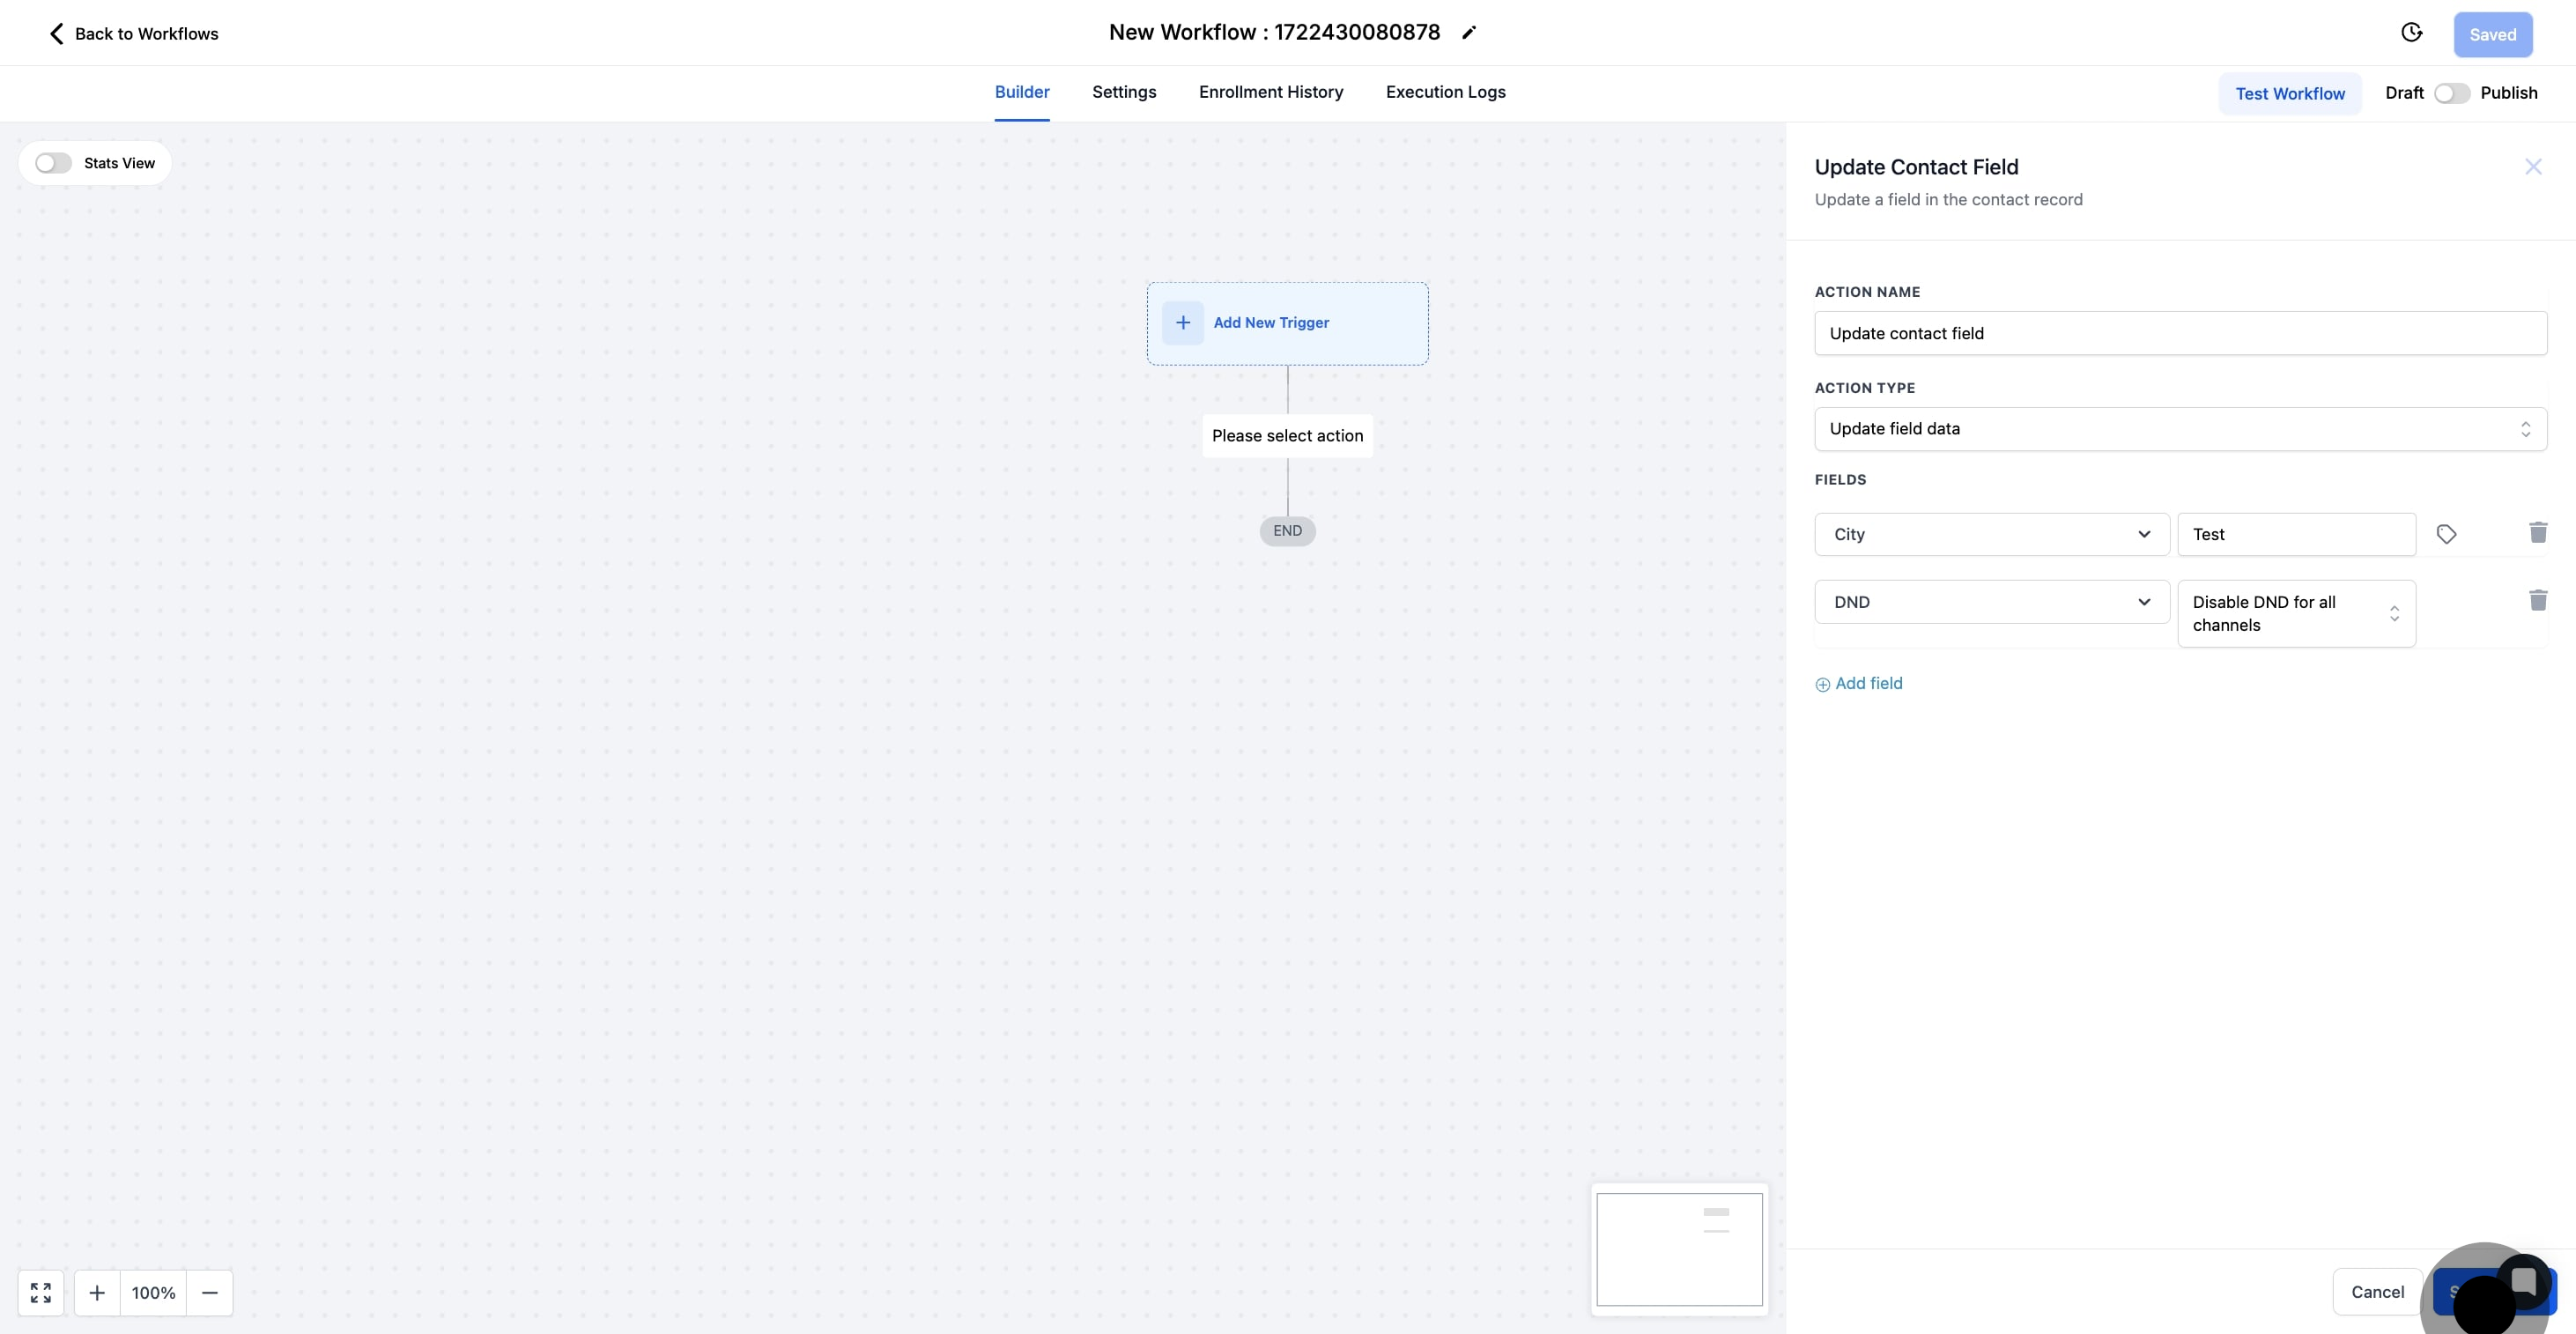
14 After, click on "Save Action".

15. Finally, ensure you save and publish the completed workflow.
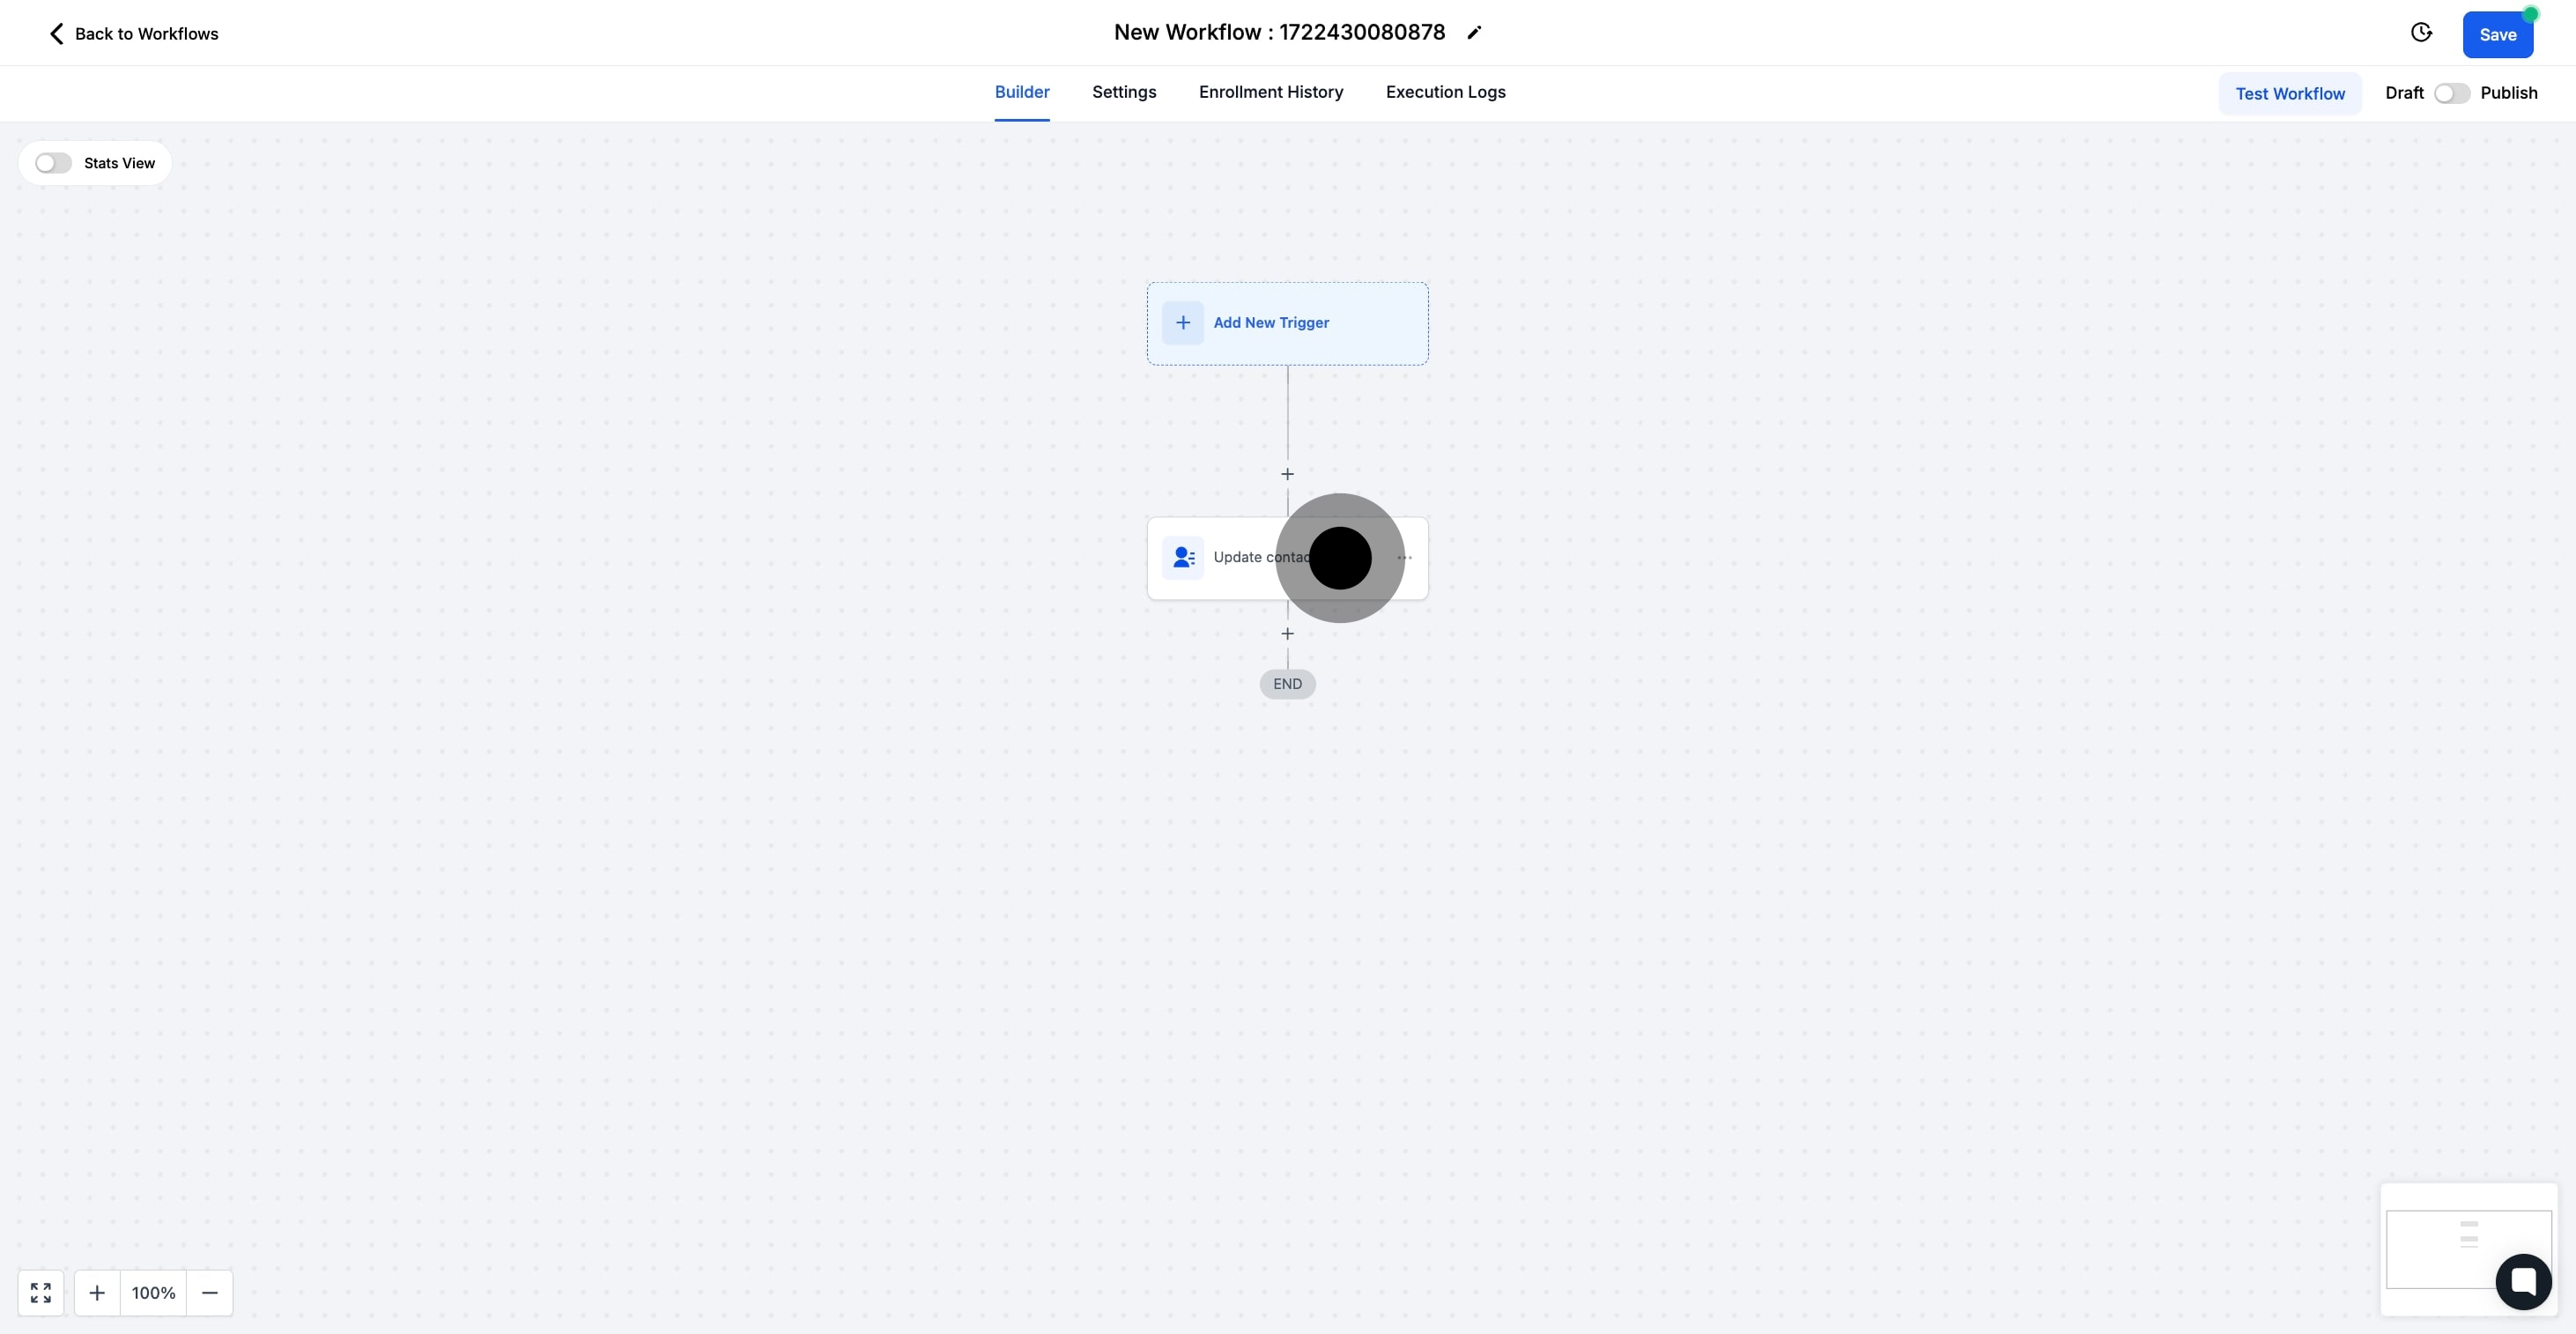
15 Click here.

Did this answer your question?
😞
😐
😁