How to Use the "Delete Contact" Action in Your Workflow on LeadDec

Ensure your contact list remains accurate and relevant by learning how to use the "Delete Contact" action in your workflow on LeadDec. This article offers a detailed, step-by-step guide on setting up this action, allowing you to automatically delete contacts based on specified criteria. Ideal for users looking to streamline their lead management and maintain a clean and efficient contact database.


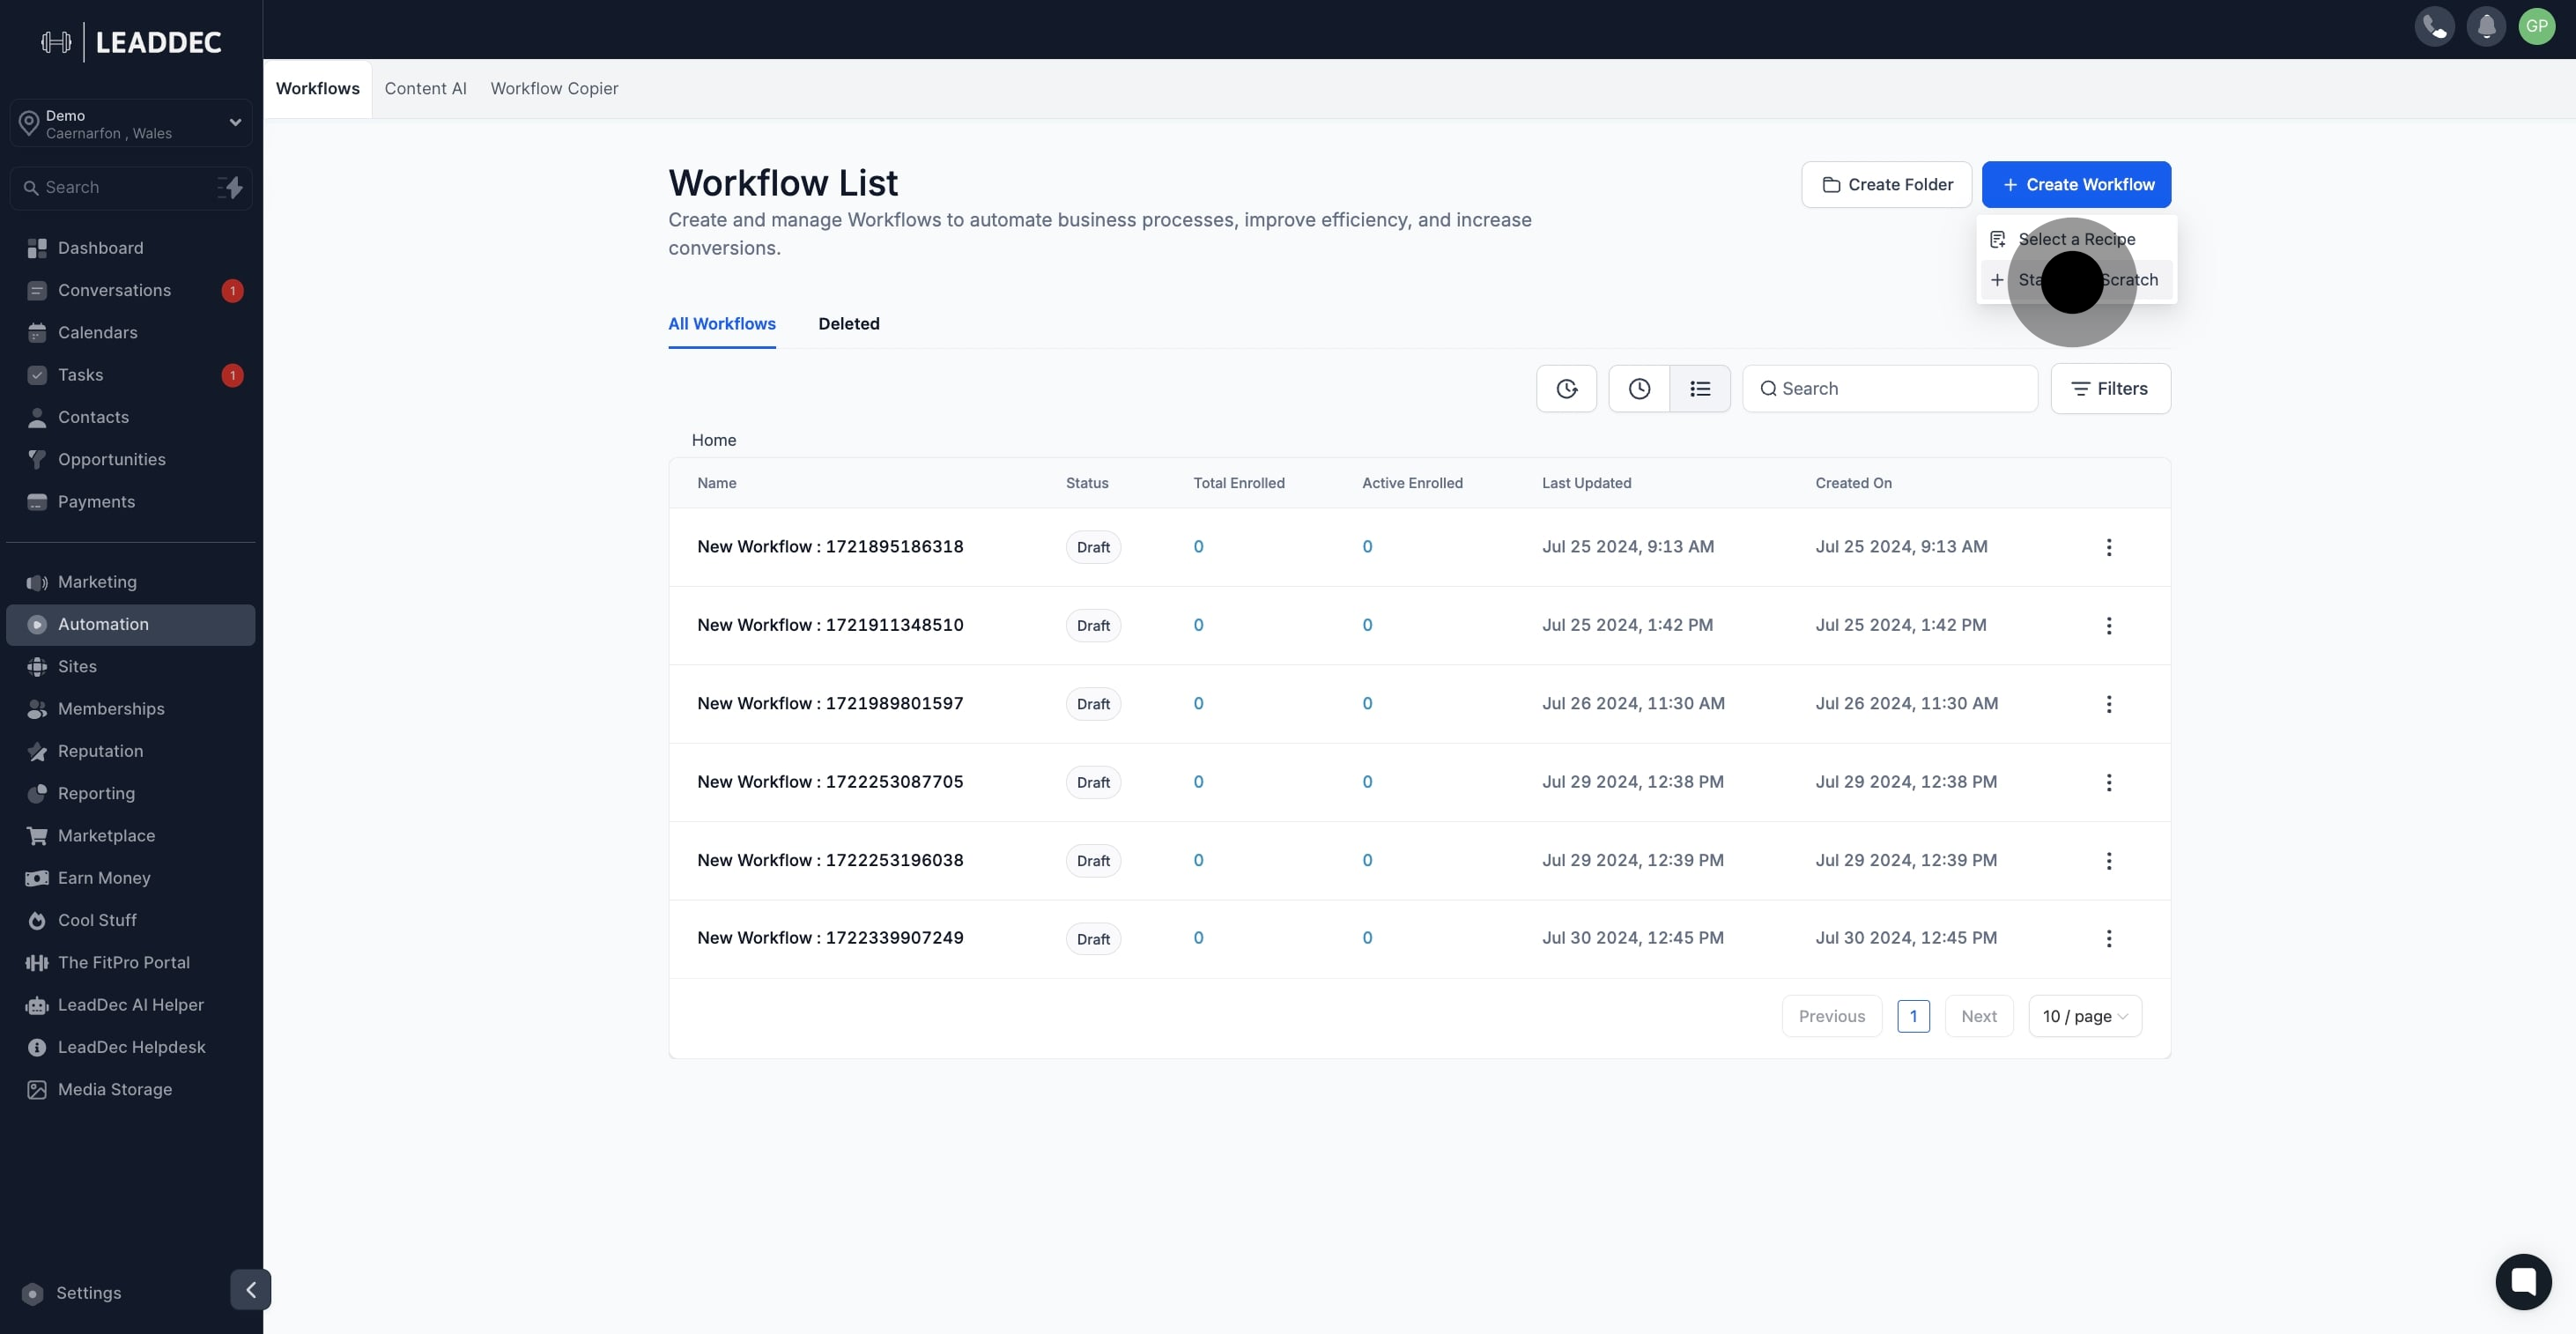
1. Select the Automation section to begin.

1 Click on "automation".

2. Now, choose Create Workflow to proceed.

2 Click on "Create Workflow".

3. Next, opt for Start from Scratch to customize.

3 Following that, click on "Start from Scratch".

4. Add a new trigger to initiate the process.

4 Afterwards, click on the element.

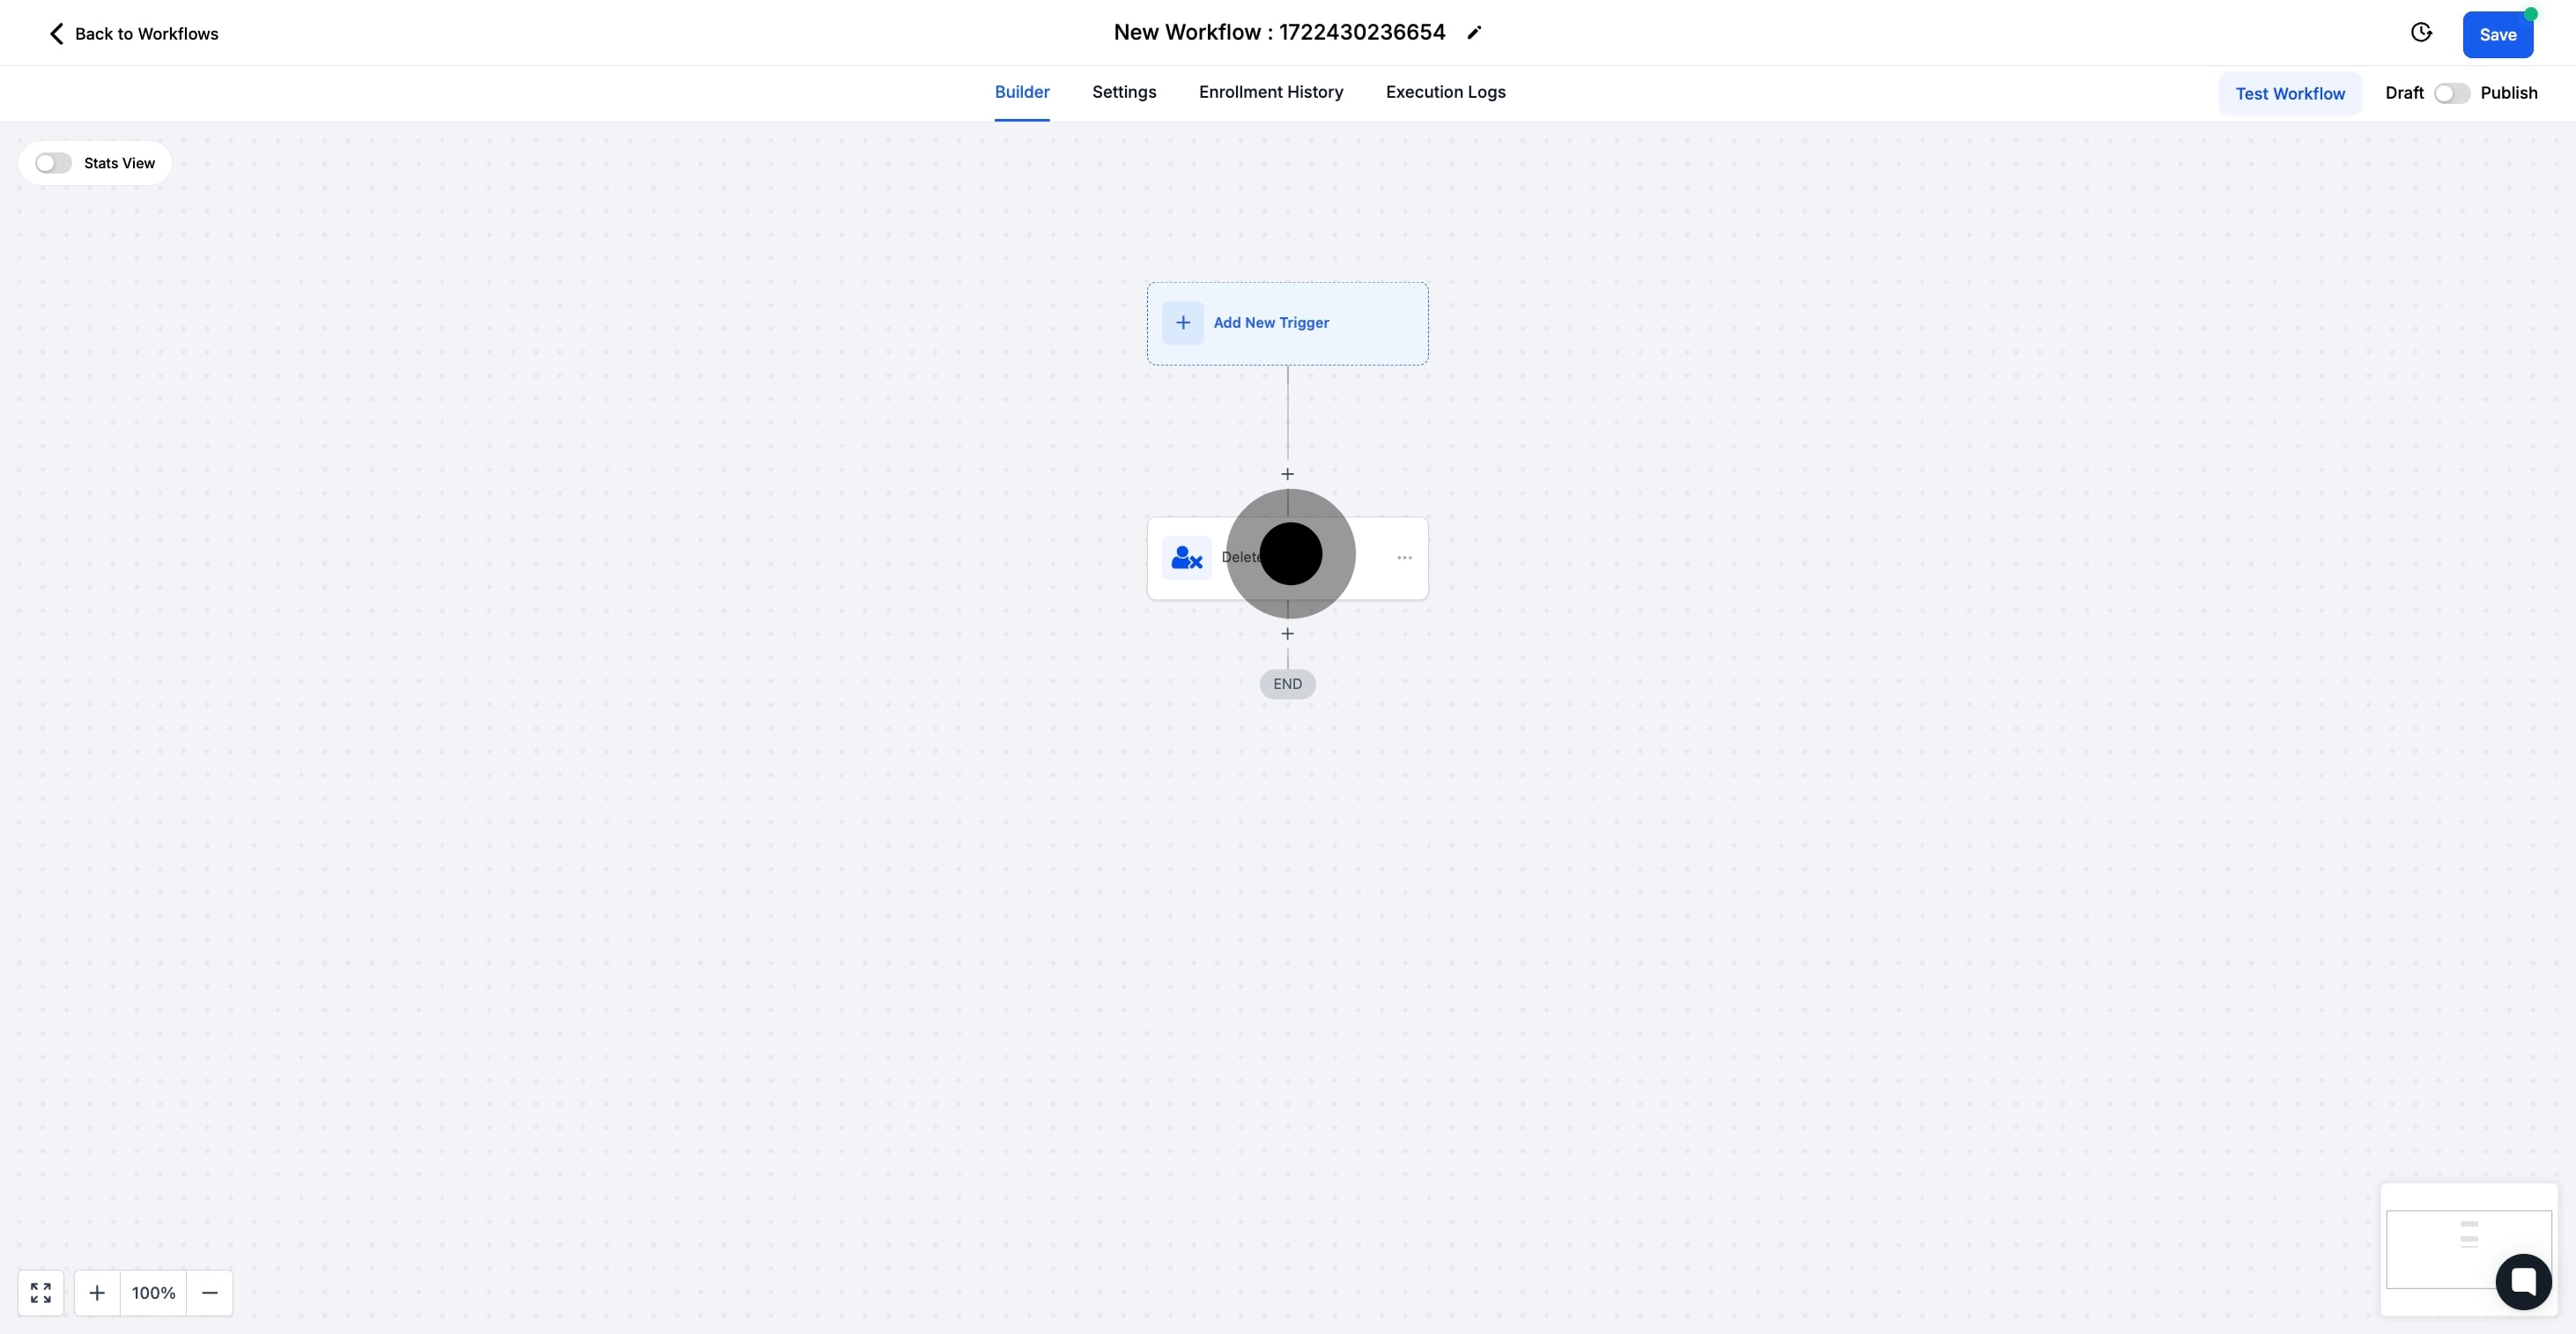
5. Click the plus icon to incorporate an action step.

5 Following that, click here.

6. Then, select Delete Contact for the action.

6 Click on "Delete Contact".

7. Finally, click Save Action to secure changes.

7 Next, click on "Save Action".

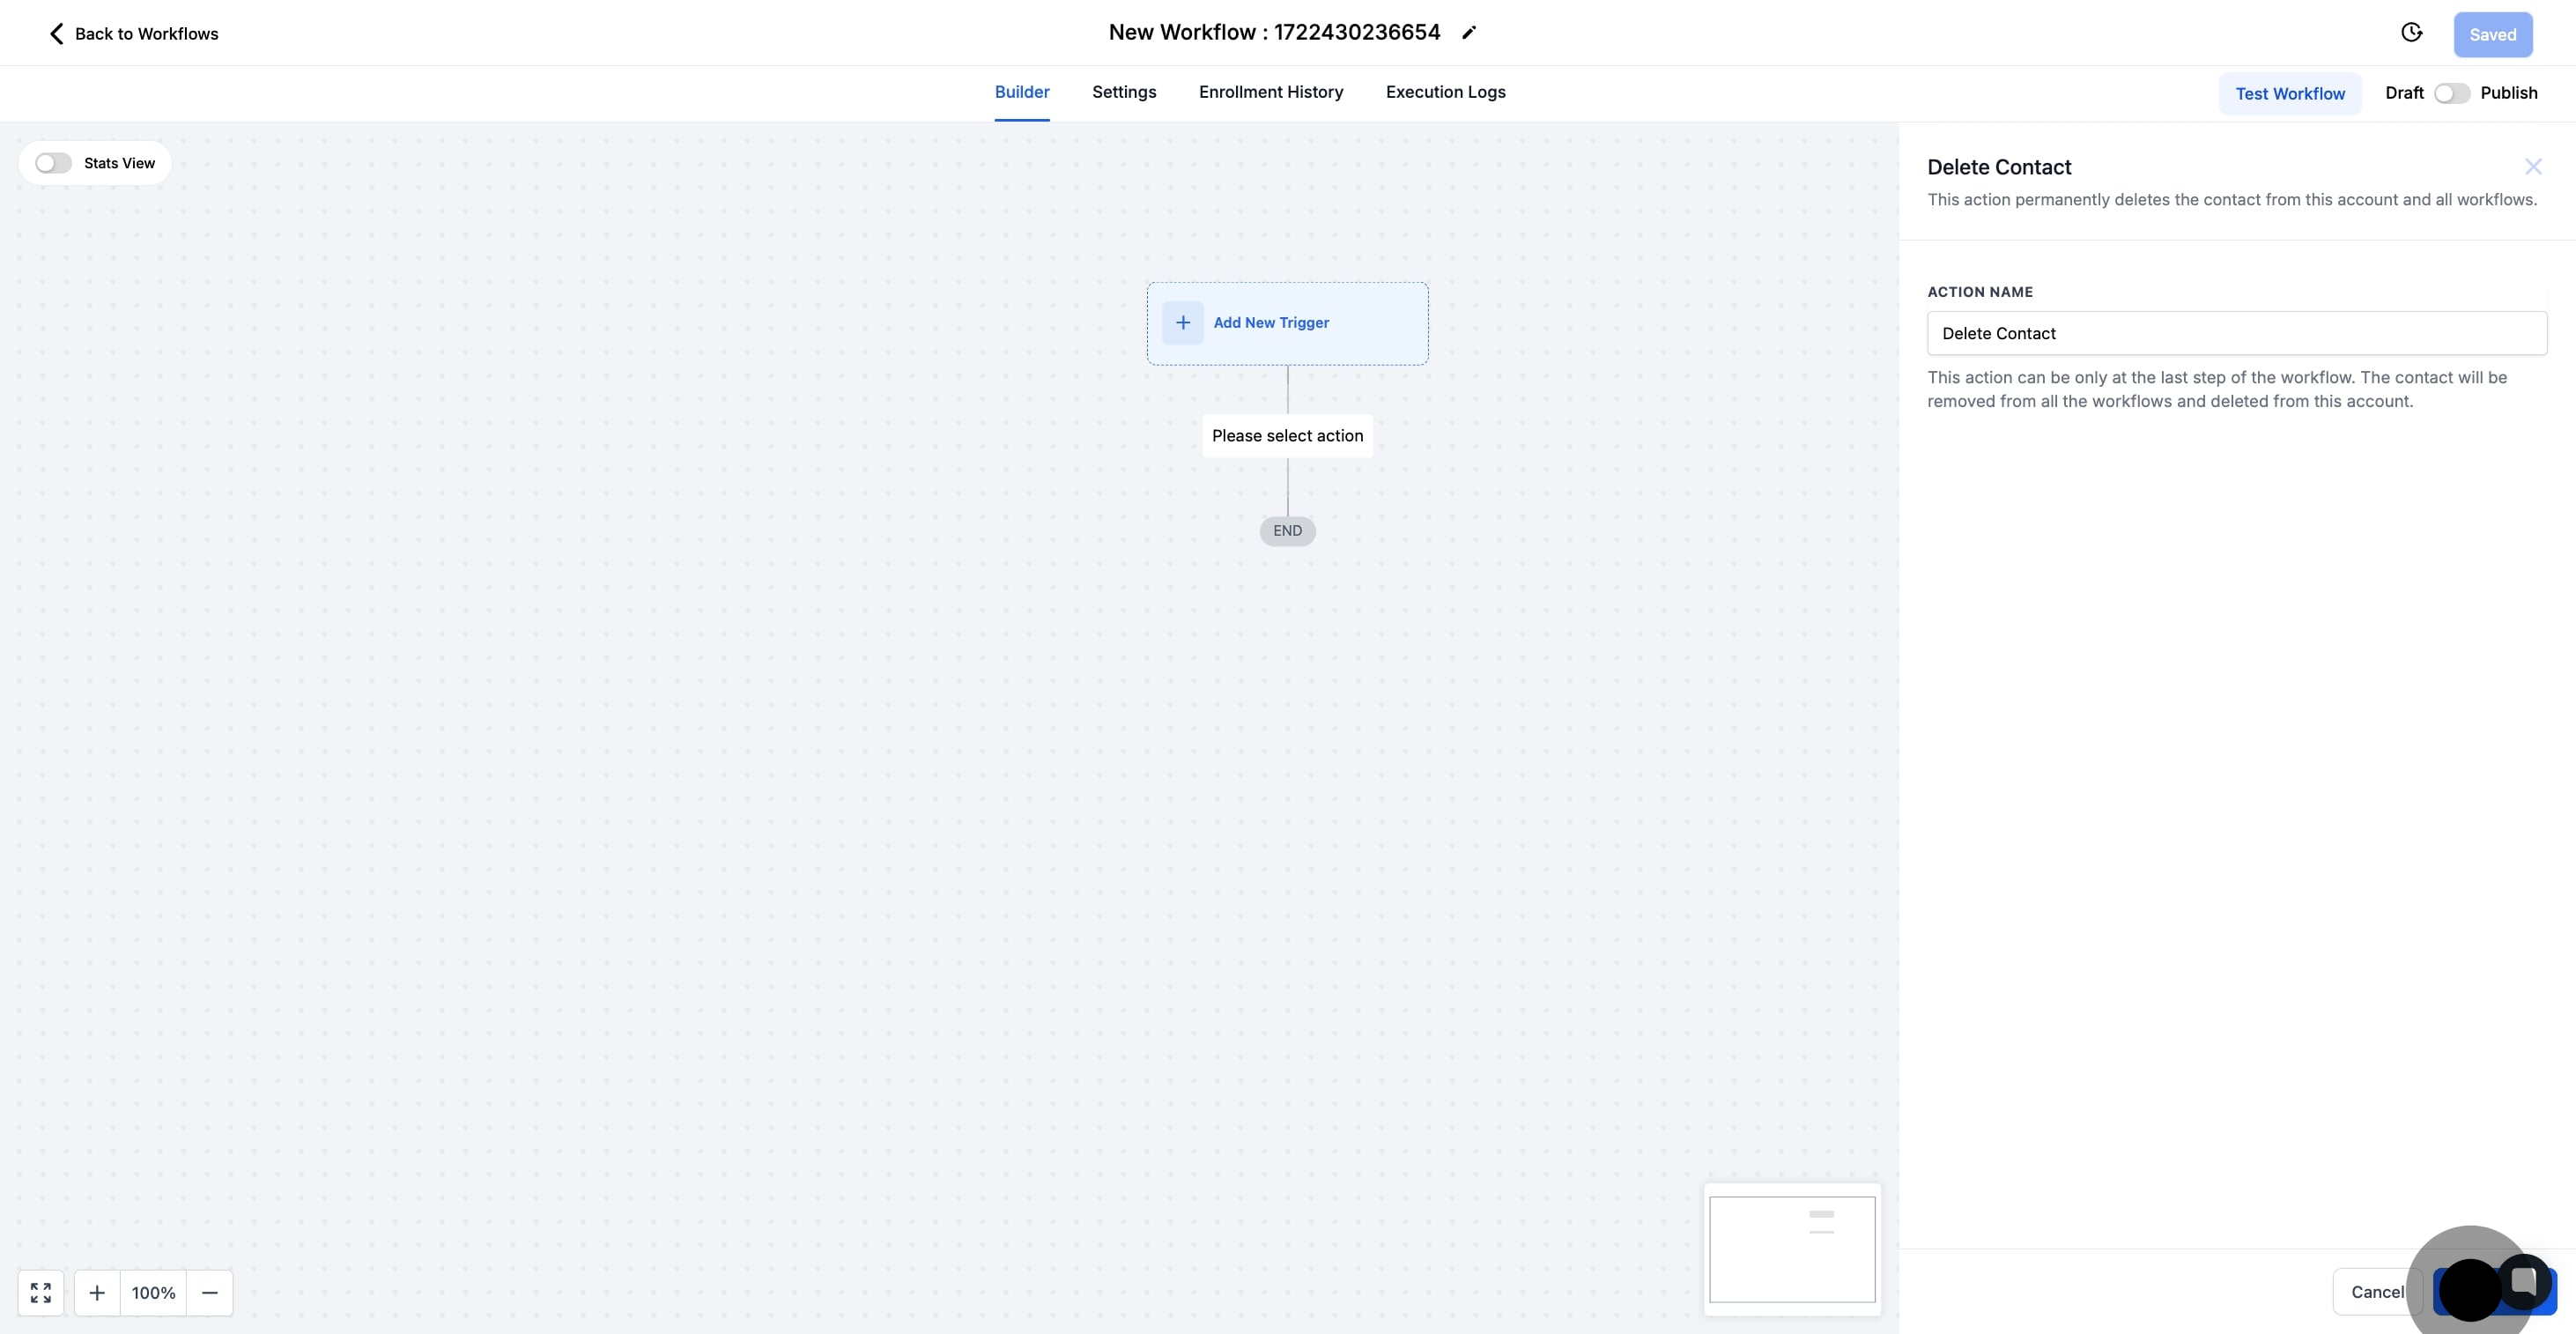
8. The "Delete Contact" option has been added. Once the workflow is complete, you can save and publish it.

8 Afterwards, click here.

Did this answer your question?
😞
😐
😁