How to Add an "Assign User" Action Step to Your Workflow in LeadDec

Increase your workflow efficiency by learning how to add the "Assign User" action step in LeadDec. This article provides a step-by-step guide on setting up this feature, enabling you to automatically allocate tasks and leads to specific team members as part of your workflow processes. Ideal for users looking to streamline task assignment and improve team collaboration within their lead management operations.


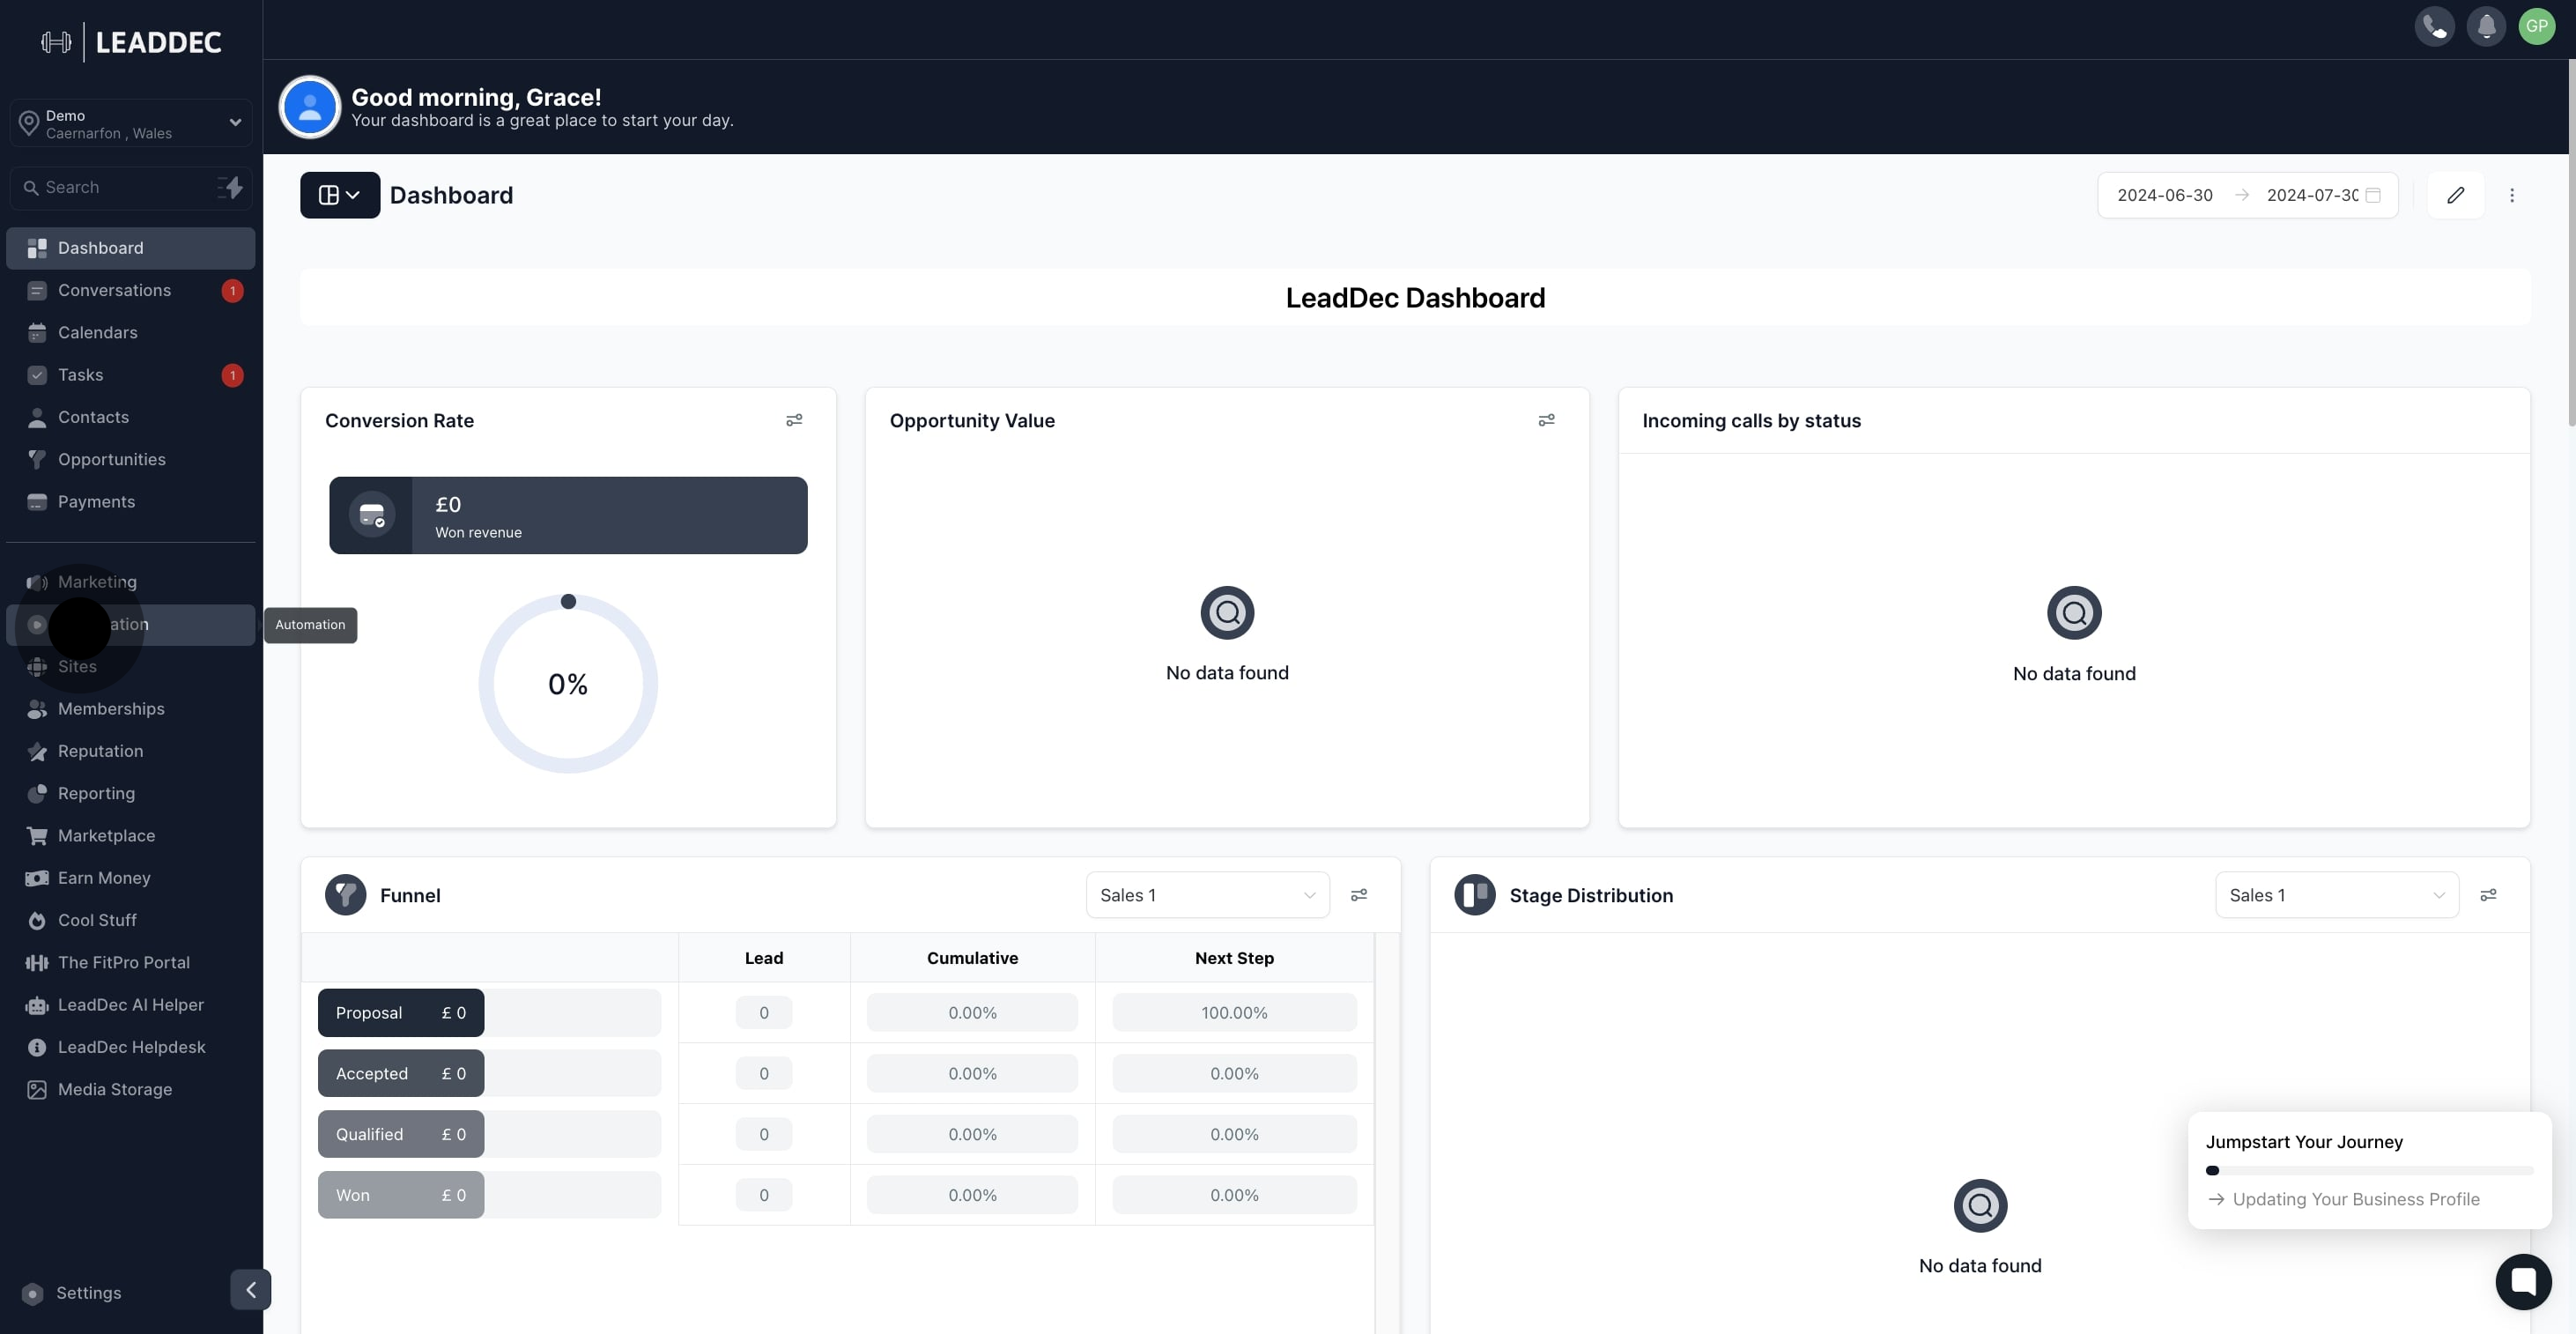
1. Begin by selecting the Automation section to get started.

1 Click on "automation".

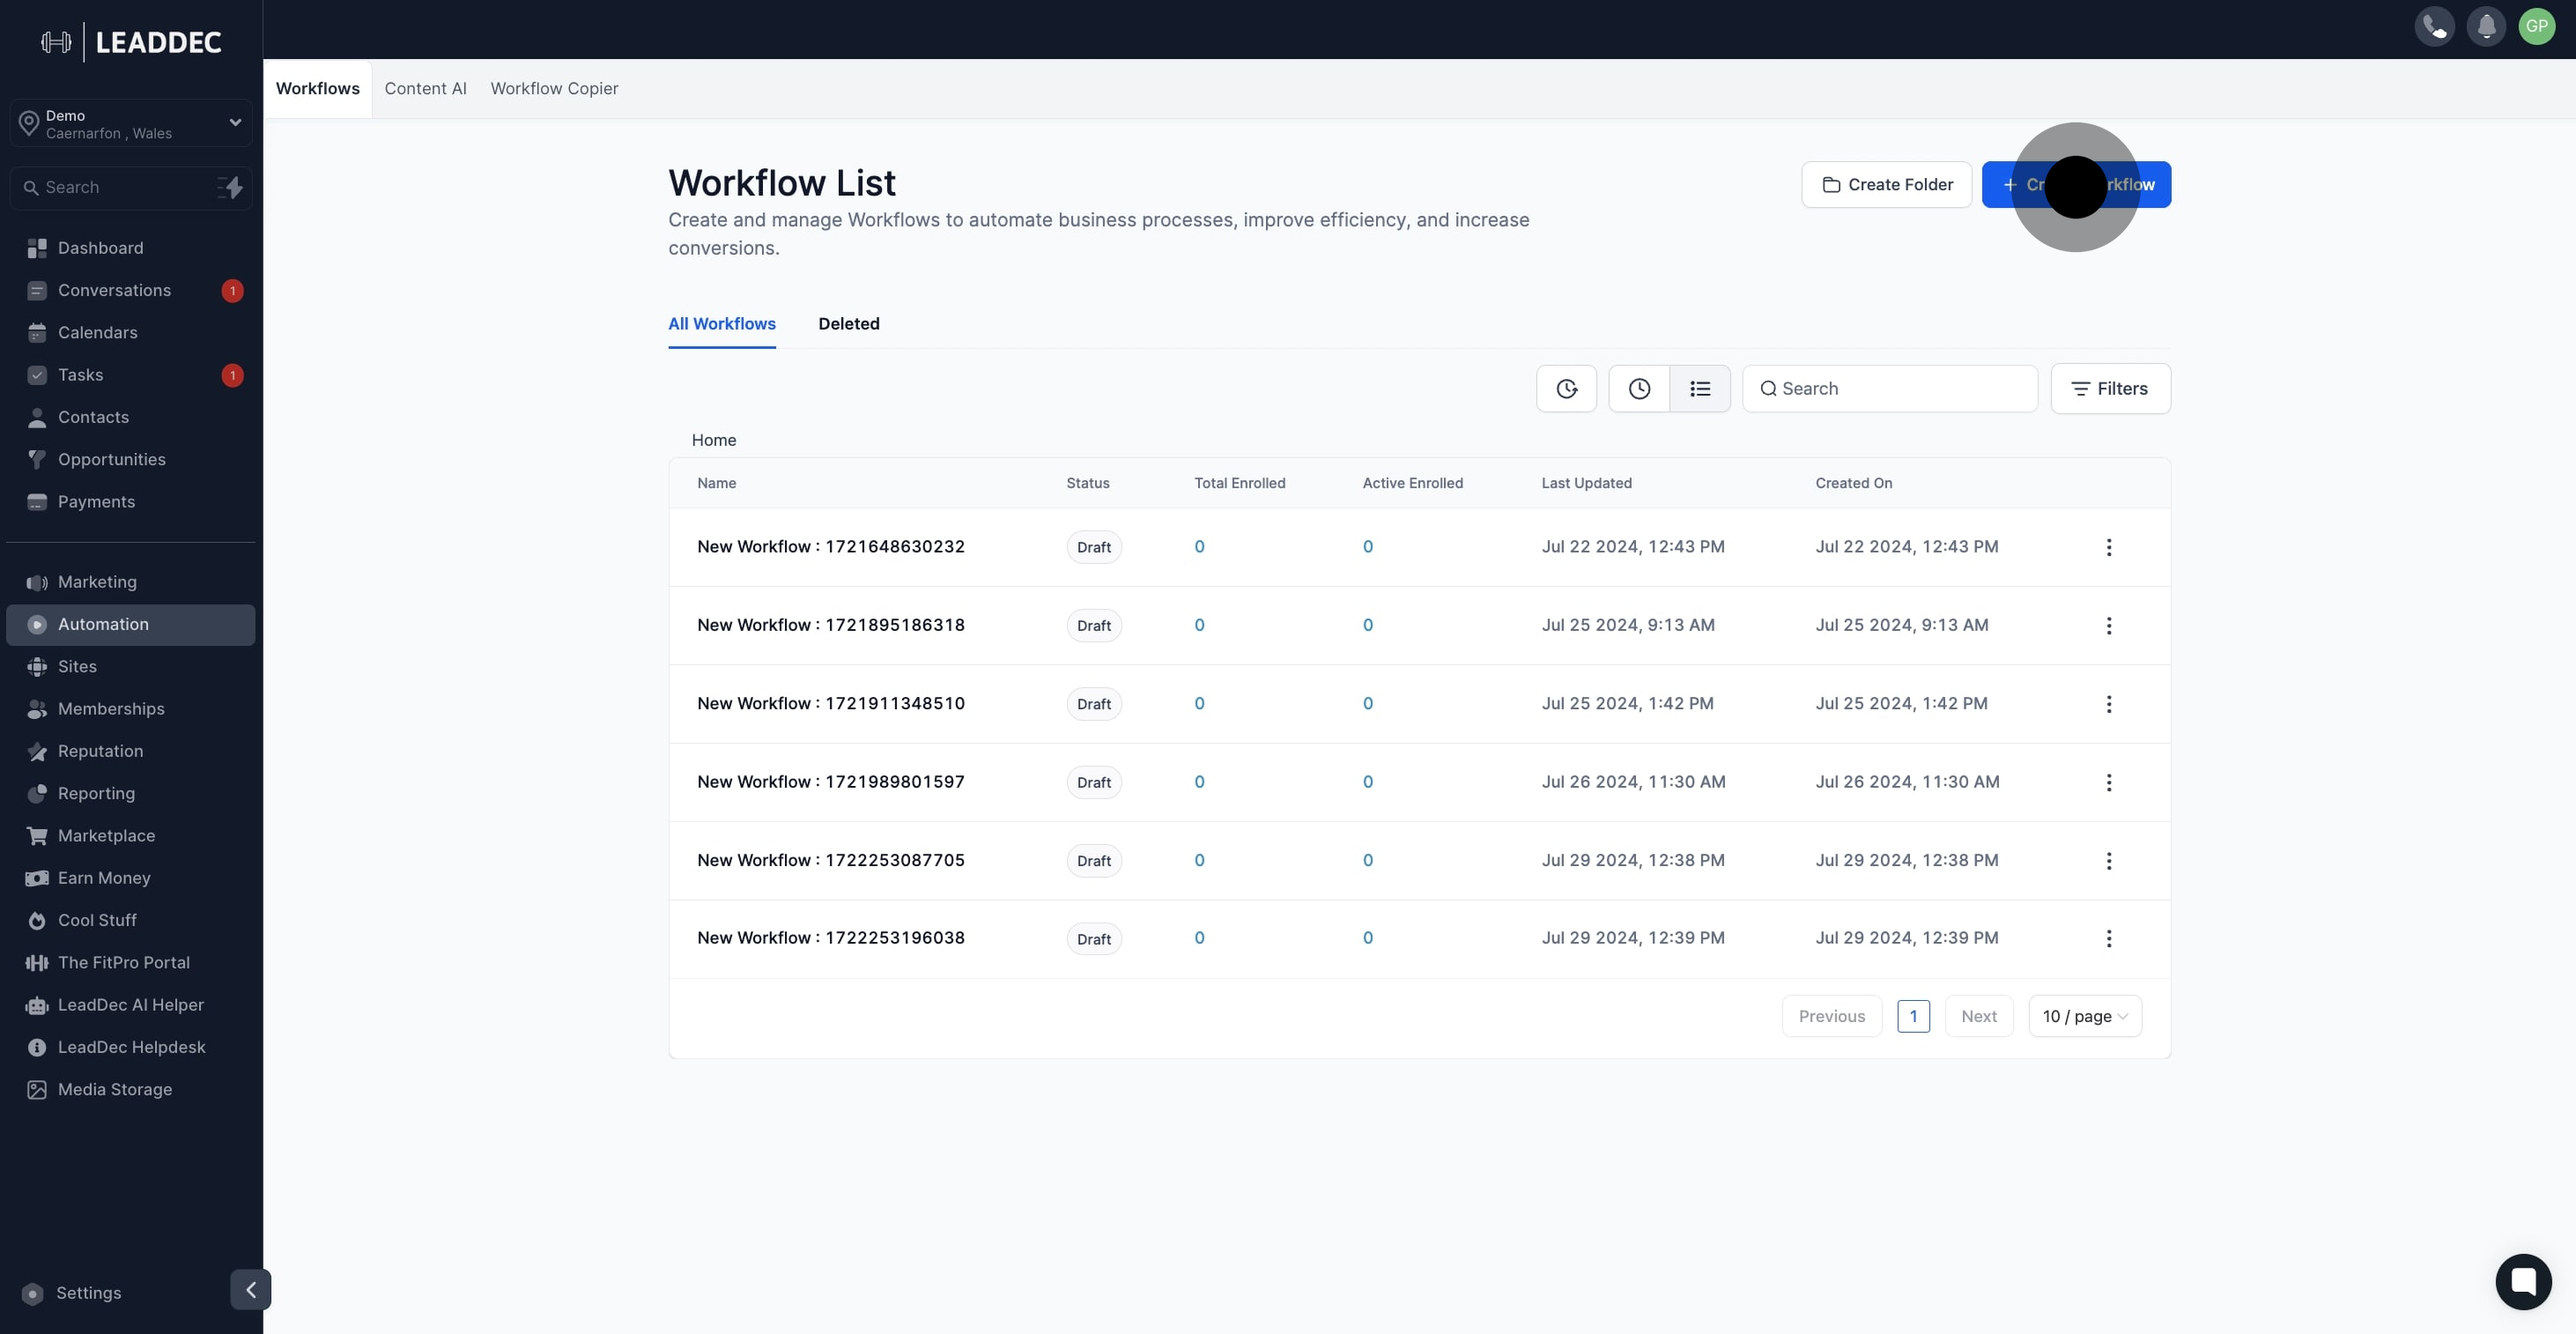
2. Then, click on Create Workflow to create a new workflow.

2 Once that's done, click on "Create Workflow".

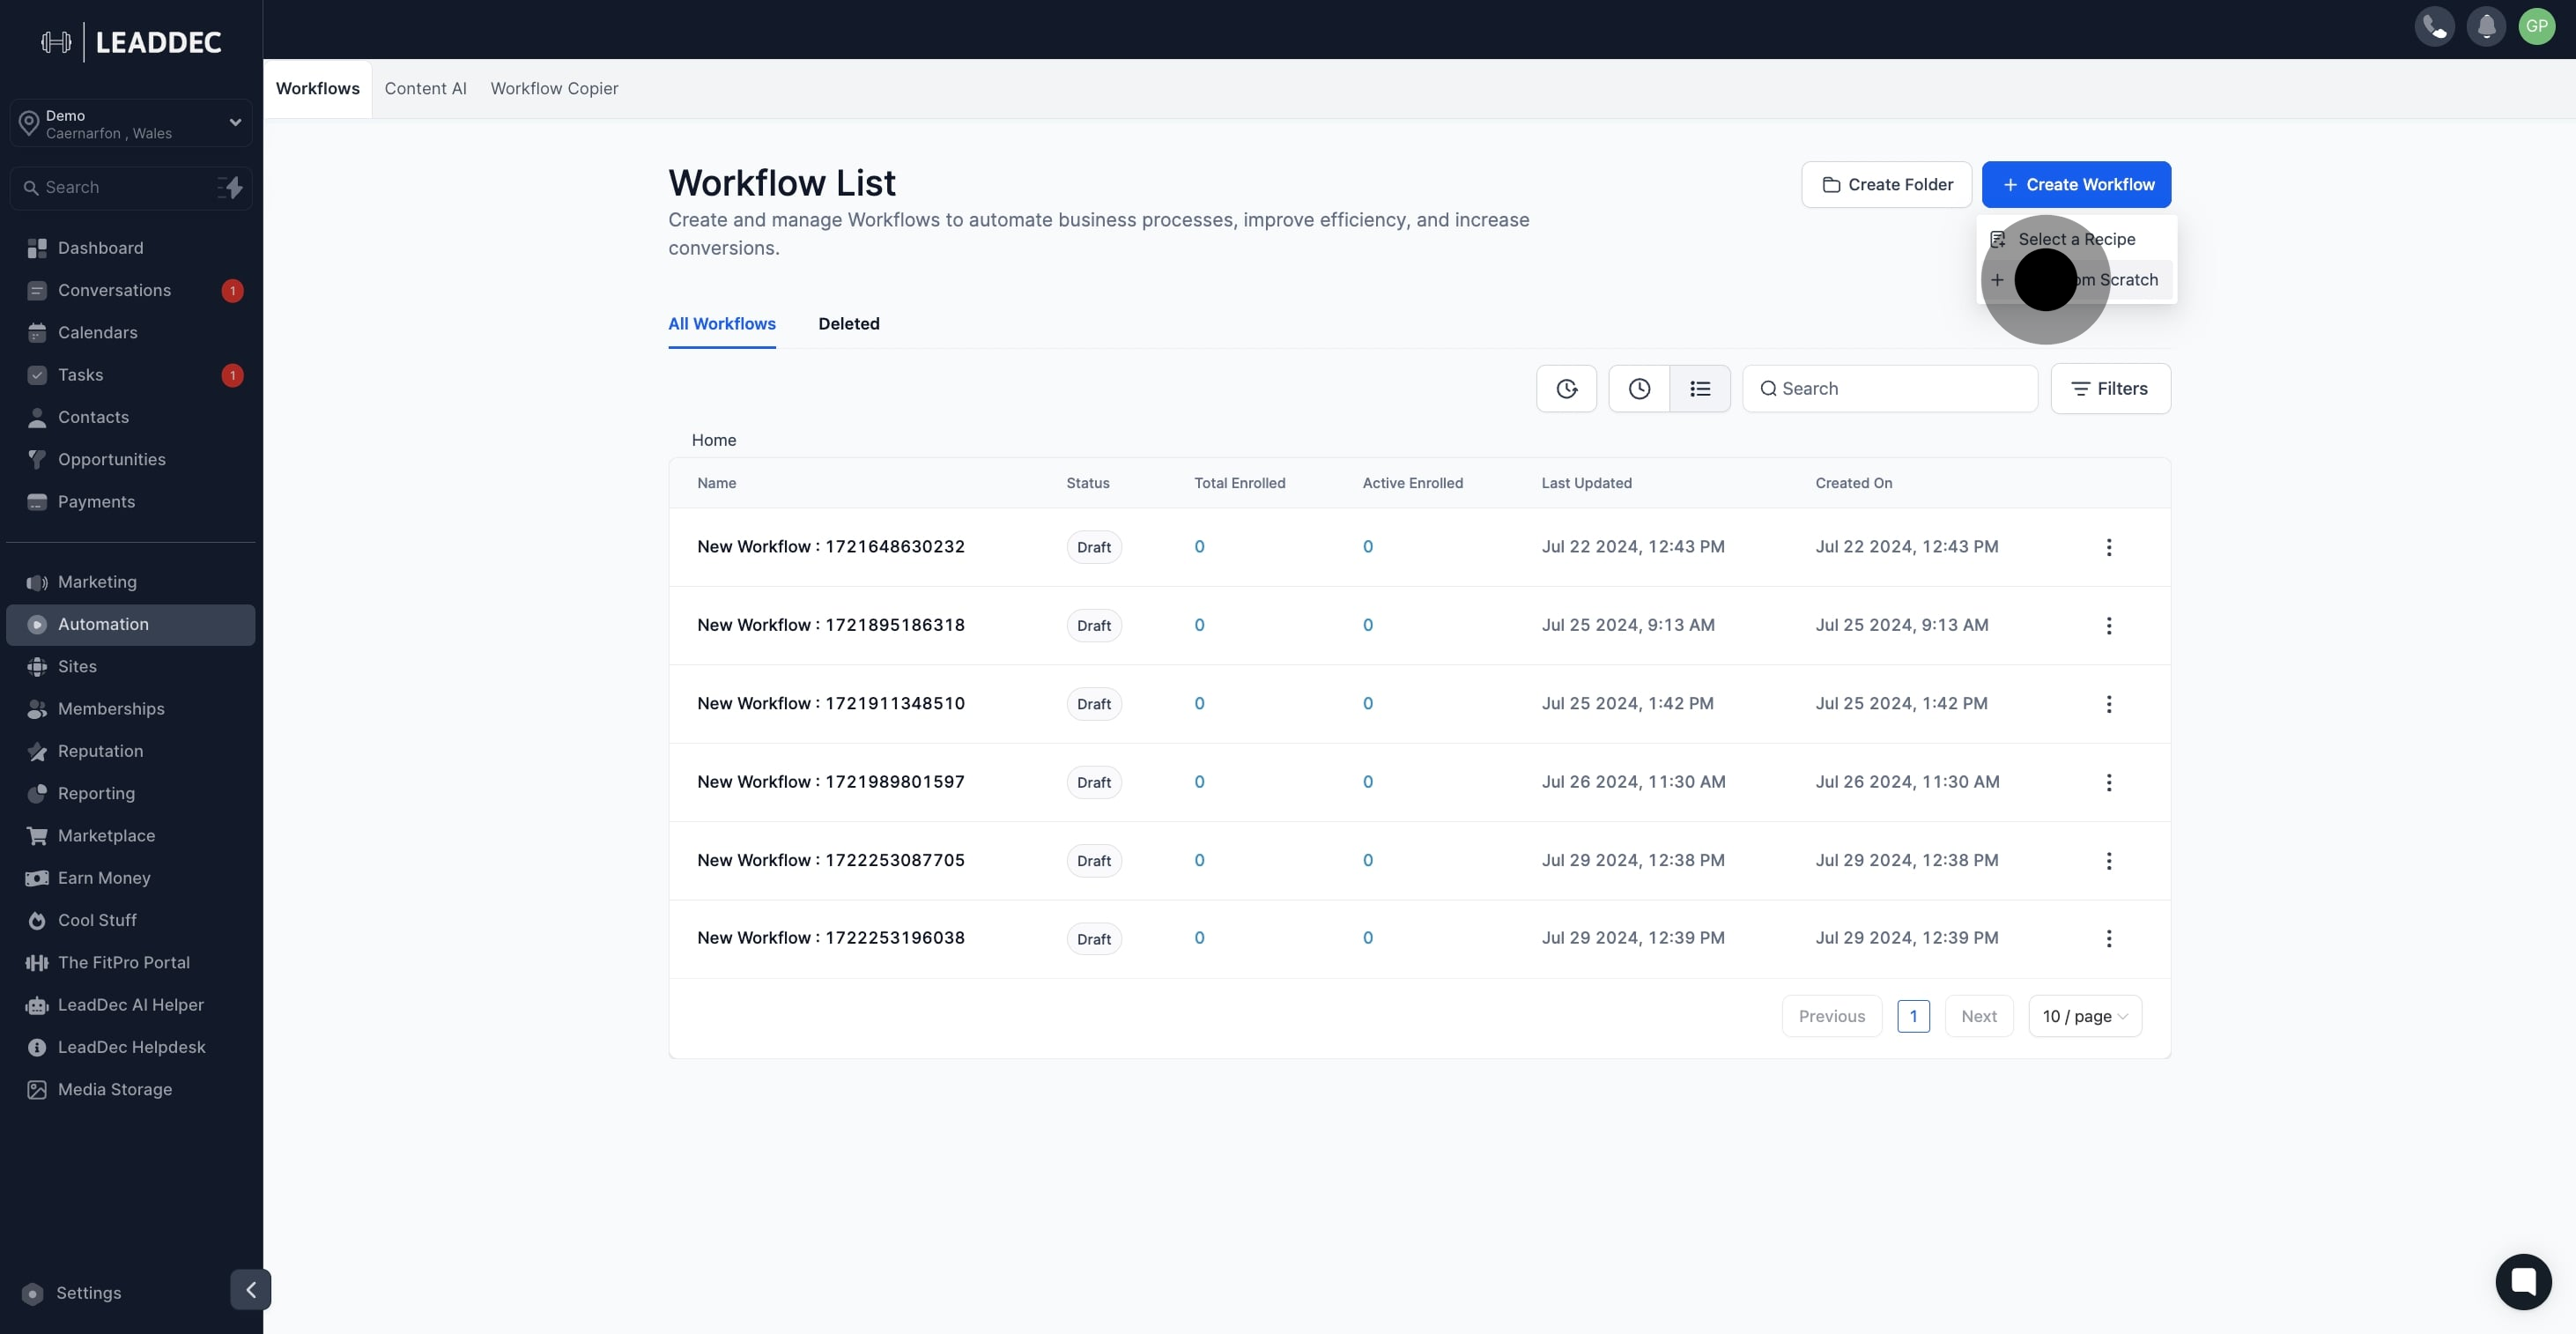
3. Now, choose Start from Scratch to build your workflow from the ground up.

3 Next, click on "Start from Scratch".

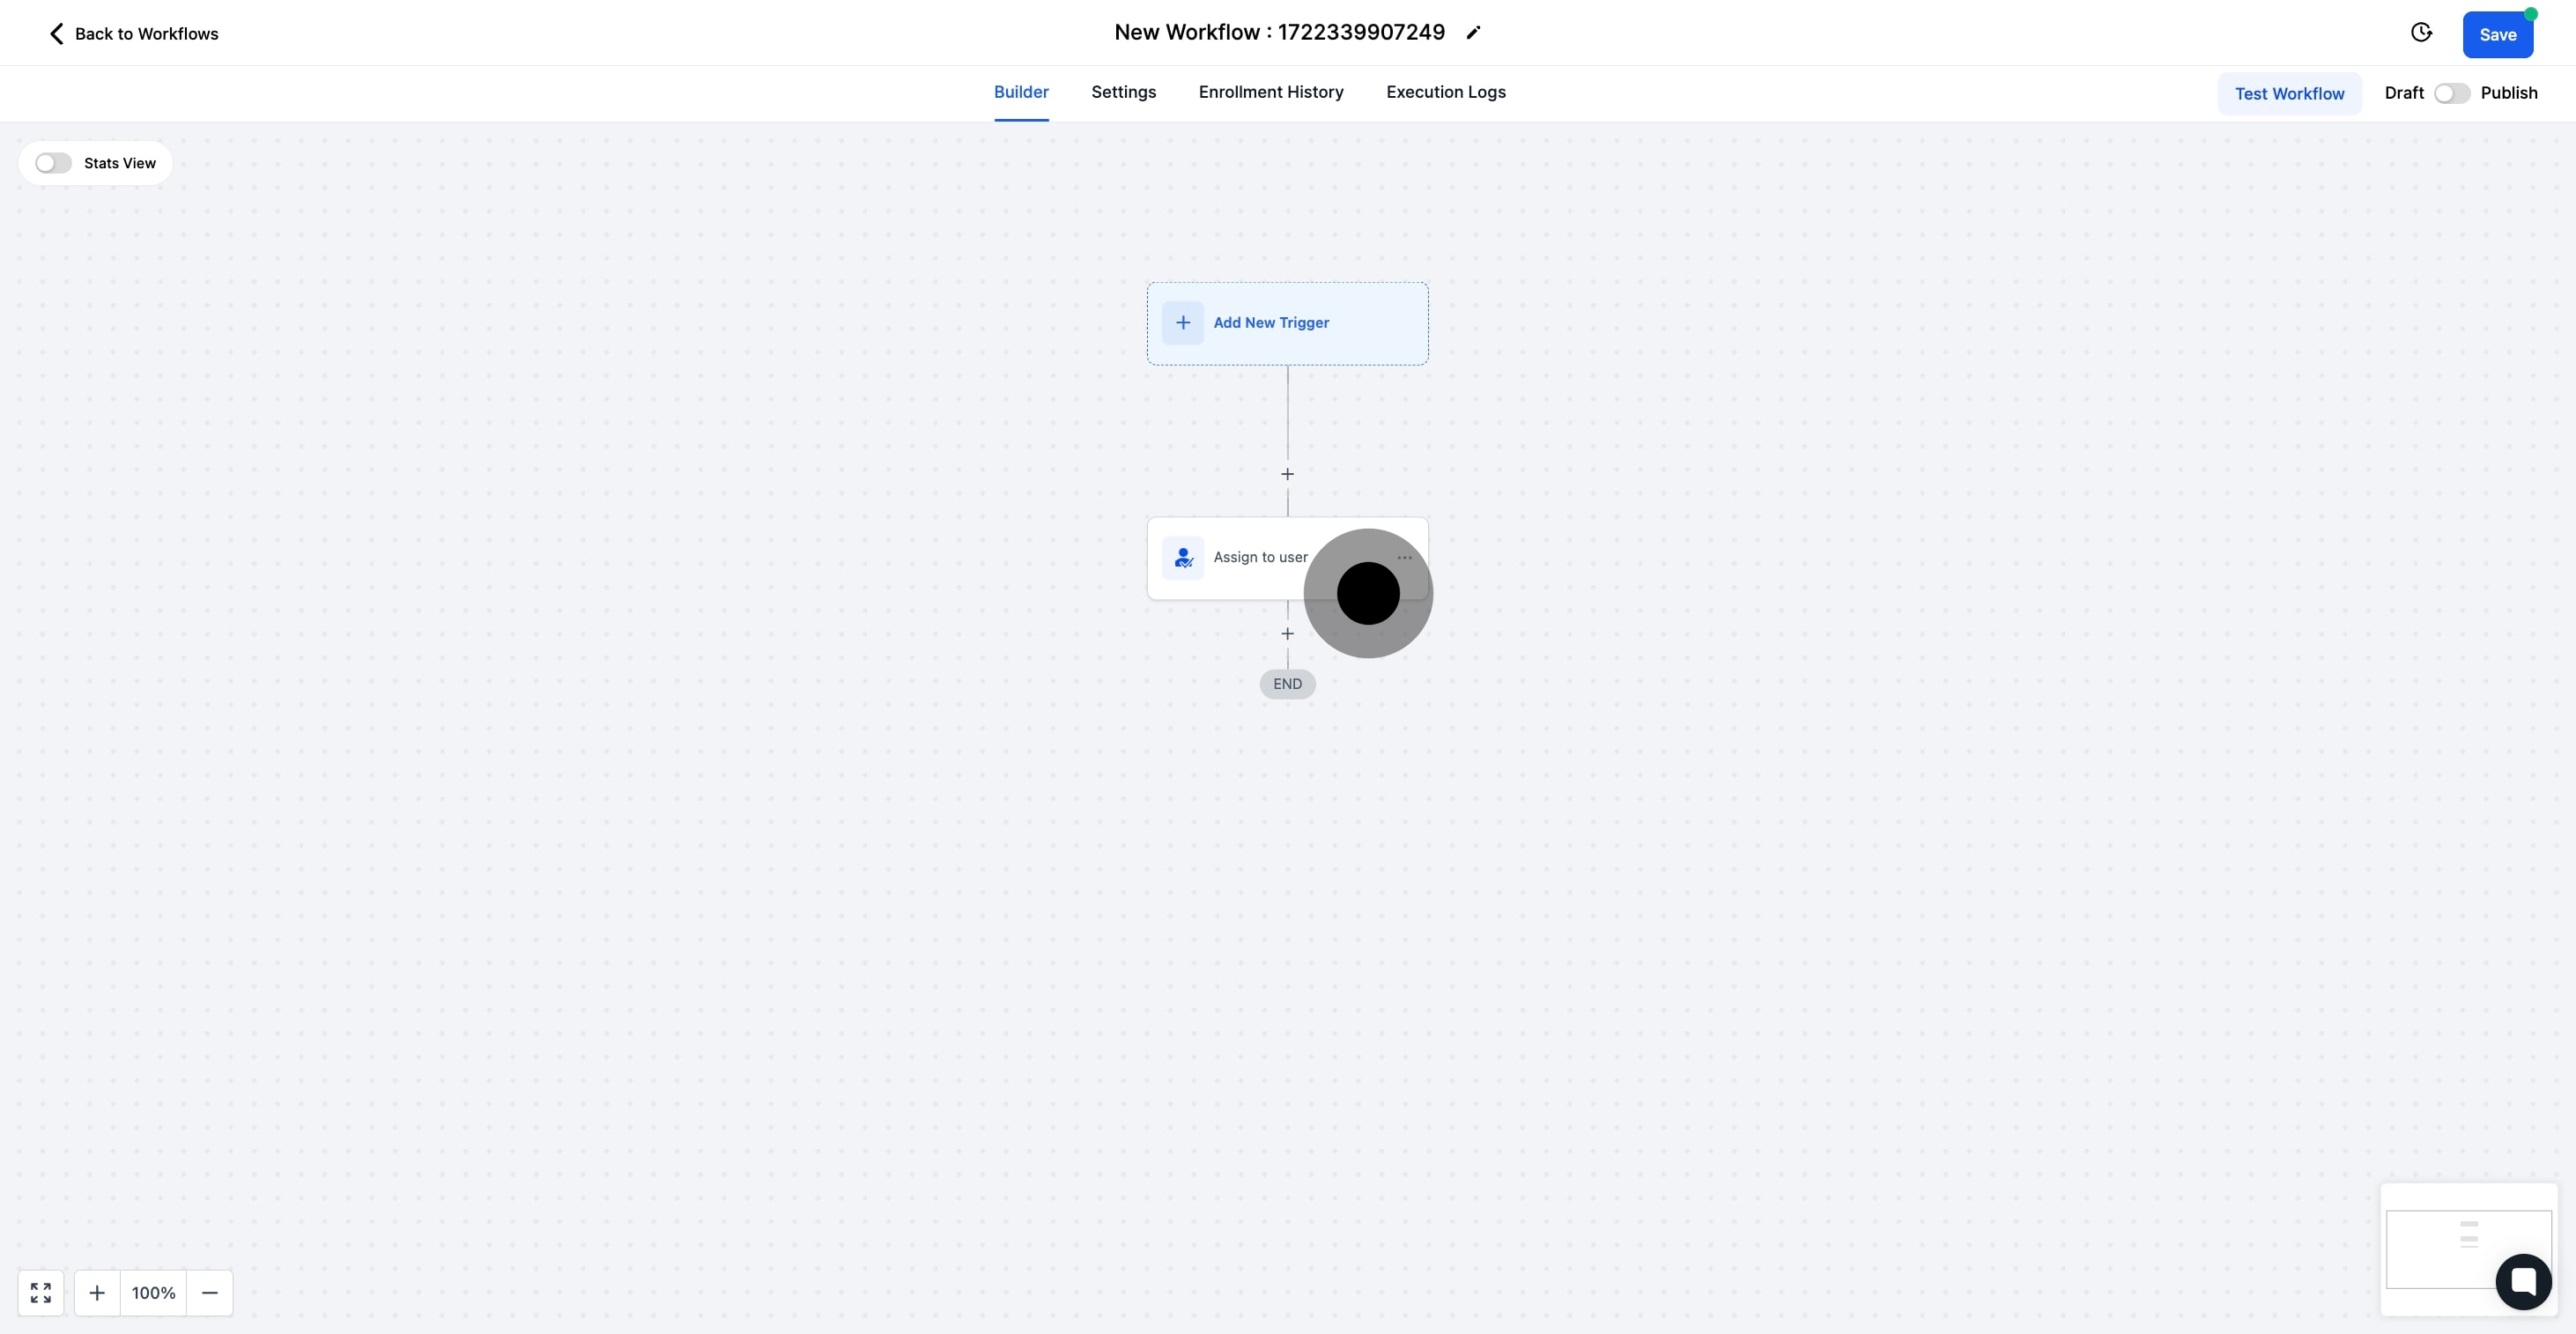
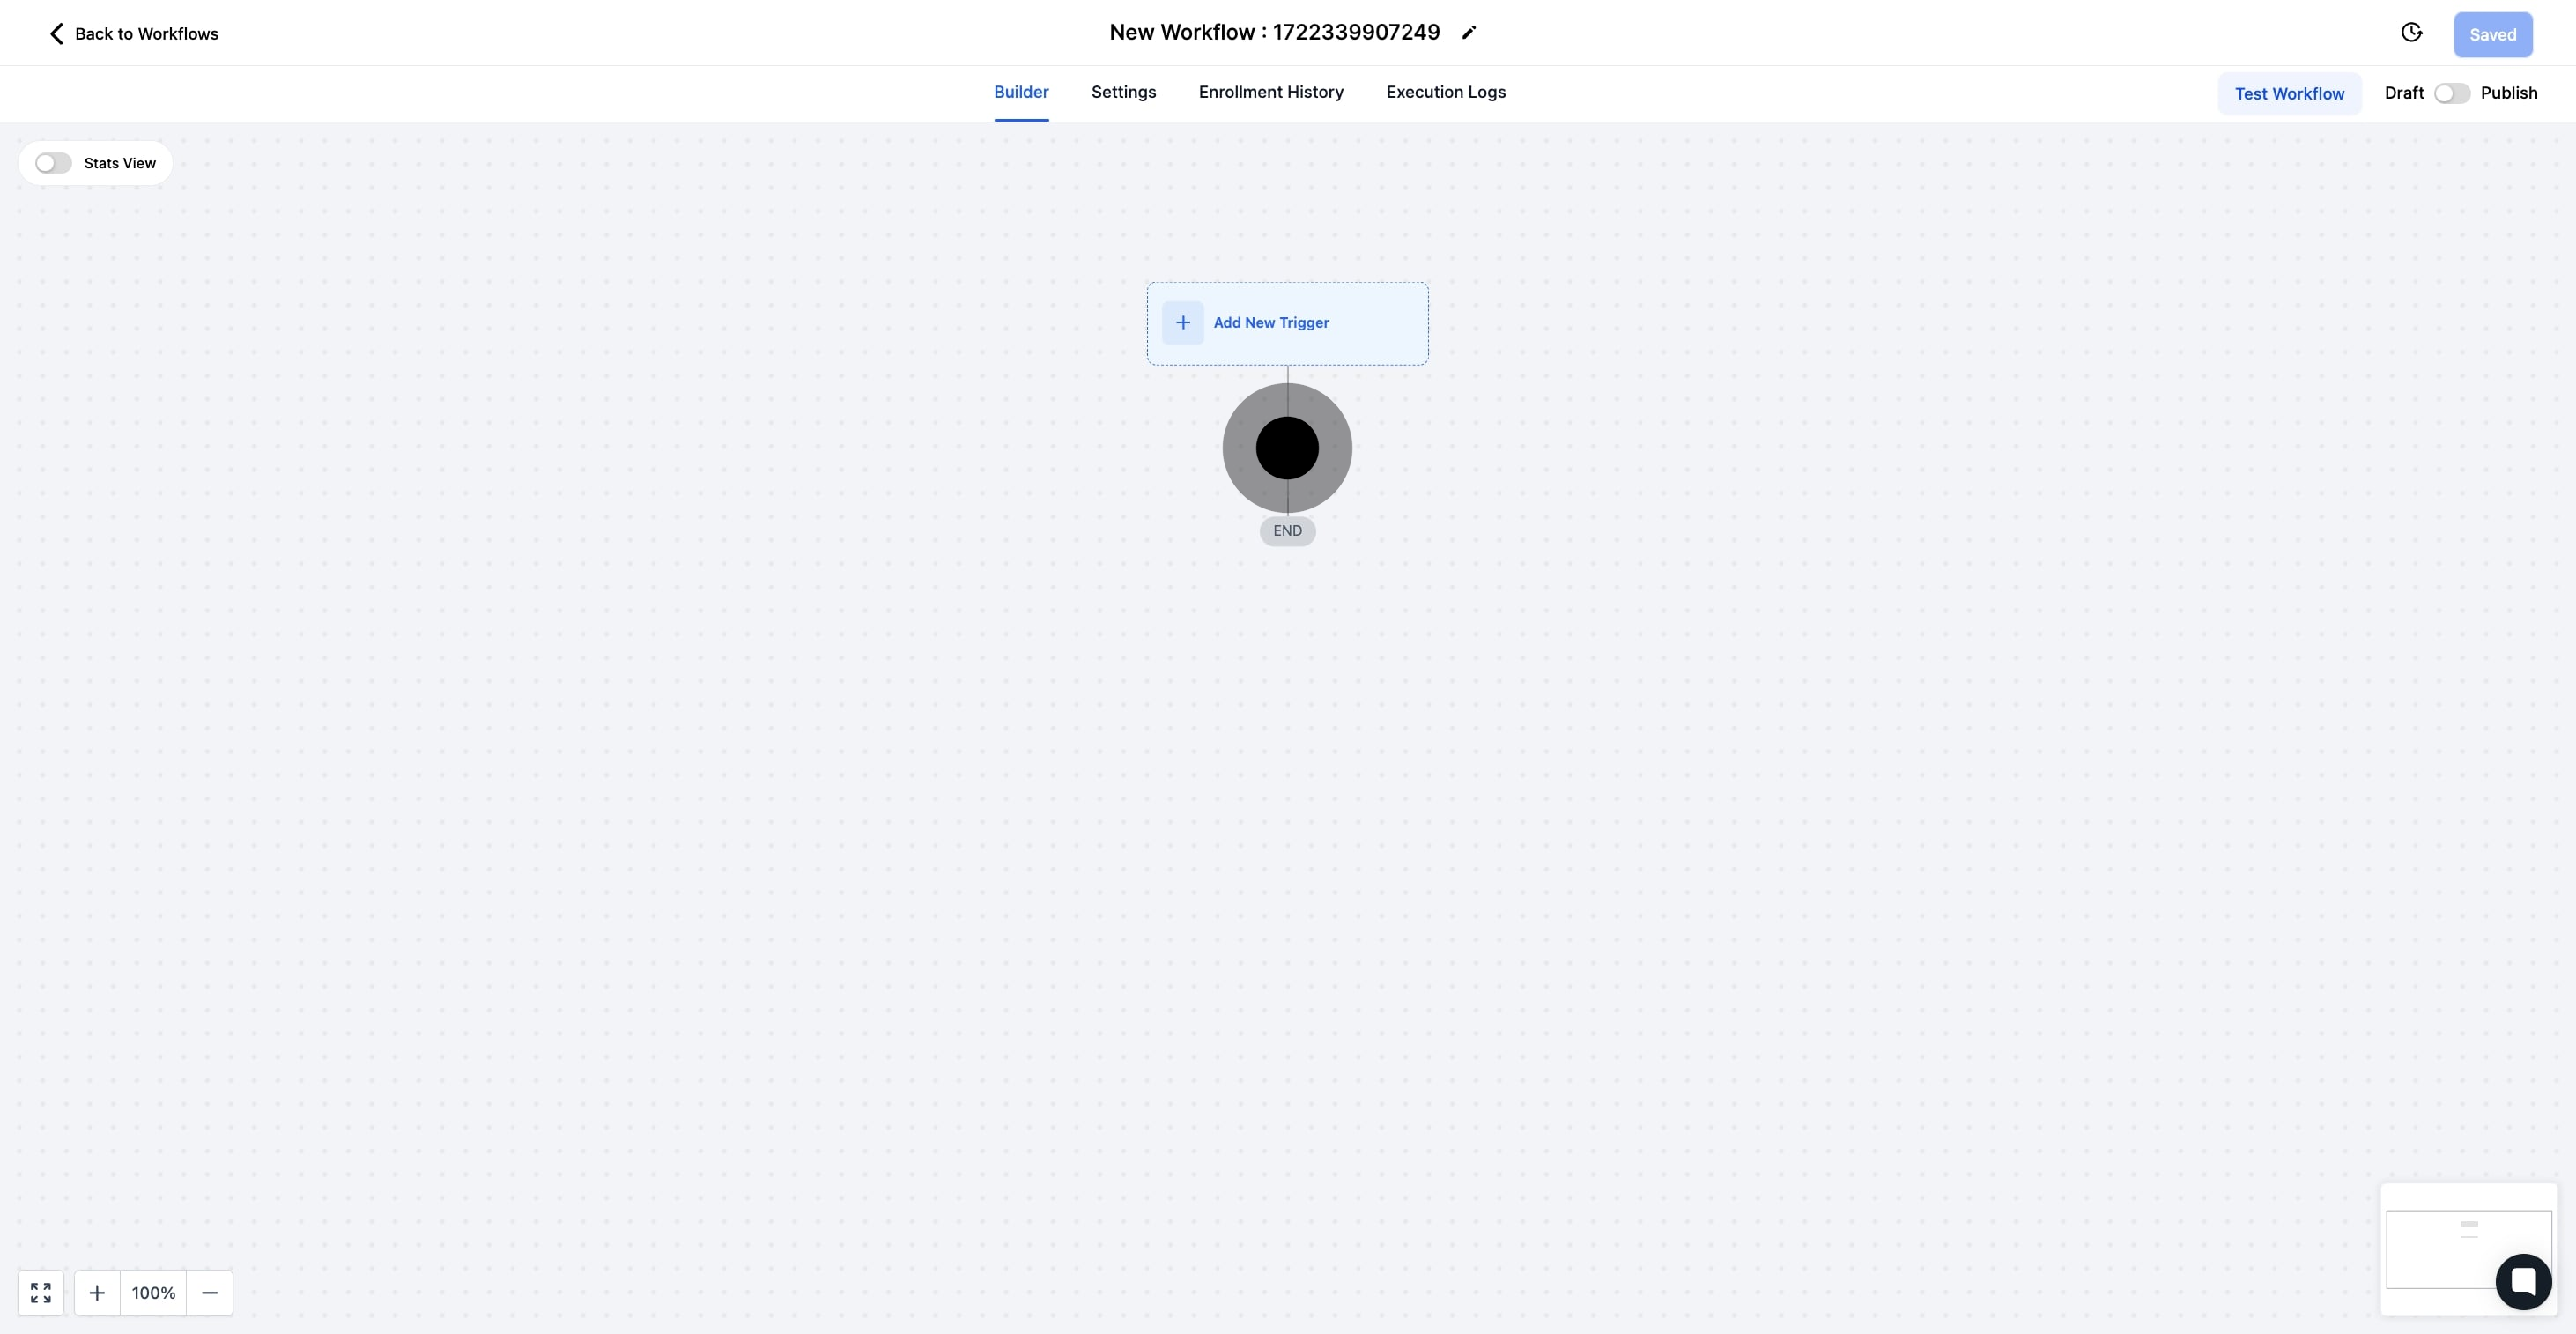
4. Click Add New Trigger to set the initial event for your workflow.

4 Afterwards, click on "Add New Trigger".

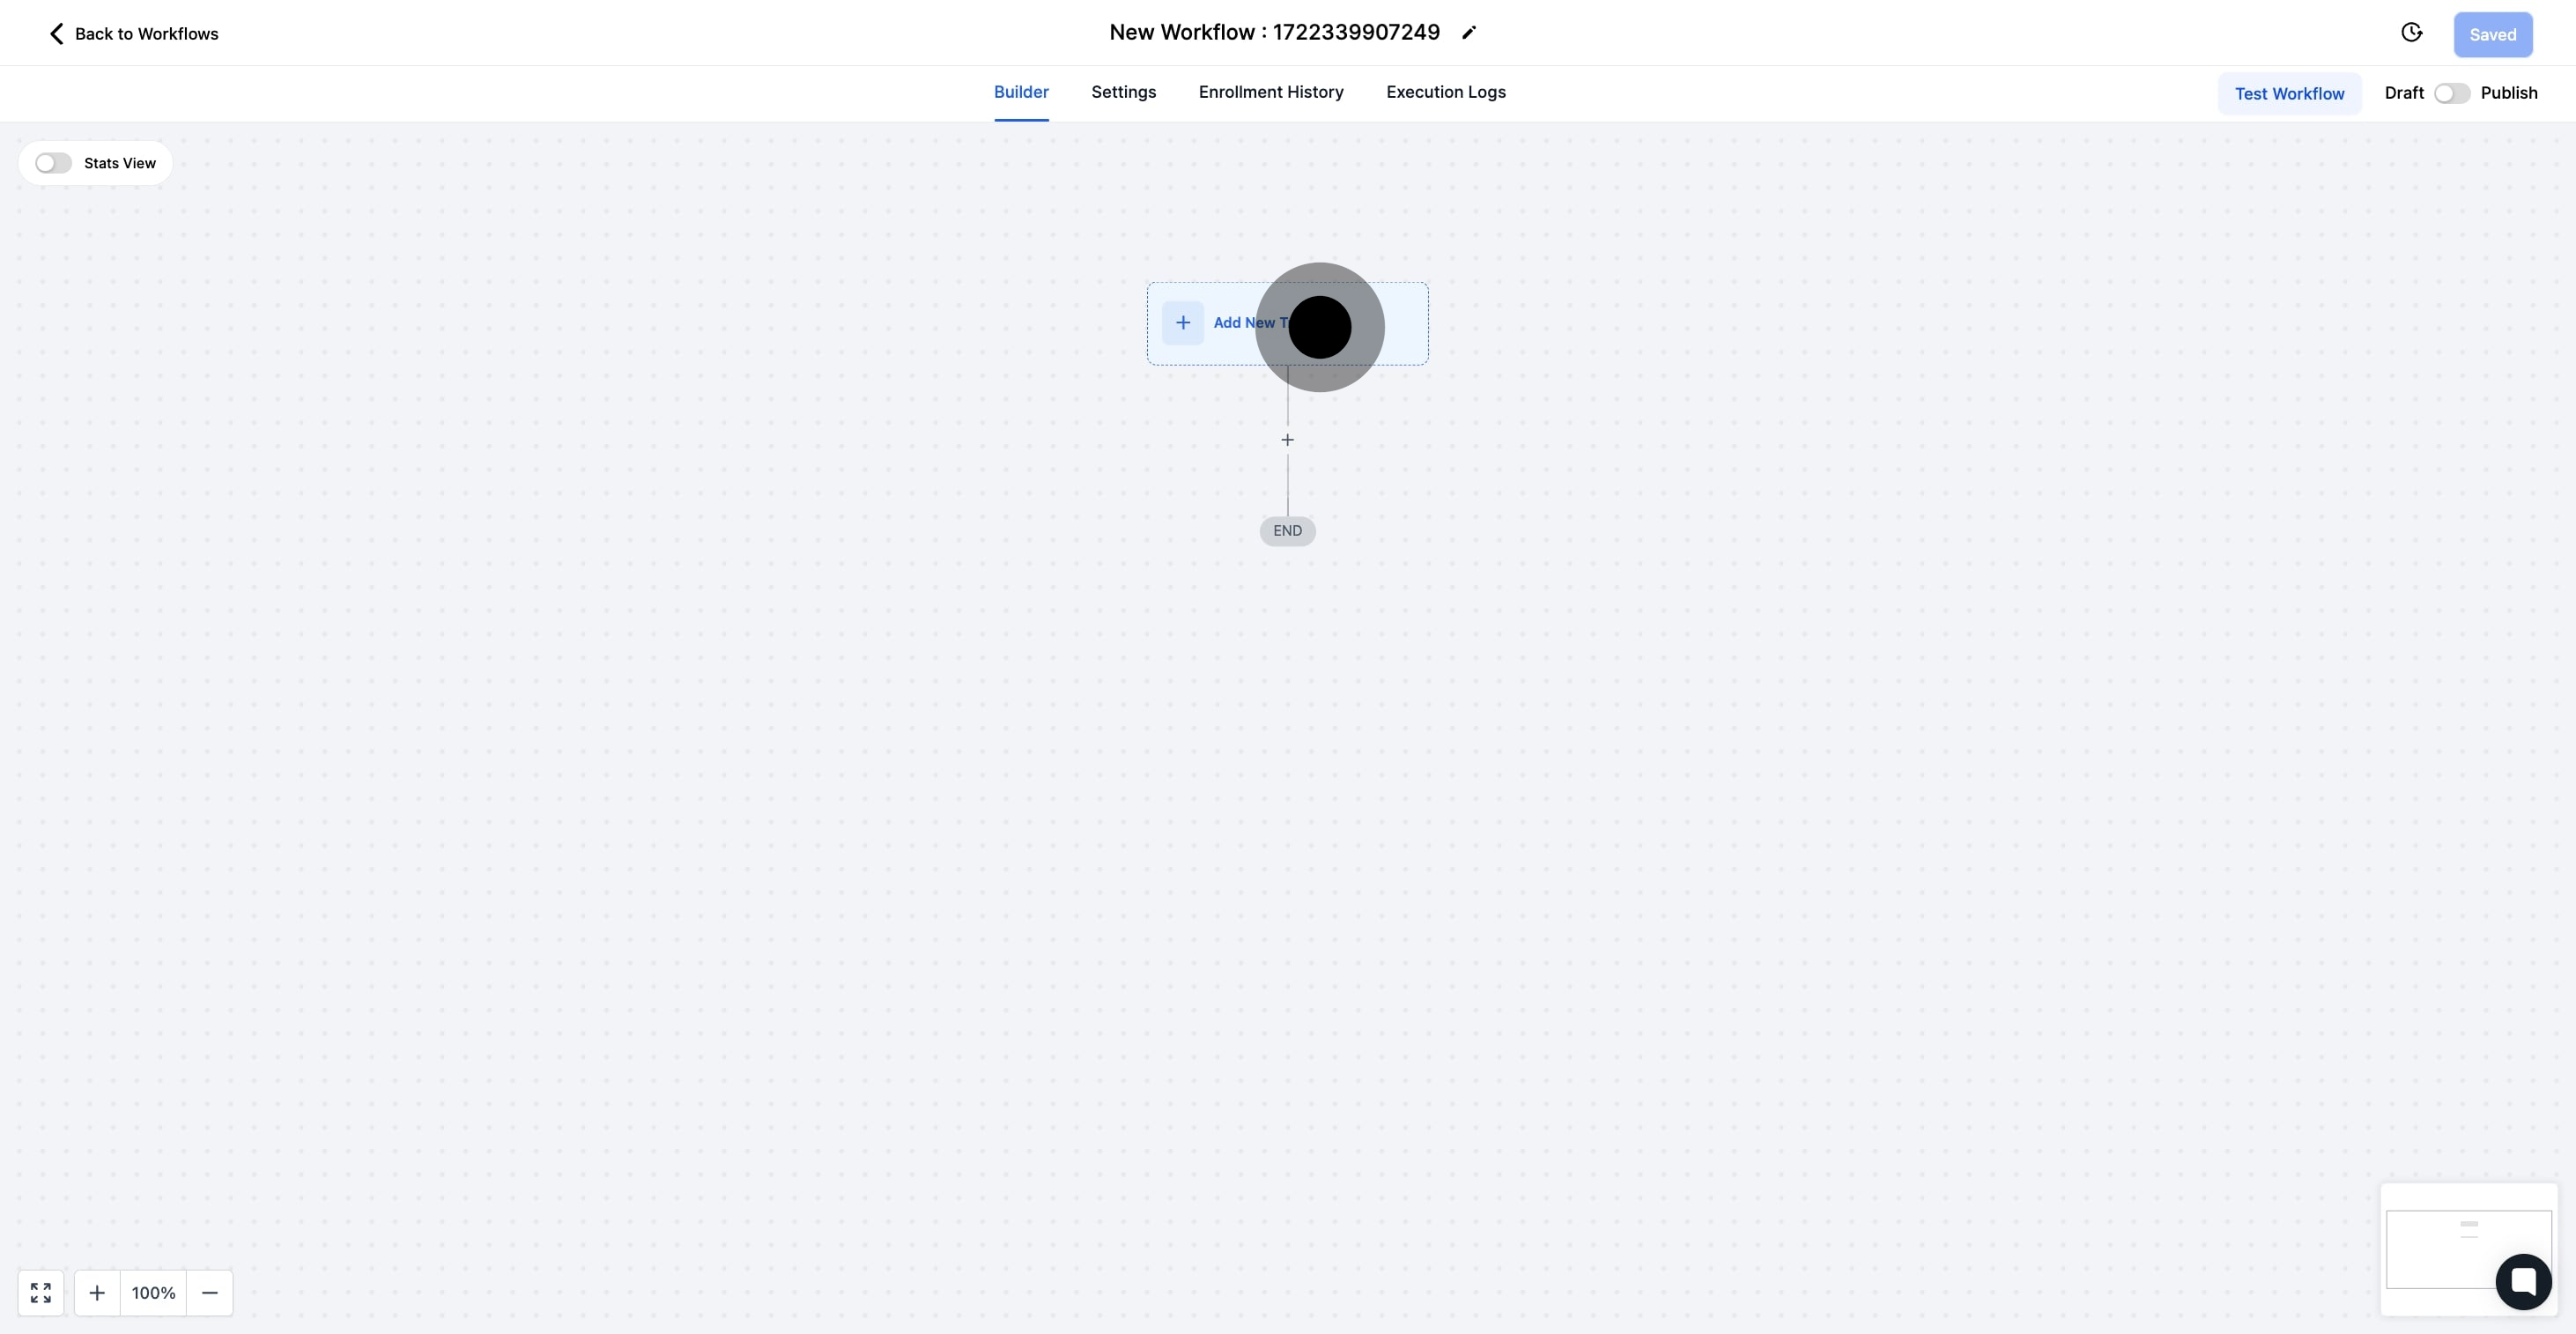
5. Afterwards, click the plus sign to include an action step.

5 Next, click here.

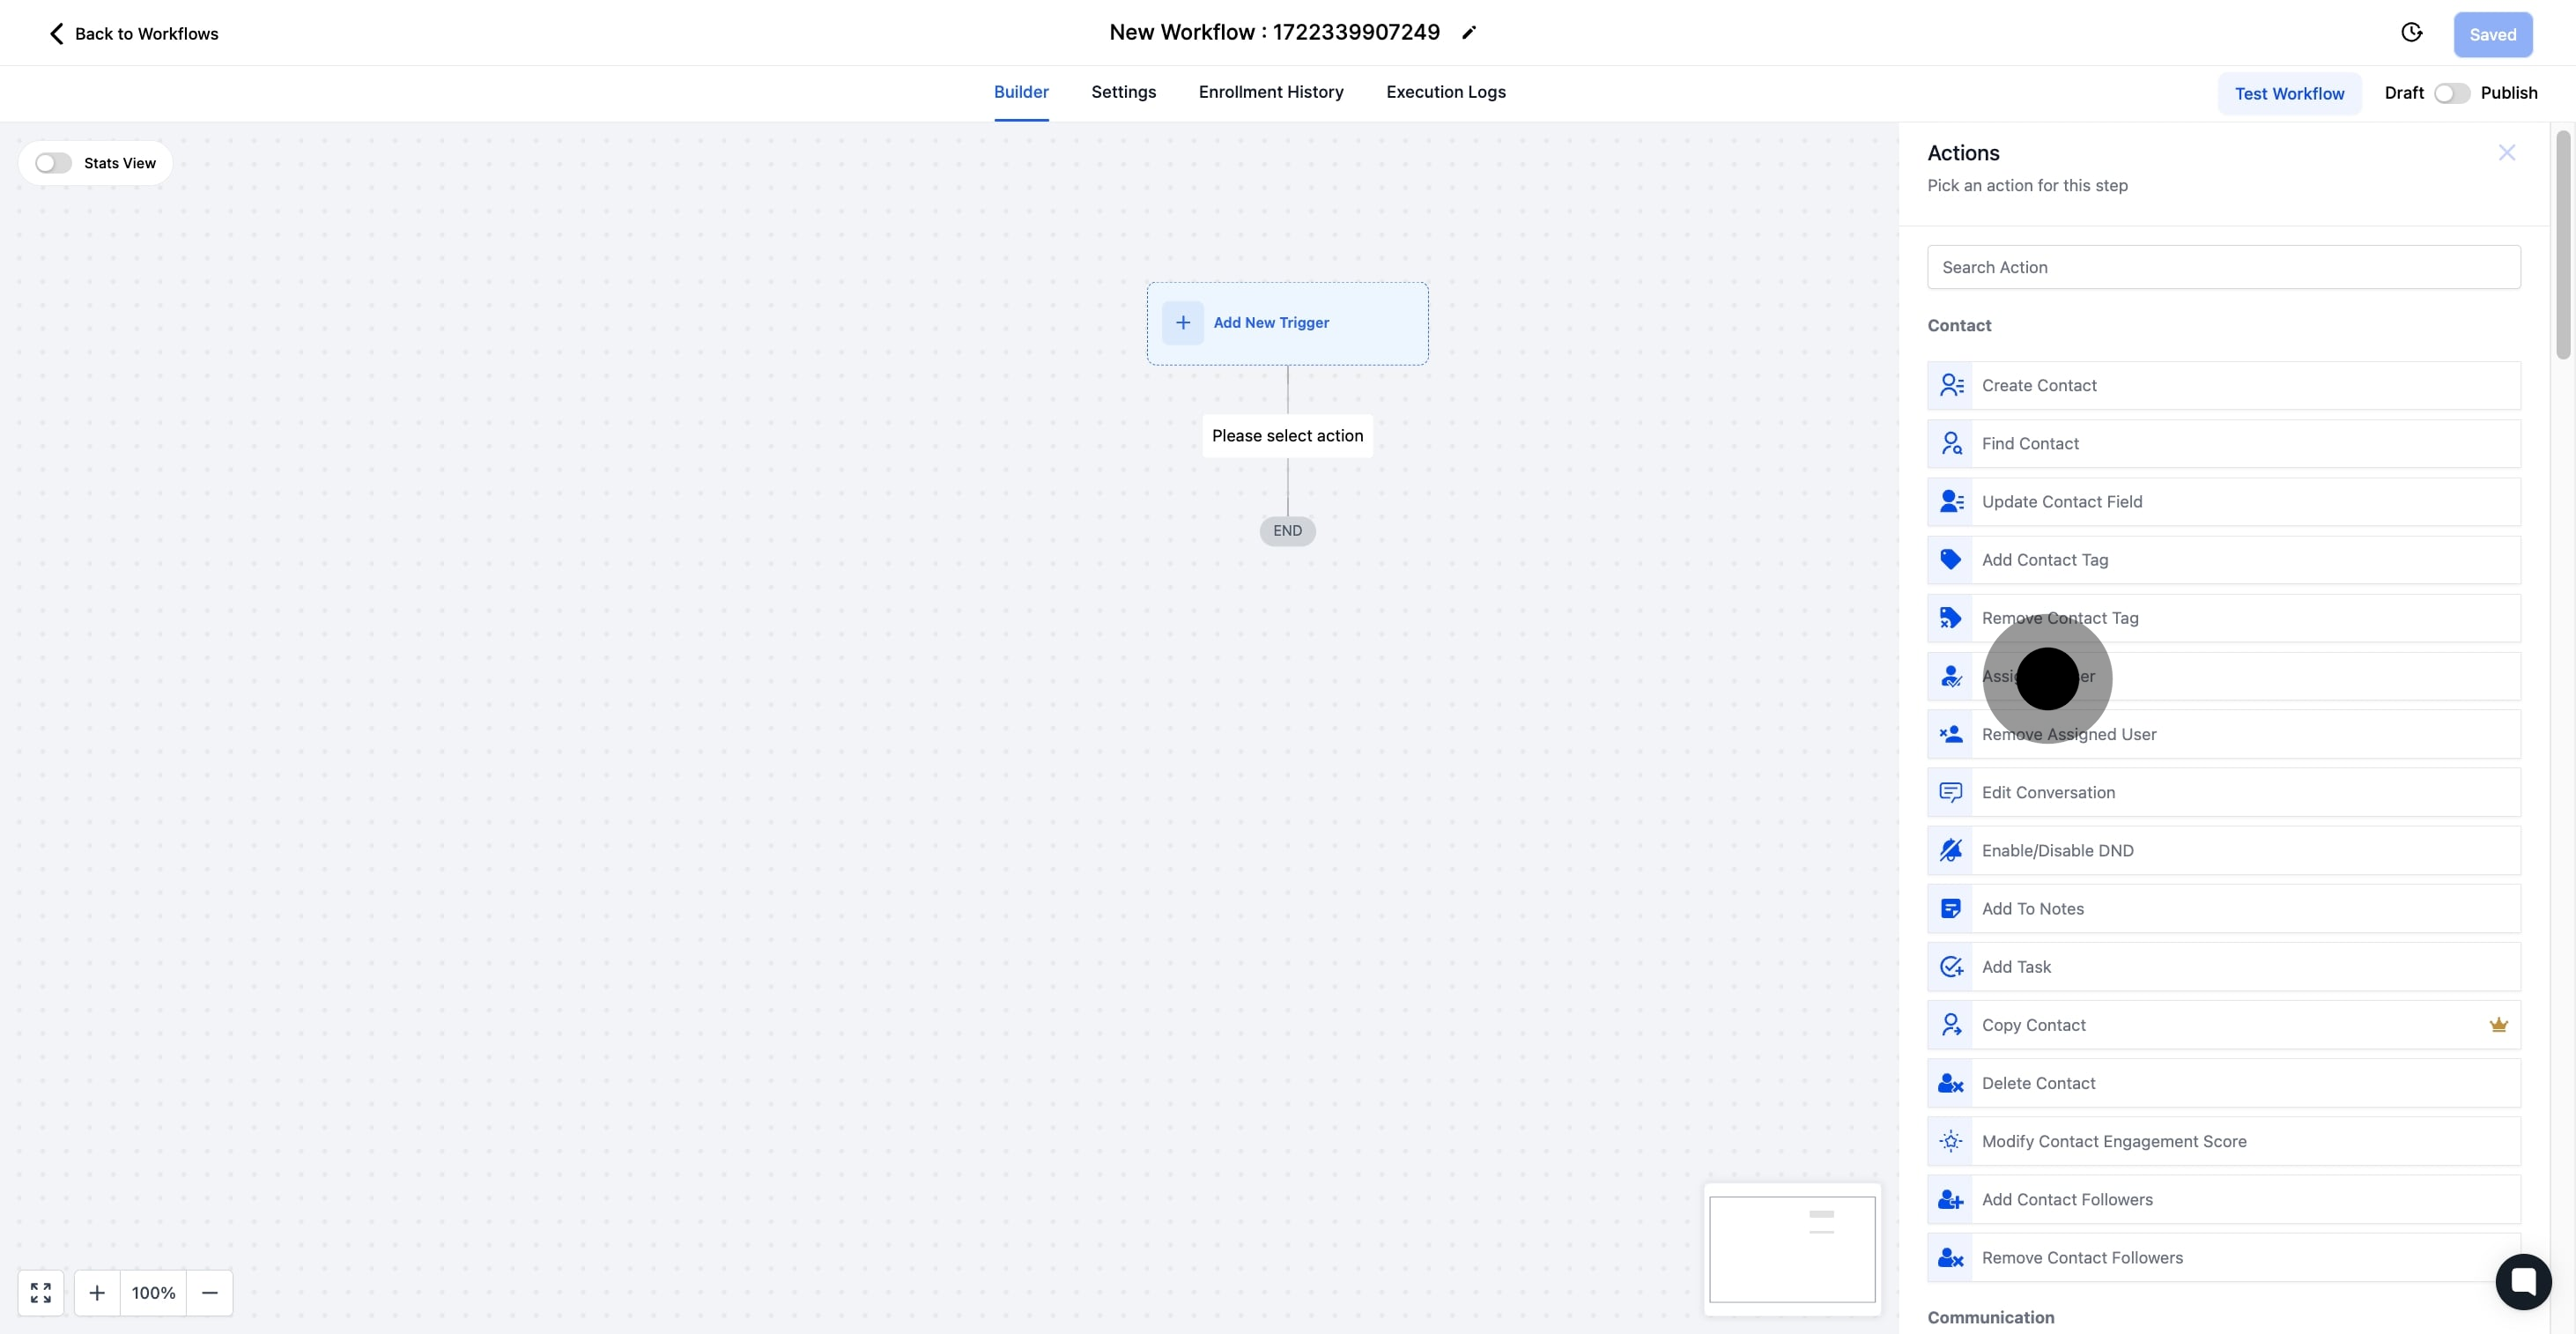
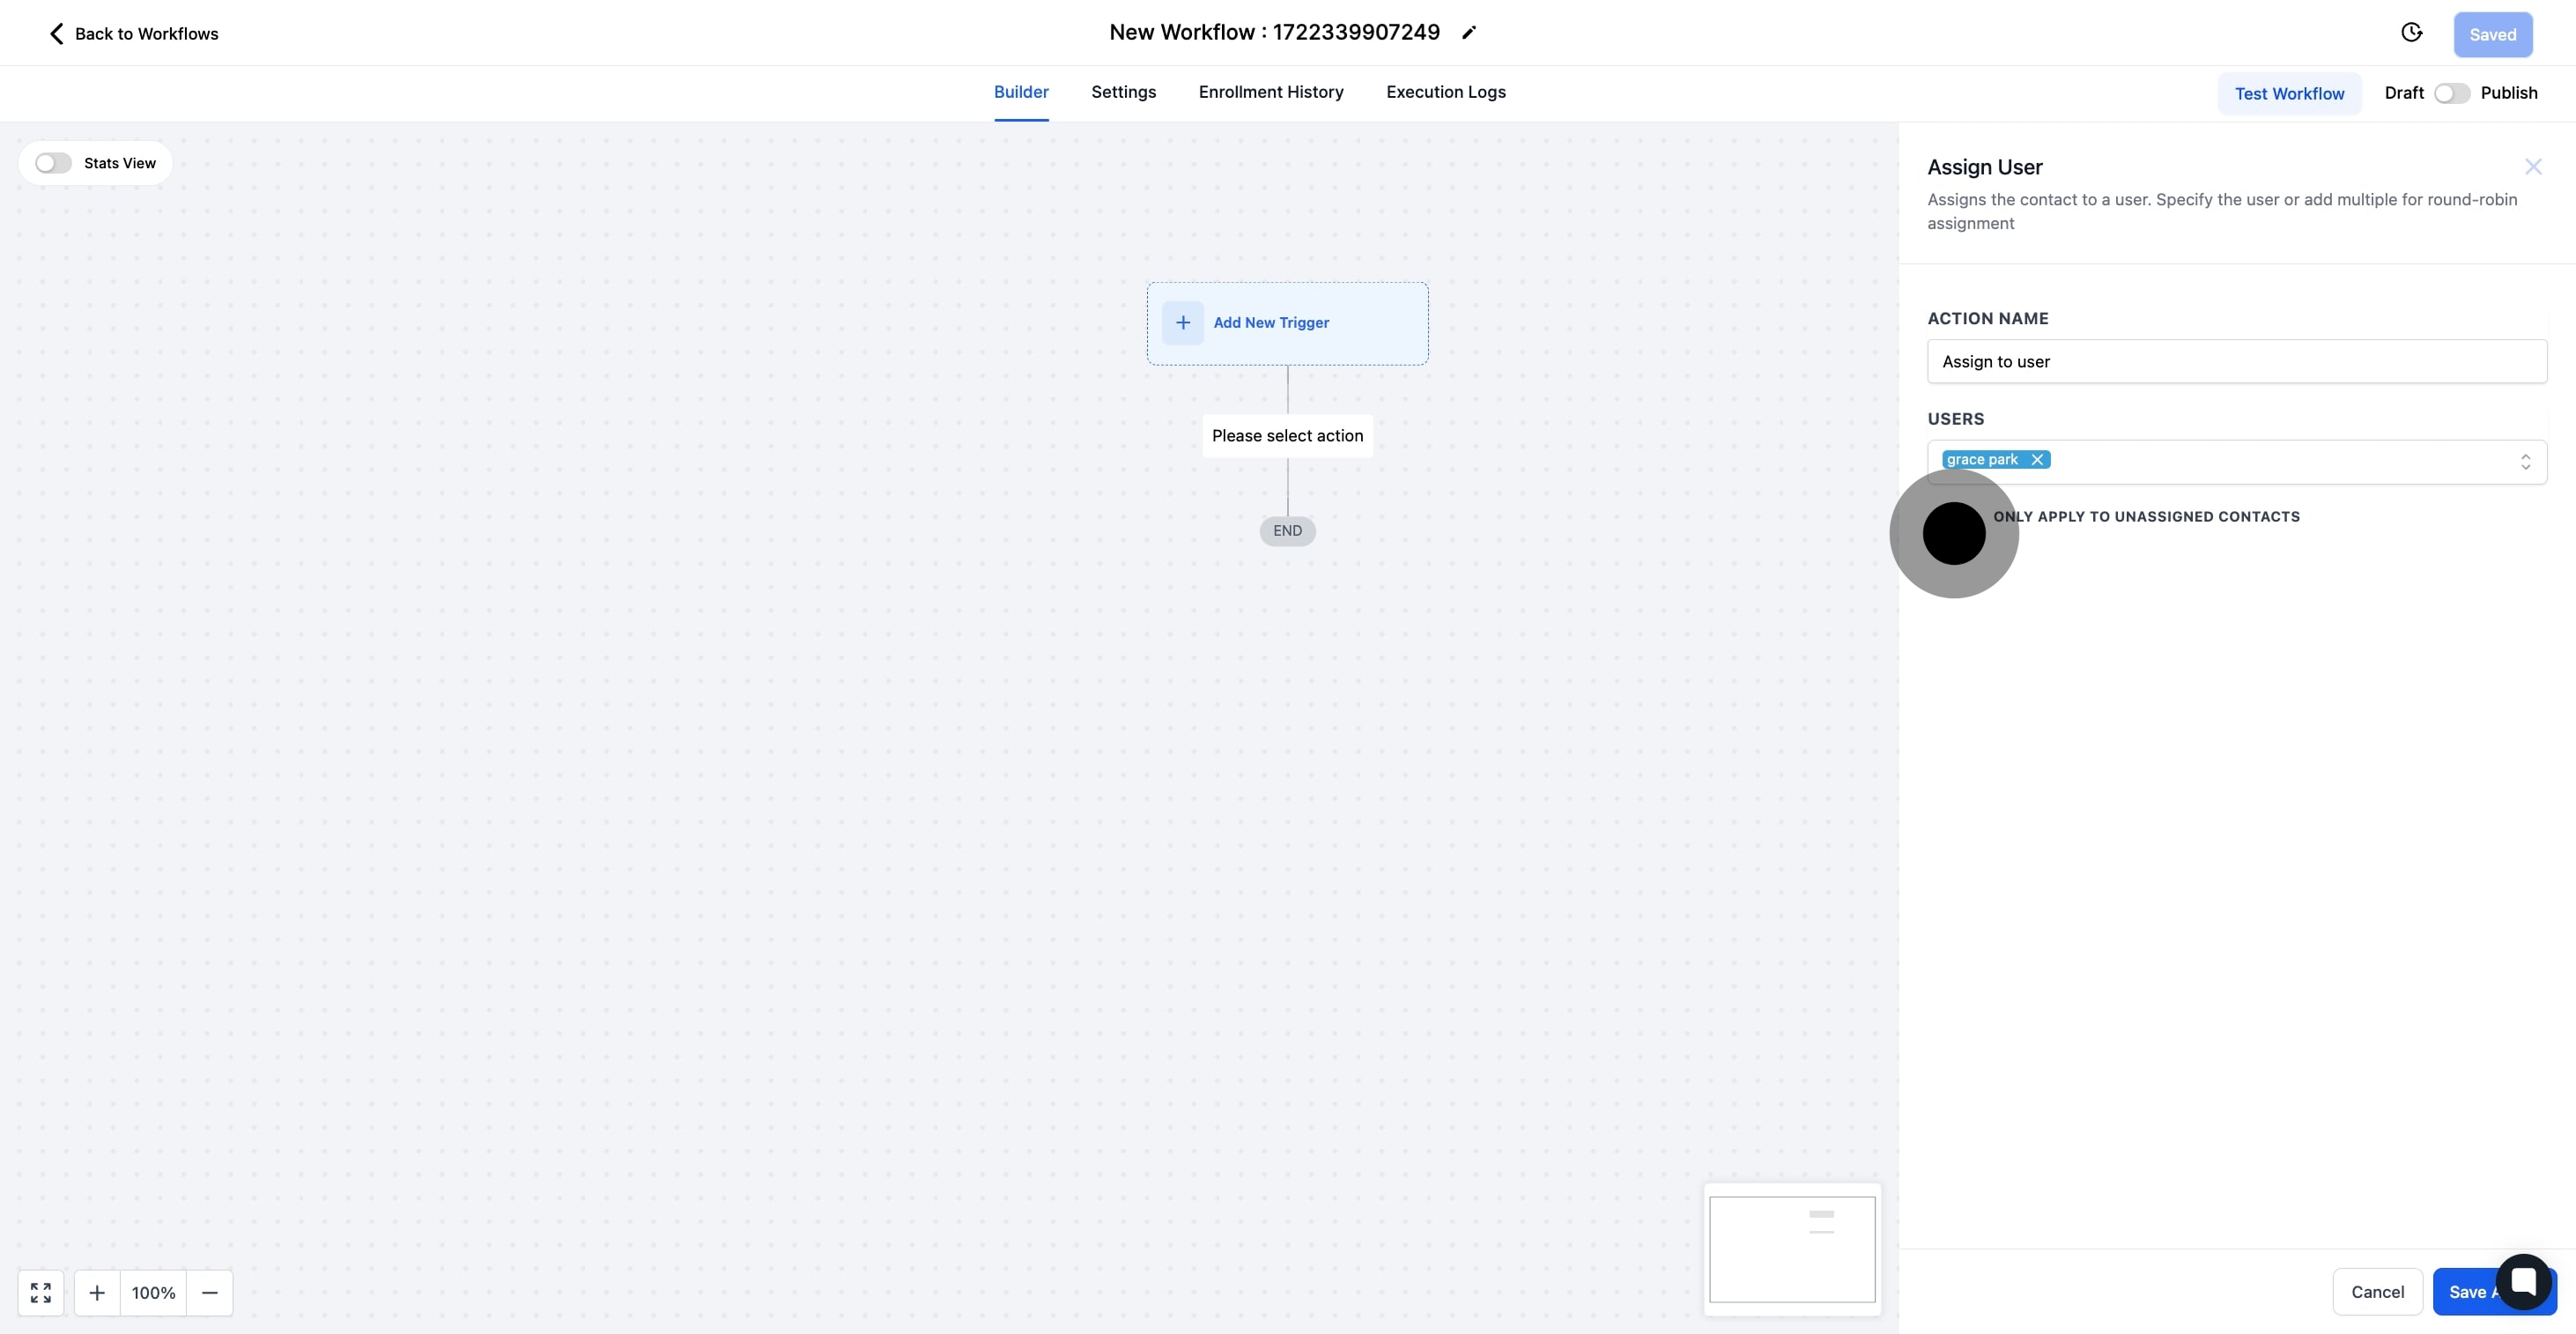
6. Next, select Assign to User to define the user action.

6 Click on "Assign to user".

7. Choose the specific user from the dropdown list for the action.

The user added here will be assigned user to the contact who triggers the workflow.

7 Then, click on the element.

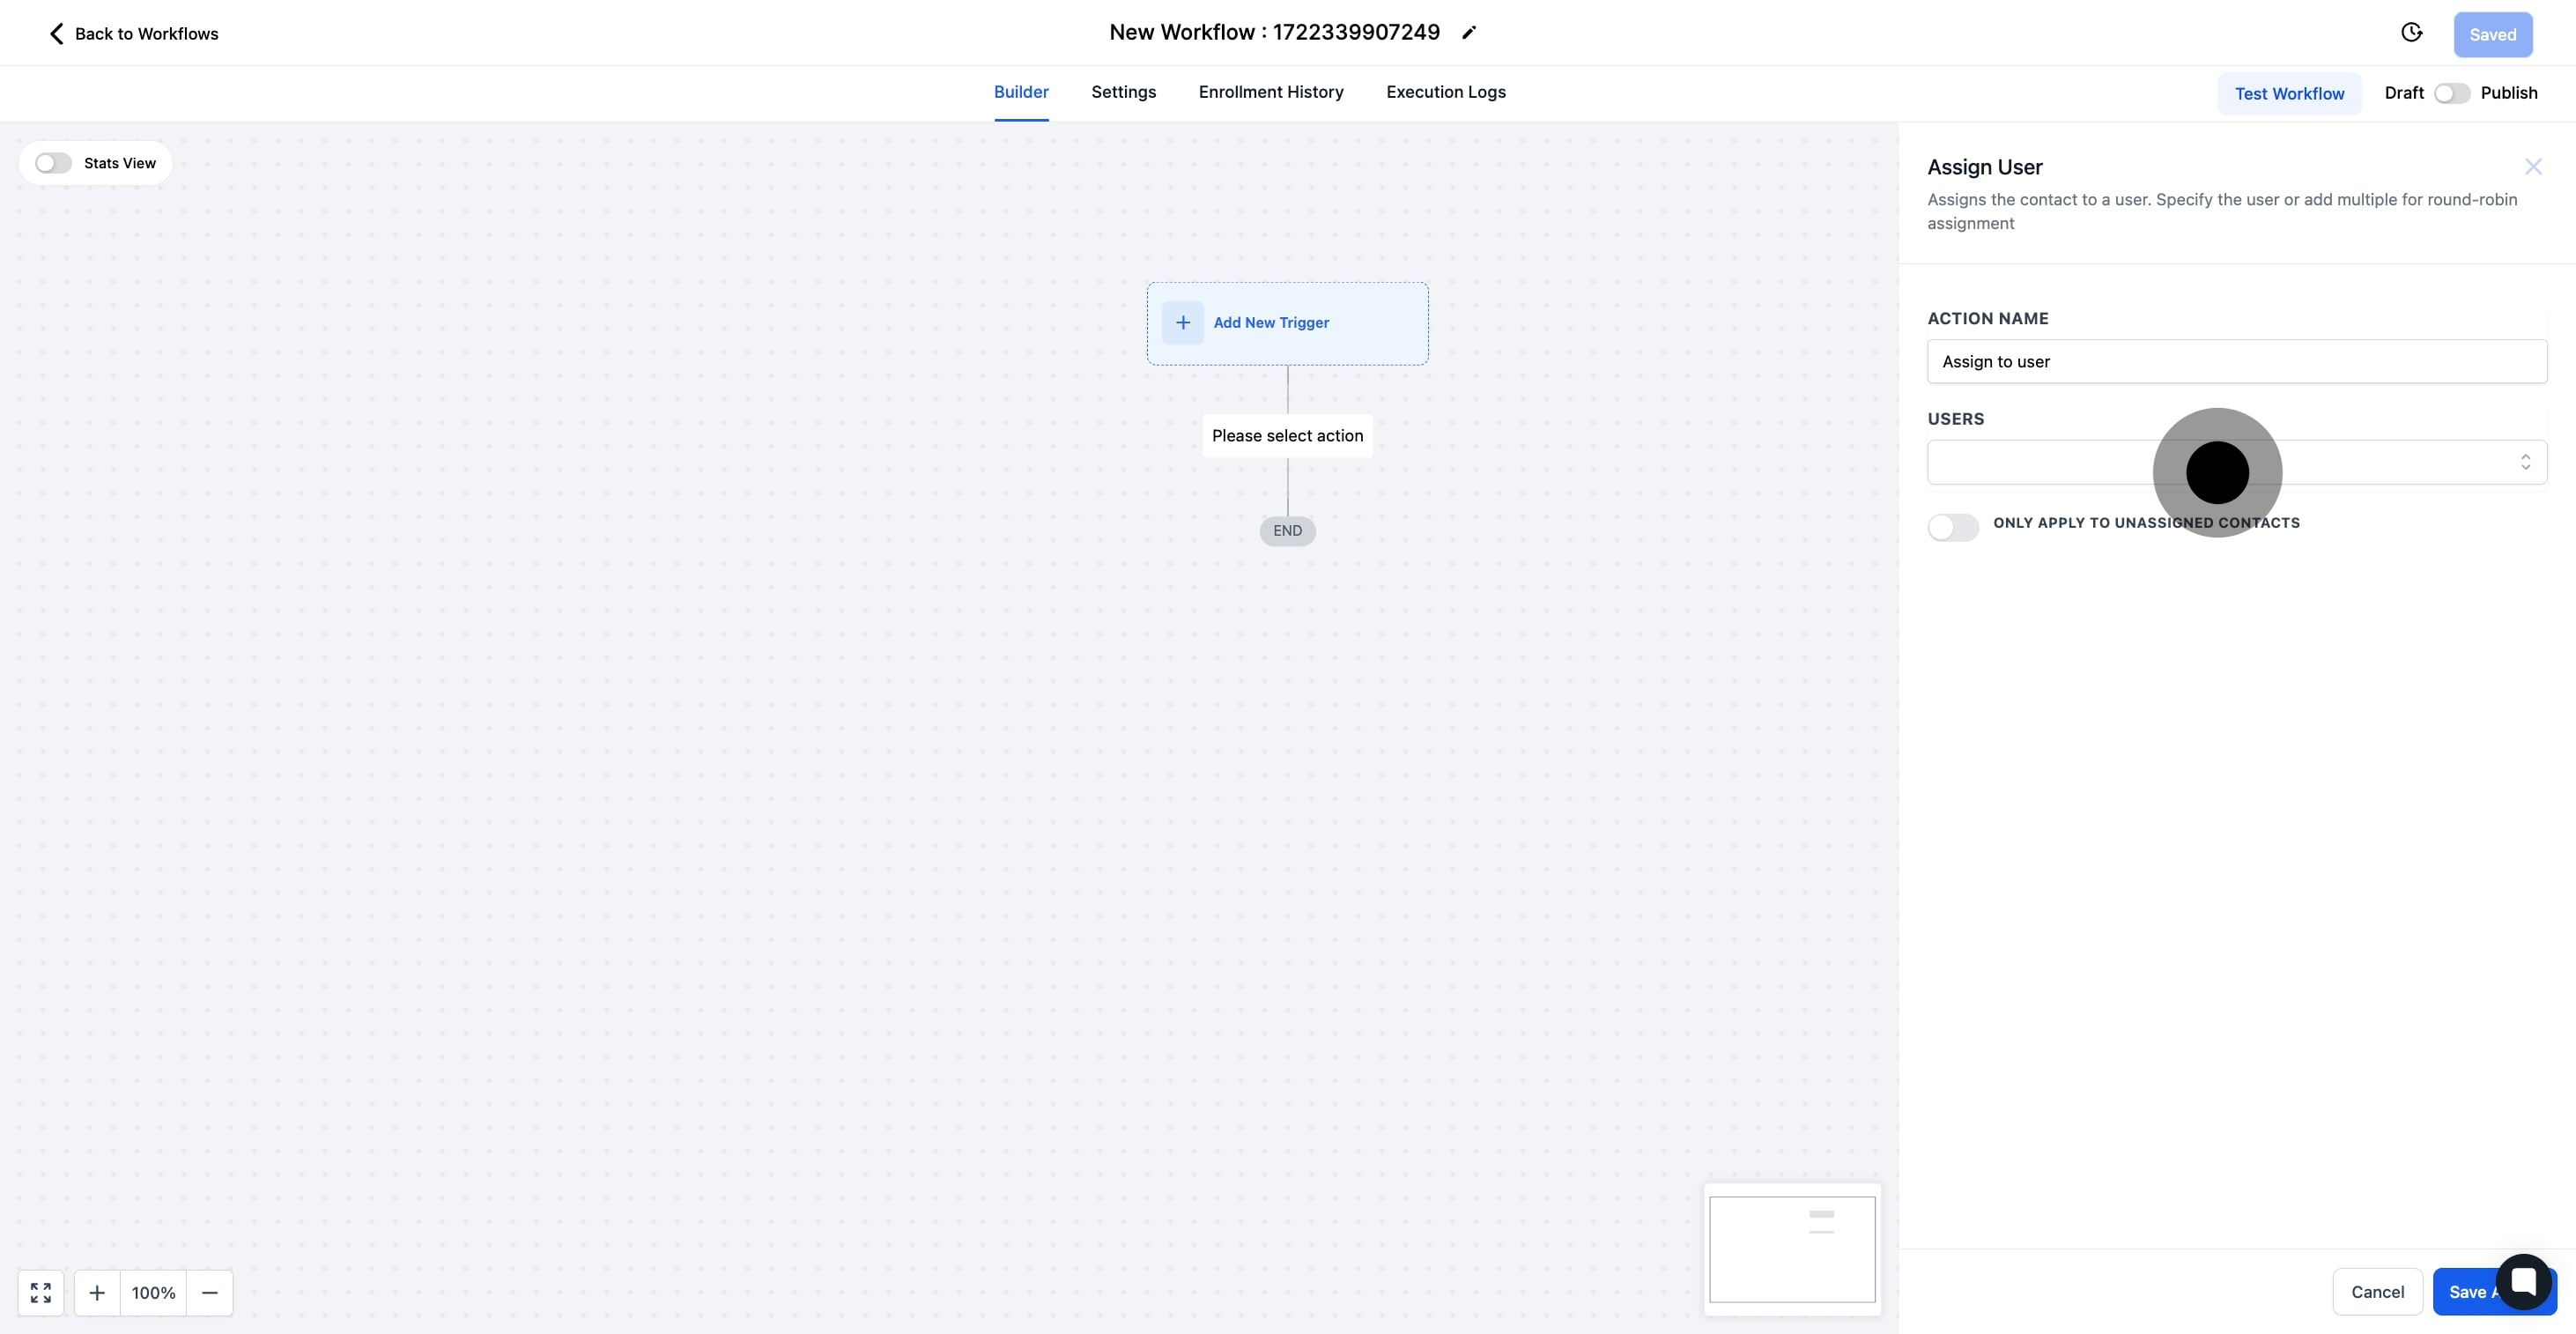
8. Toggle the switch if assigning is only for unassigned contacts.

Once this option is toggled on, this action step will only be activated if the contact has no assigned user.

8 Click on the element.

9. Finally, remember to save and publish your workflow once done.

9 Once that's done, click here.
Did this answer your question?
😞
😐
😁