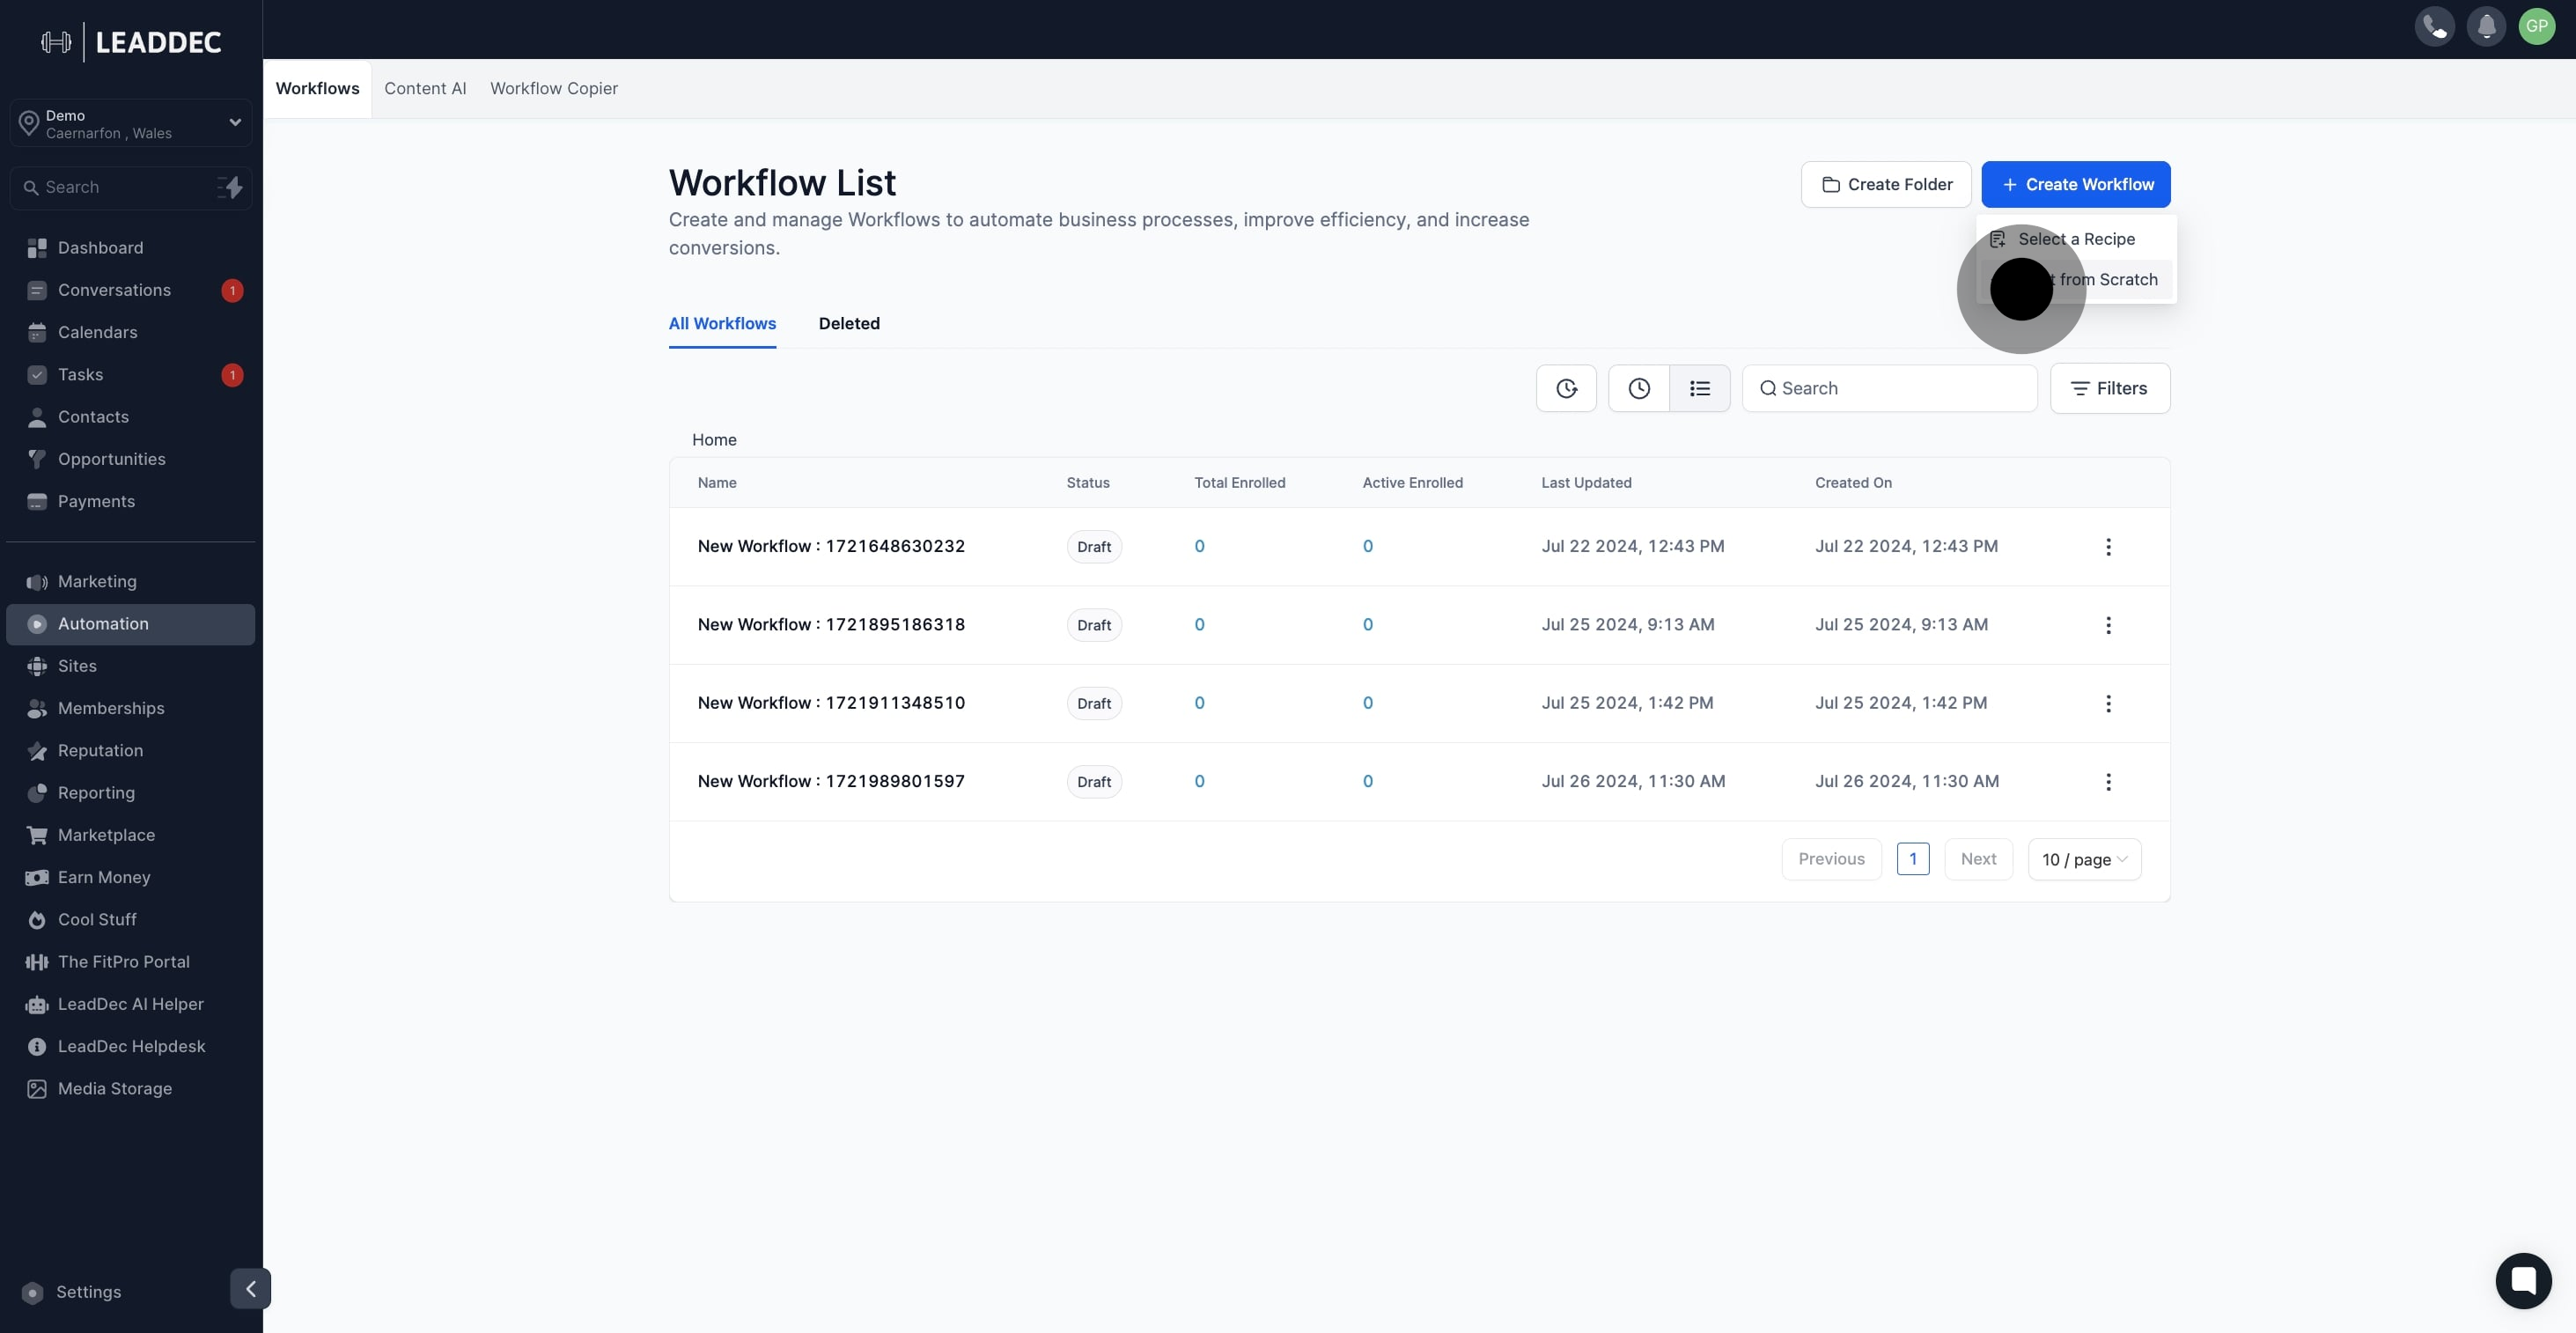
1. Start by clicking 'Automation' to proceed.

2. Next, select 'Create Workflow' to initiate a new workflow.

3. Choose 'Start from Scratch' to build your workflow from the beginning.
4. Now, add a trigger to kickstart your workflow.
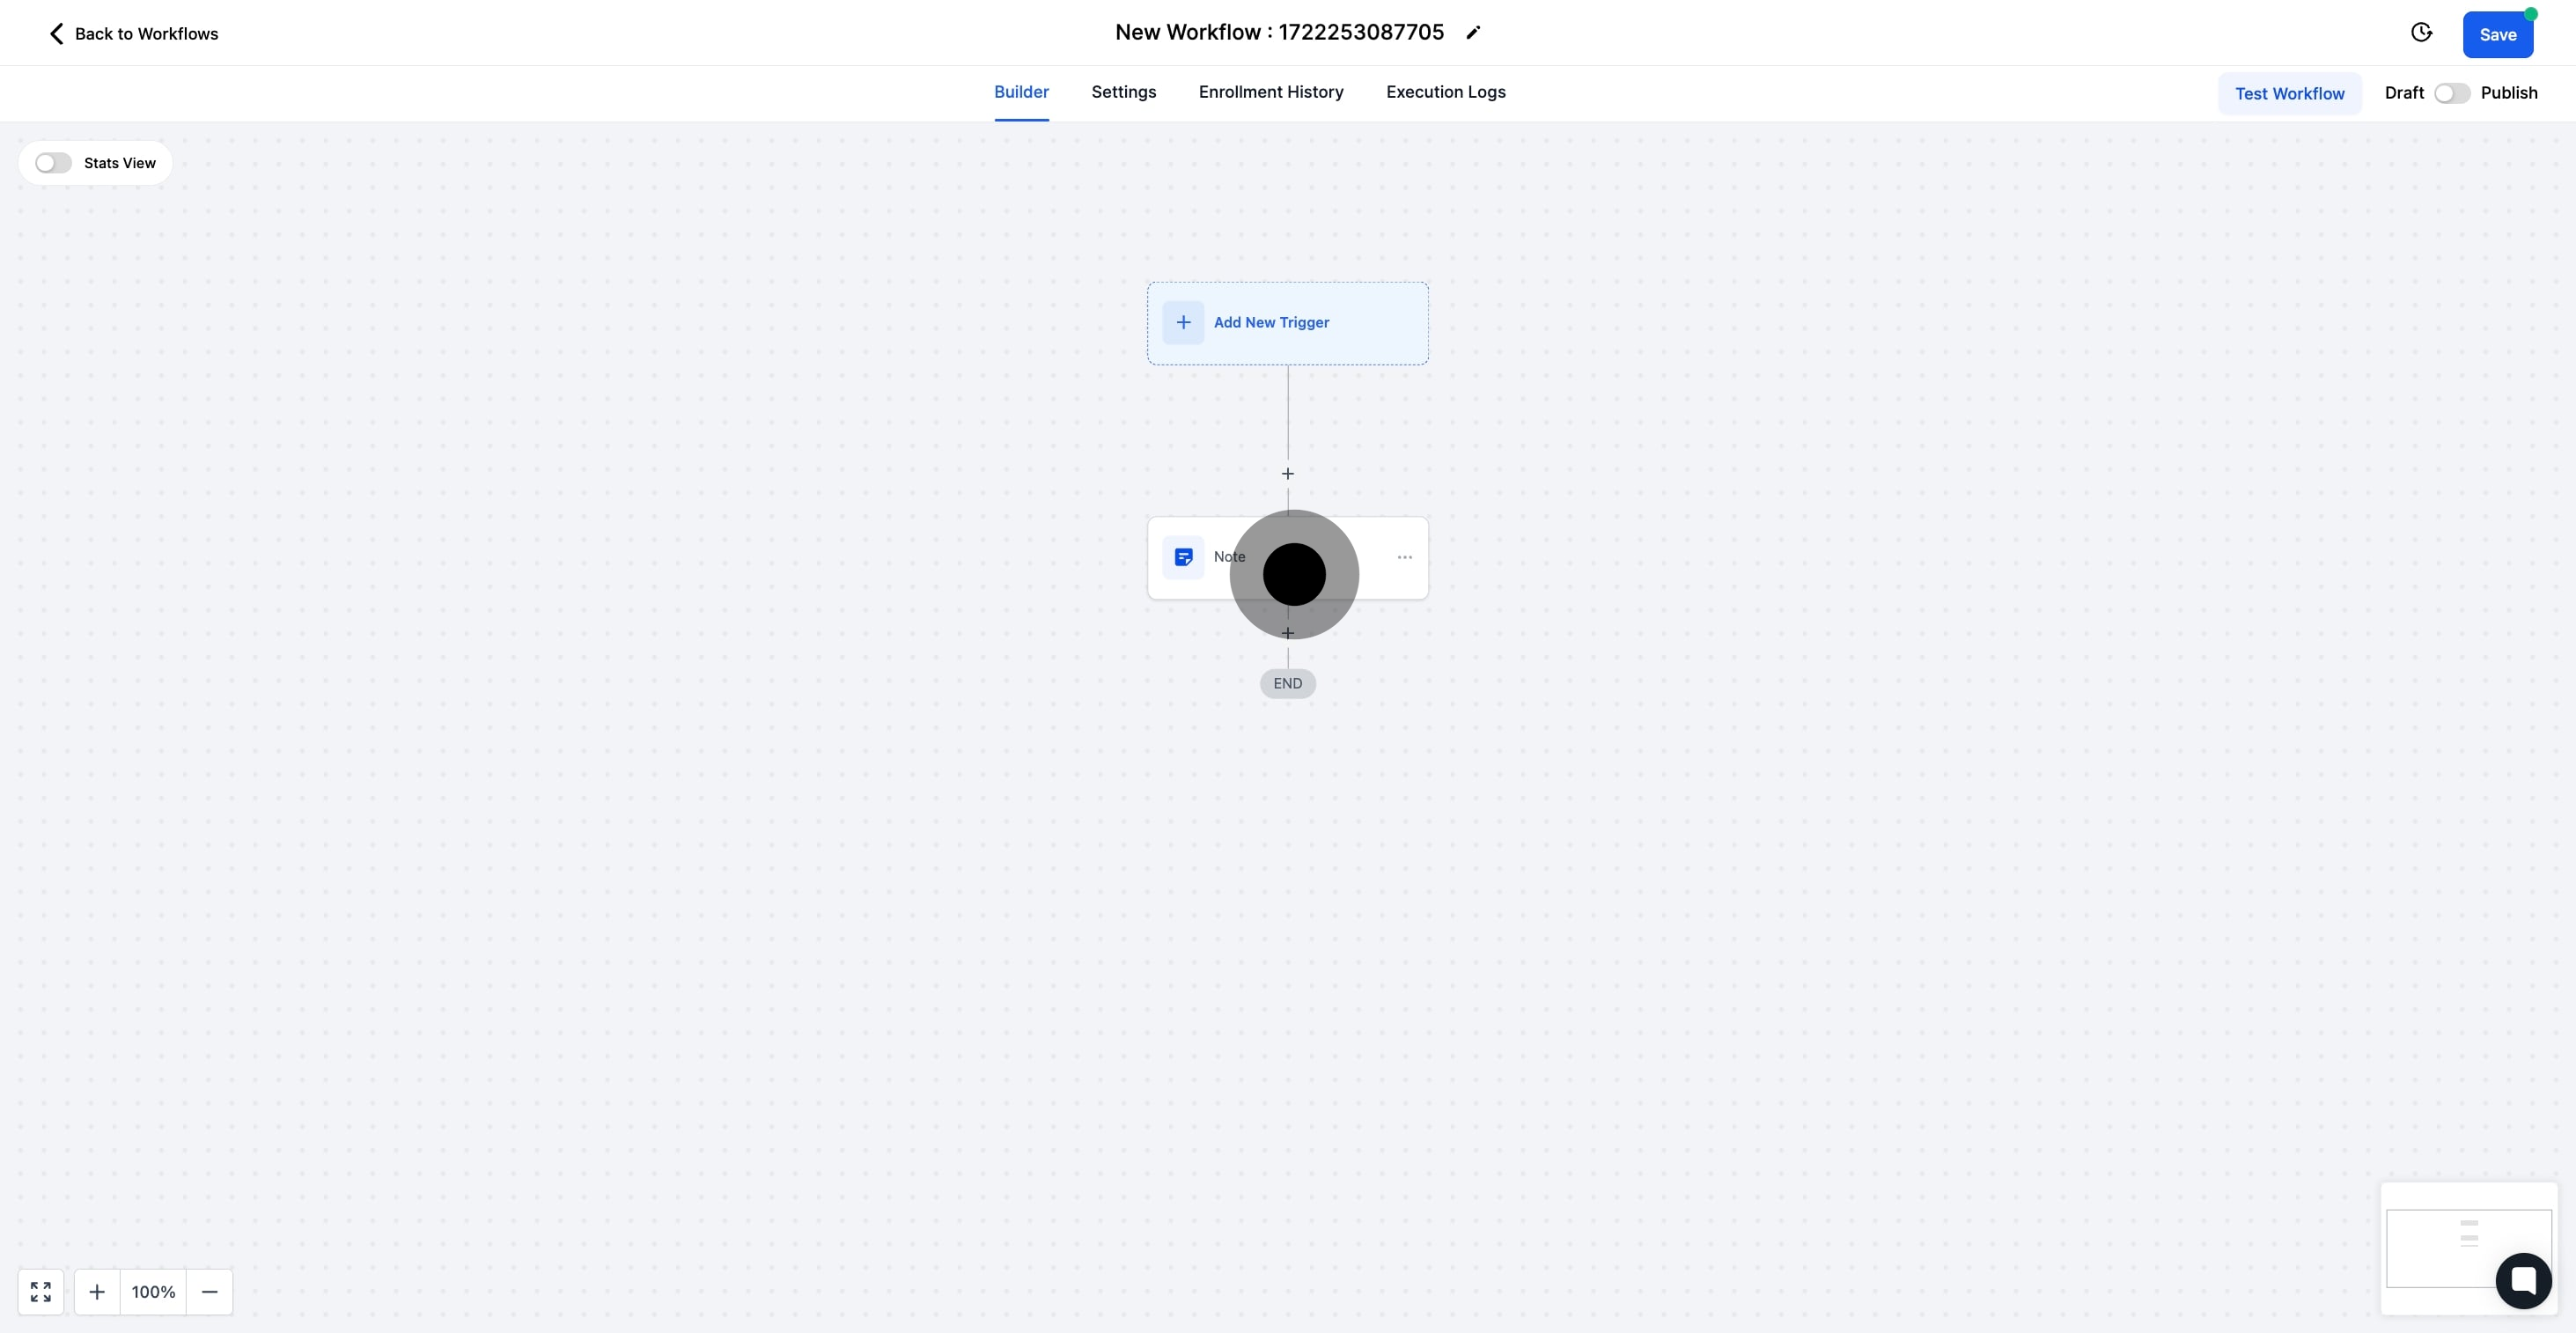
5. Click the '+' sign to incorporate an action step.
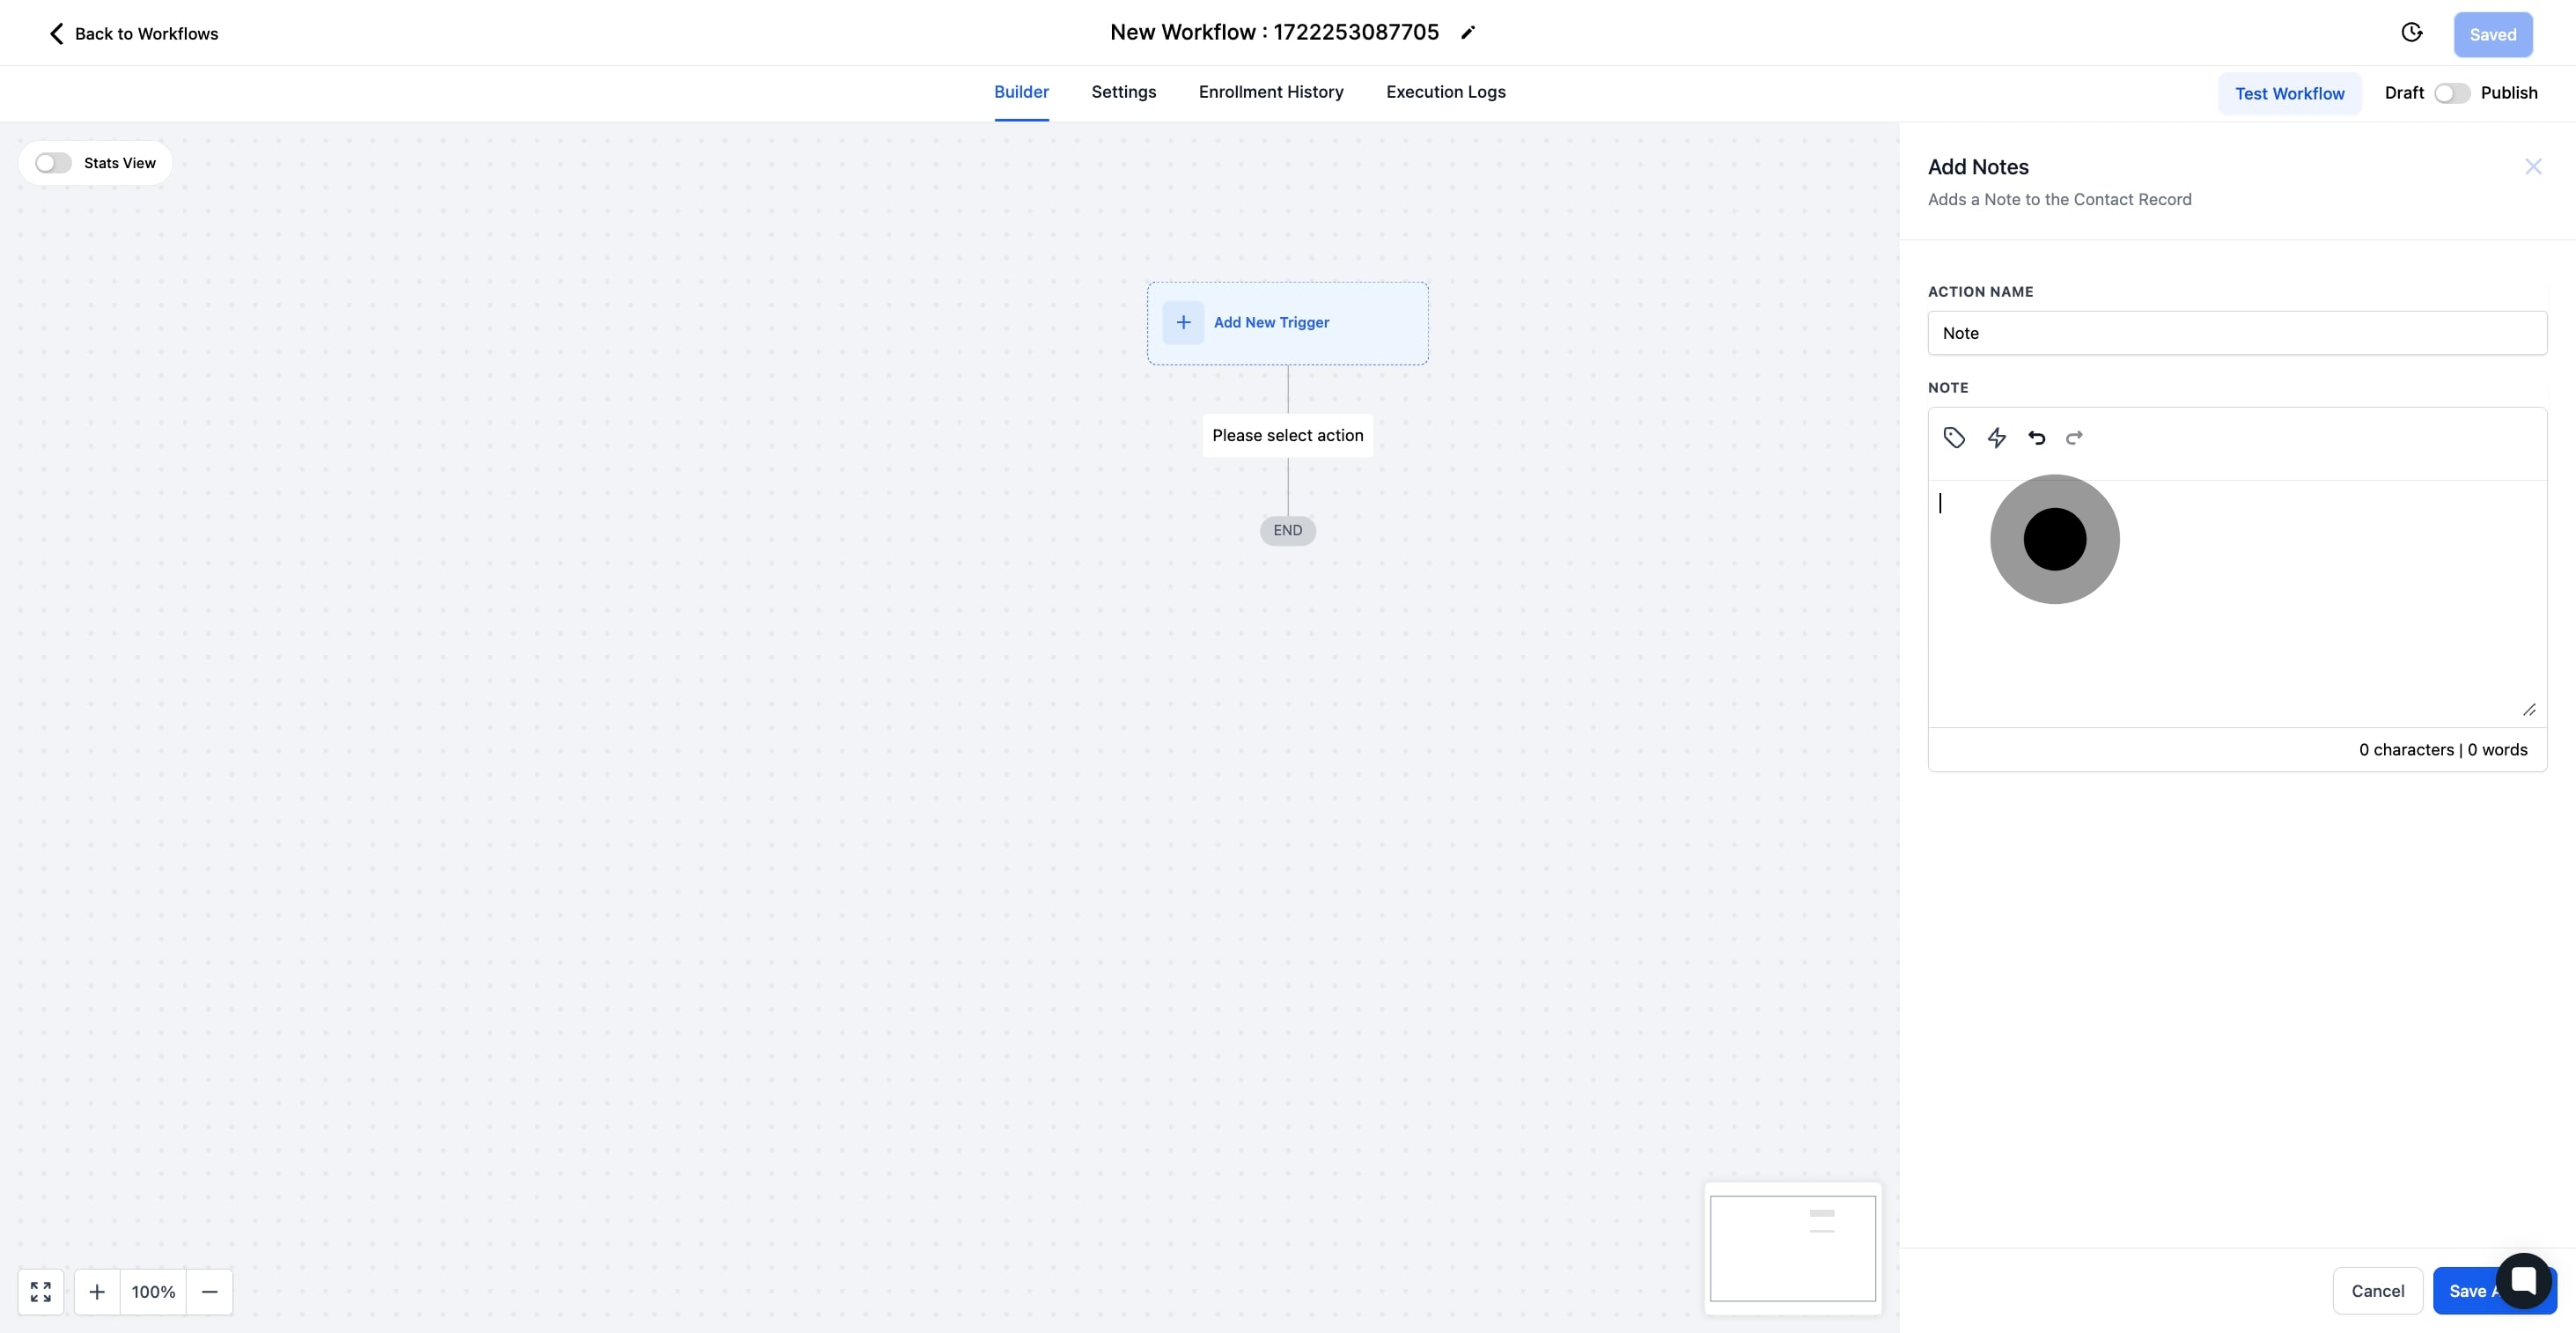
6. Then, select 'Add to Notes' for additional info.
This action will automatically add notes to the contact.

7. In this section, add your note and utilizing the icons above as needed.
8. Following that, ensure to 'Save Action' to secure your changes.

9. Finally, make sure to save and publish your completed workflow.