How to Add an Enable/Disable DND Action Step to Your Workflow

Click through a step-by-step, interactive demo walkthrough of Leaddec, powered by Supademo.aImprove the precision of your communication management by learning how to add an Enable/Disable Do Not Disturb (DND) action step to your workflow. This article provides a step-by-step guide on setting up this feature, allowing you to control contact preferences automatically within your workflow processes. Ideal for users looking to enhance their communication strategy and respect contact preferences efficiently.


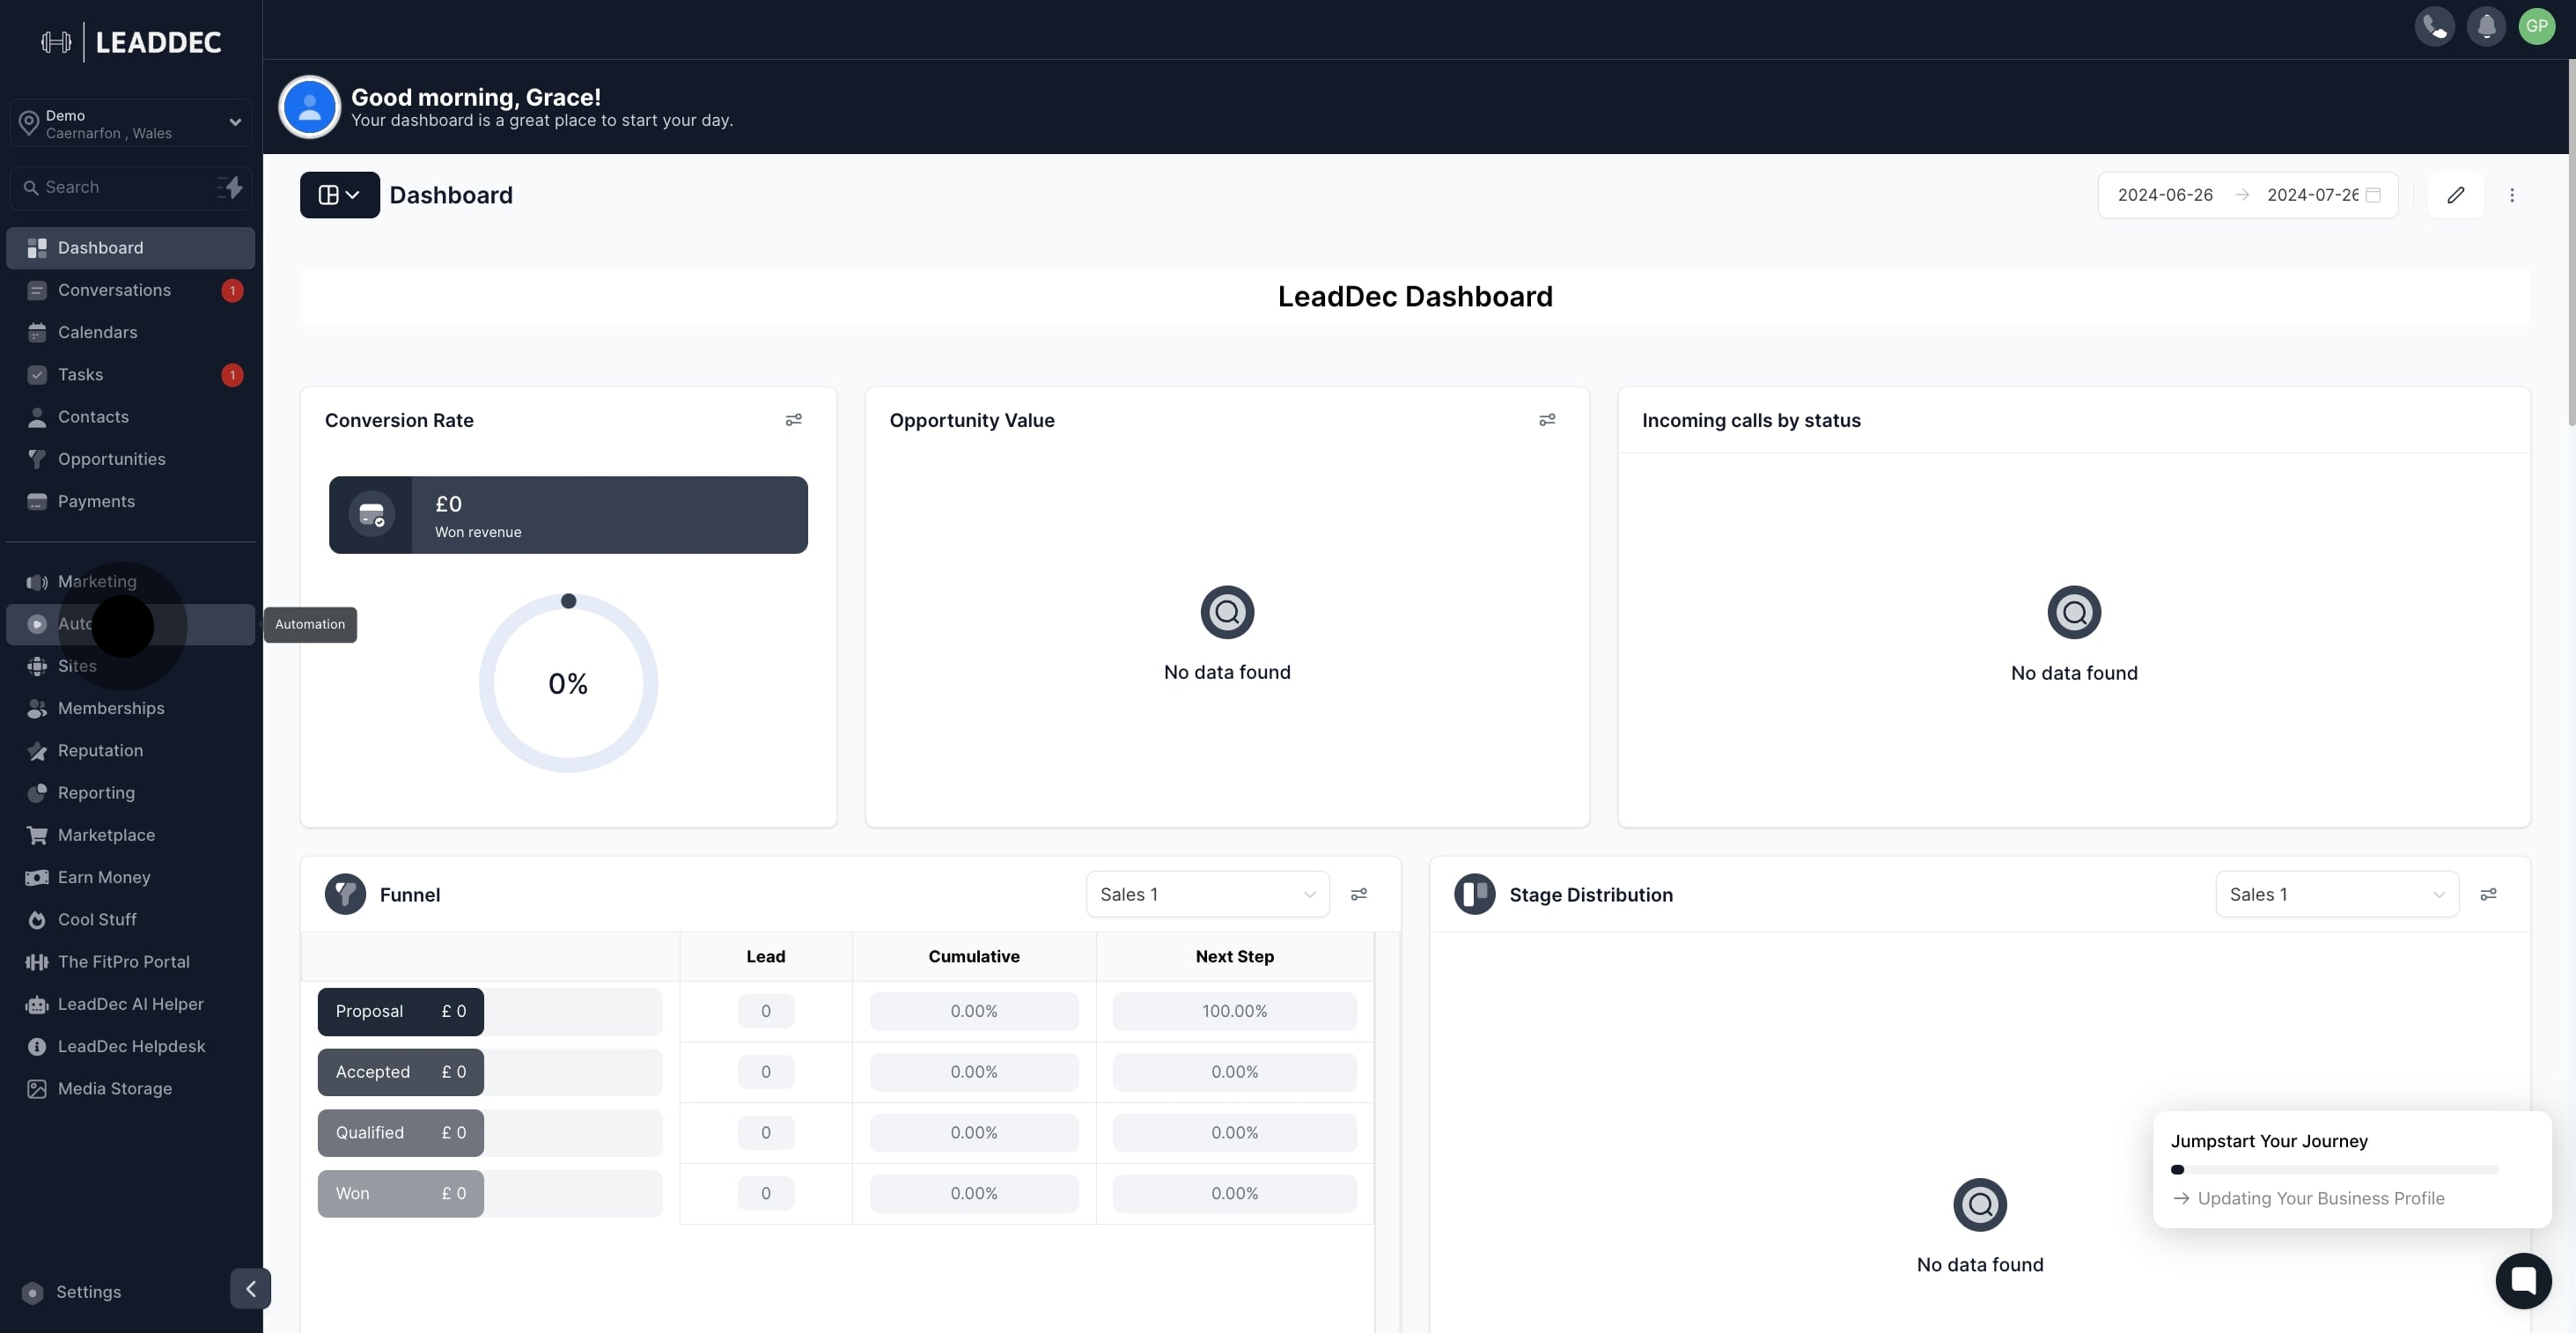
1. Start by selecting 'Automation' to proceed.

1 First, click on "automation".

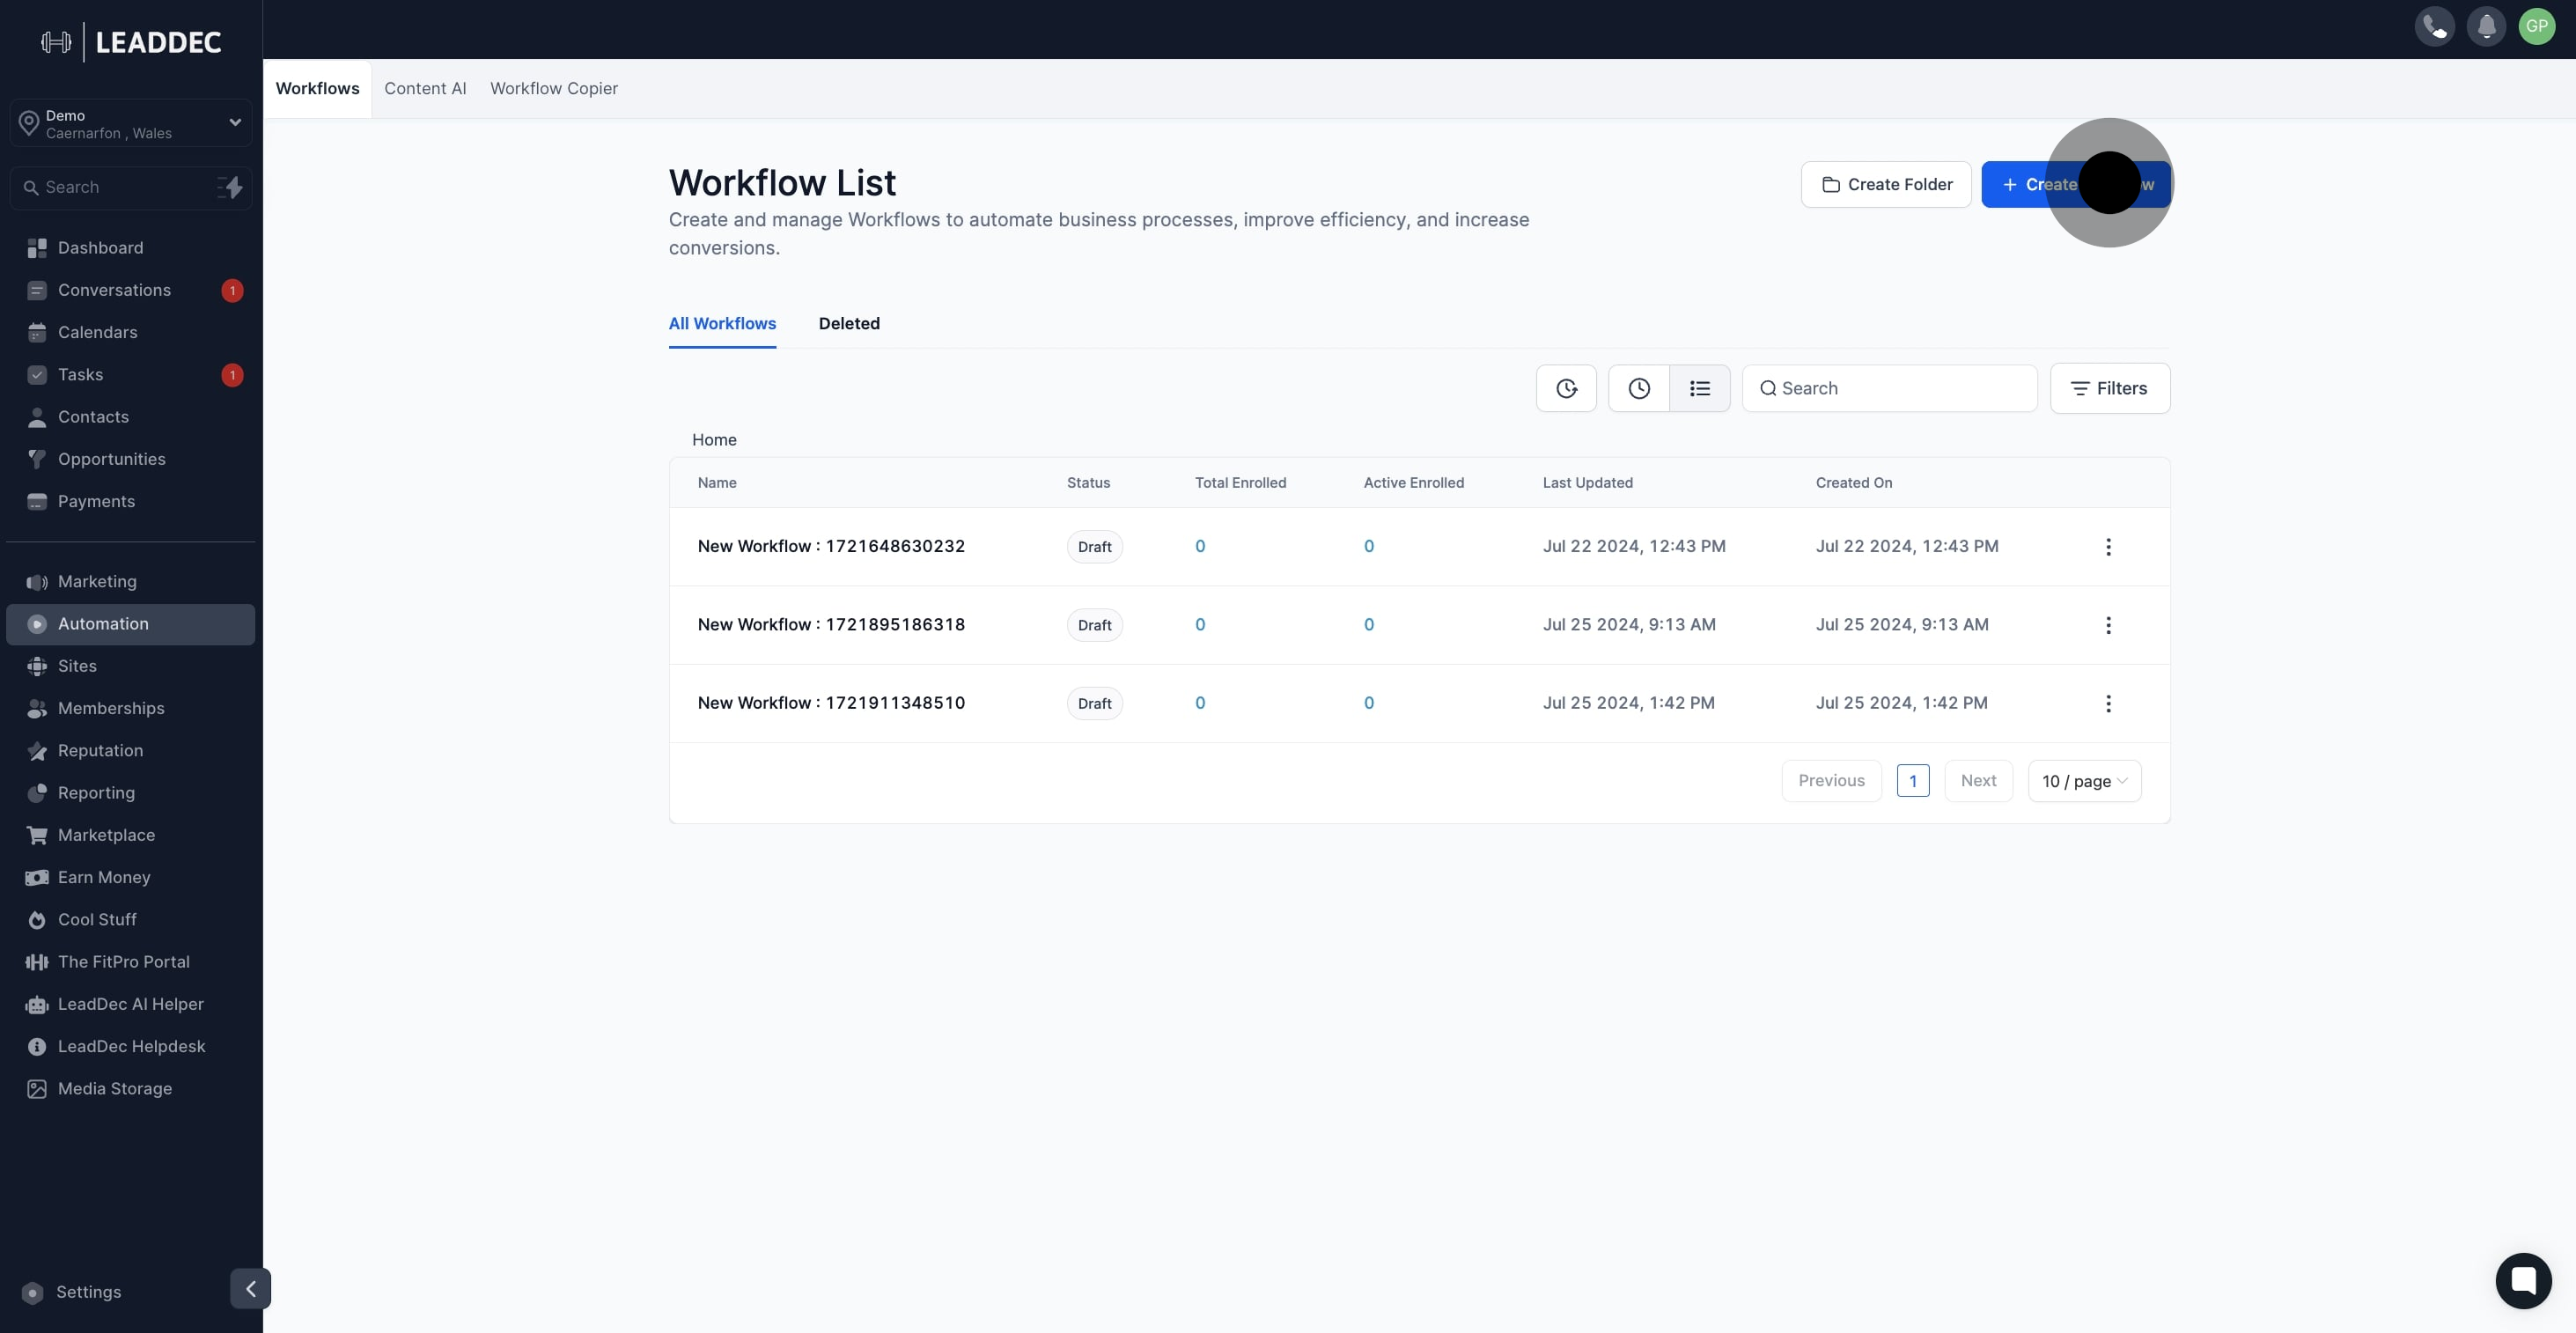
2. Next, choose 'Create Workflow' to build a new one.

2 Click on "Create Workflow".

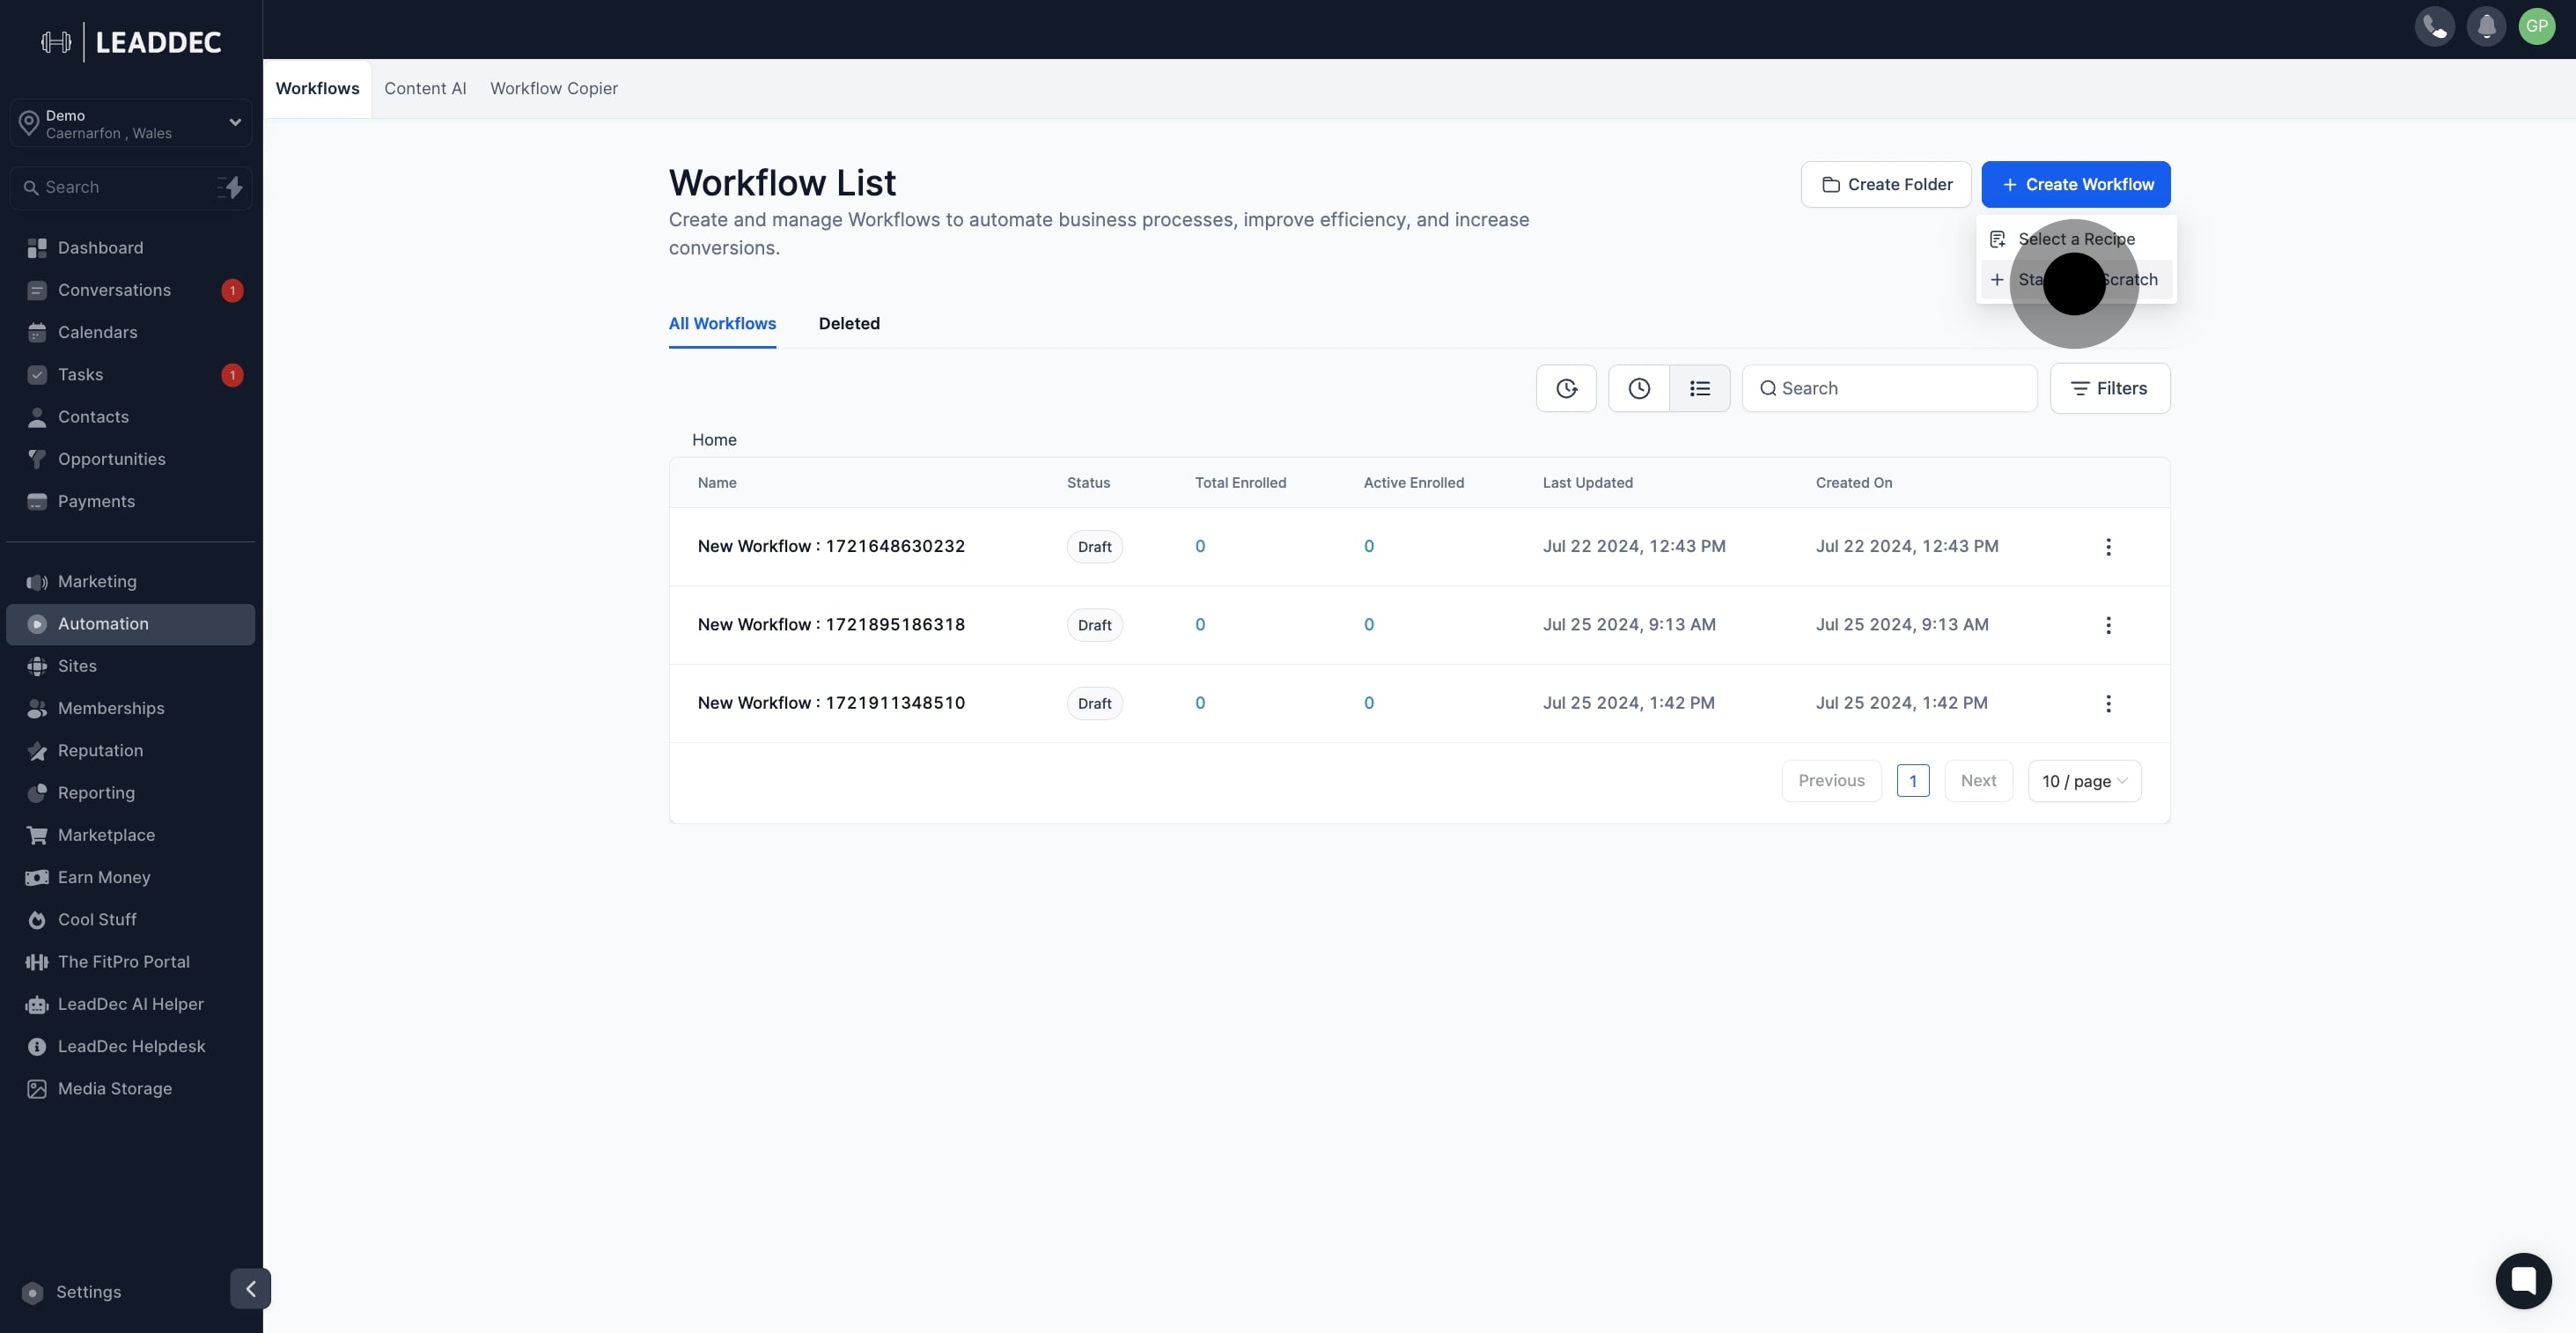
3. Now, select 'Start from Scratch' to initiate from the base.

3 Click on "Start from Scratch".

4. Add a trigger to activate the workflow when needed.

4 Next, click on the element.

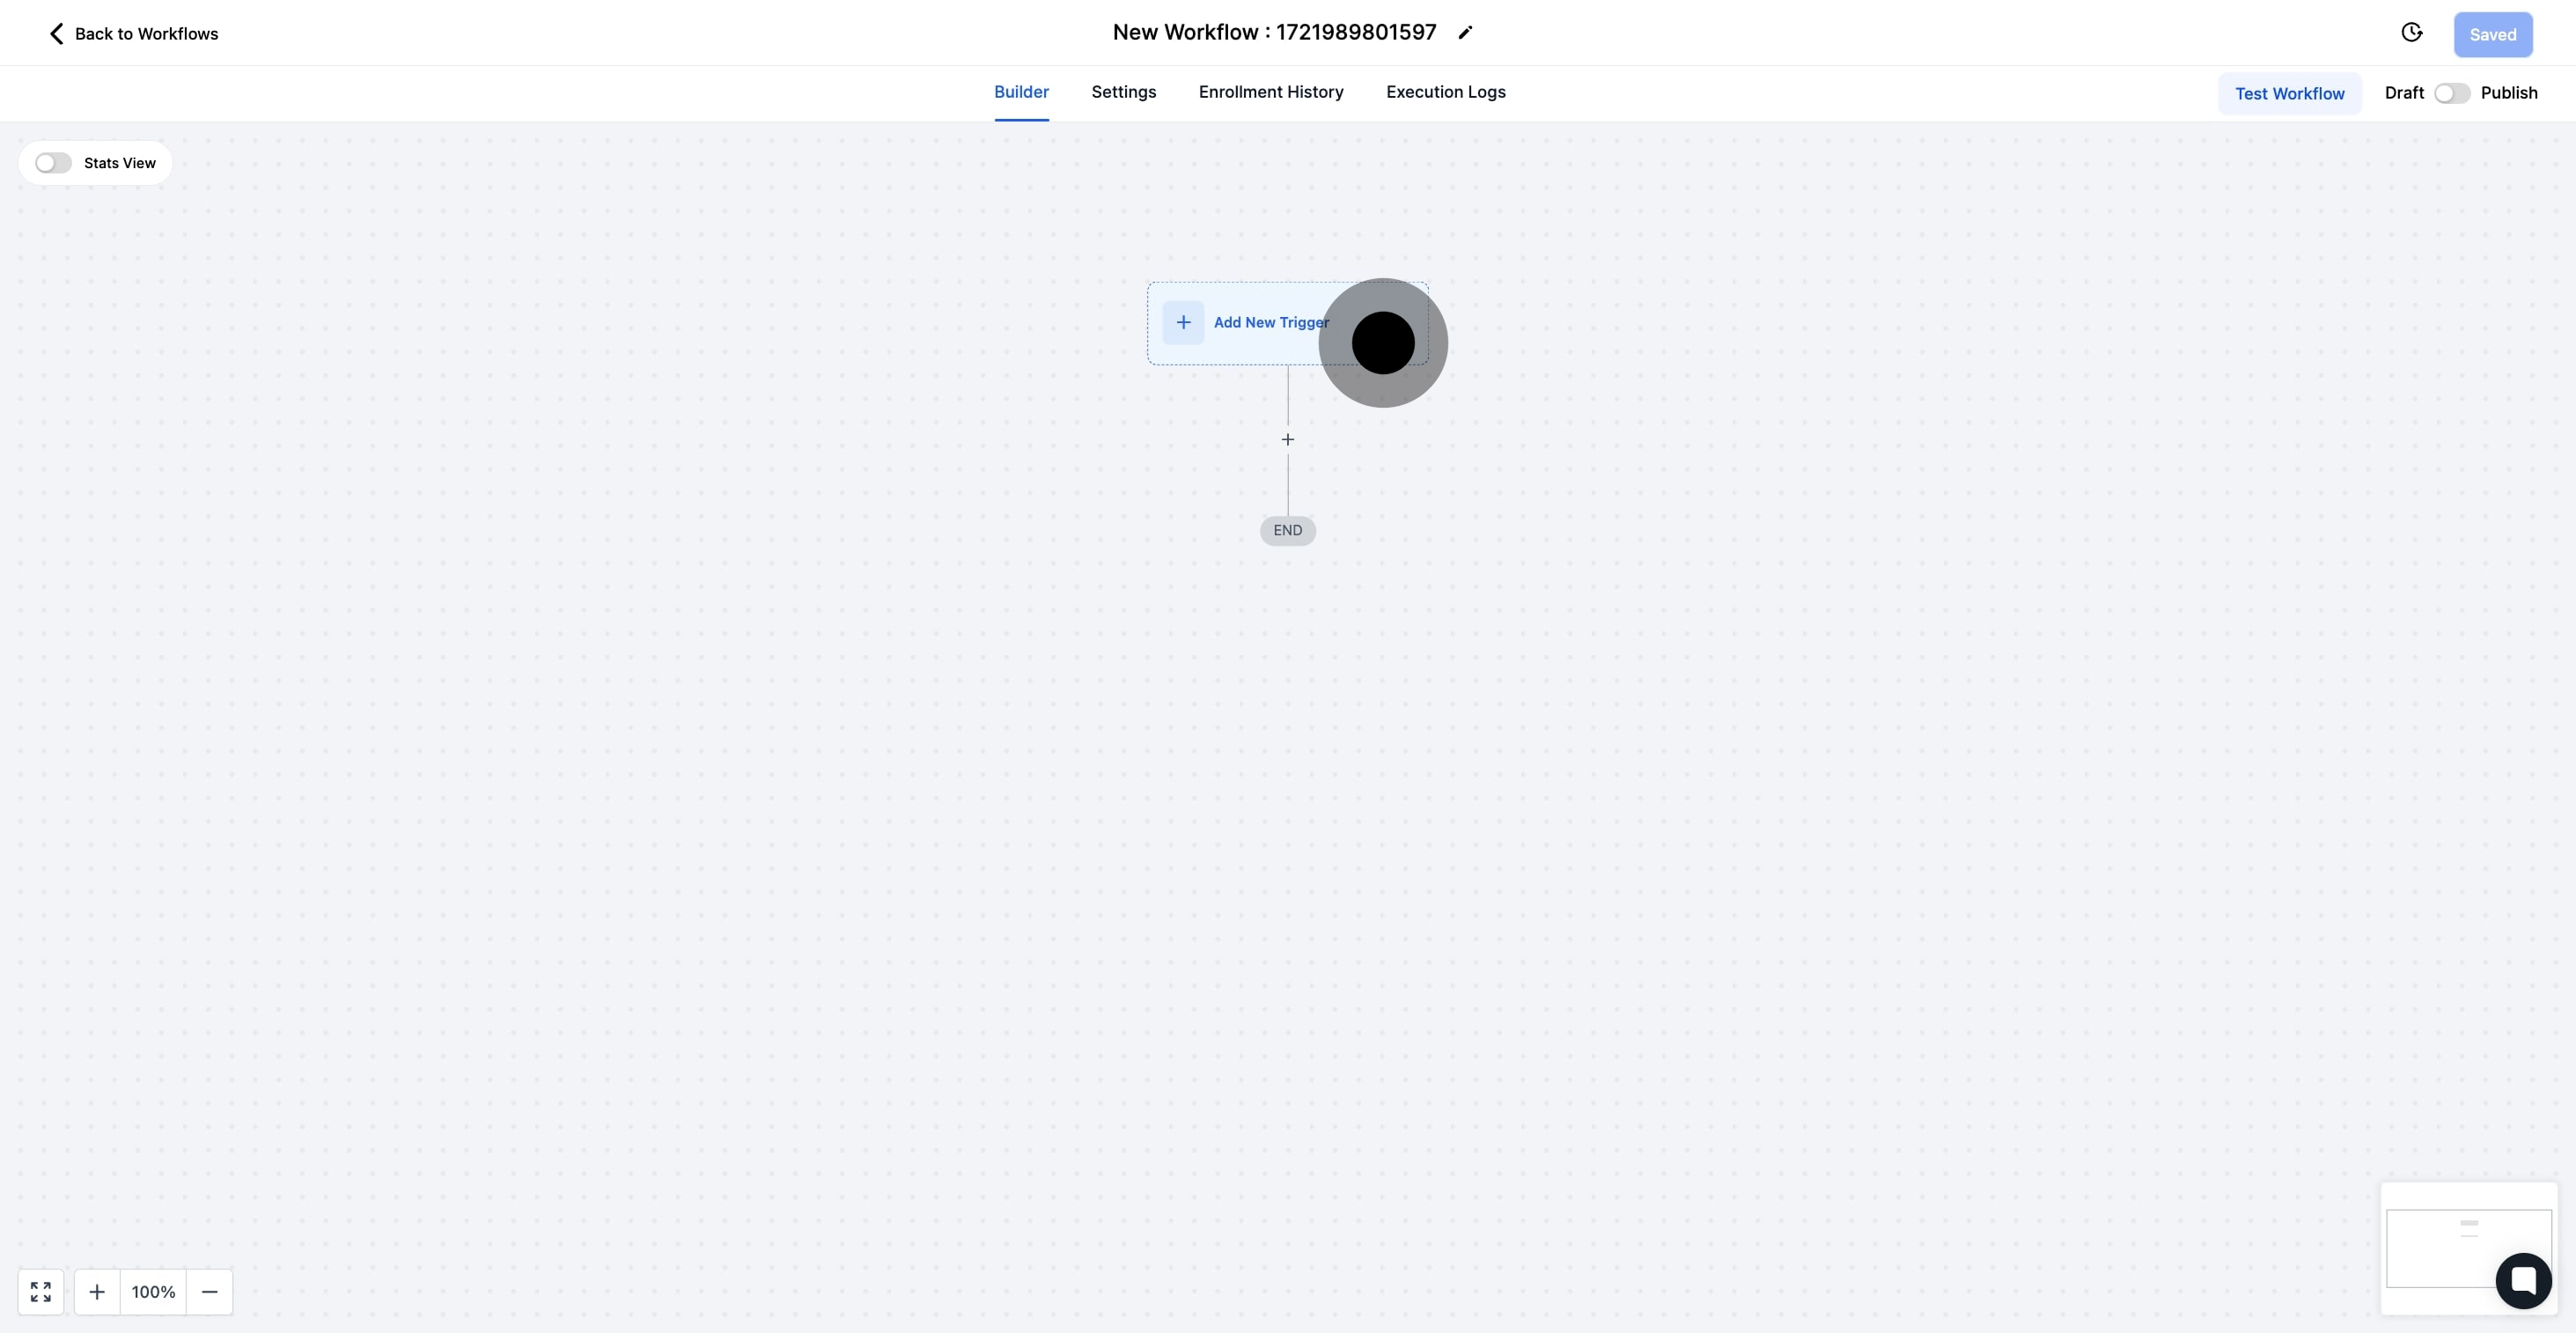
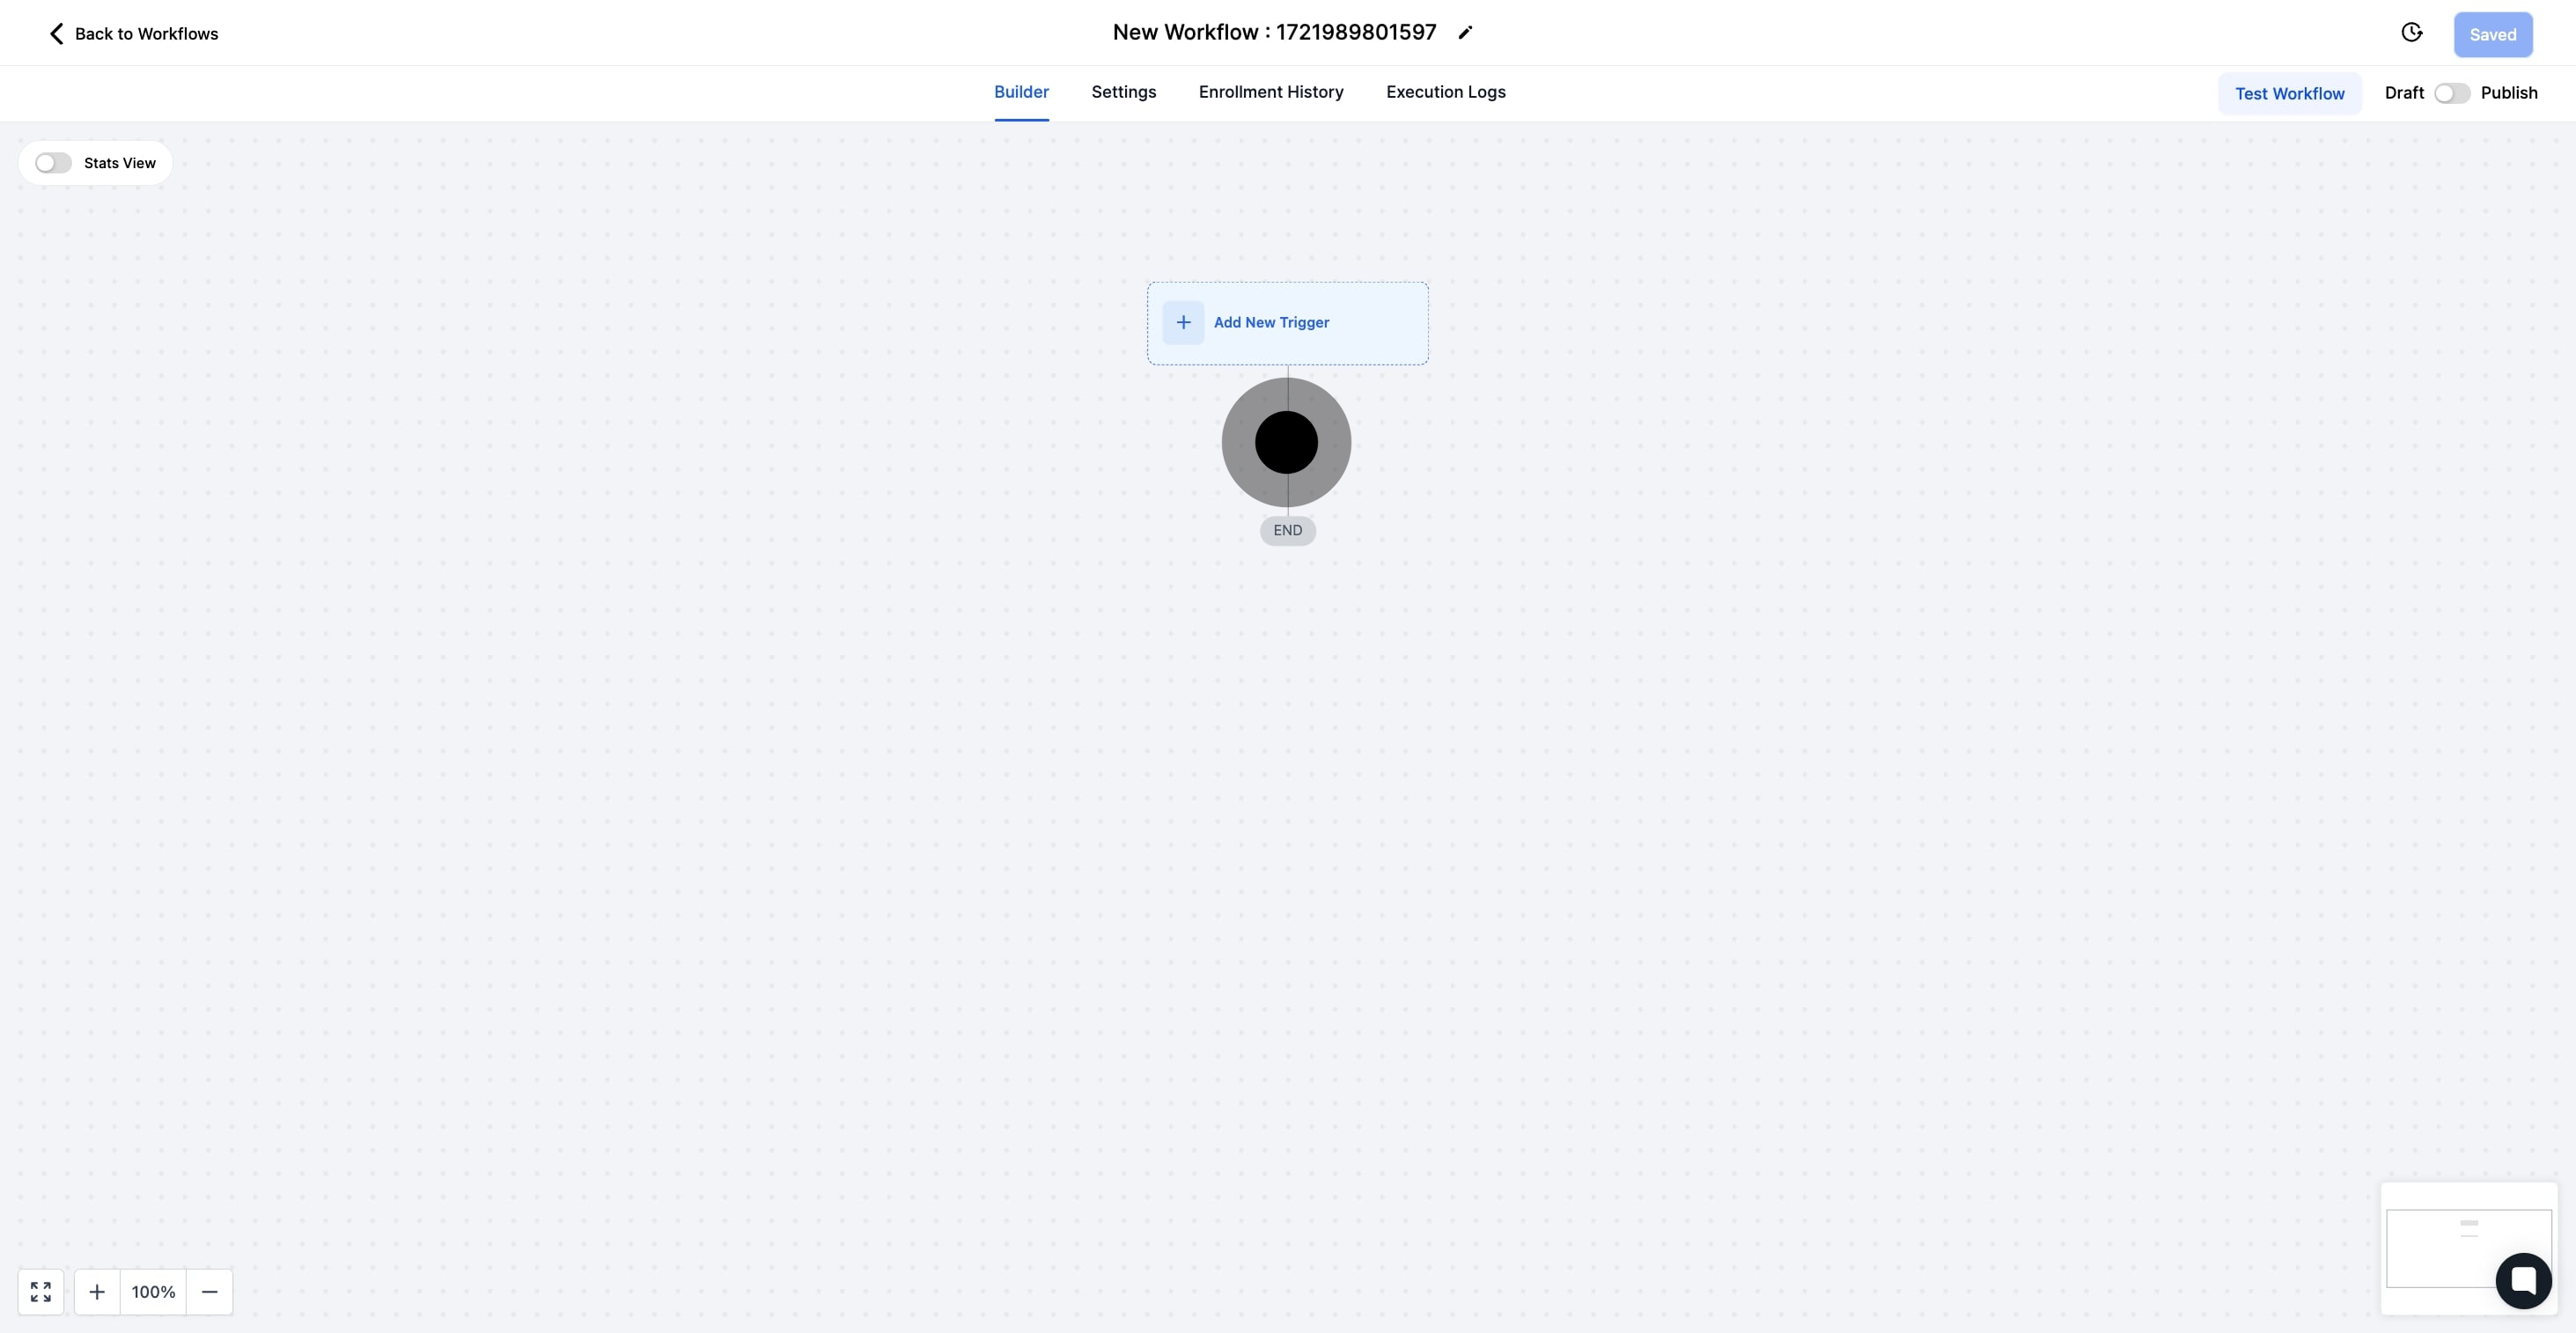
5. Click the '+' sign to include an action step in your workflow.

5 Next, click on the element.

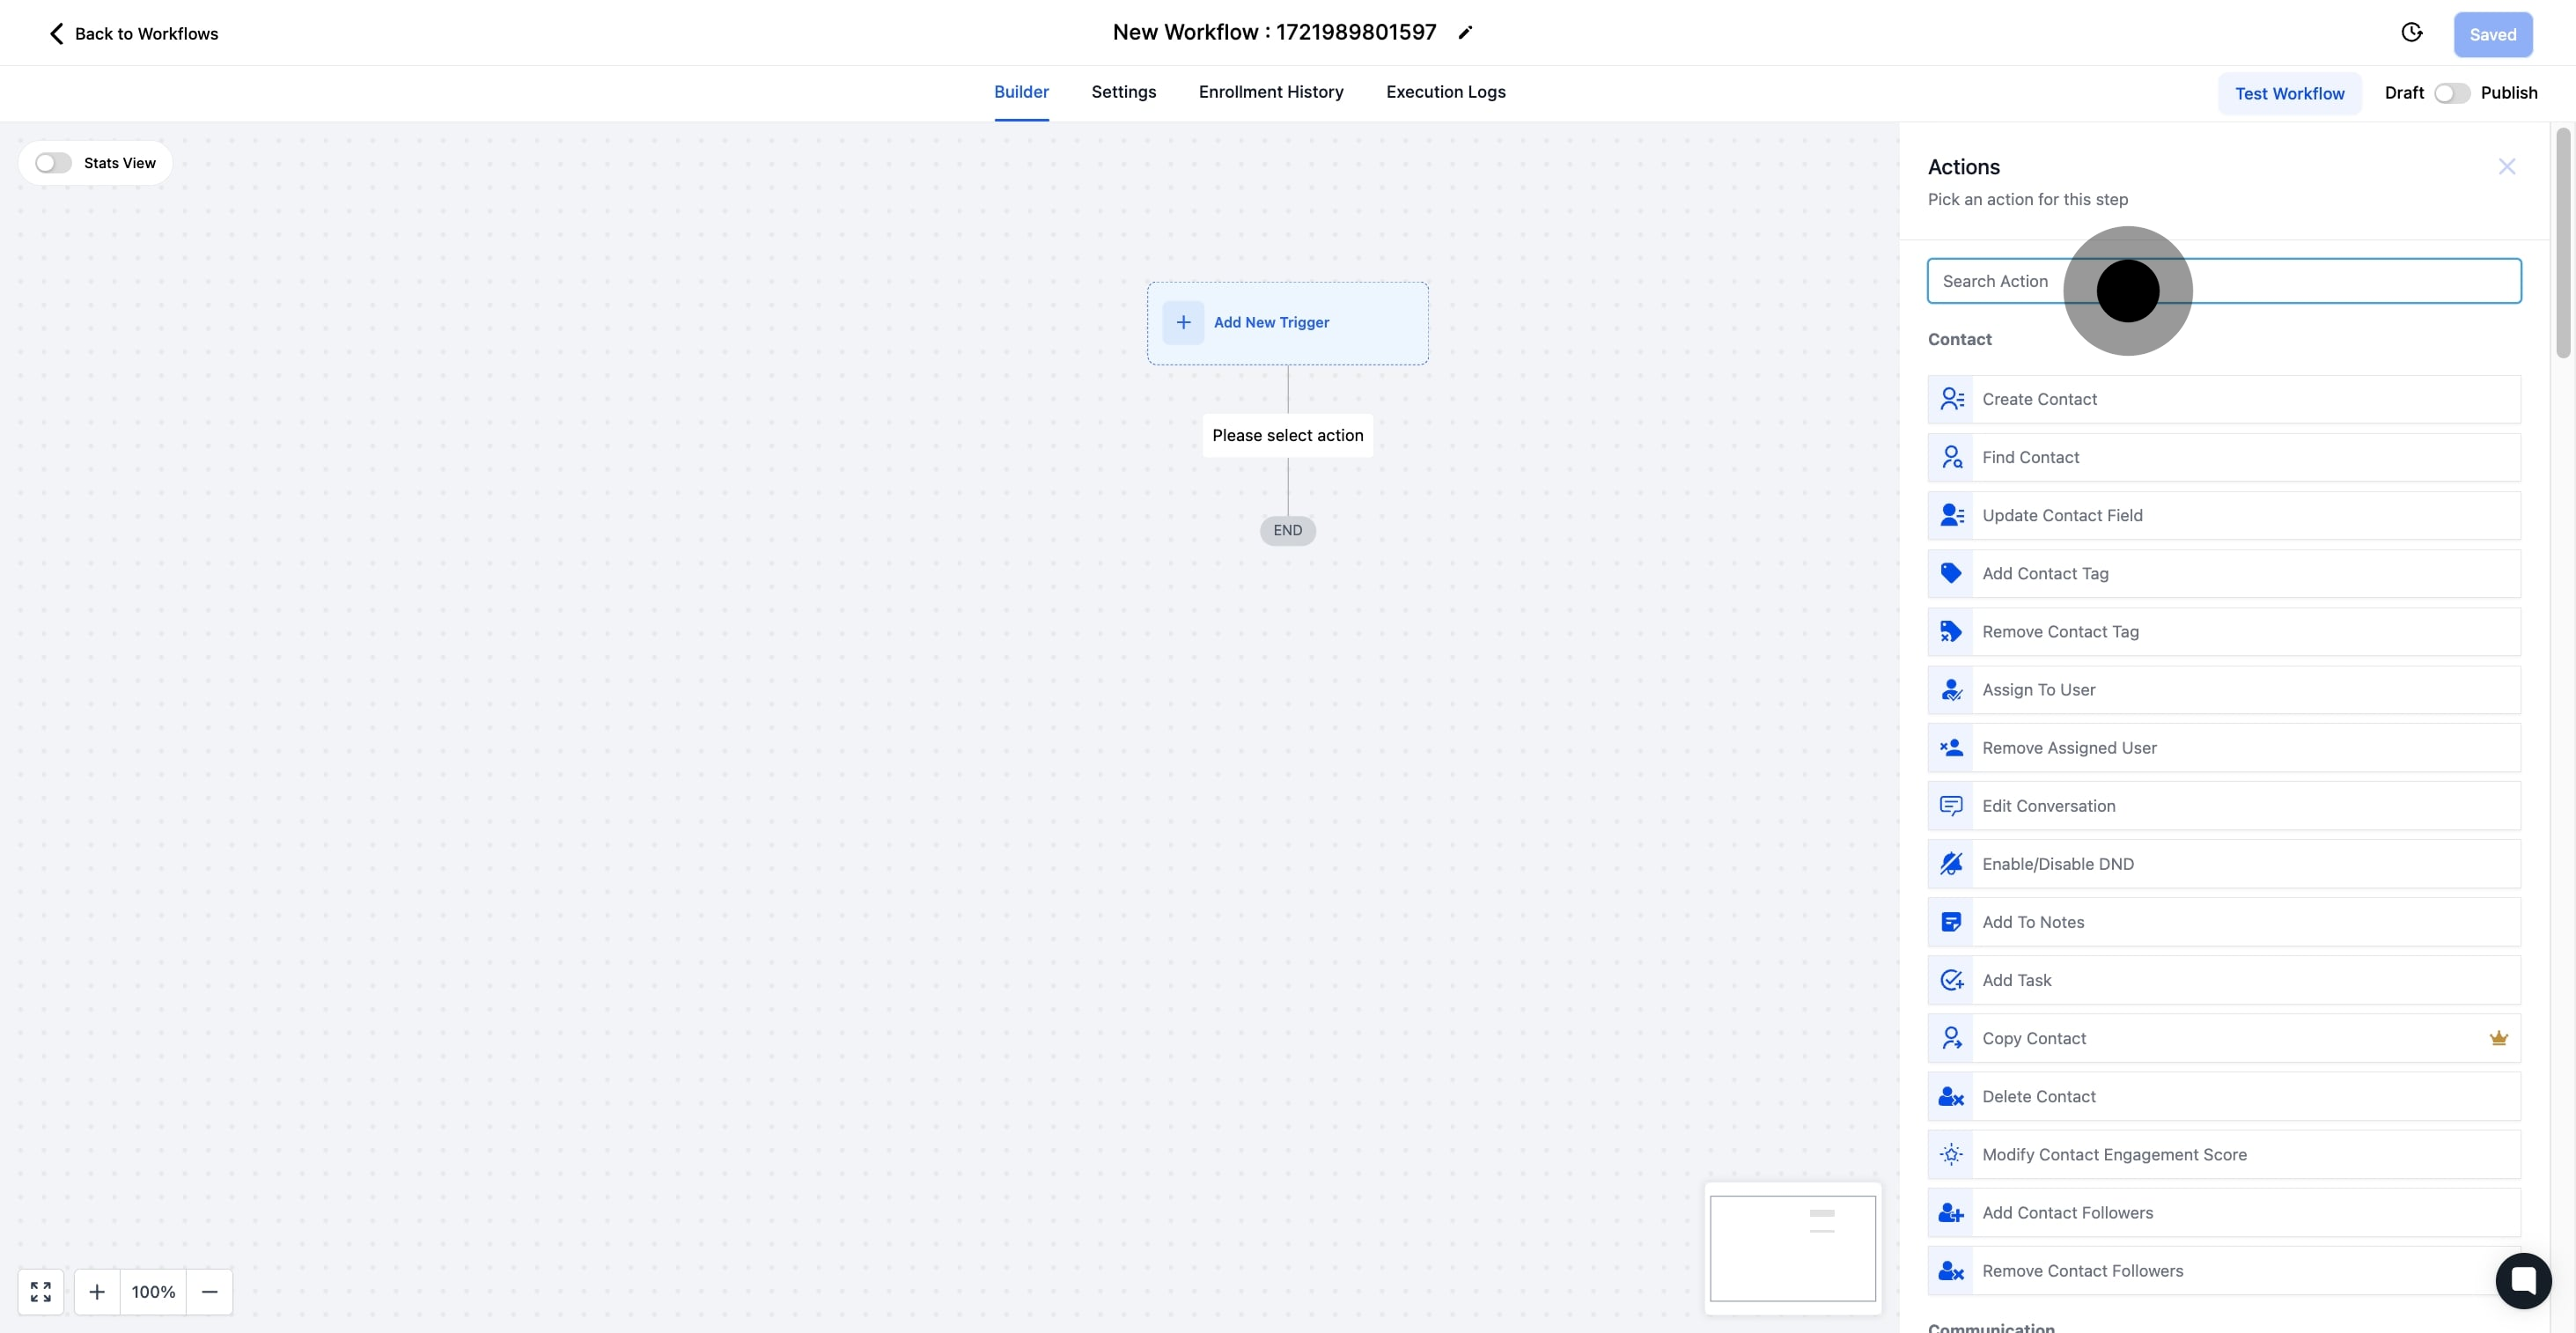
6. Search for and select the specific action you wish to add.

6 Click here.

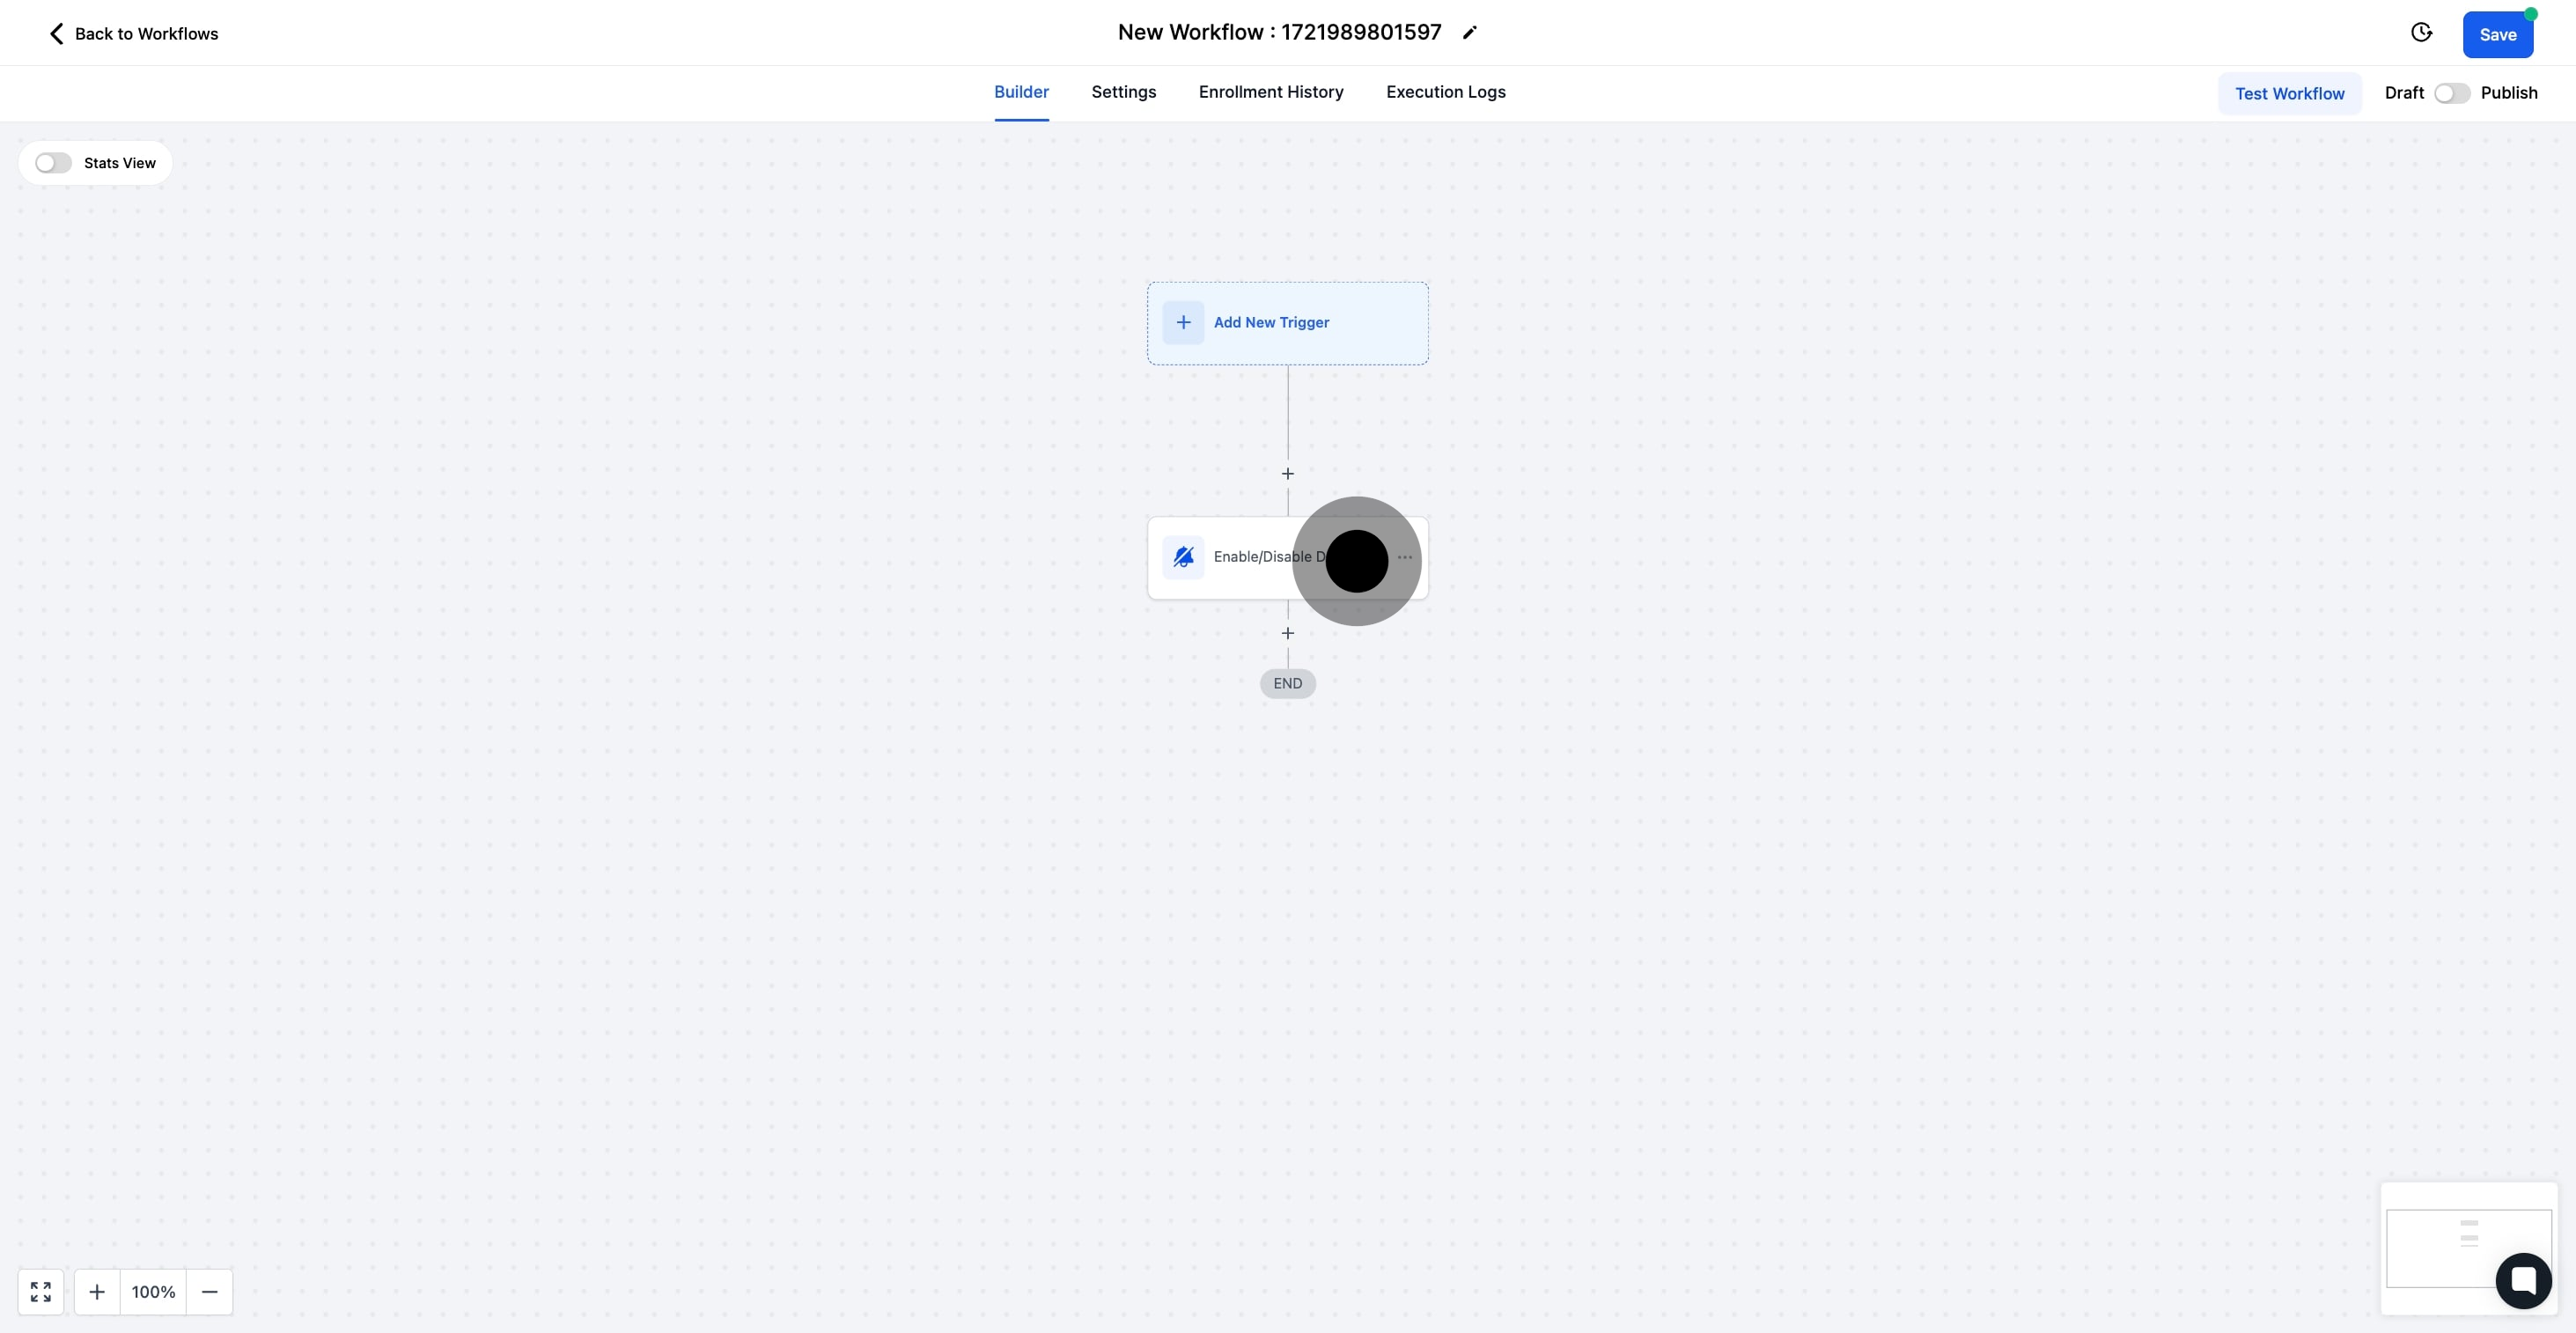
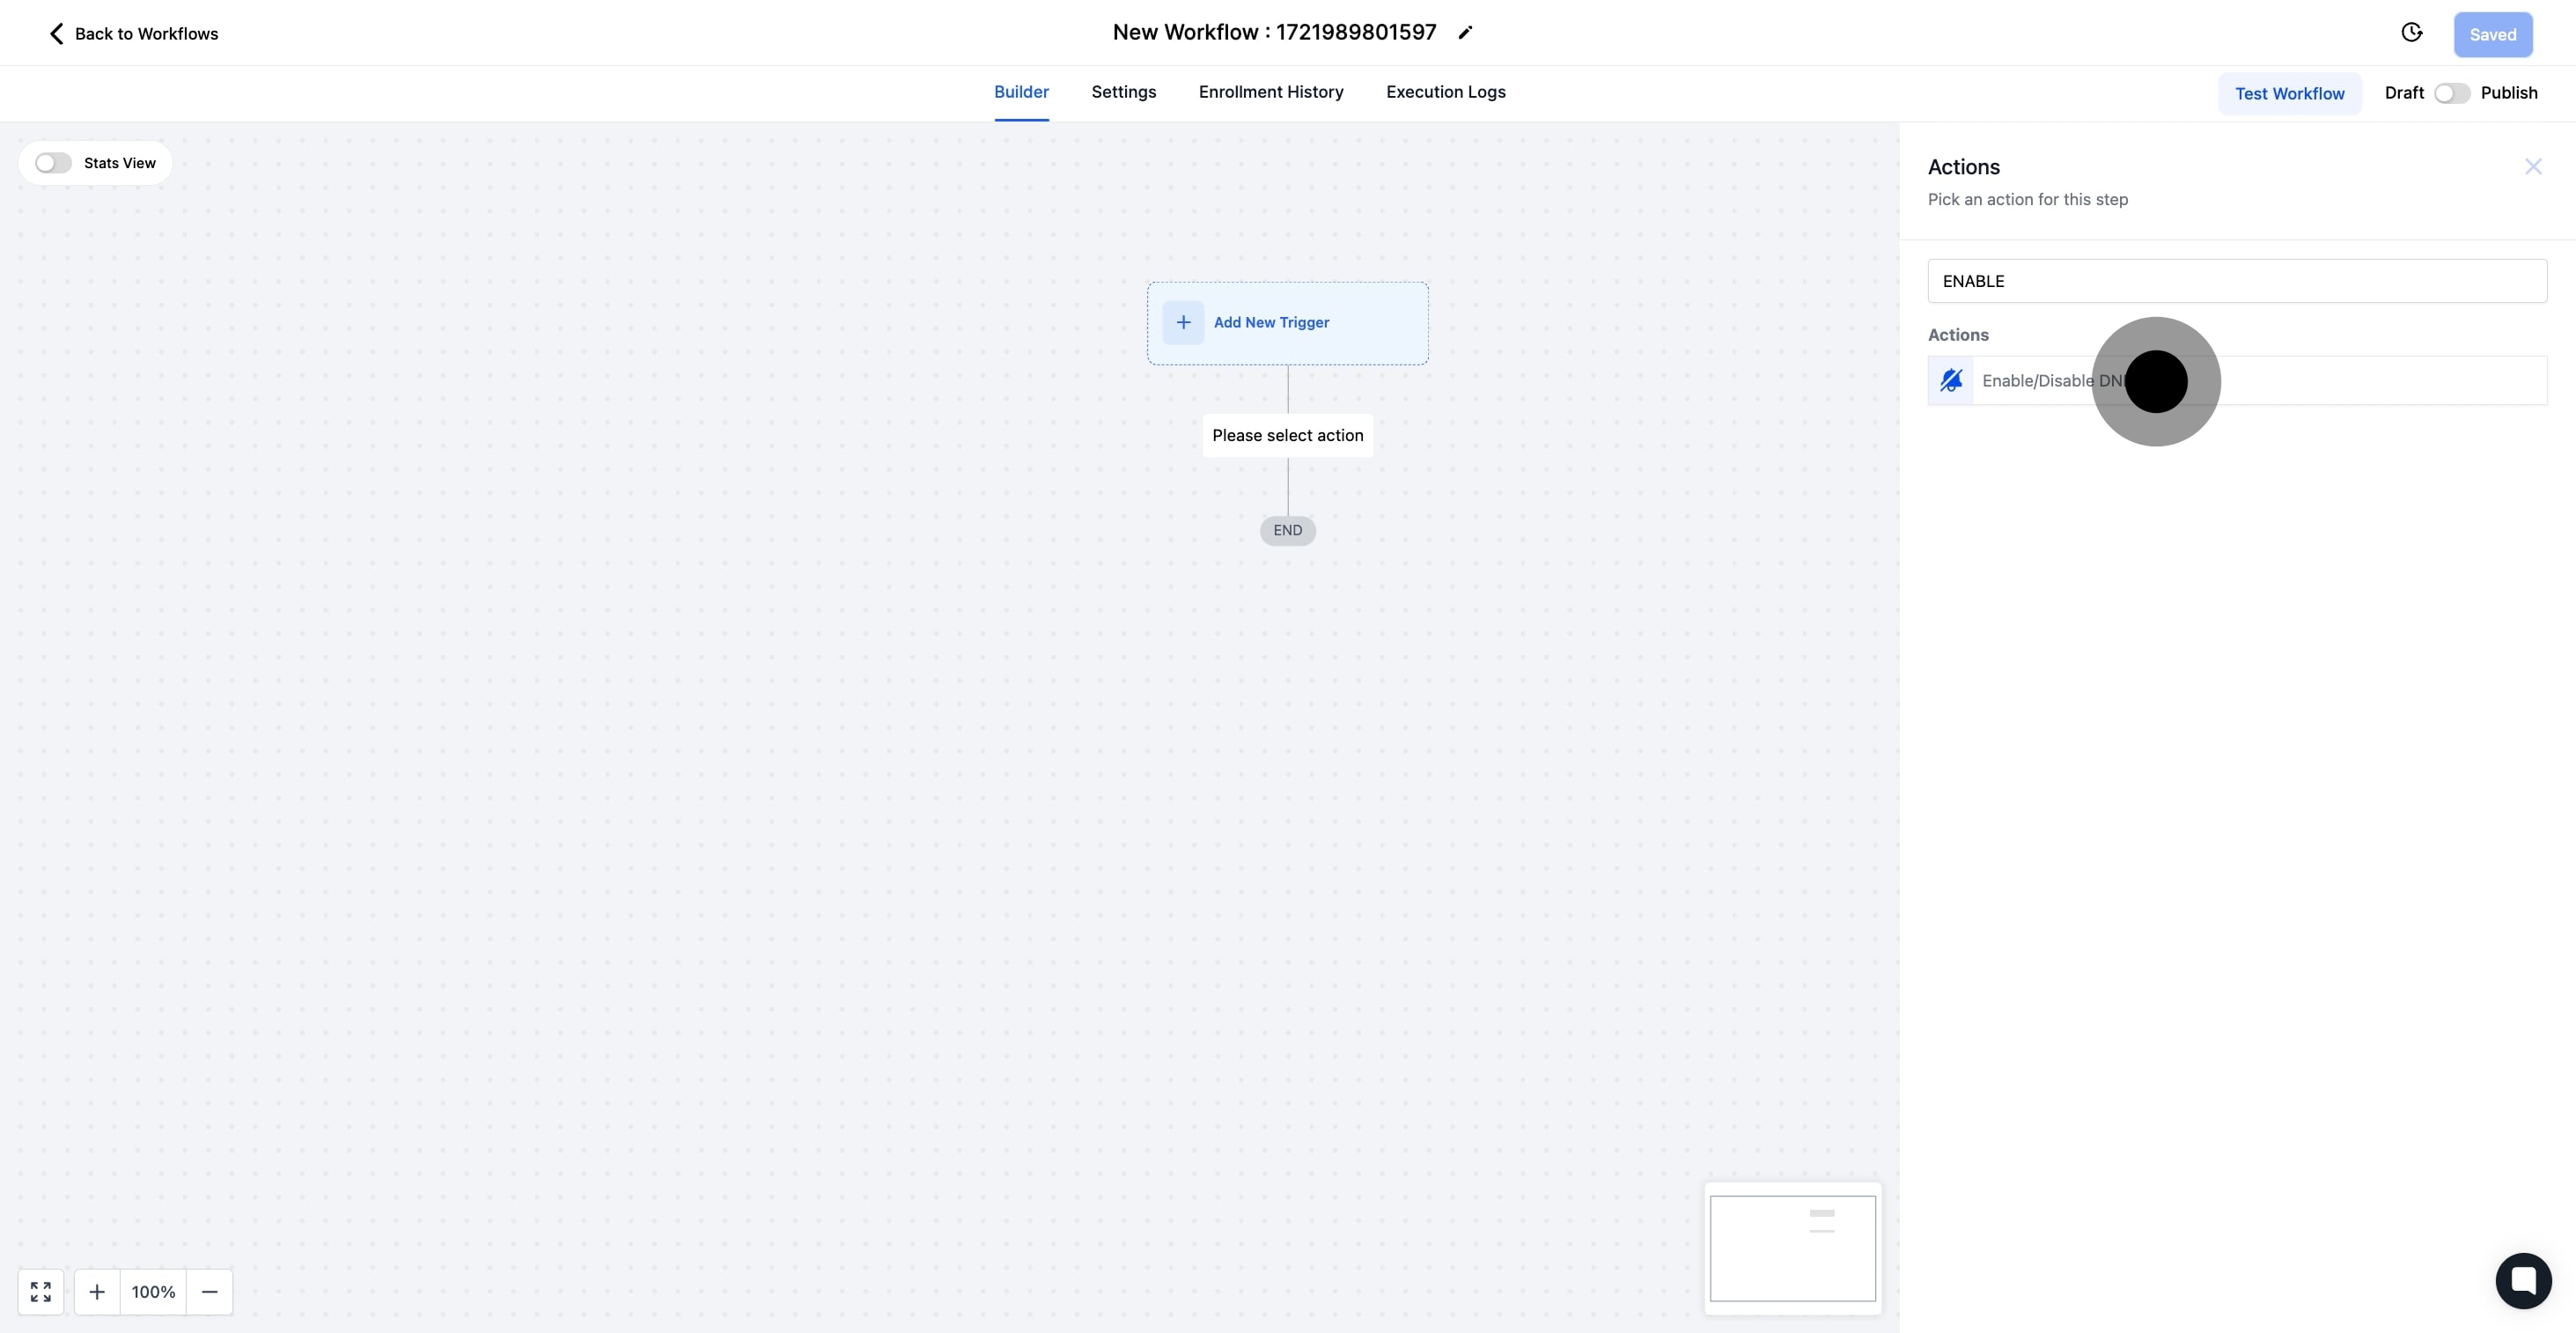
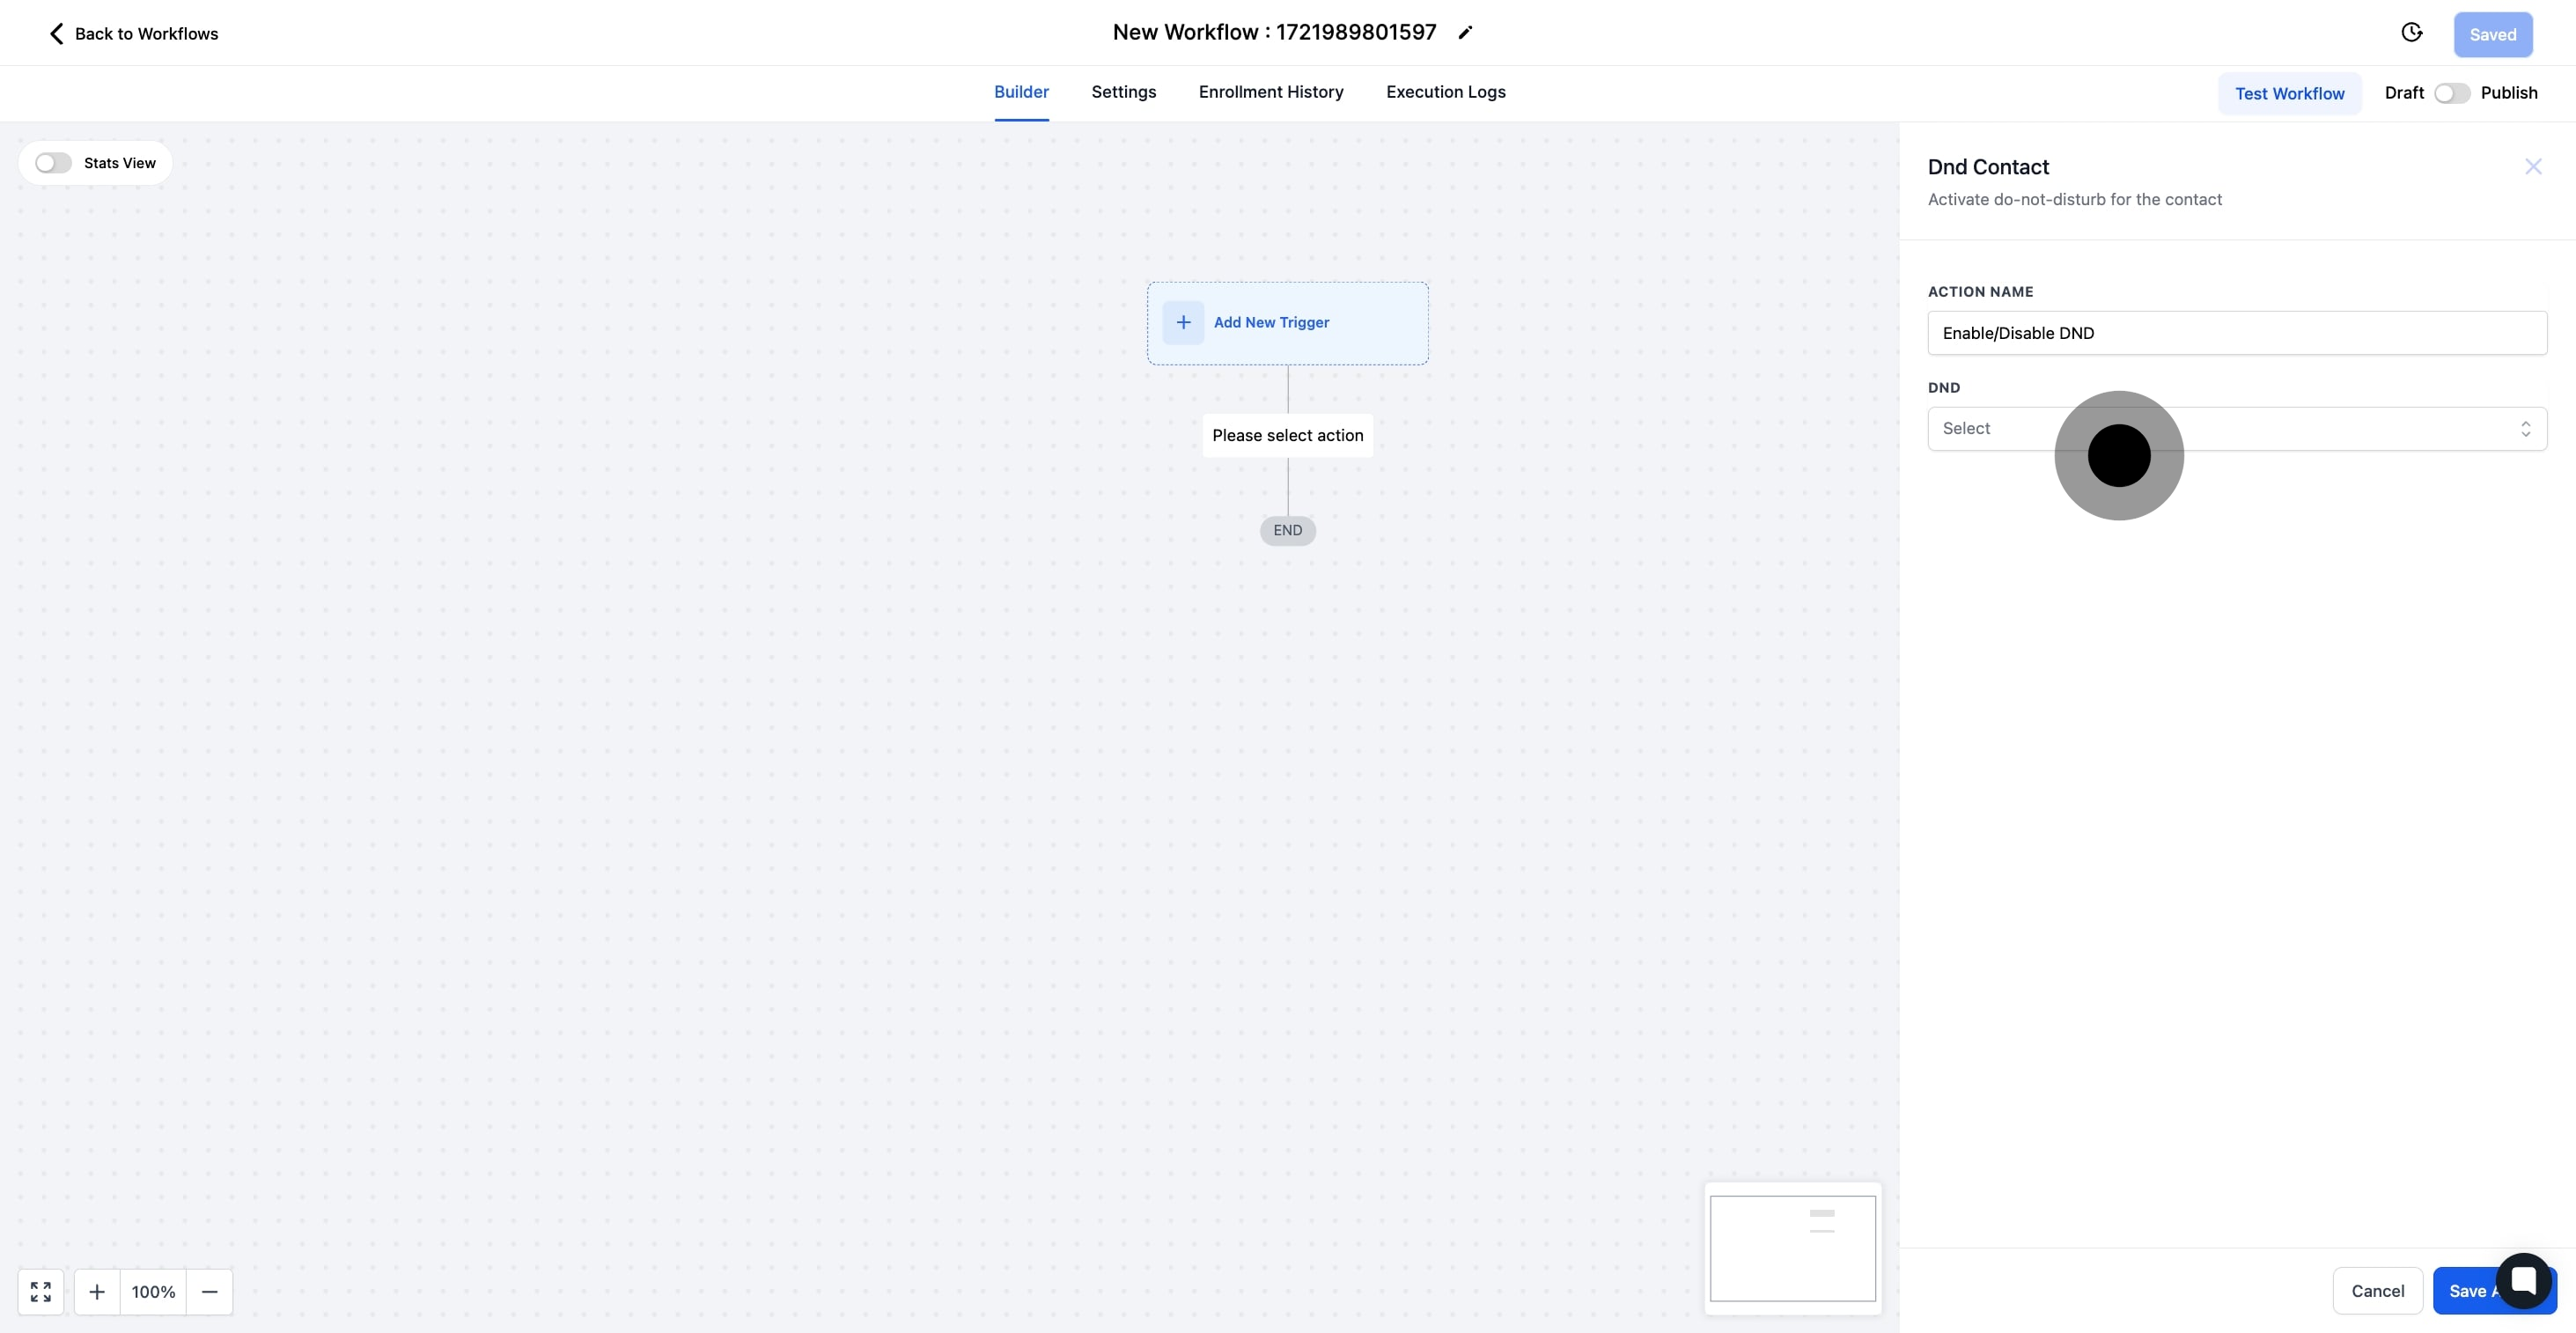
7. Click Enable/Disable DND'

7 Click on "Enable/Disable DND".

8. Choose the appropriate channel for DND settings.

8 Following that, click on "dnd contact".

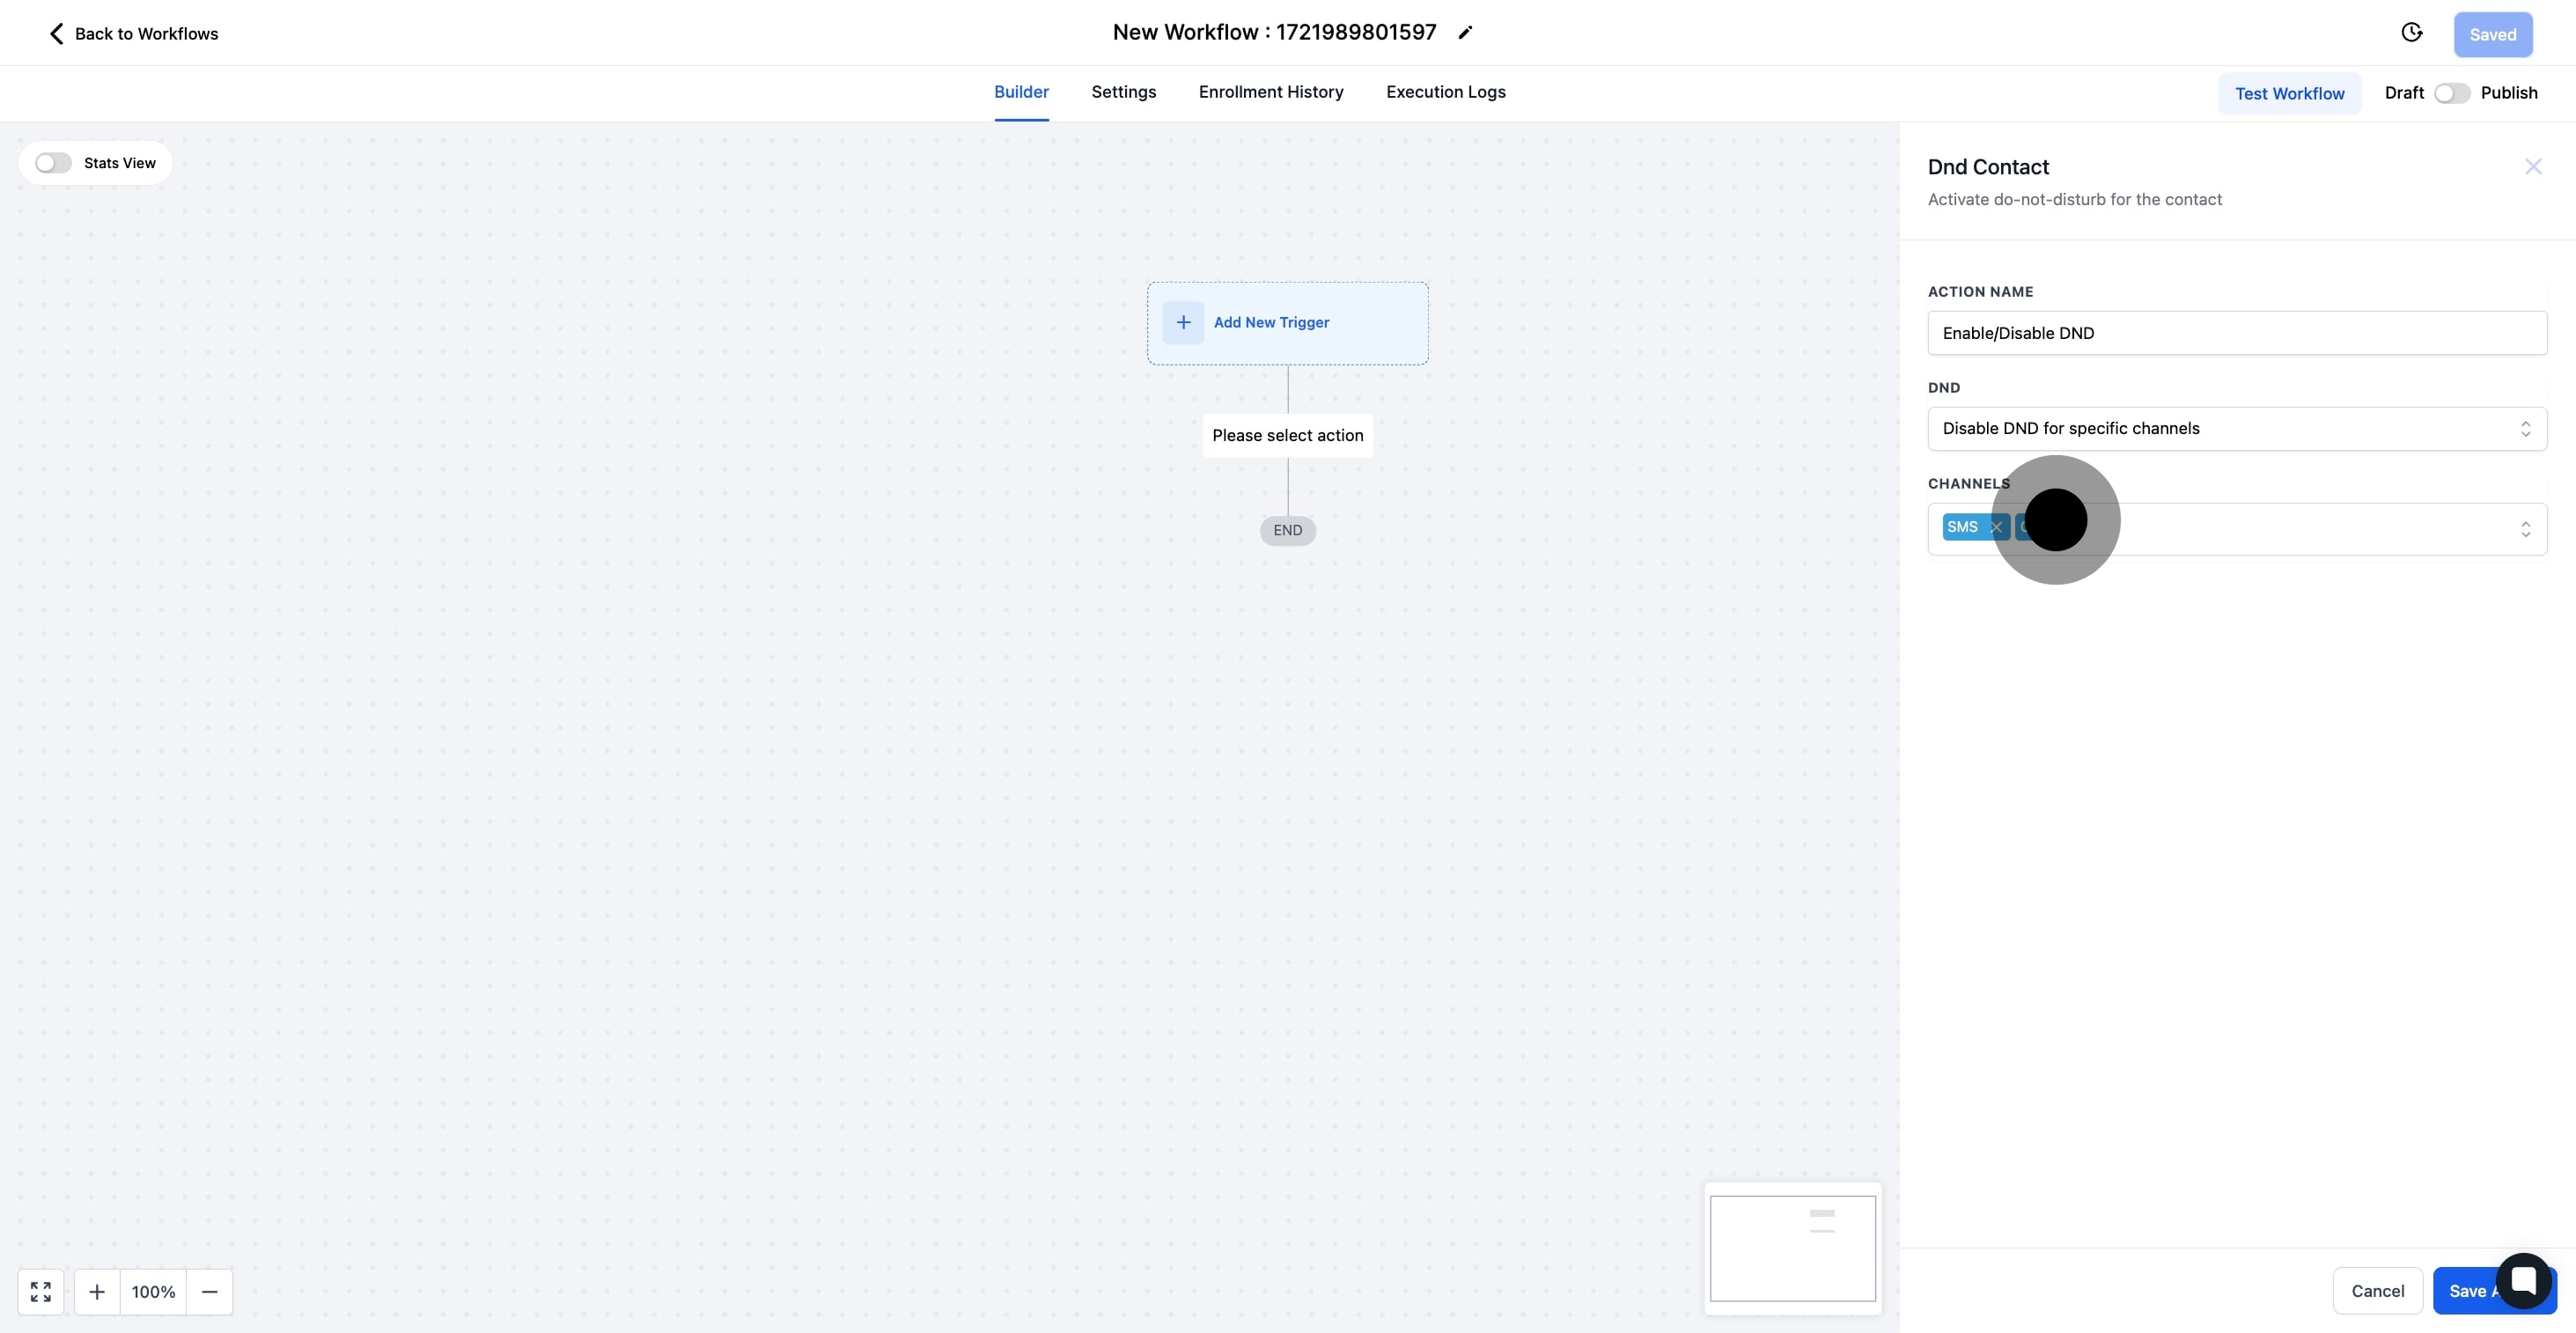
9. If DND for a specific channel is selected, please choose a channel from the list.

9 Following that, click on "Save Action".

10. Save your action

10 Upload

11. The action to enable or disable DND has been added. Once your workflow is complete, don't forget to save and publish it.

11 After that, click on the element.

Did this answer your question?
😞
😐
😁