Adding Contact Tags to Your Workflow in LeadDec

Elevate your workflow automation by learning how to incorporate the "Add Tag" action step in LeadDec. This article provides a comprehensive, step-by-step guide on setting up this feature, allowing you to automatically tag contacts as part of your workflow processes. Ideal for users aiming to enhance organization, segmentation, and customer relationship management within their lead handling operations.


1. Click 'Automation' to start setting up your workflow.

1 First up, click on "automation".

2. Now, select 'Create Workflow' to proceed with the setup.

2 Click on "Create Workflow".

3. Choose 'Start from Scratch' to build your workflow framework.

3 Then, click on "Start from Scratch".

4. Add a trigger by clicking here, to initiate the workflow.

4 Click here.

5. Next, add an action step by selecting the + sign.

5 Click here.

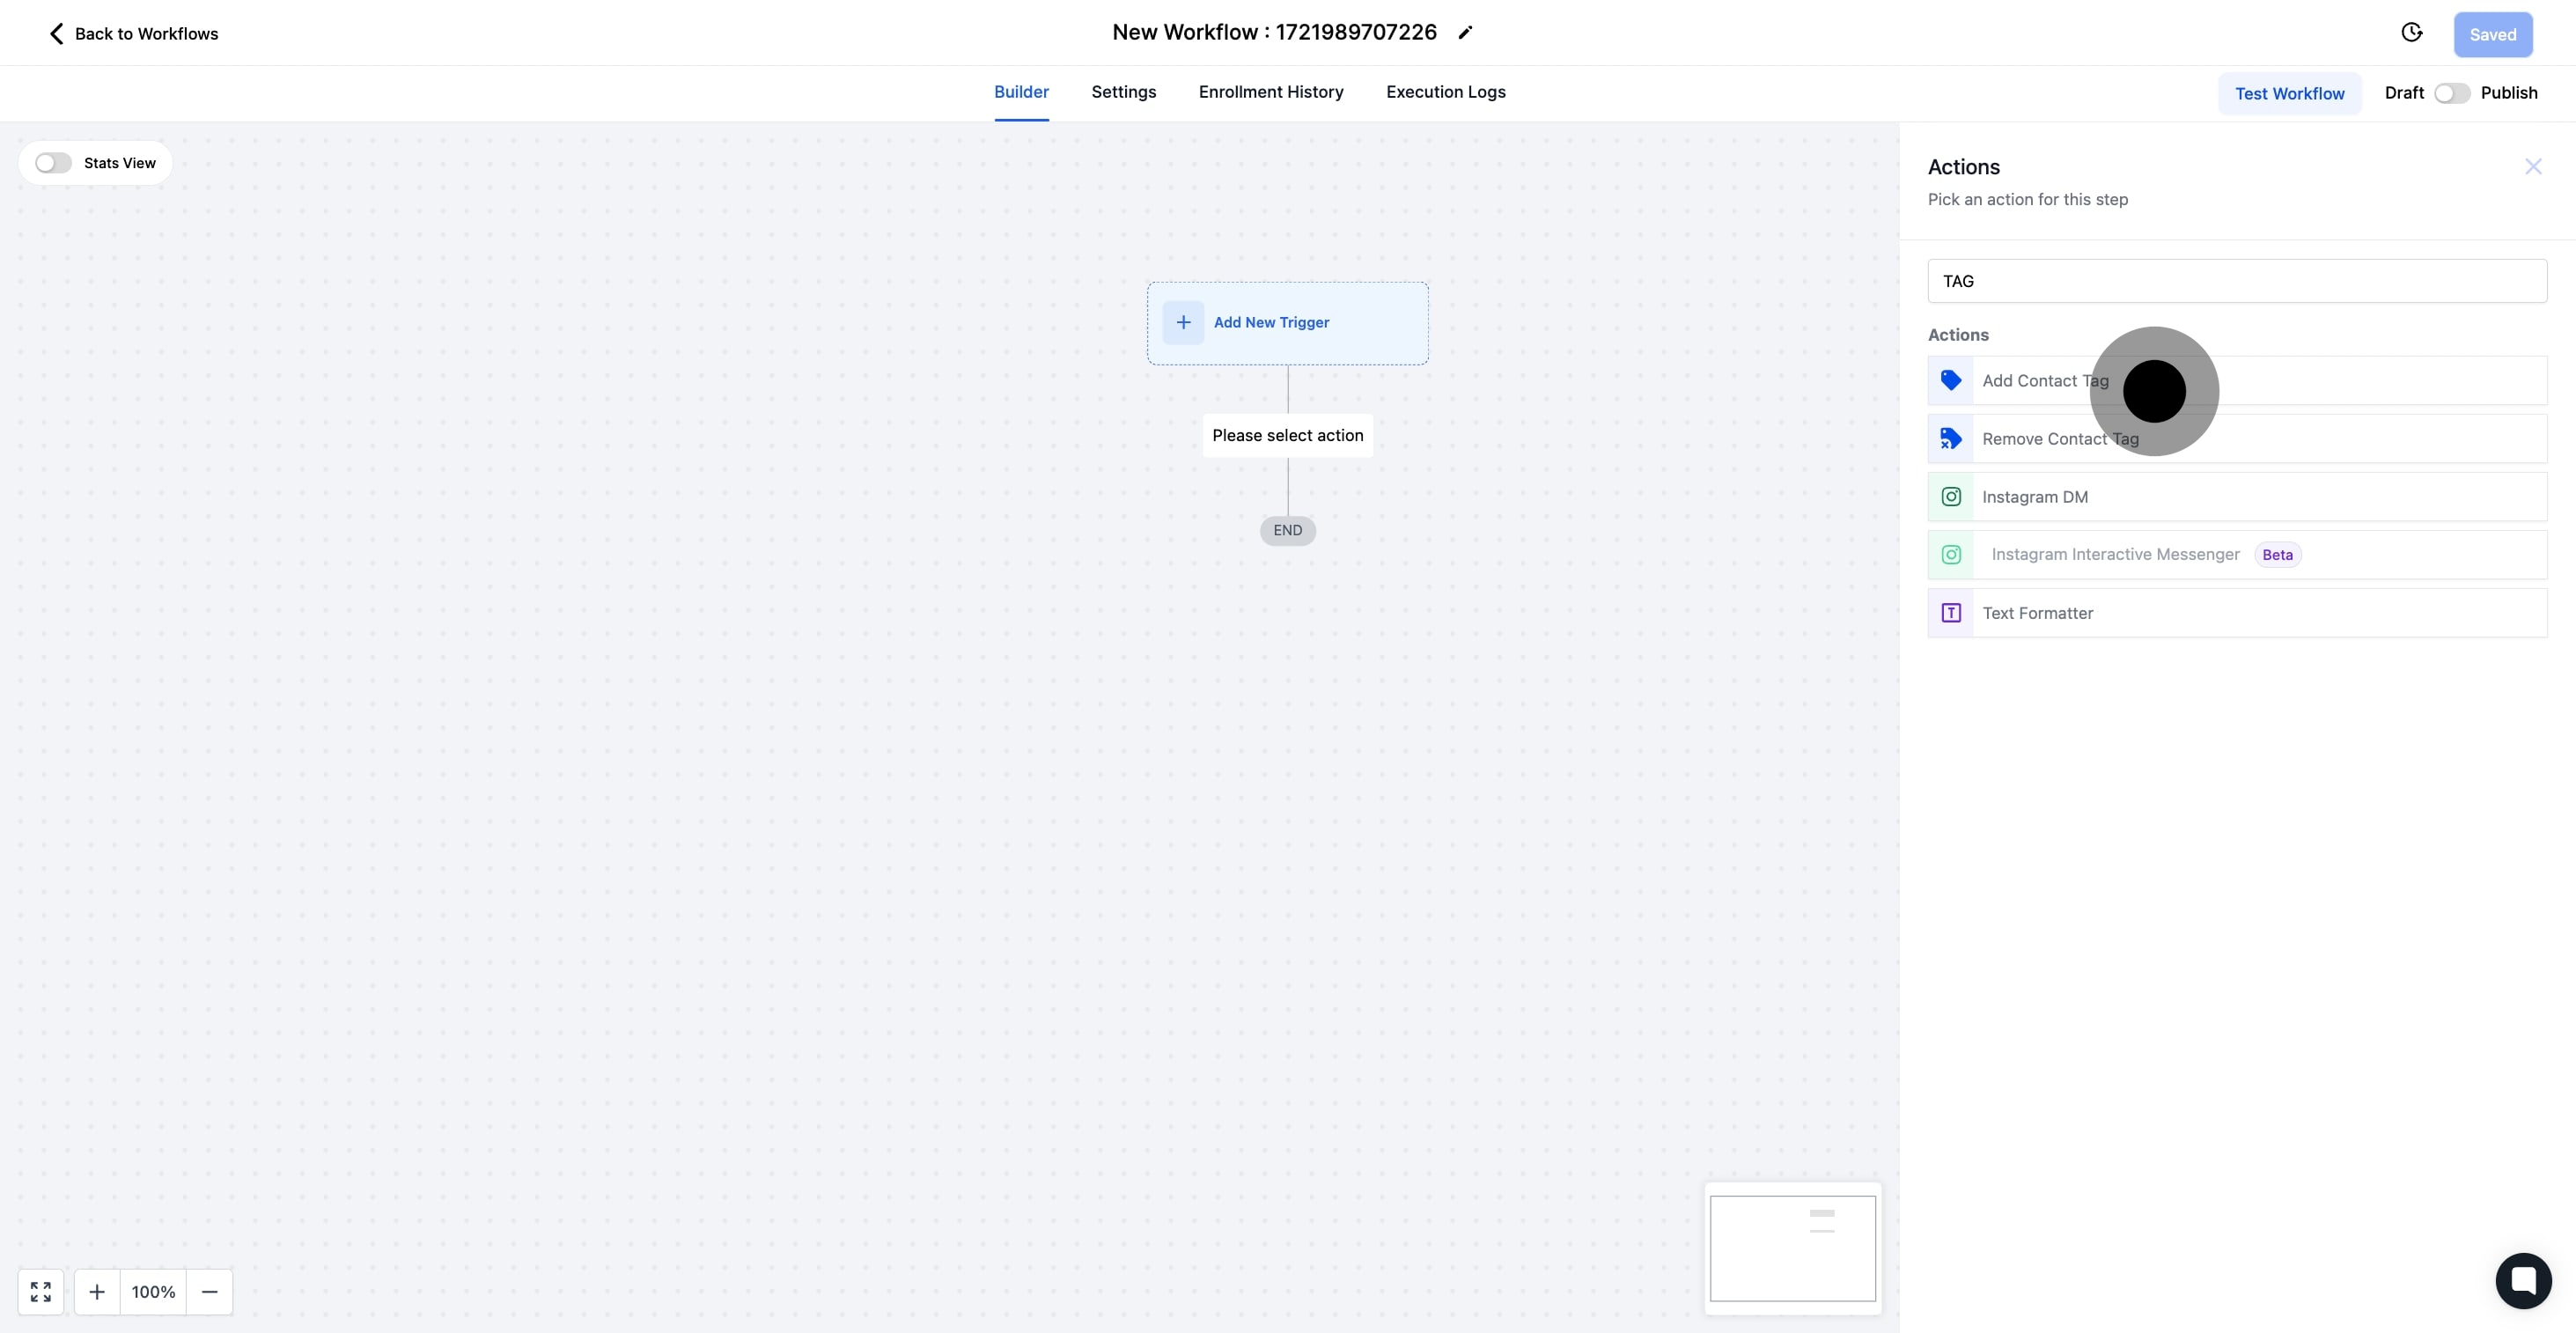
6. Search and select the action step you wish to add.

6 Click here.

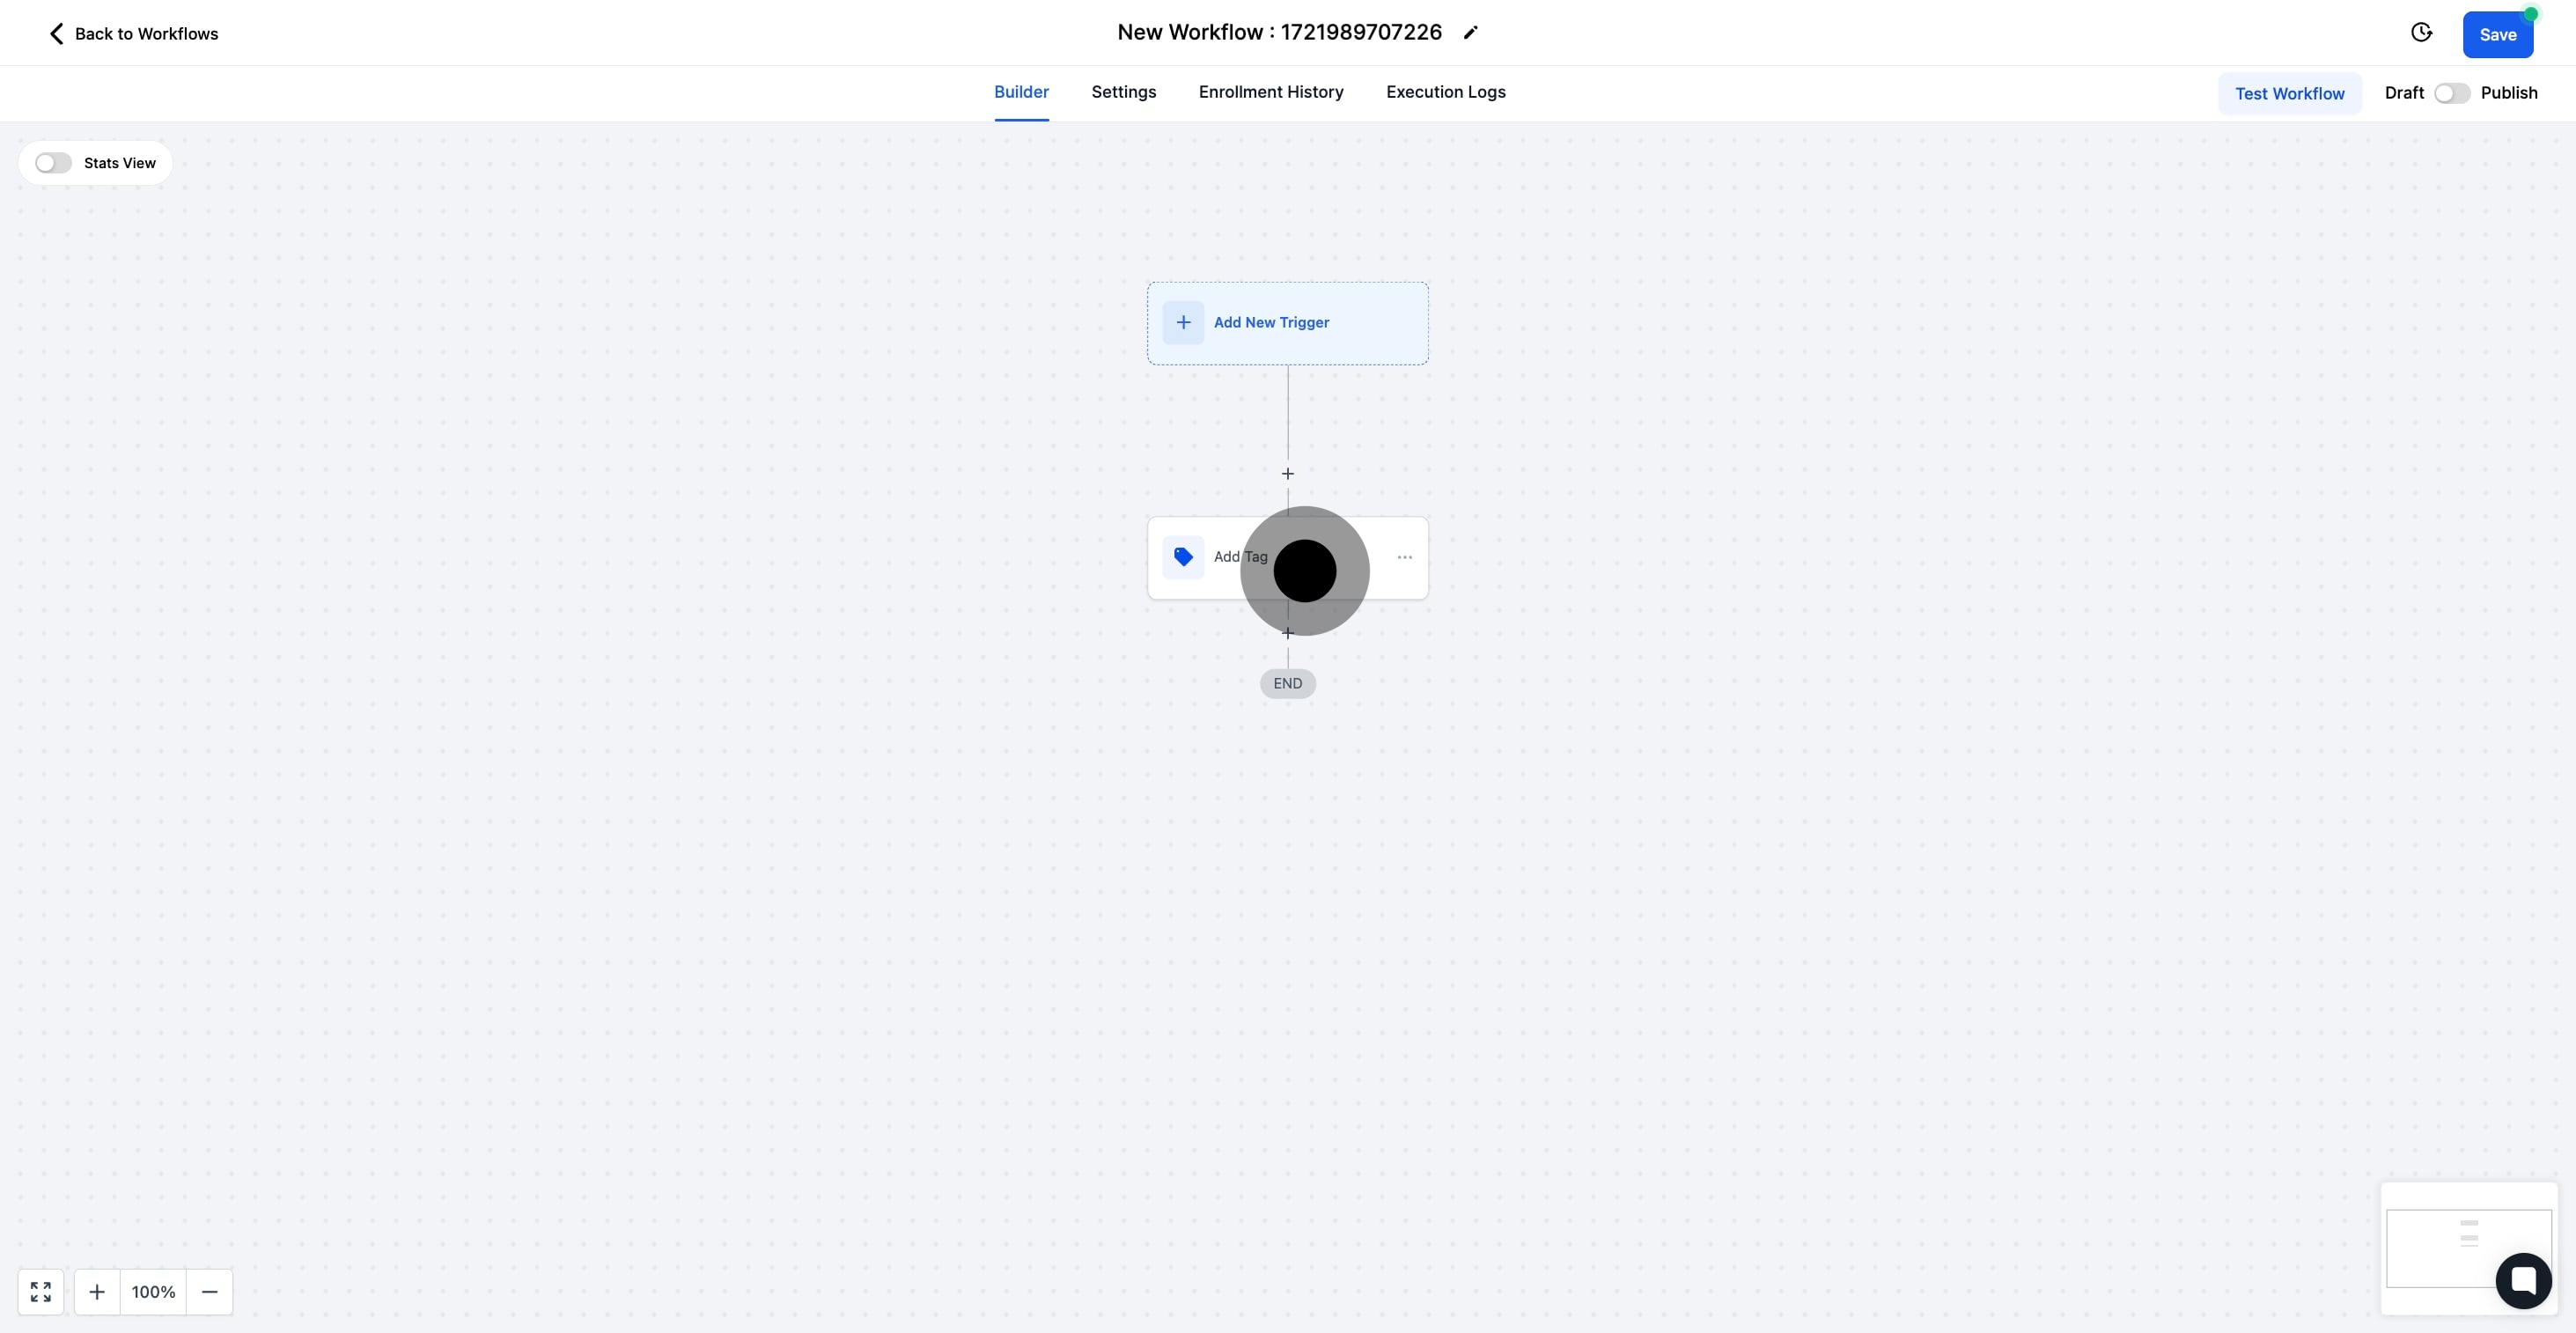
7. Now, click 'Add Contact Tag' to include a contact tag.

This action enables you to assign specific tags to a contact.

7 Click on "Add Contact Tag".

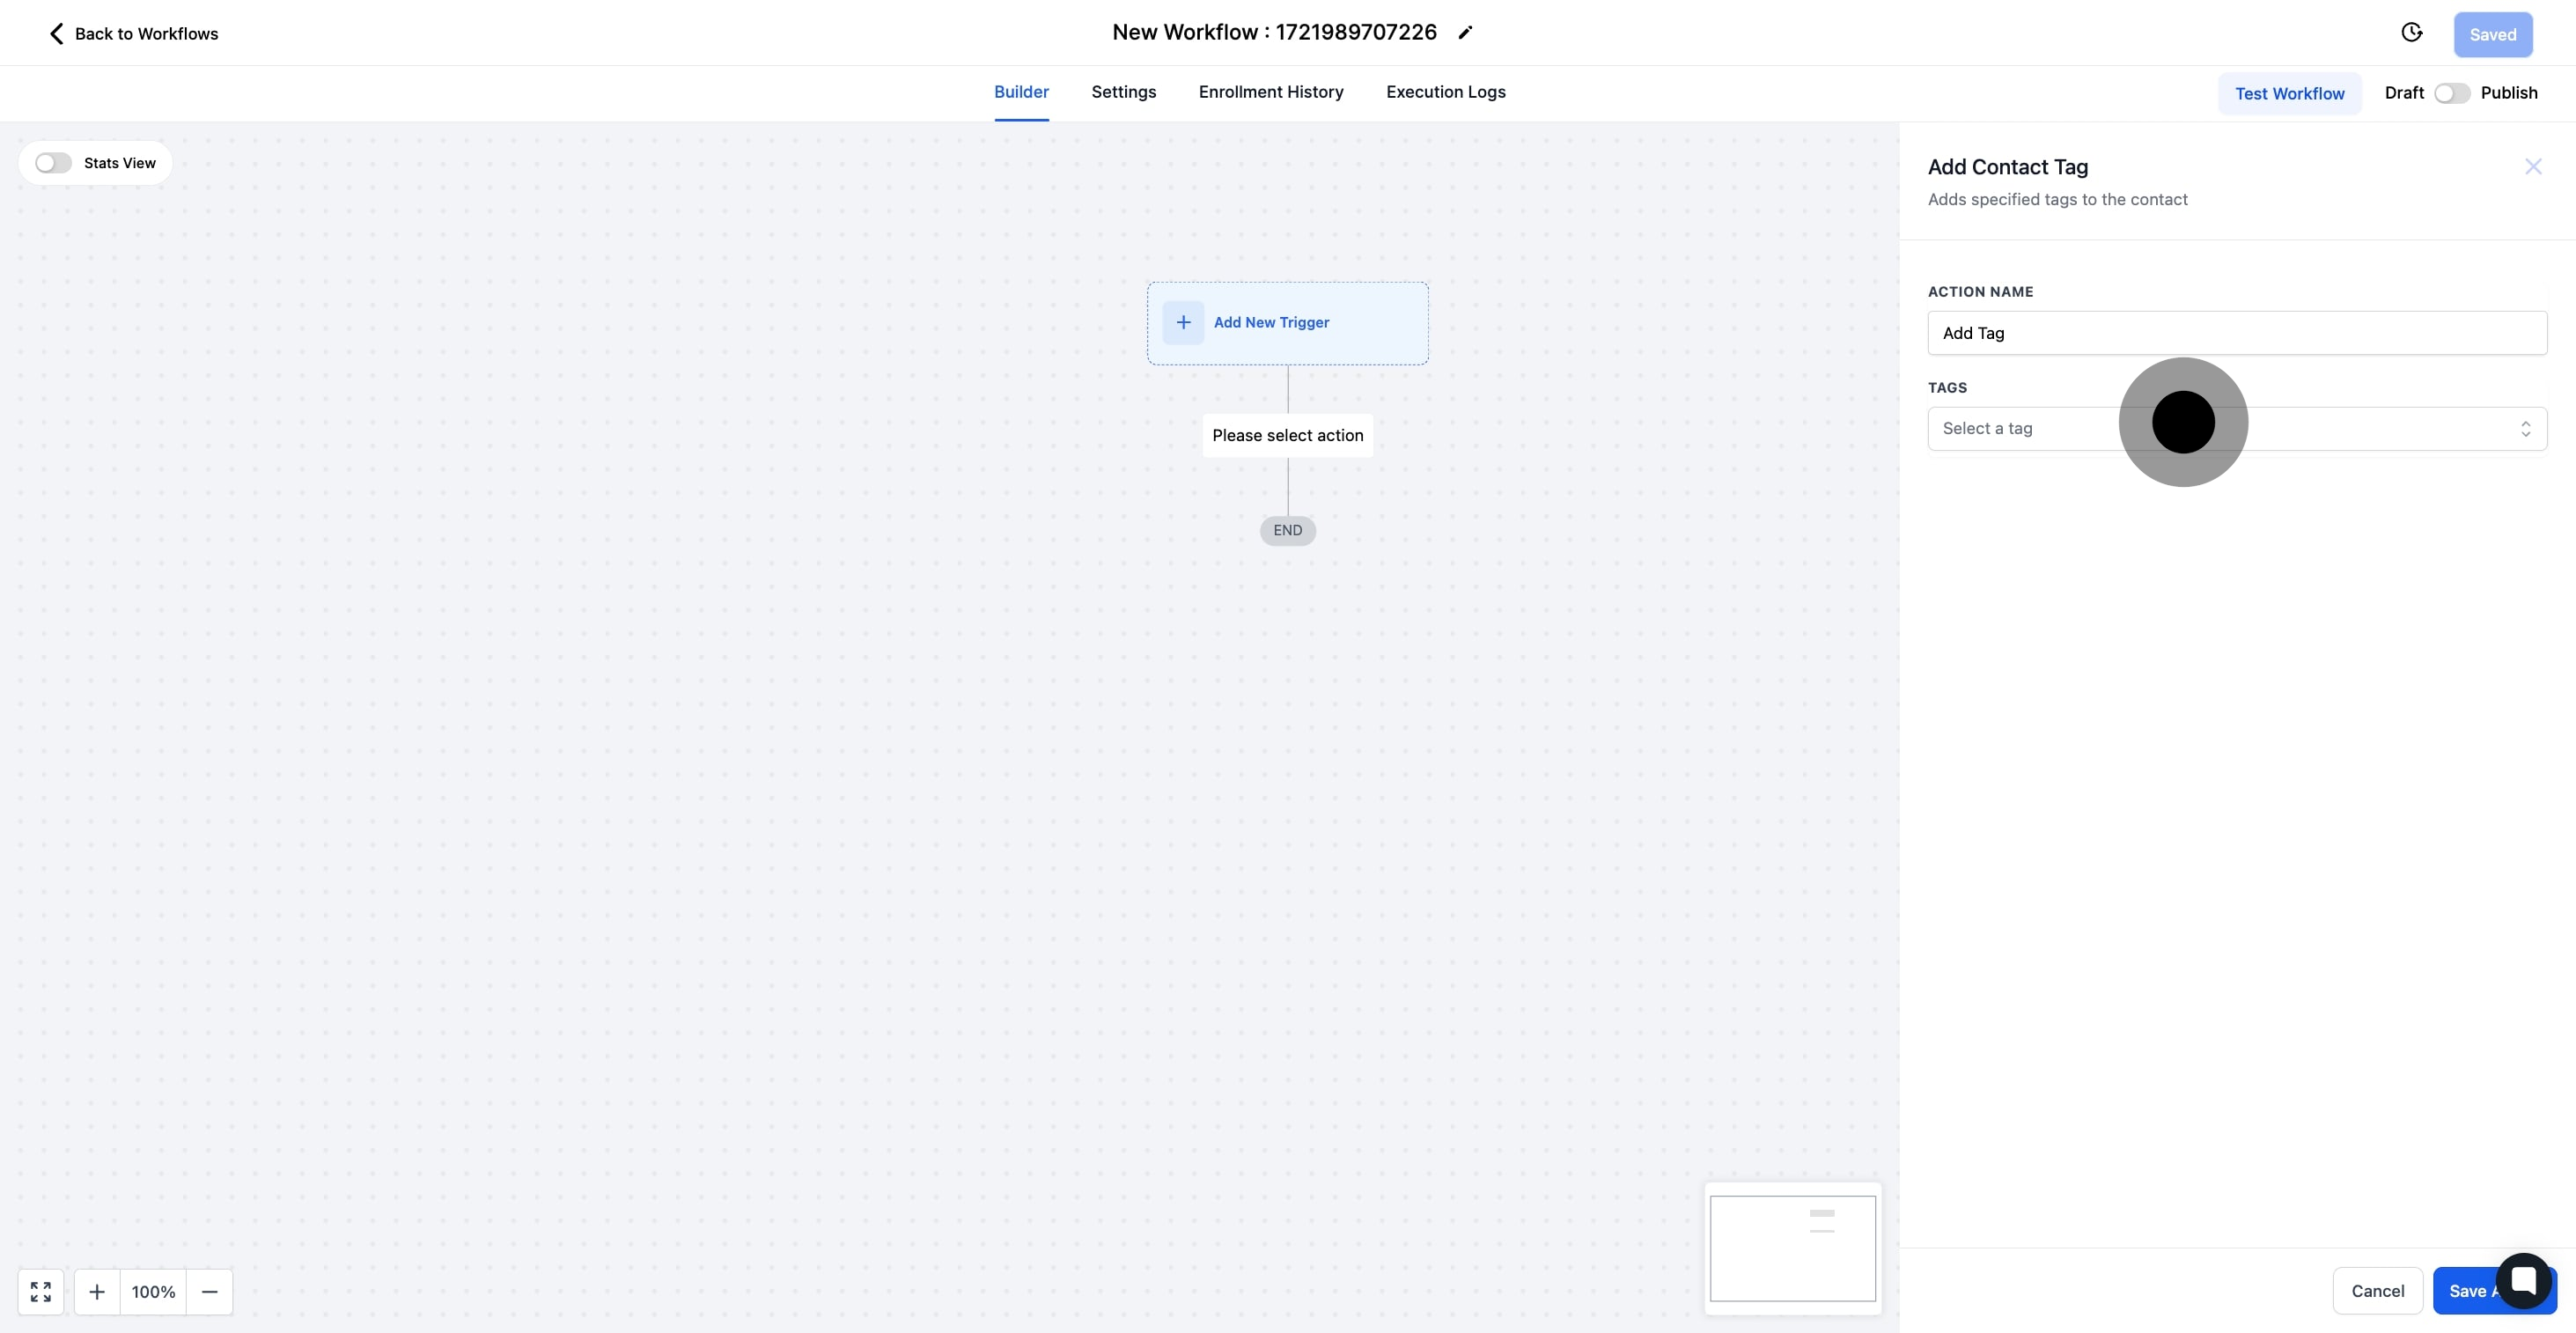
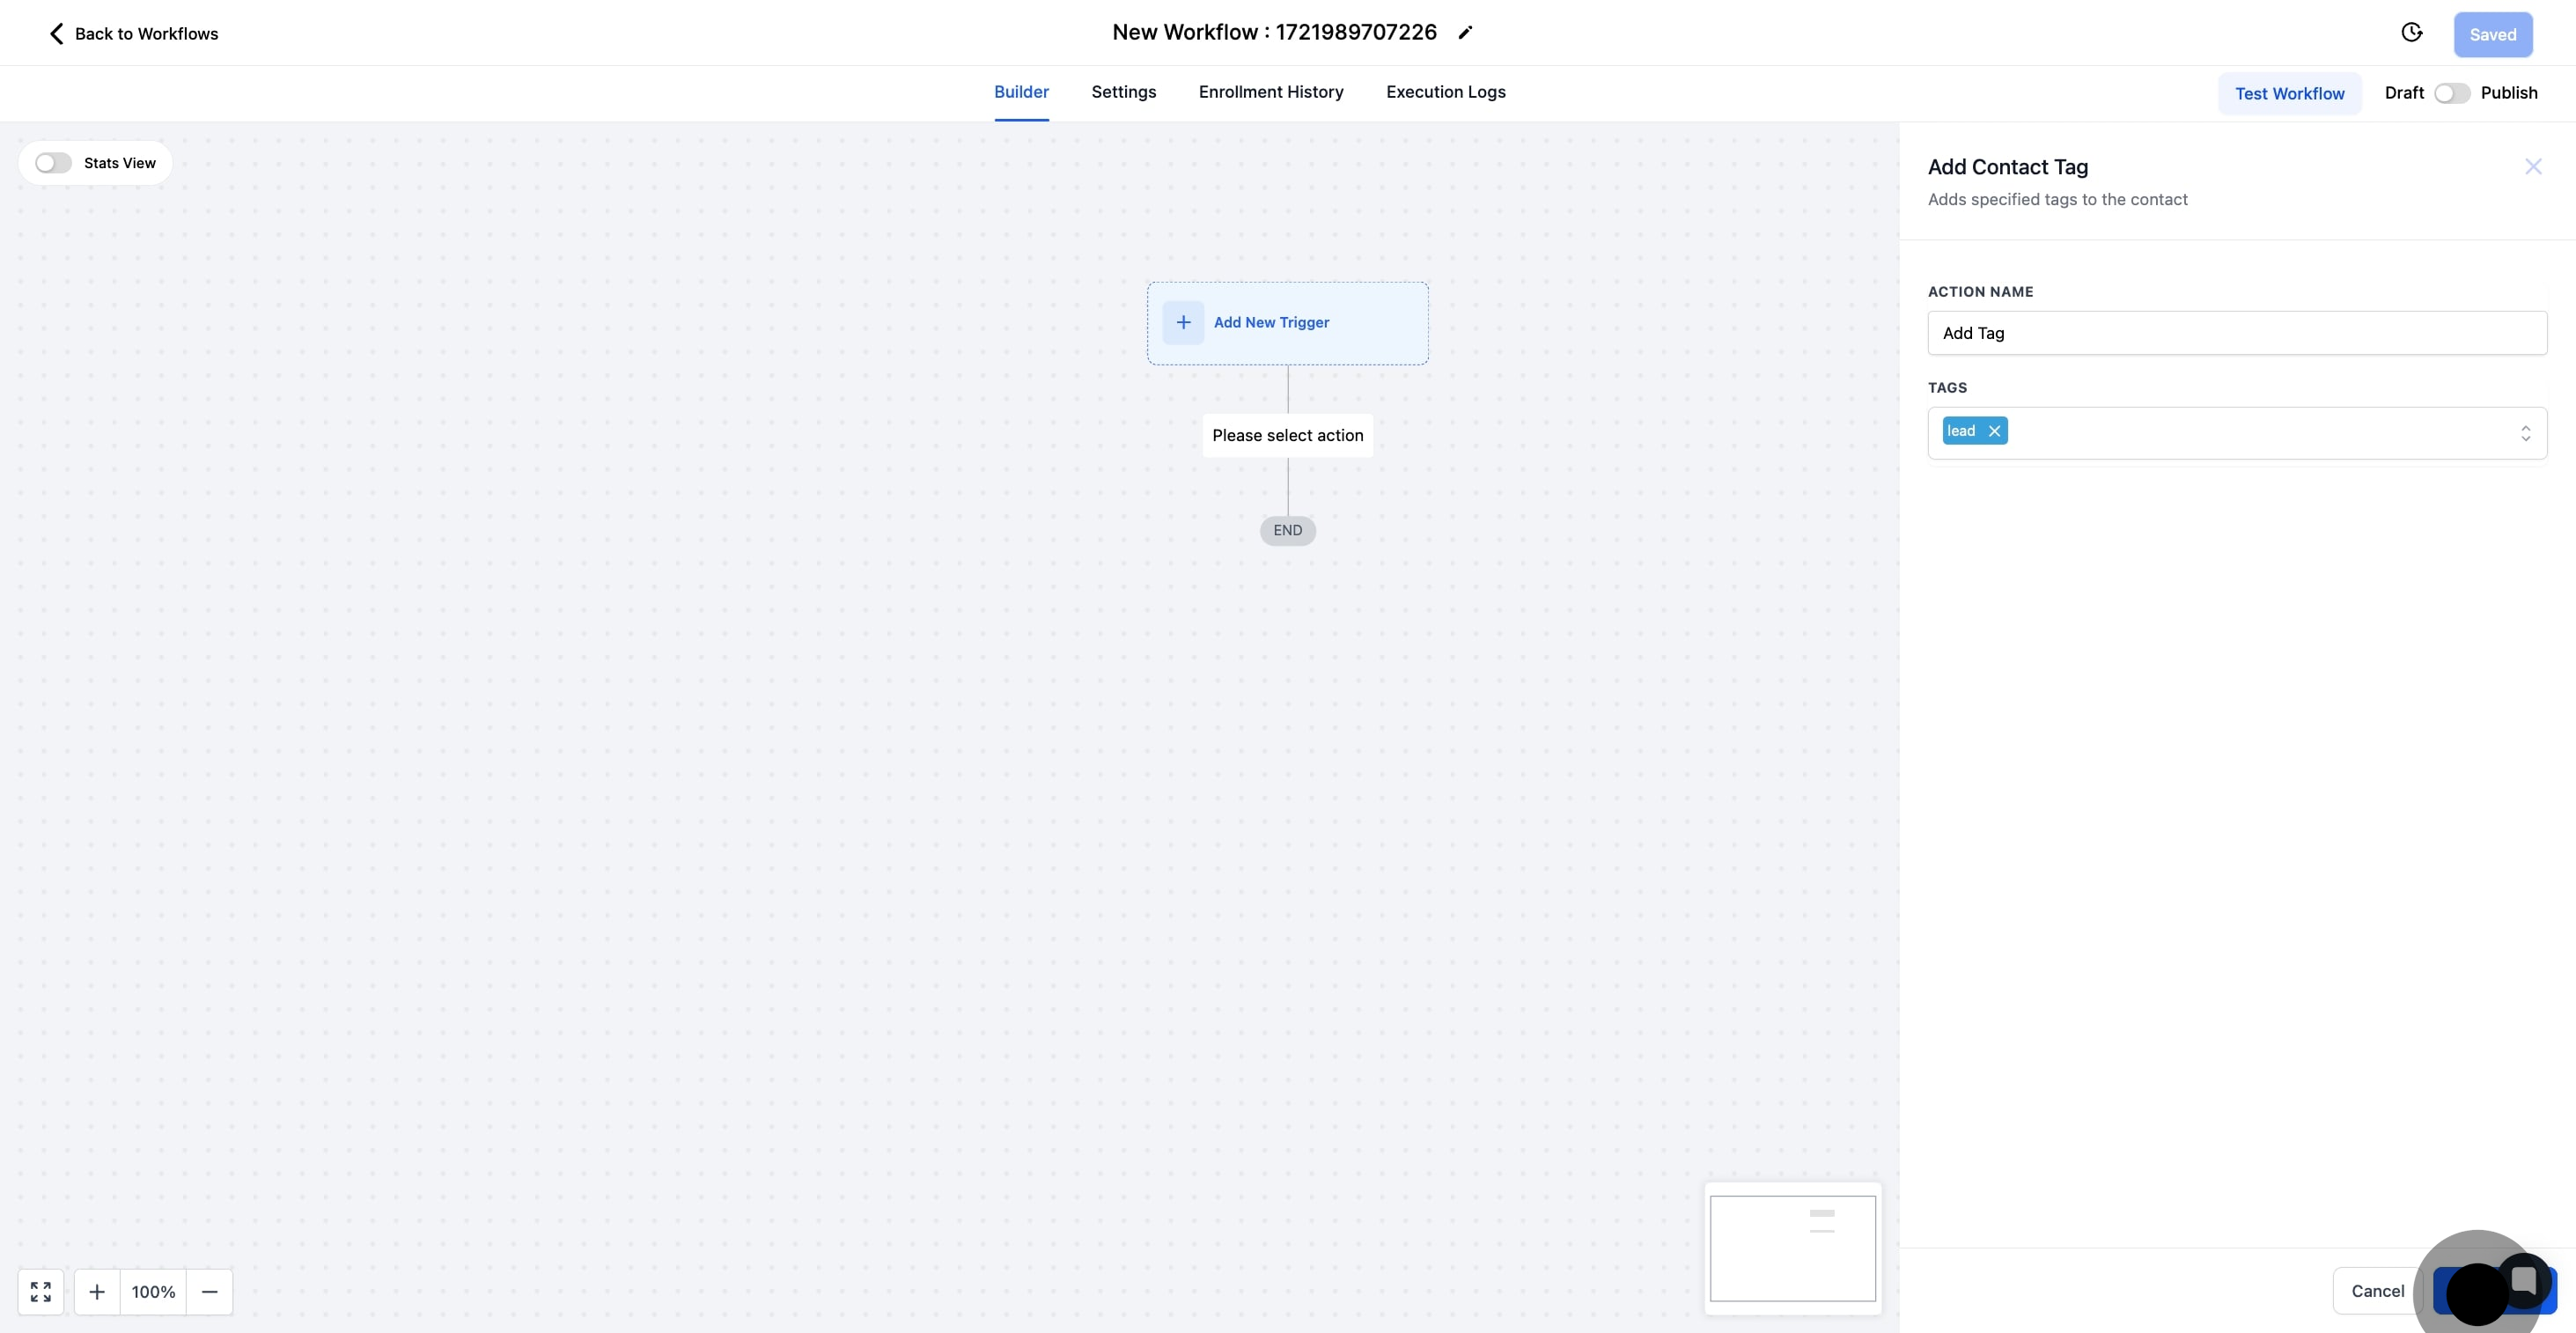
8. Select the desired tag from the options available

The selected tag will be added to a contact who triggers this workflow.

8 Click on "Select a tag".

9. Afterwards, be sure to click 'Save Action' to secure your changes.

9 Once that's done, click on "Save Action".

10. Finally, review your workflow and save, then publish it when ready.

10 Click here.

Did this answer your question?
😞
😐
😁