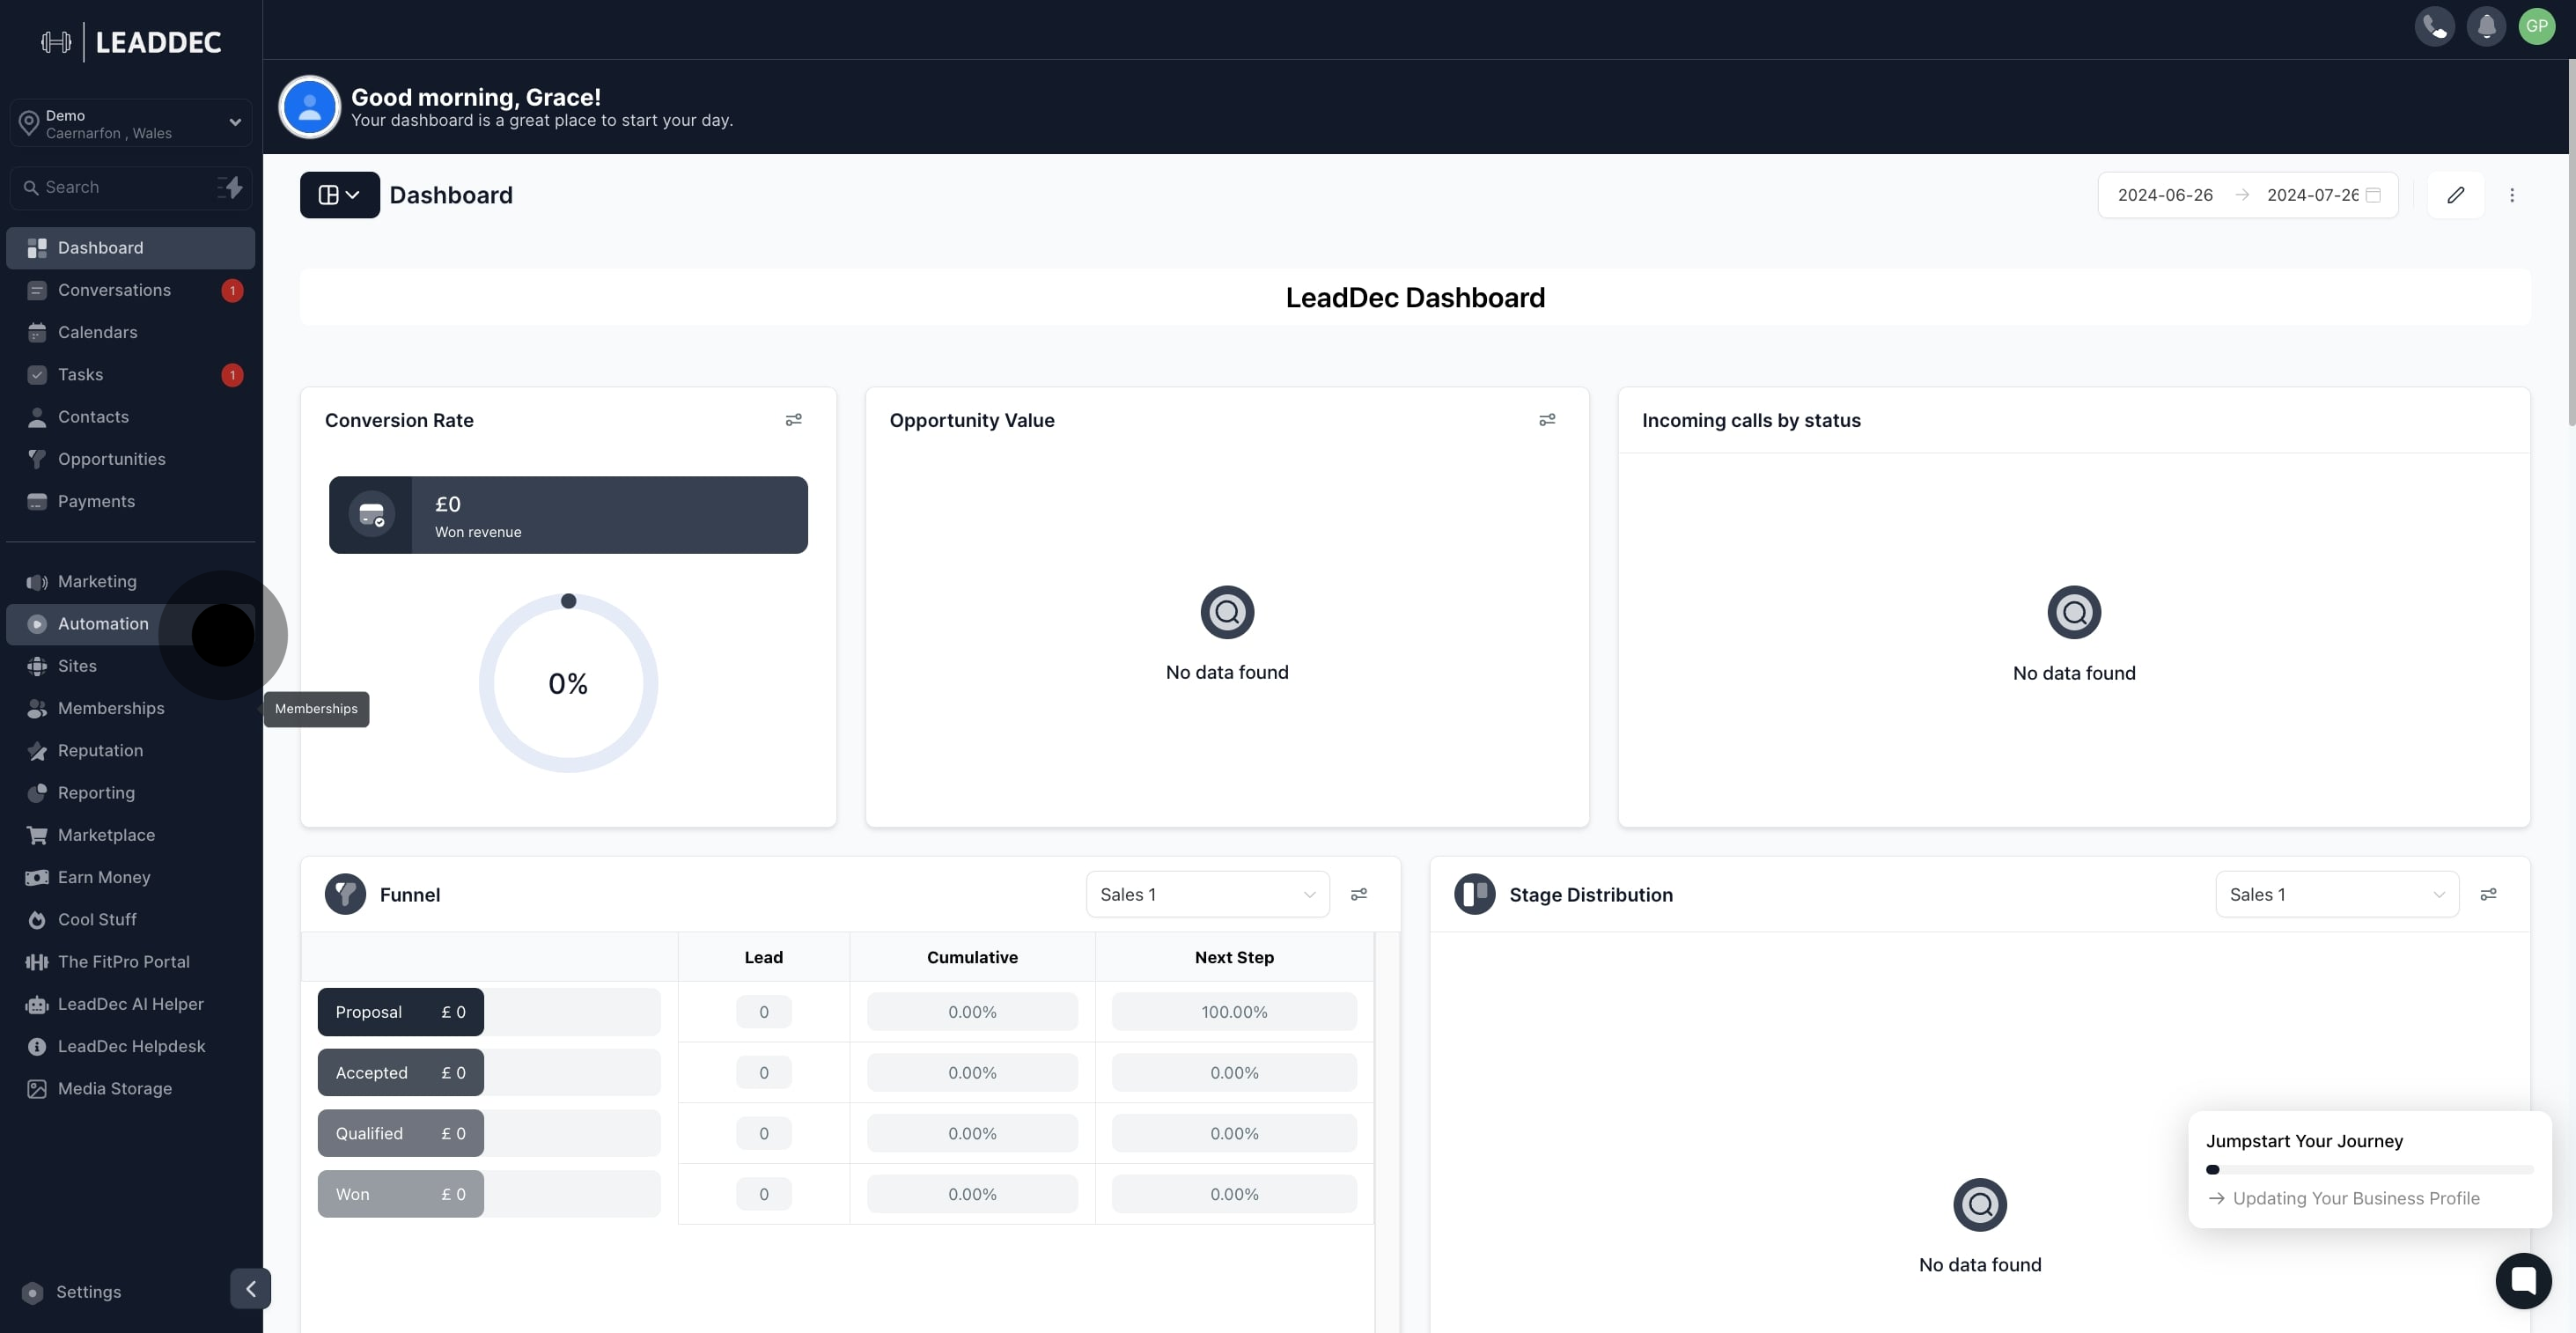
1. Begin by selecting the automation option.
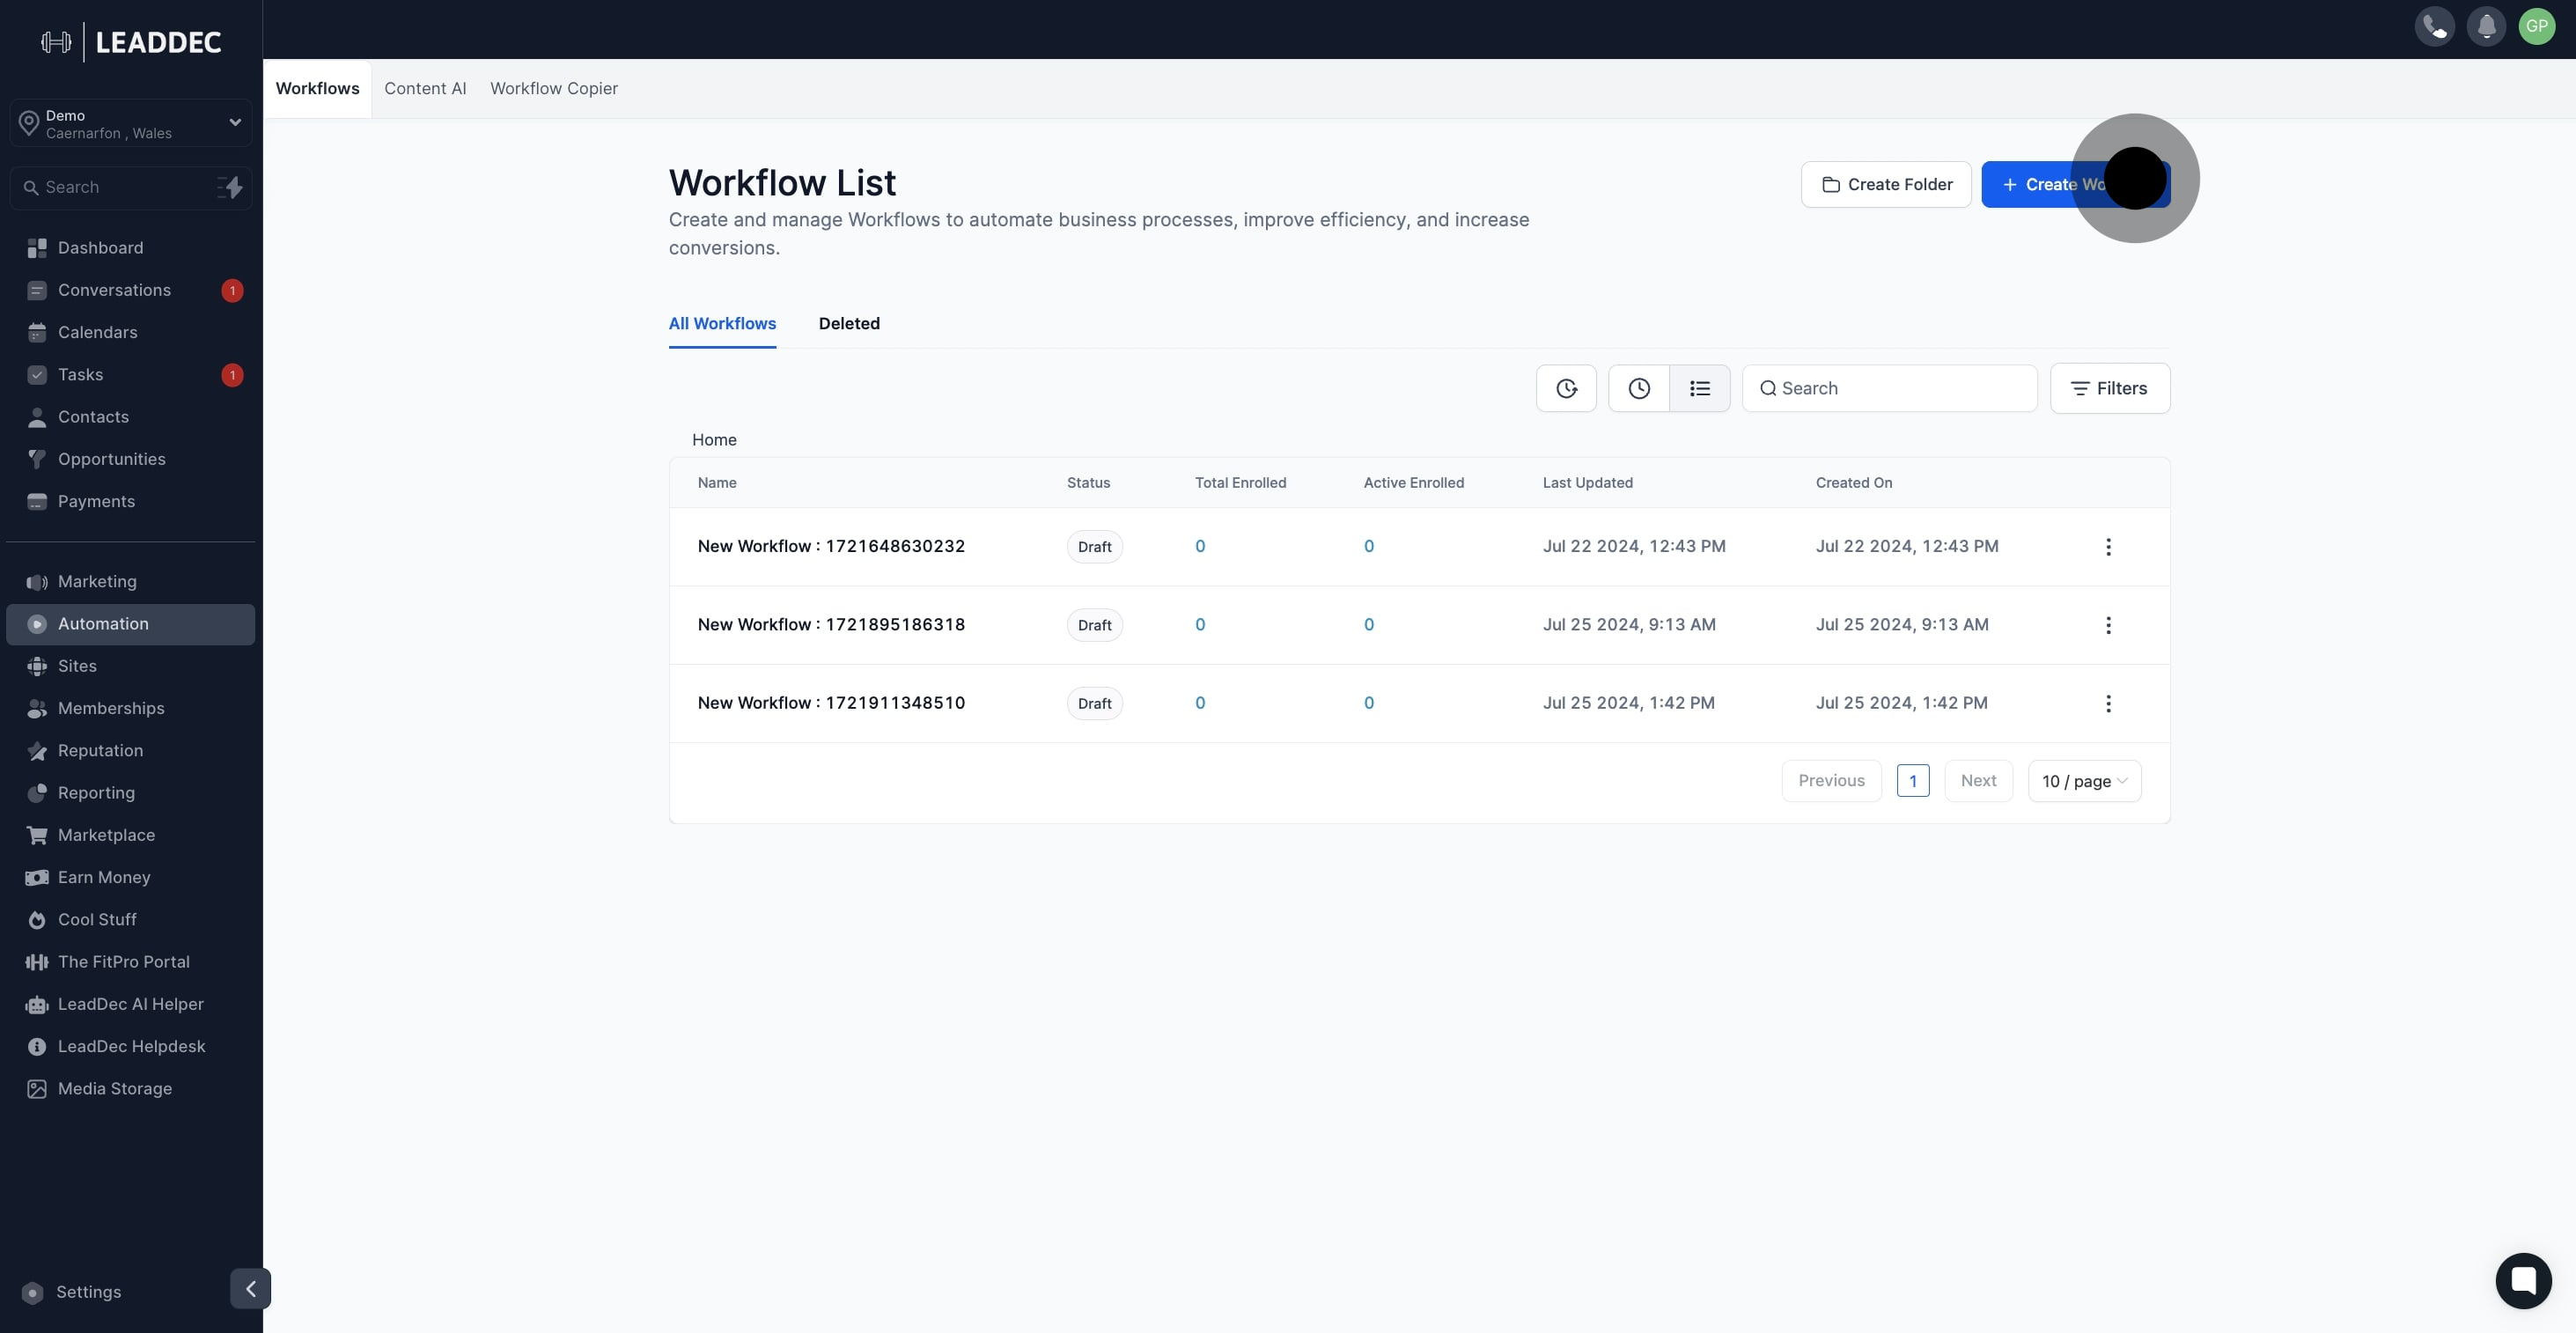
2. Next, choose Create Workflow to proceed.
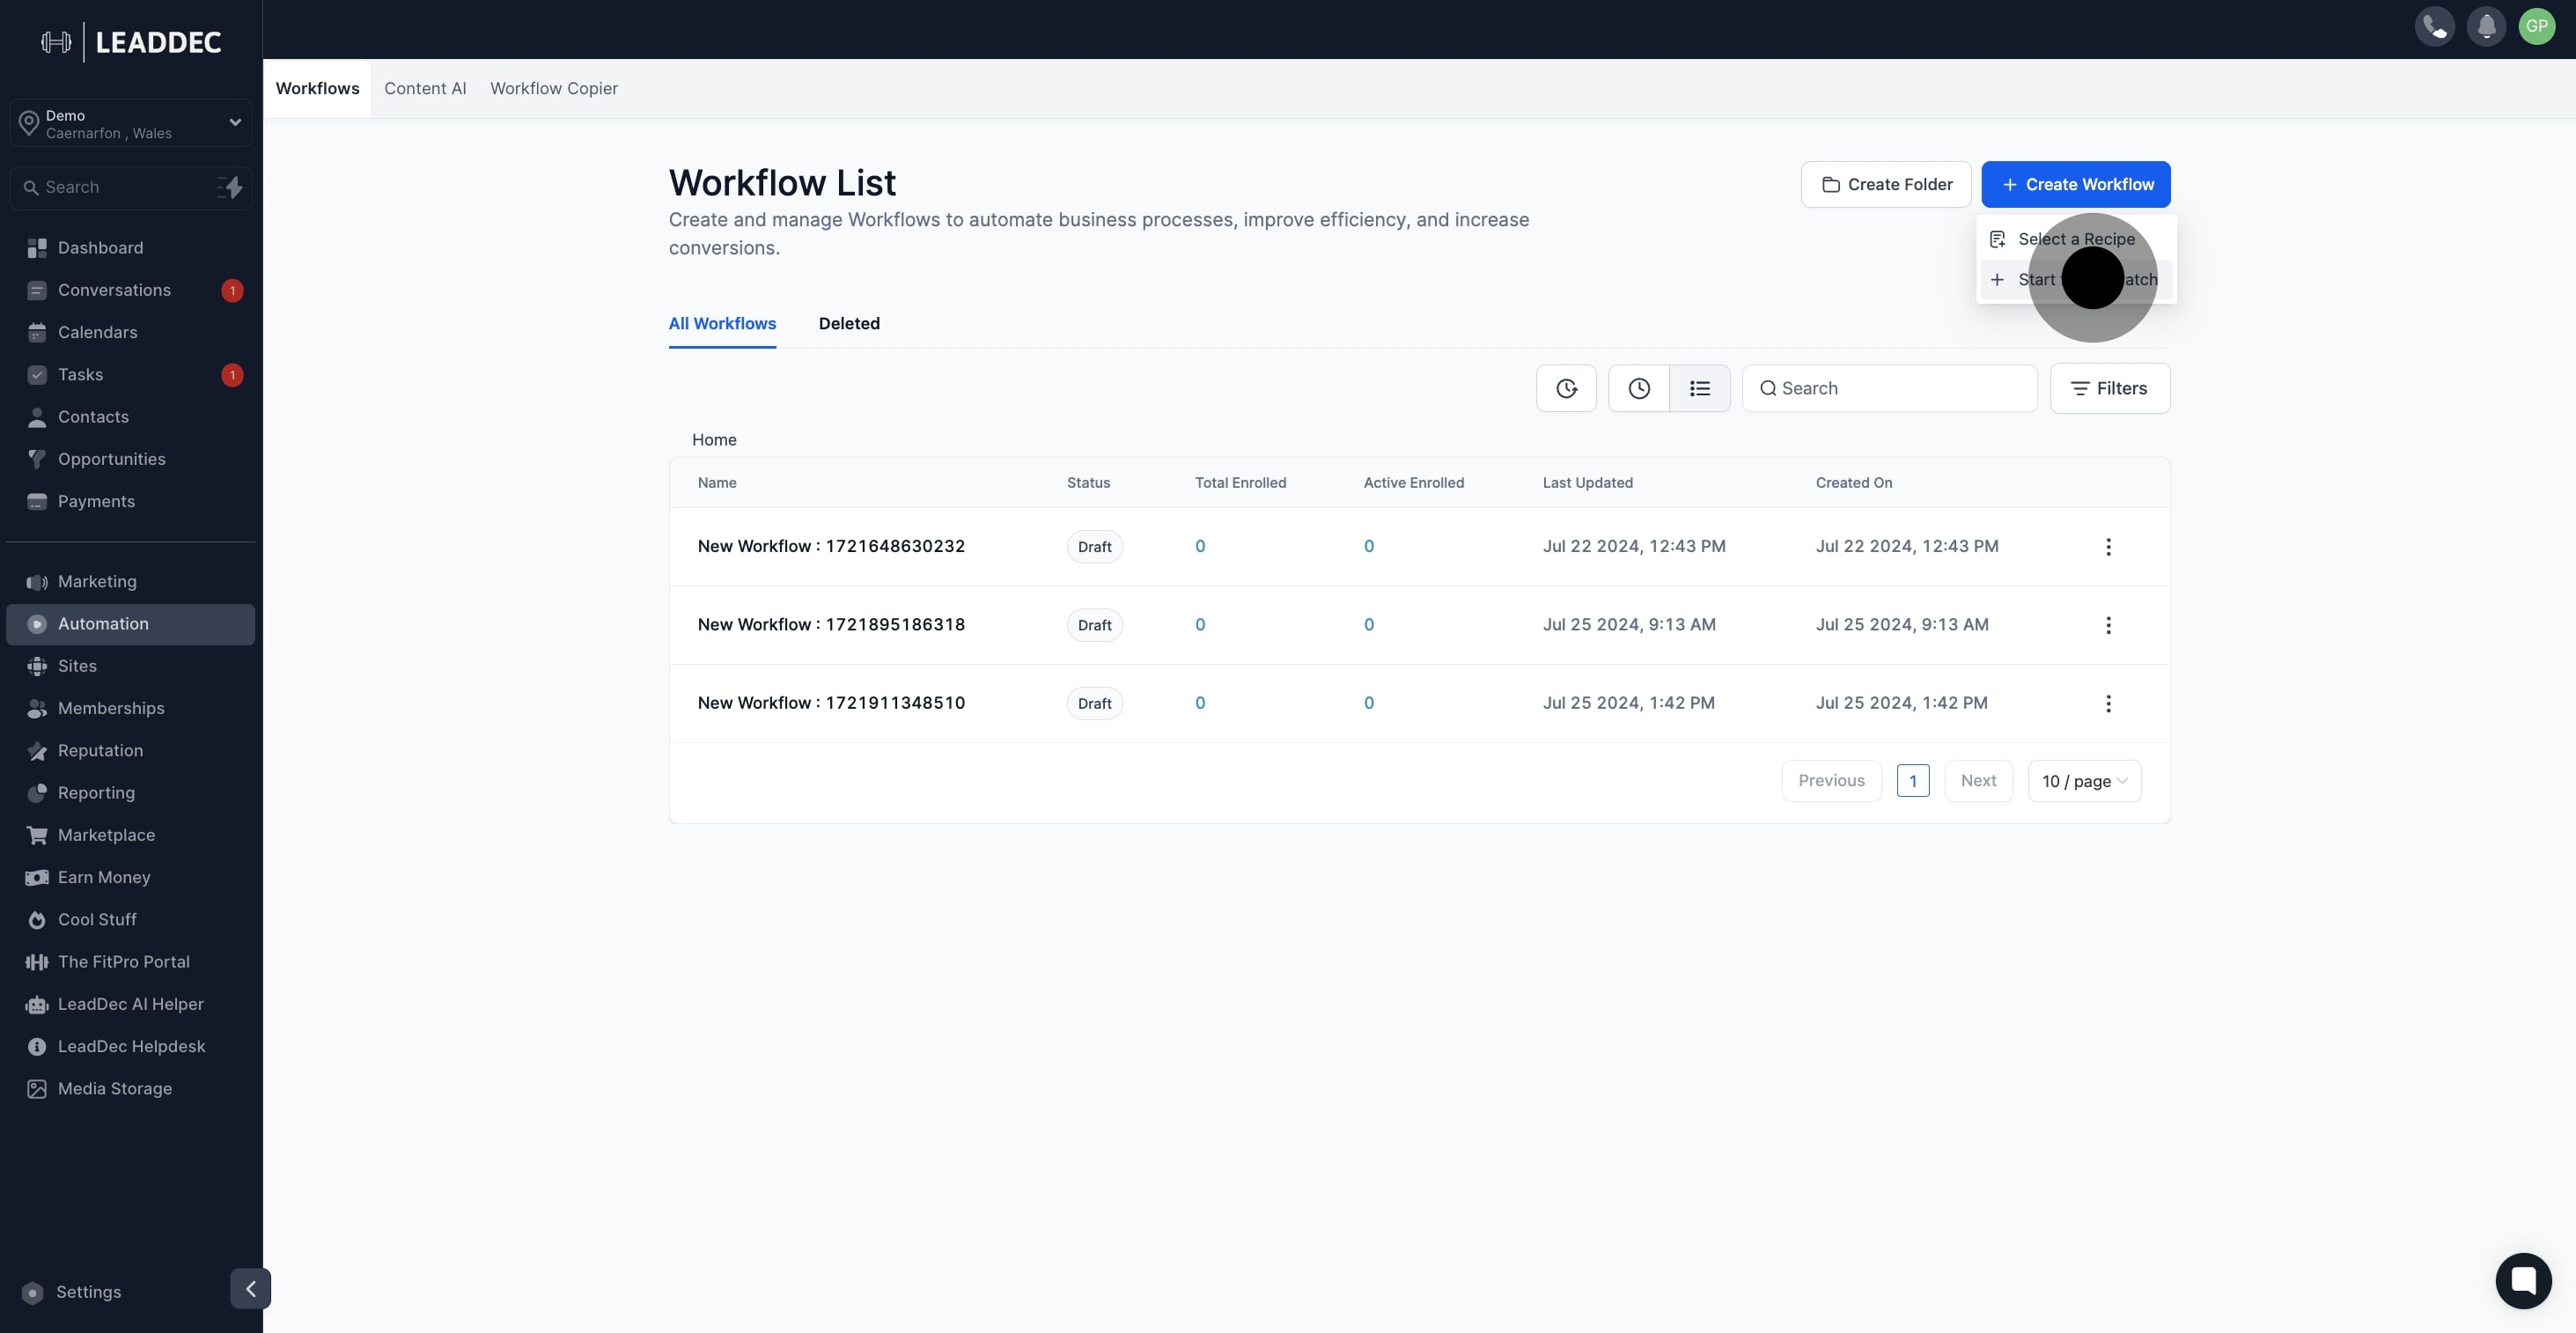
3. Then, select Start from Scratch to build from the ground up.
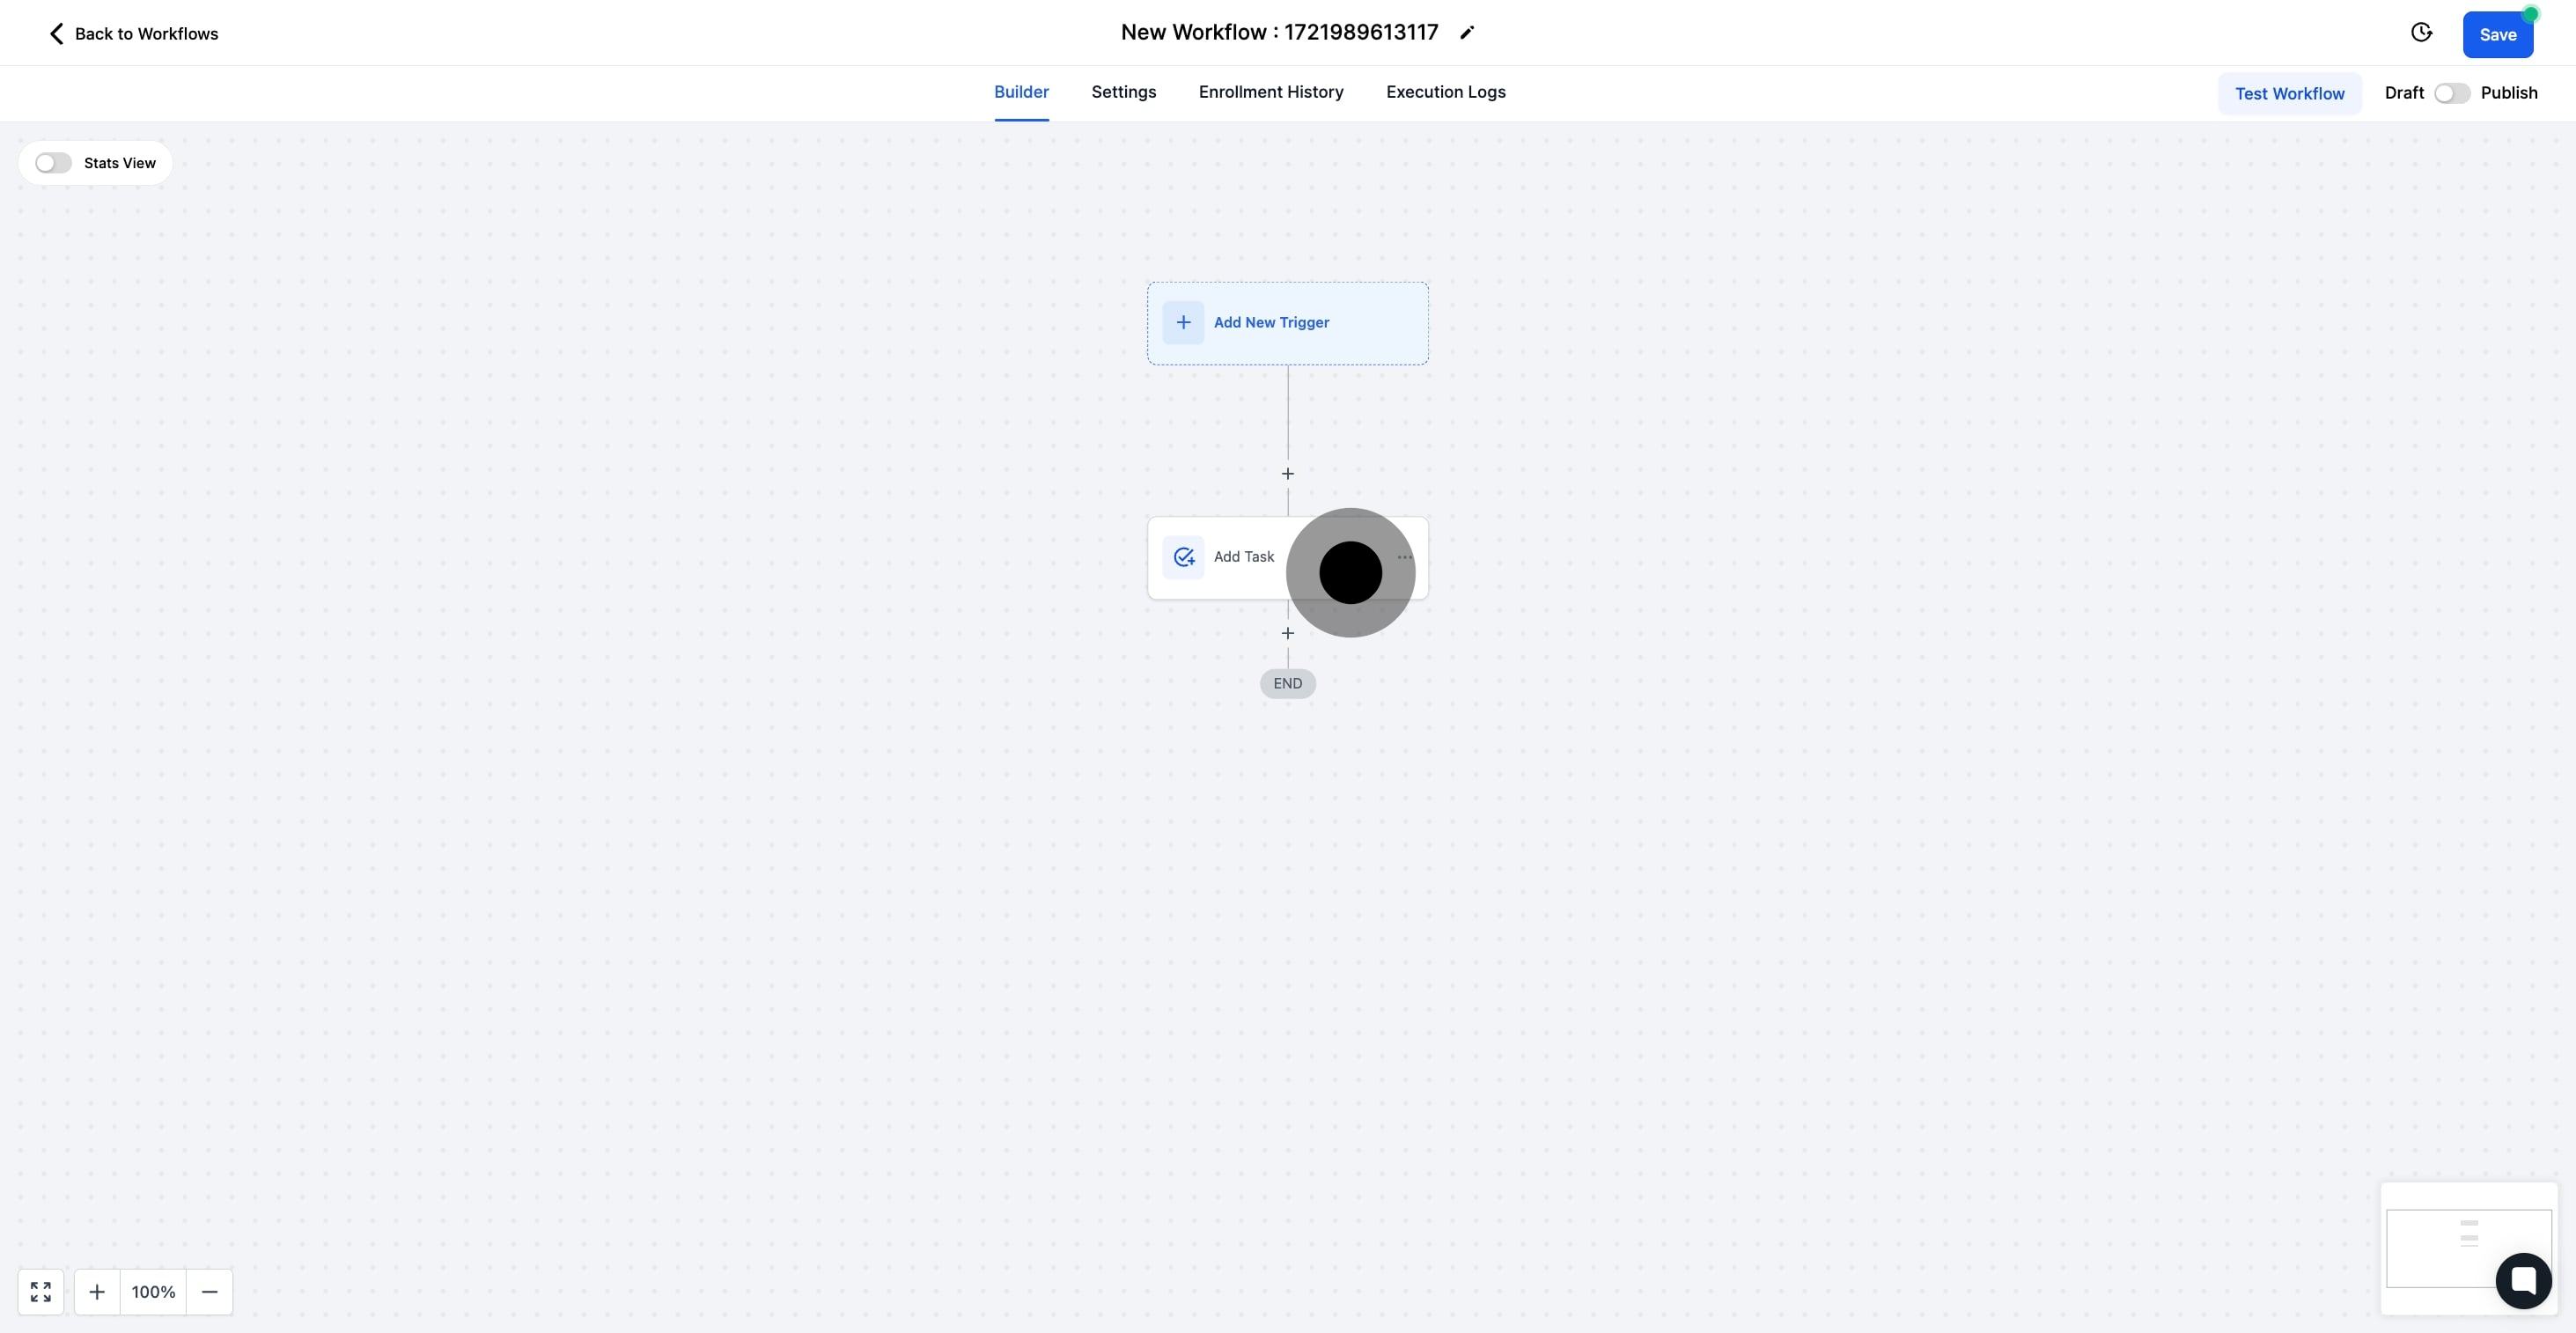
4. Now, add a trigger to initiate your workflow.
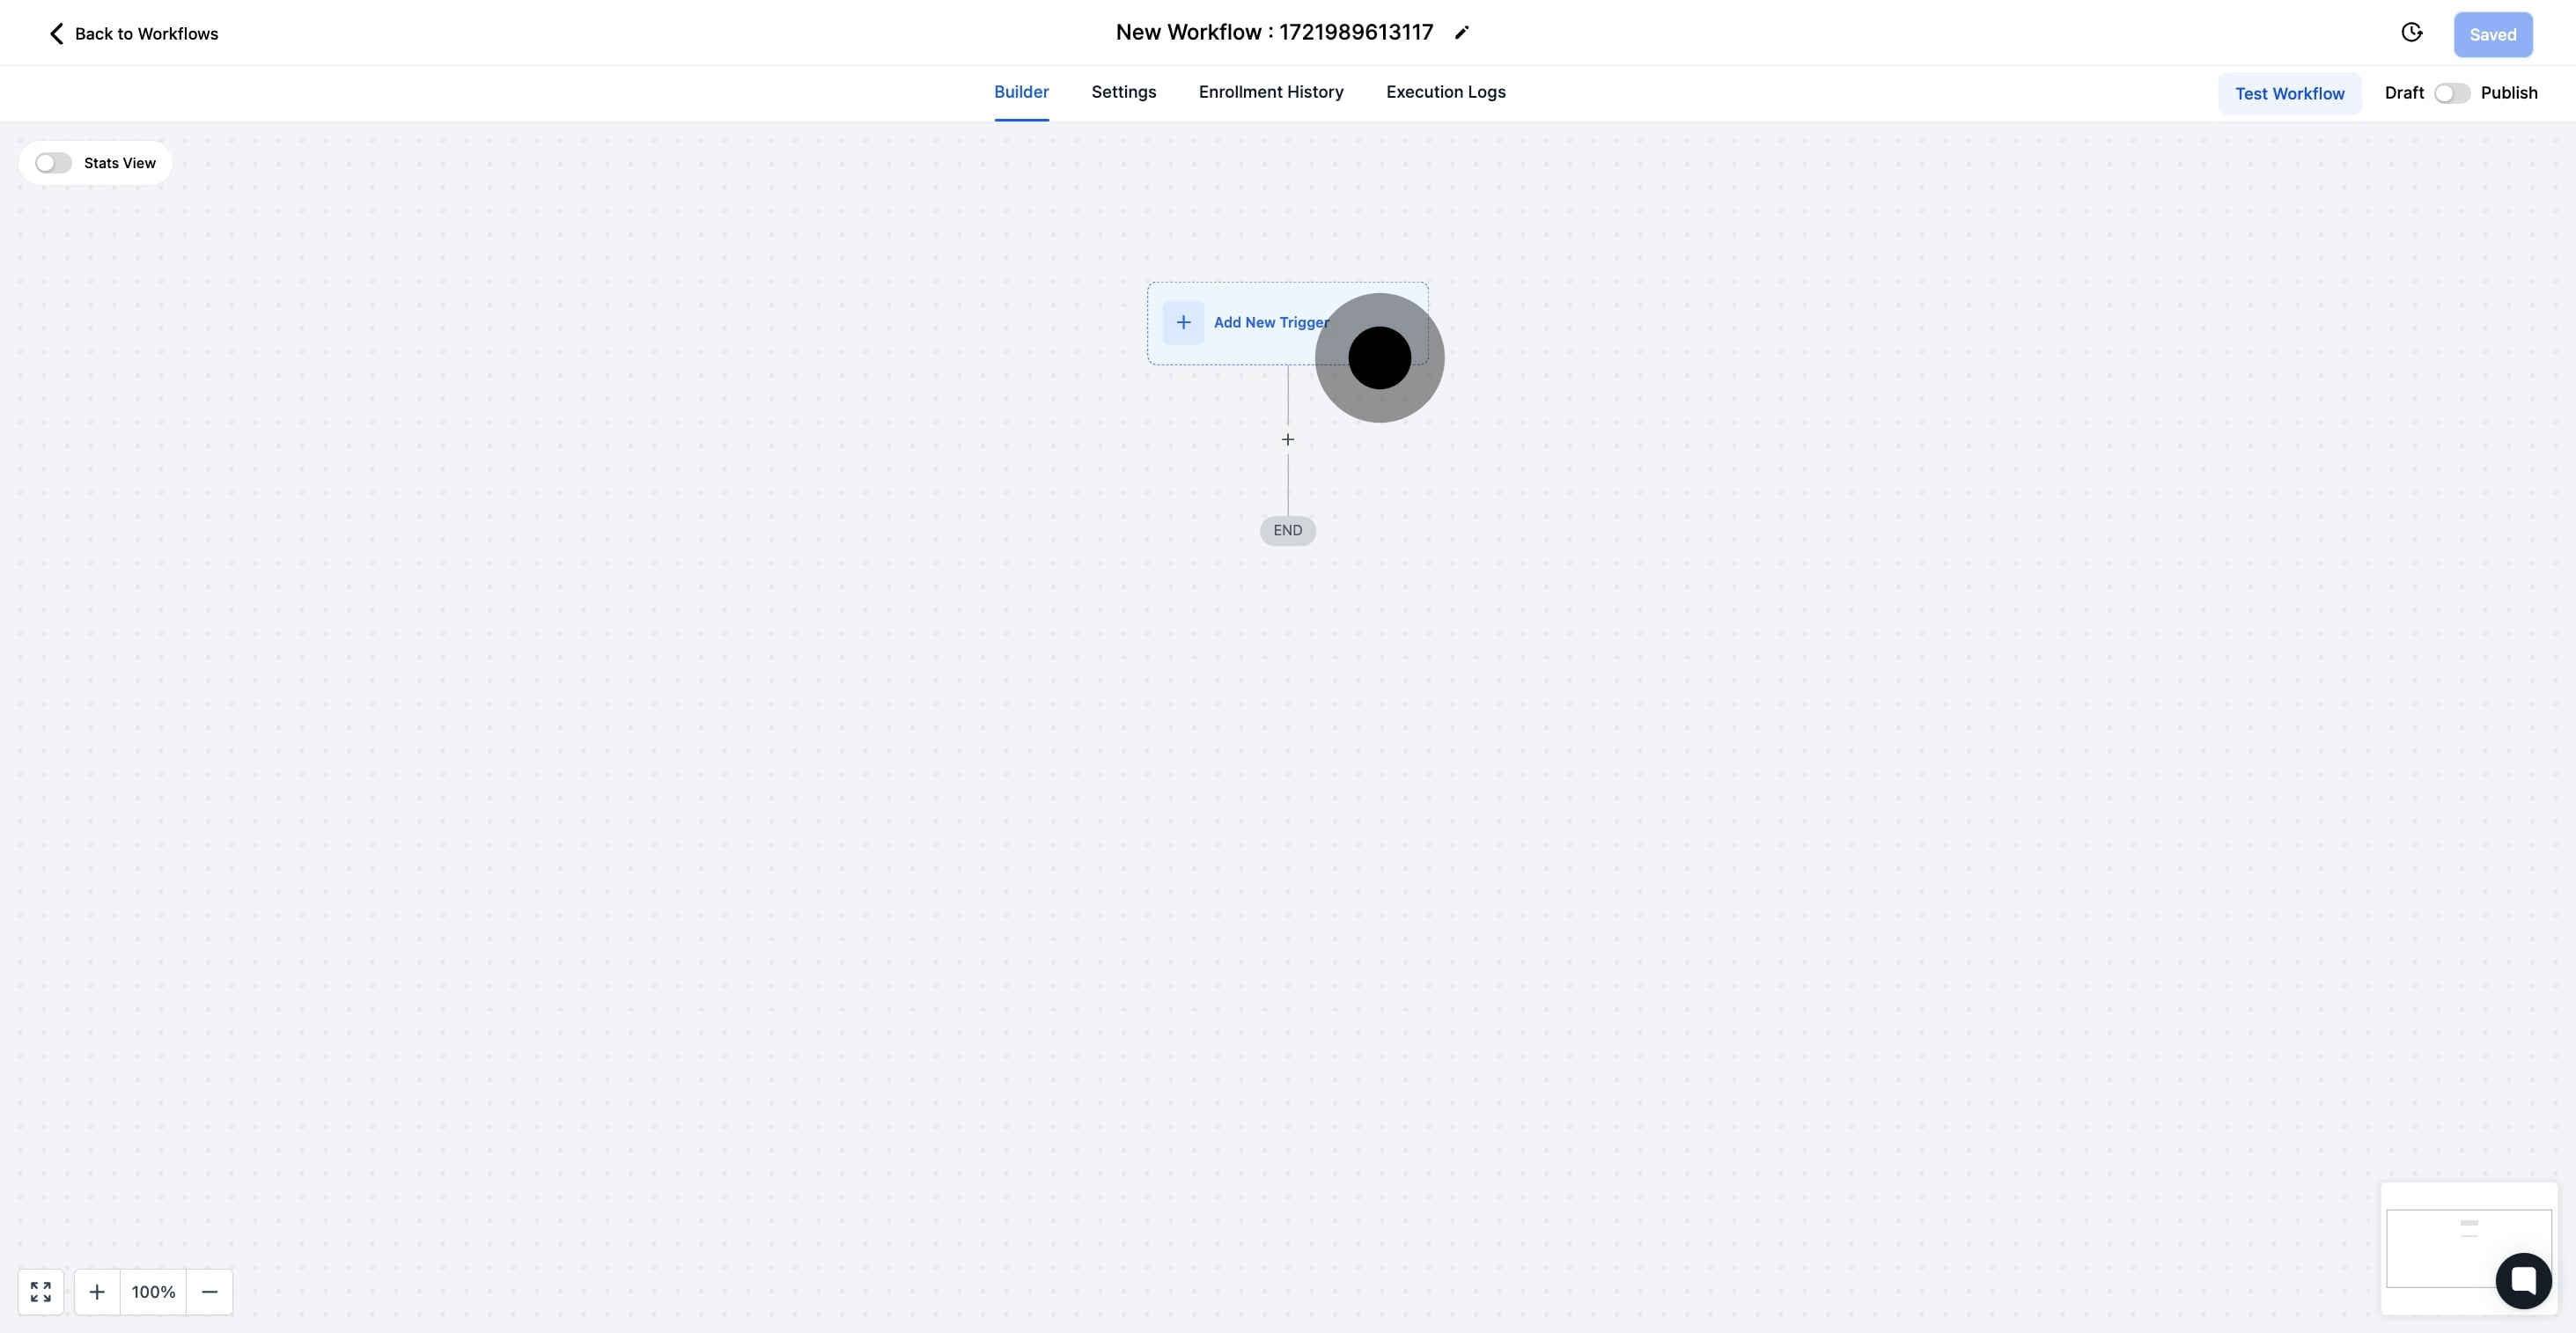
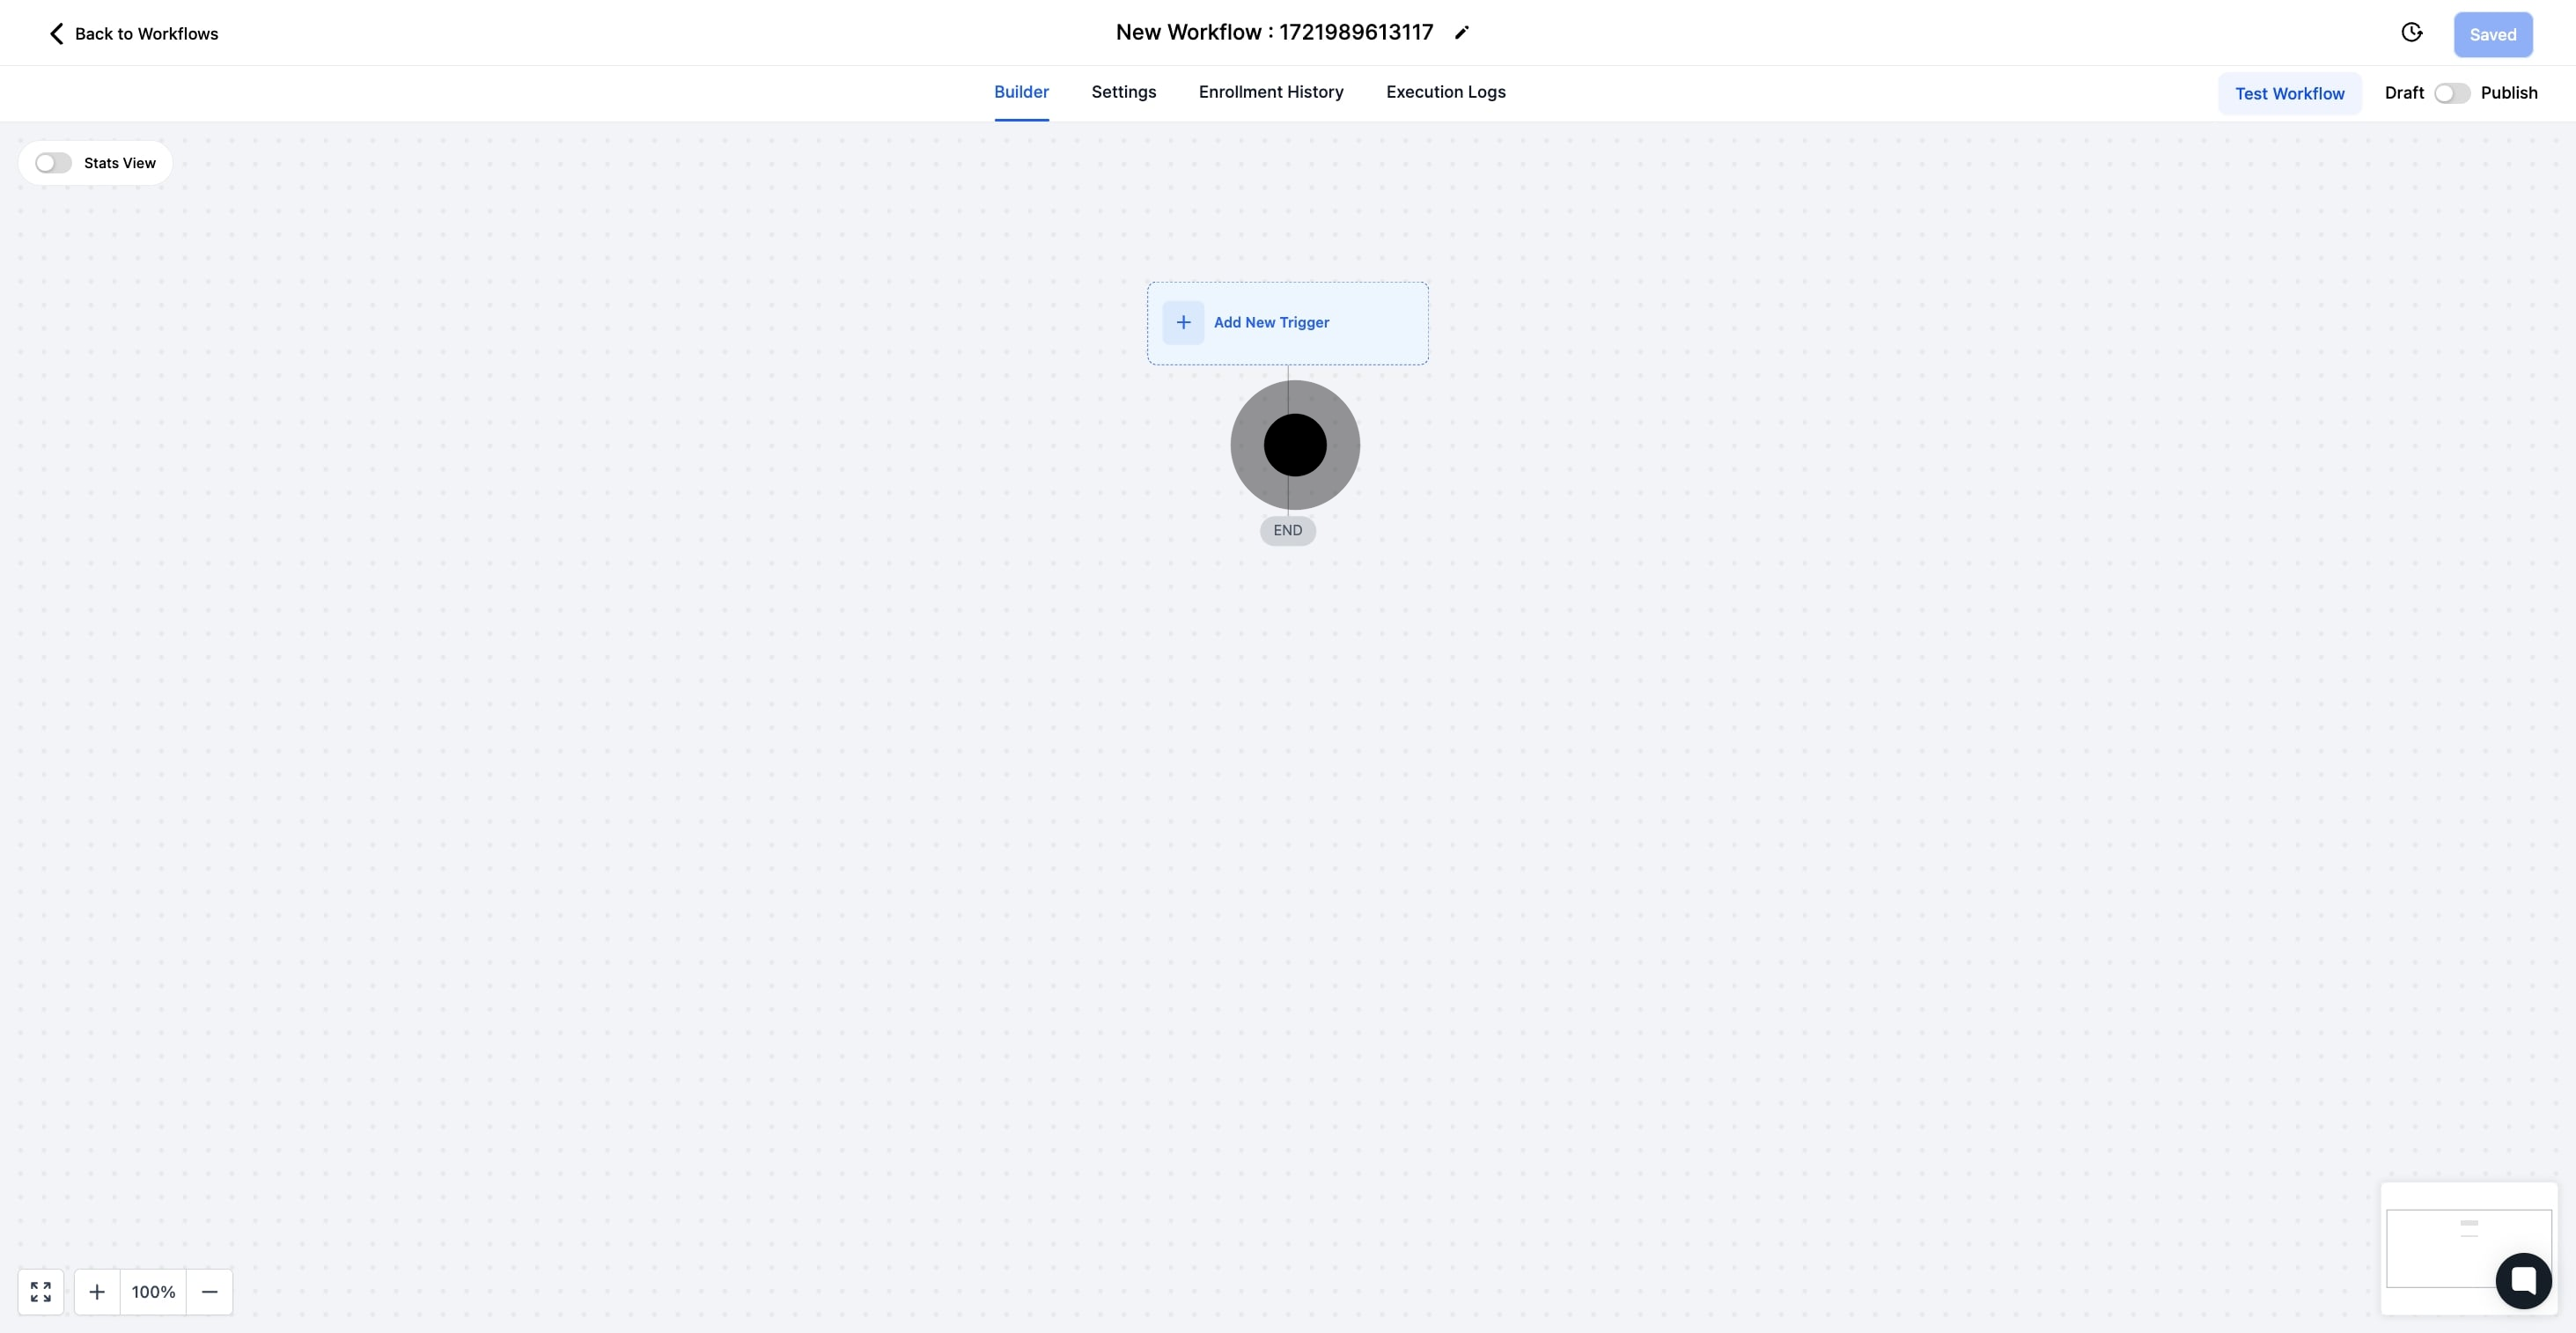
5. Click the + sign to incorporate an action step.
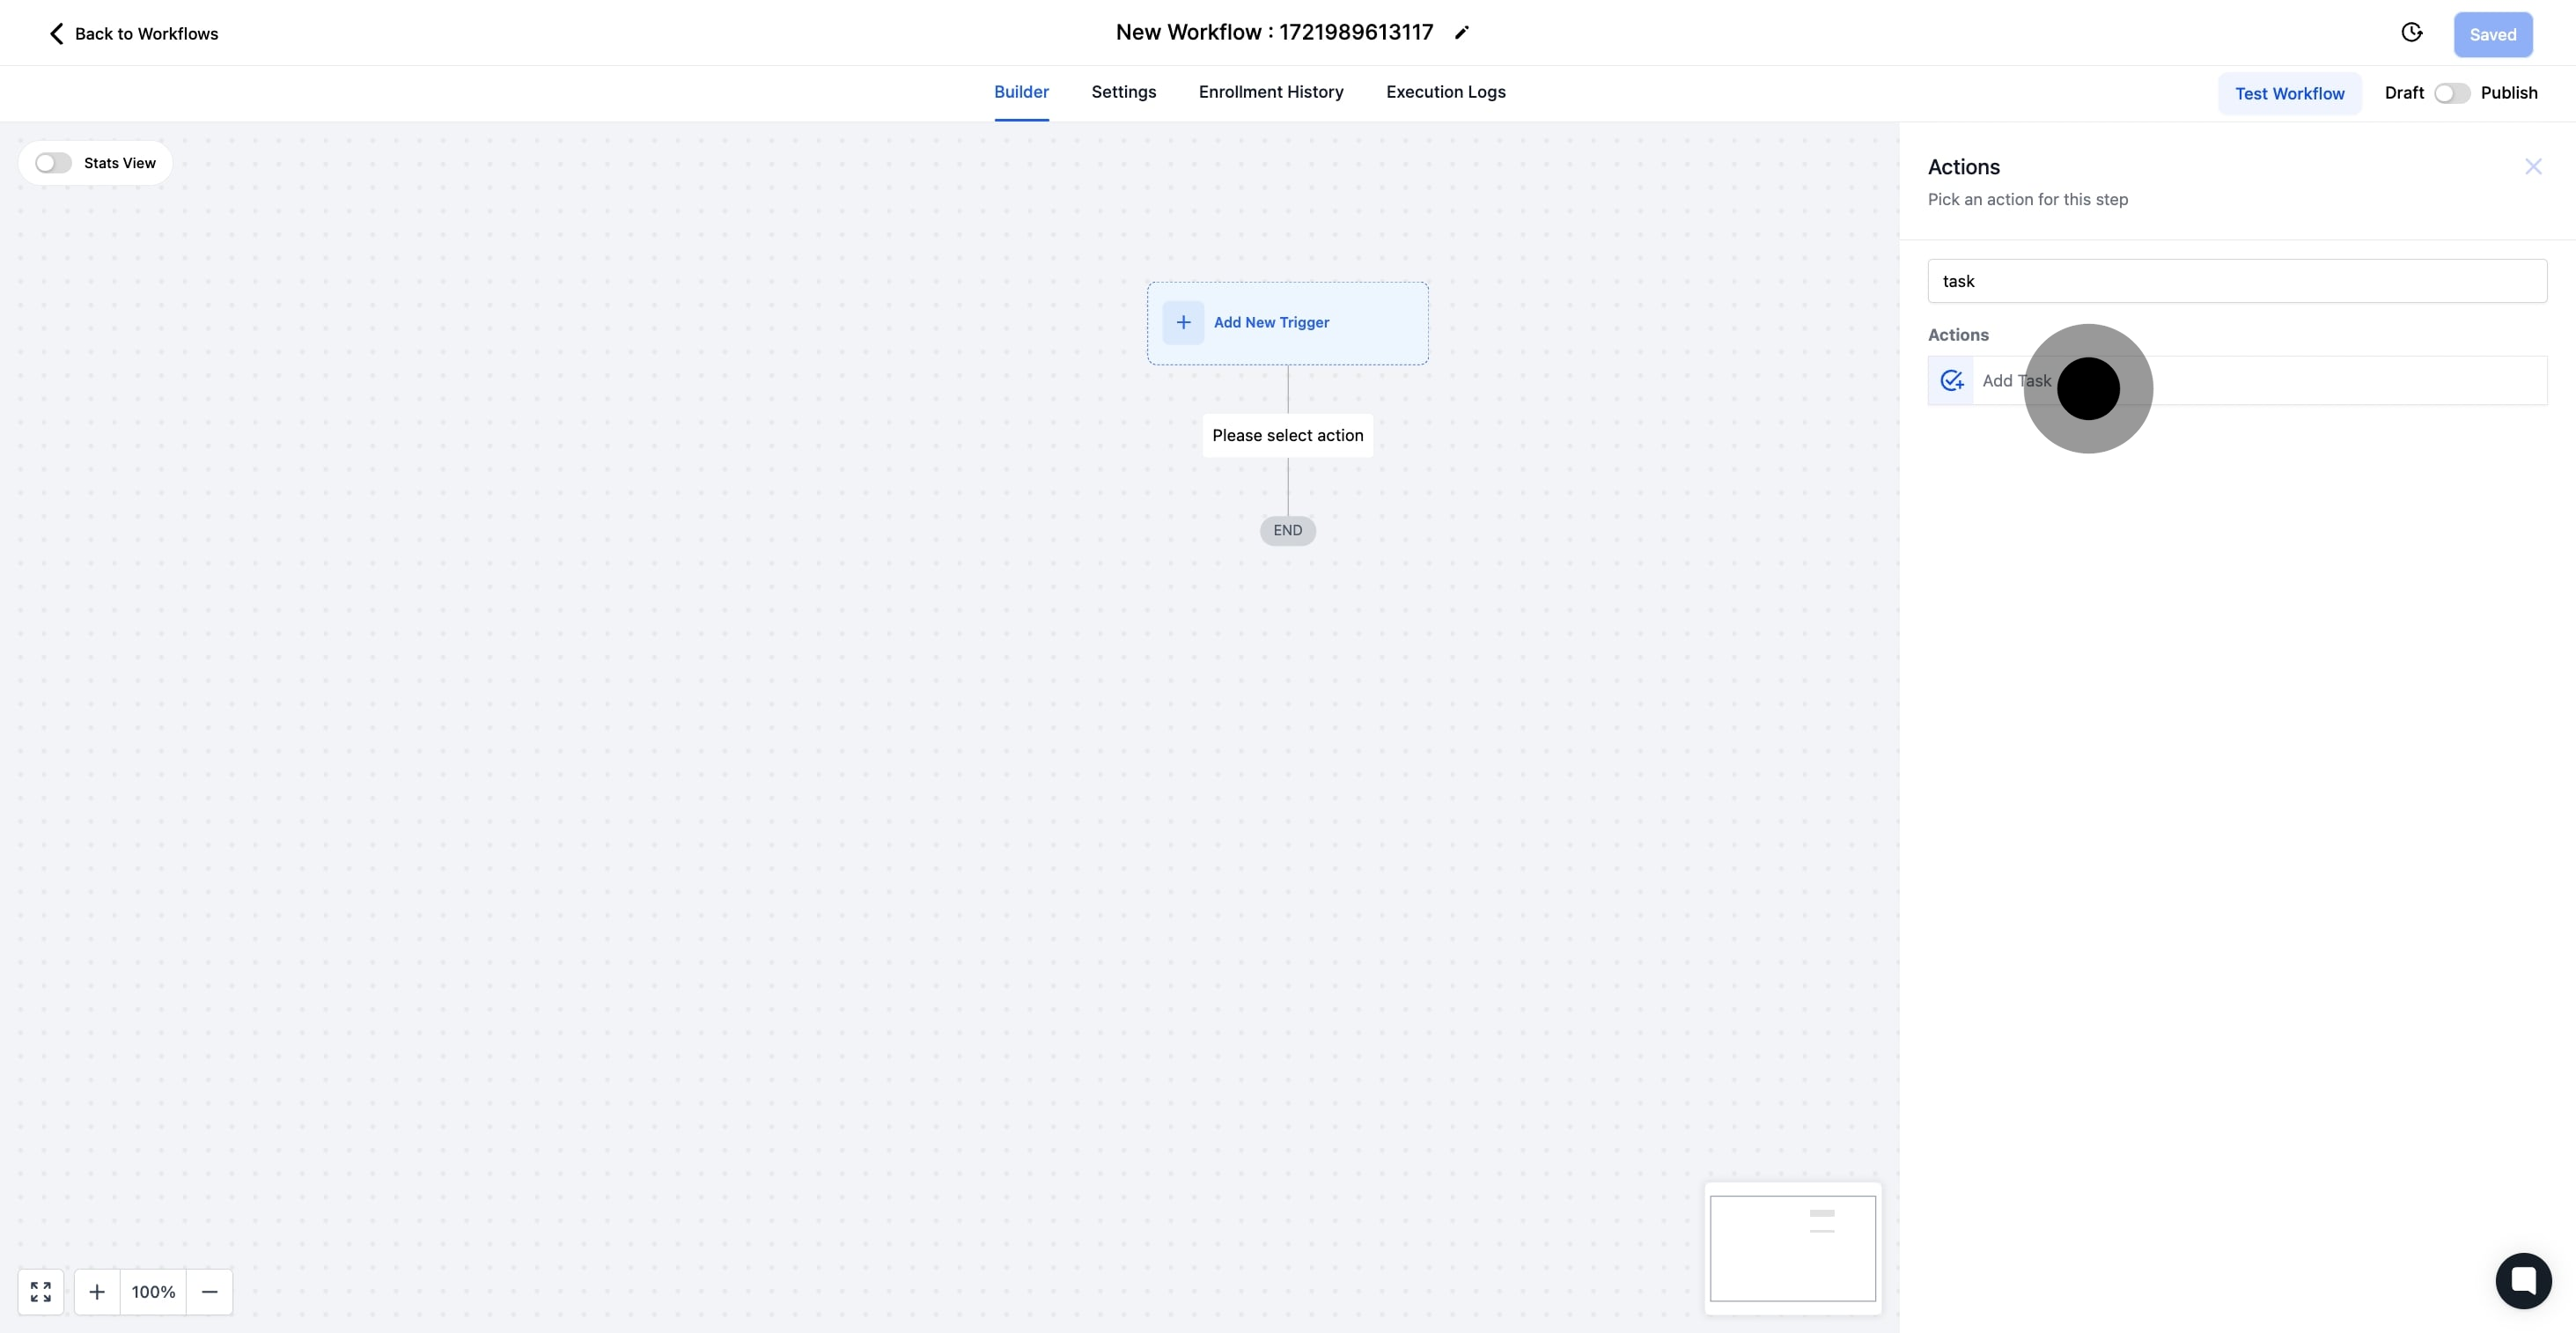
6. Choose Add Task to include a new task.
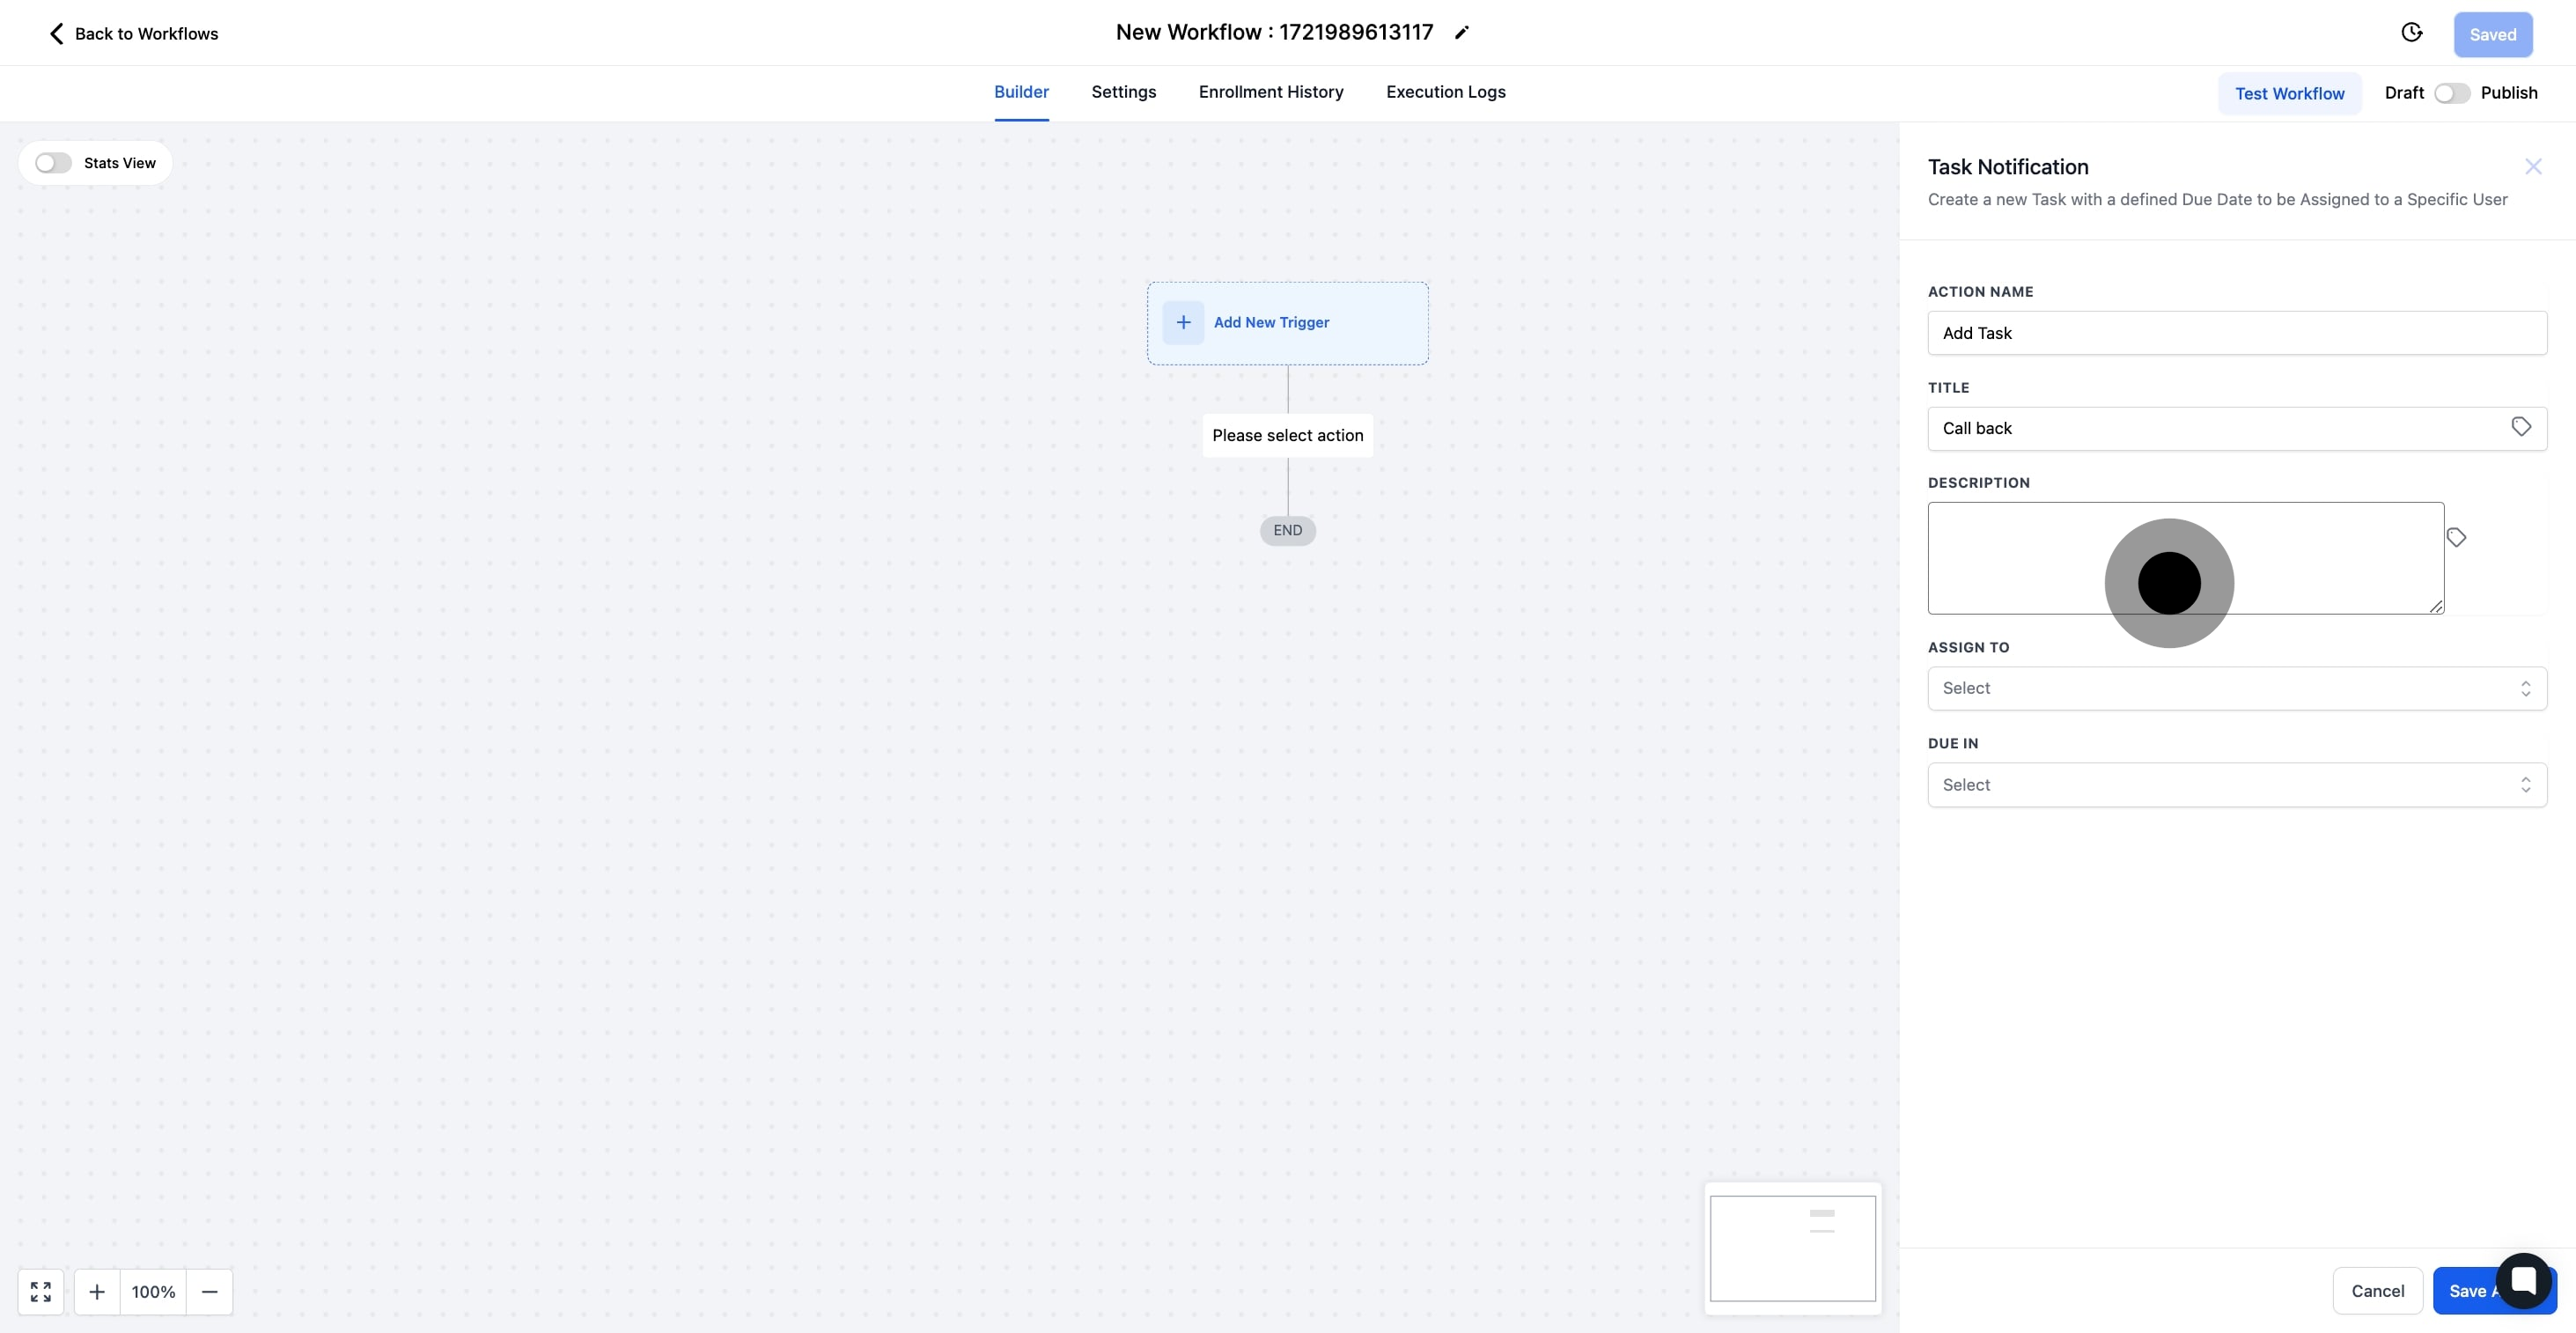
7. Enter the task title where indicated.
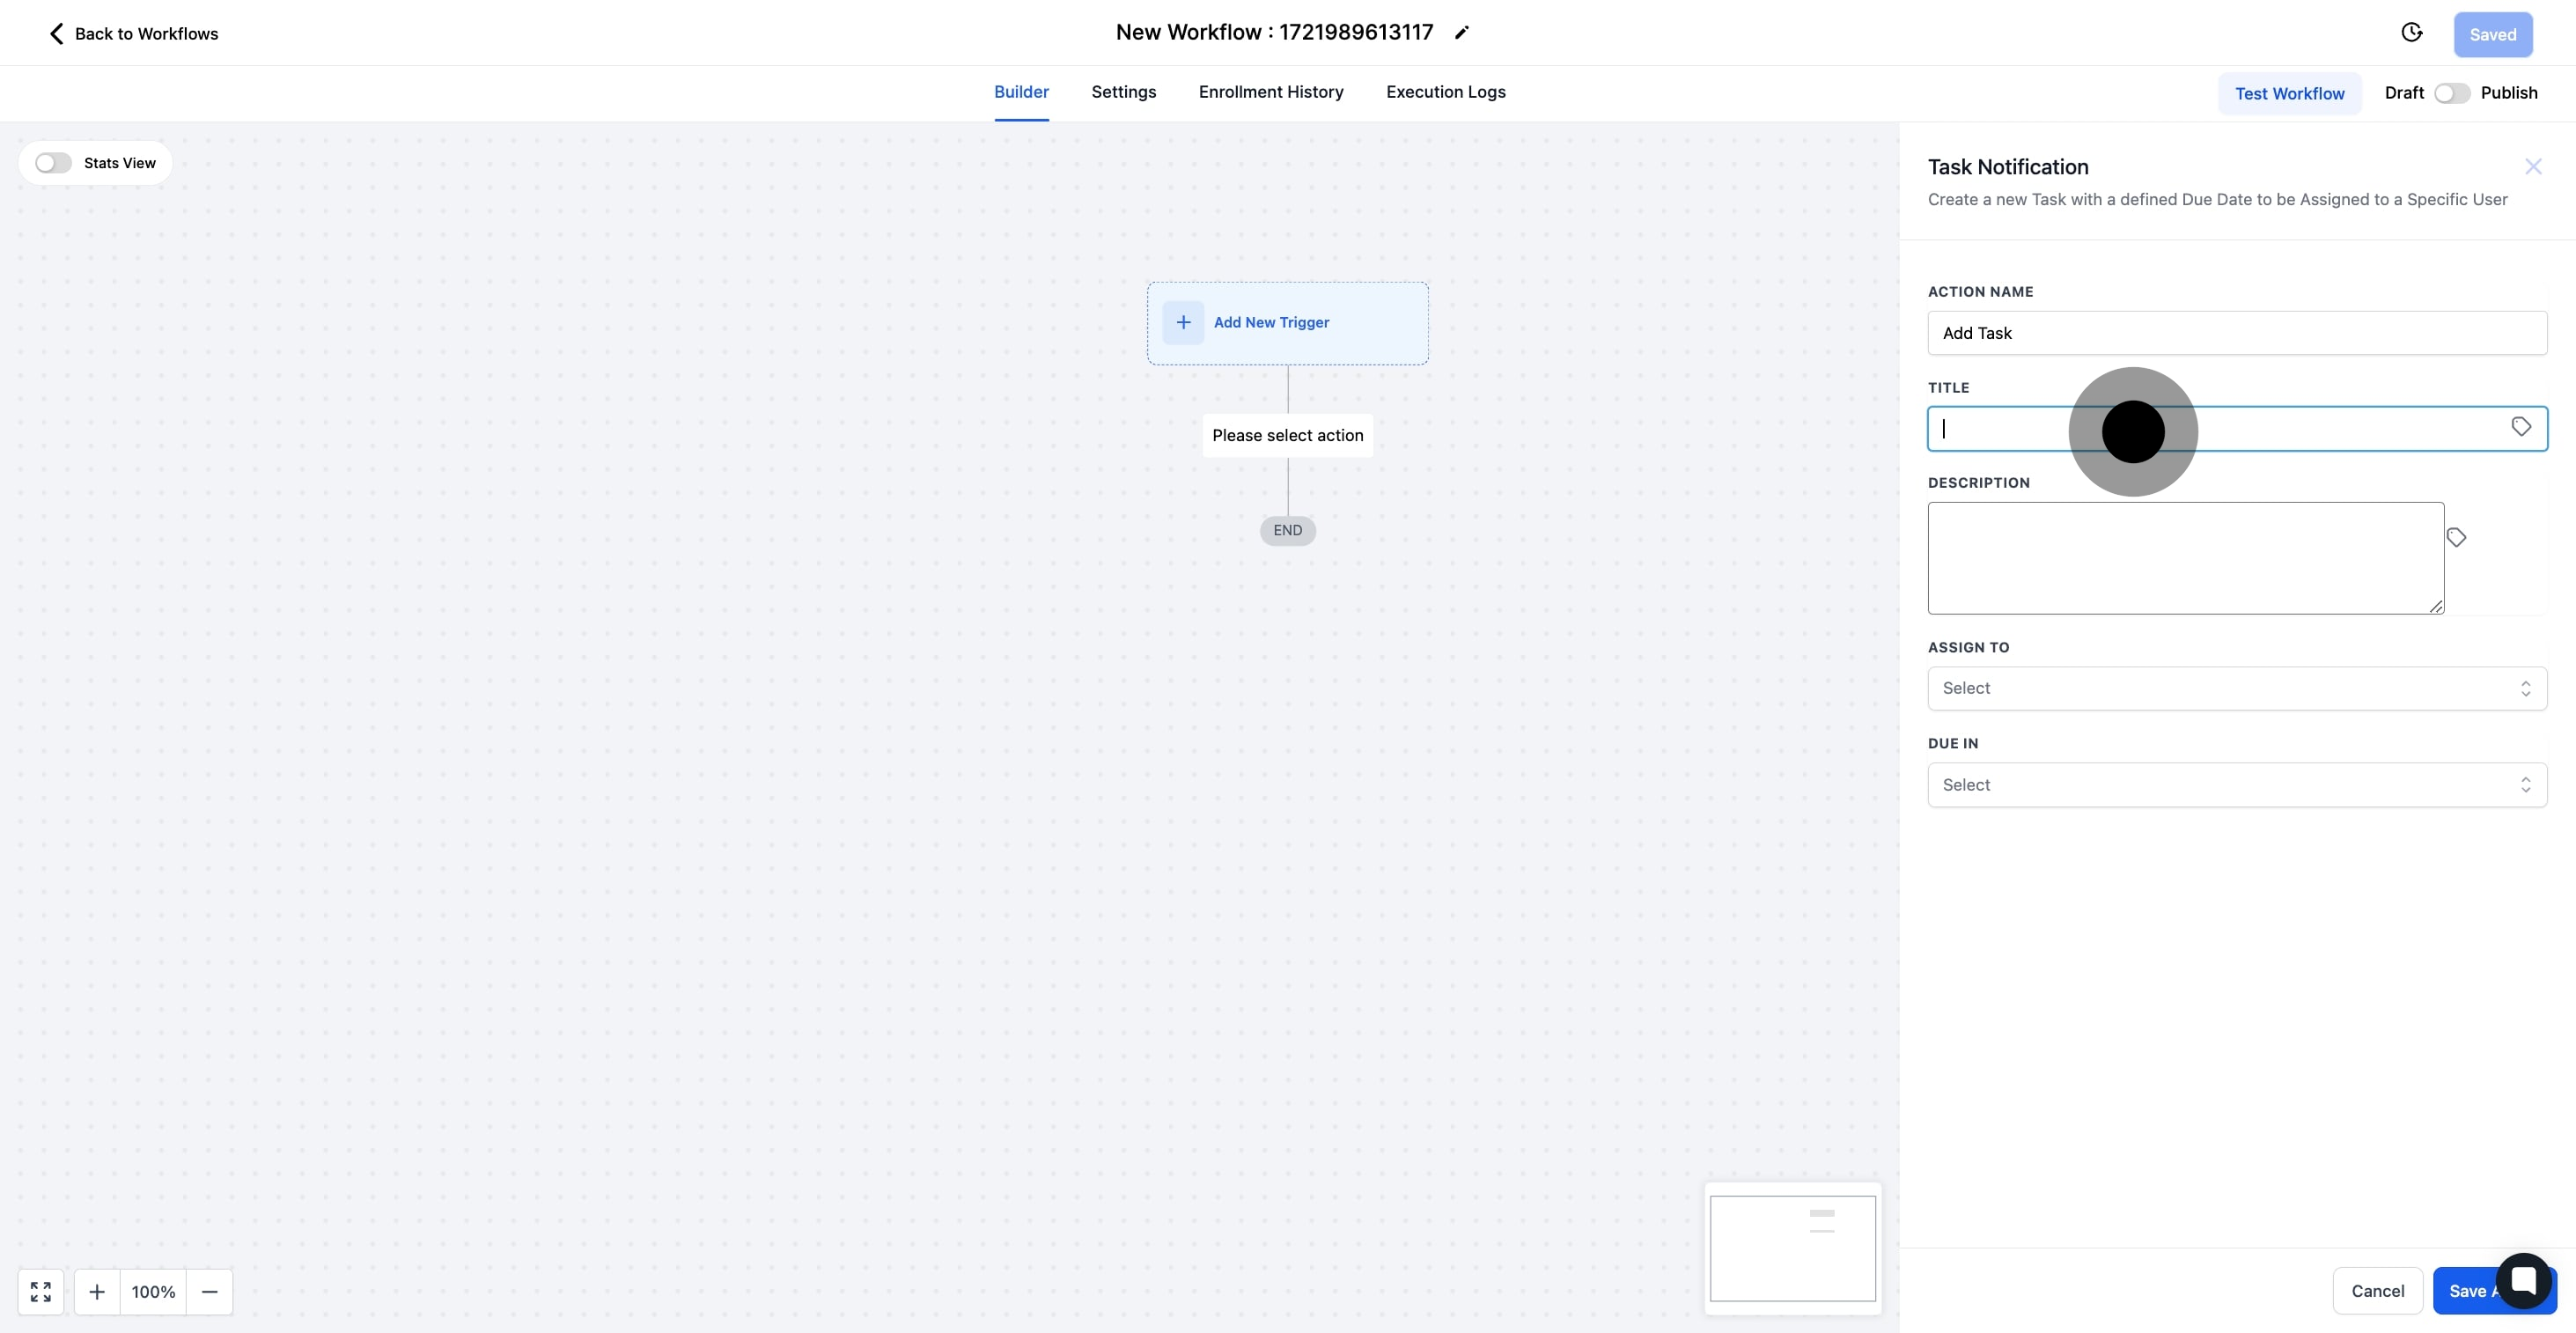
8. Provide a detailed description of the task.
Provide a comprehensive description of the task, including all essential details to ensure it is understood and completed correctly.
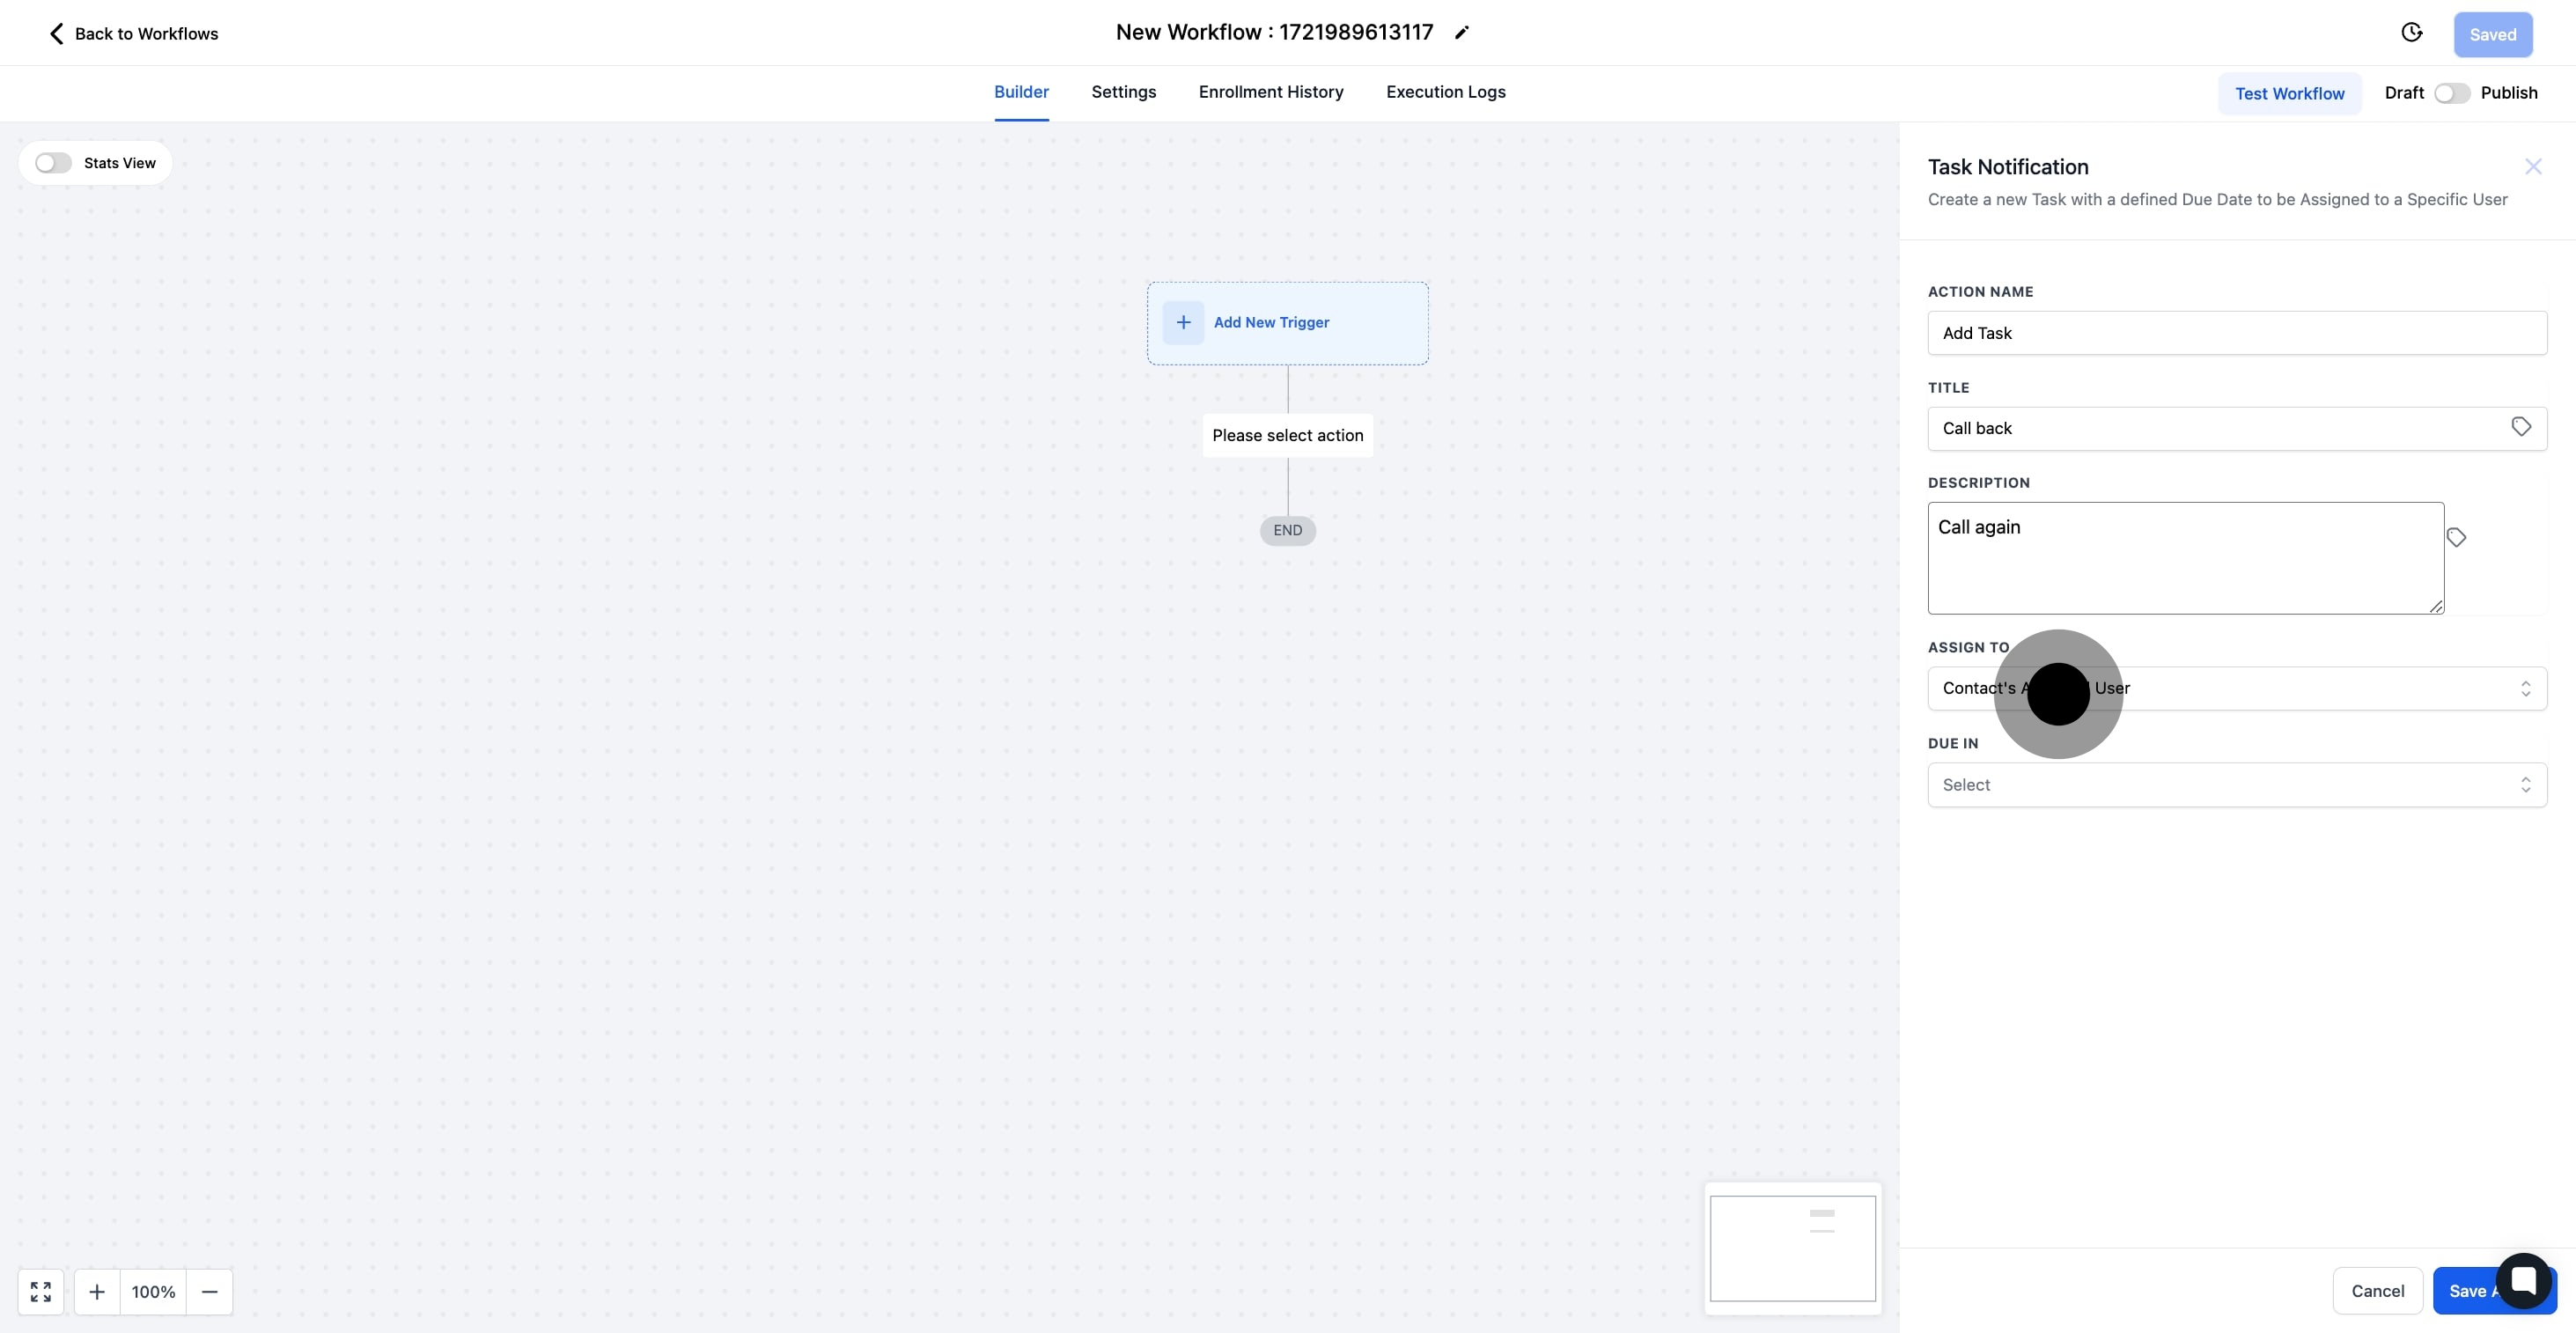
9. Specify the task's assignee by clicking the provided option.
Choose the CRM user to whom the task will be assigned. This could be yourself or another member of your team.
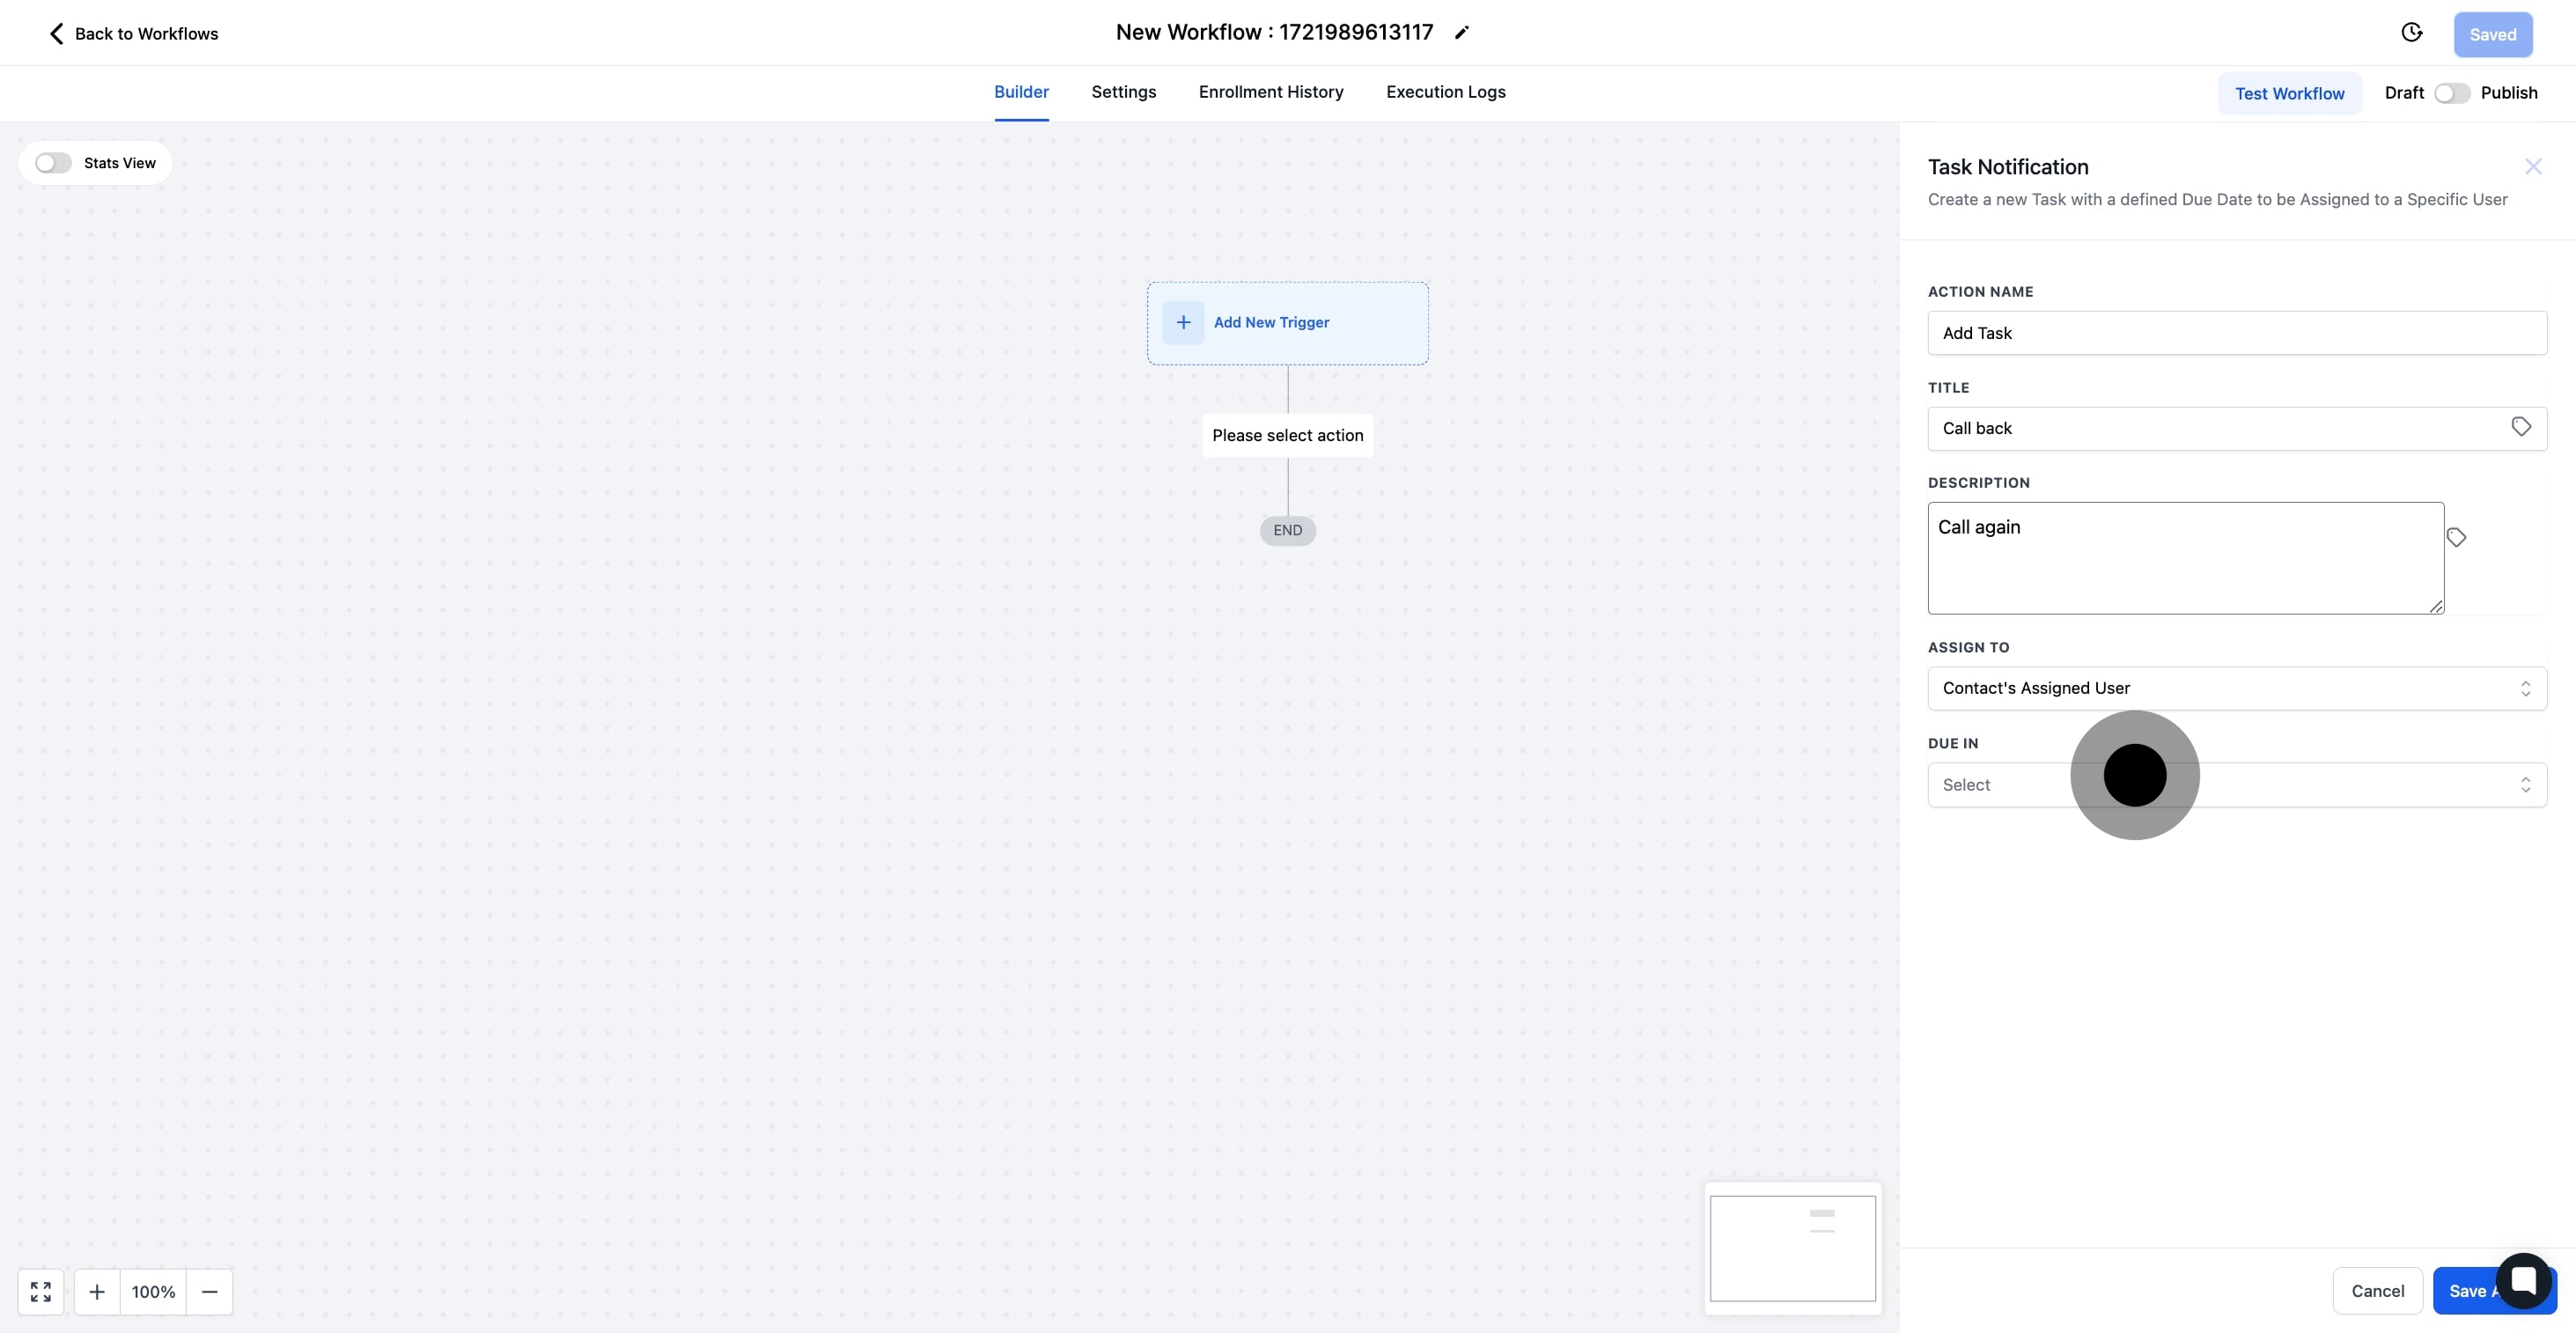
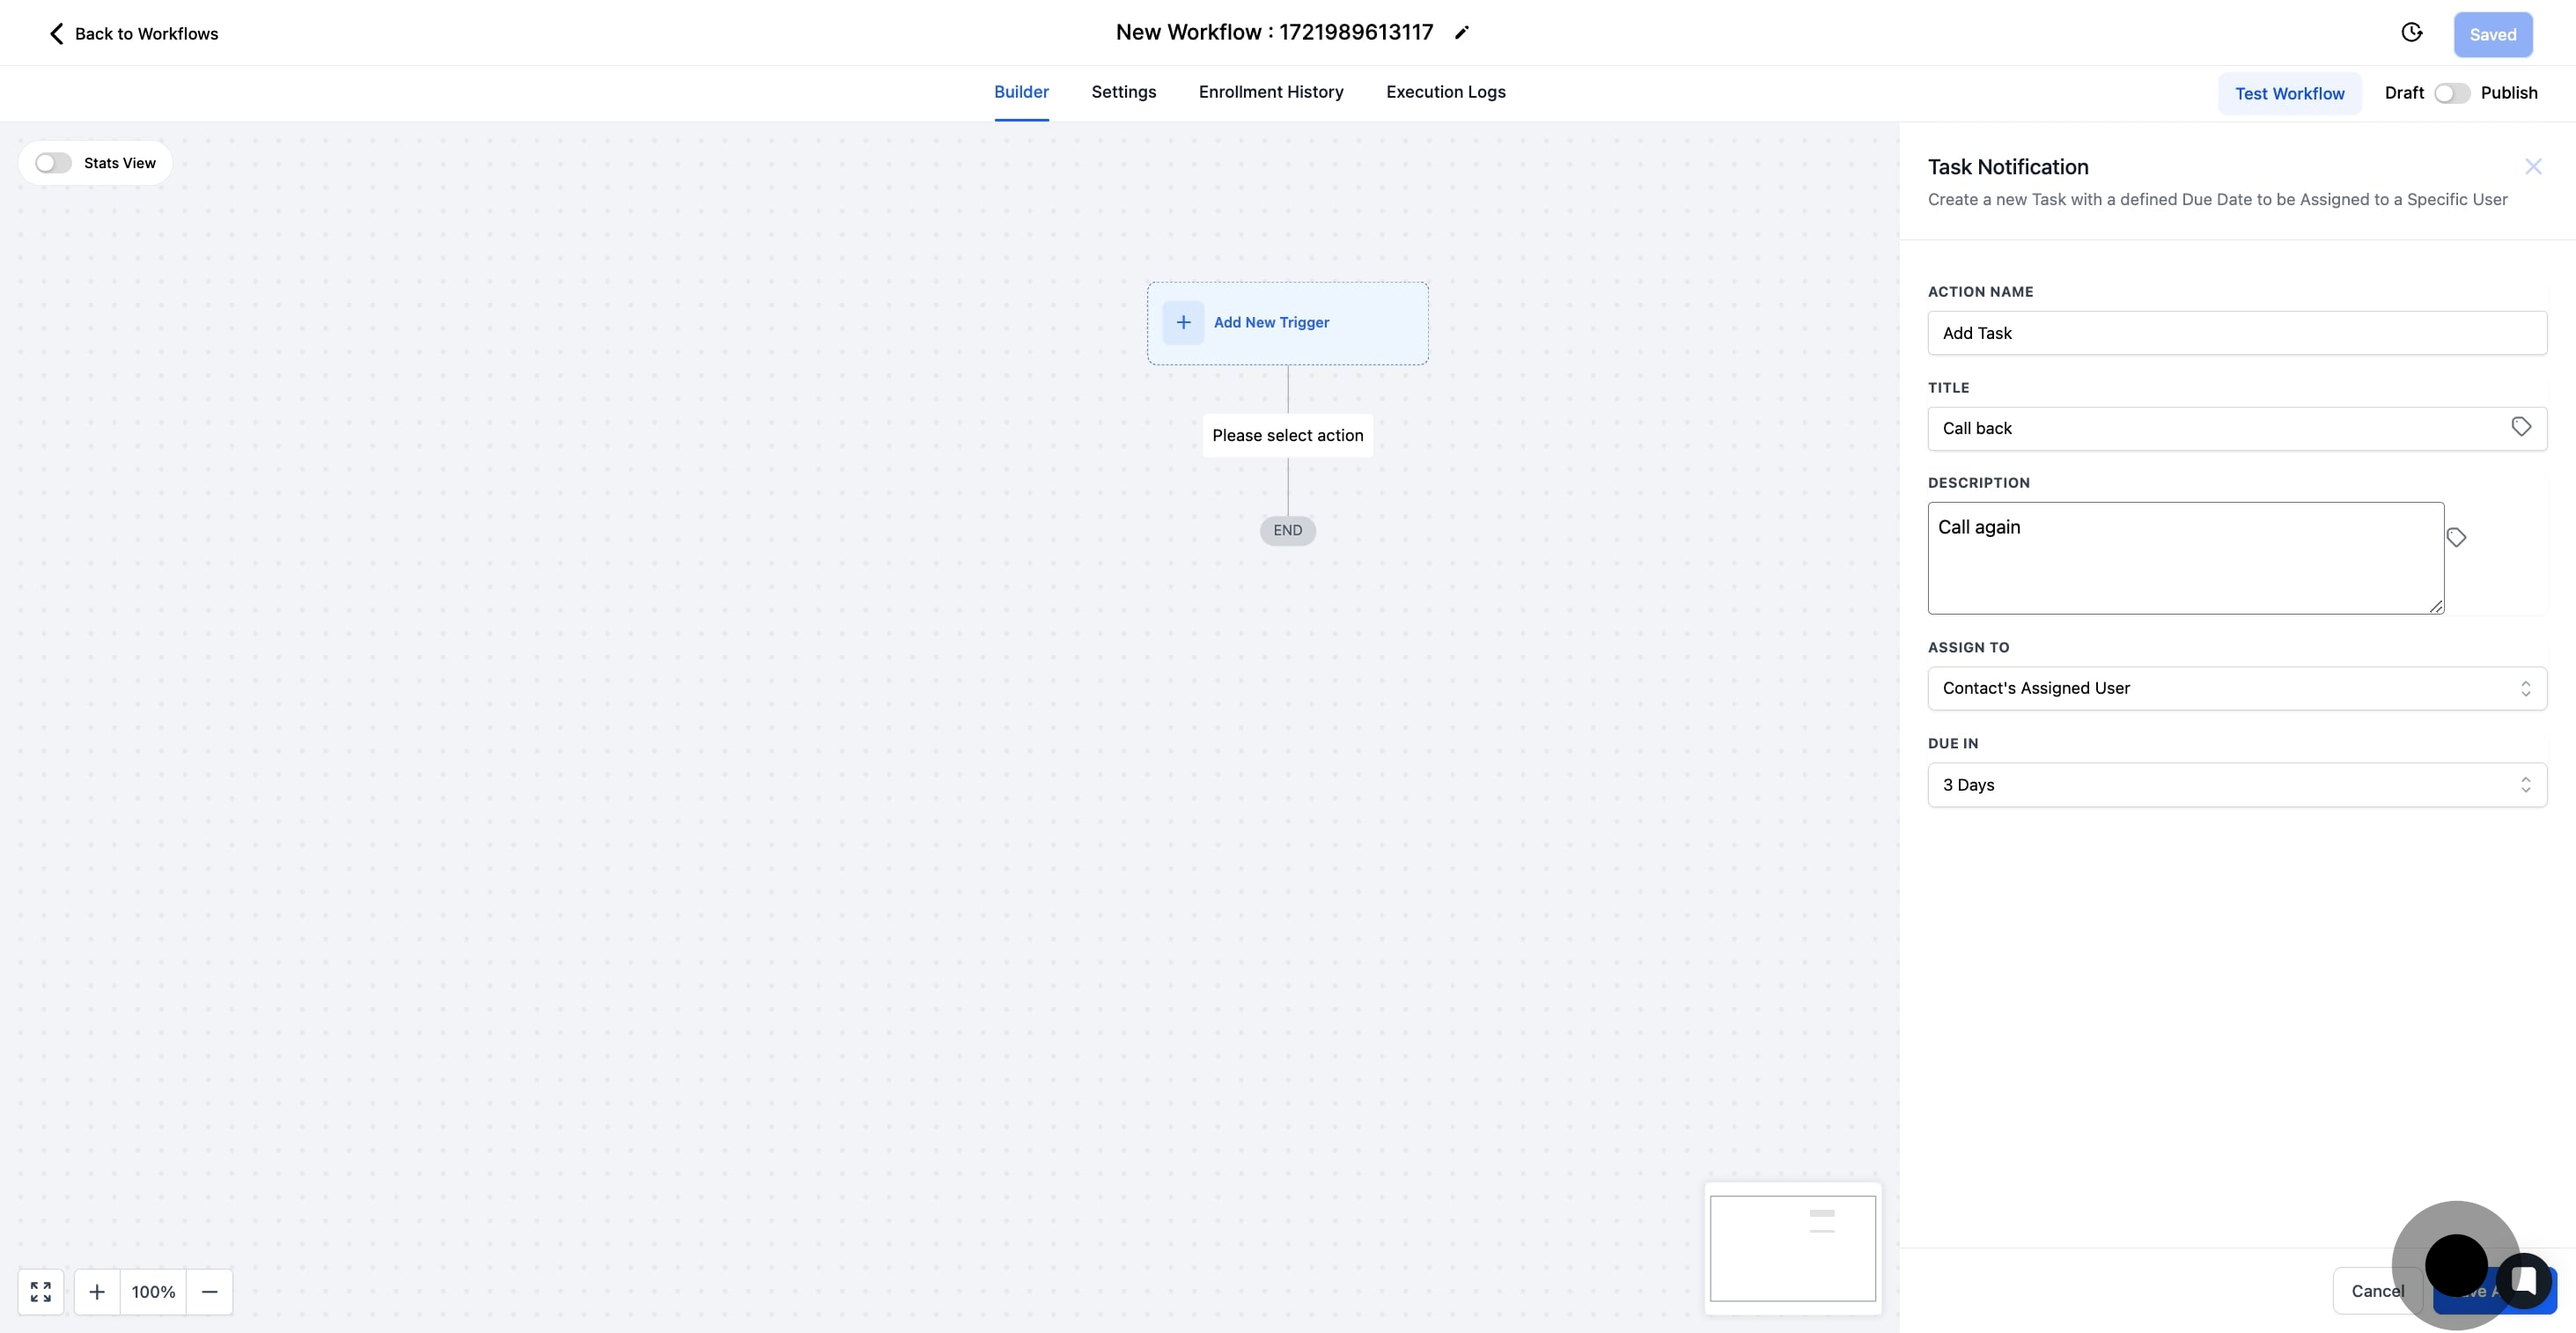
10. Set the due date for the task
Set a completion deadline for the task. Establishing a due date helps in maintaining timely progress and accountability.
11. Confirm and save your action to continue.
12. Lastly, complete your workflow and ensure to save or publish your changes.