How to Add a Send Email Action to Your Workflow

Improve your workflow automation by learning how to add a send email action to your process. This article offers a detailed, step-by-step guide on setting up email actions within your workflow, enabling you to automate communication and stay connected with your contacts effortlessly. Perfect for users looking to enhance their workflow efficiency and maintain seamless communication through automated emails.


1. Start by selecting the 'automation' option.

1 Now, click on "automation".

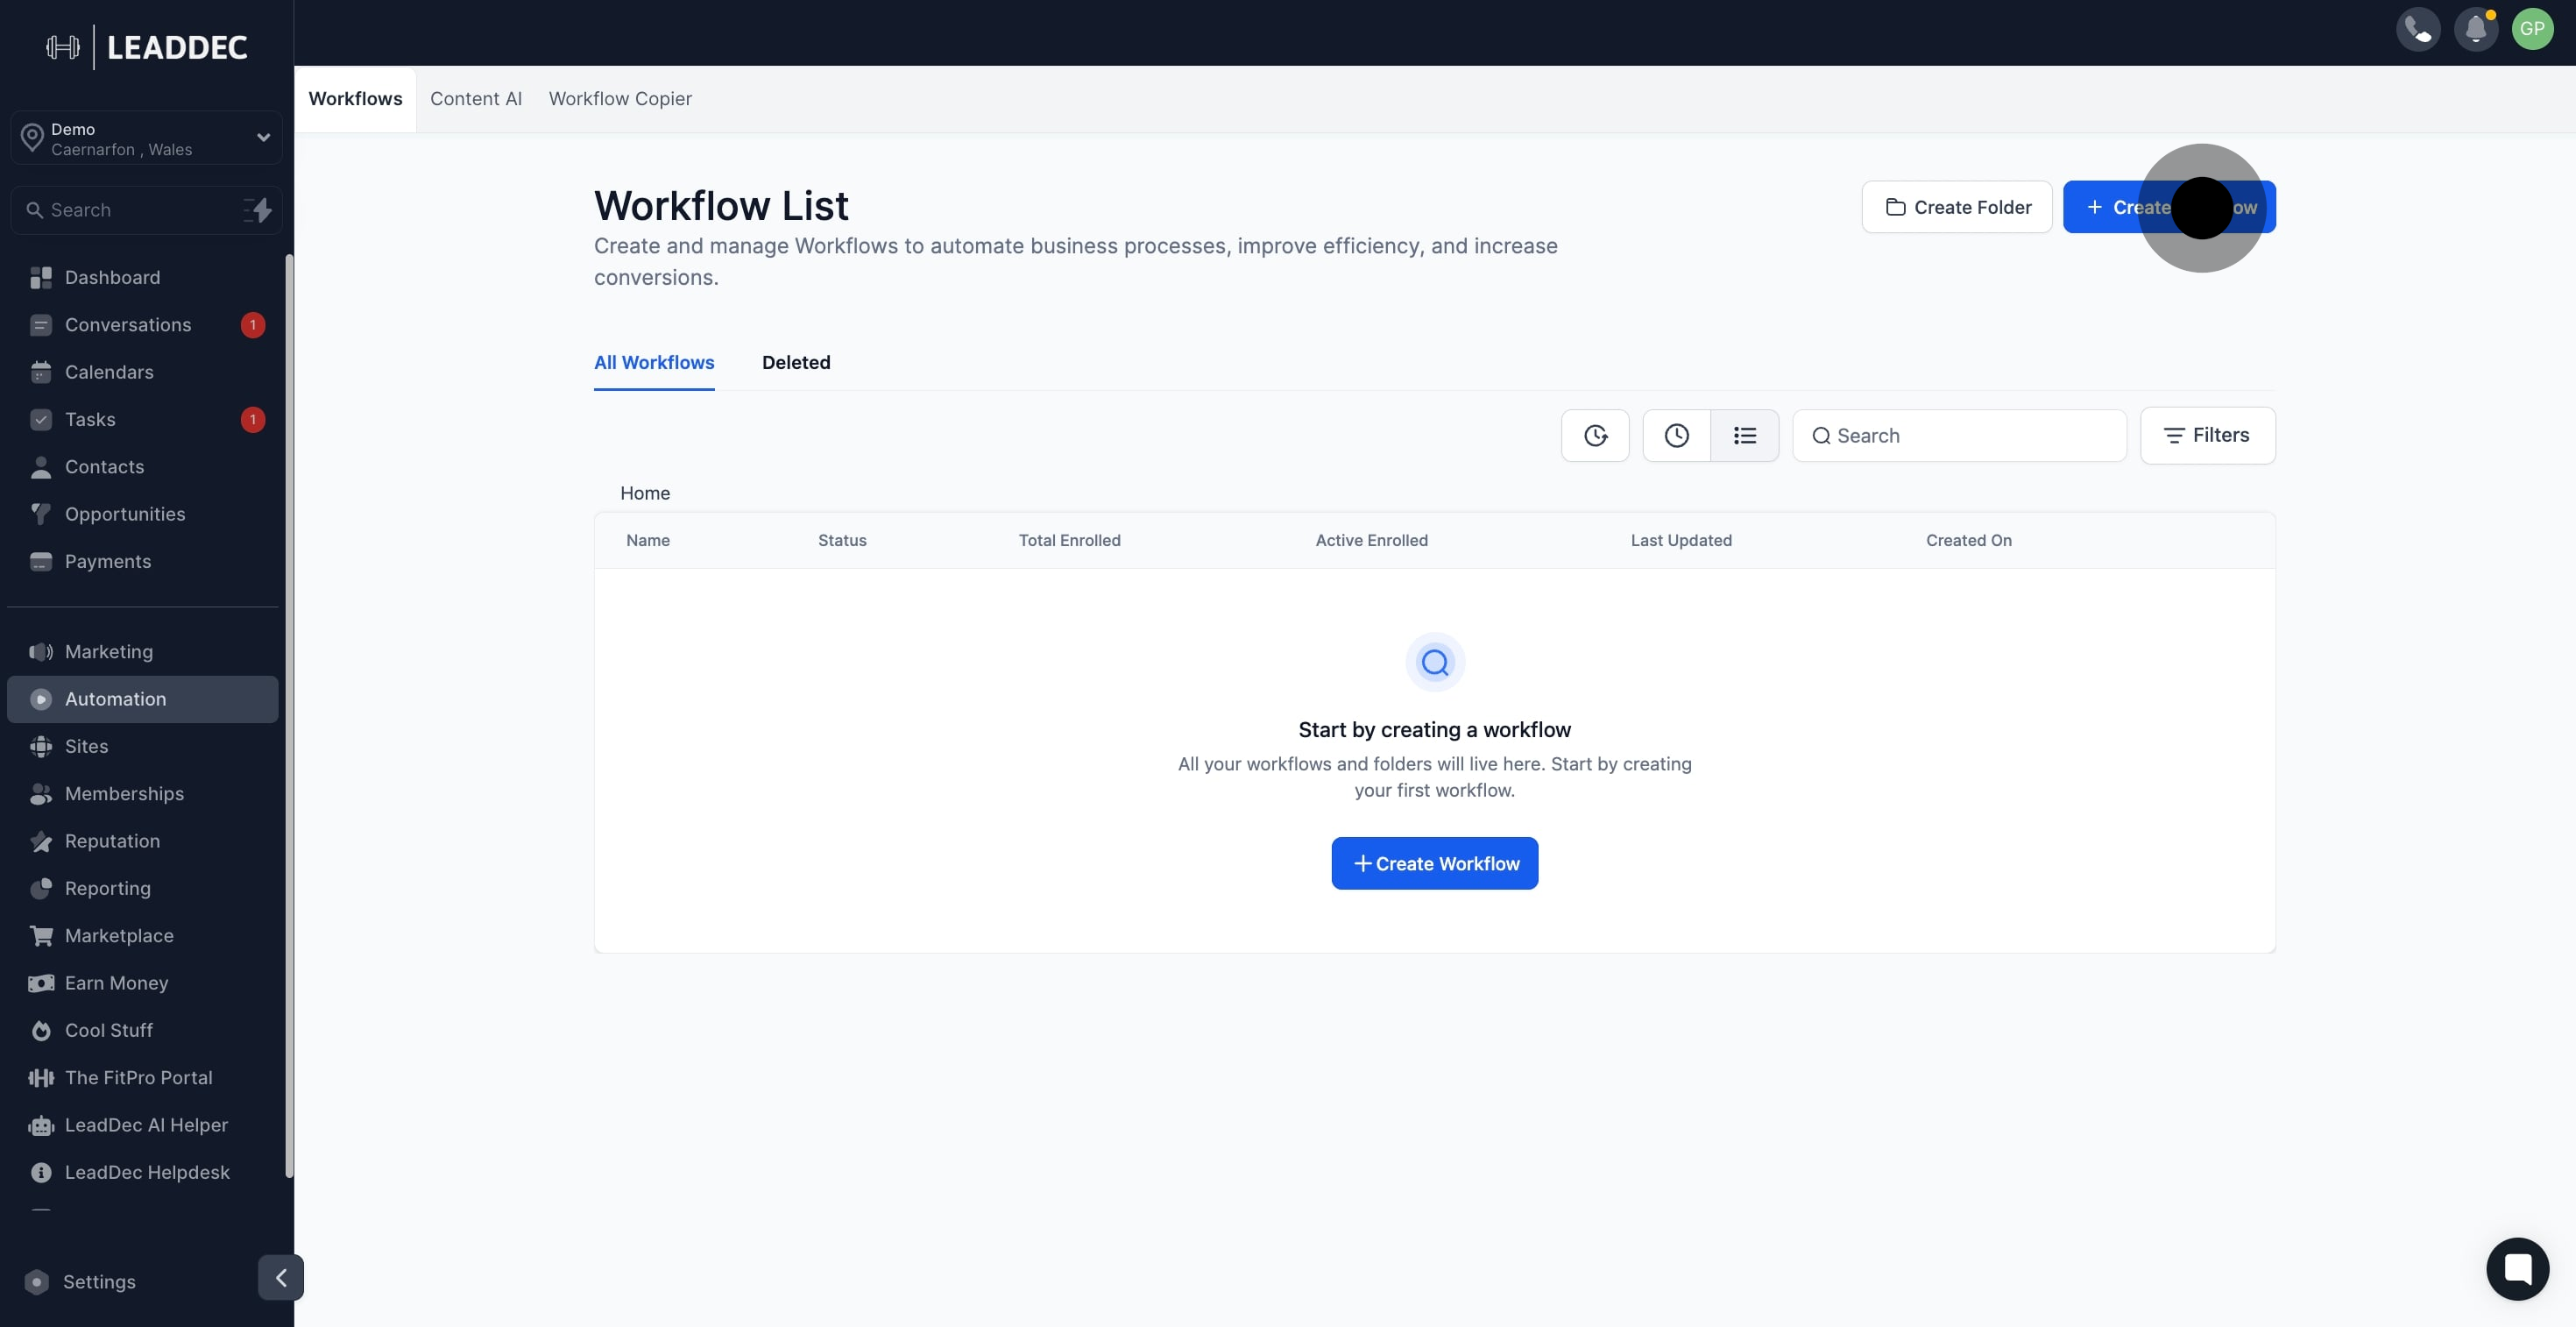
2. Next, choose 'Create Workflow' to proceed.

2 Following that, click on "Create Workflow".

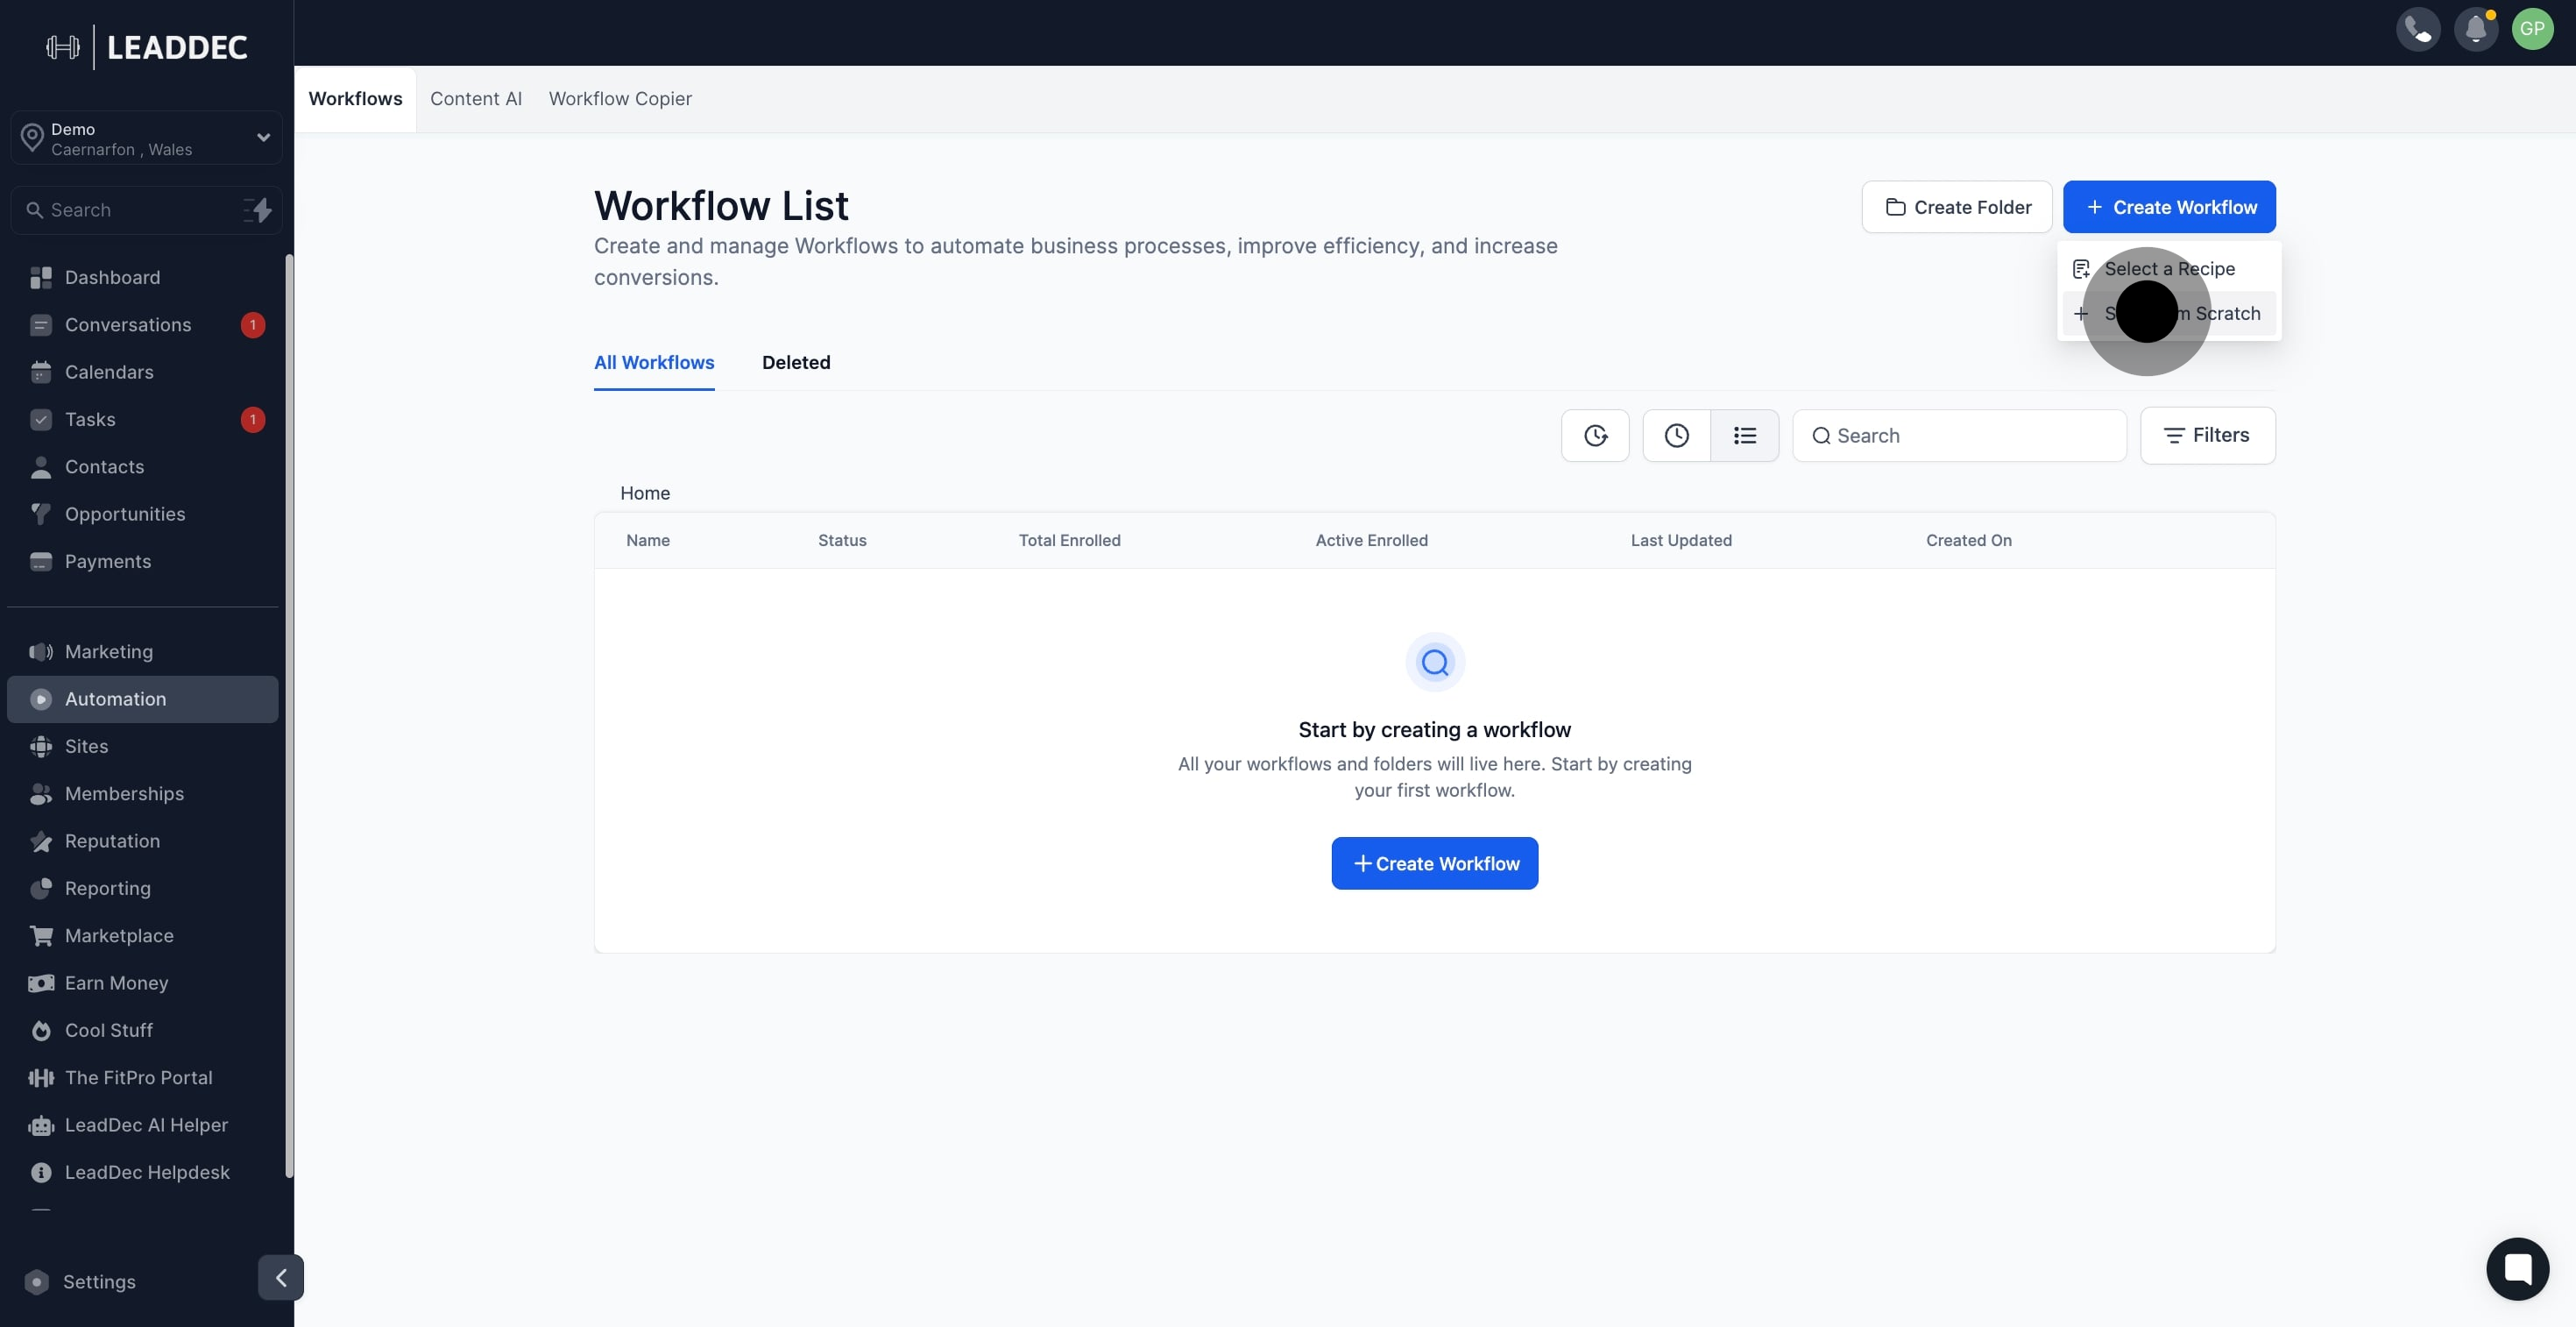
3. Then click on 'Start from Scratch' to build a fresh workflow.

3 After, click on "Start from Scratch".

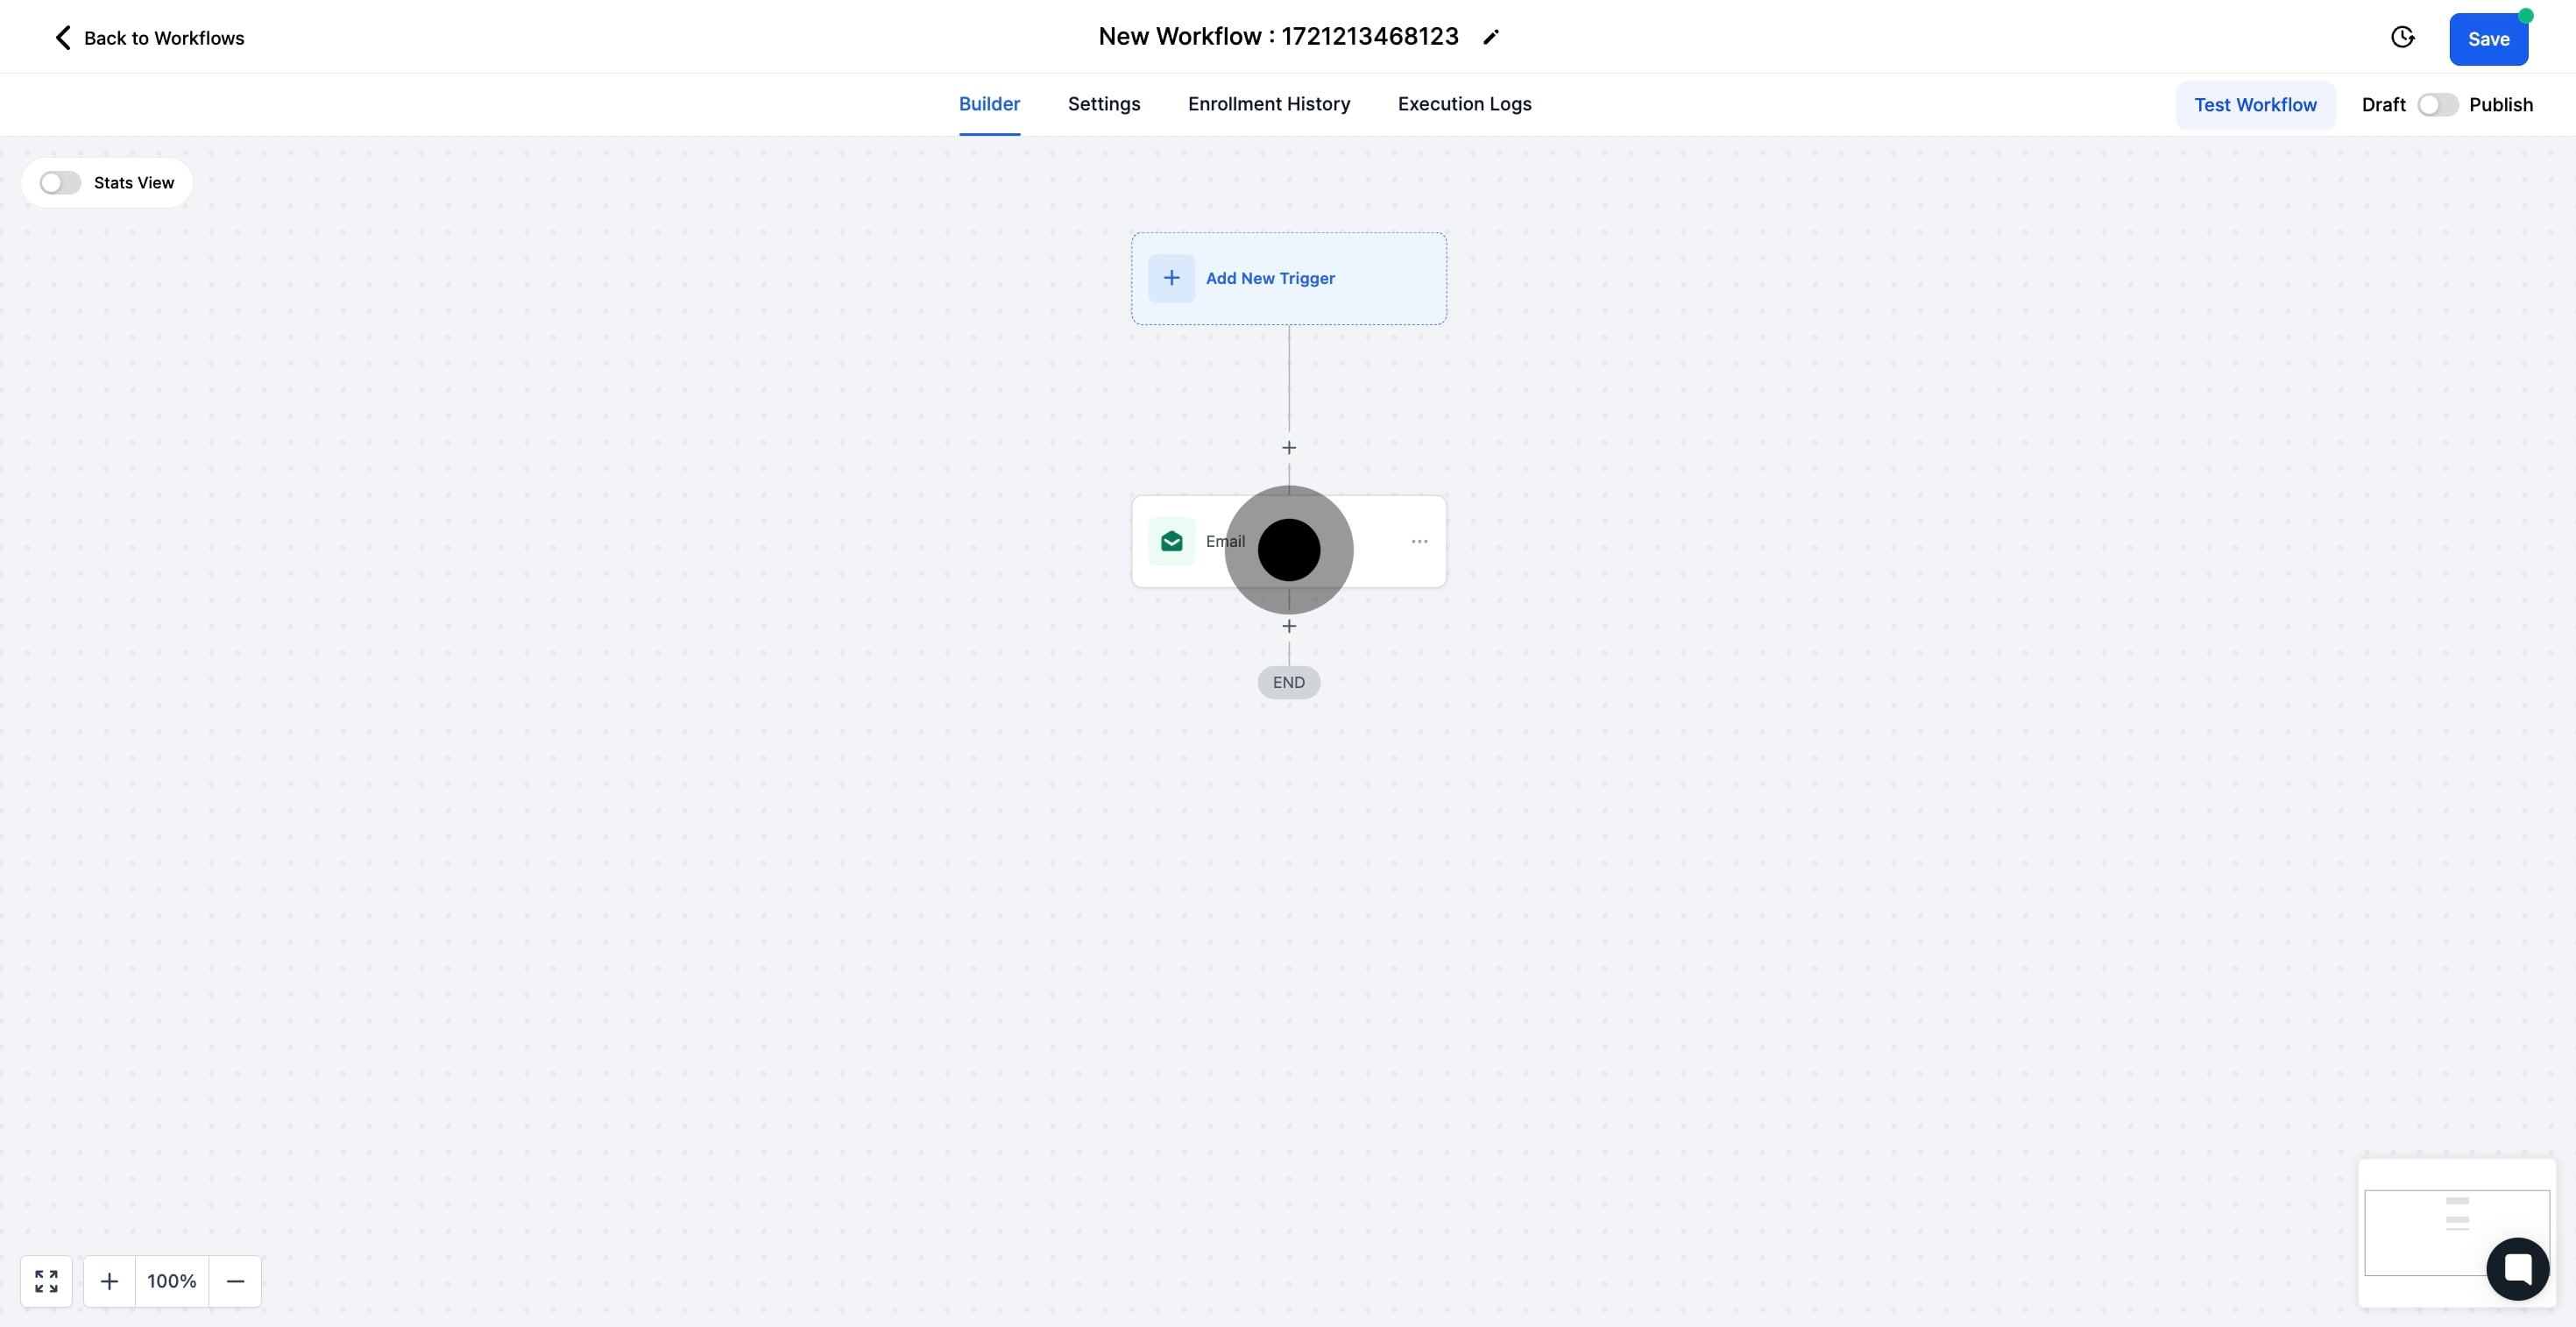
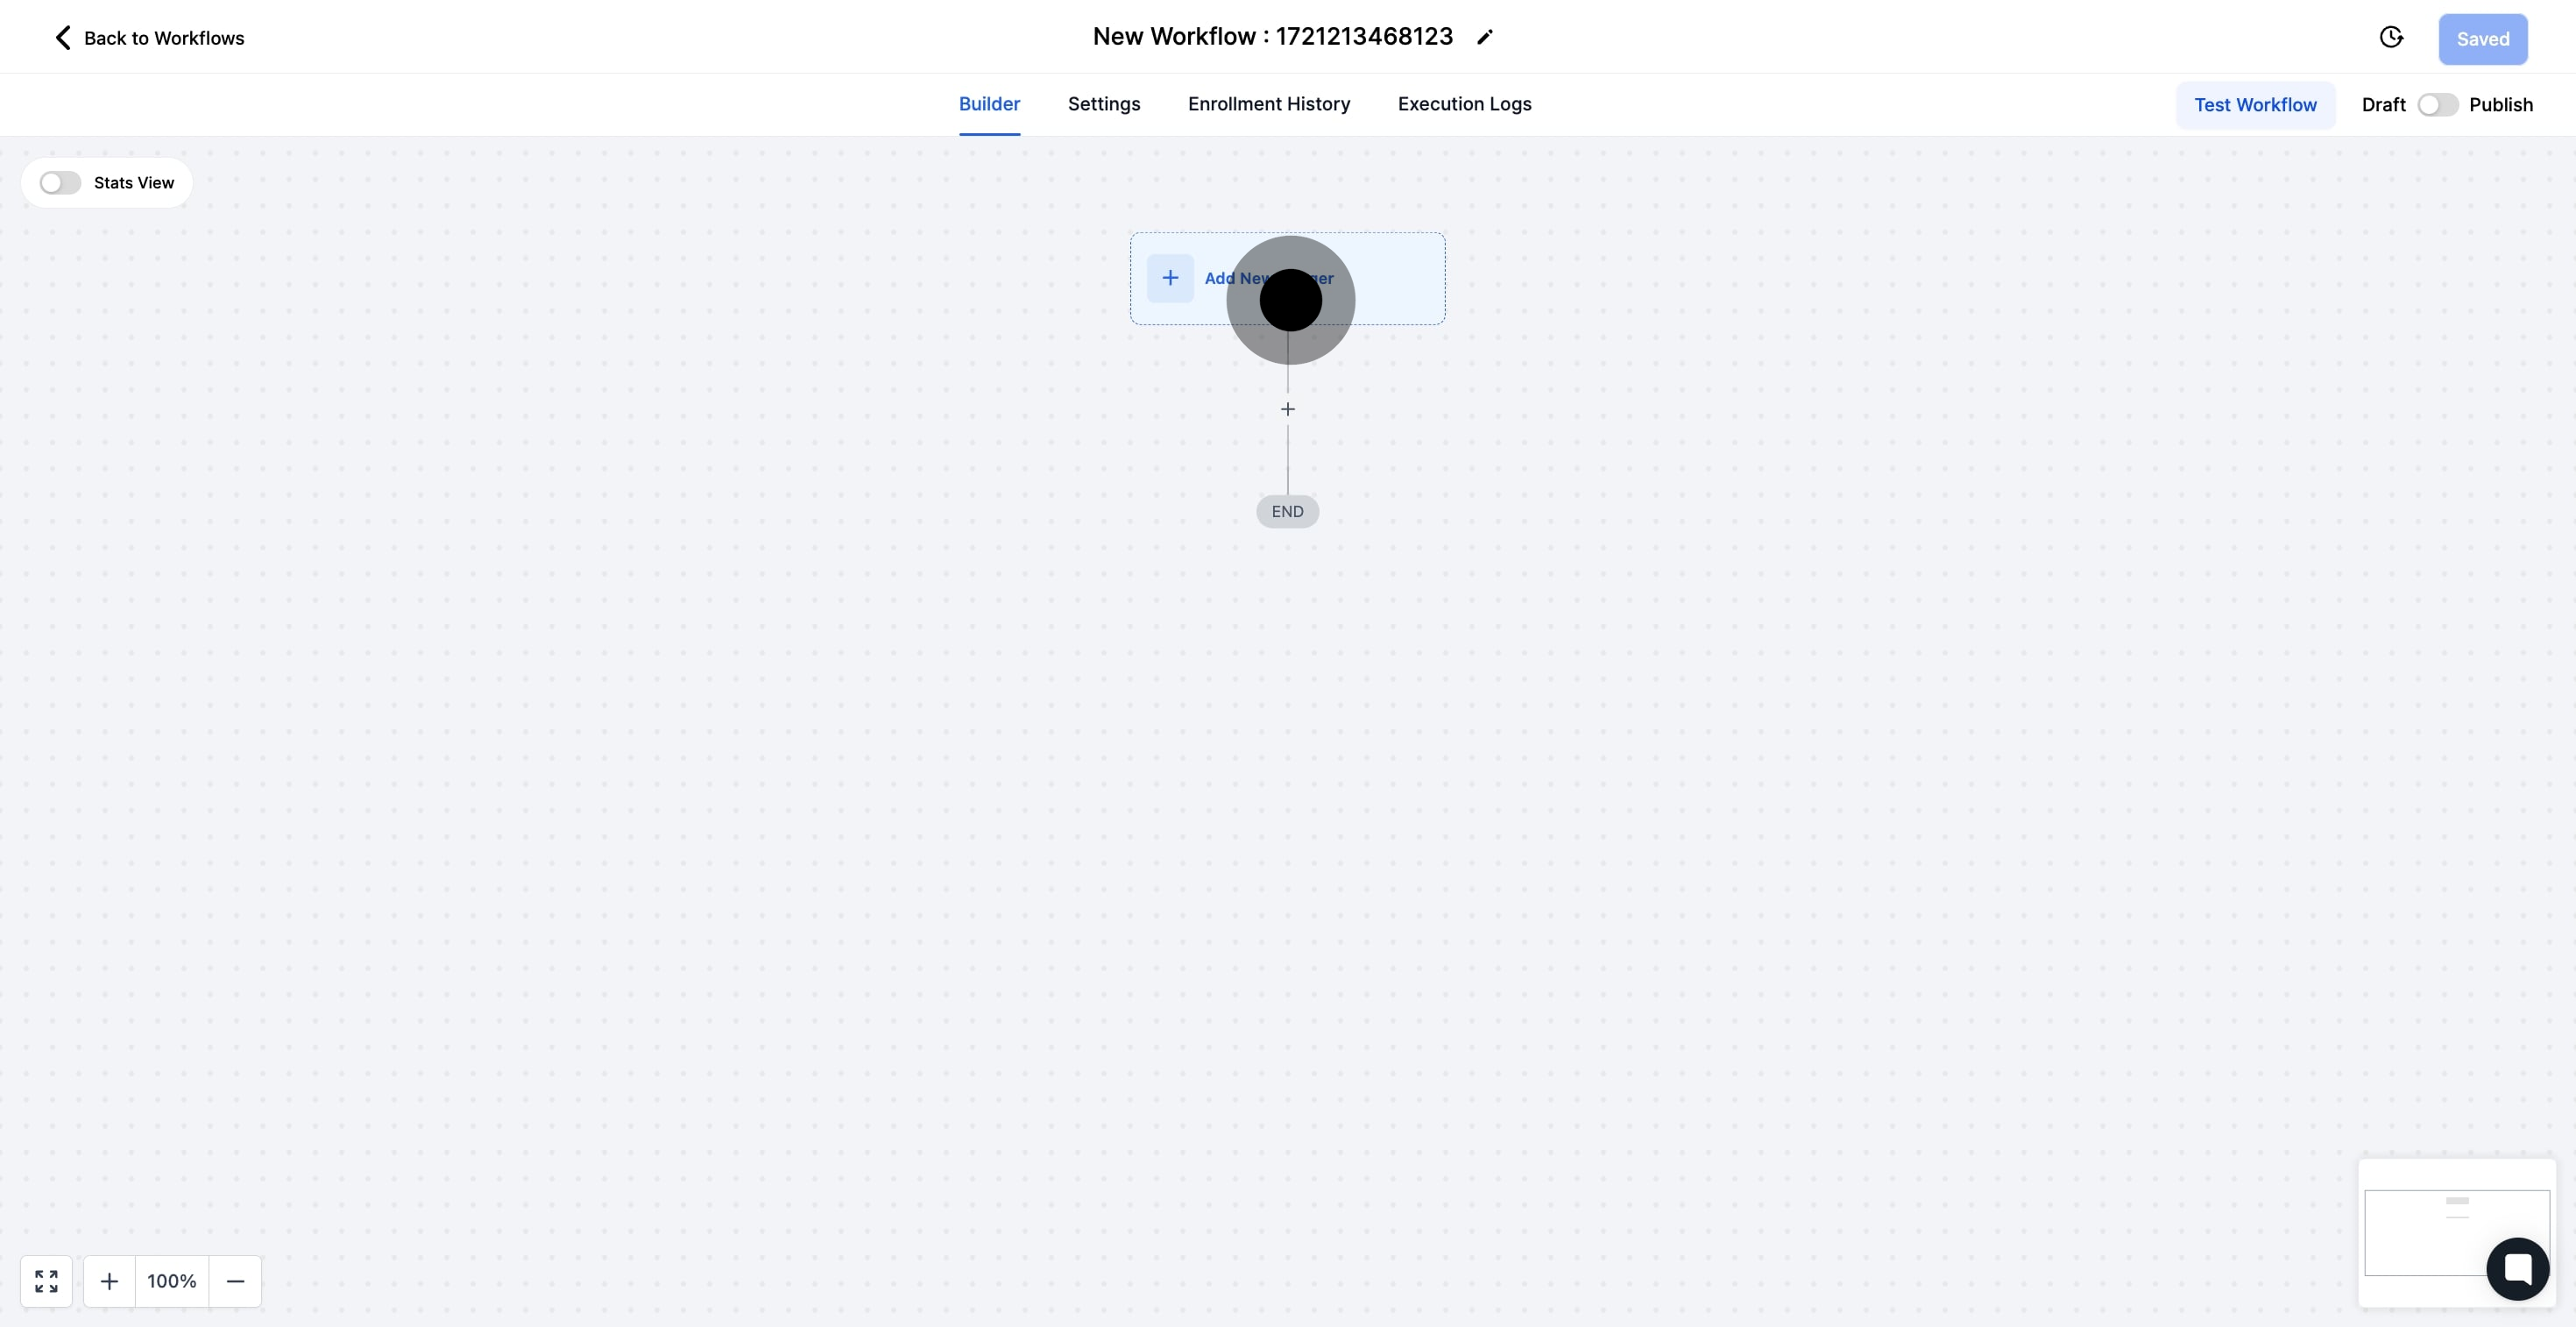
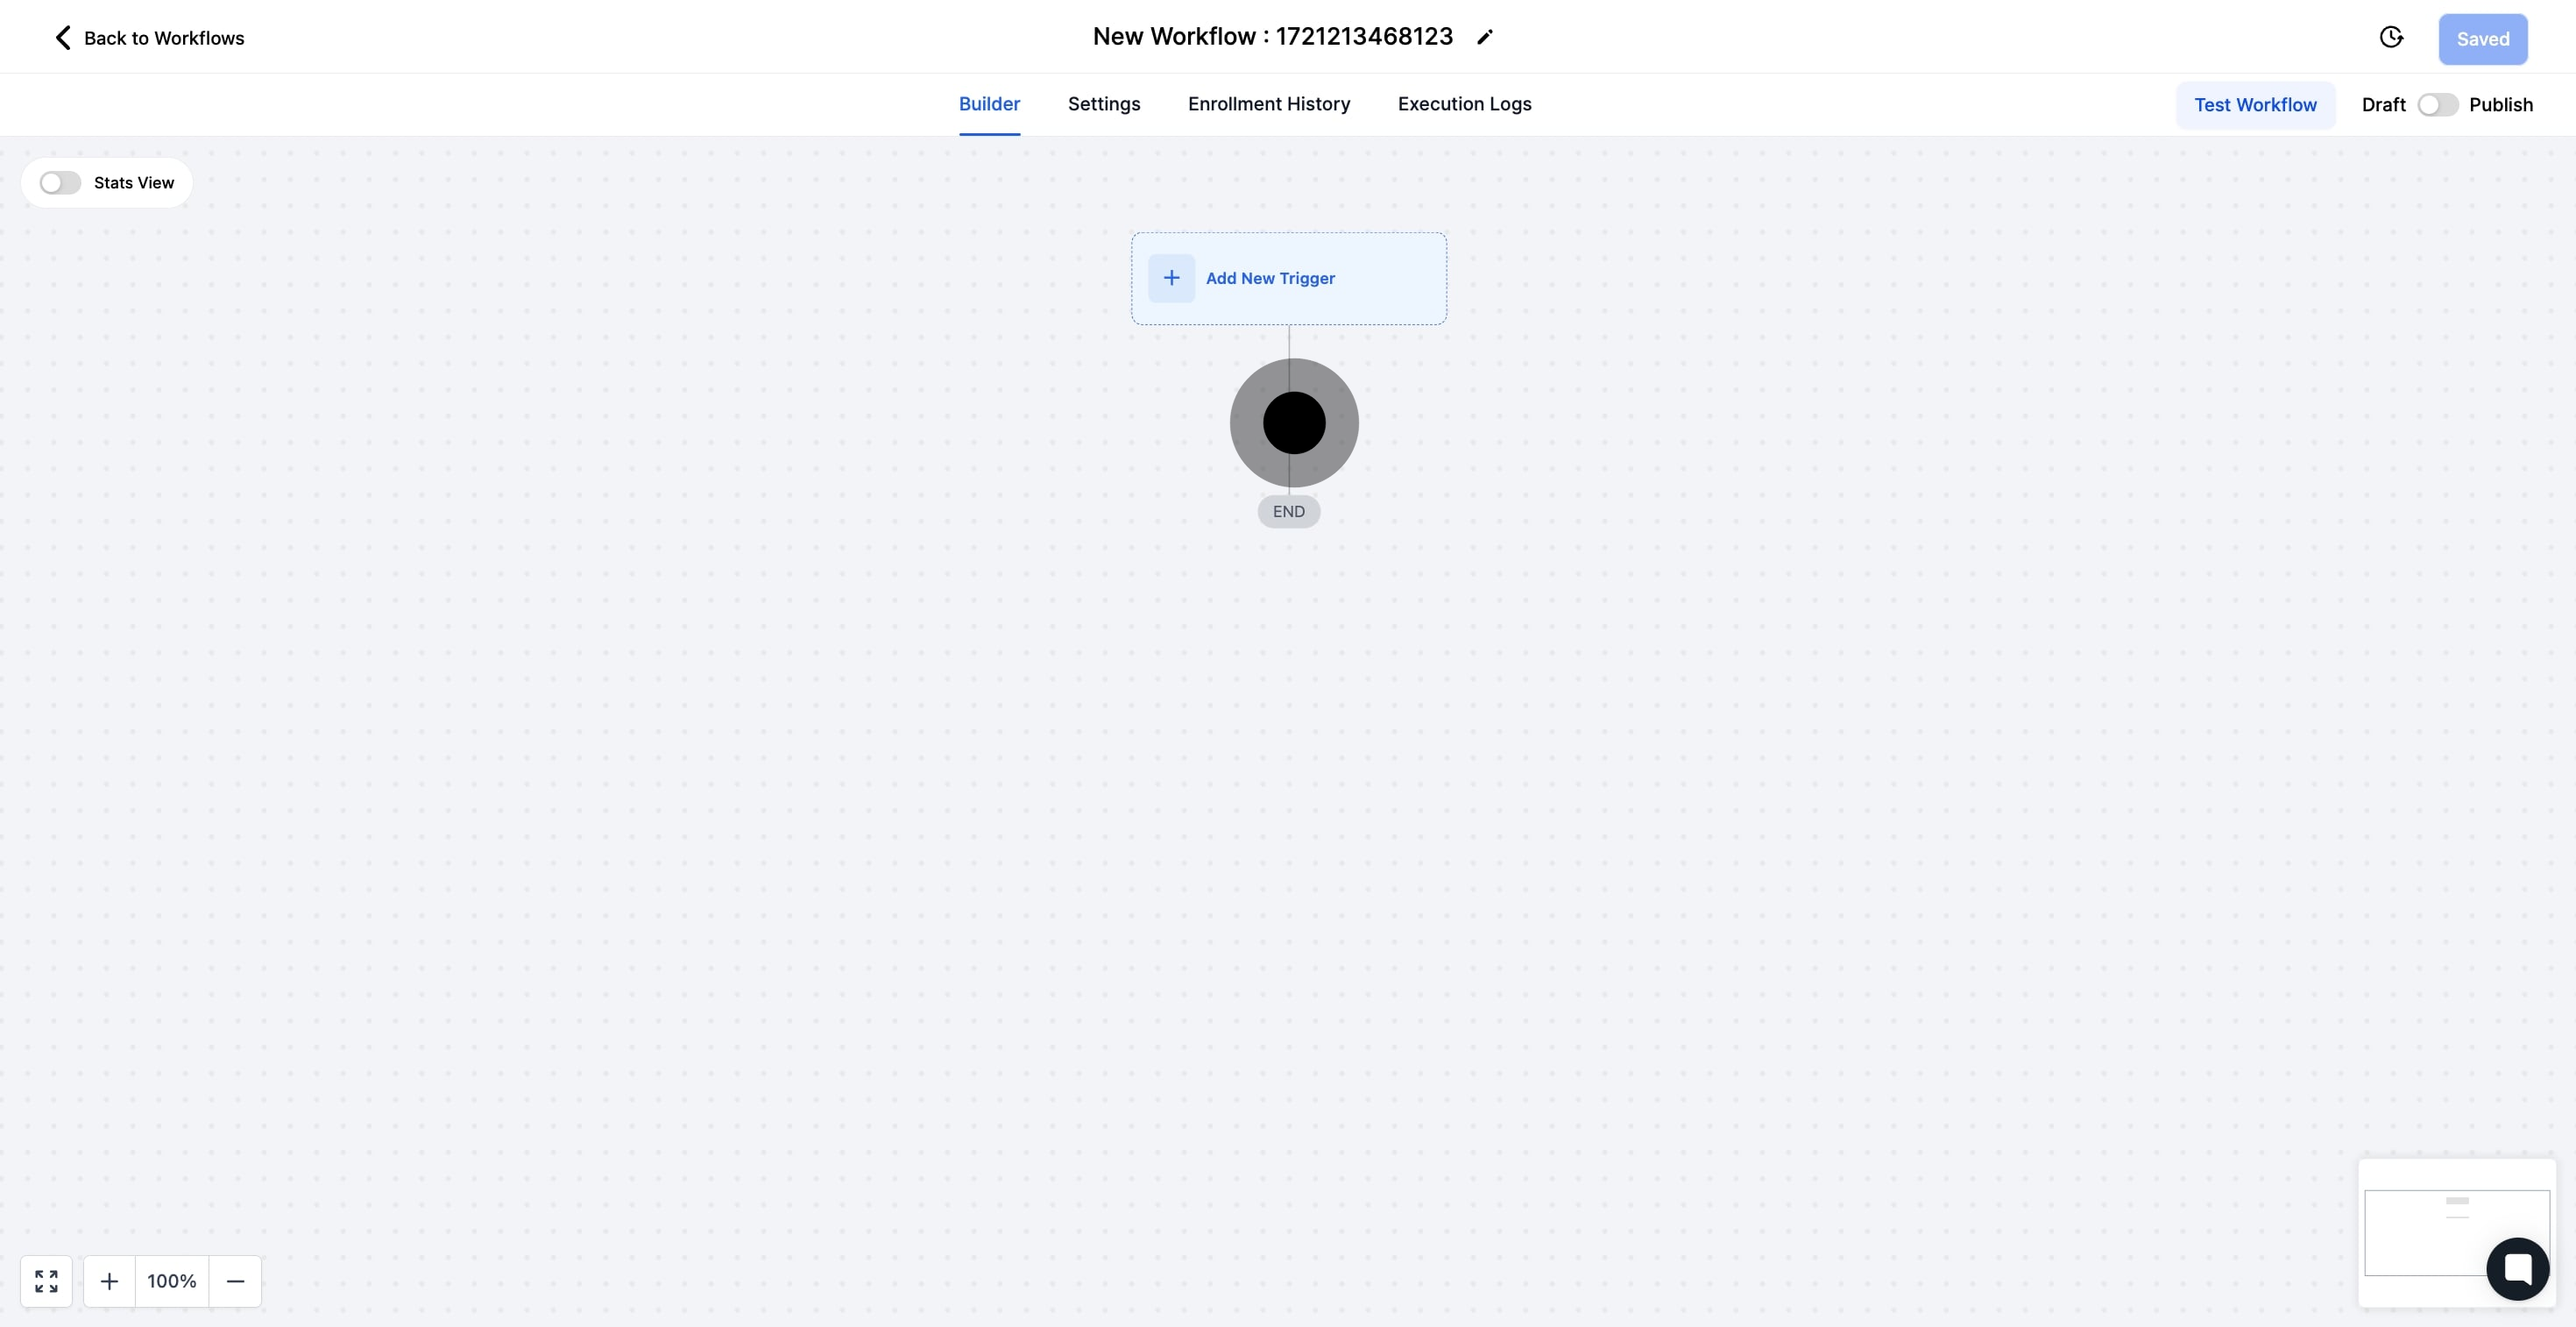
4. Now, add a new trigger to activate your workflow.

4 Following that, click on the element.

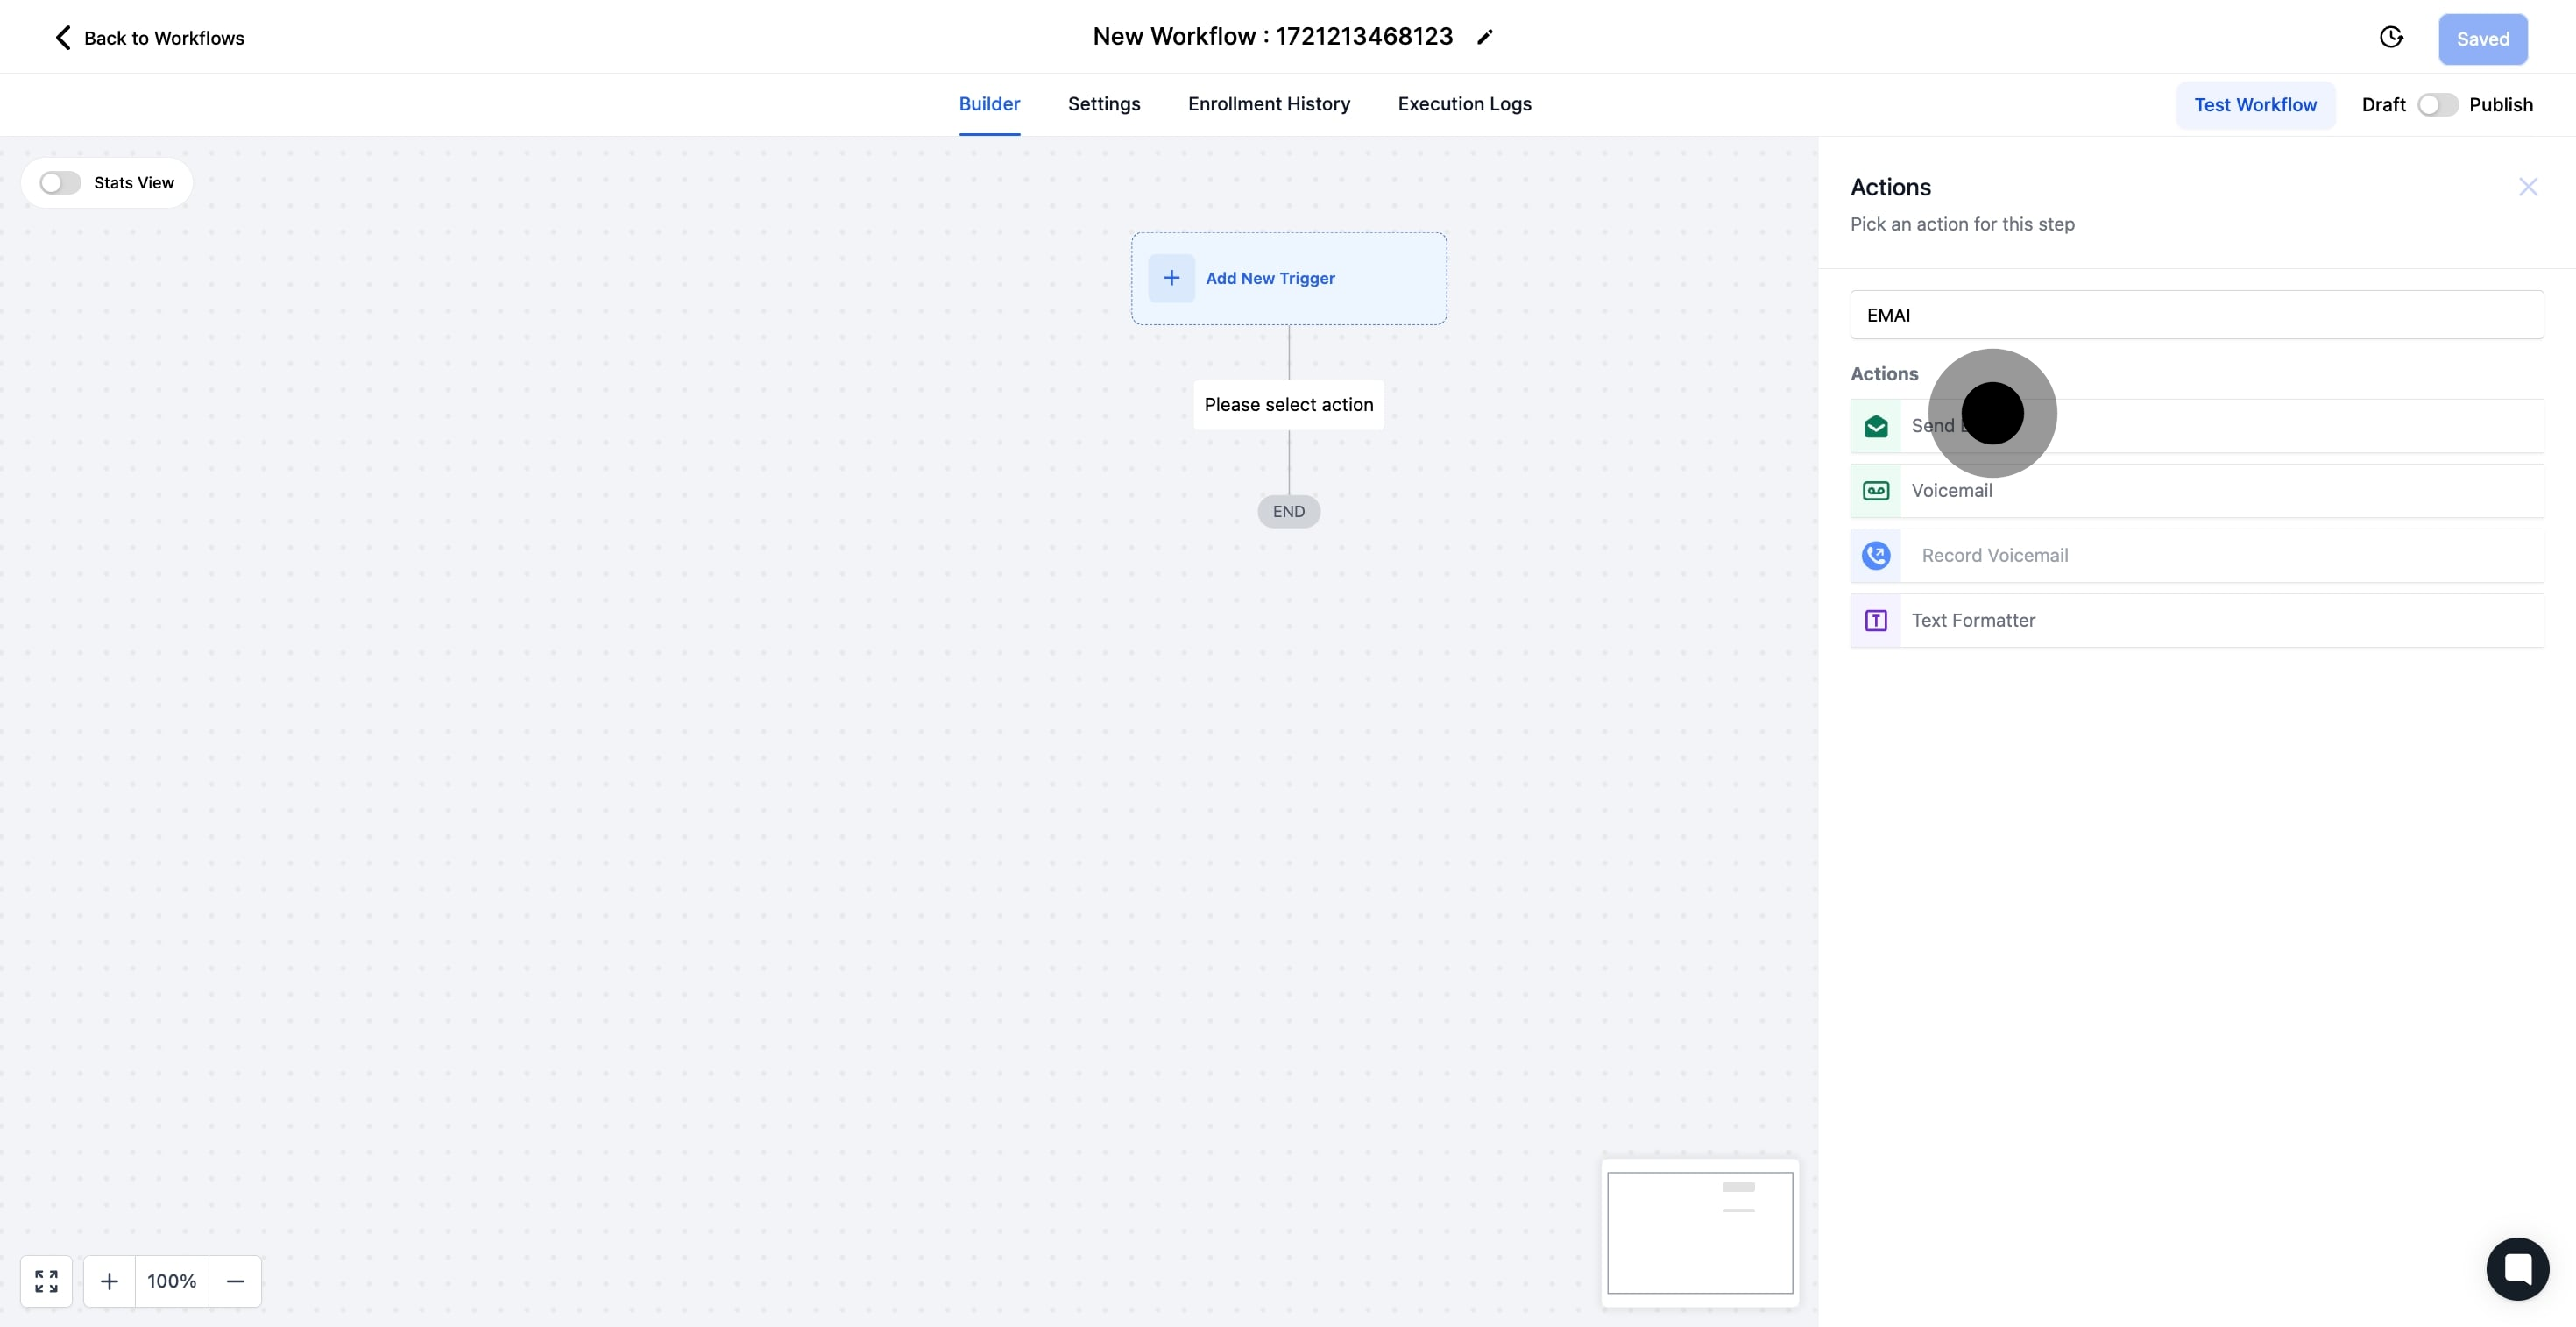
5. Click here to include an action step in your workflow.

5 Click here.

6. Choose 'Send email' as the action step.

6 Click on "Send email".

7. Enter the action name in the provided field.

7 Click here.

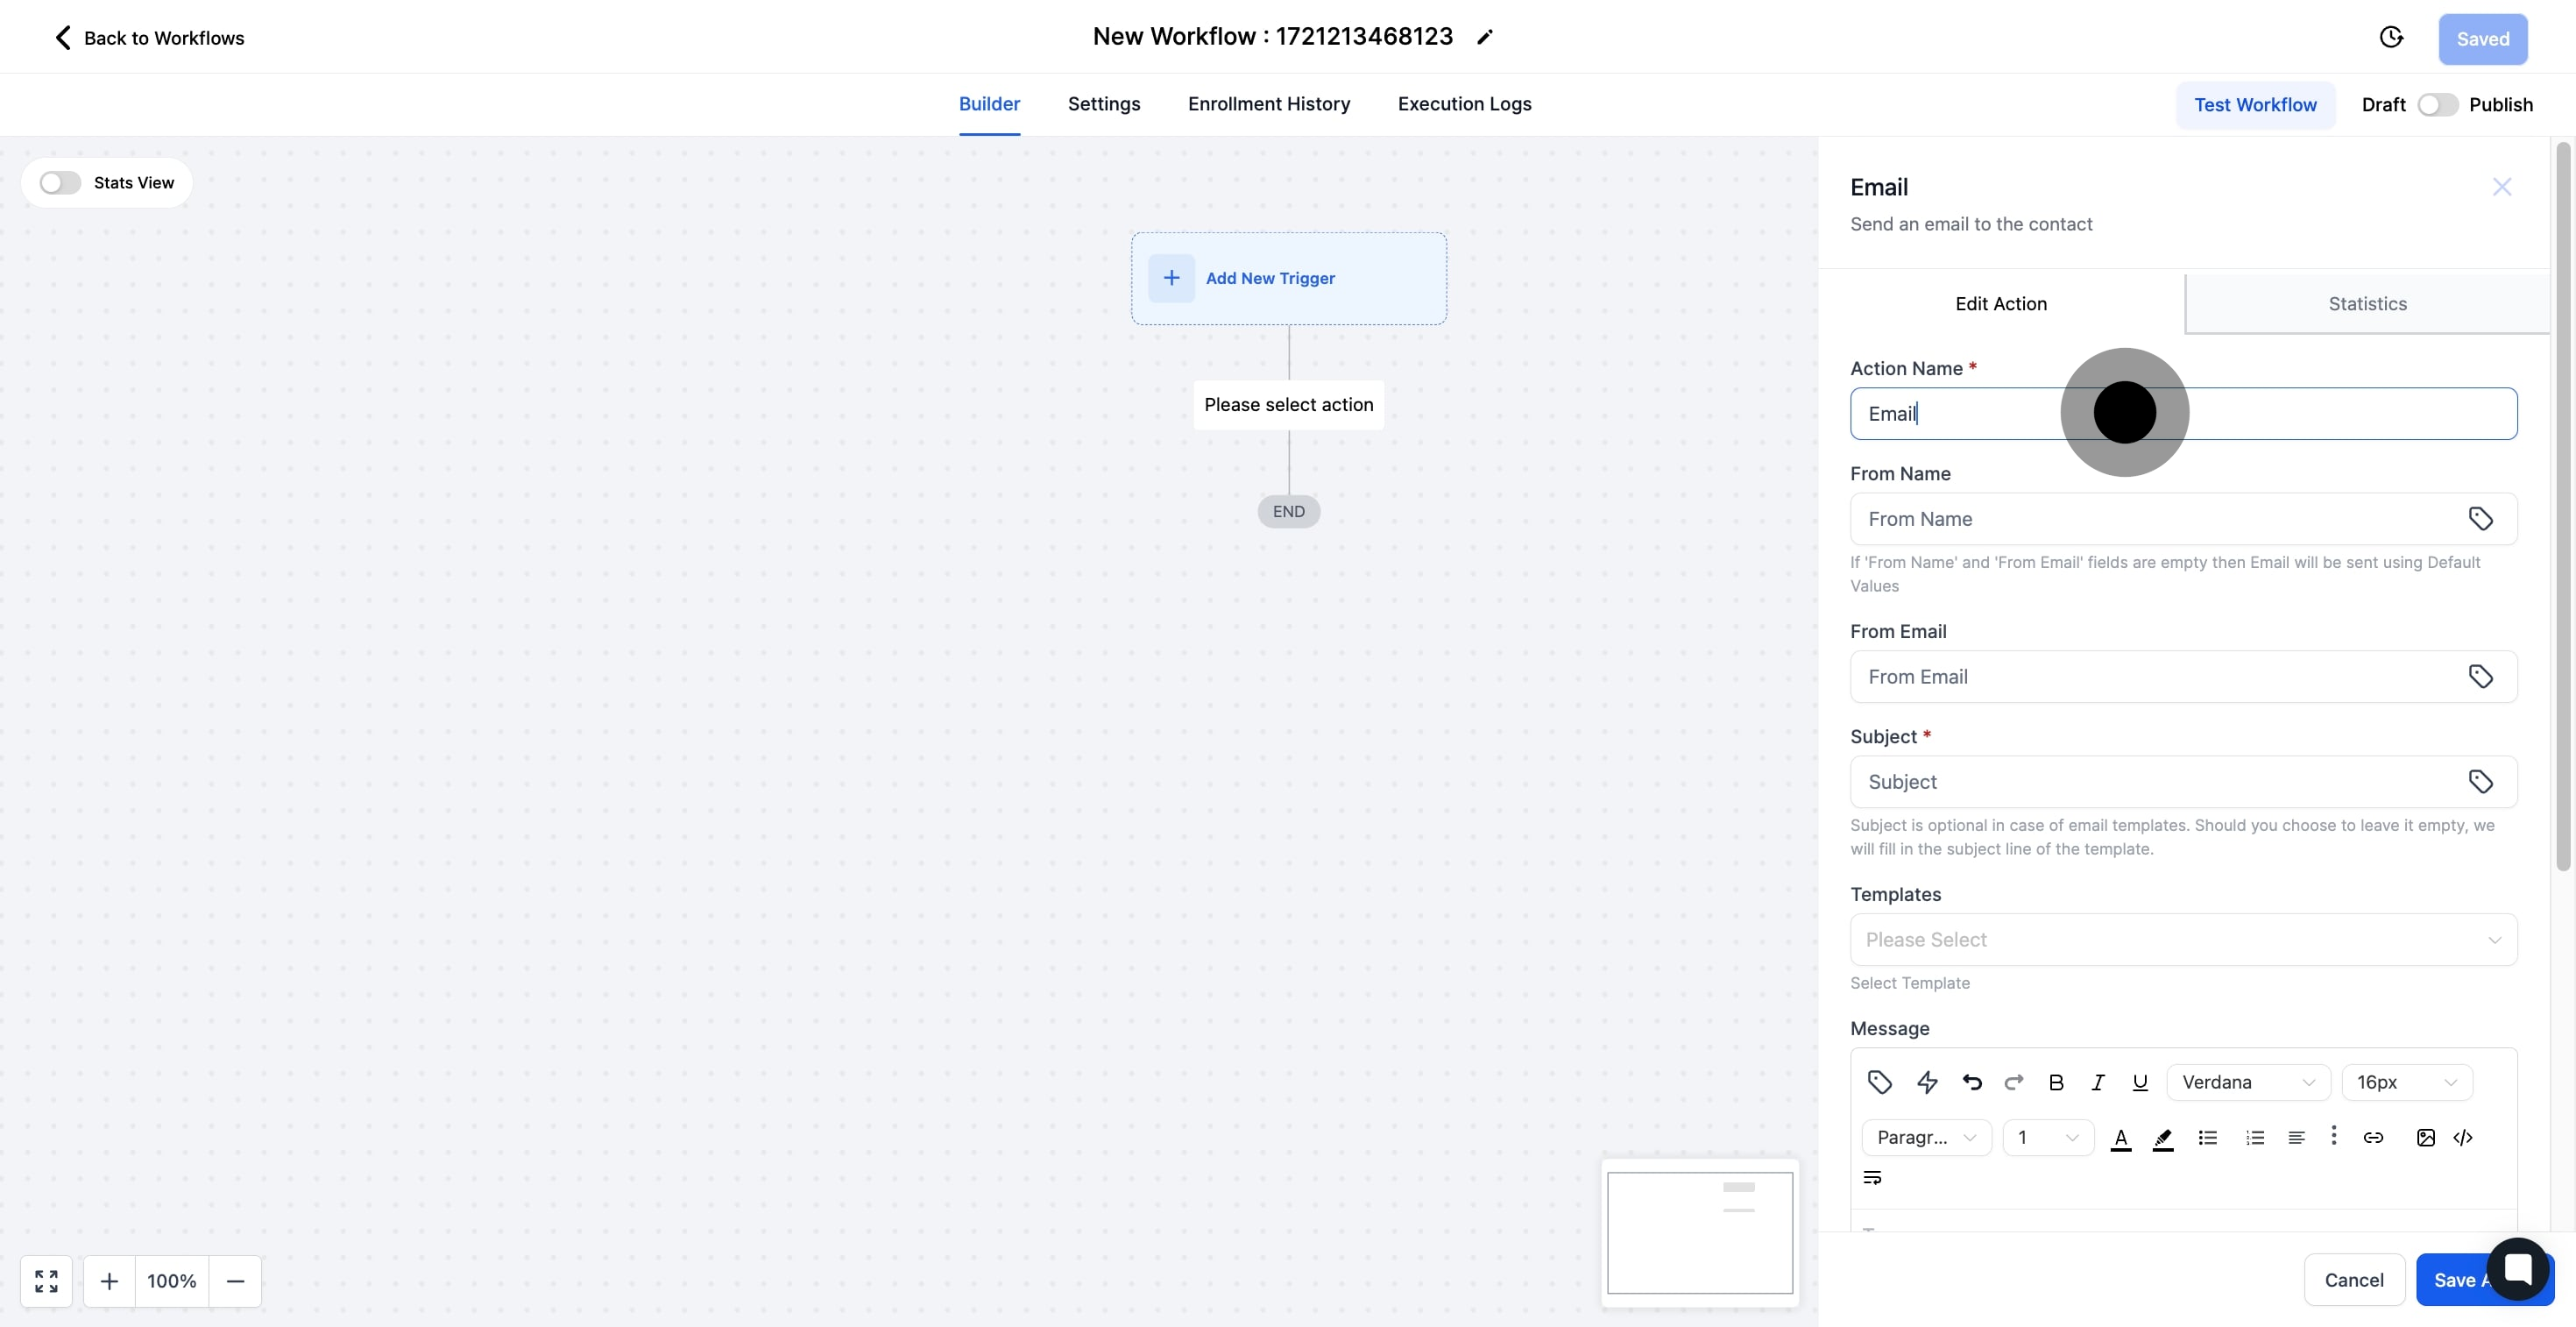
8. Now, add a friendly name for your email action.

8 Next up, click on "Edit Action".

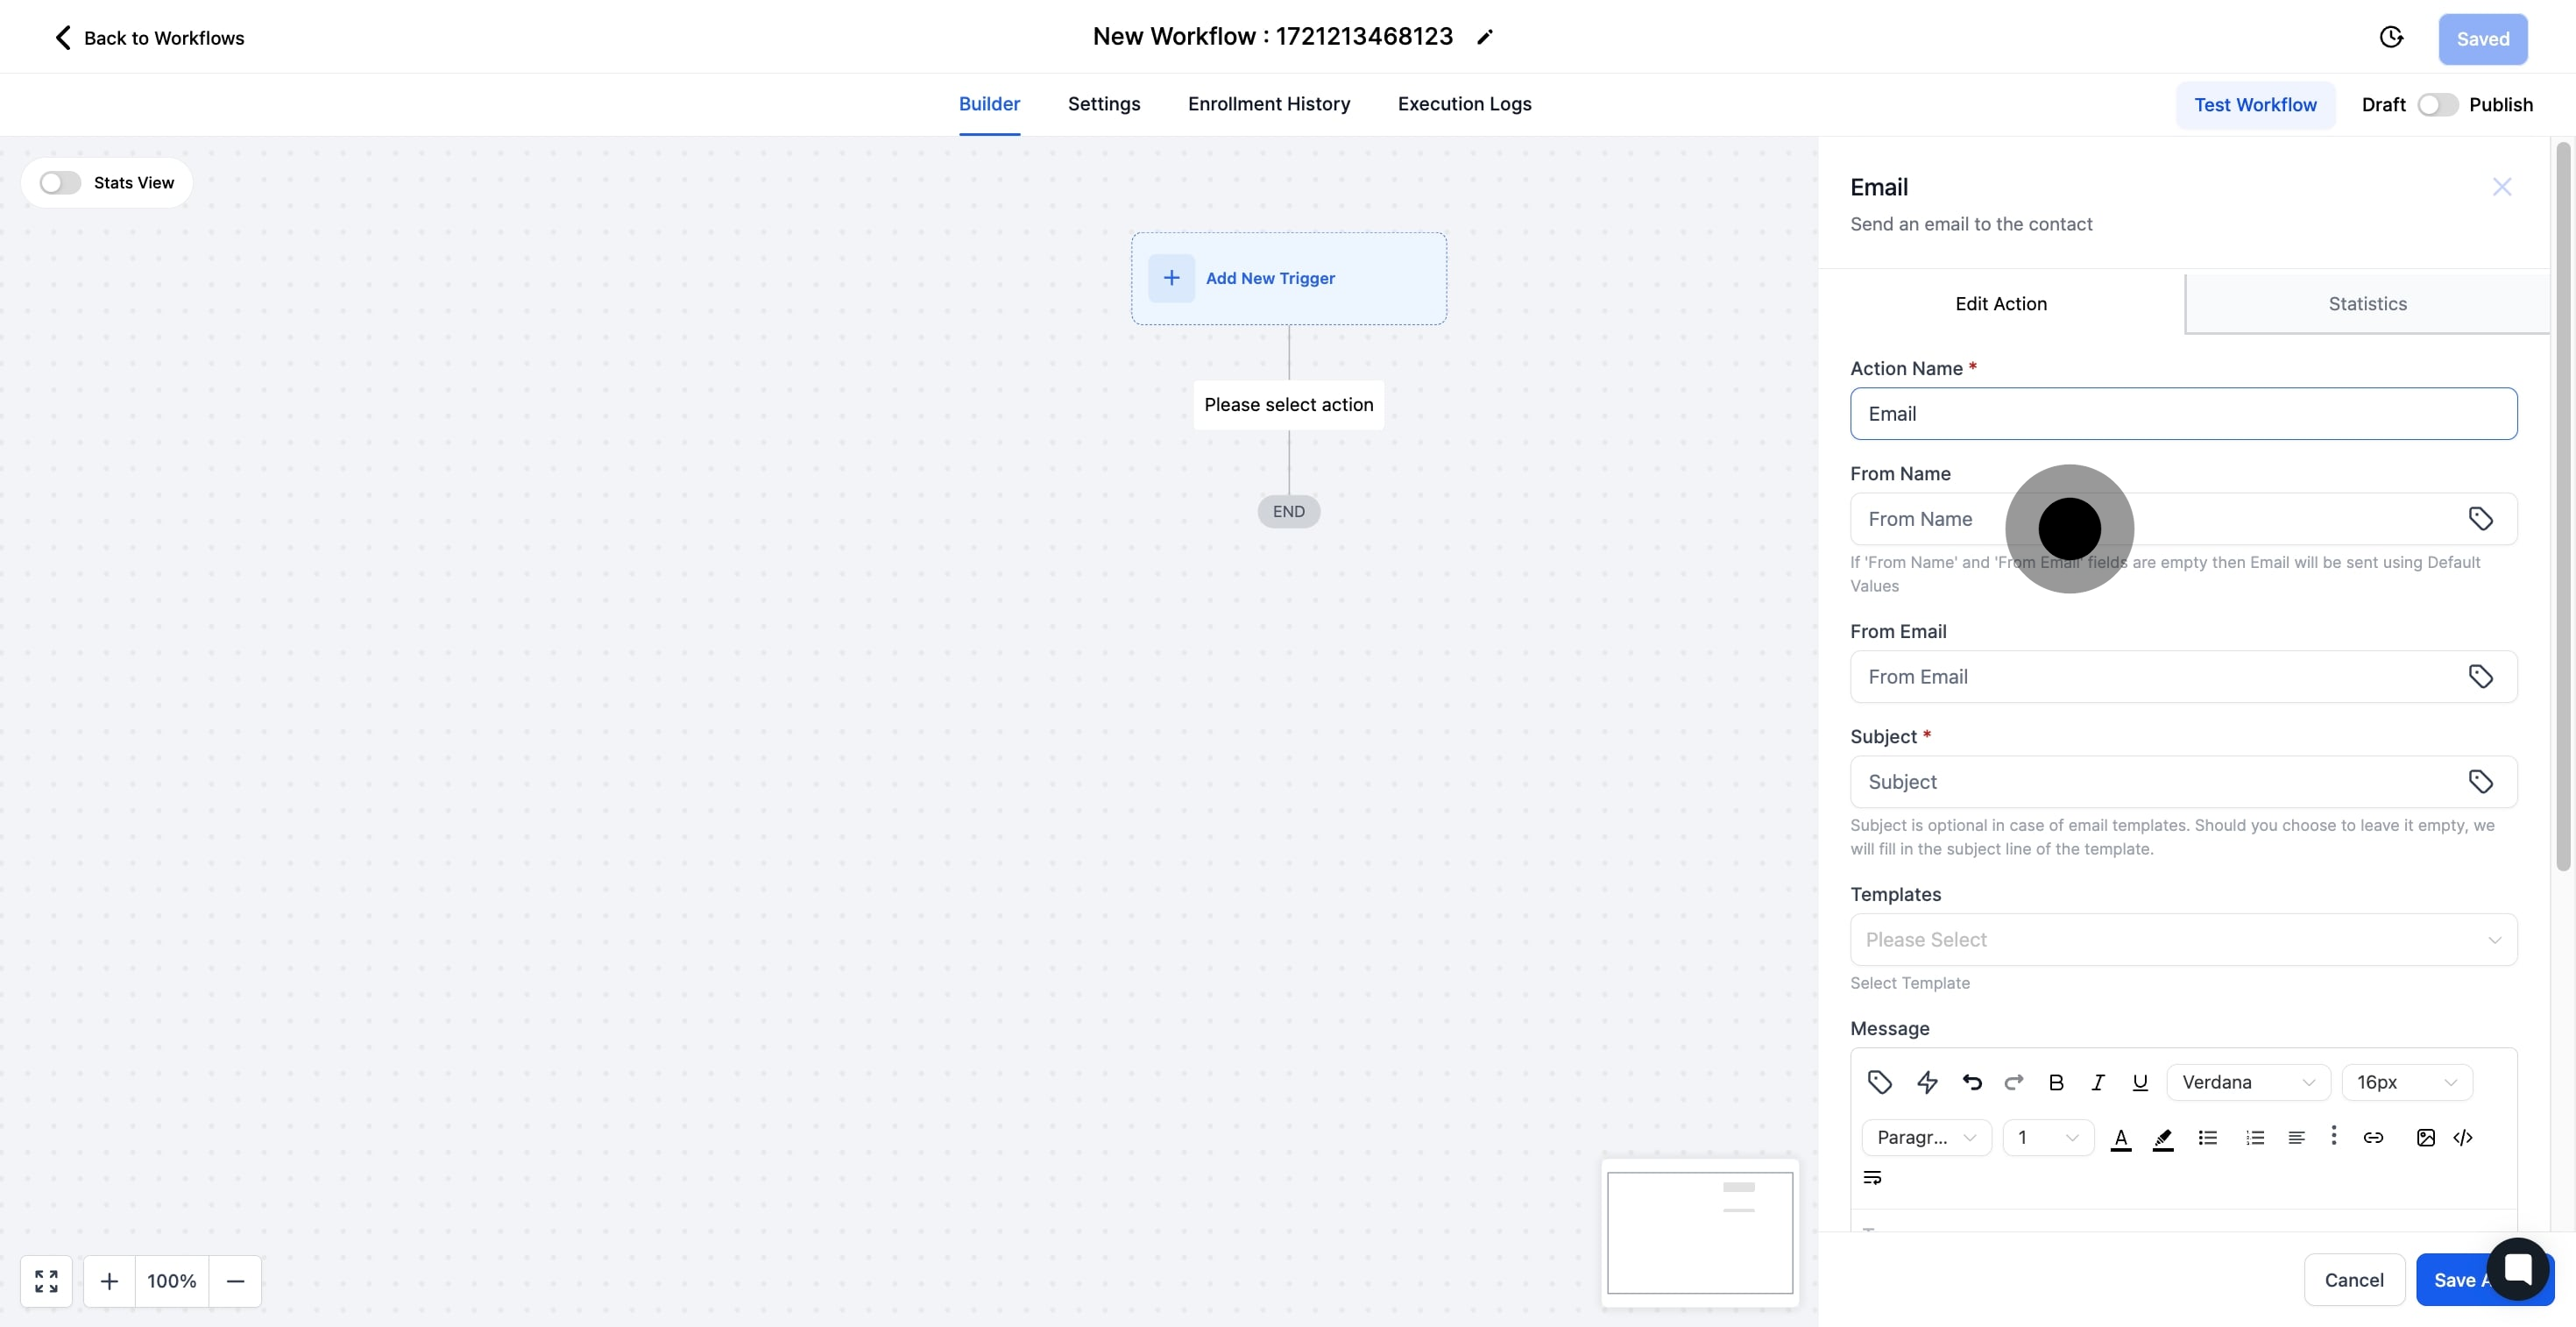
9. Next, specify the 'From Email' for your action.

9 Next up, click here.

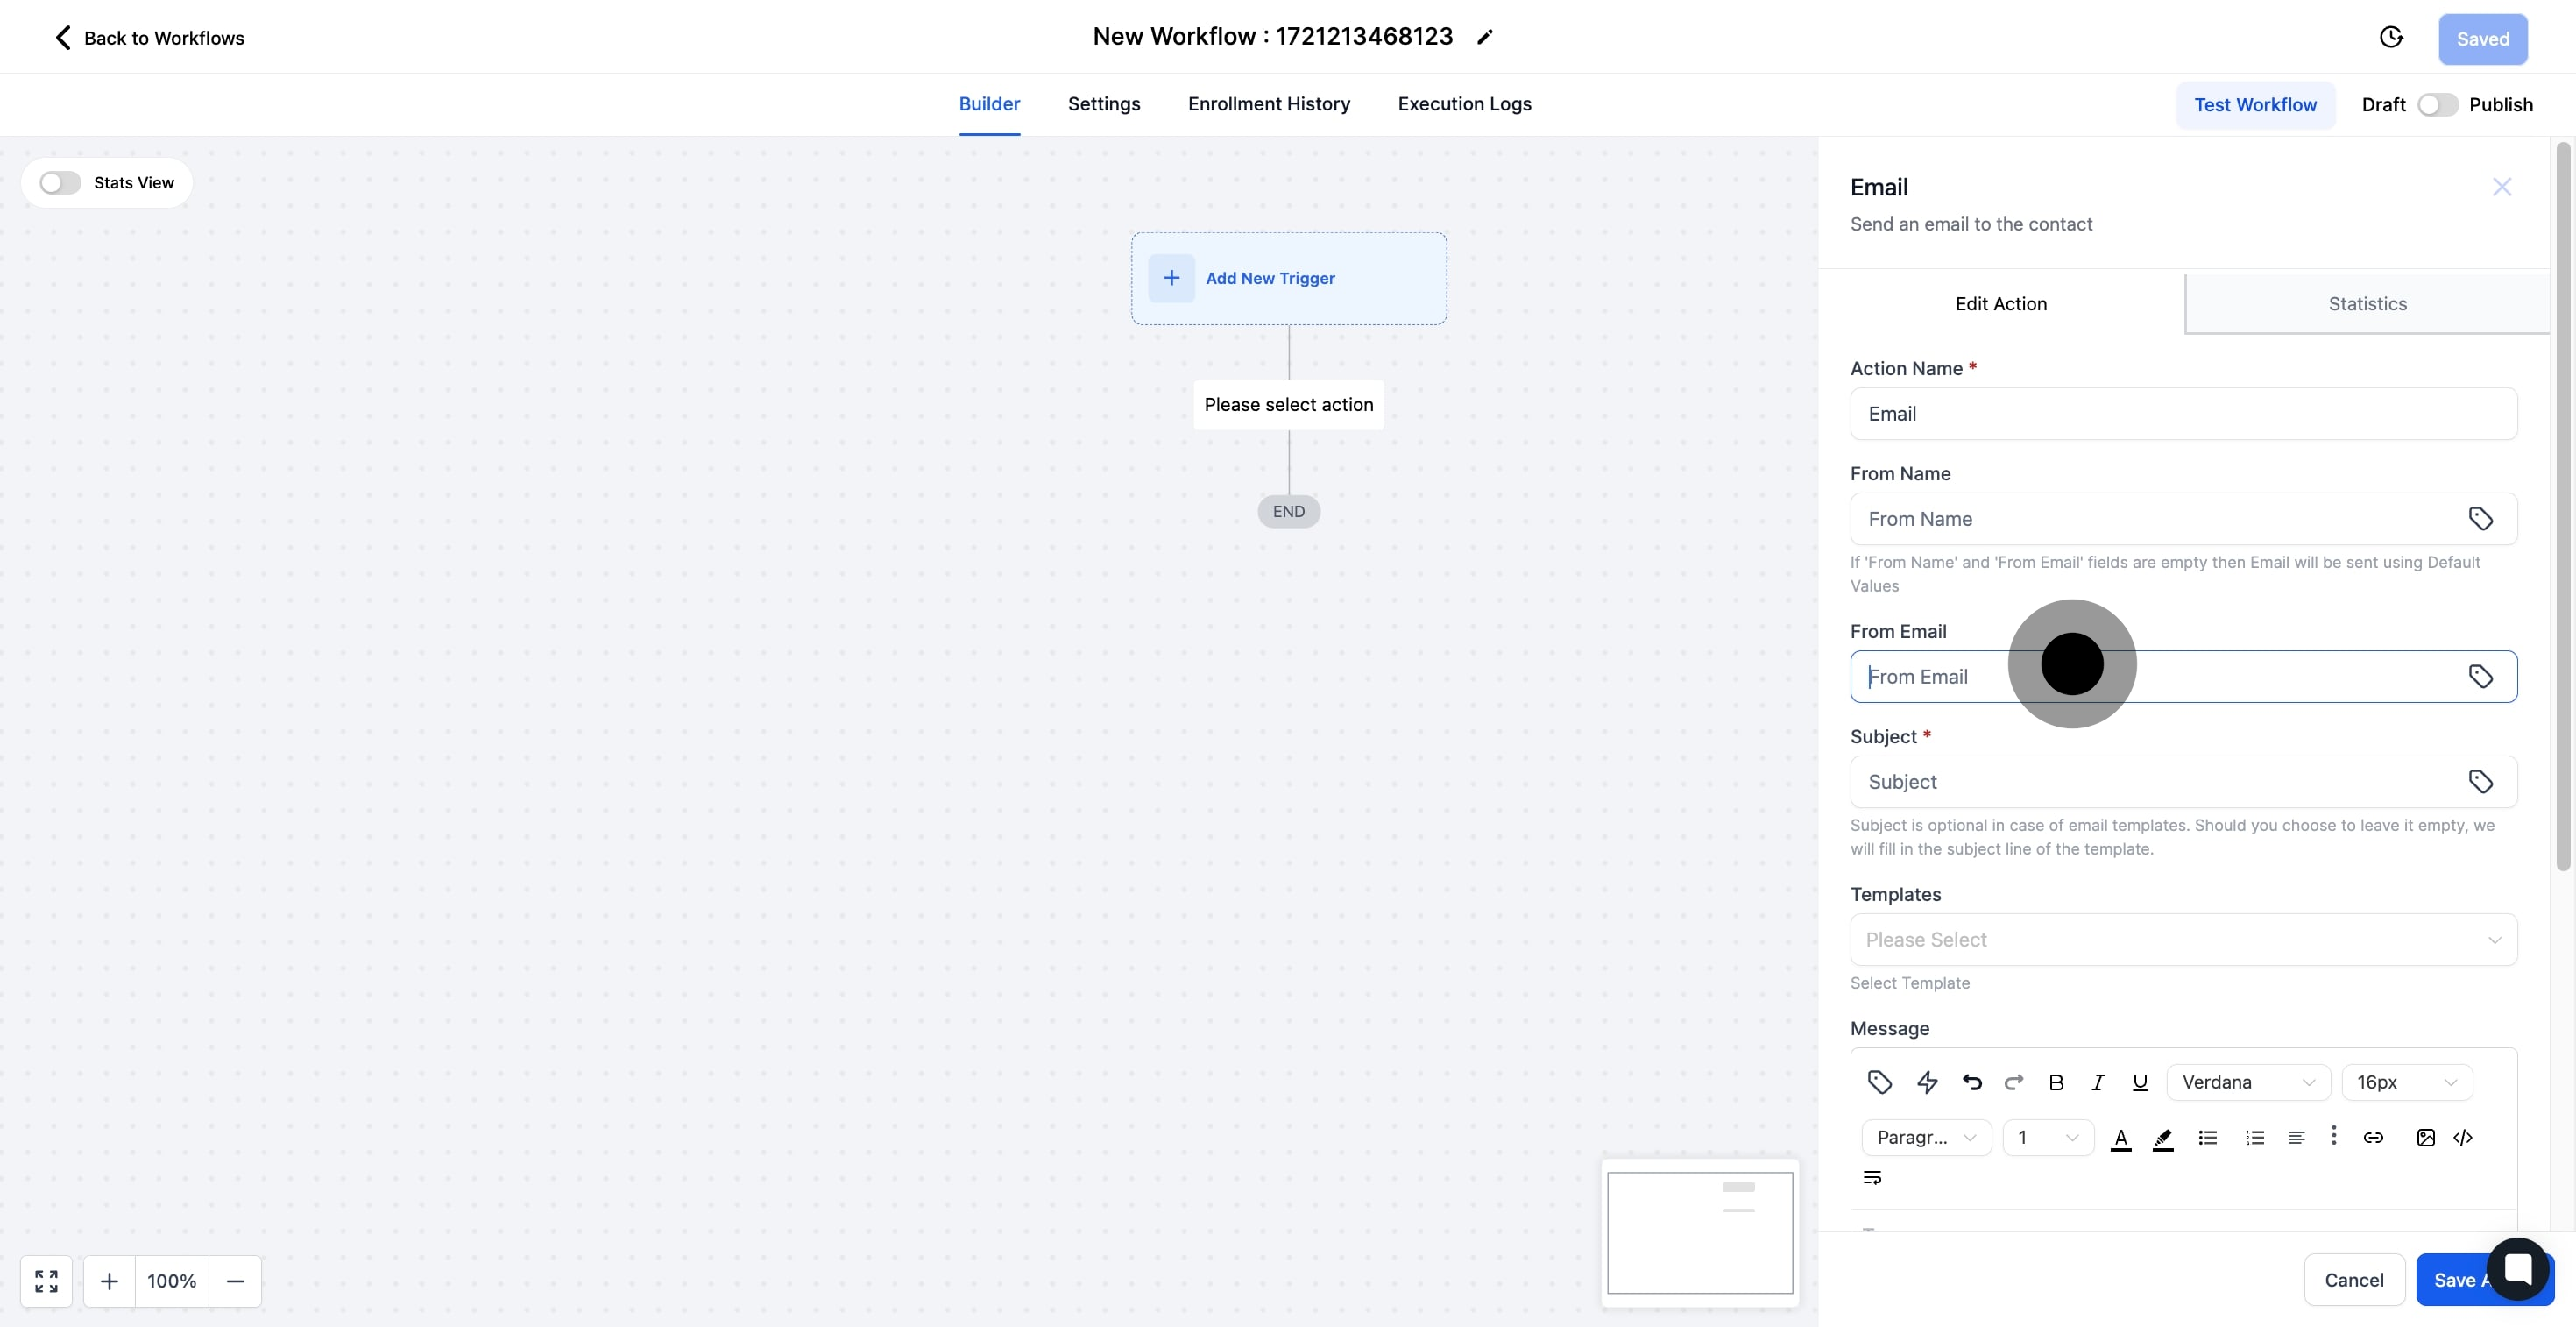
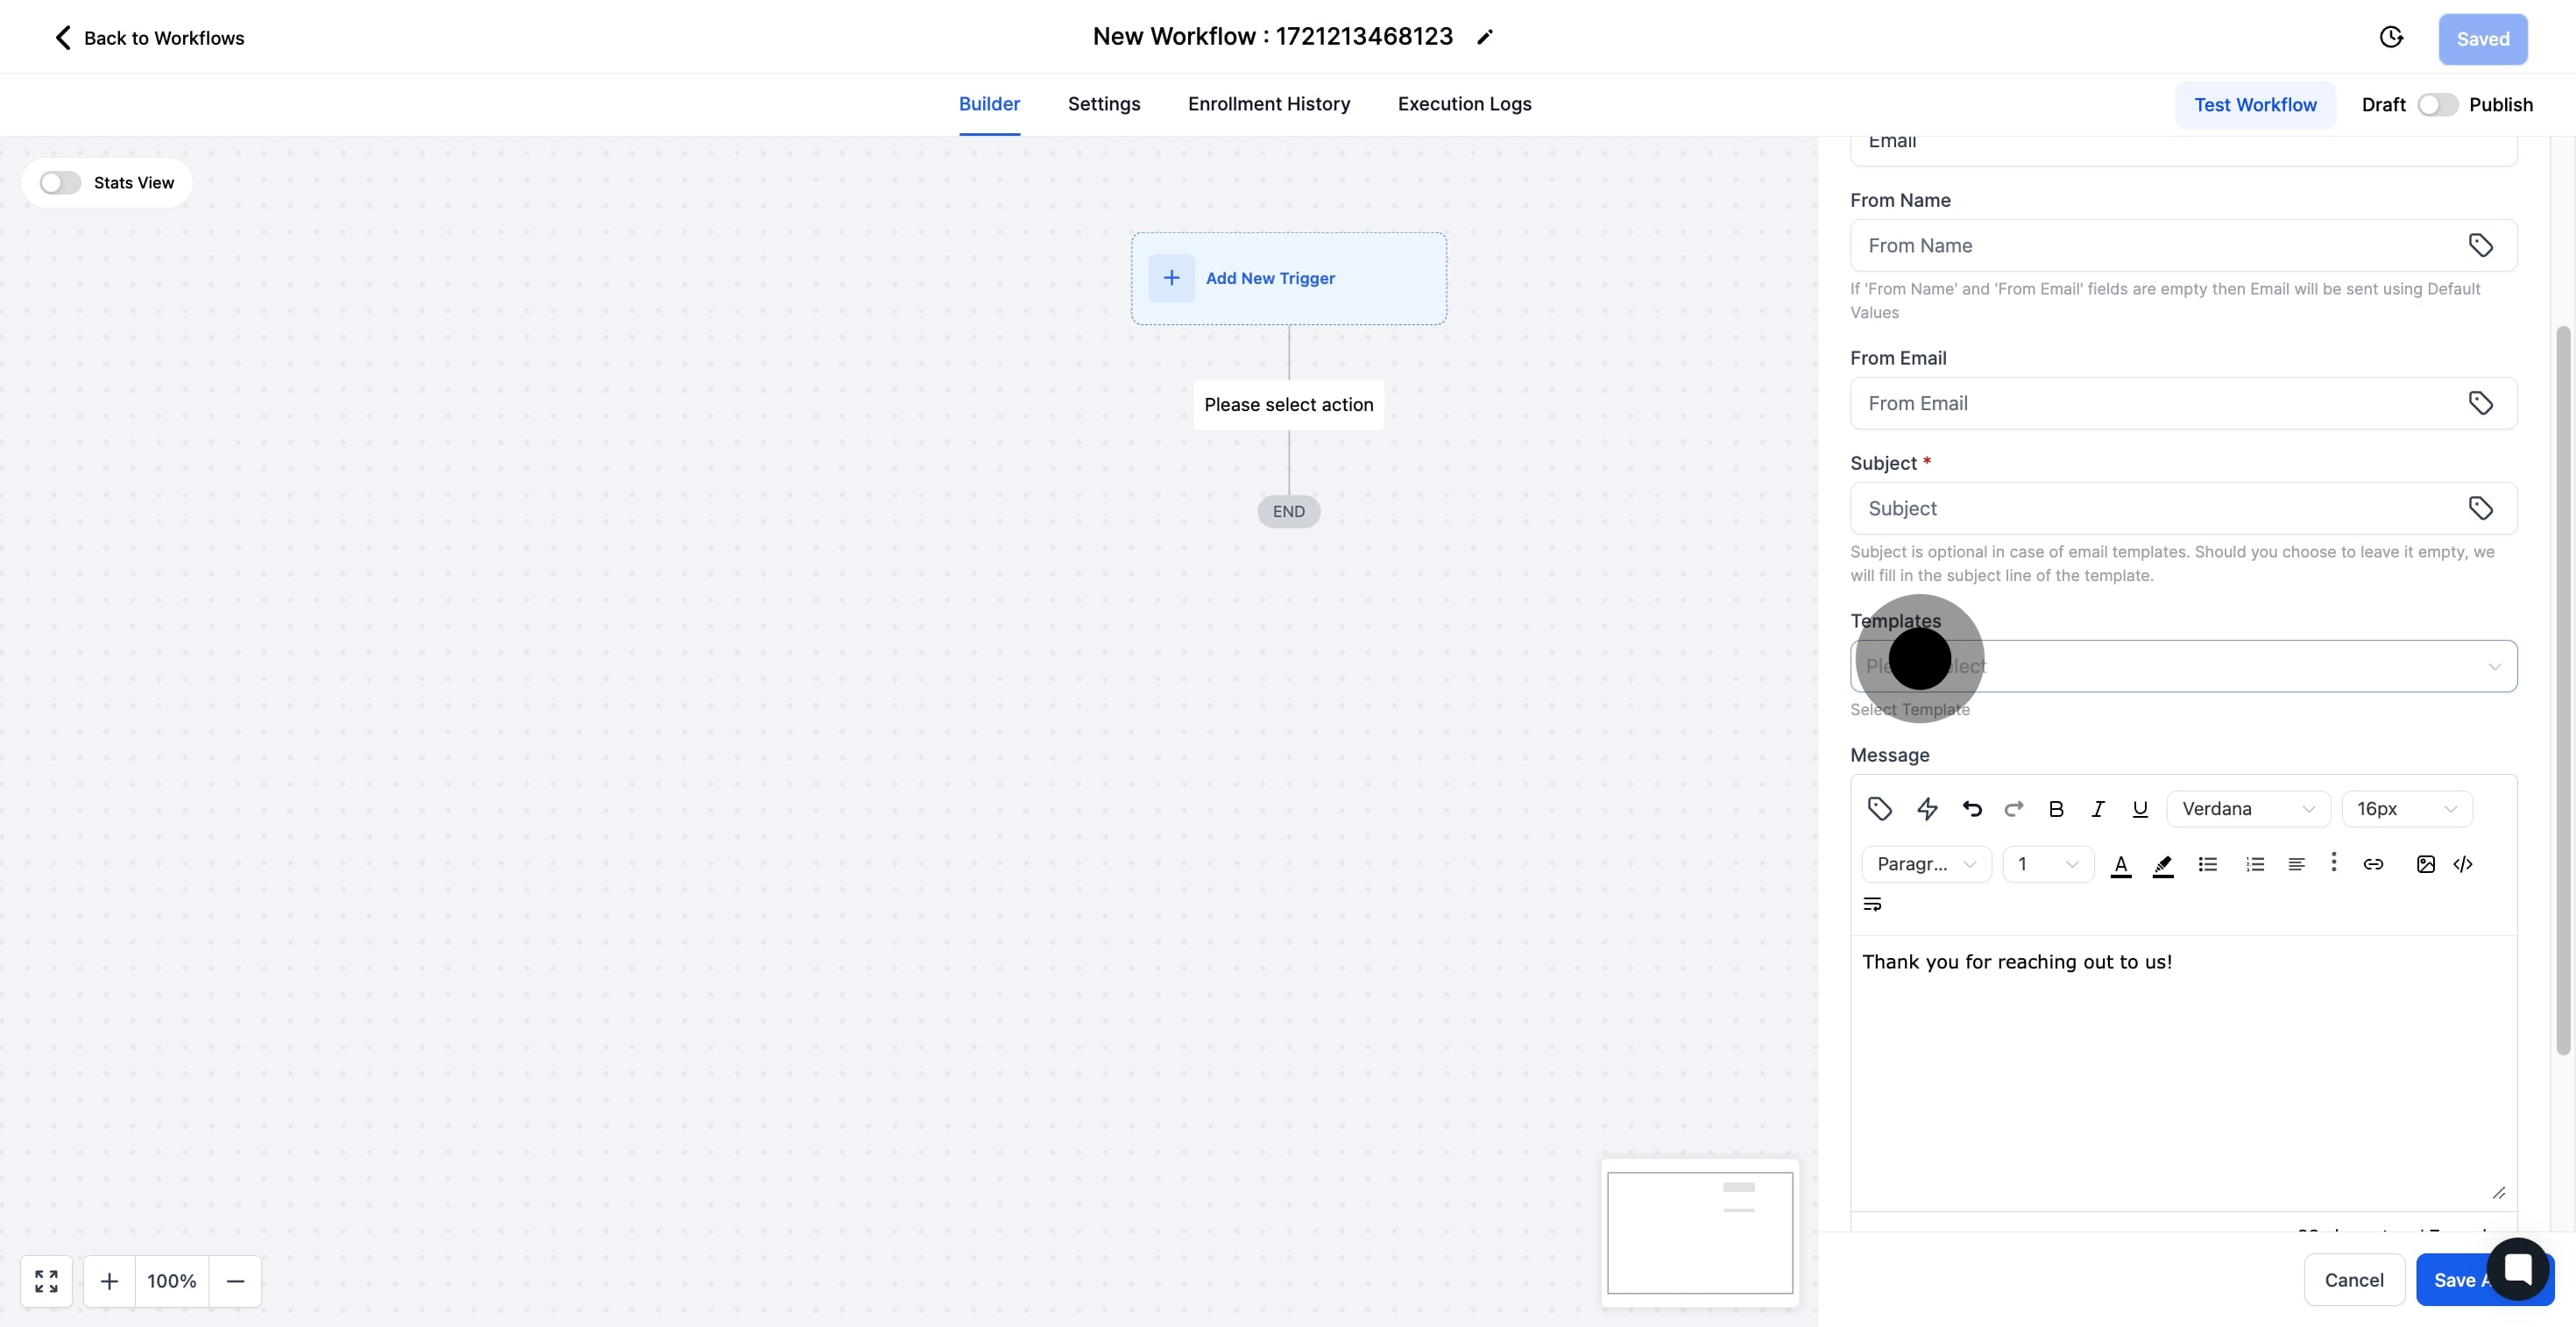
10. Type in your email subject

10 Click on the element.

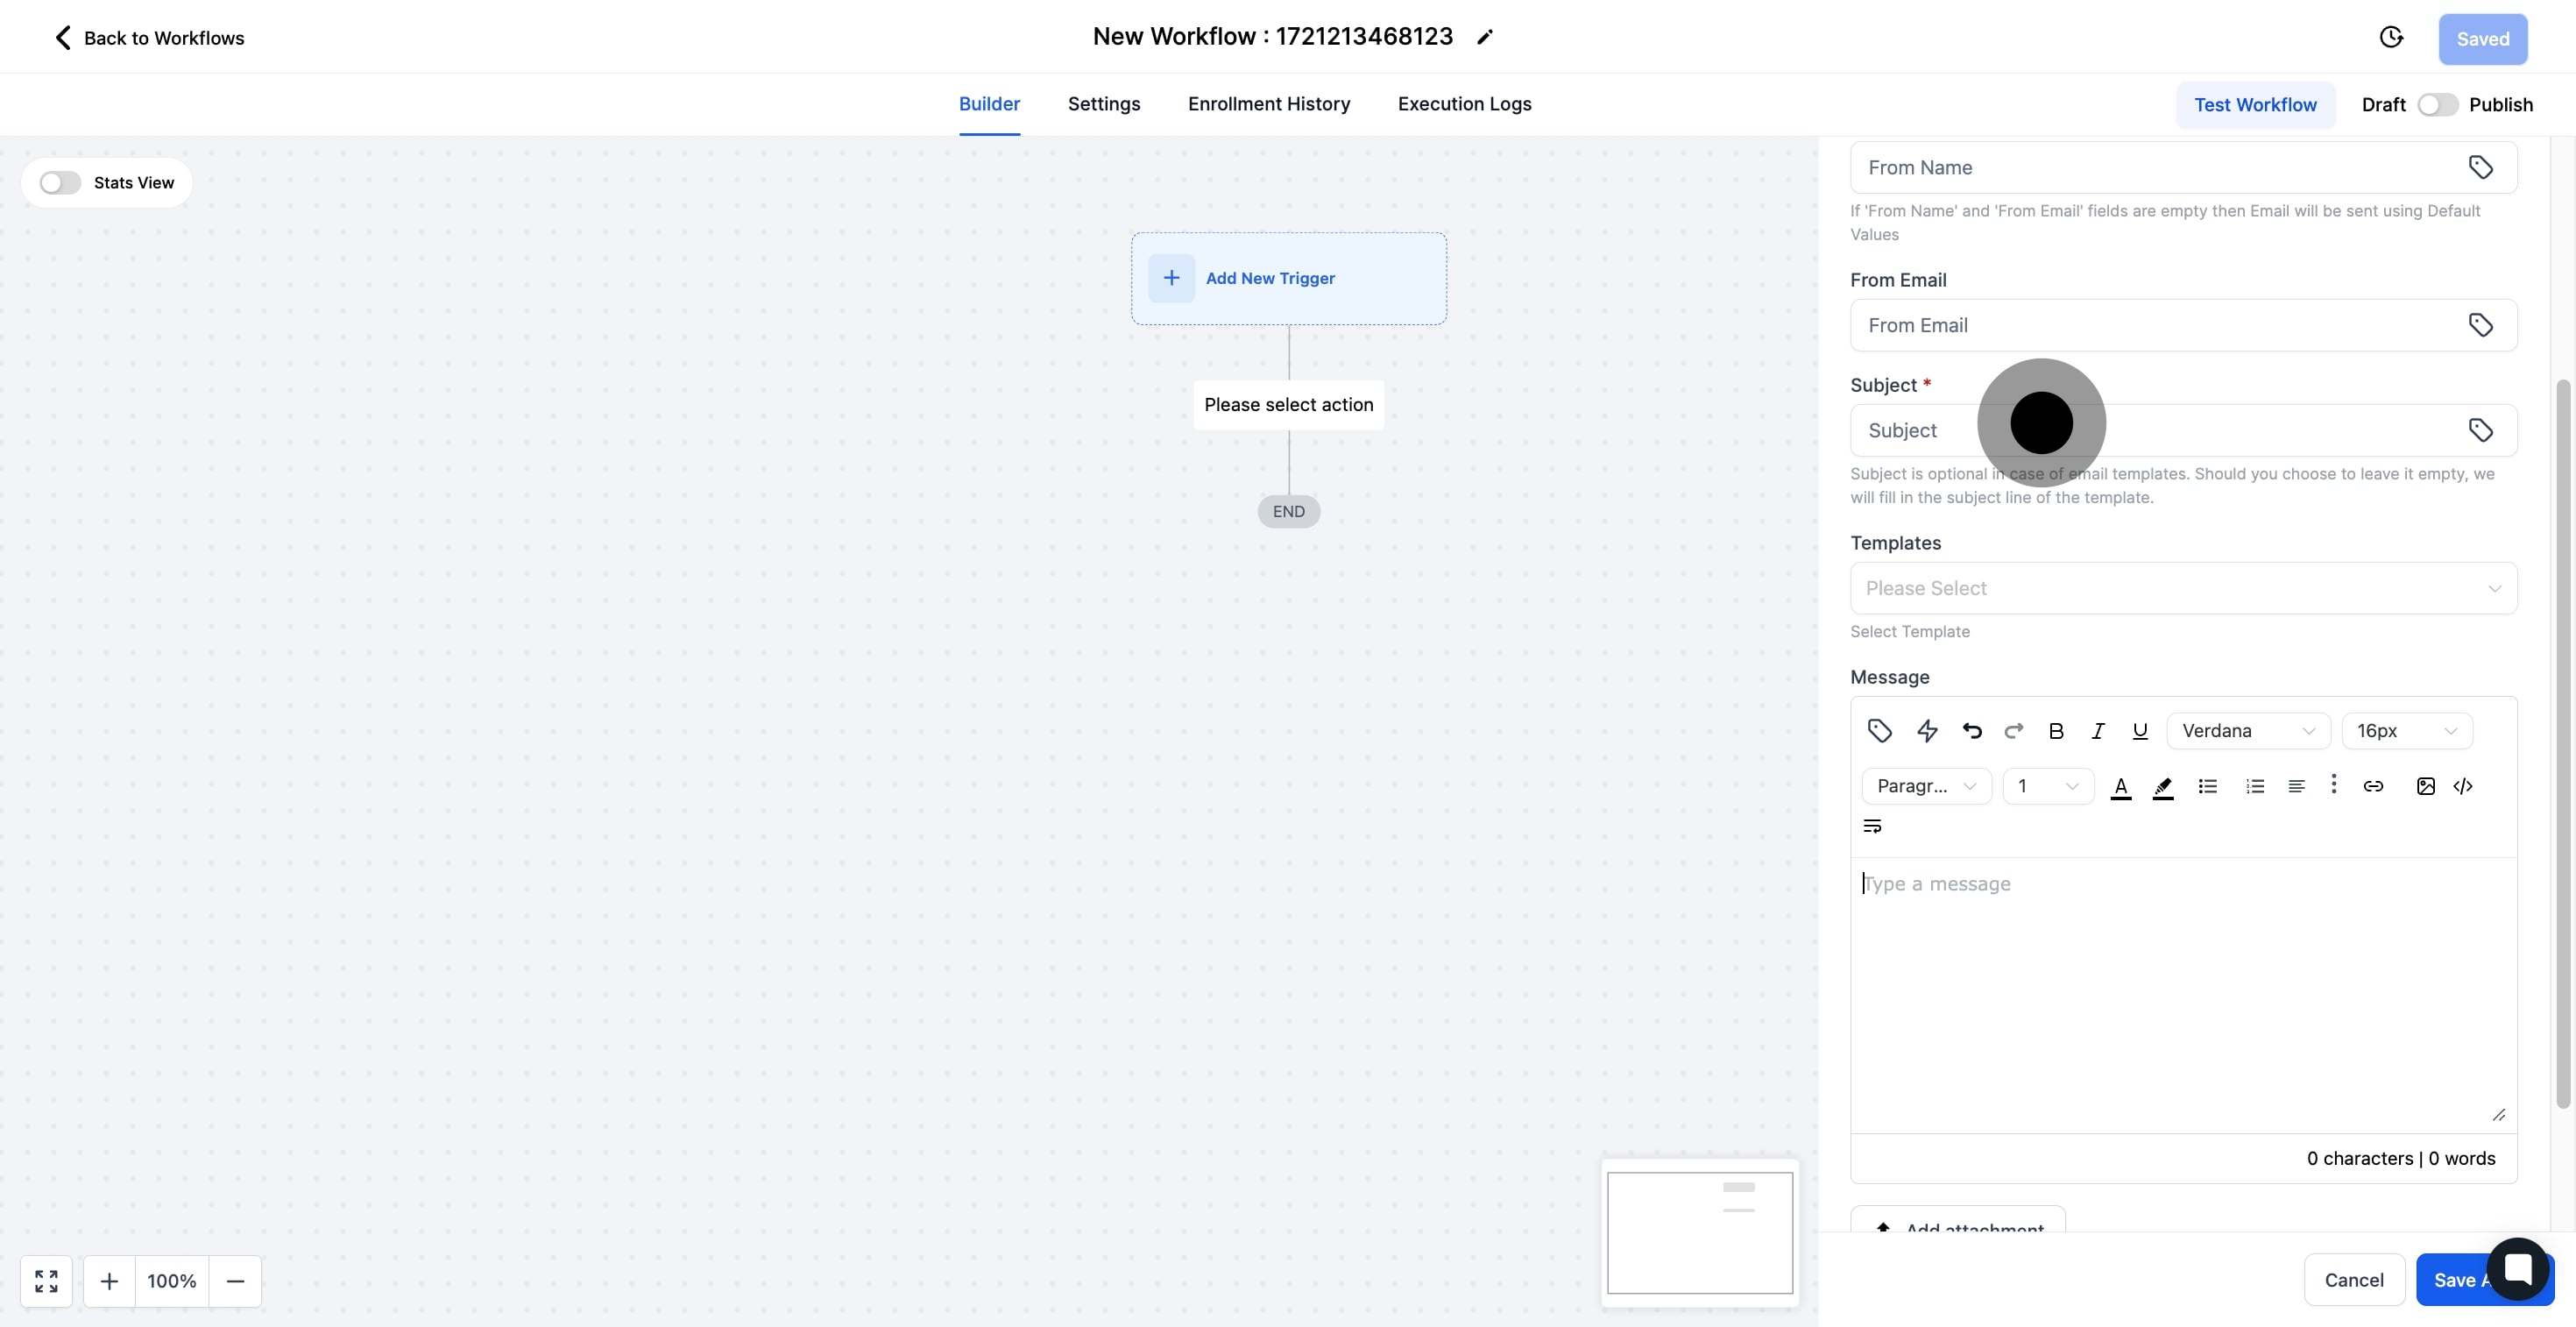
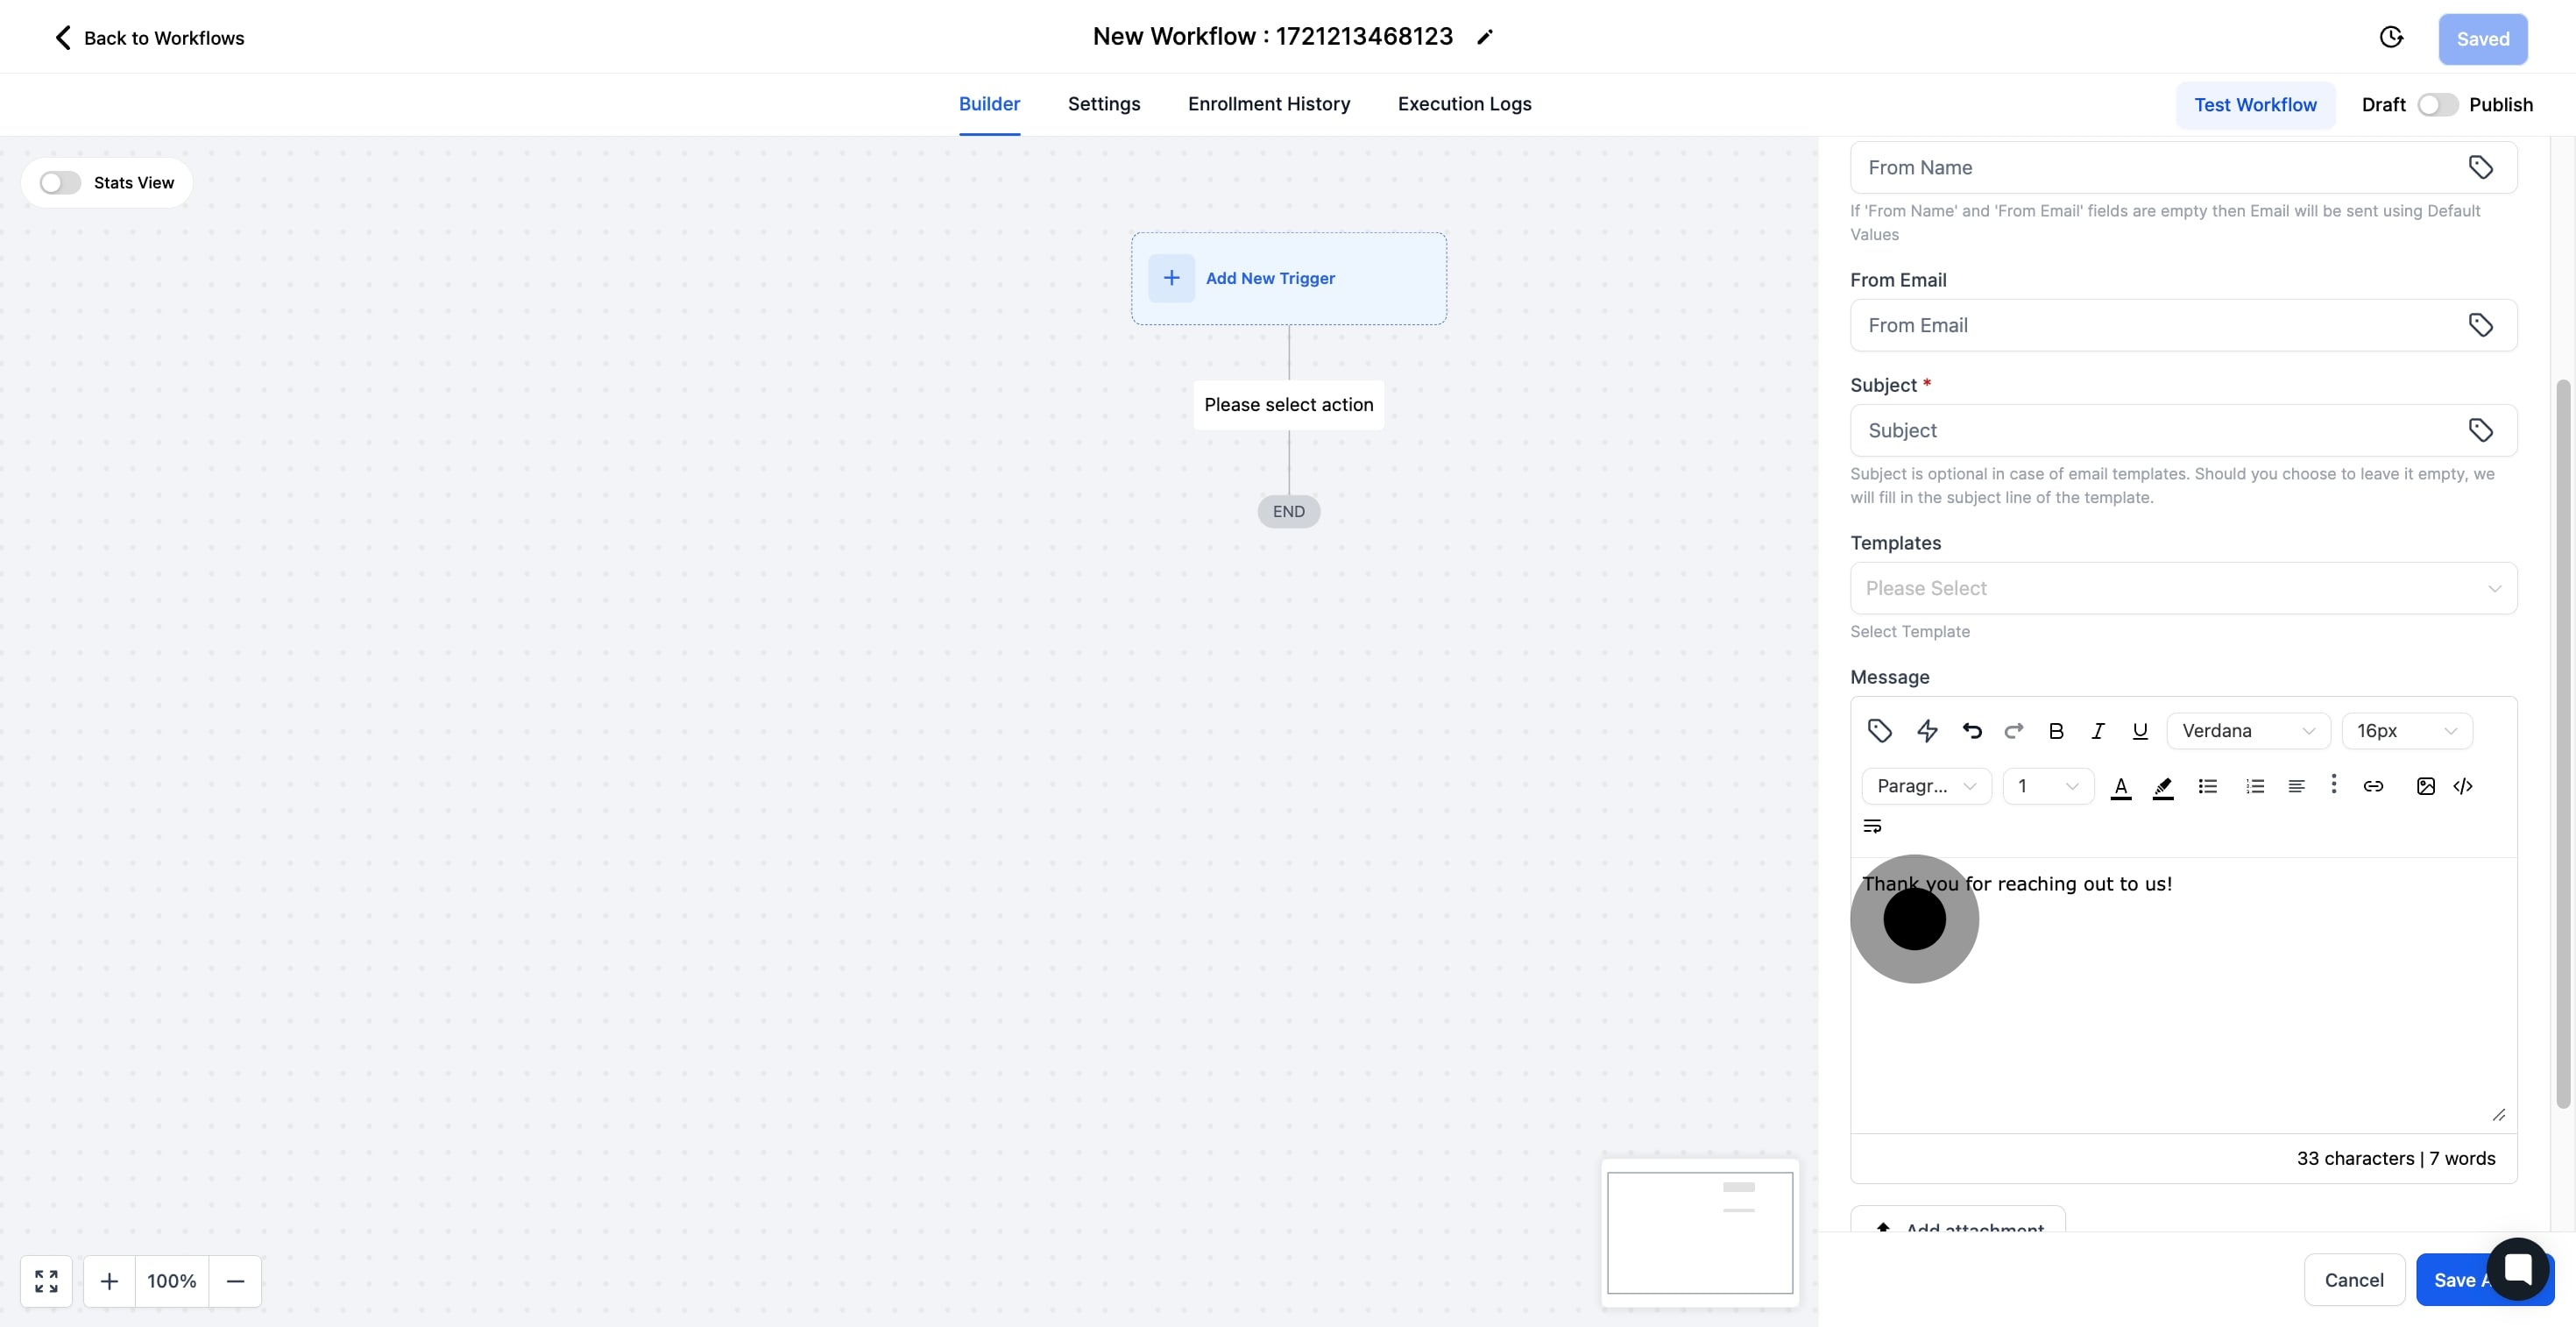
11. Write a personalized email message for your client.

11 Once that's done, click on "Thank you for reaching out to us!".

12. Optionally, select a pre-defined template for the email.

12 Click here.

13. Finally, click 'Save Action' to finalize your email setup.

13 Then, click on "Save Action".

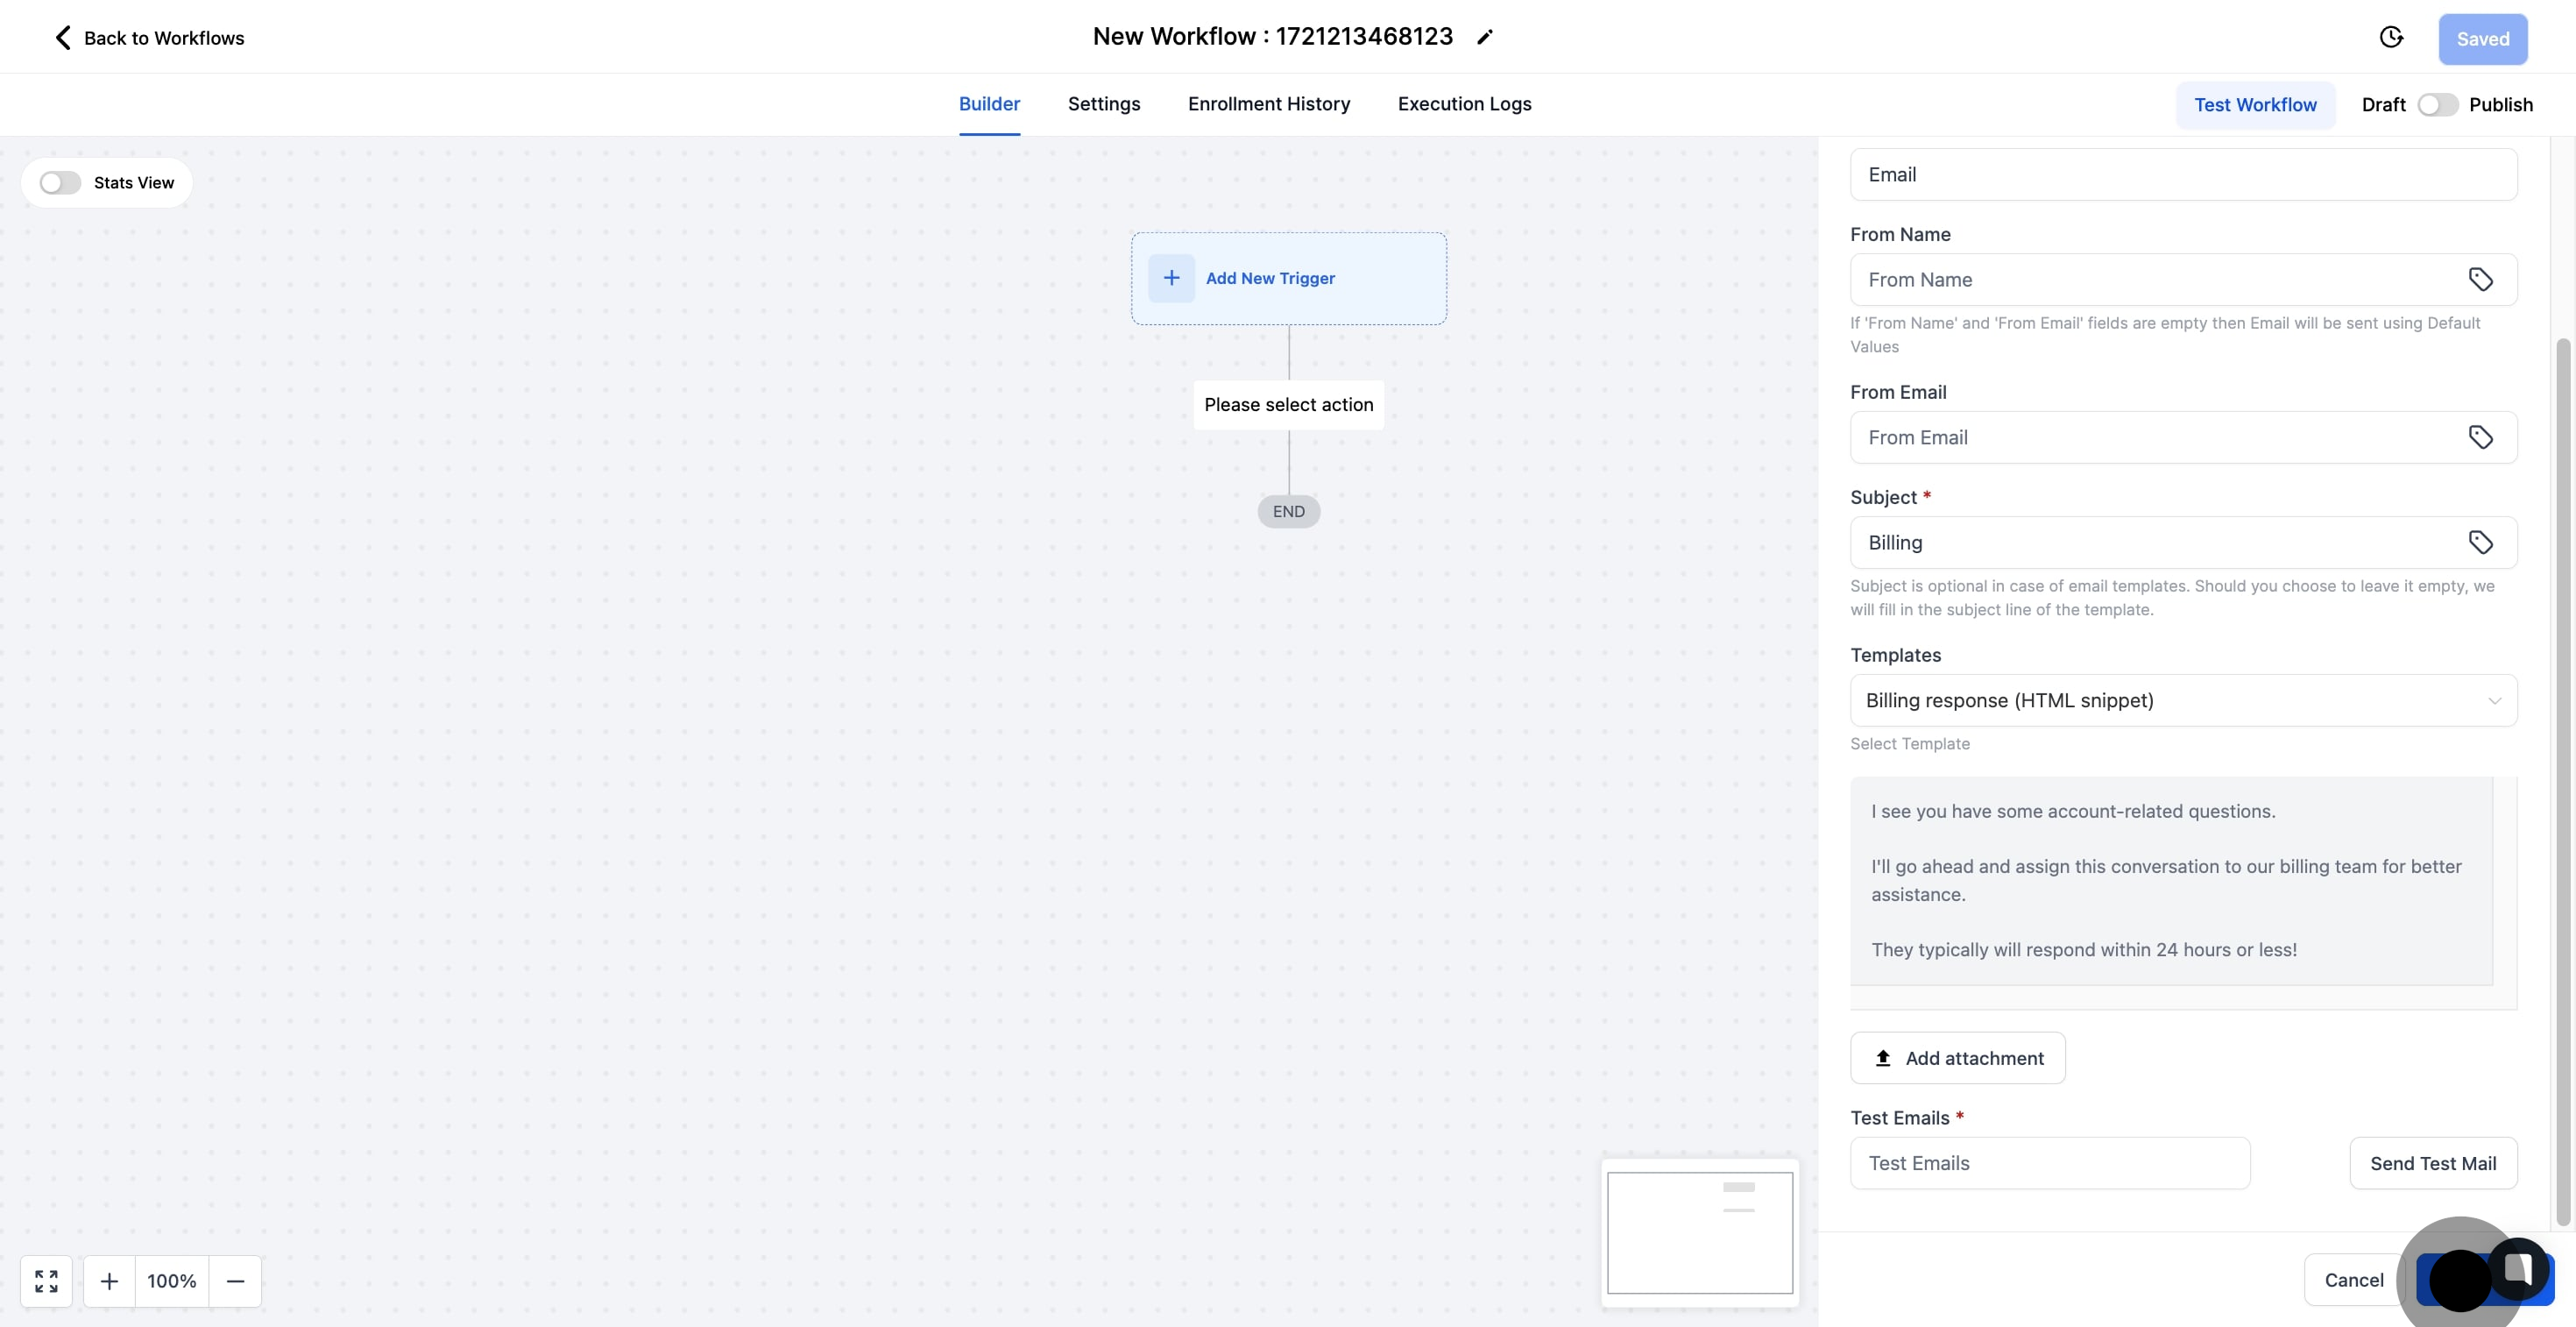
14. Review your email action setup to ensure accuracy.

14 Click on the element.

Did this answer your question?
😞
😐
😁