How to Add a Send SMS Action to Your Workflow

Enhance your workflow automation by learning how to add a send SMS action to your process. This article provides a detailed, step-by-step guide on setting up SMS actions within your workflow, allowing you to automate text message communications and keep your contacts informed efficiently. Ideal for users looking to improve their workflow efficiency and ensure timely communication through automated SMS notifications.


1. Begin by clicking on automation.

1 Click on "automation".

2. Next, select Create Workflow.

2 After, click on "Create Workflow".

3. Then, choose Start from Scratch.

3 Click on "Start from Scratch".

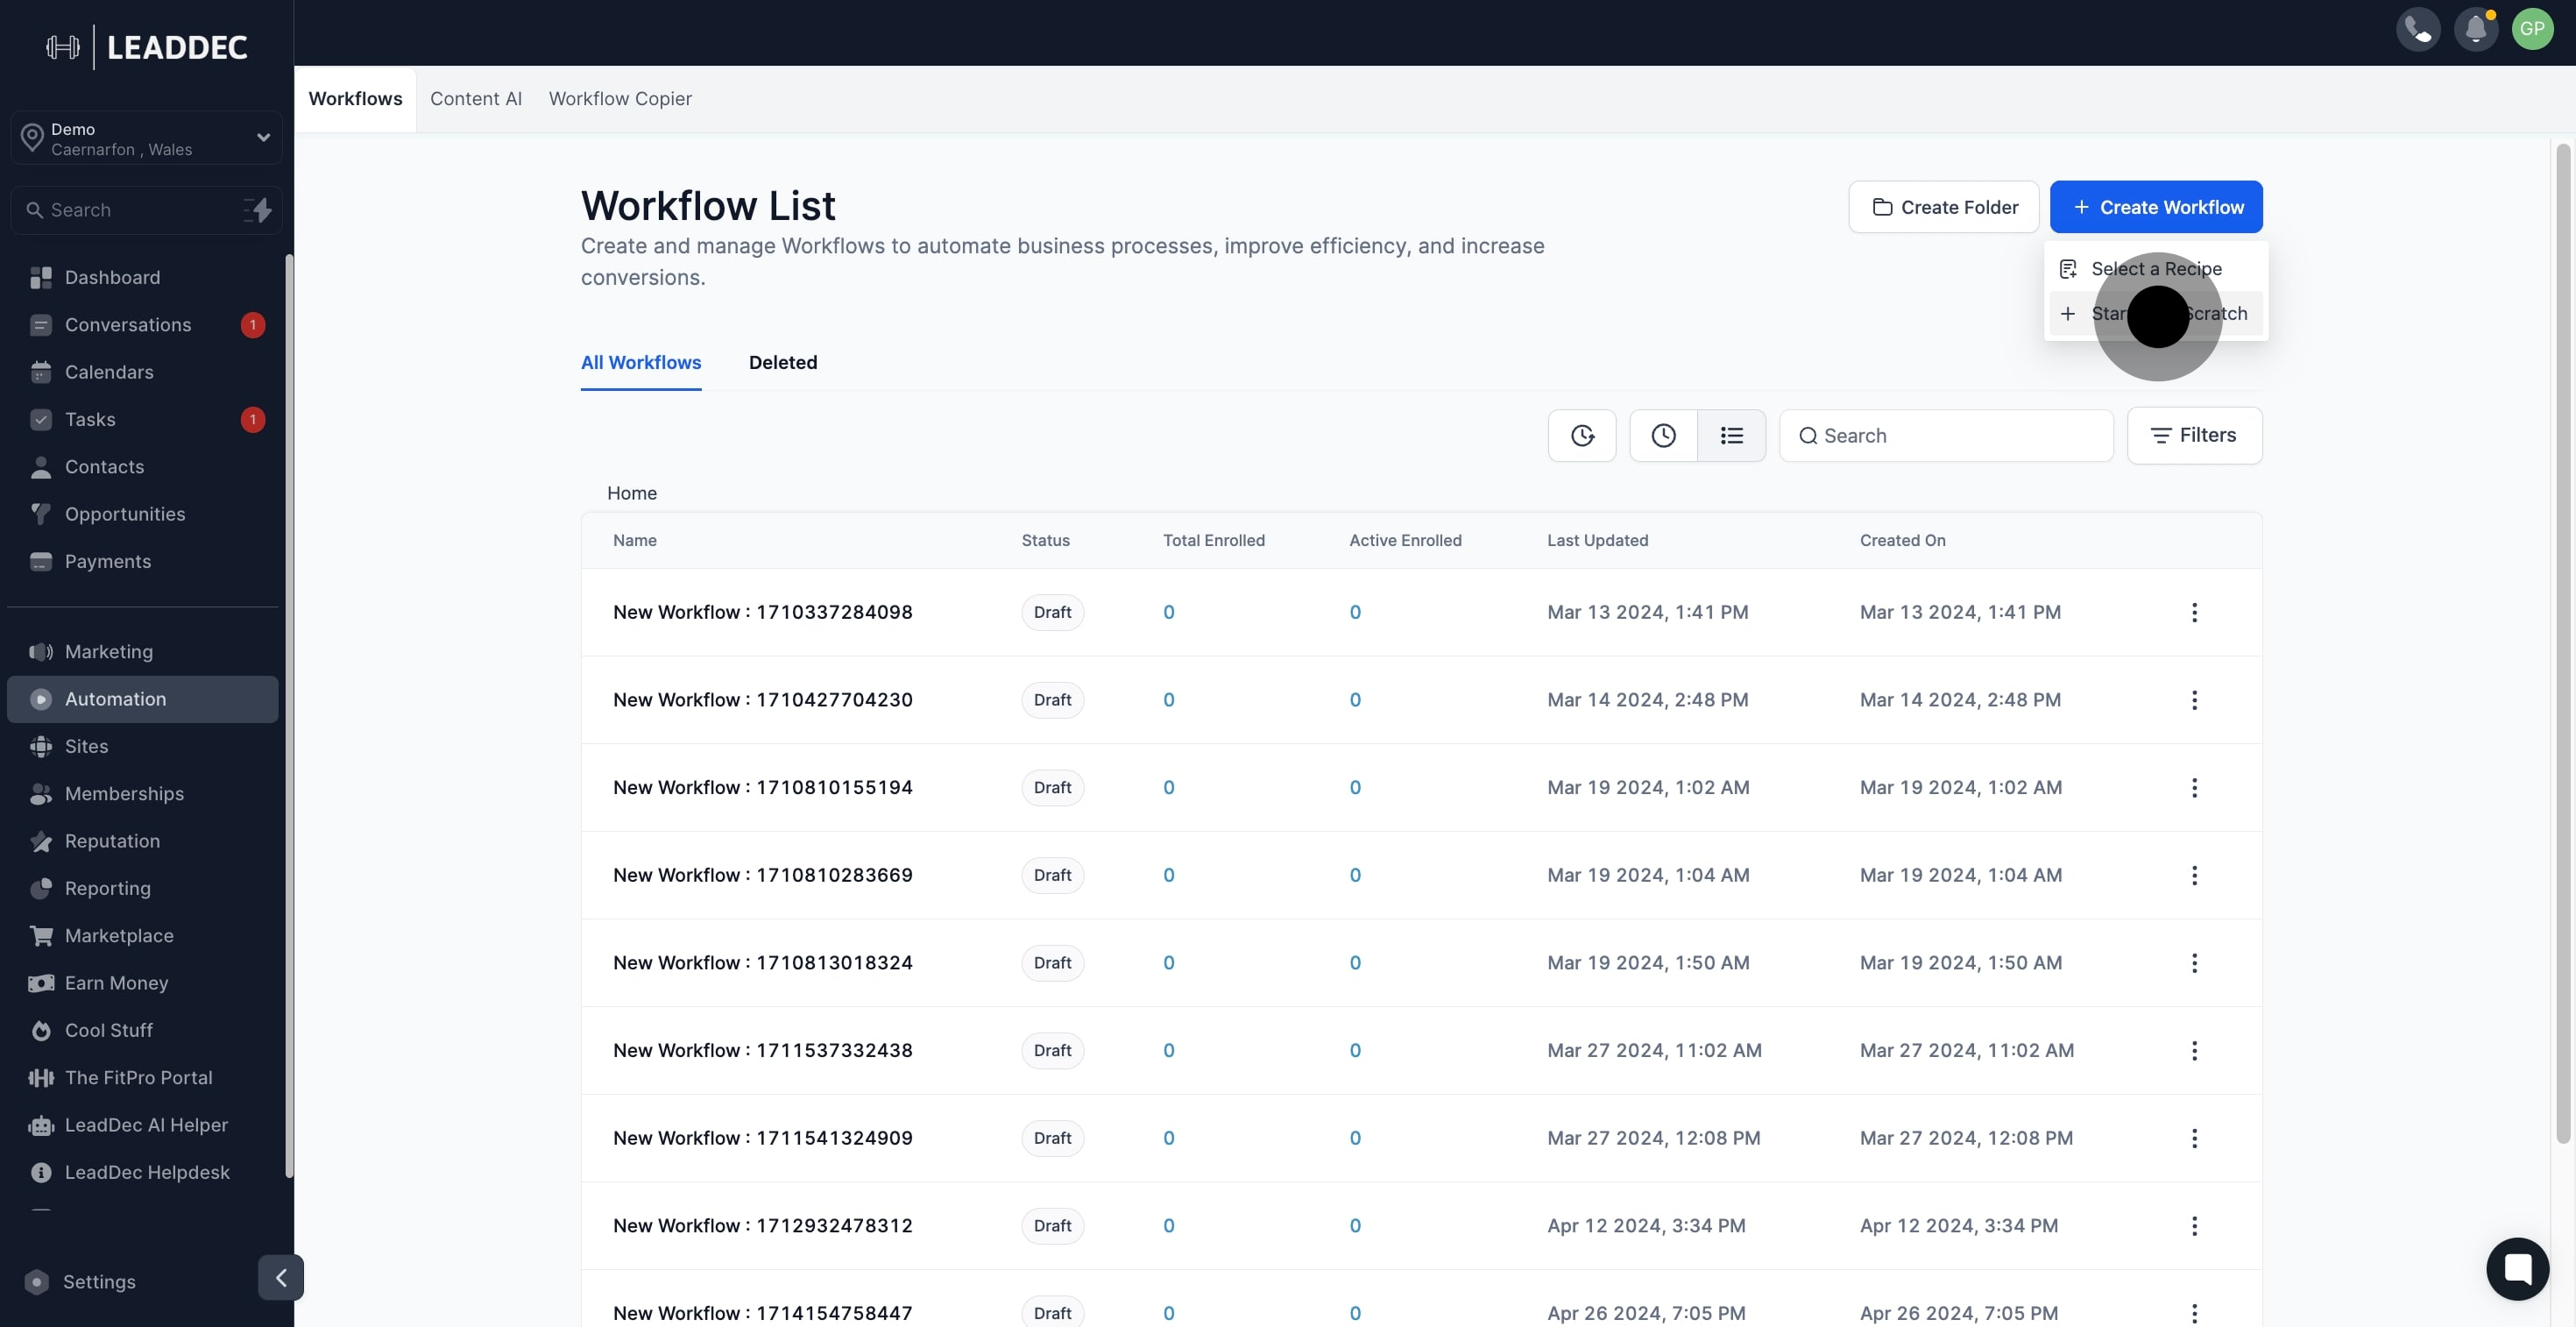
4. Again, click Start from Scratch.

4 Now, click on "Start from Scratch".

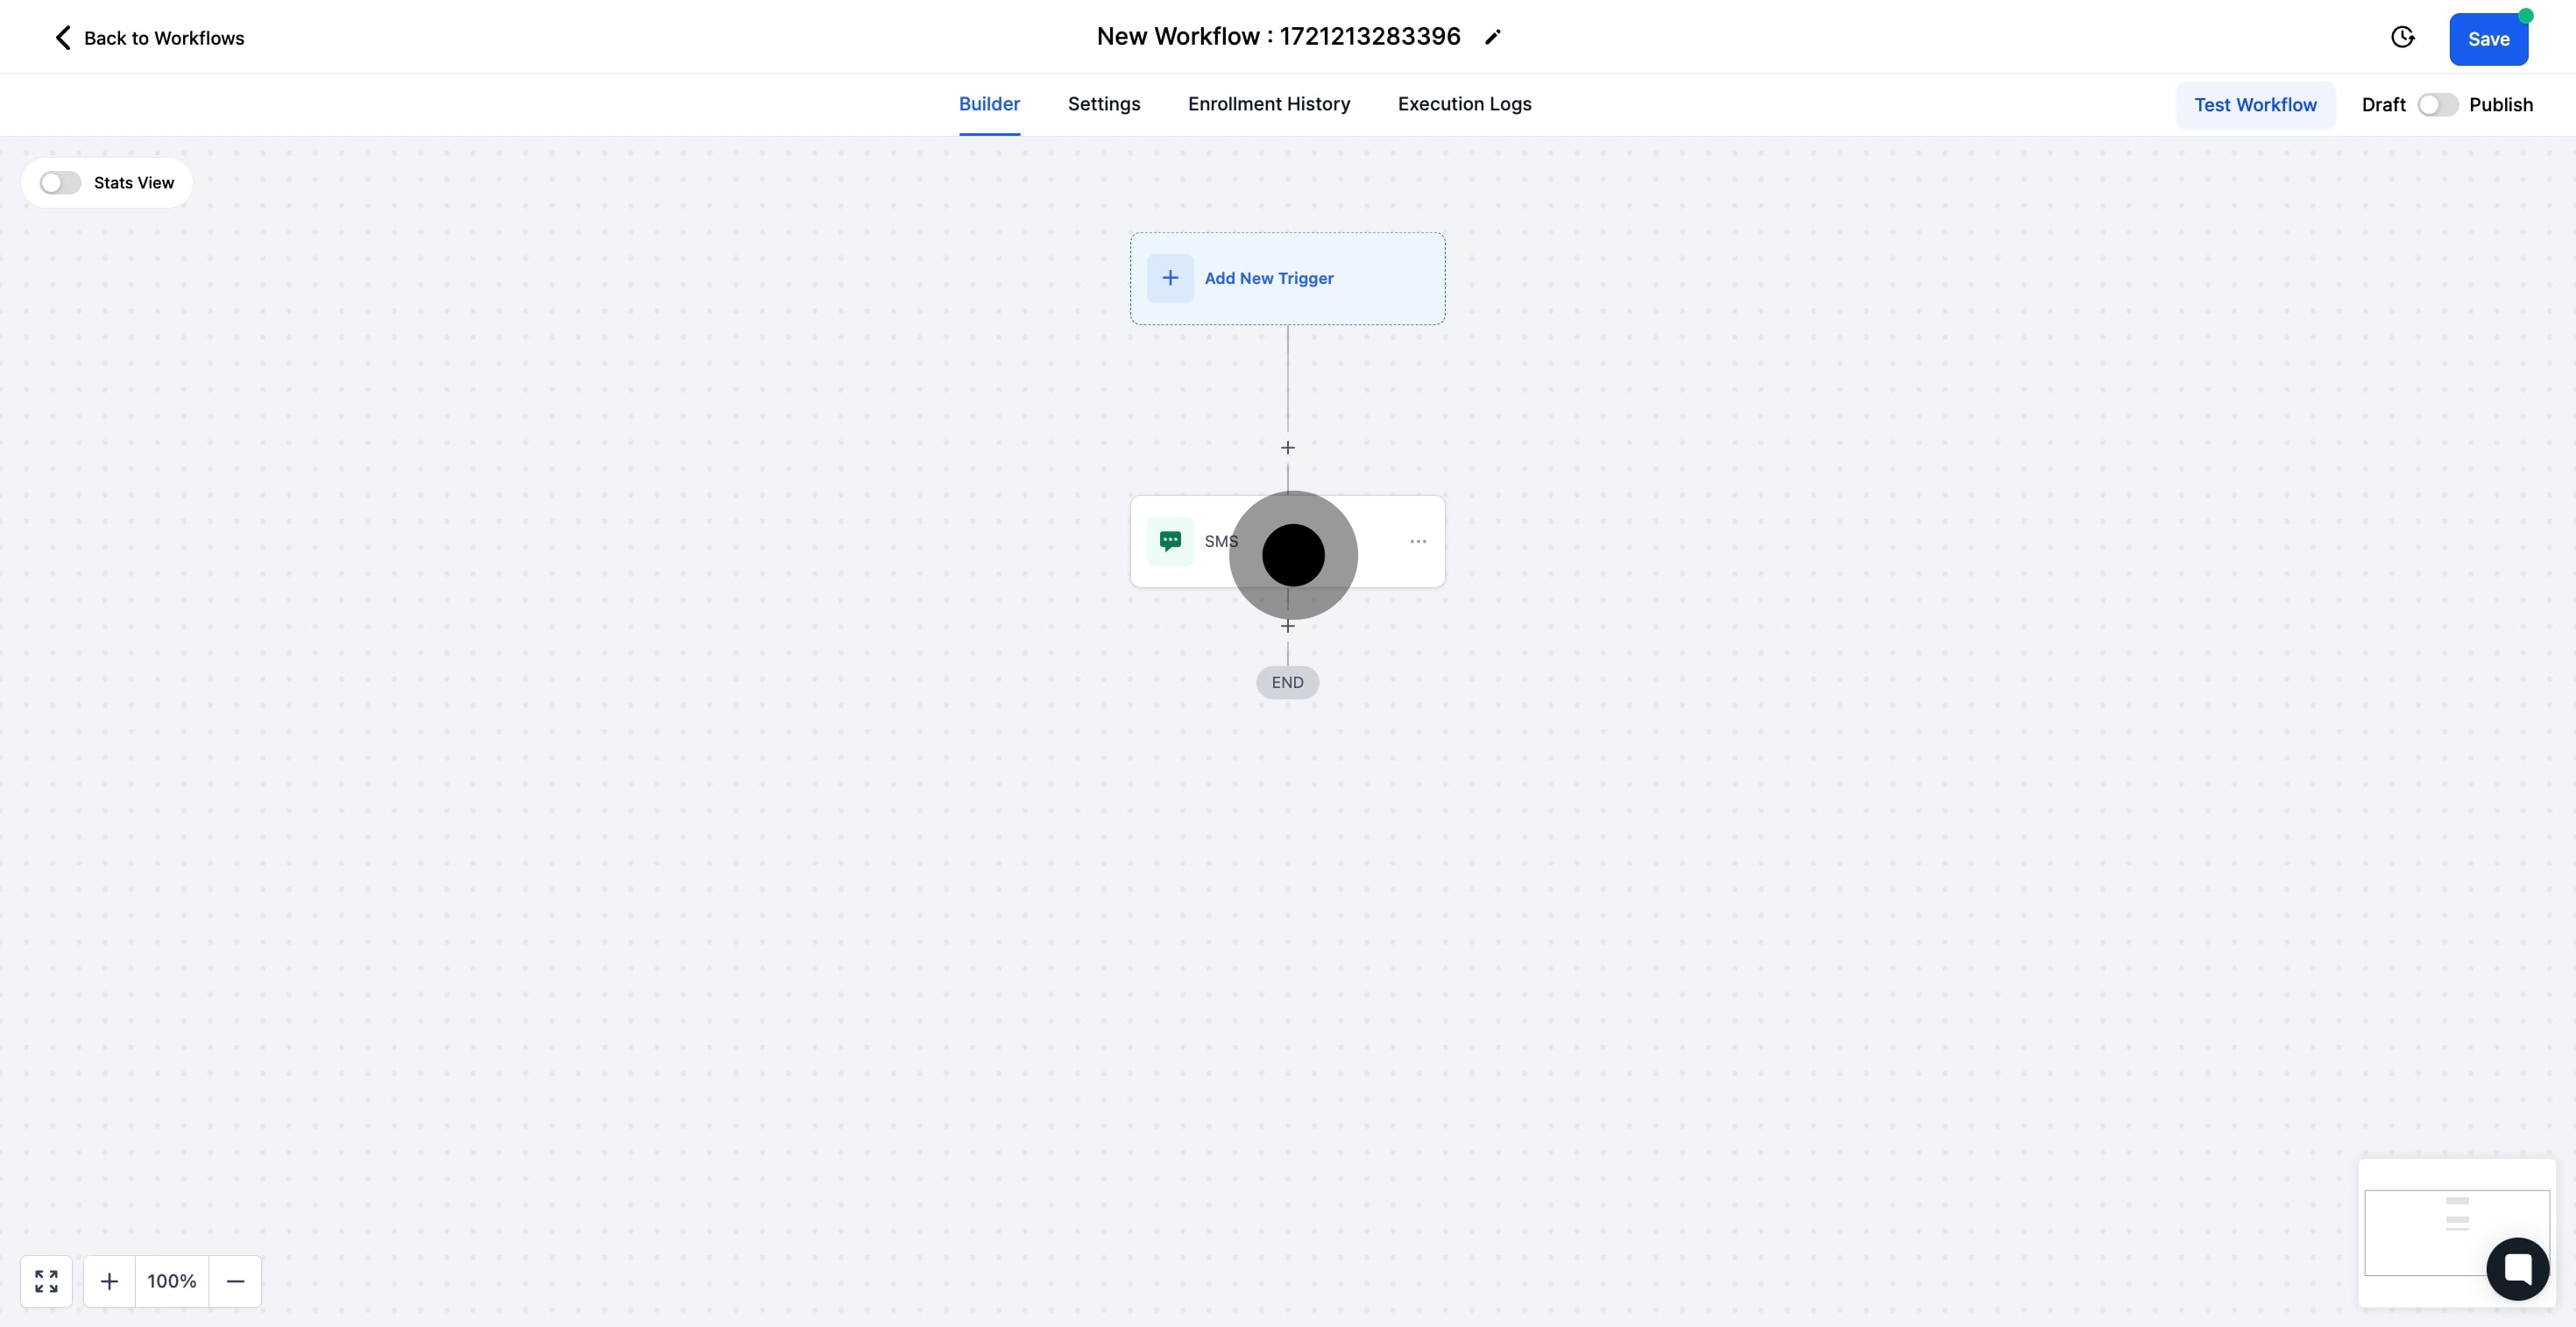
5. Now, add a new trigger to initiate the workflow.

5 Click on the element.

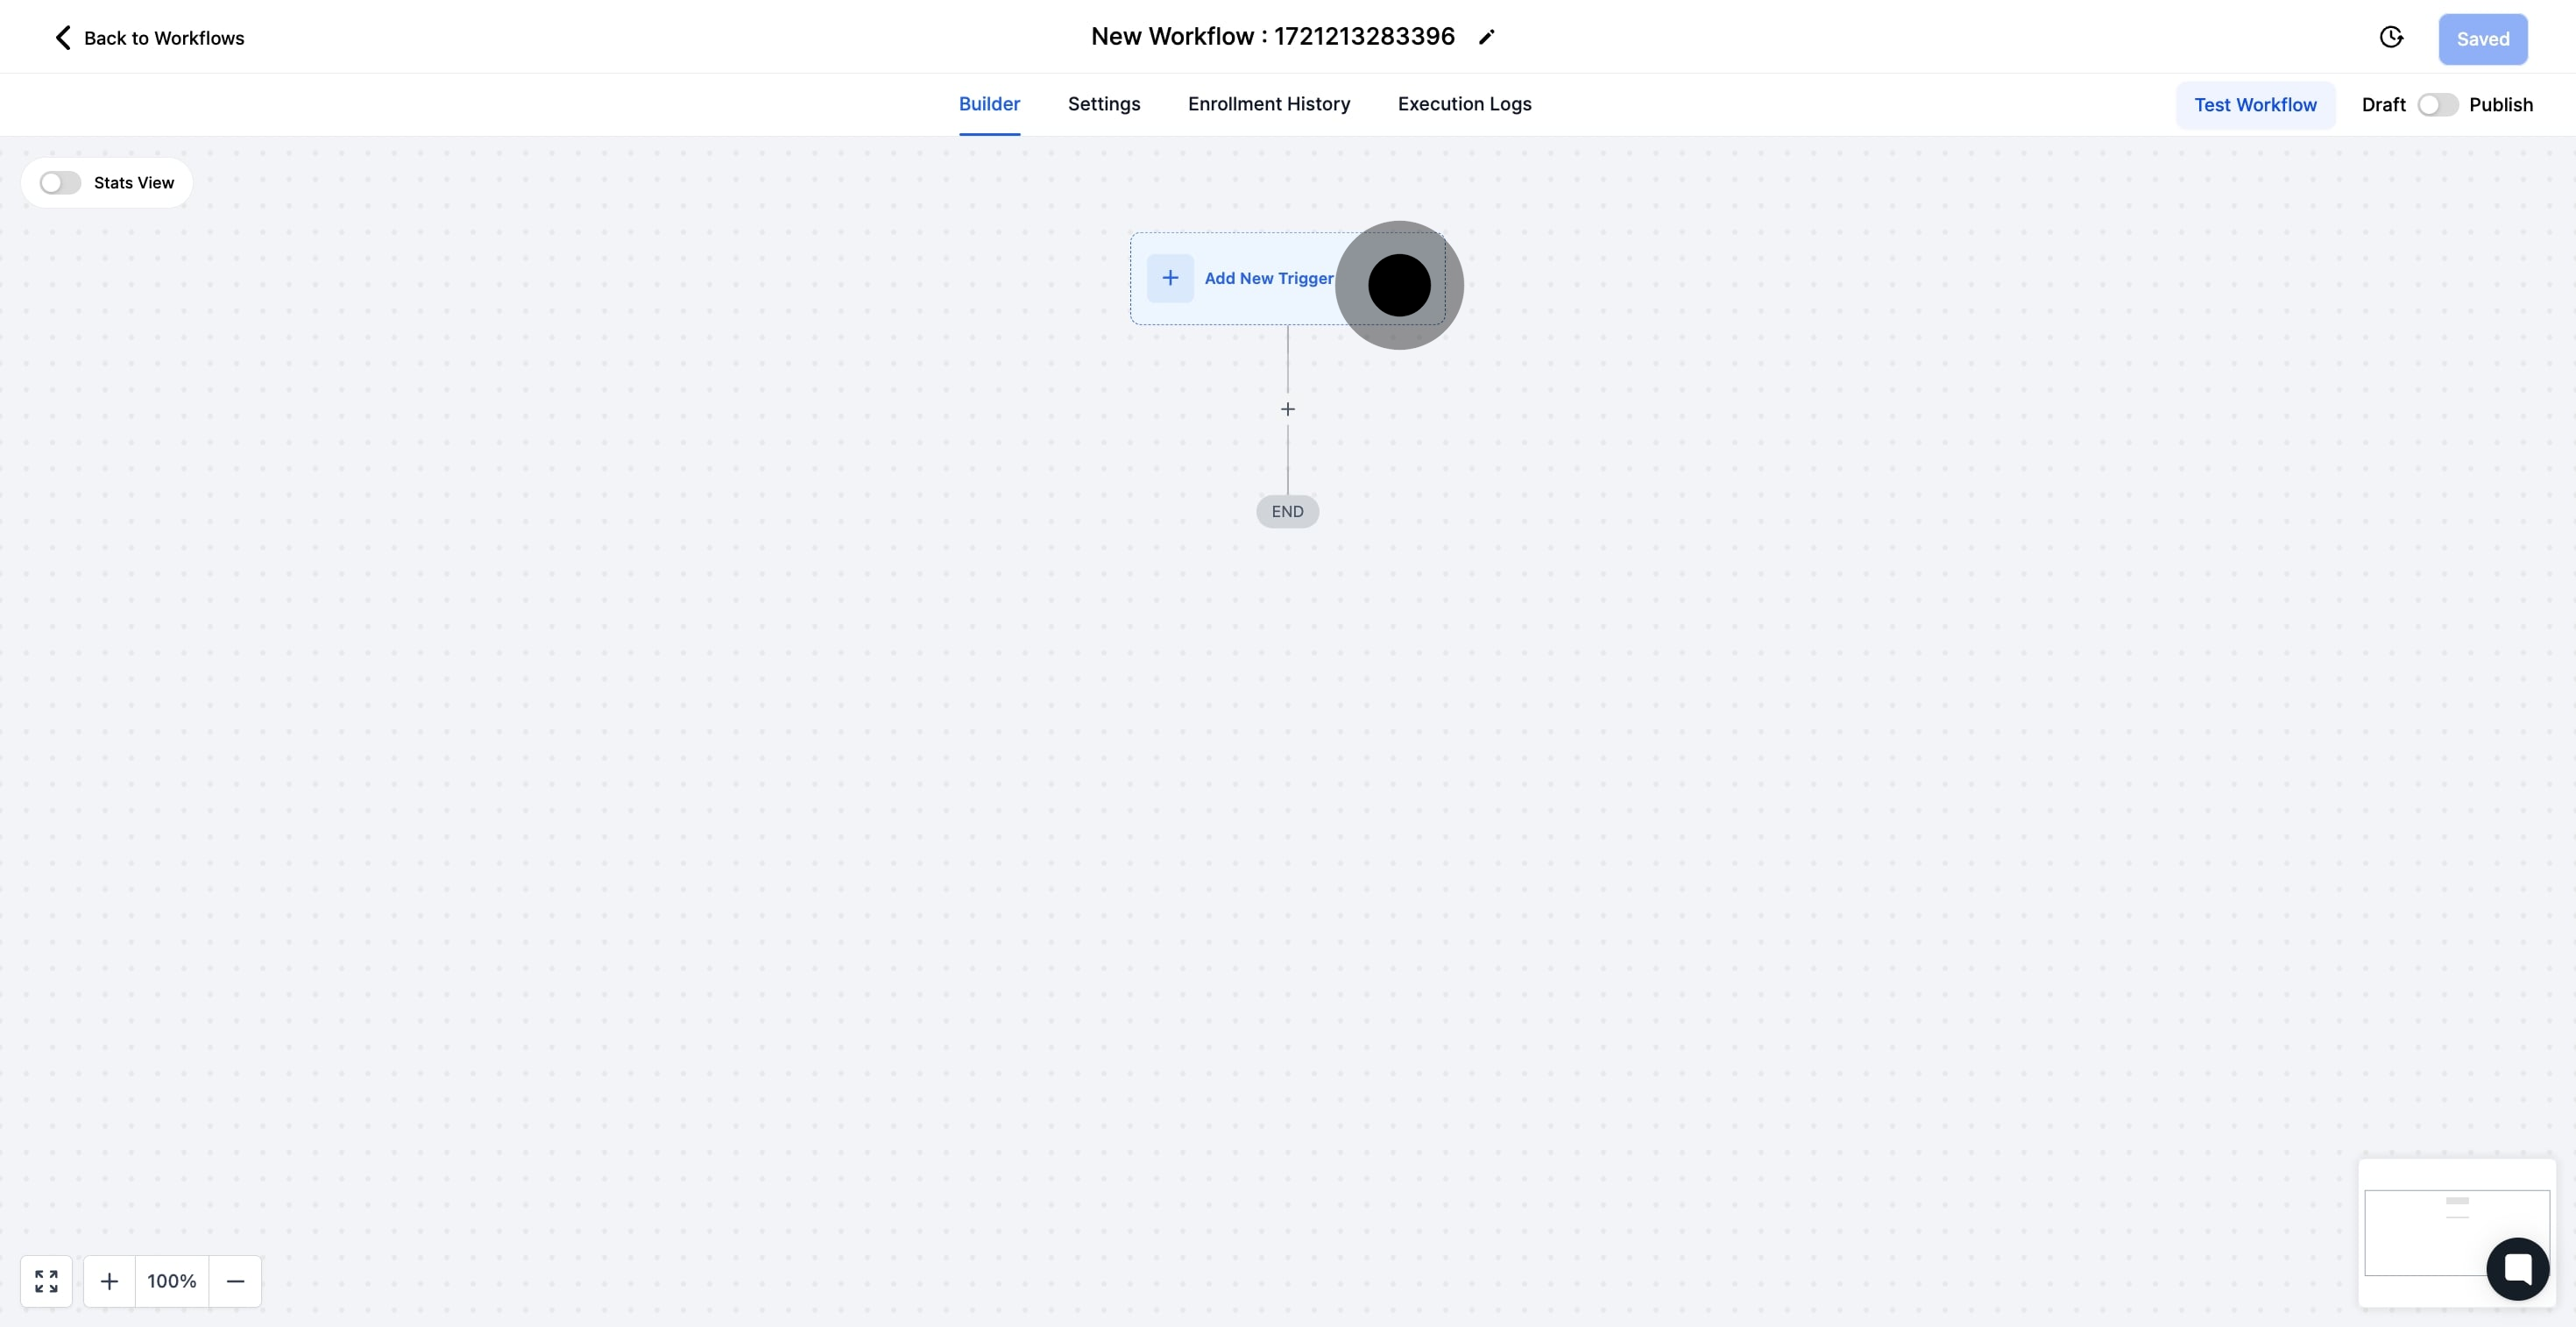
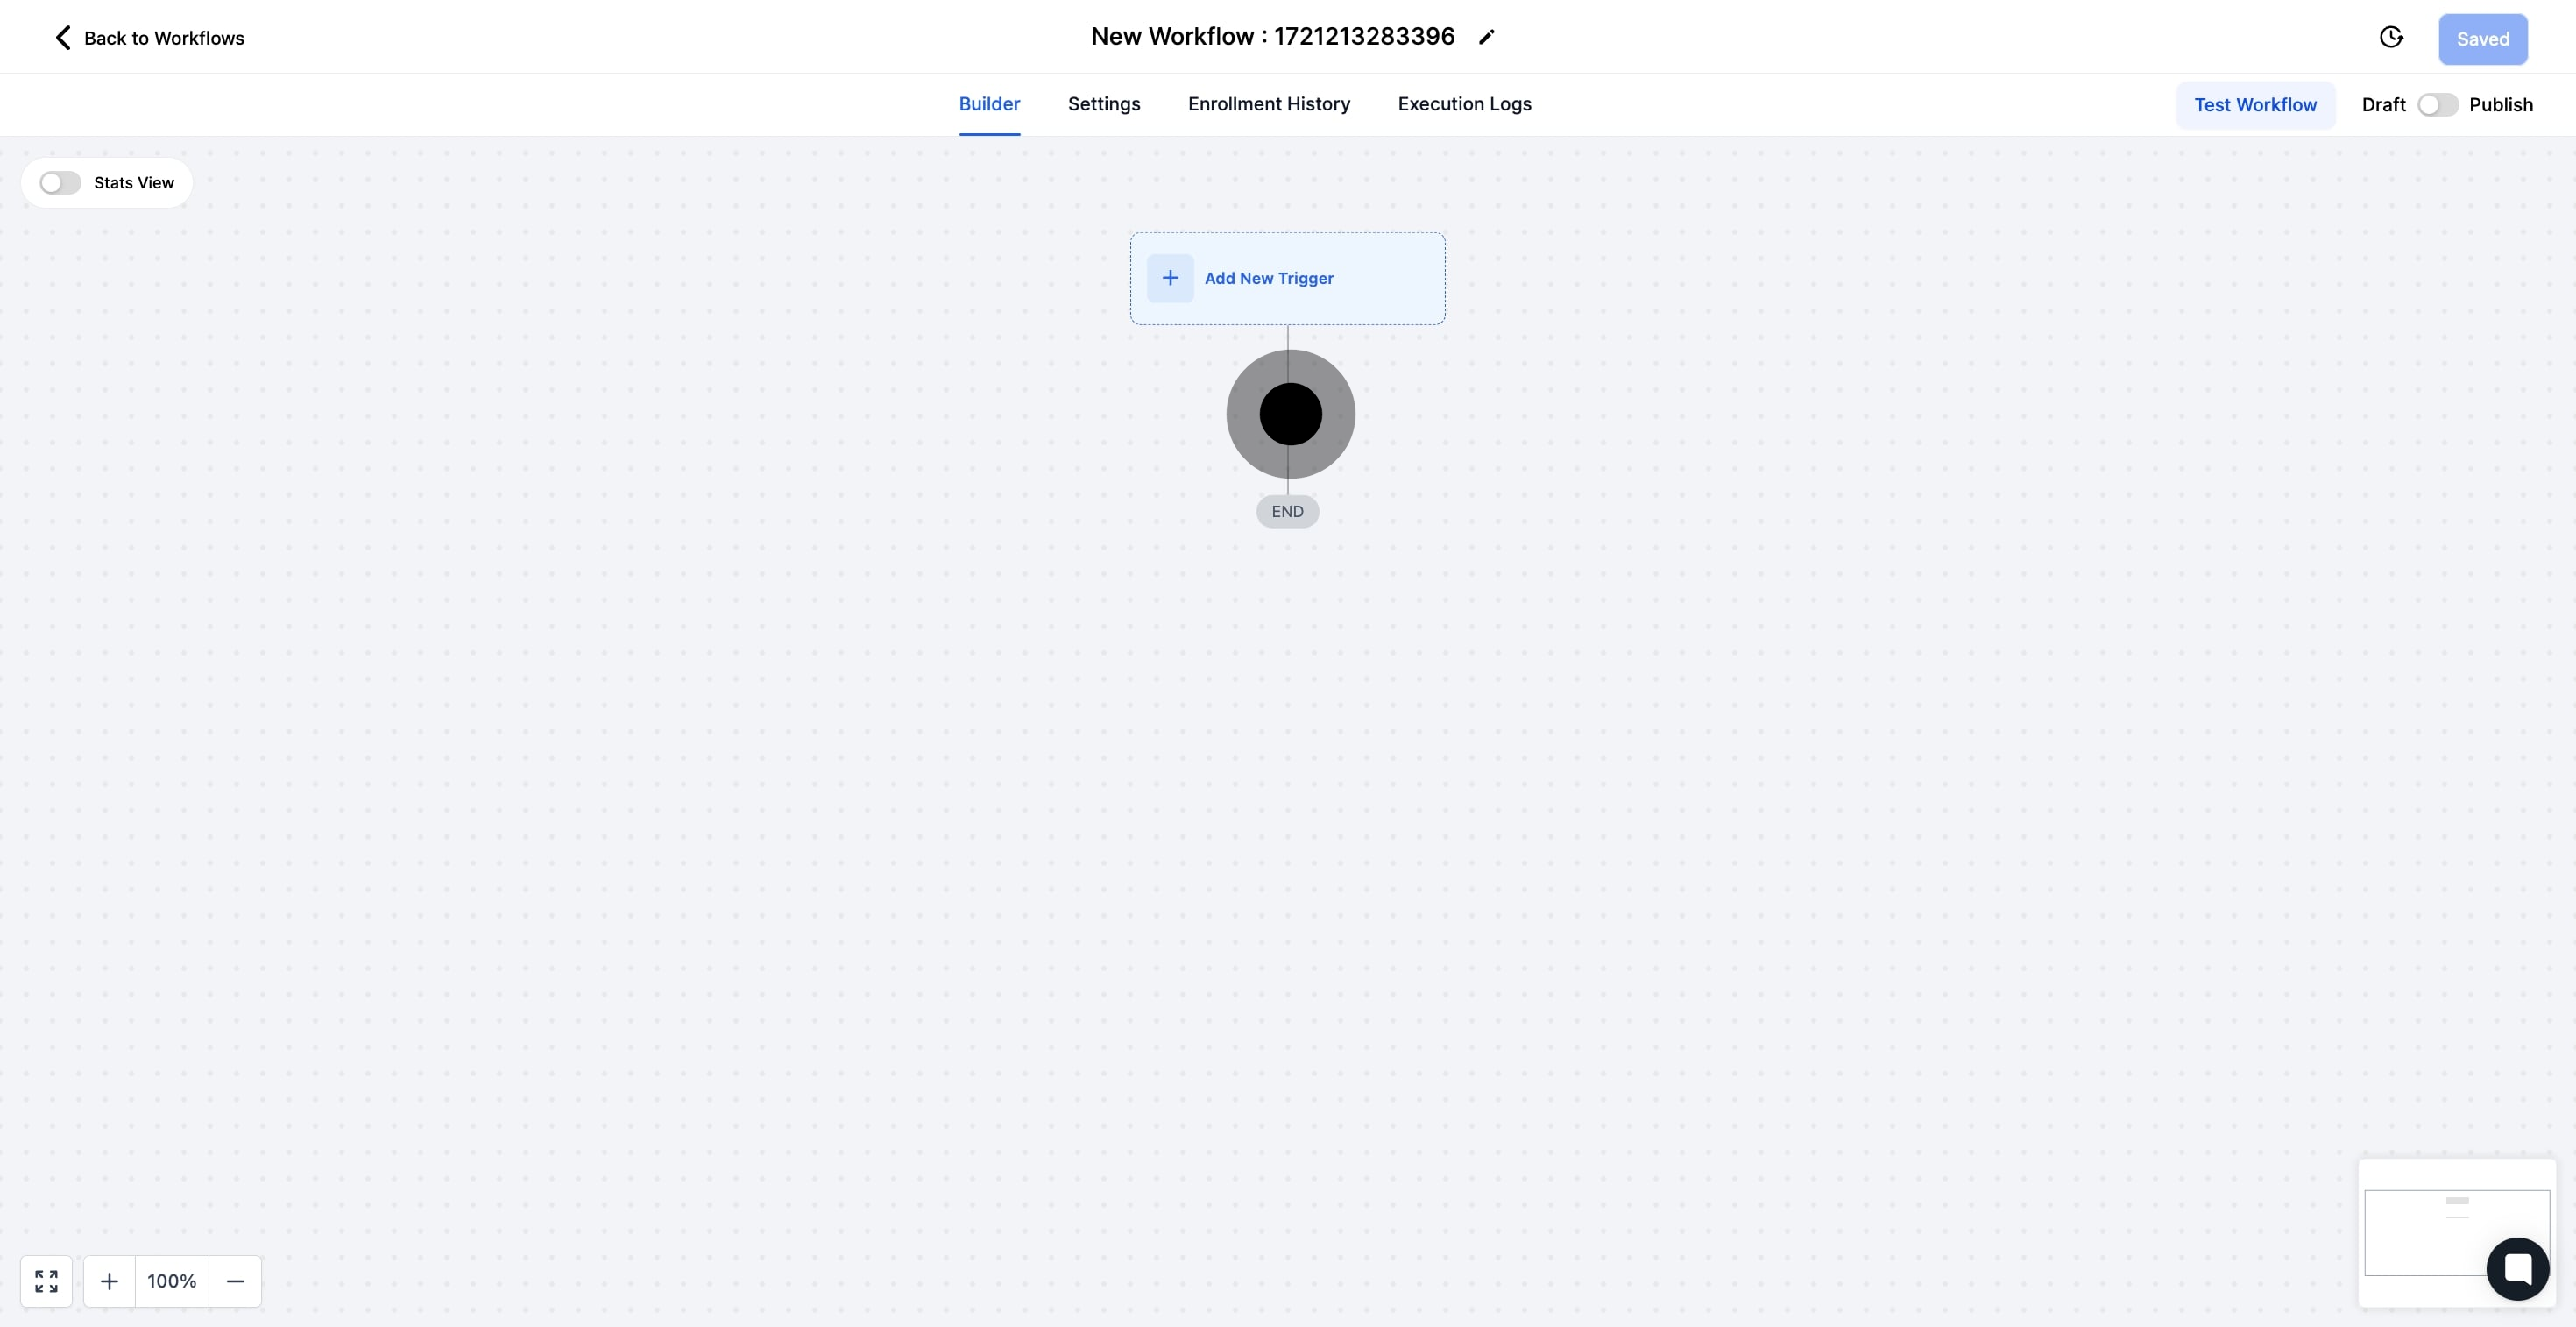
6. Continue by adding an action step.

6 Click on the element.

7. After adding the action, proceed by clicking Send SMS.

7 Afterwards, click on "actions".

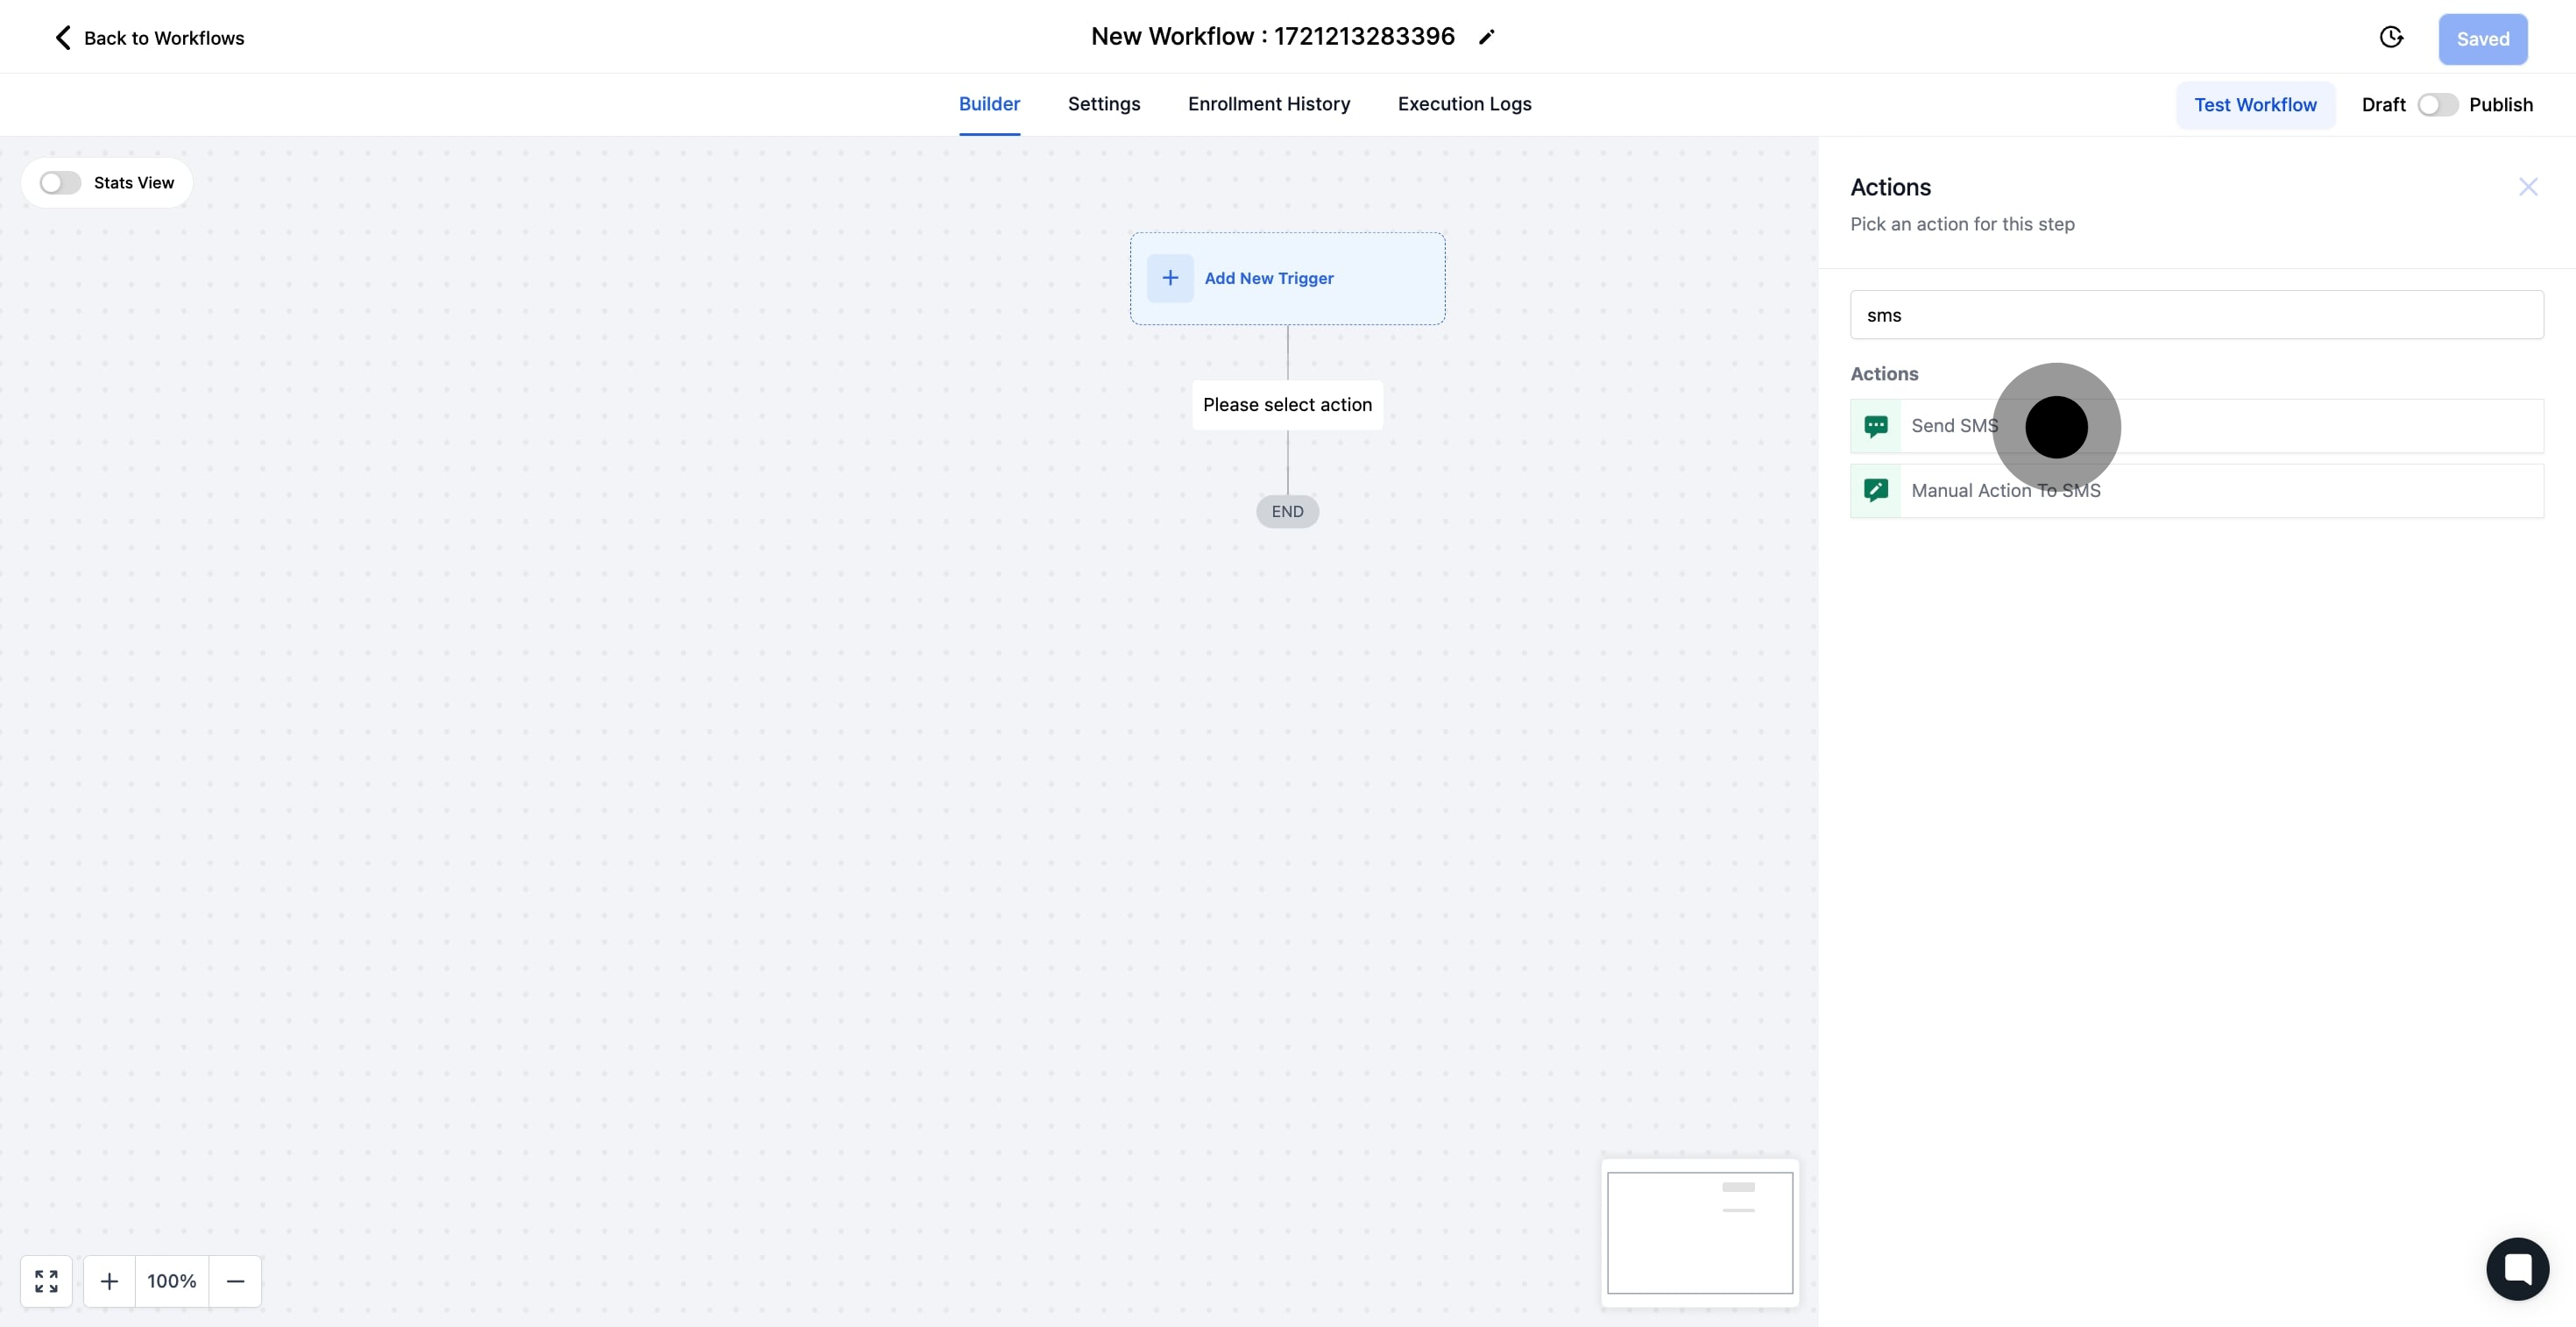
8. Enter a name for your action step.

8 Then, click here.

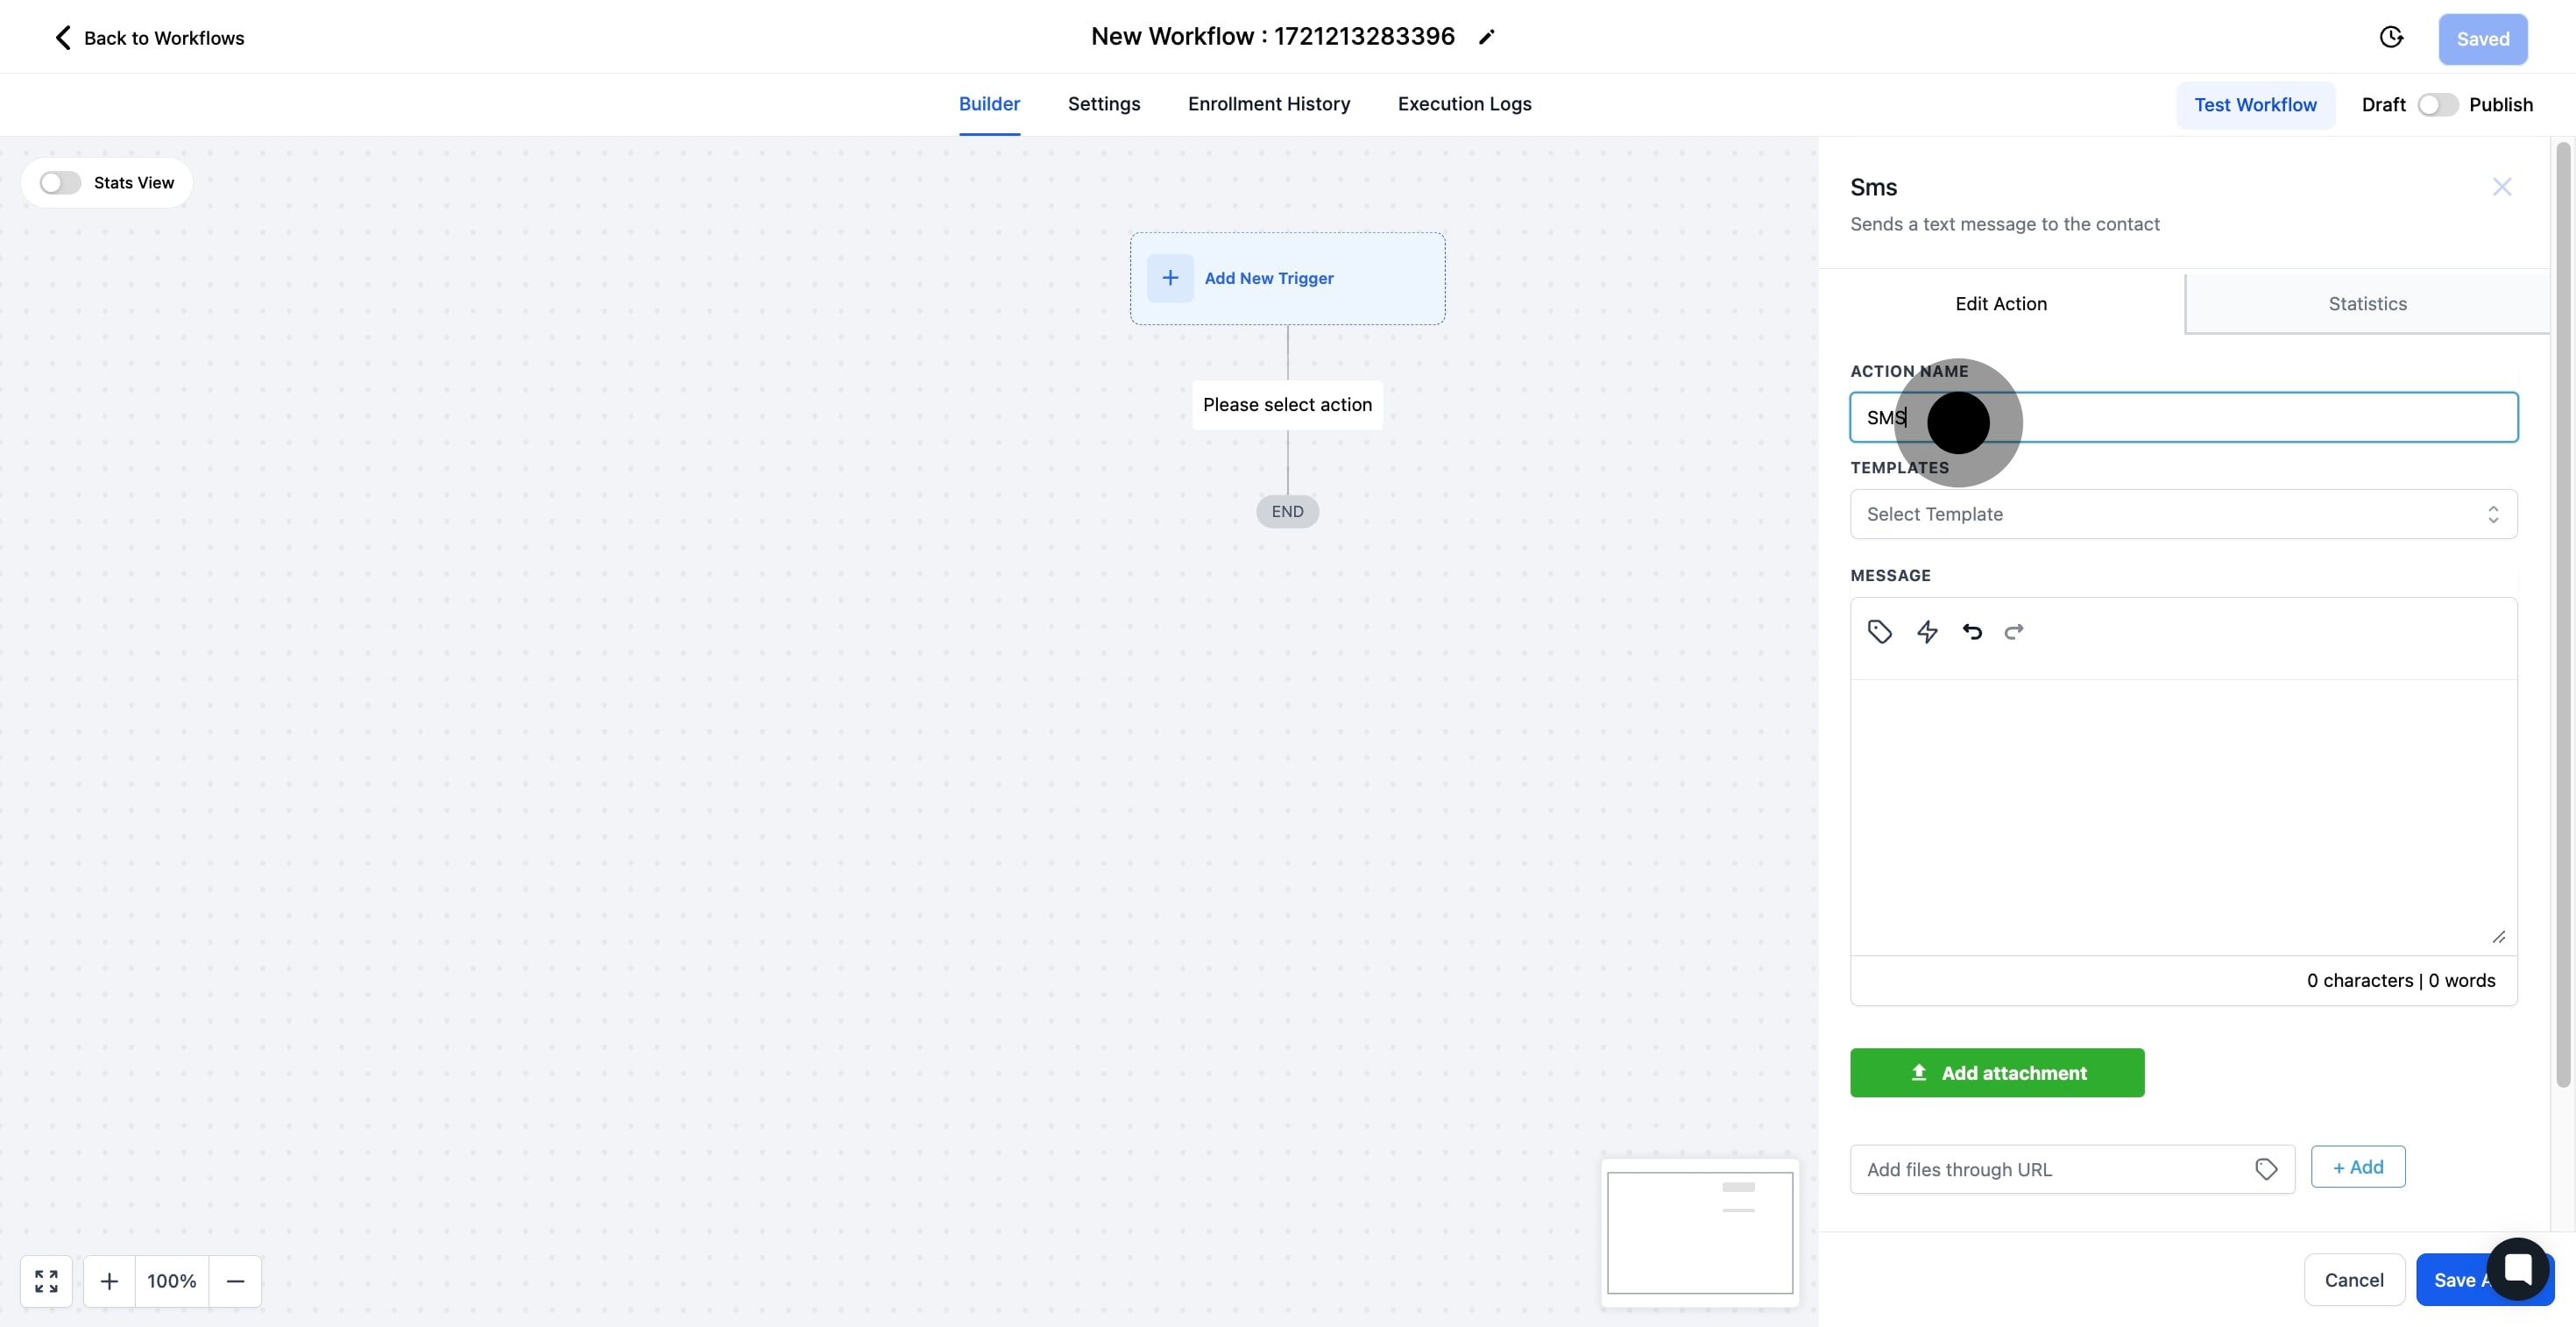
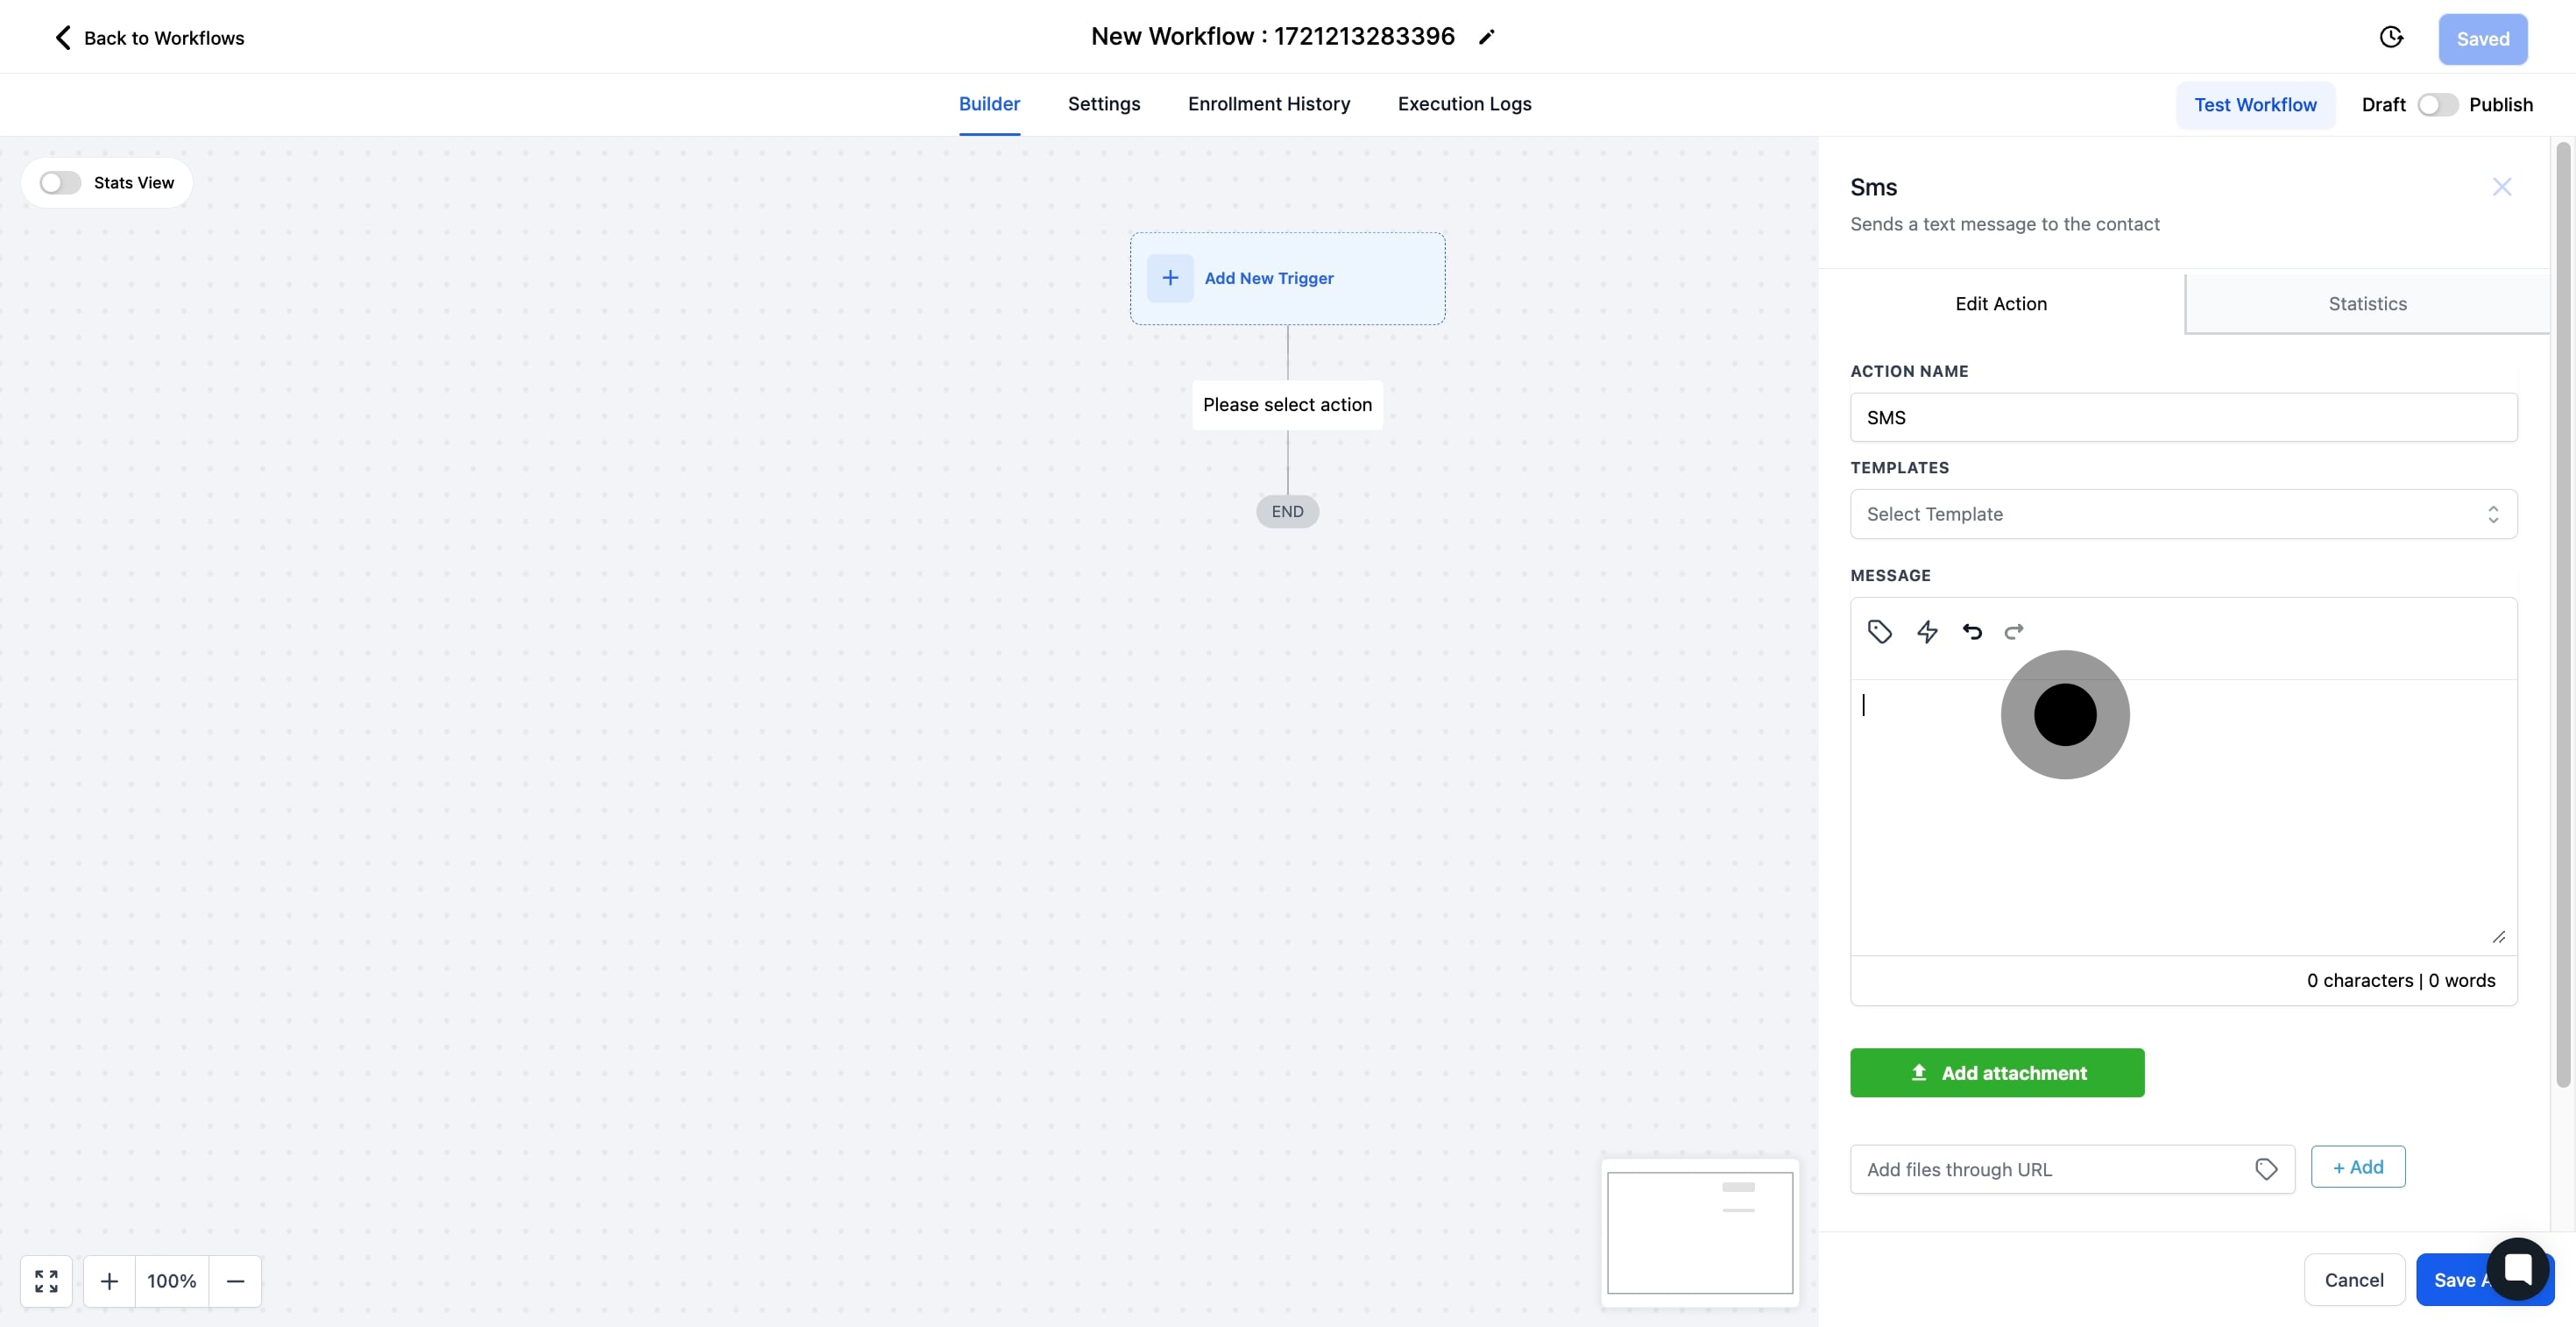
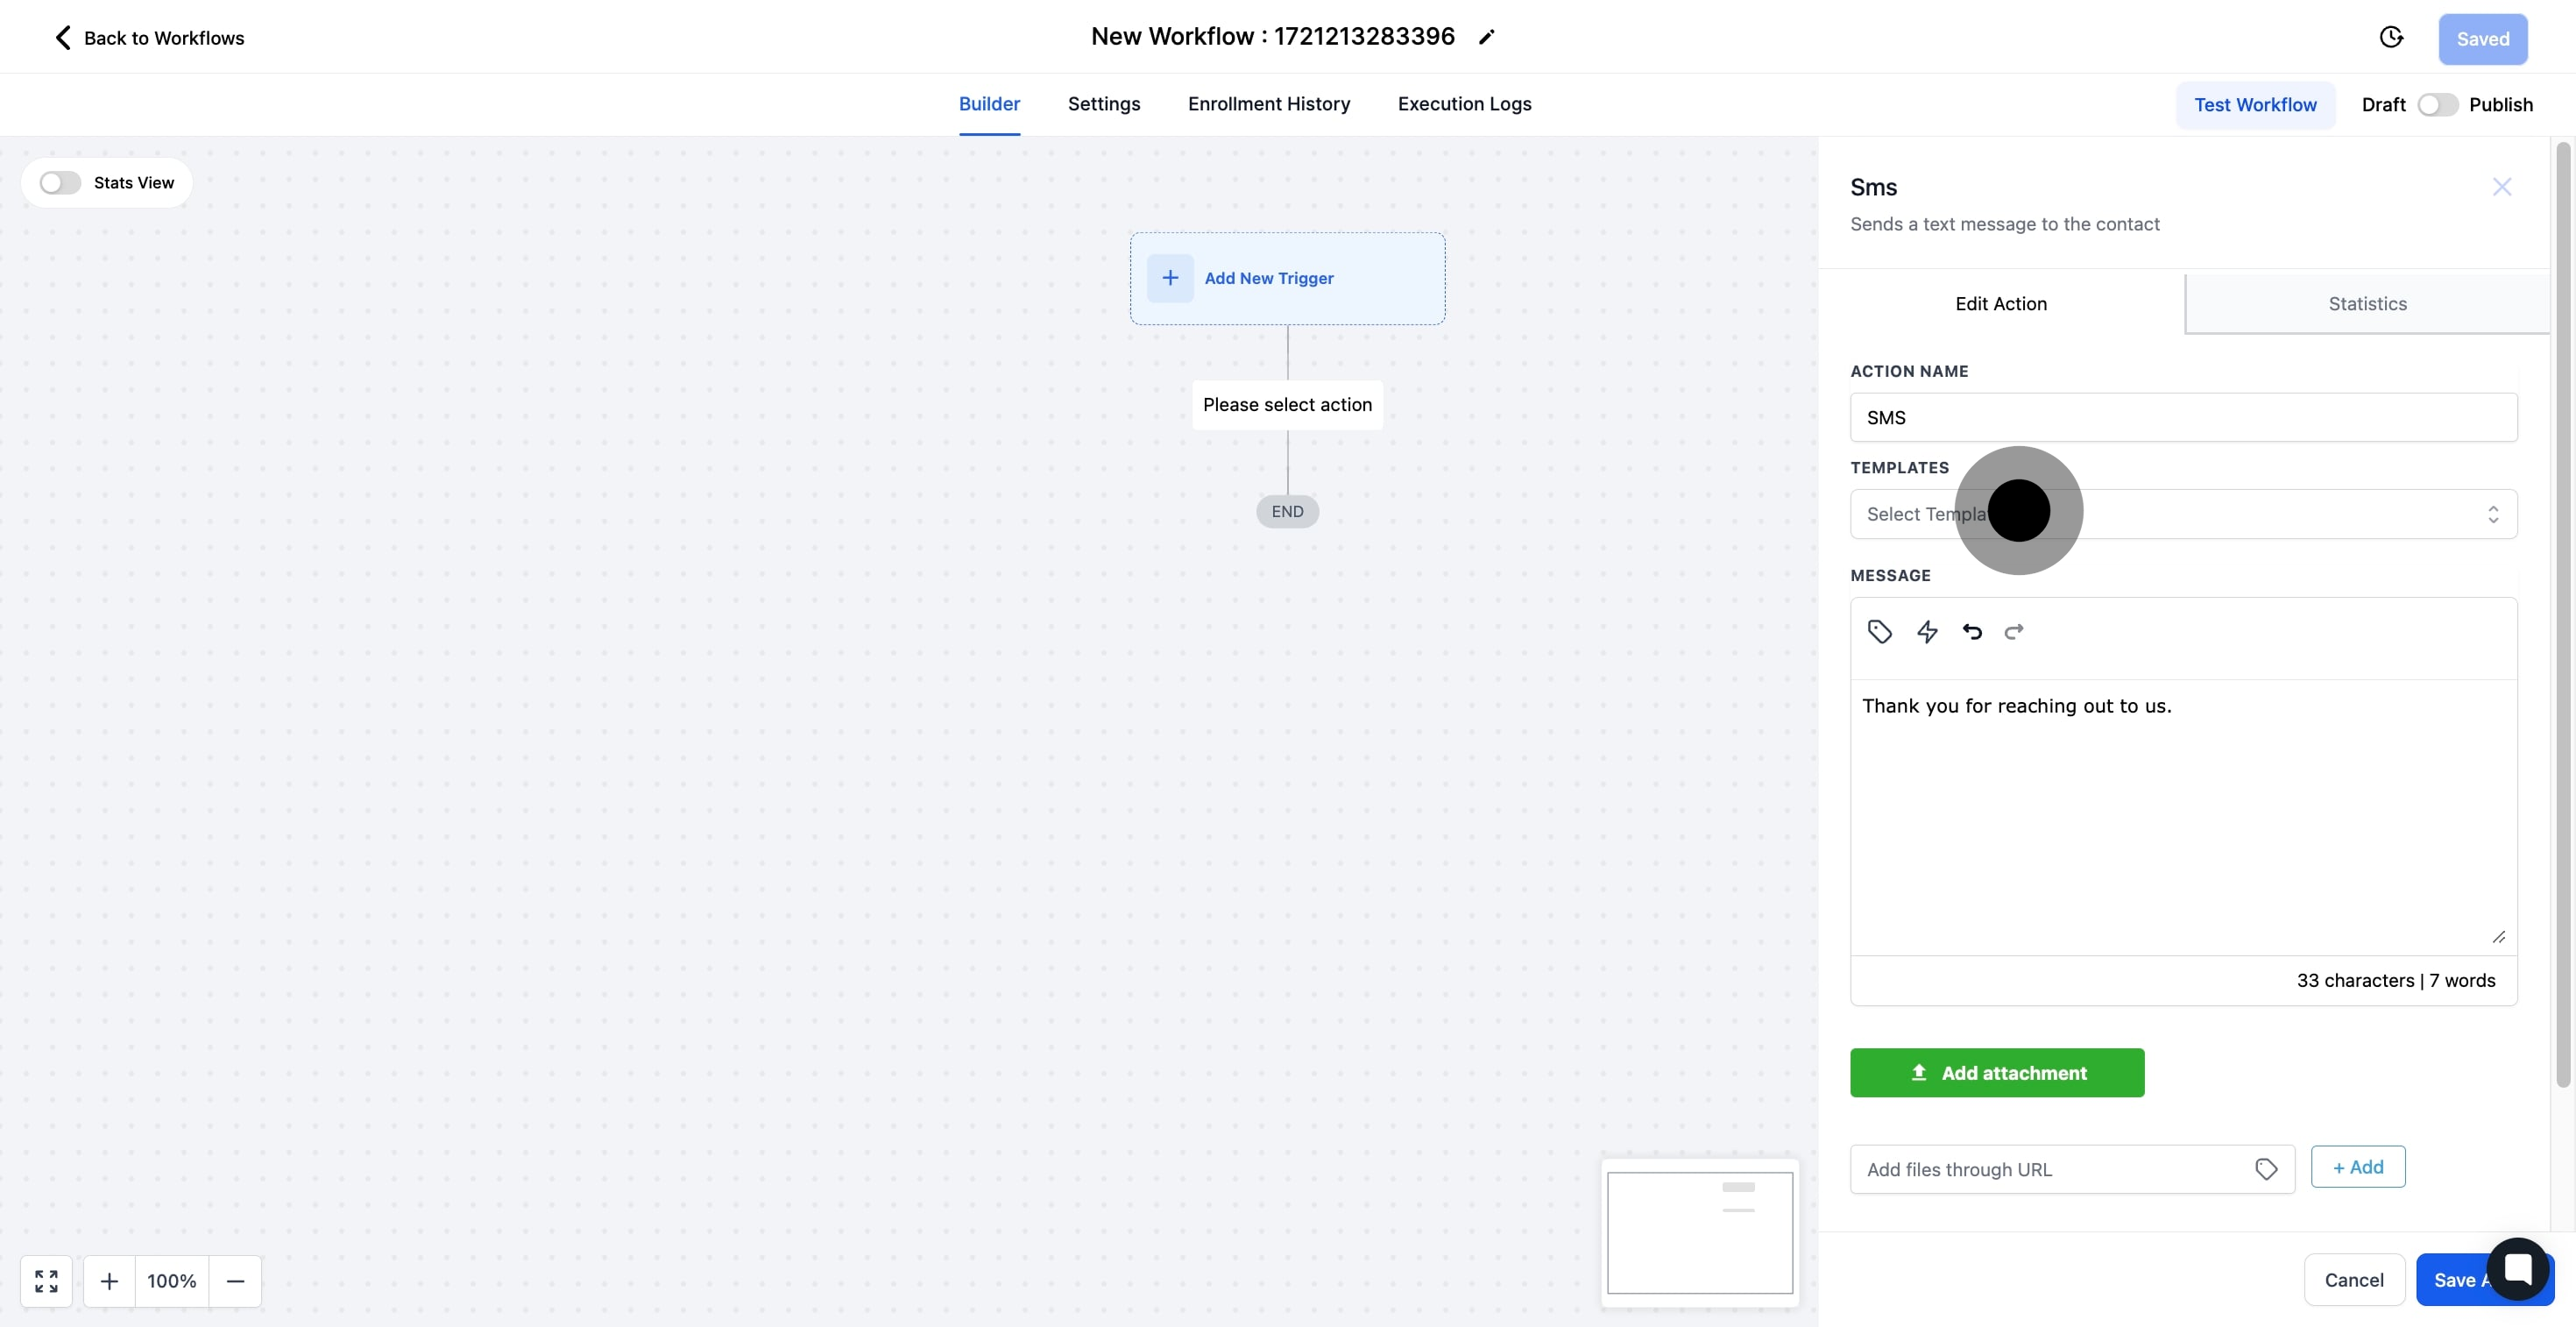
9. You can now type a custom SMS message.

9 Click on the element.

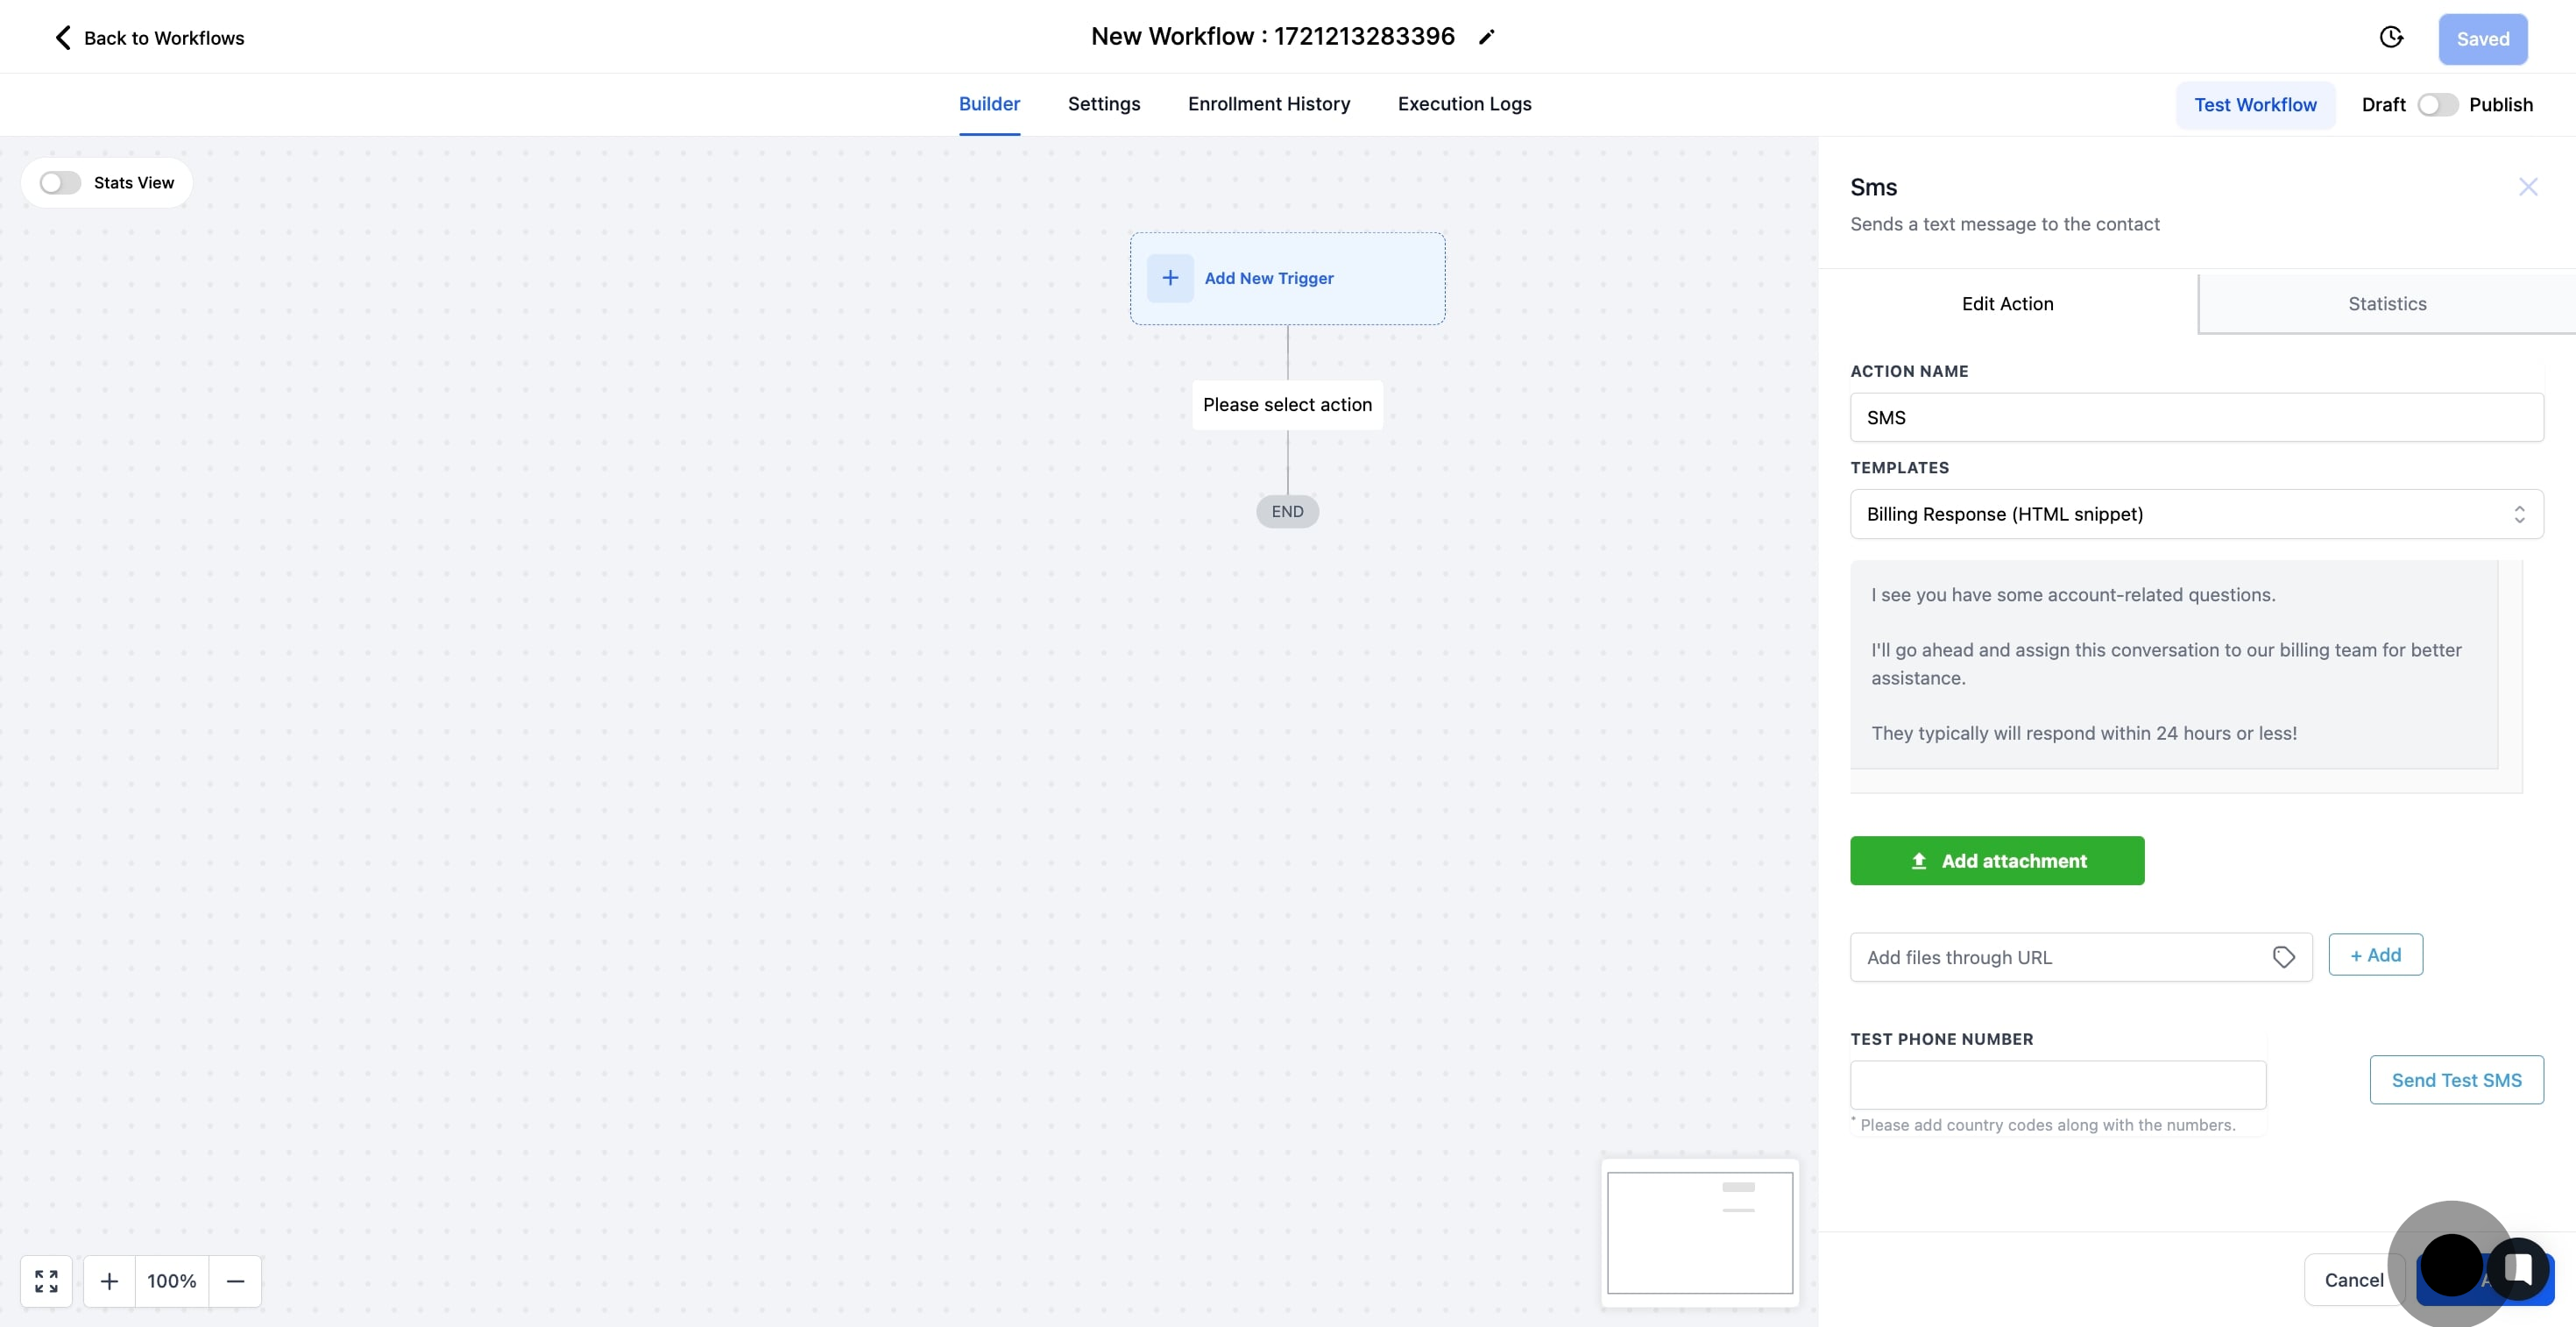
10. Optionally, select a predefined template.

10 After that, click on "Select Template".

11. Finally, save your action by clicking Save Action.

11 Following that, click on "Save Action".

12. Your Send SMS action step is now successfully added.

12 Click on the element.

Did this answer your question?
😞
😐
😁