How to Add a New Stage Name to Your Pipeline in LeadDec

Customize your sales process by learning how to add a new stage name to your pipeline in LeadDec. This article provides a step-by-step guide on creating and naming new stages, helping you tailor your pipeline to better fit your organizational workflow and manage your leads effectively. Ideal for users looking to enhance their lead management and optimize their sales pipeline.


1. Start by navigating to the settings section.

1 Click on "Settings".

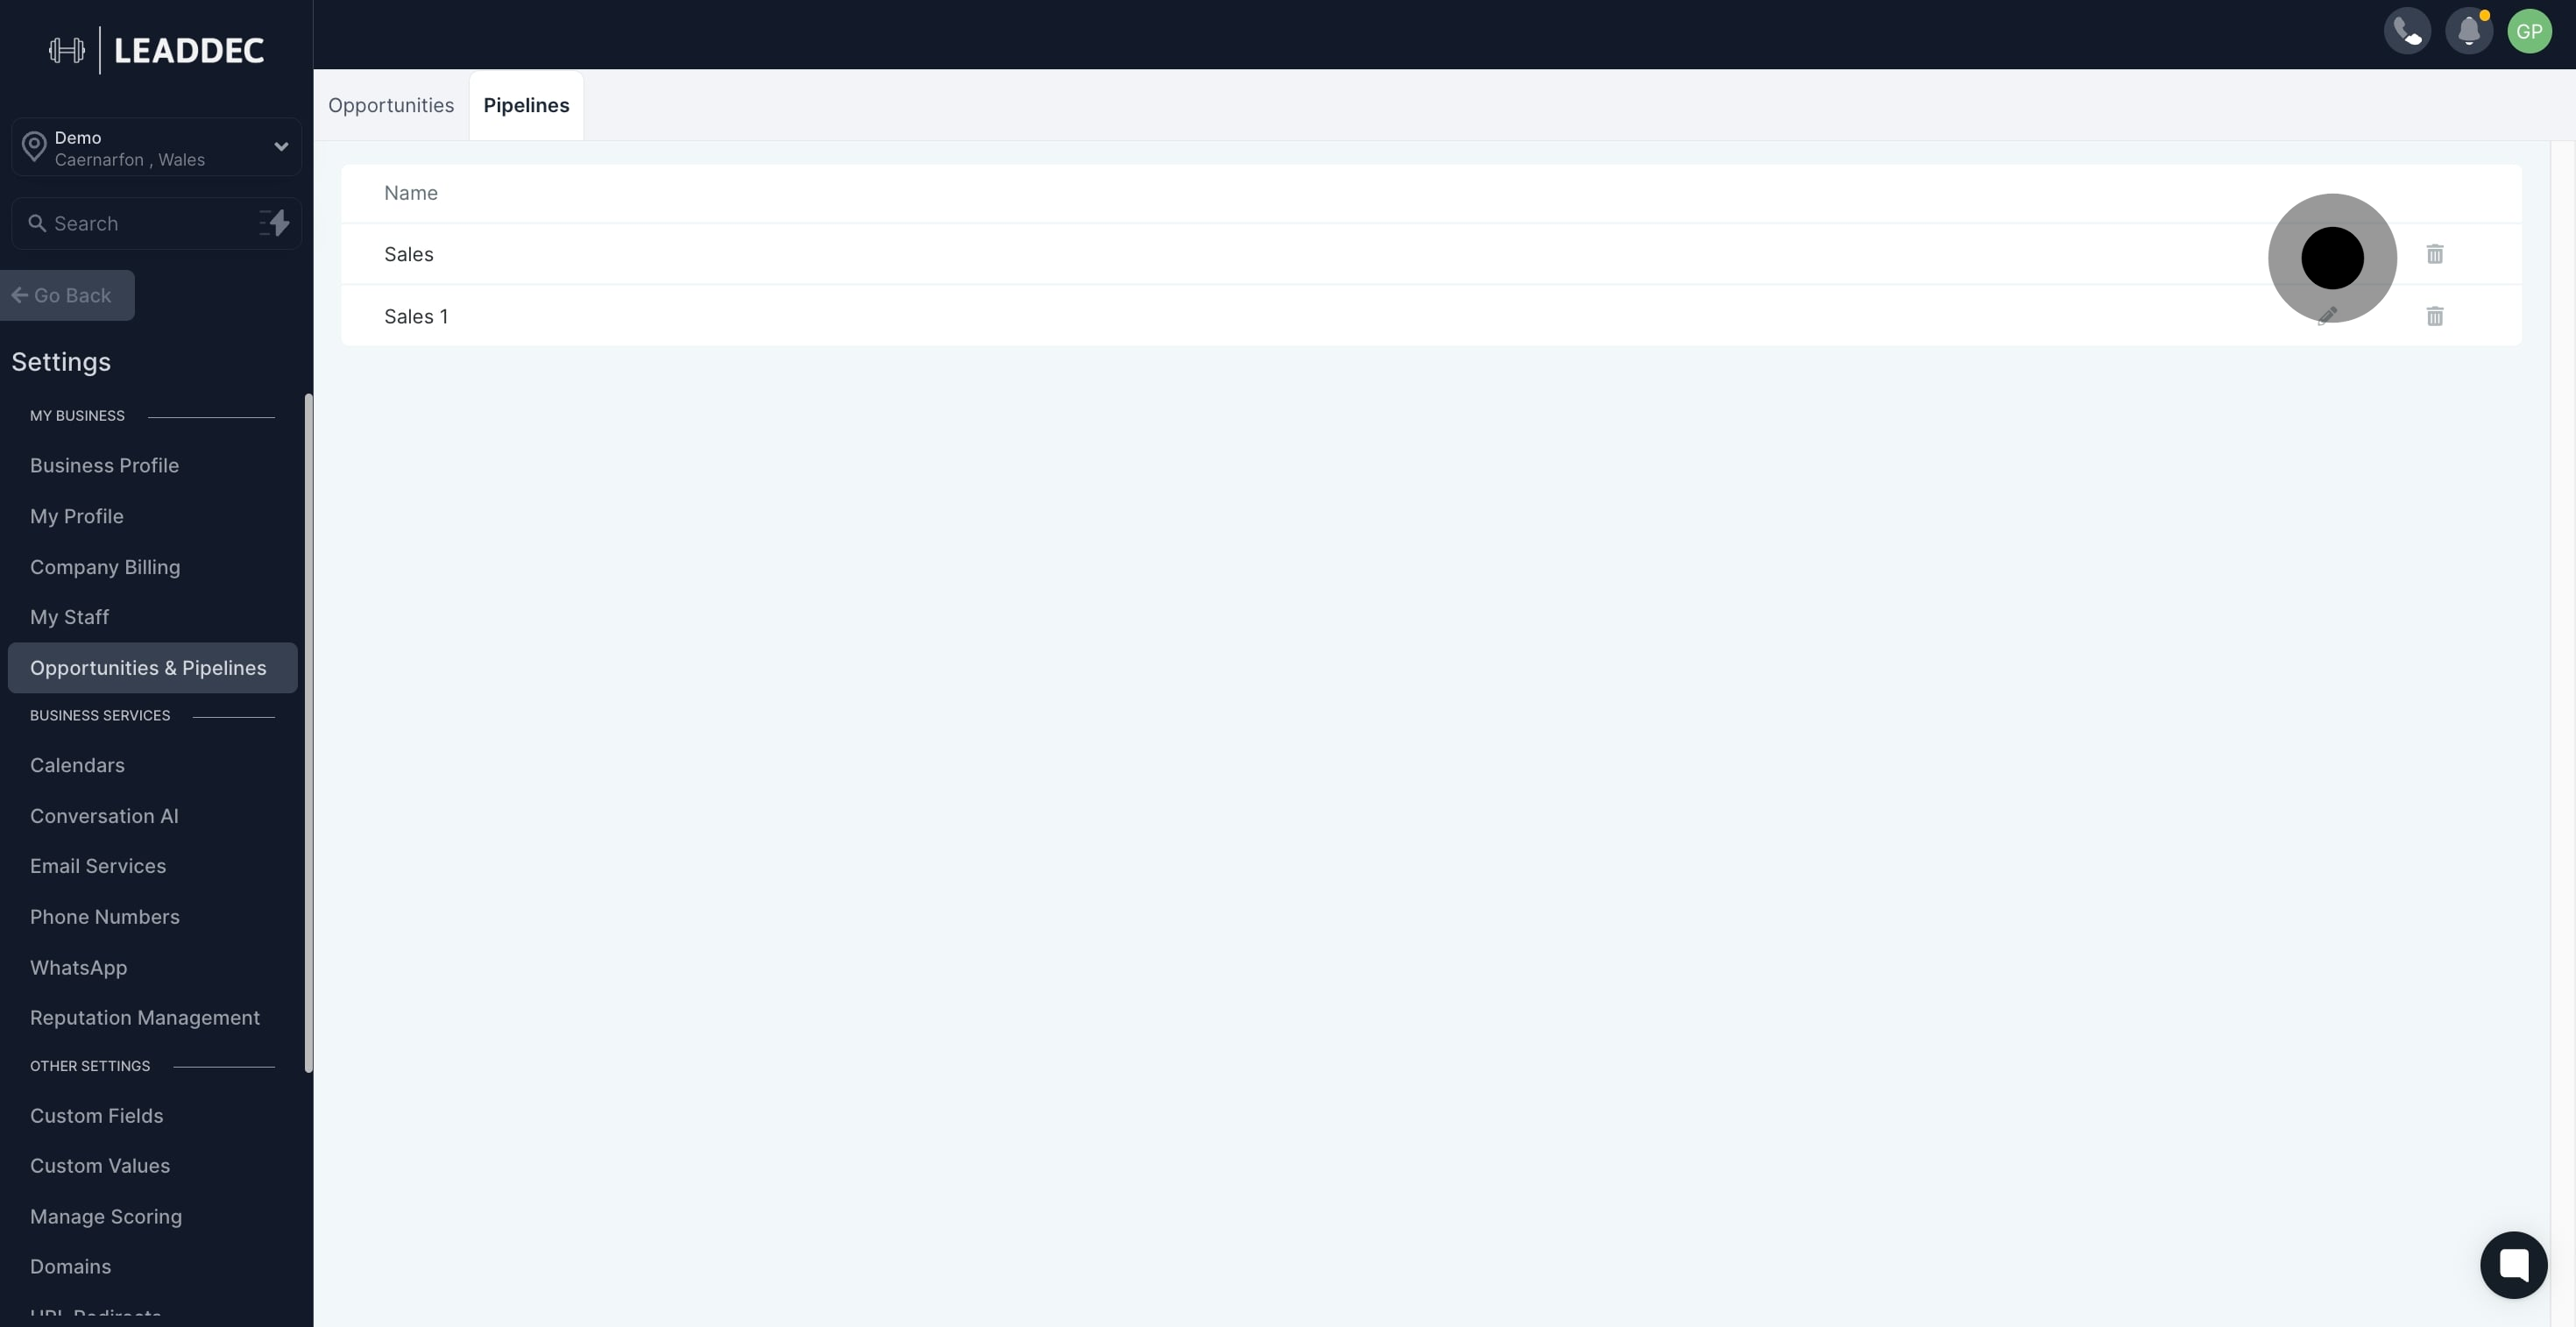
2. Next, select the 'Opportunities & Pipelines' option.

2 Click on "Opportunities & Pipelines".

3. Now, choose 'Pipelines' from the available items.

3 Click on "Pipelines".

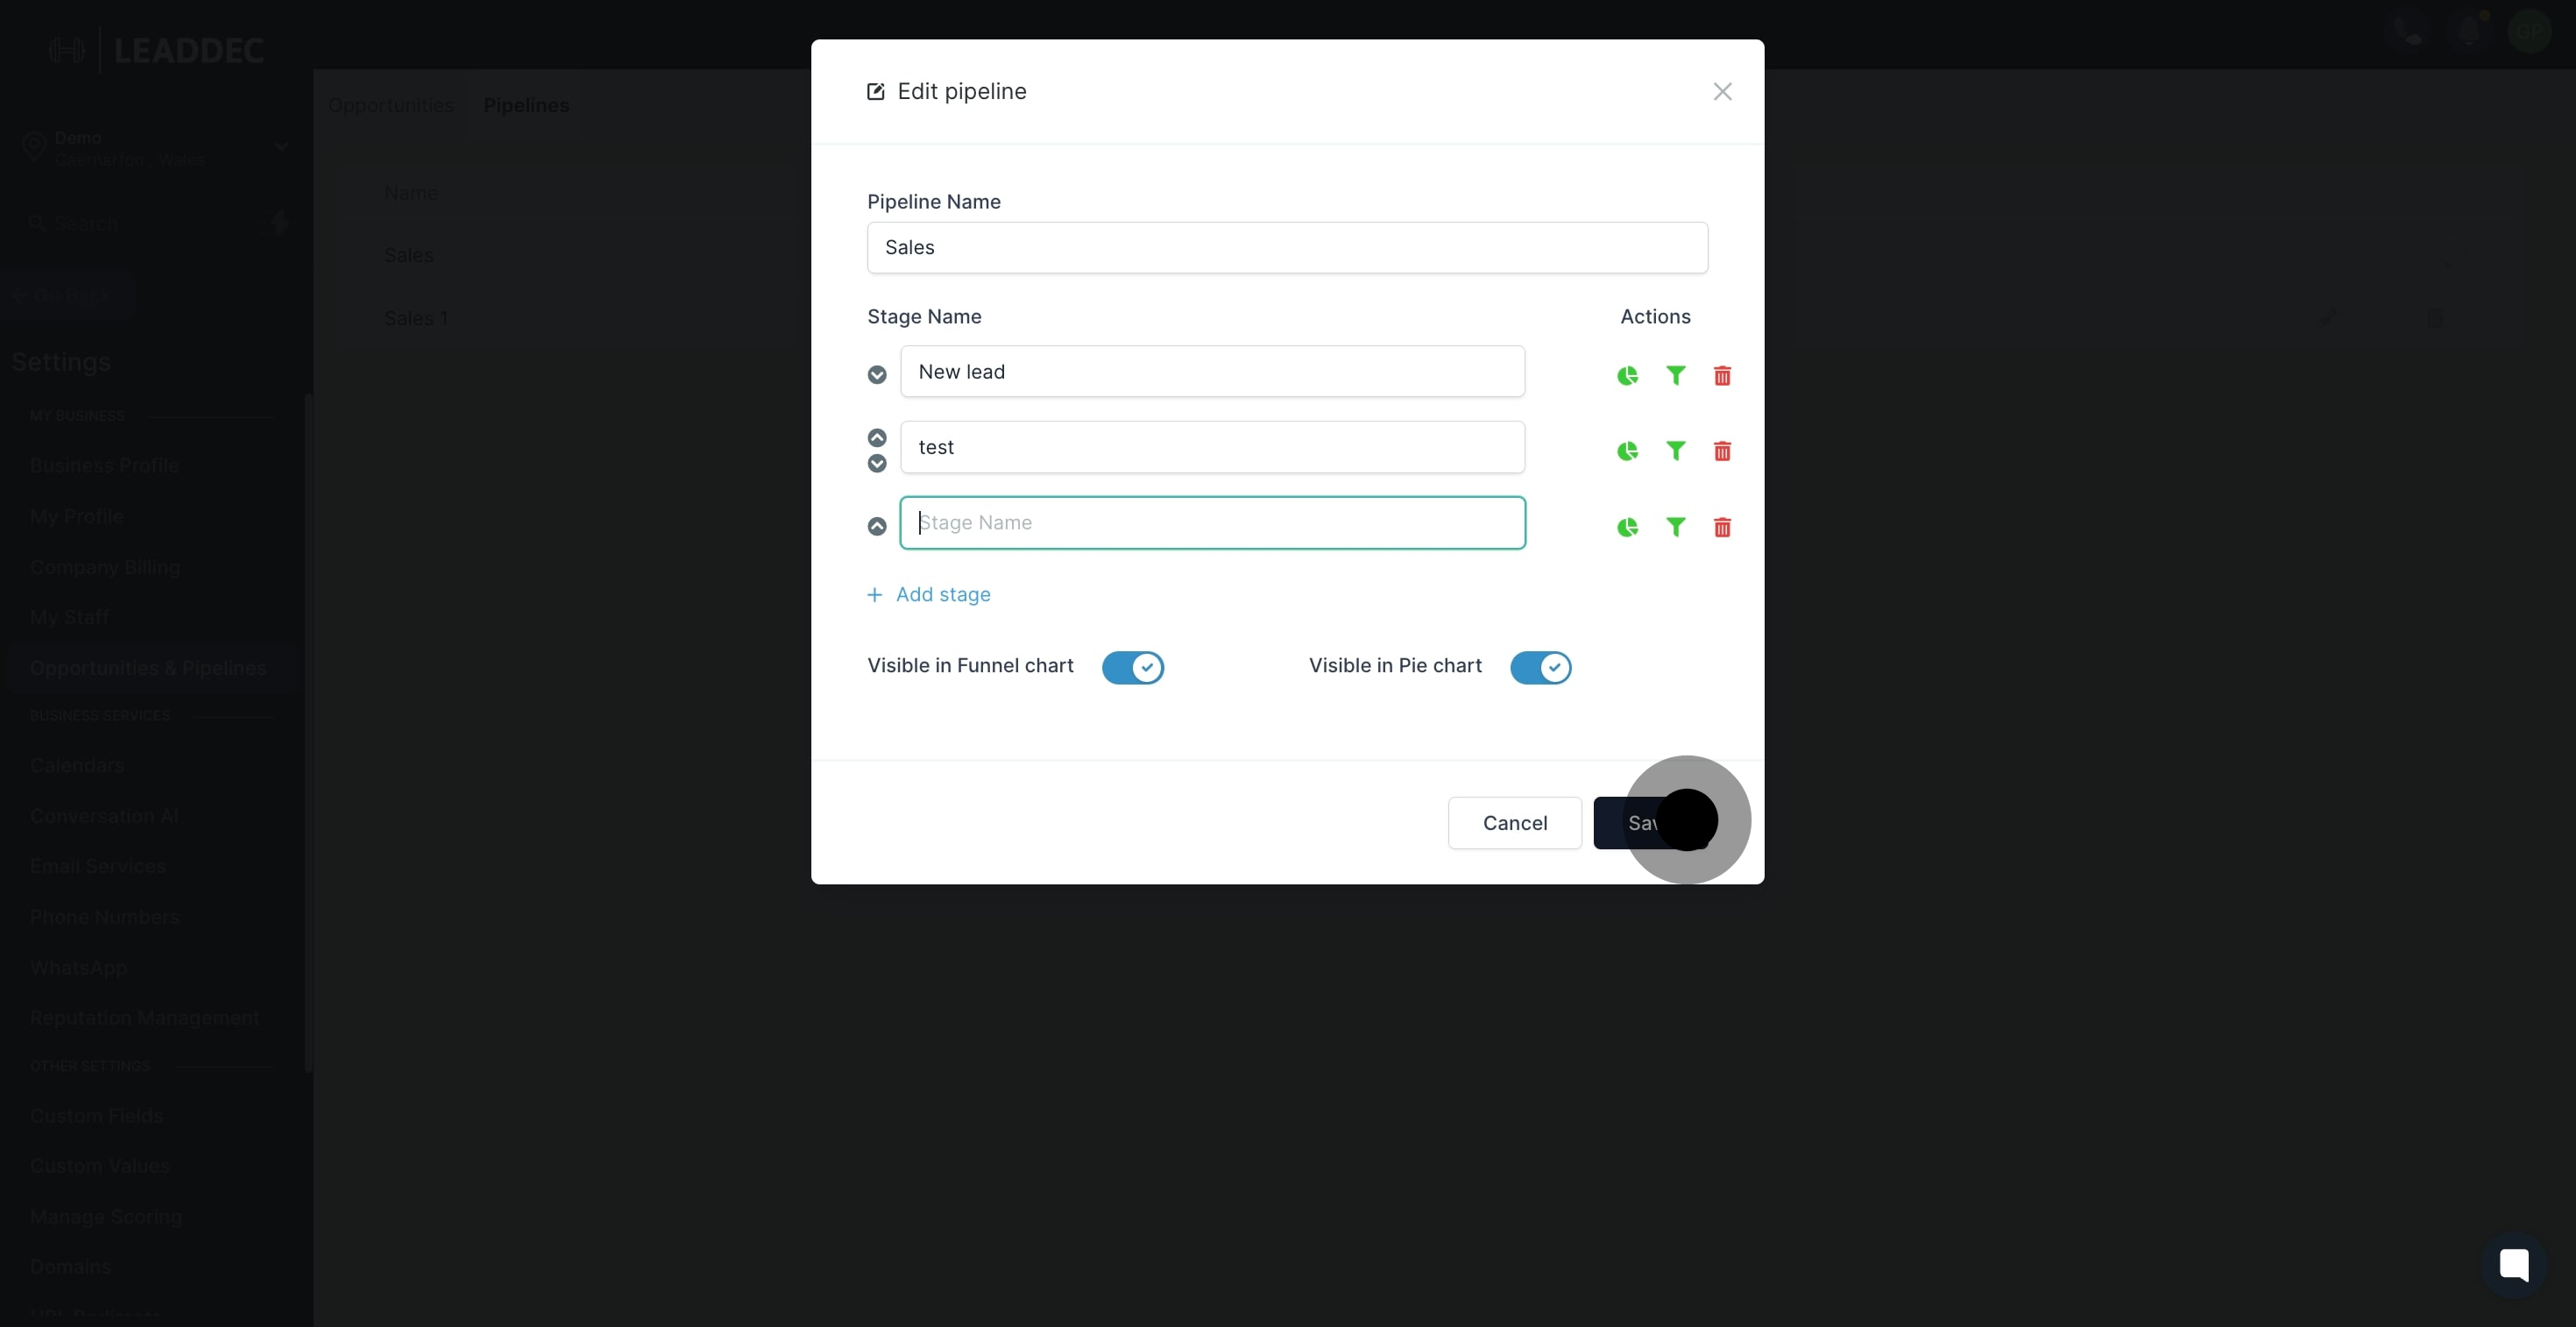
4. Then, identify and edit the desired pipeline.

4 Following that, click on the element.

5. Proceed by adding a new stage to your pipeline.

5 Now, click on "Add stage".

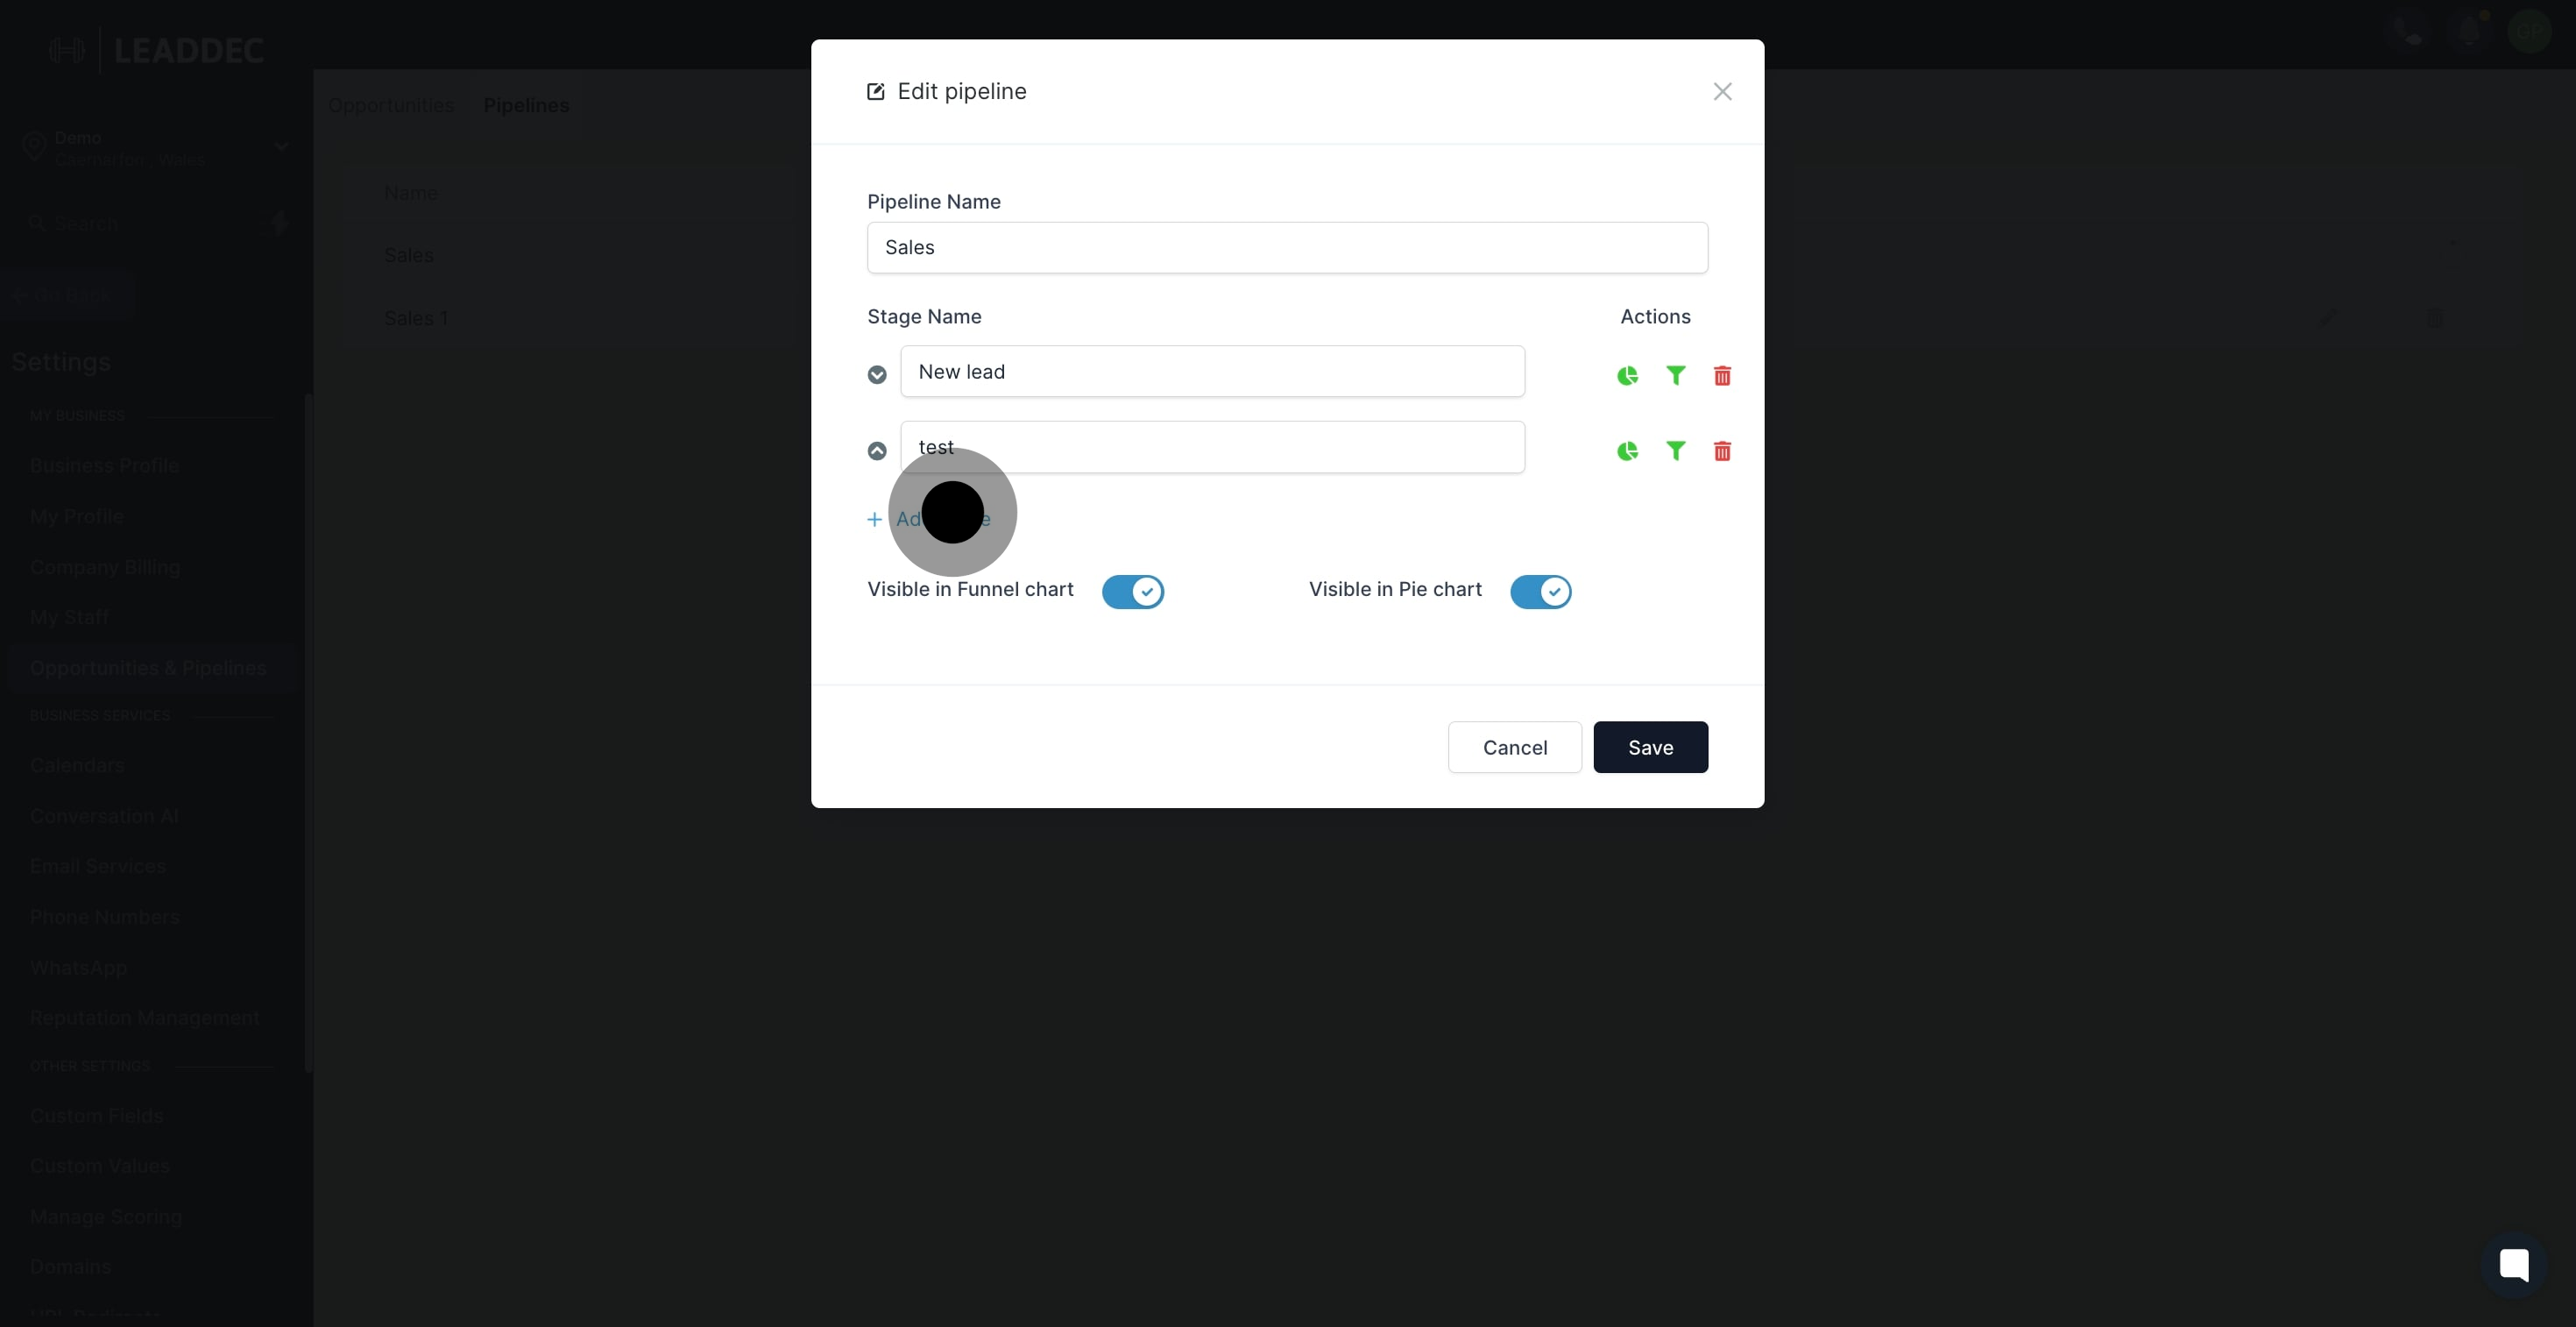
6. Enter the name for your new stage.

6 Click on the element.

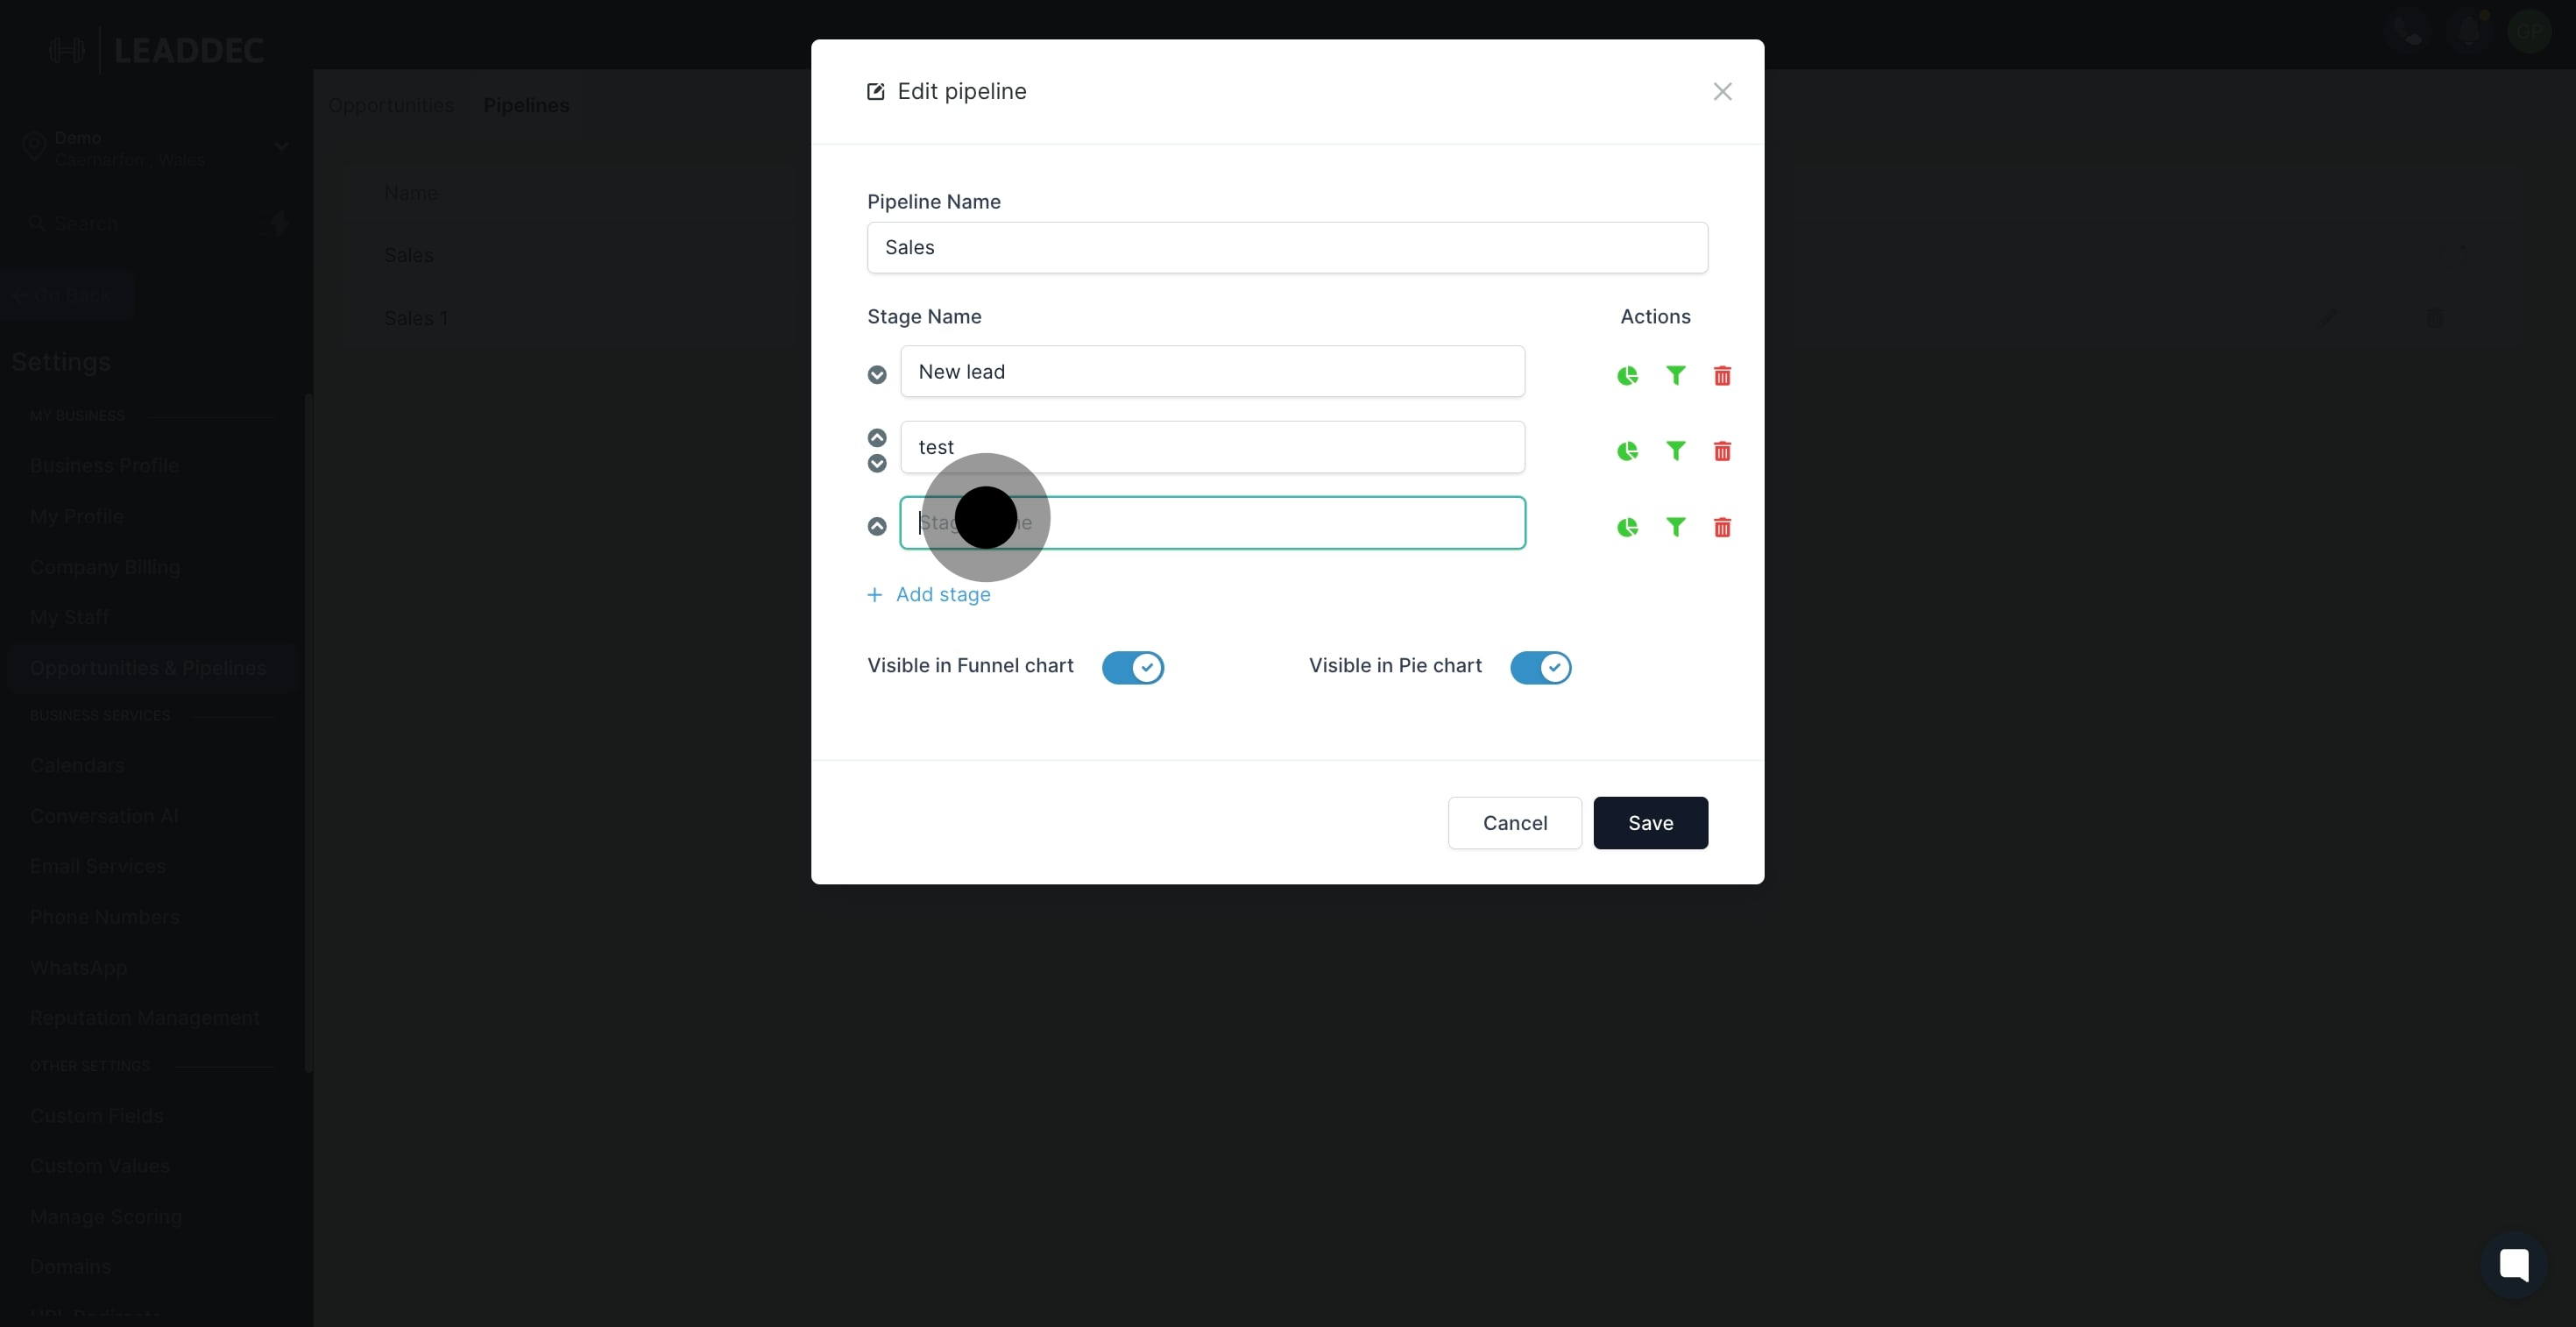
7. Finally, save your changes to update the pipeline.

7 Now, click here.

Did this answer your question?
😞
😐
😁