How to Add a Text Box Widget to Your LeadDec Dashboard

Learn how to enhance your LeadDec dashboard by adding a text box widget. This article provides a detailed guide on how to incorporate text box widgets, allowing you to display important notes, instructions, or information directly on your dashboard. Perfect for users looking to improve their dashboard's functionality and organization.


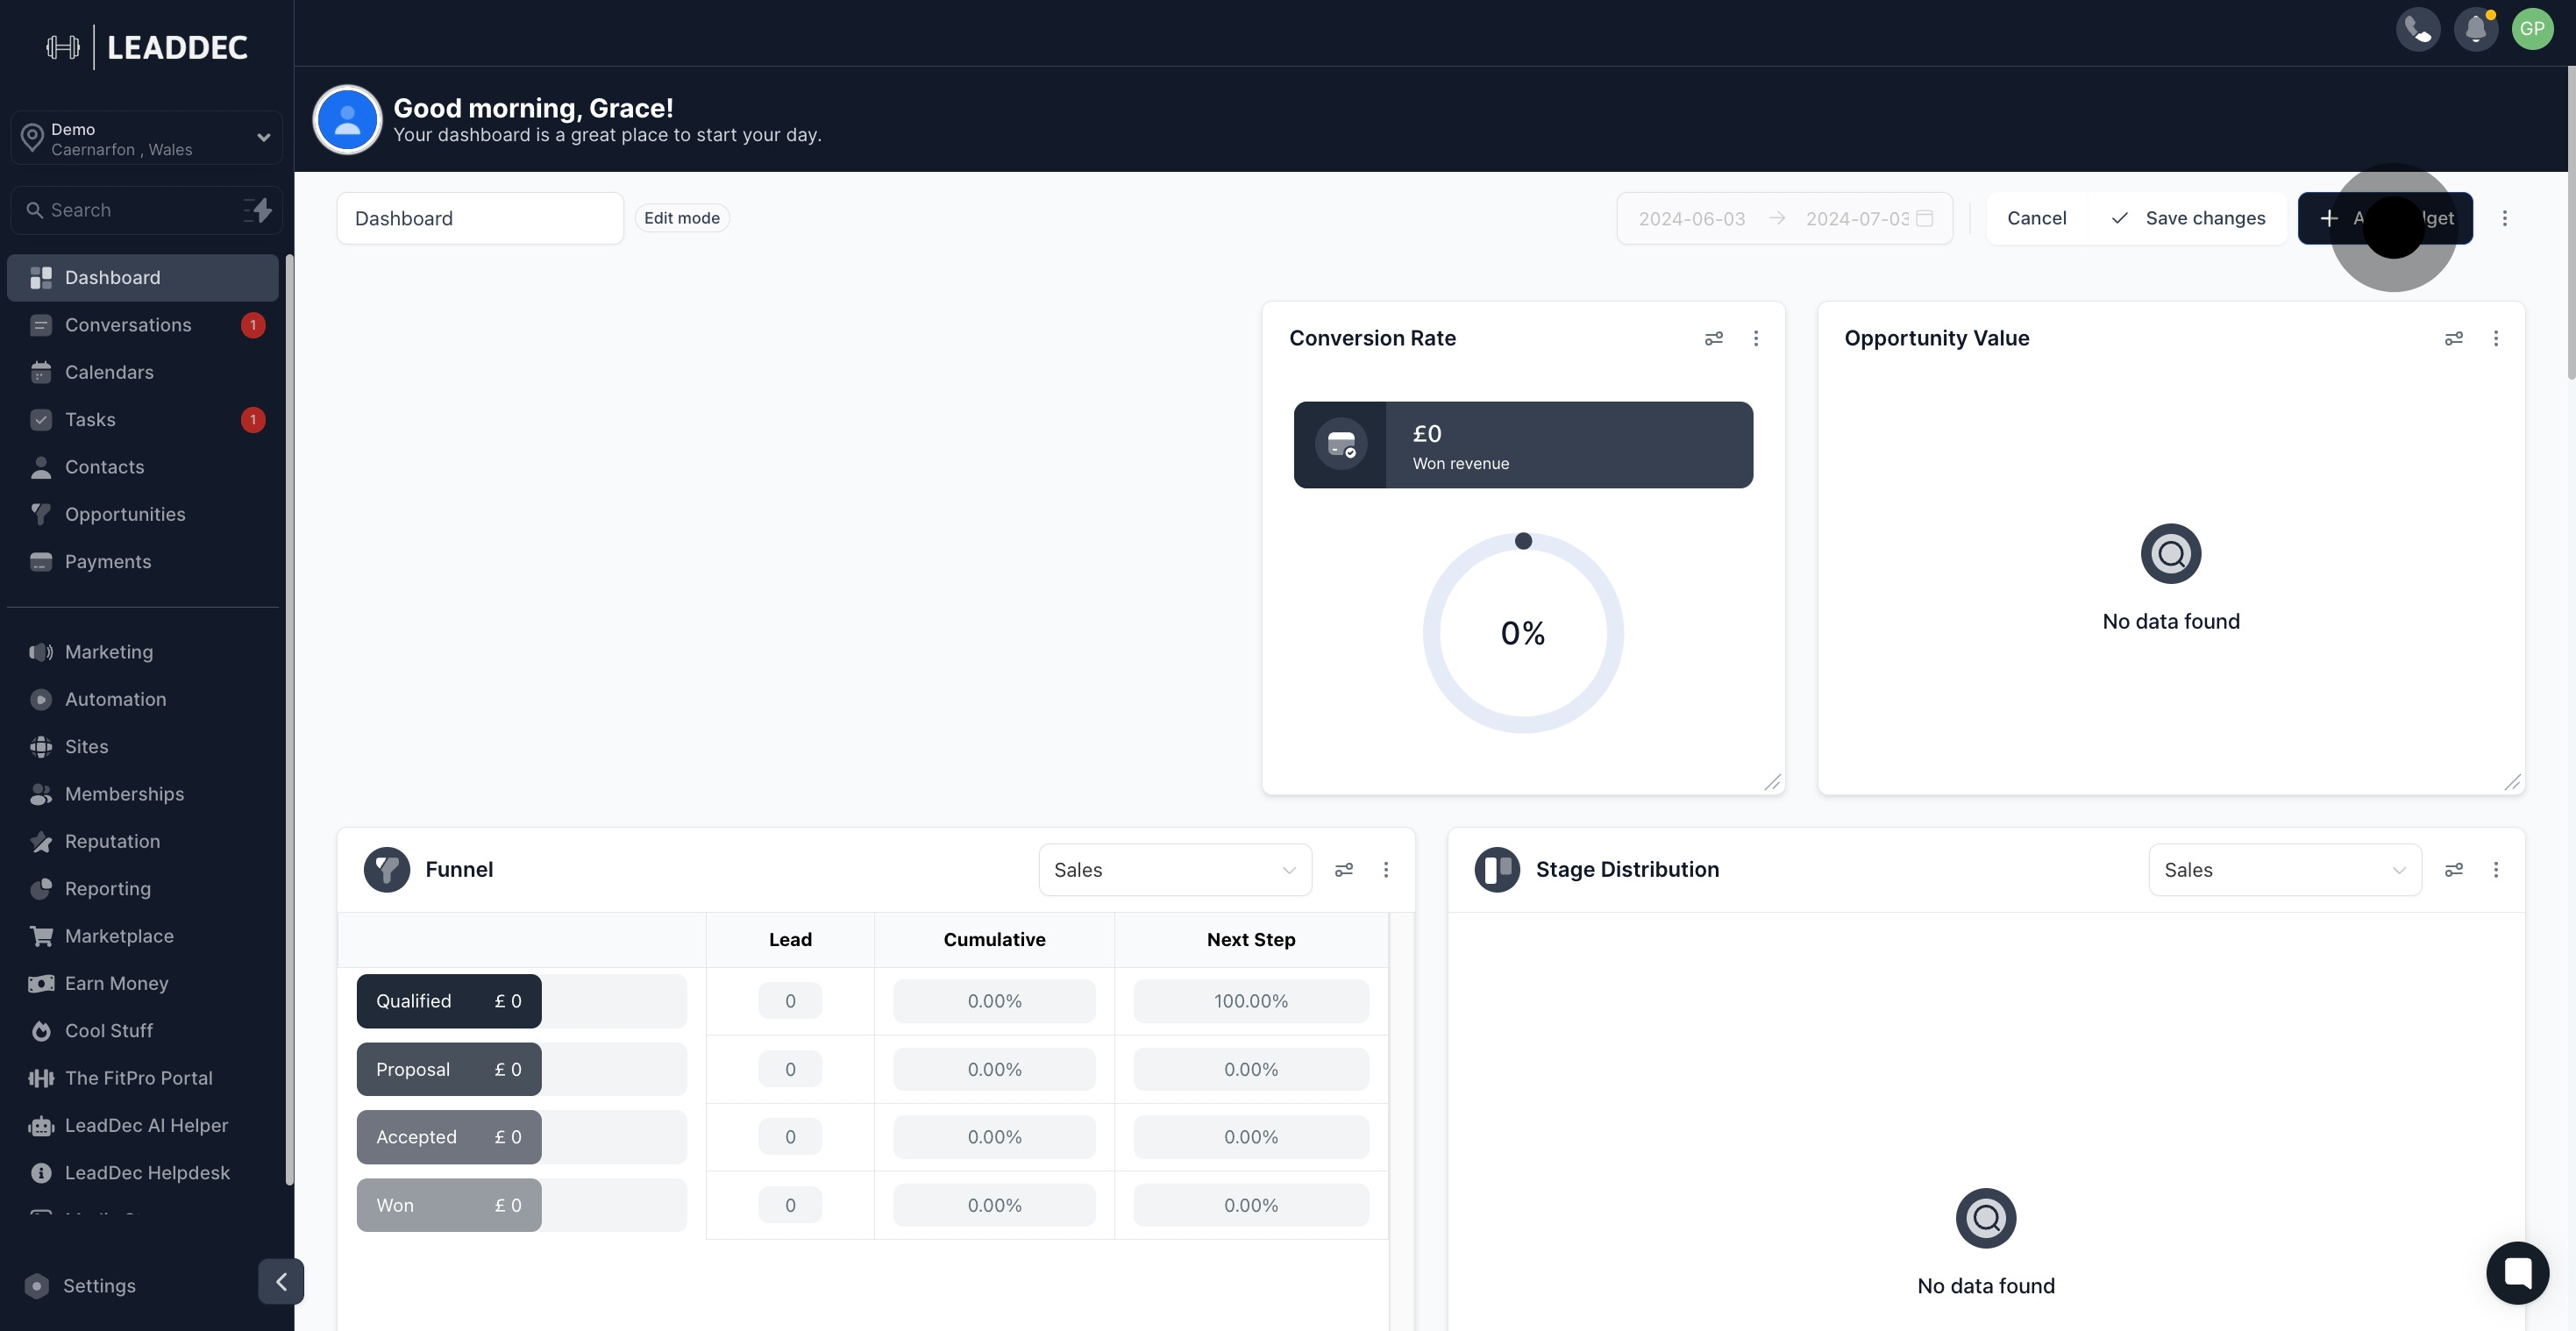
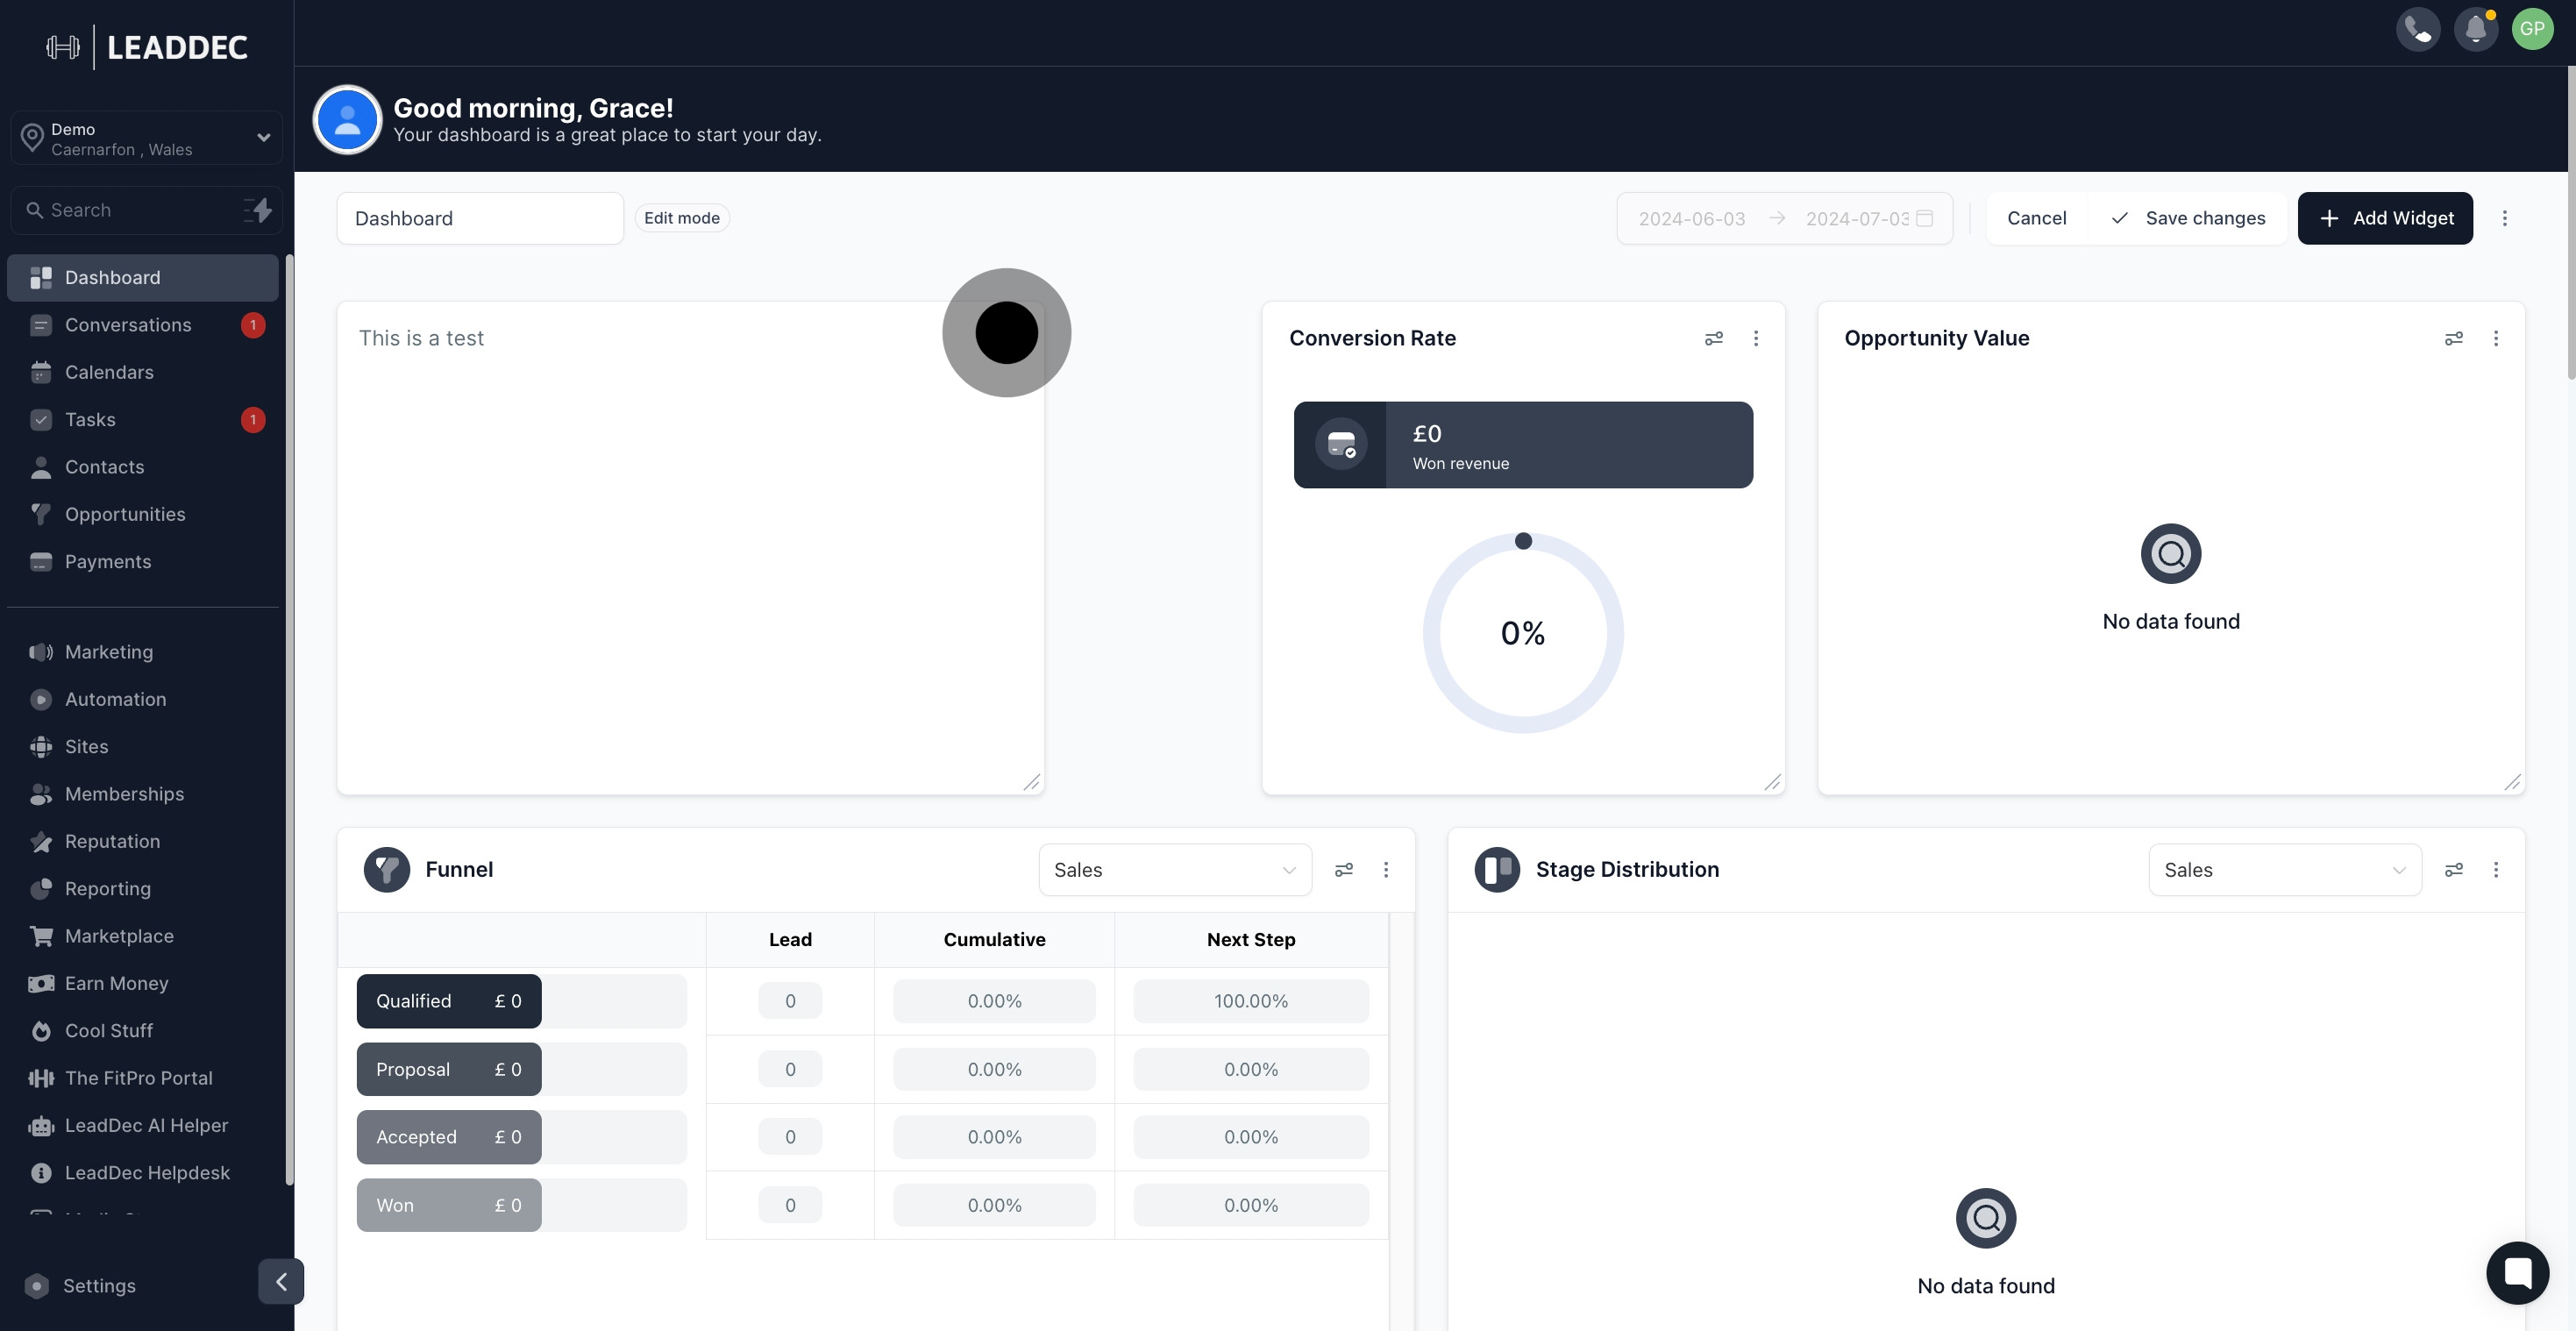
1. Welcome! Let's start by accessing the Dashboard.

1 Firstly, click here.

2. Next, feel free to modify by hitting the edit button now.

2 Afterwards, click here.

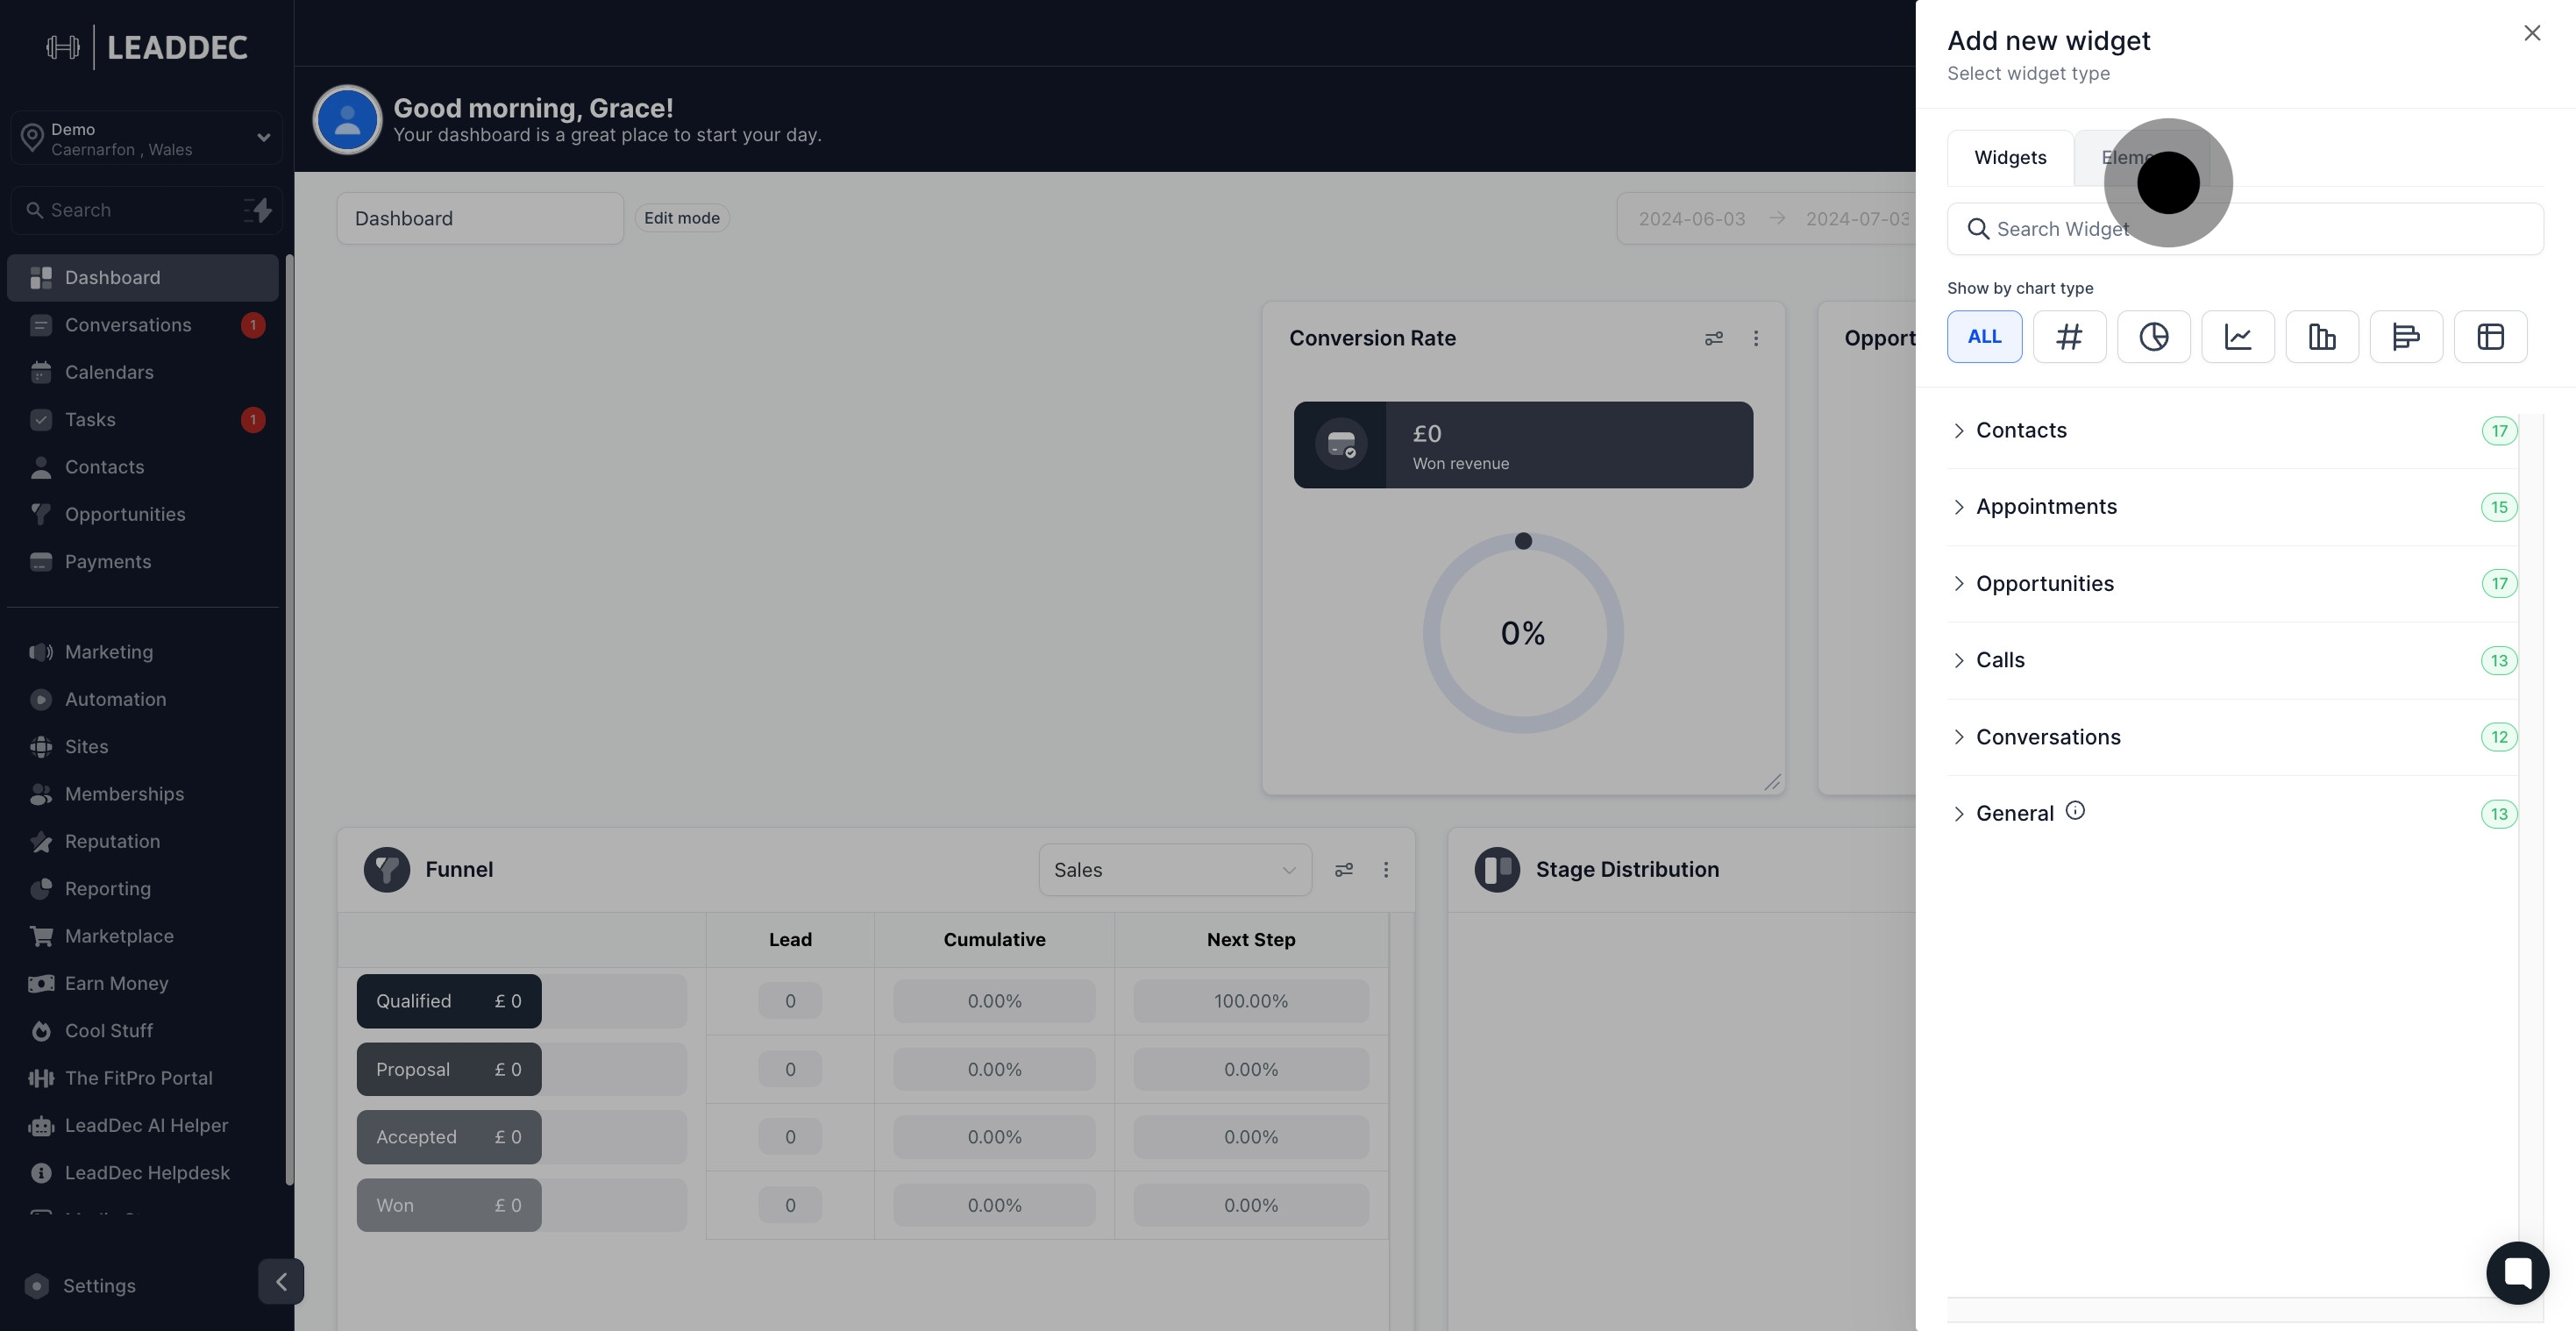
3. Add new widgets by clicking here.

3 Click on "Add Widget".

4. Now, select 'Elements' to proceed.

4 Next, click on "Elements".

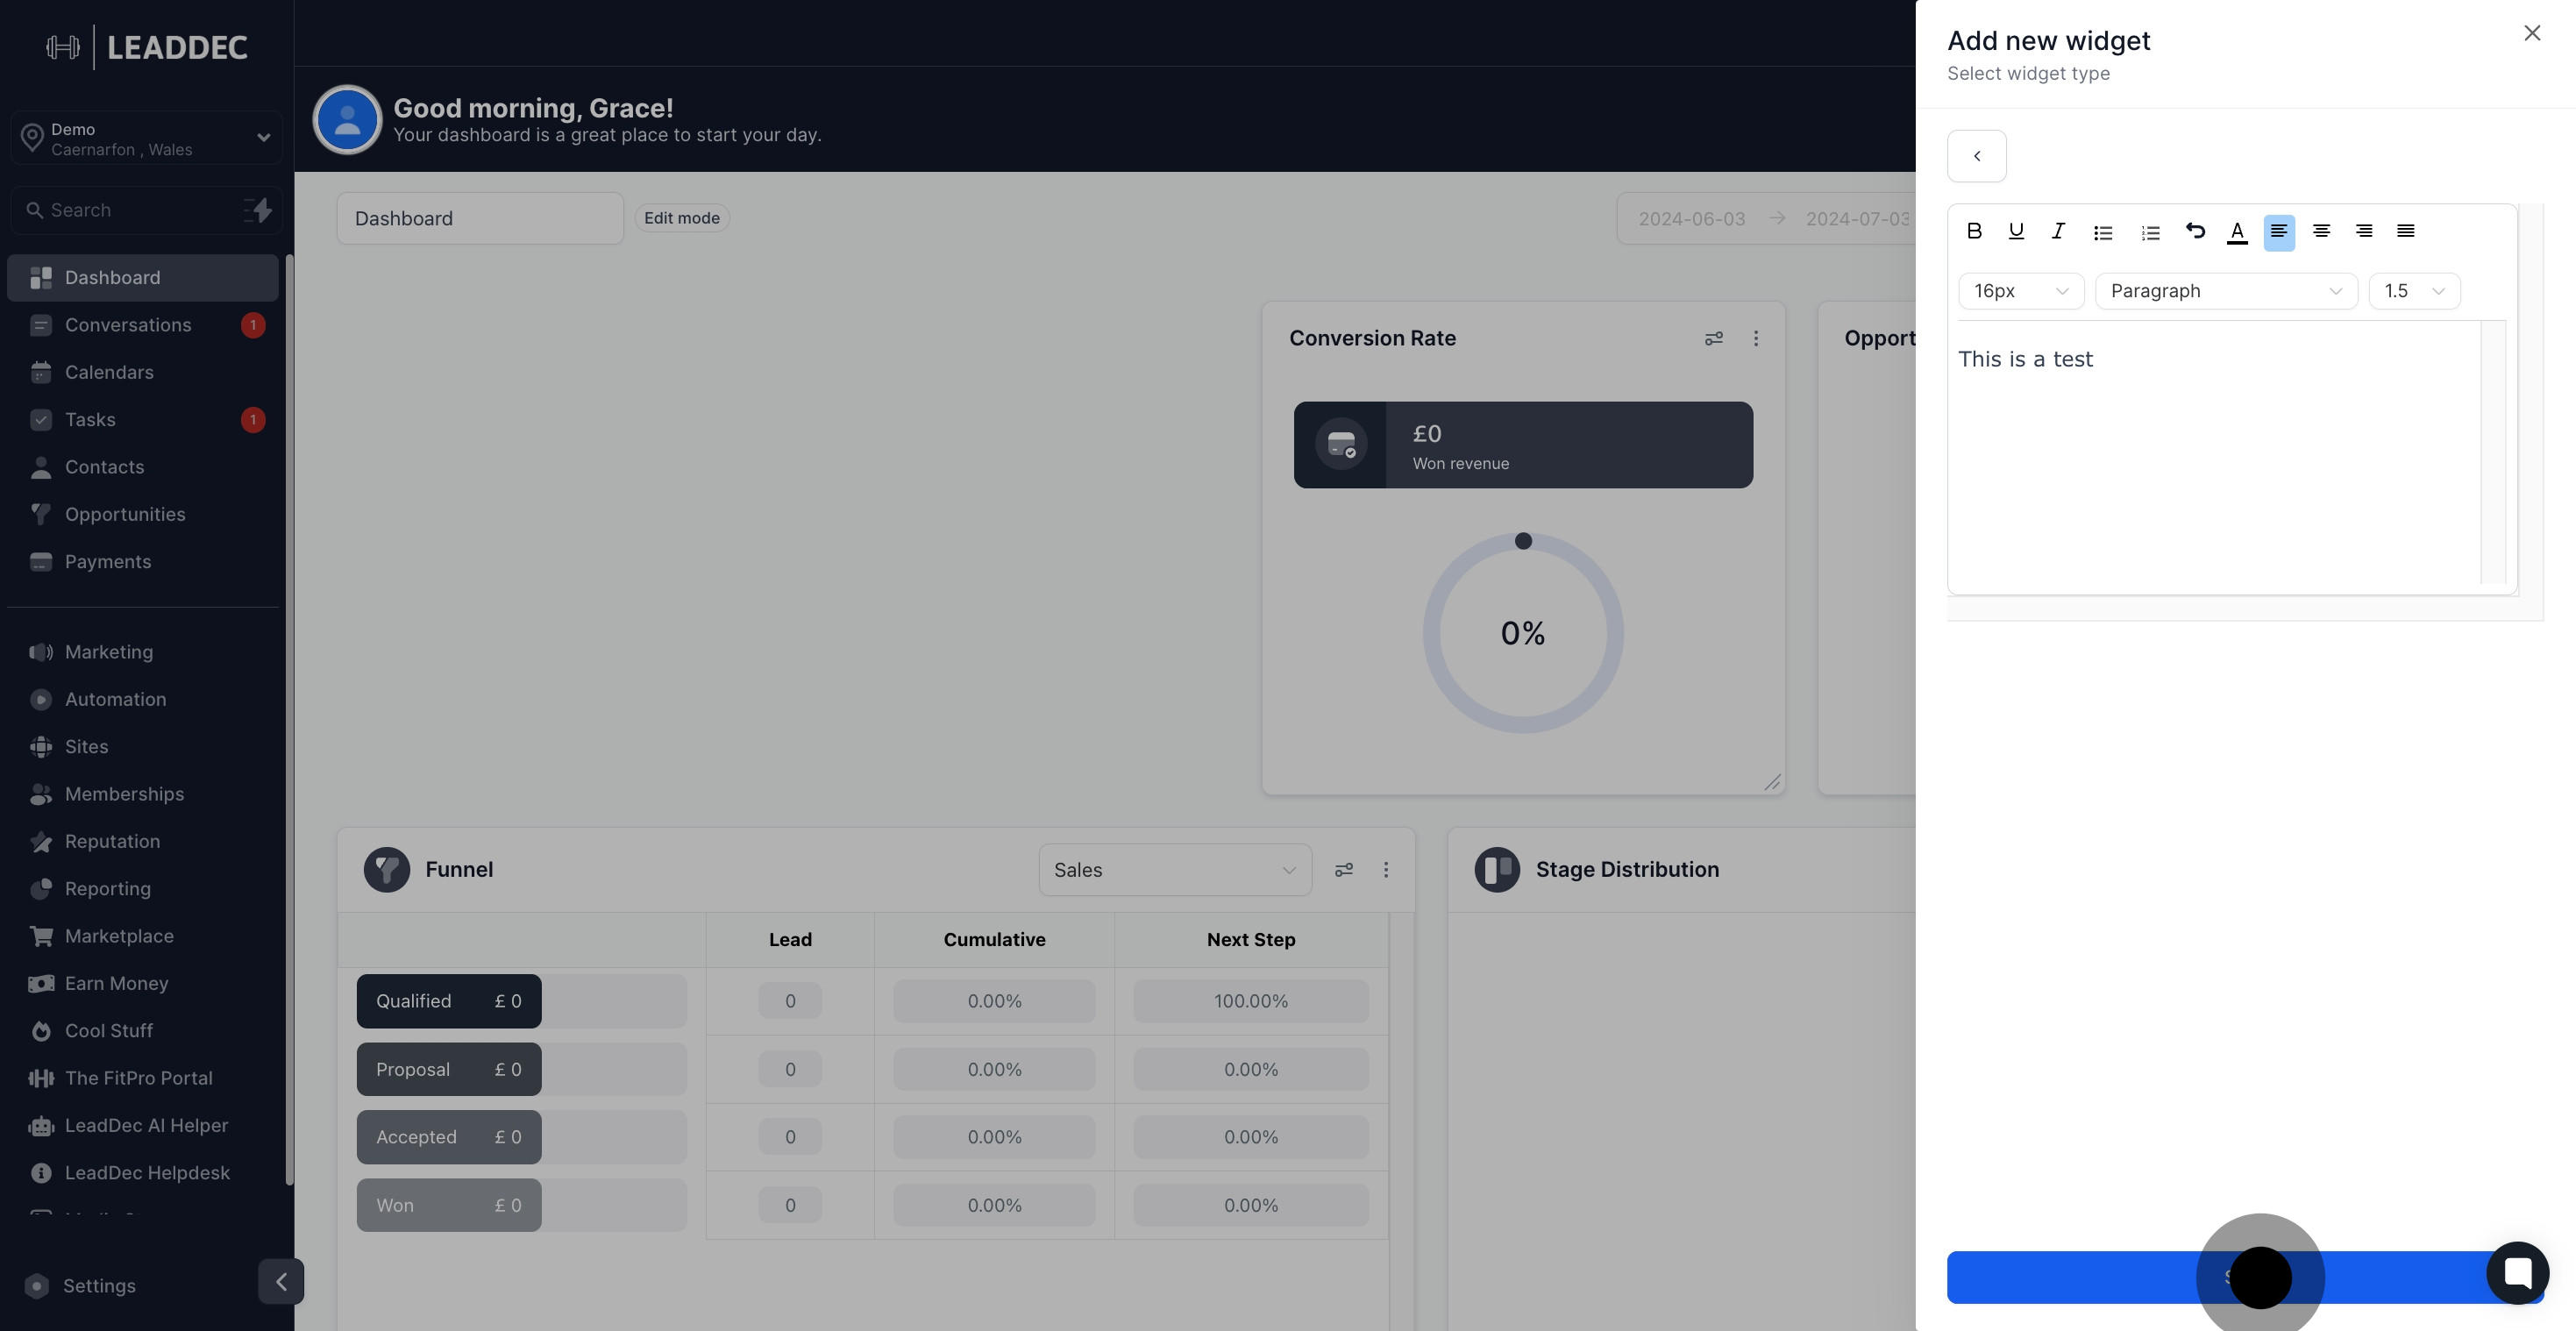
5. Choose a text box element to edit.

5 Click on the element.

6. Here’s your toolbar; start adding some text.

6 After, click here.

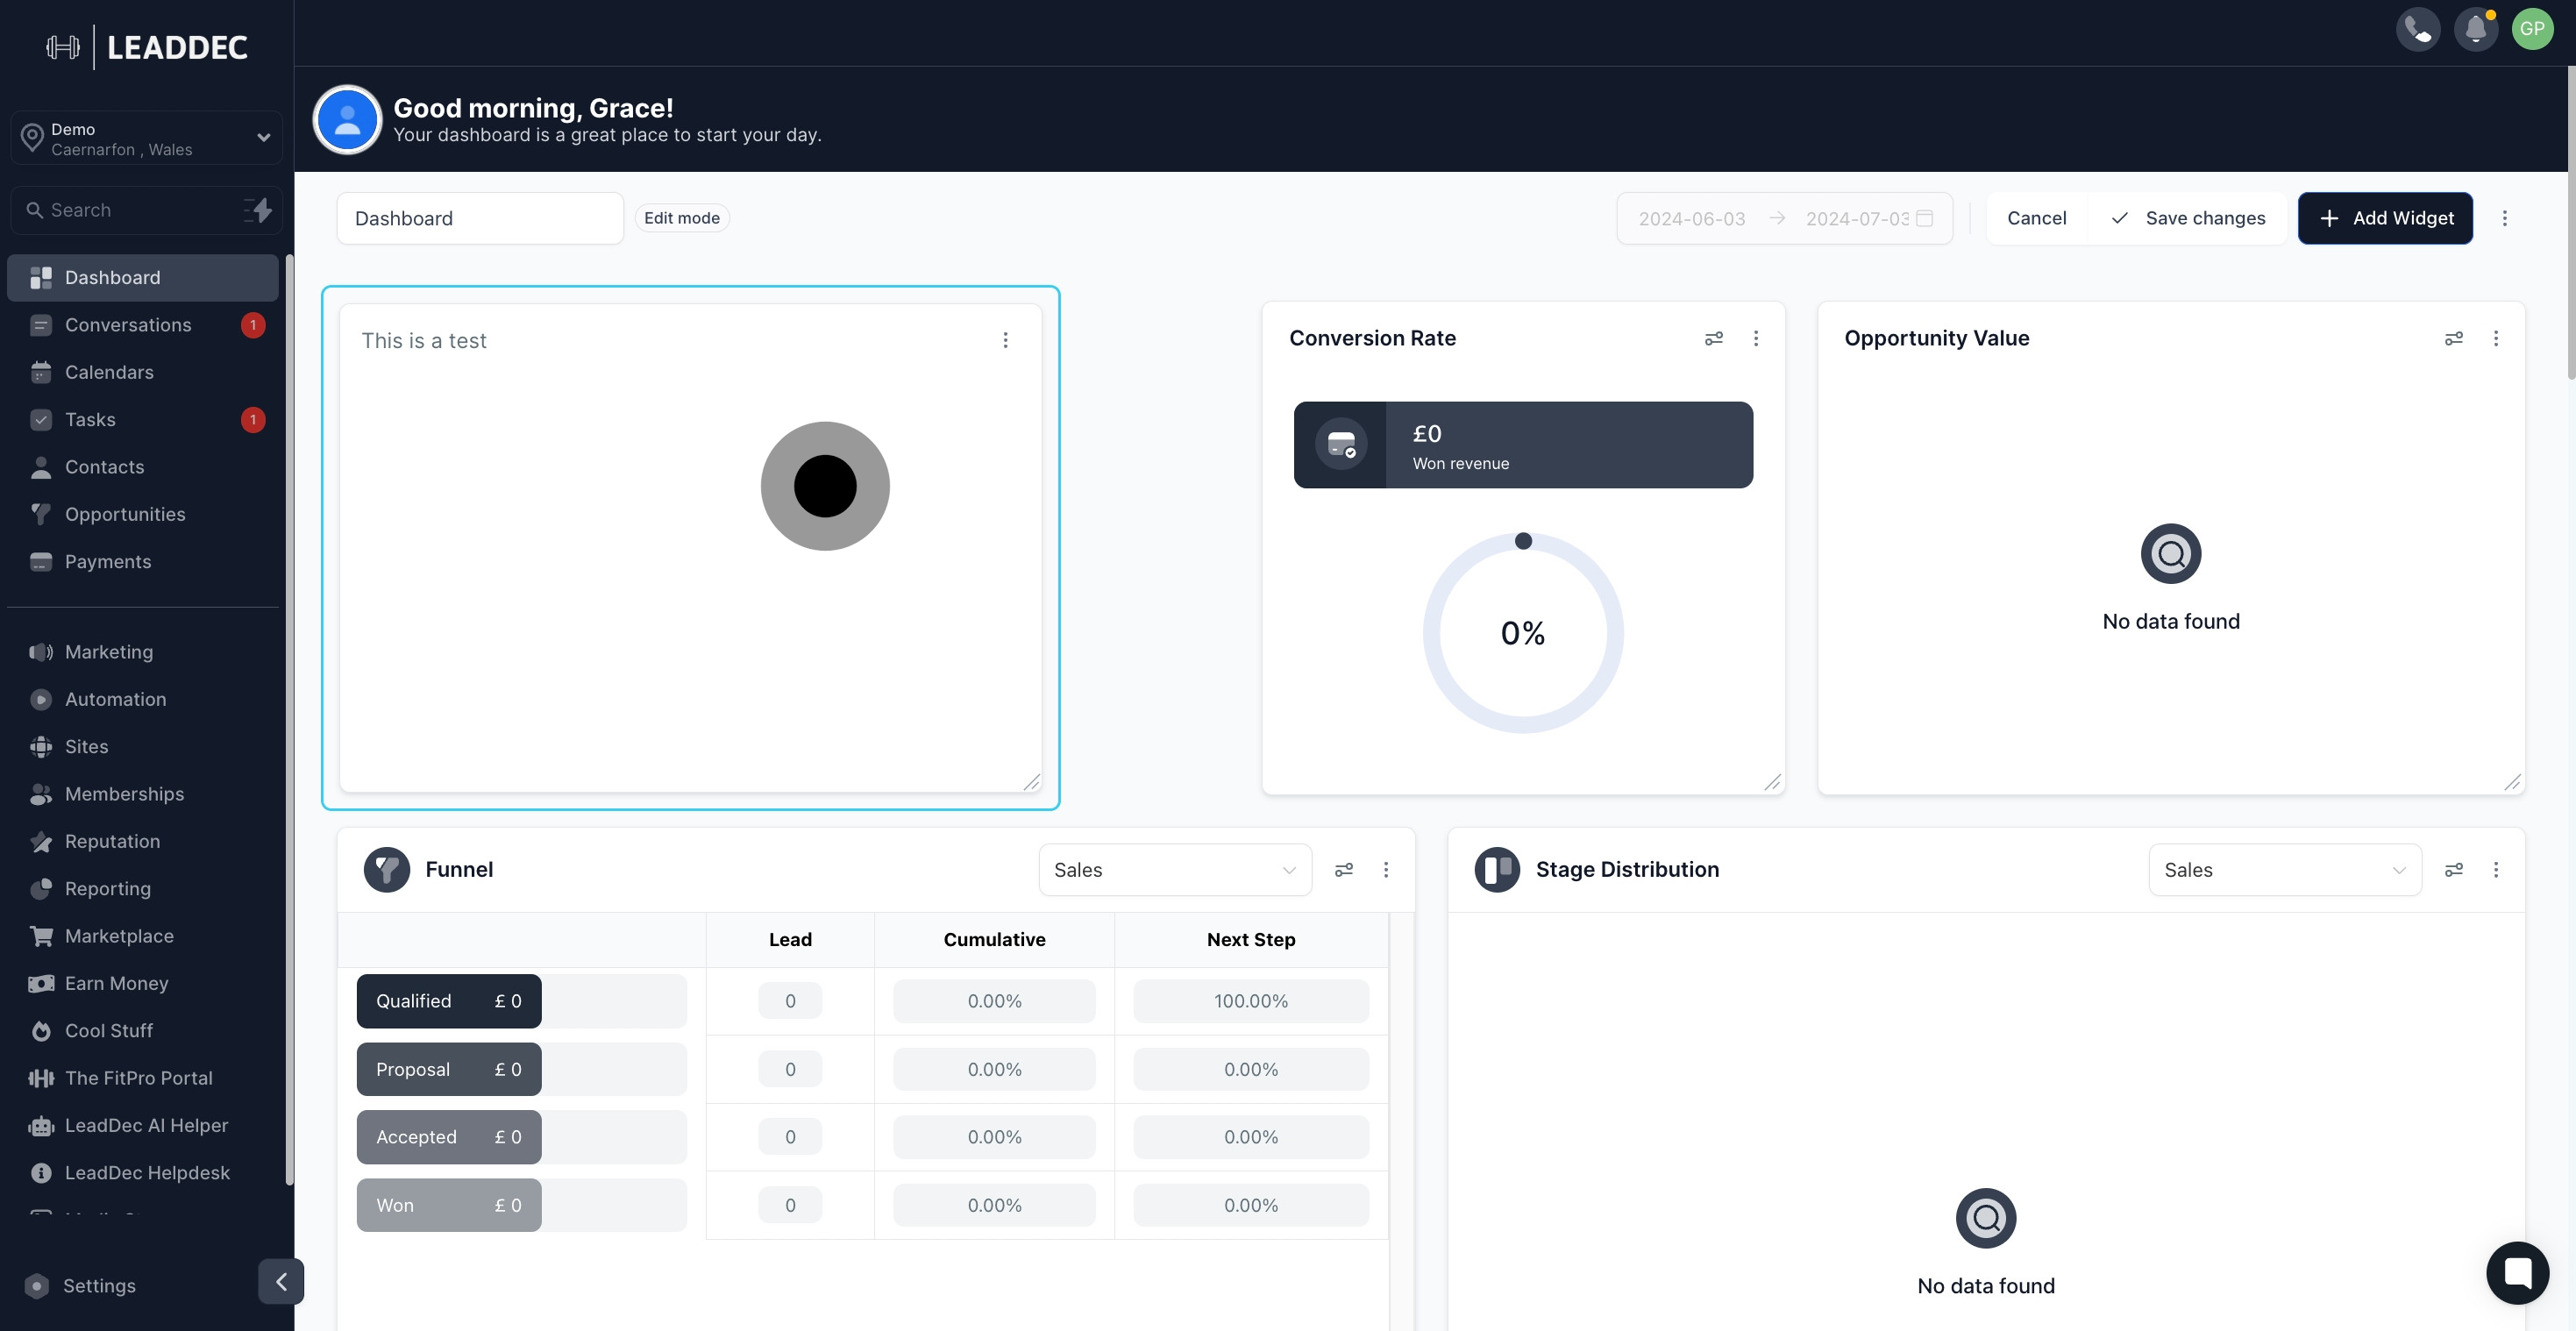
7. Done editing? Click 'Save' to keep your changes.

7 Once that's done, click on "Save".

8. Here is the result of your work.

8 Click here.

9. For more options, click the three dots.

9 Once that's done, click here.

10. Want to edit the text box? Click this option.

10 Now, click on the element.

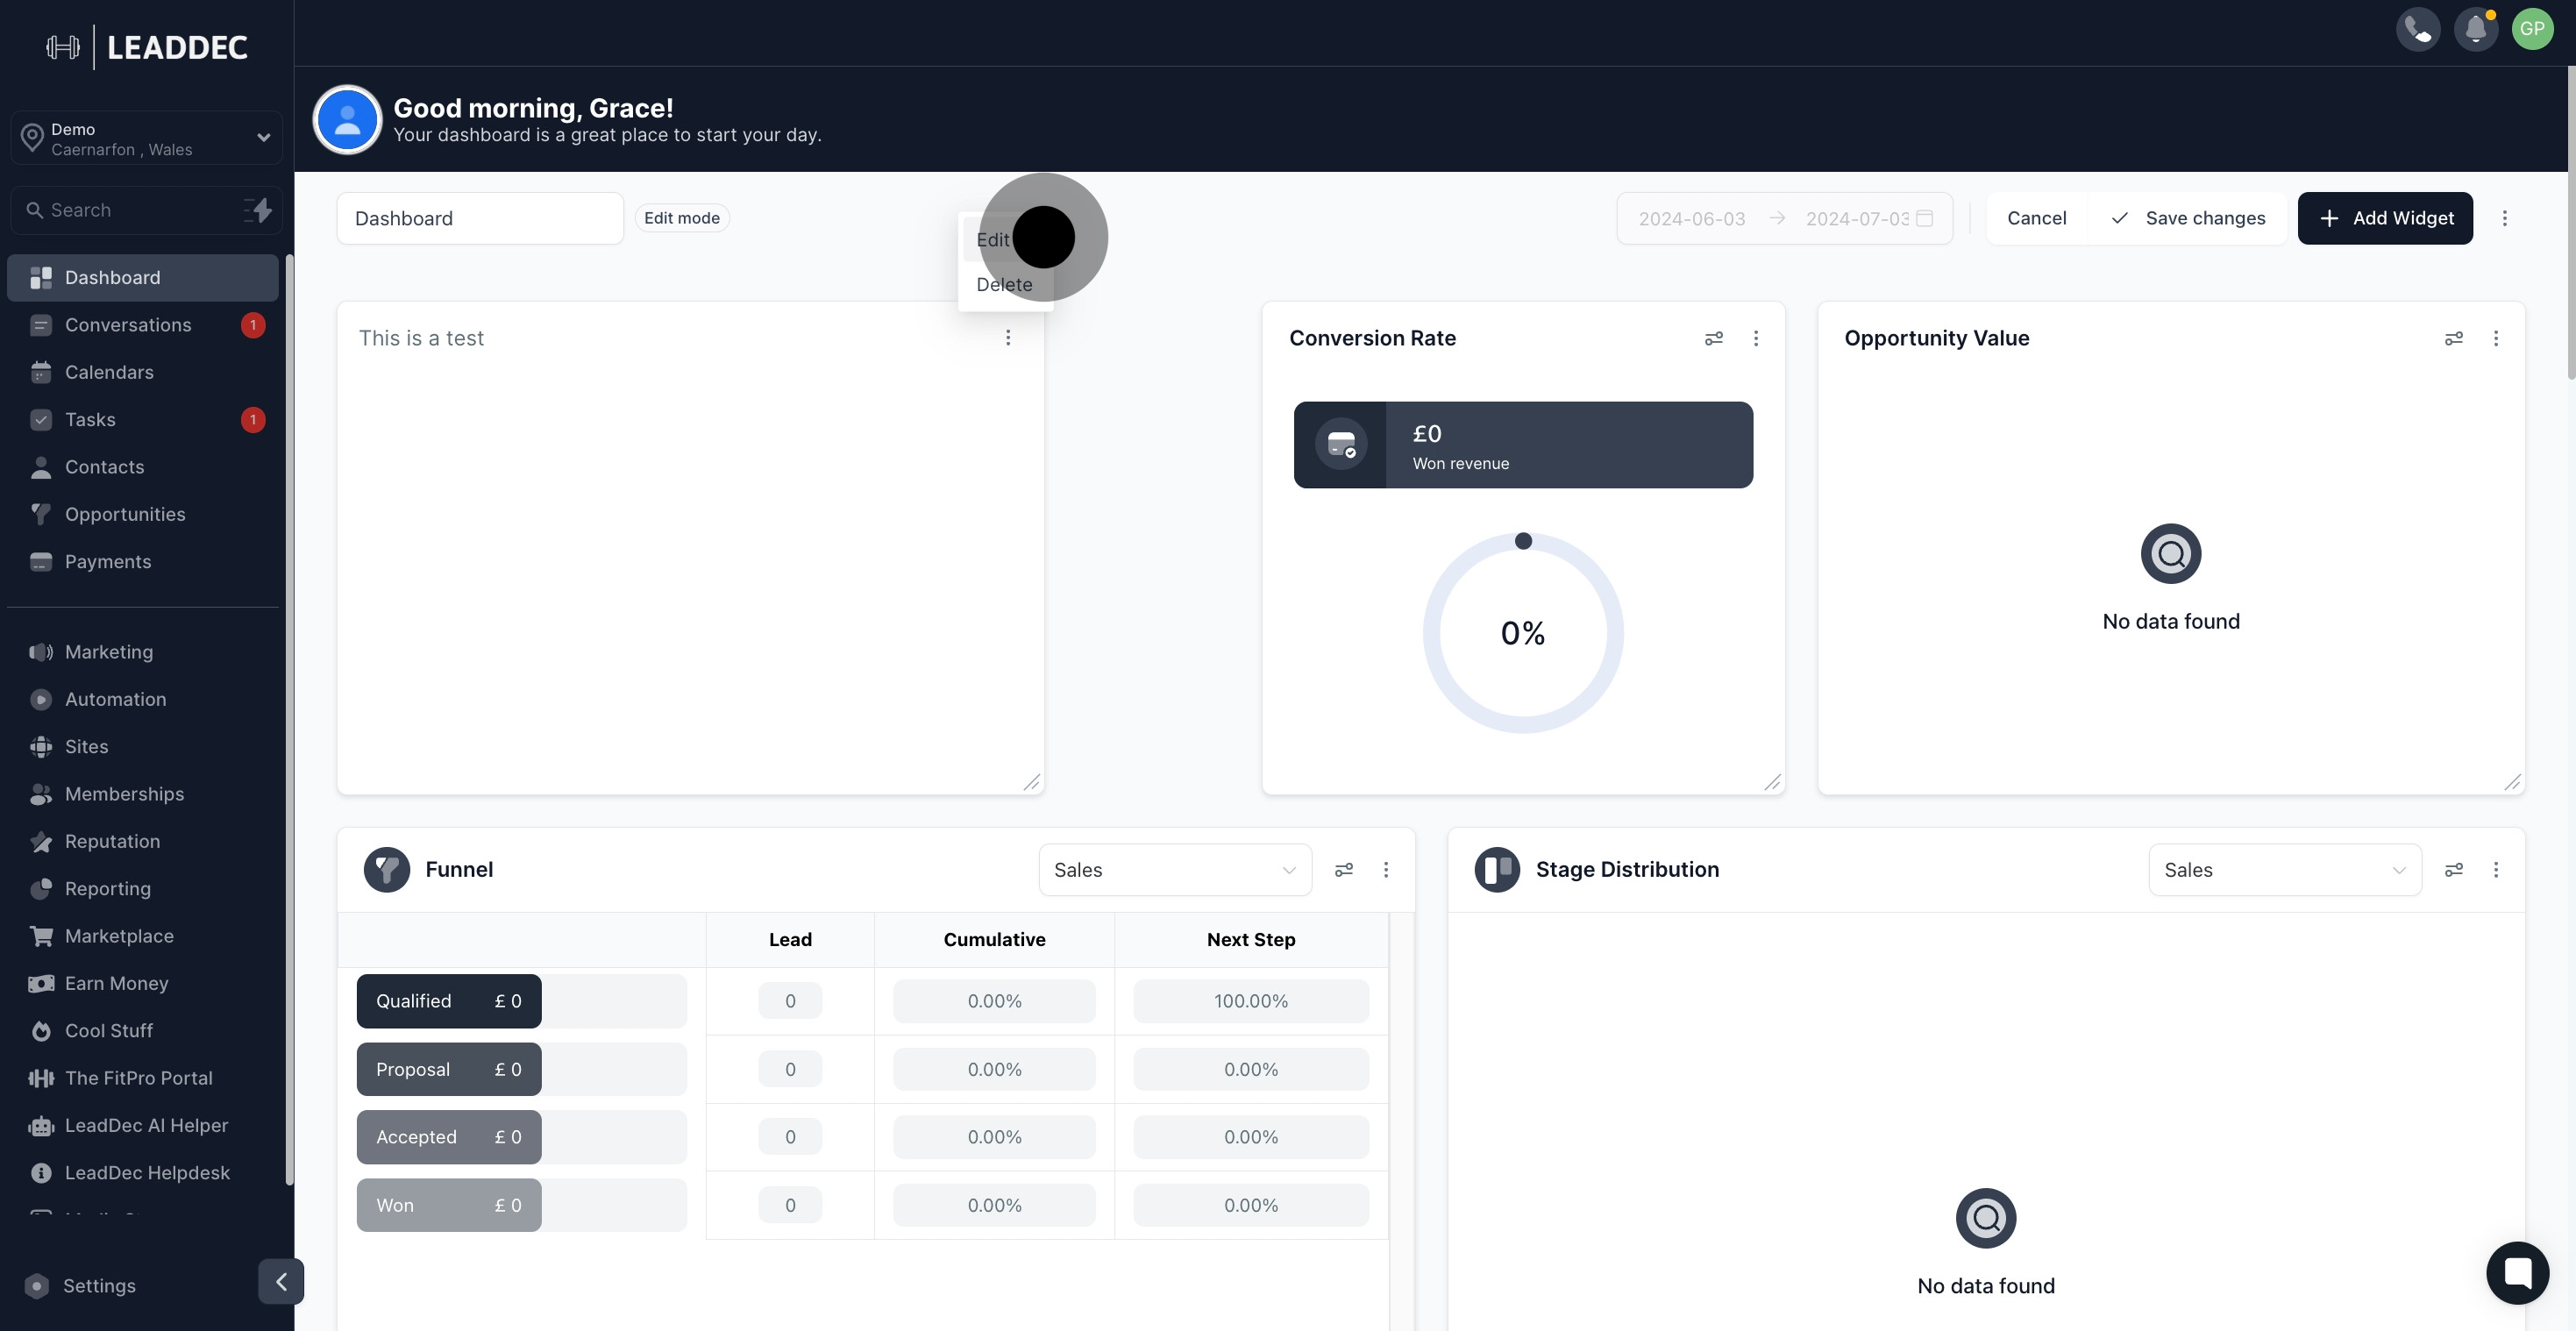
11. Need to remove the text box? Click here.

11 Upload

12. All set? Save your final changes now.

12 Afterwards, click on "Save changes".

Did this answer your question?
😞
😐
😁