How to Add Images to Your LeadDec Dashboard

Enhance the visual appeal and functionality of your LeadDec dashboard by learning how to add images. This article offers a step-by-step guide on incorporating images into your dashboard, helping you create a more engaging and personalized user experience. Perfect for users looking to customize their dashboard with visual elements.


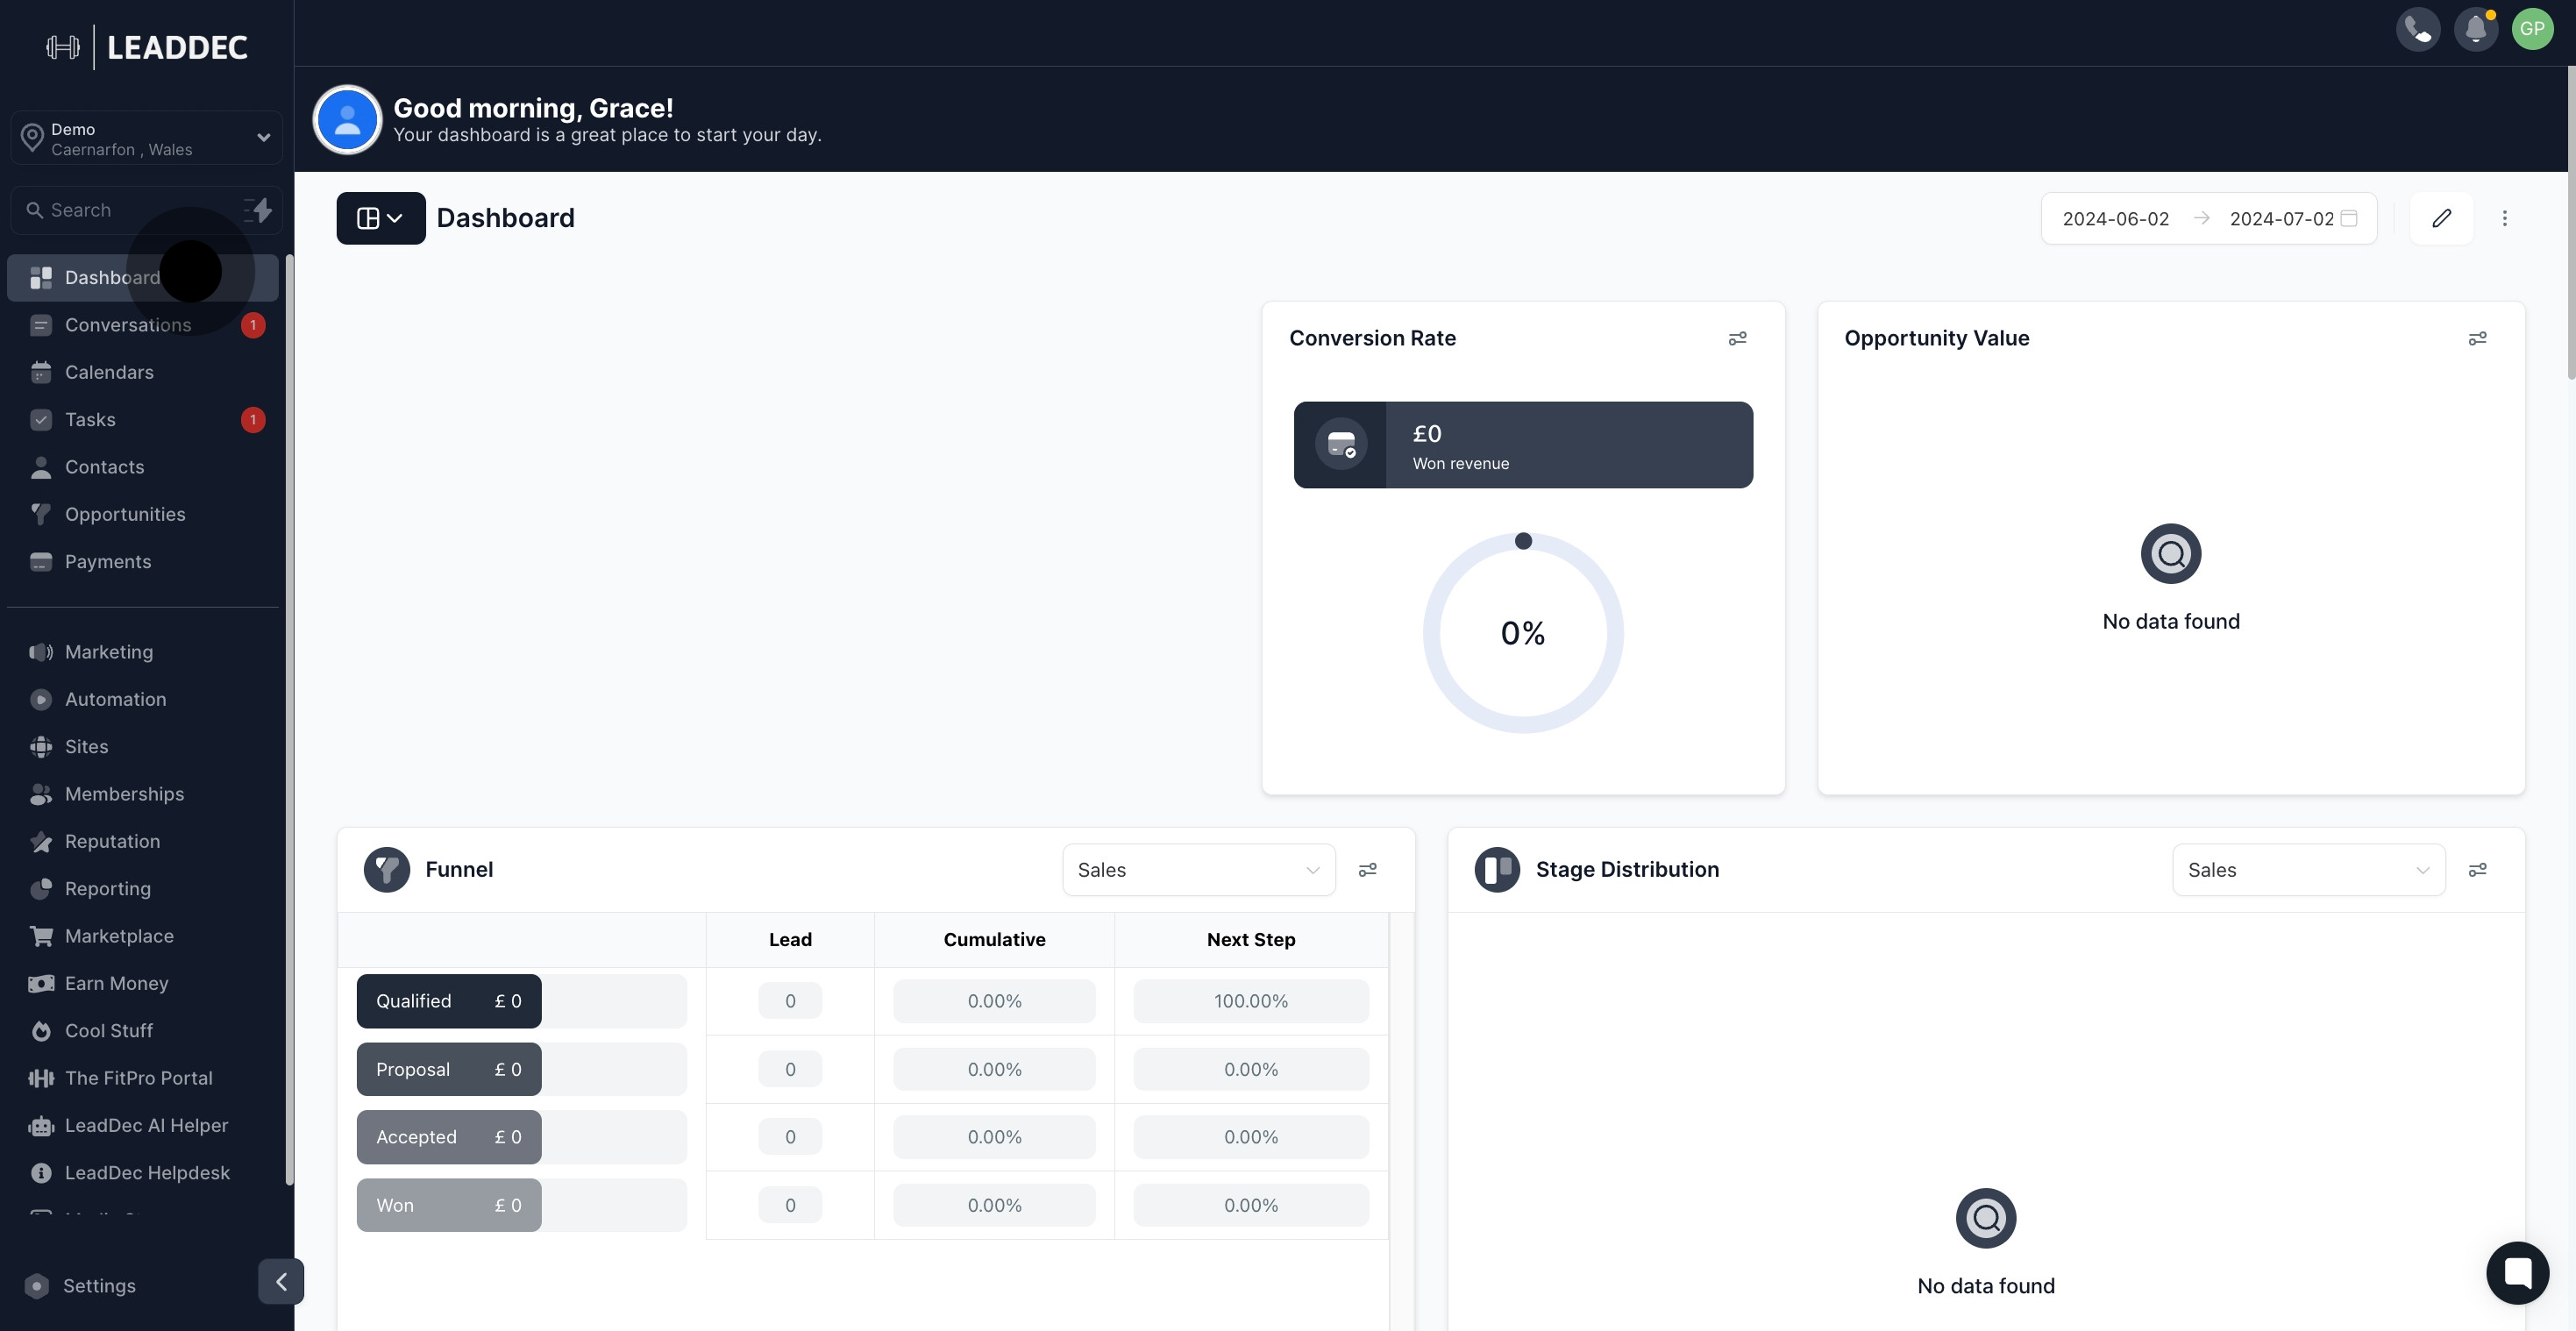
1. Navigate to the Dashboard to begin.

1 To start, click here.

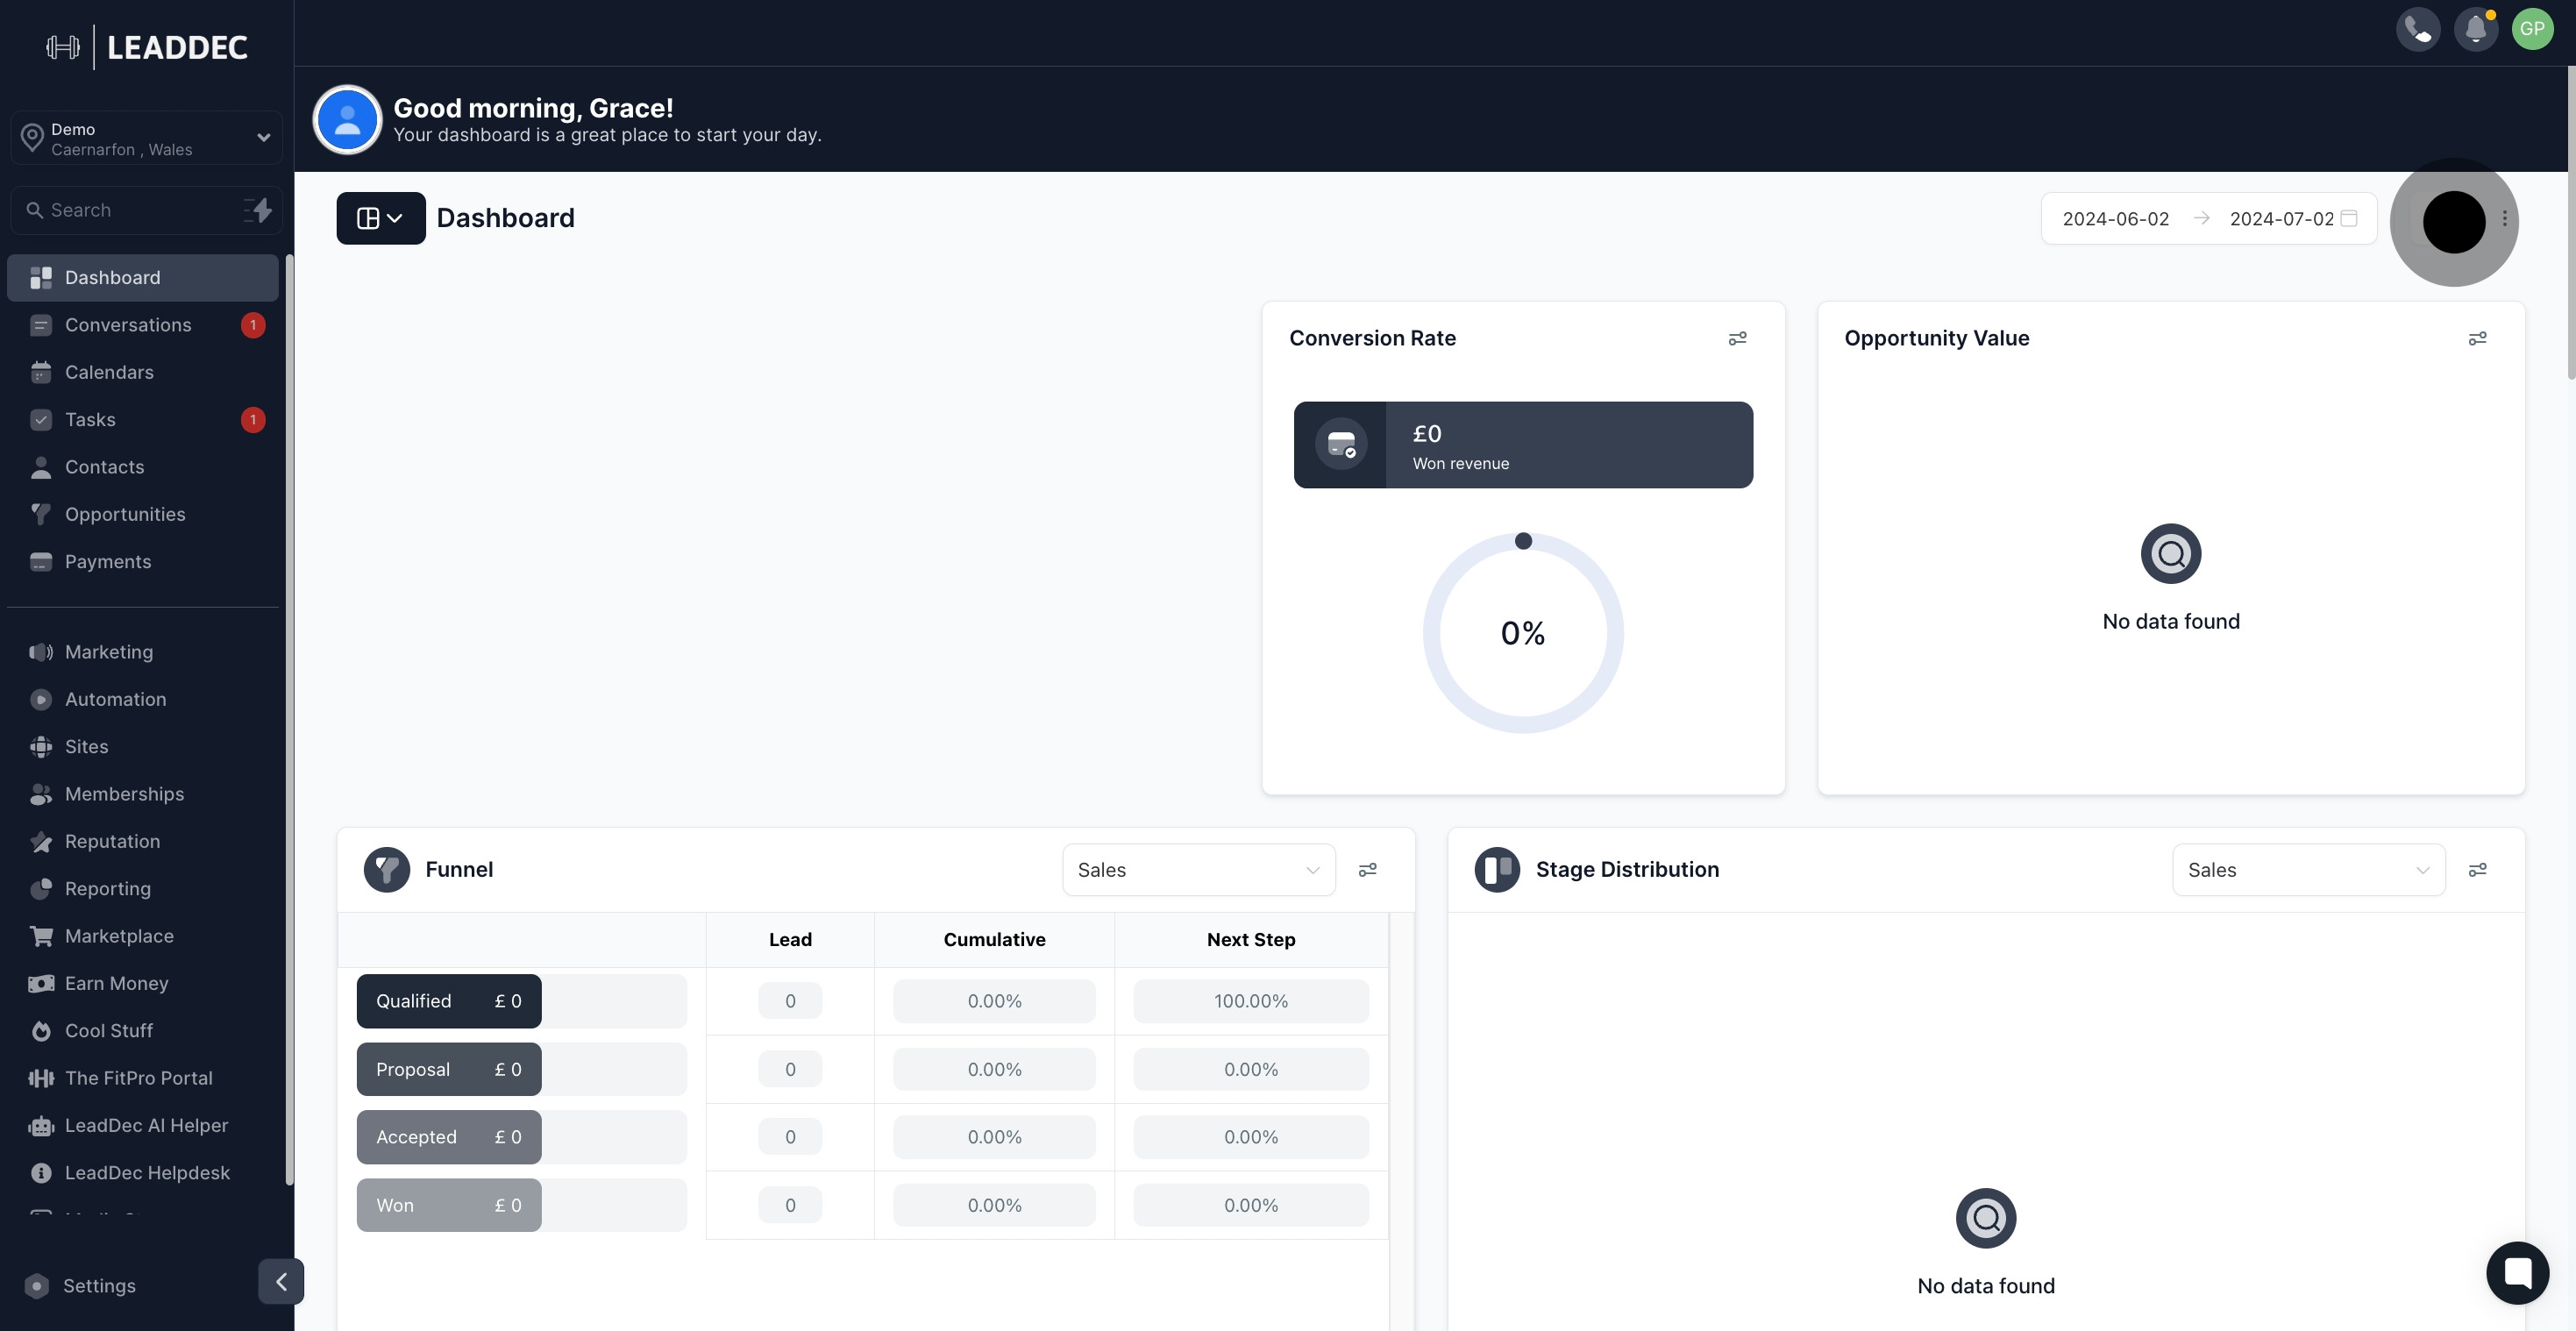
2. Ready to customize? Let's edit your settings.

2 Click on the element.

3. Click 'Add Widget' to incorporate new features.

3 Click on "Add Widget".

4. Select 'Elements' to proceed with customization.

4 Next up, click on "Elements".

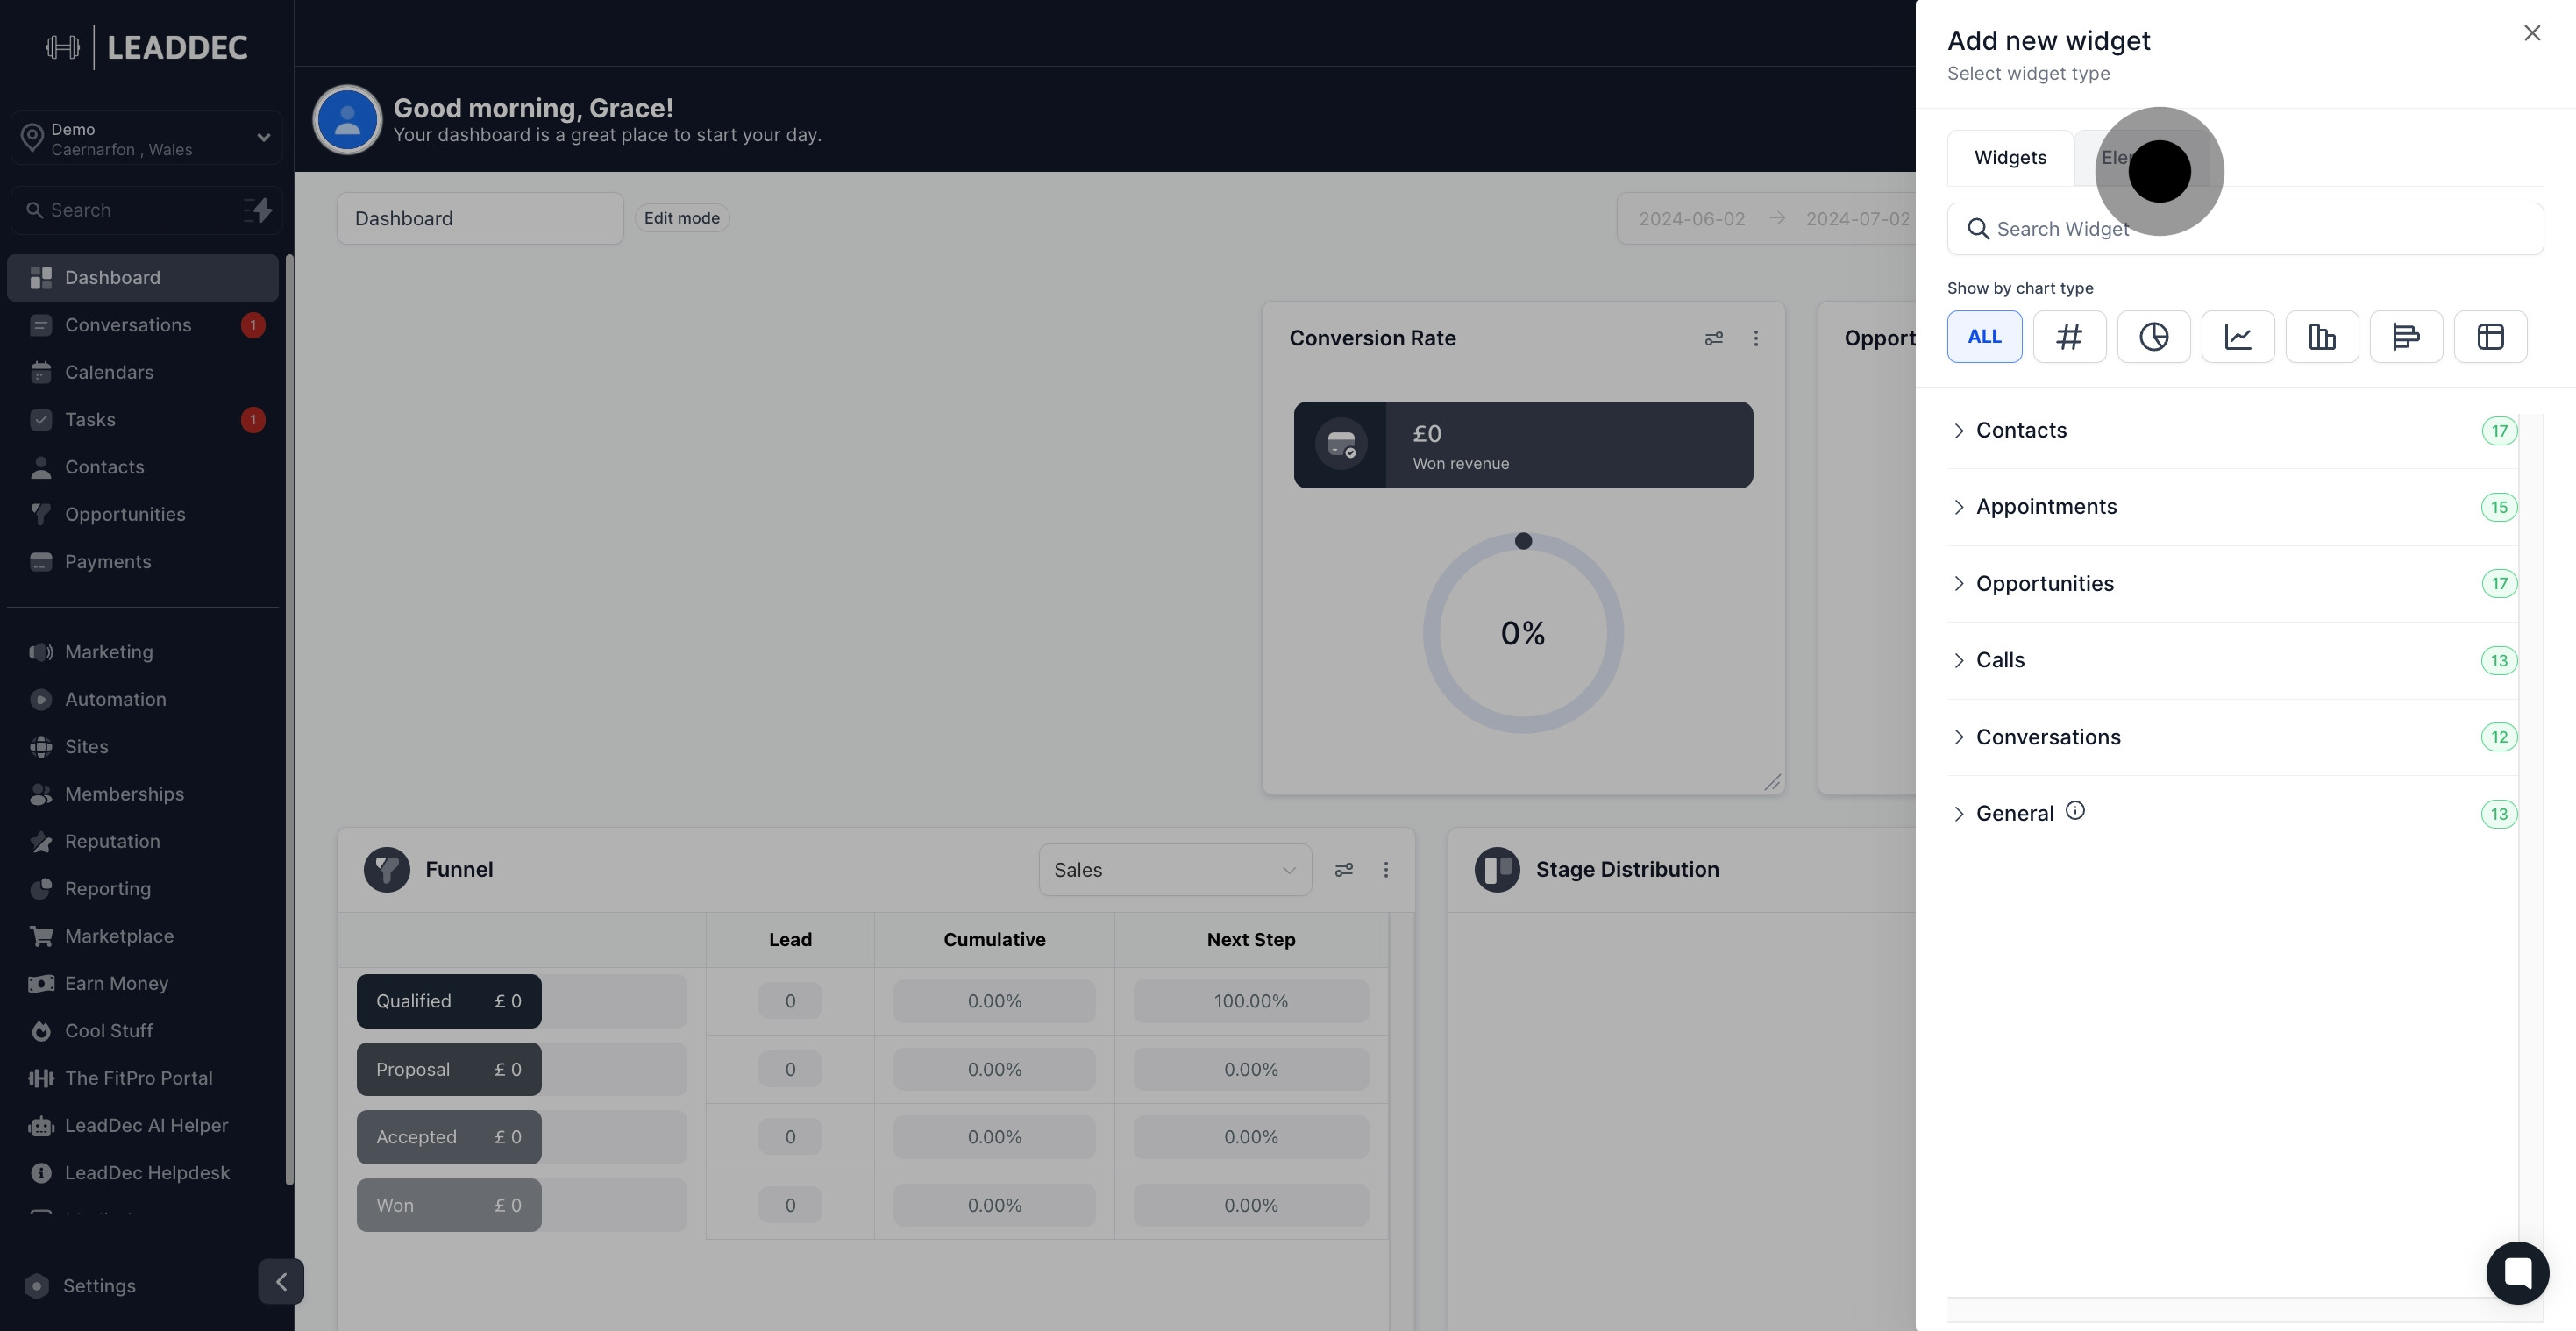
5. Pick an image to add visual appeal to your page.

5 Click here.

6. Now, name your image by entering a title.

6 Click on the element.

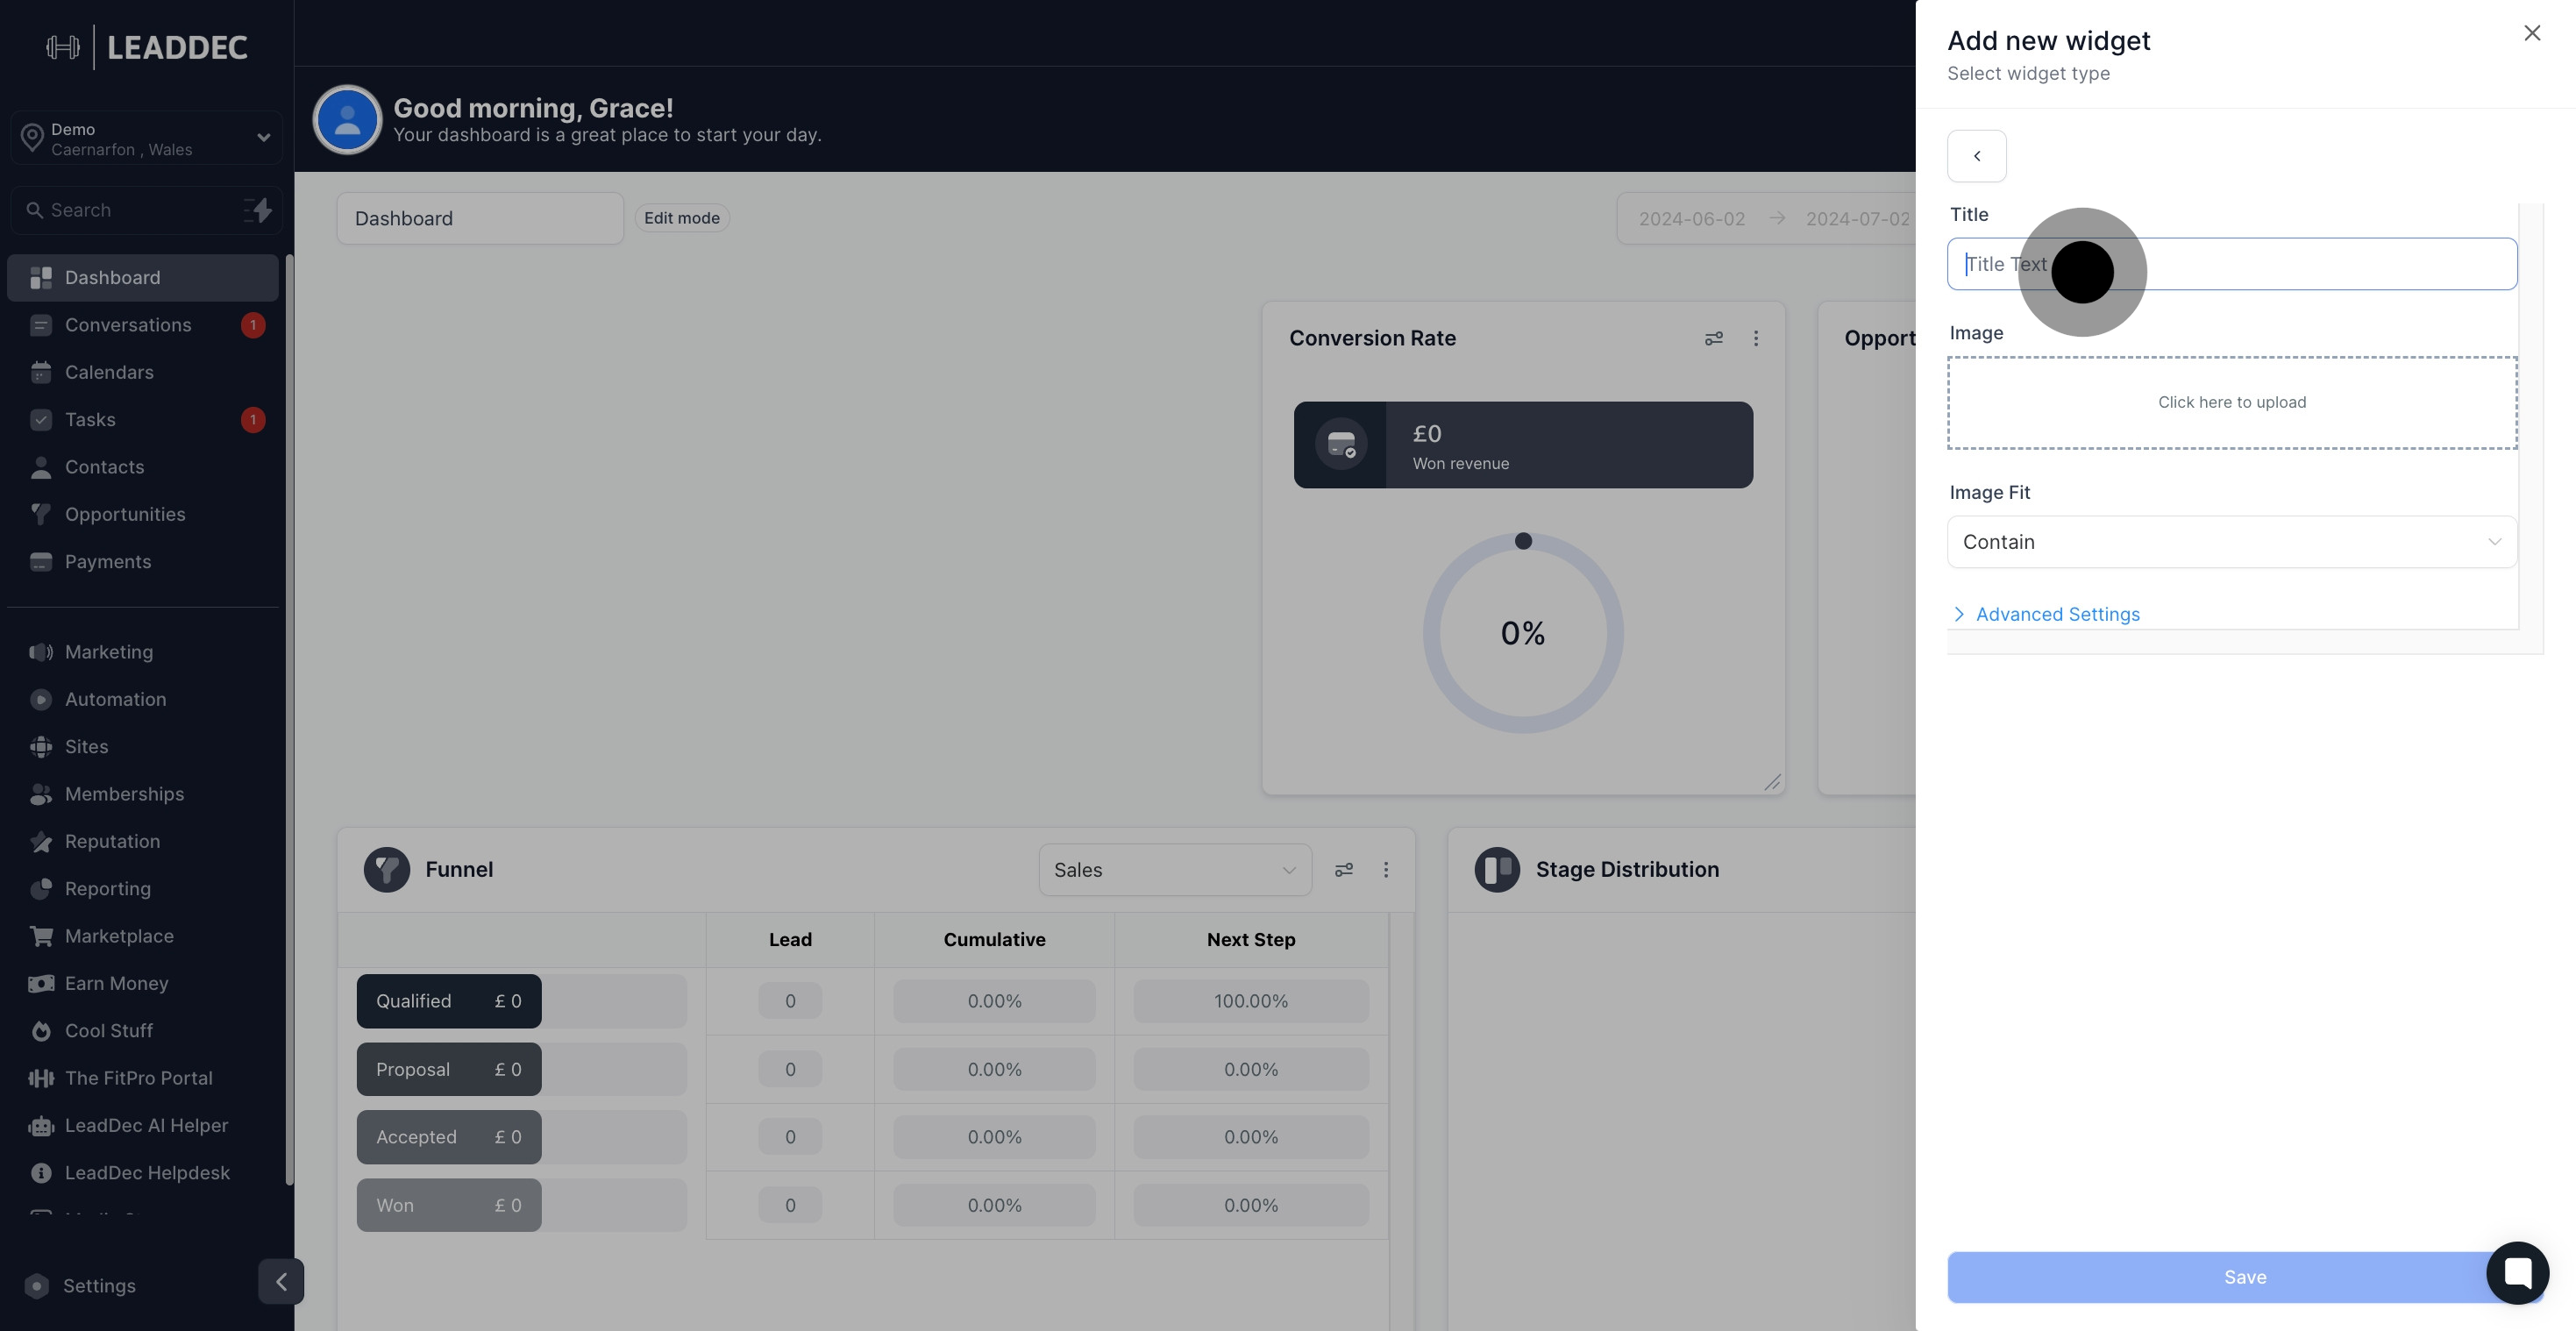
7. Upload your selected image next.

7 Once that's done, click on "Click here to upload".

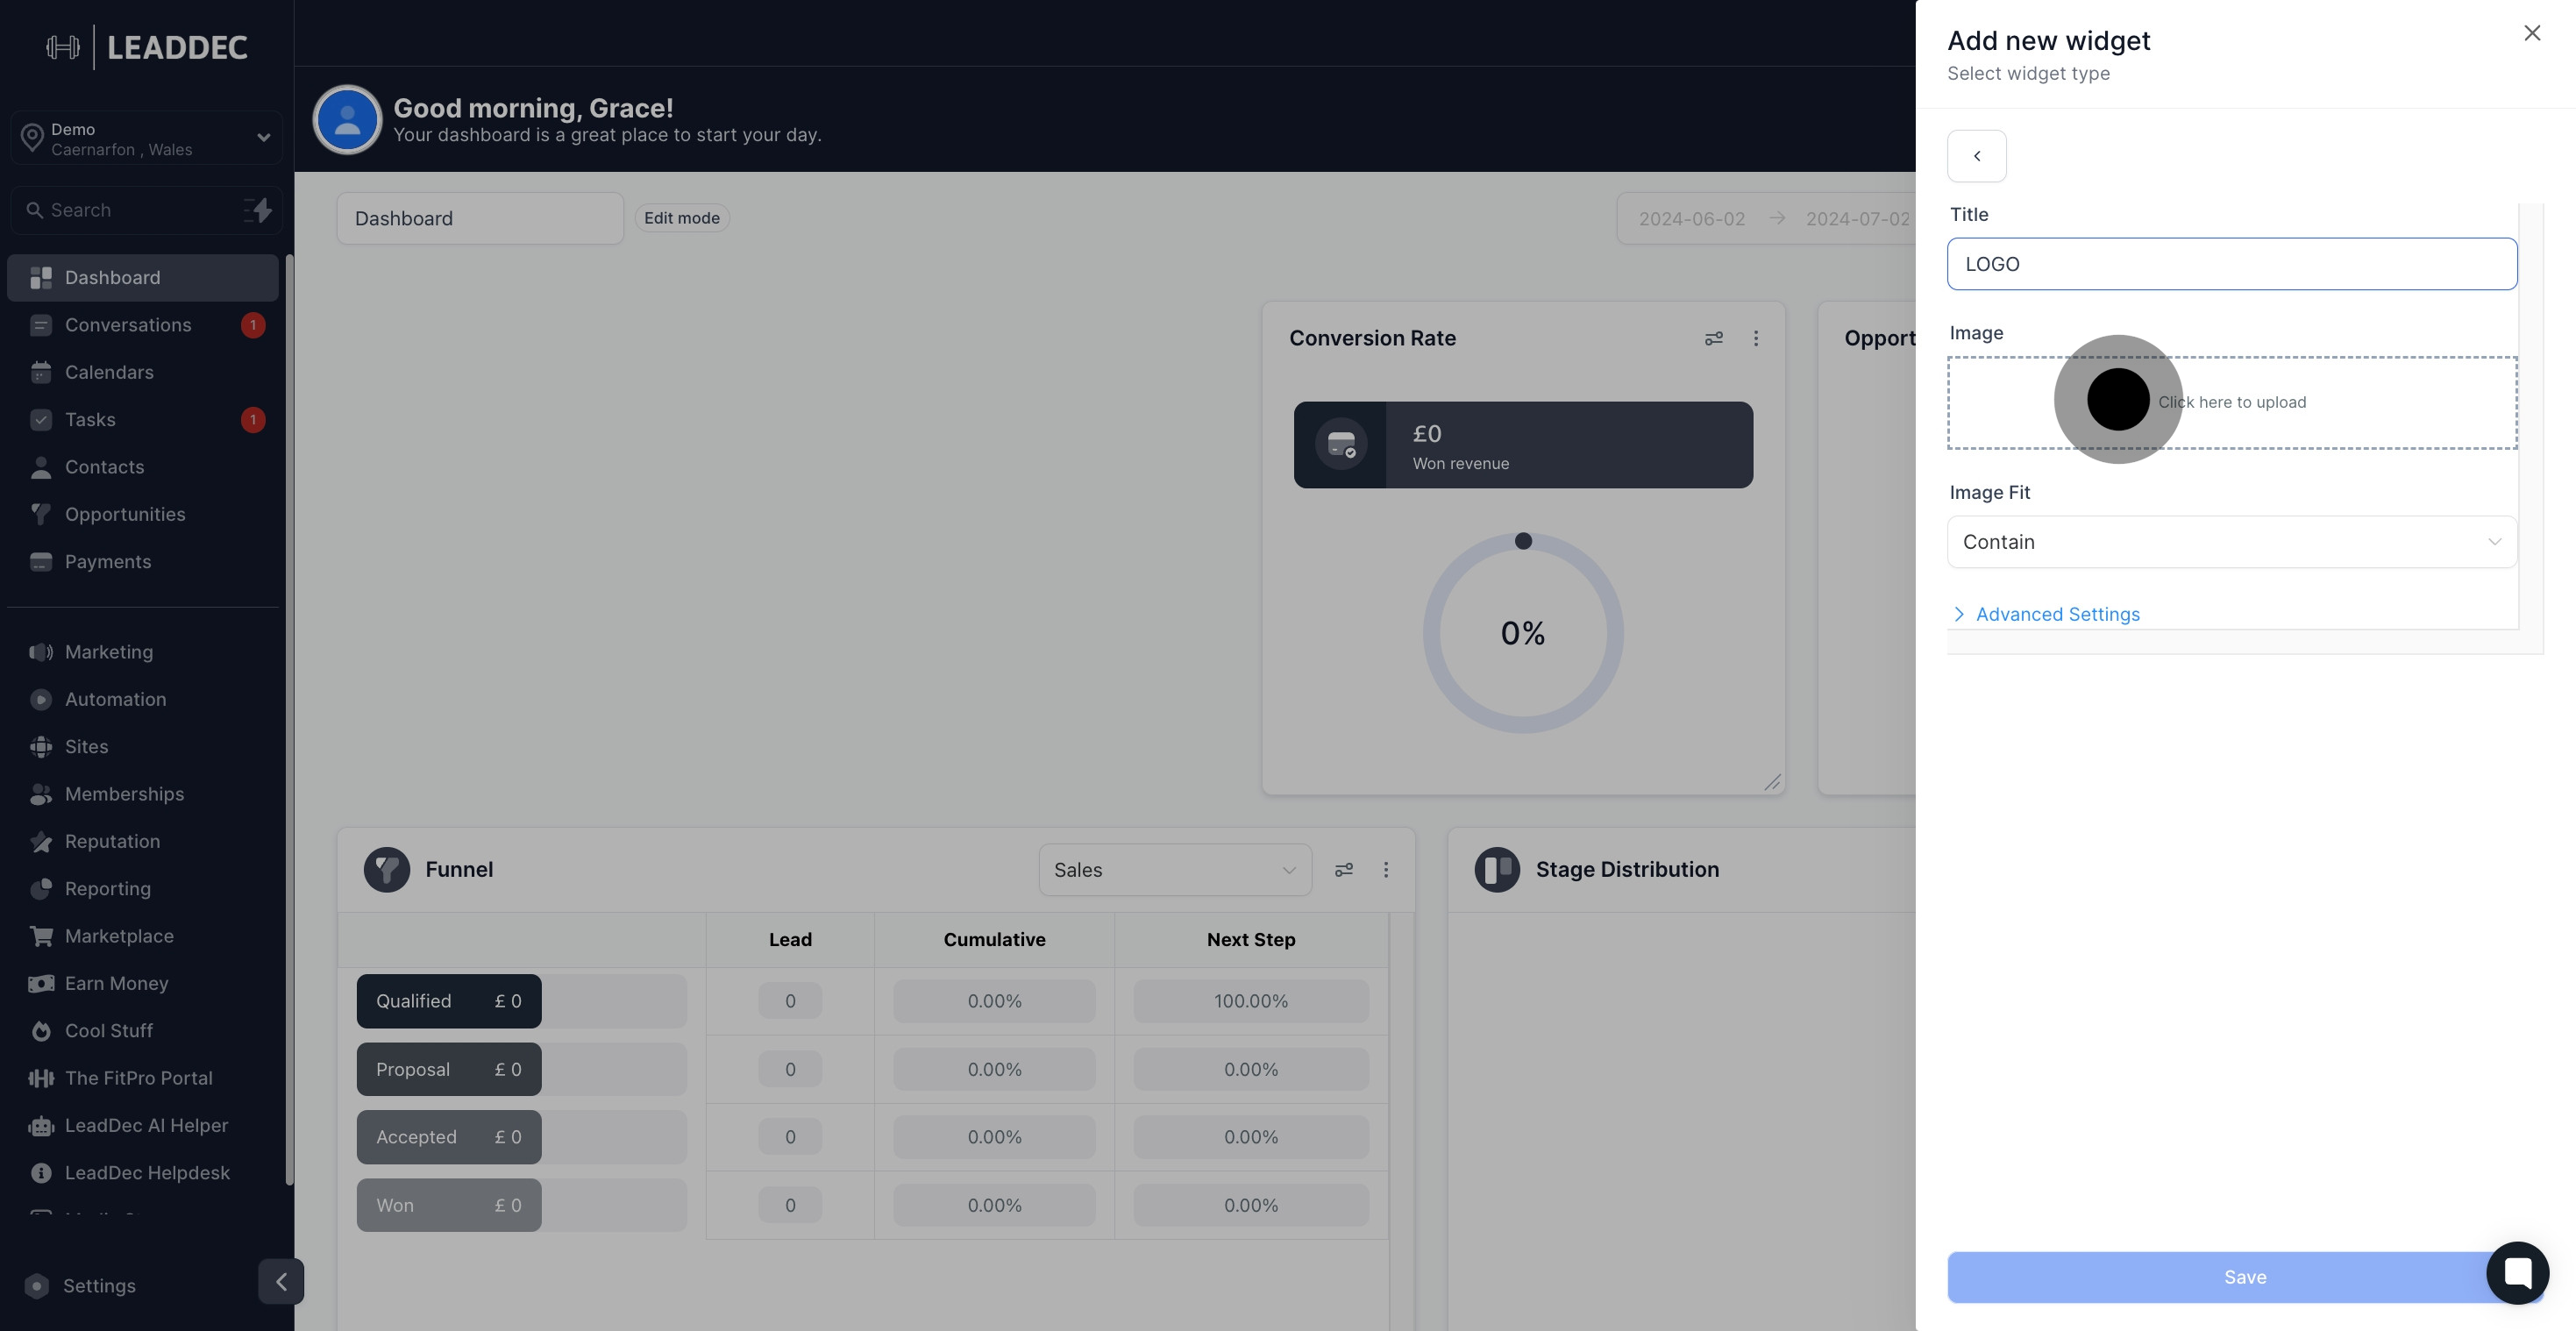
8. Need to remove the image? Click here.

8 Next, click here.

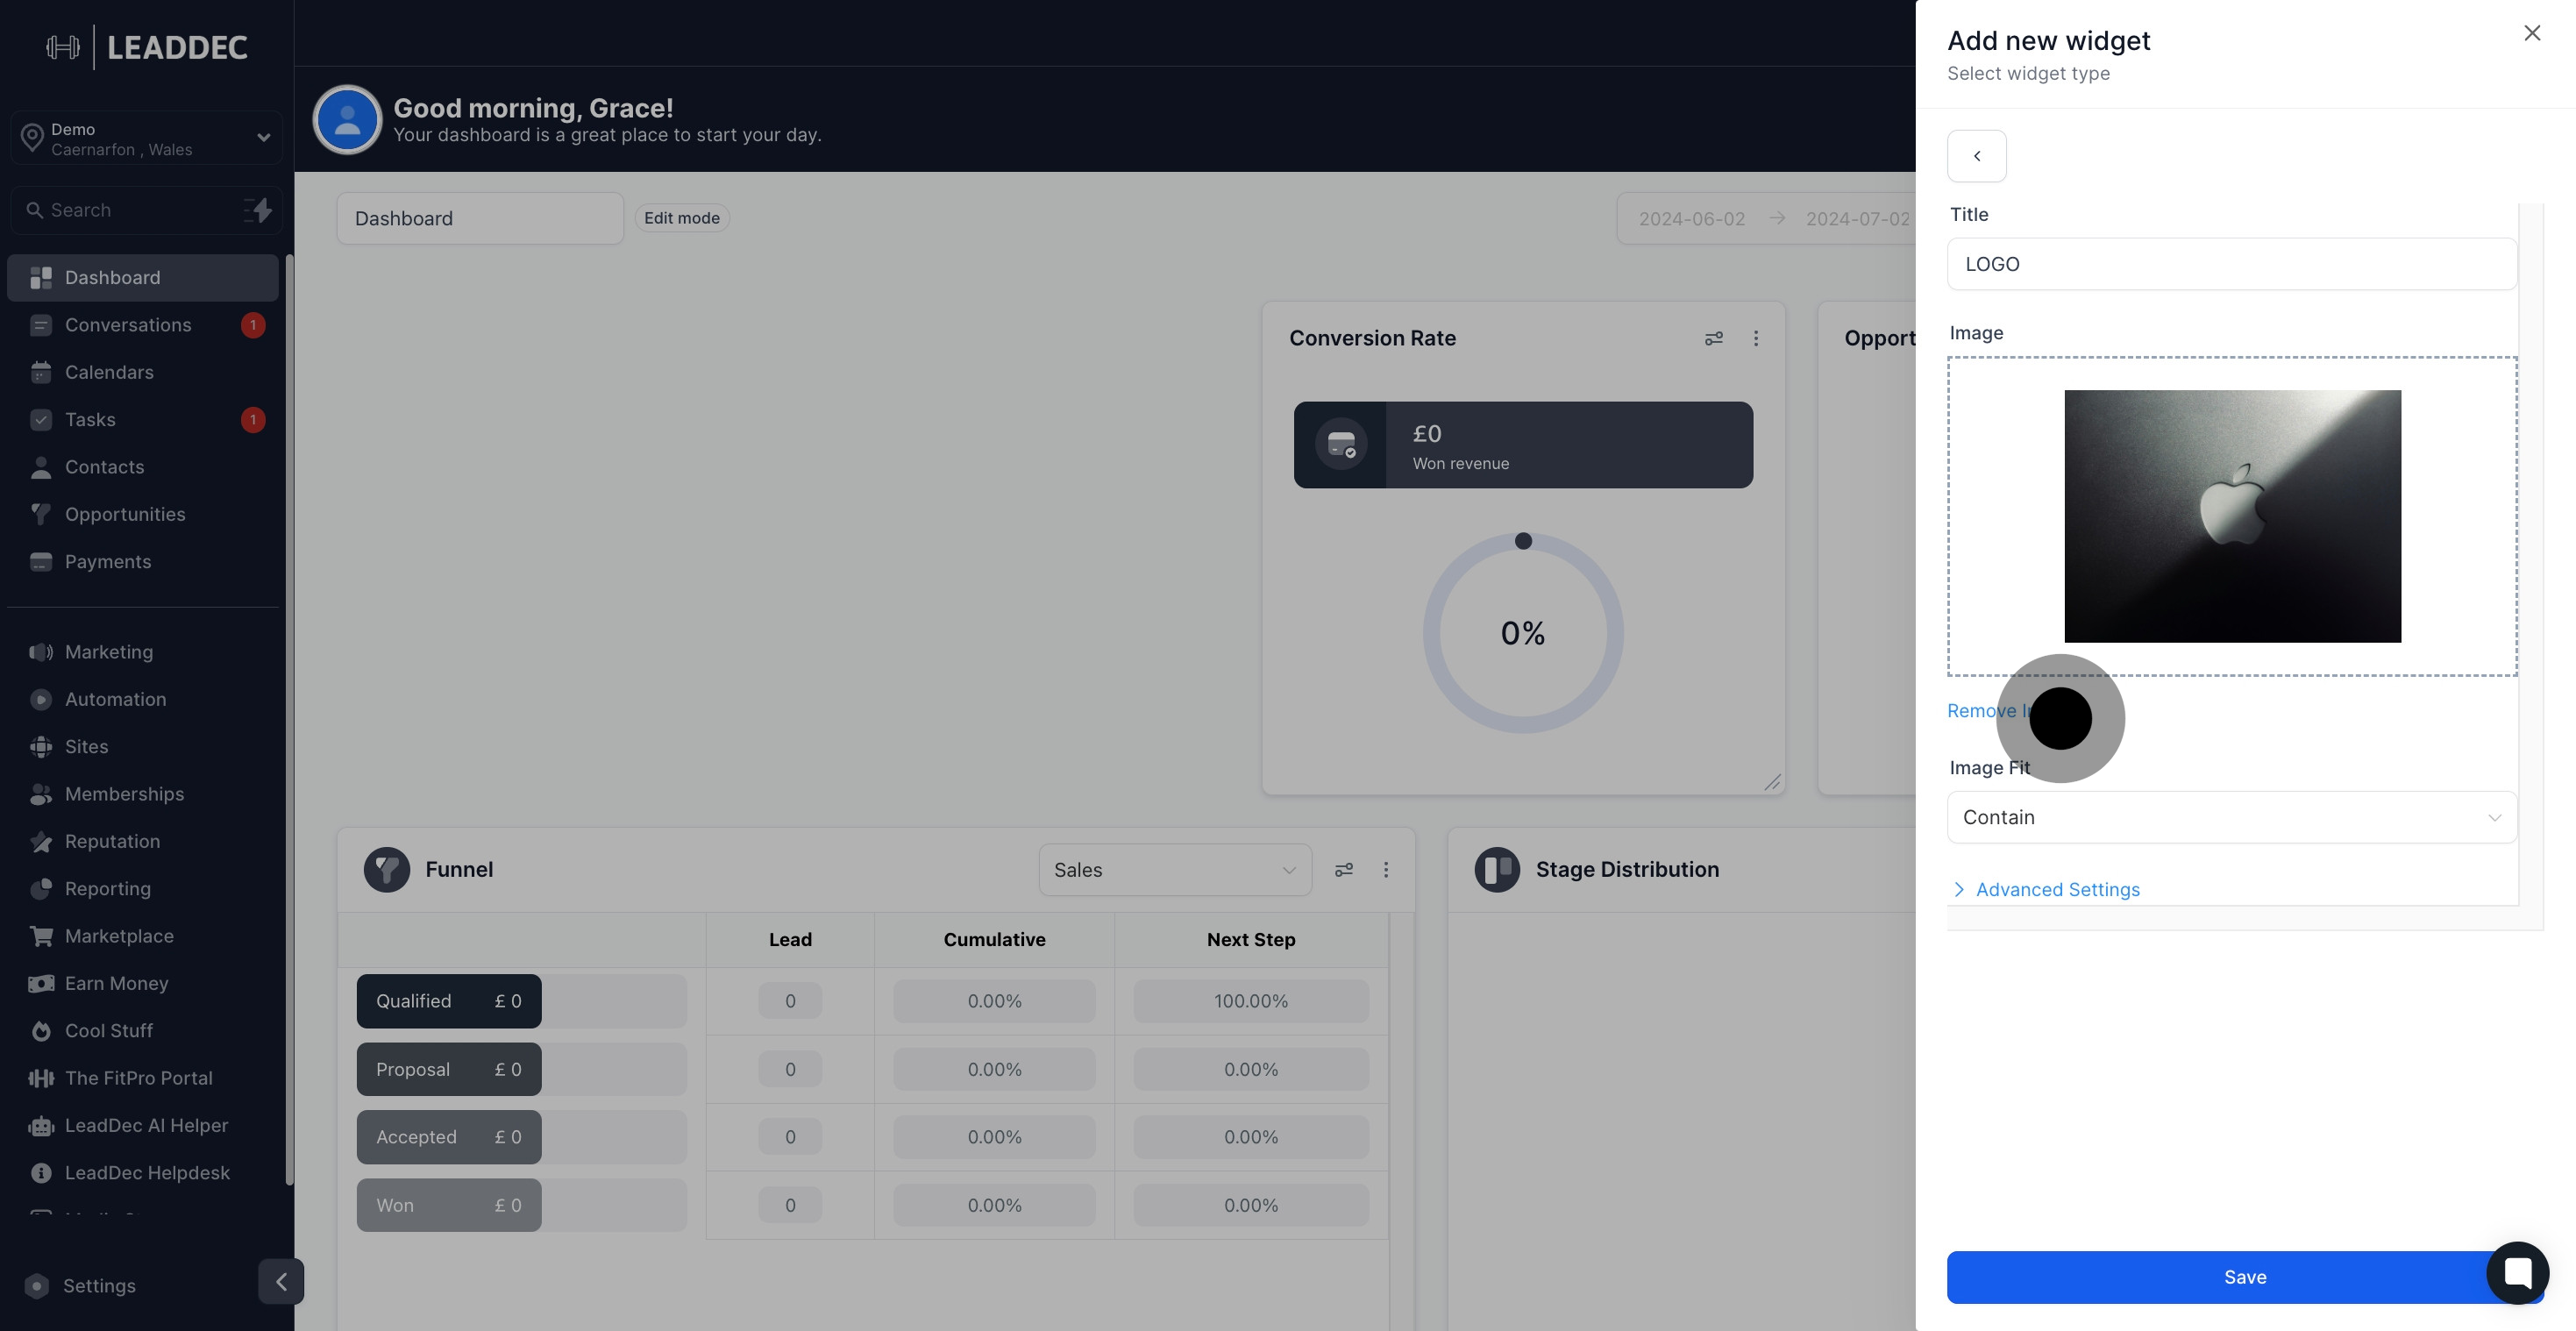
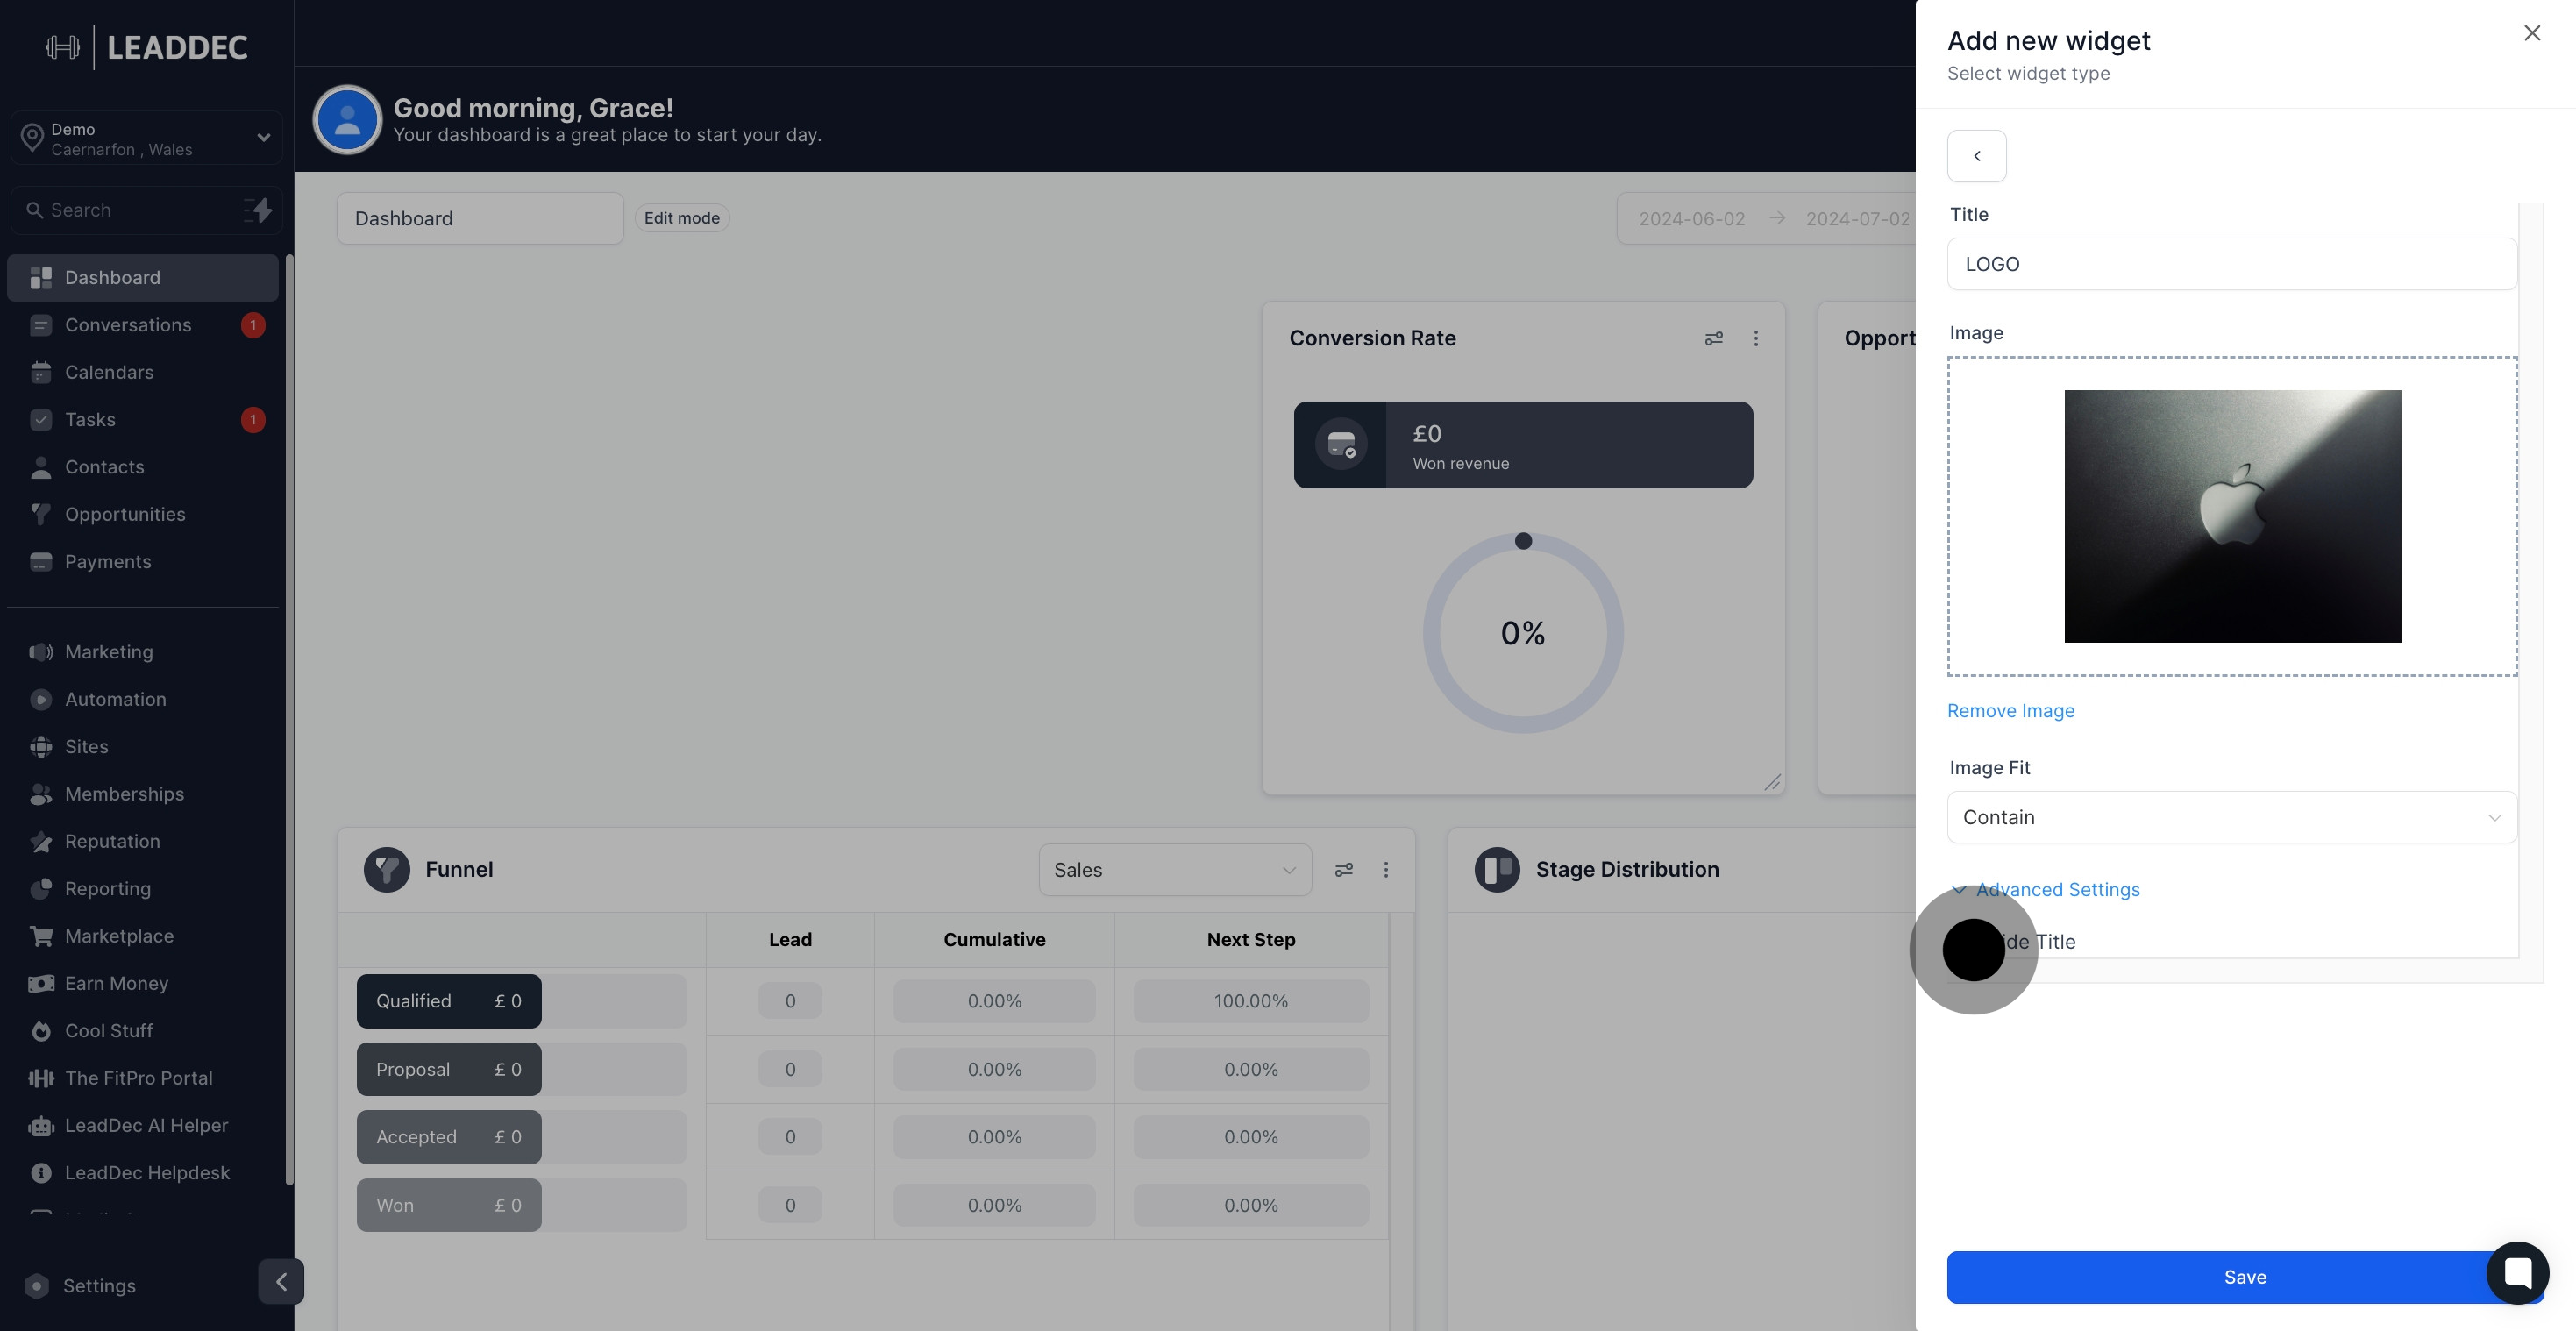
9. Adjust your image settings for a better fit.

9 Upload

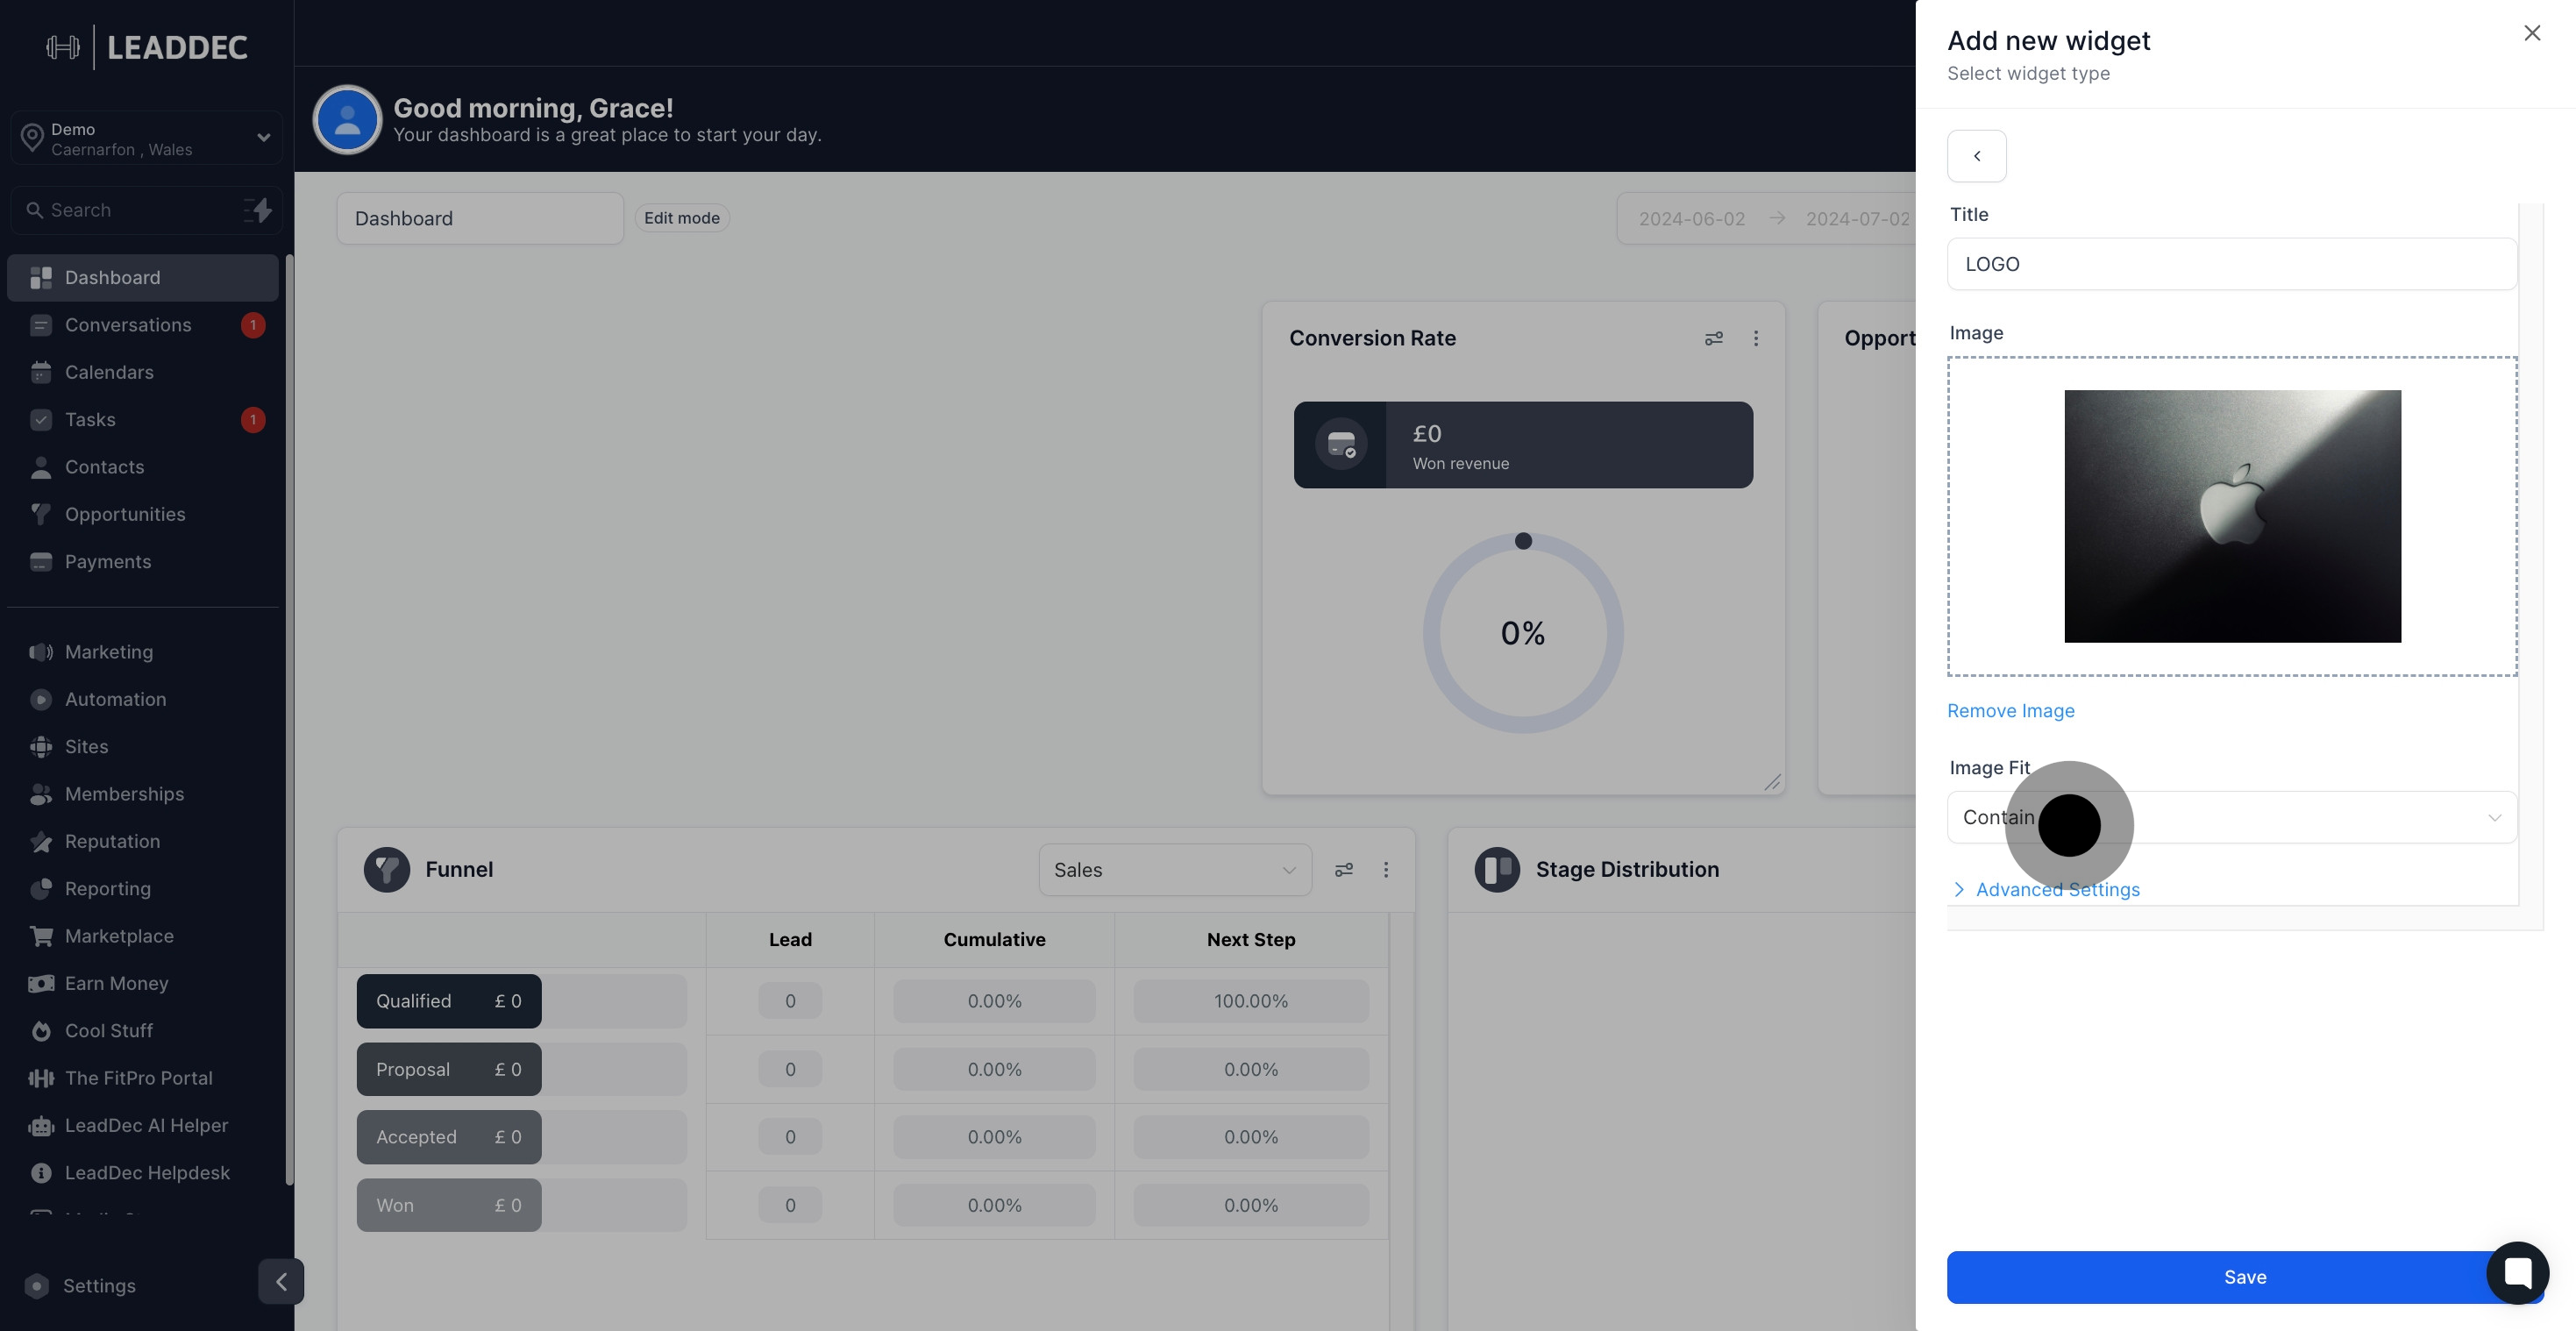
10. Explore advanced settings for more options.

10 After that, click on "Advanced Settings".

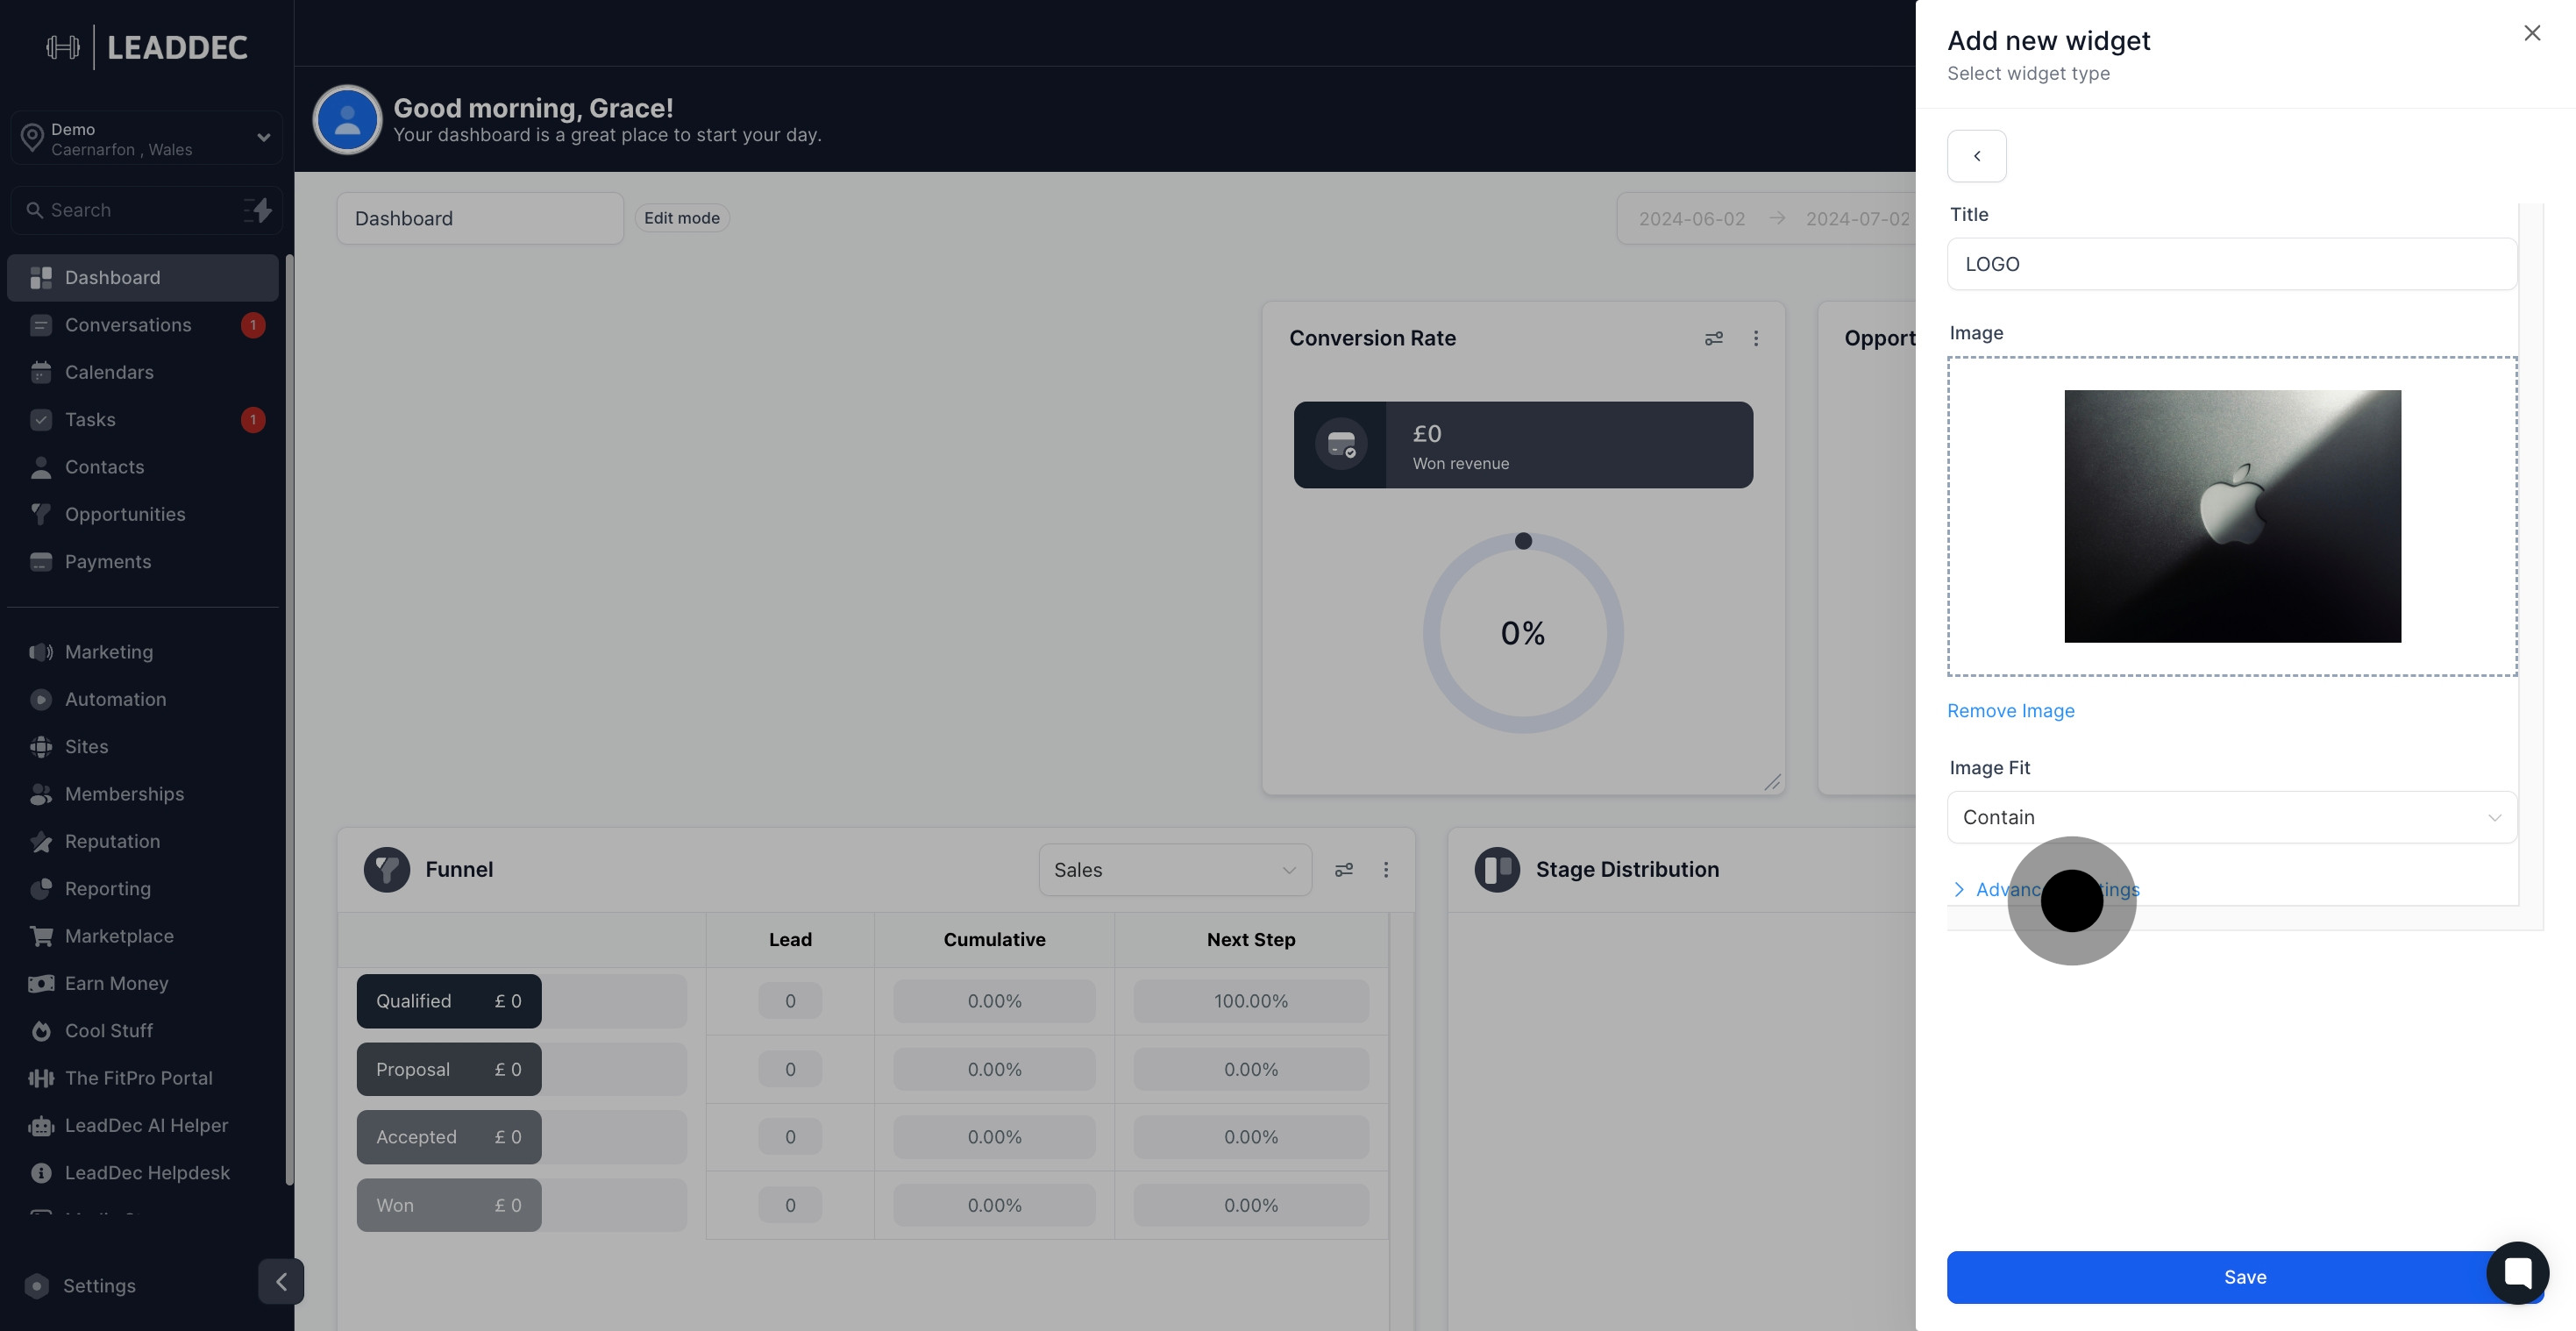
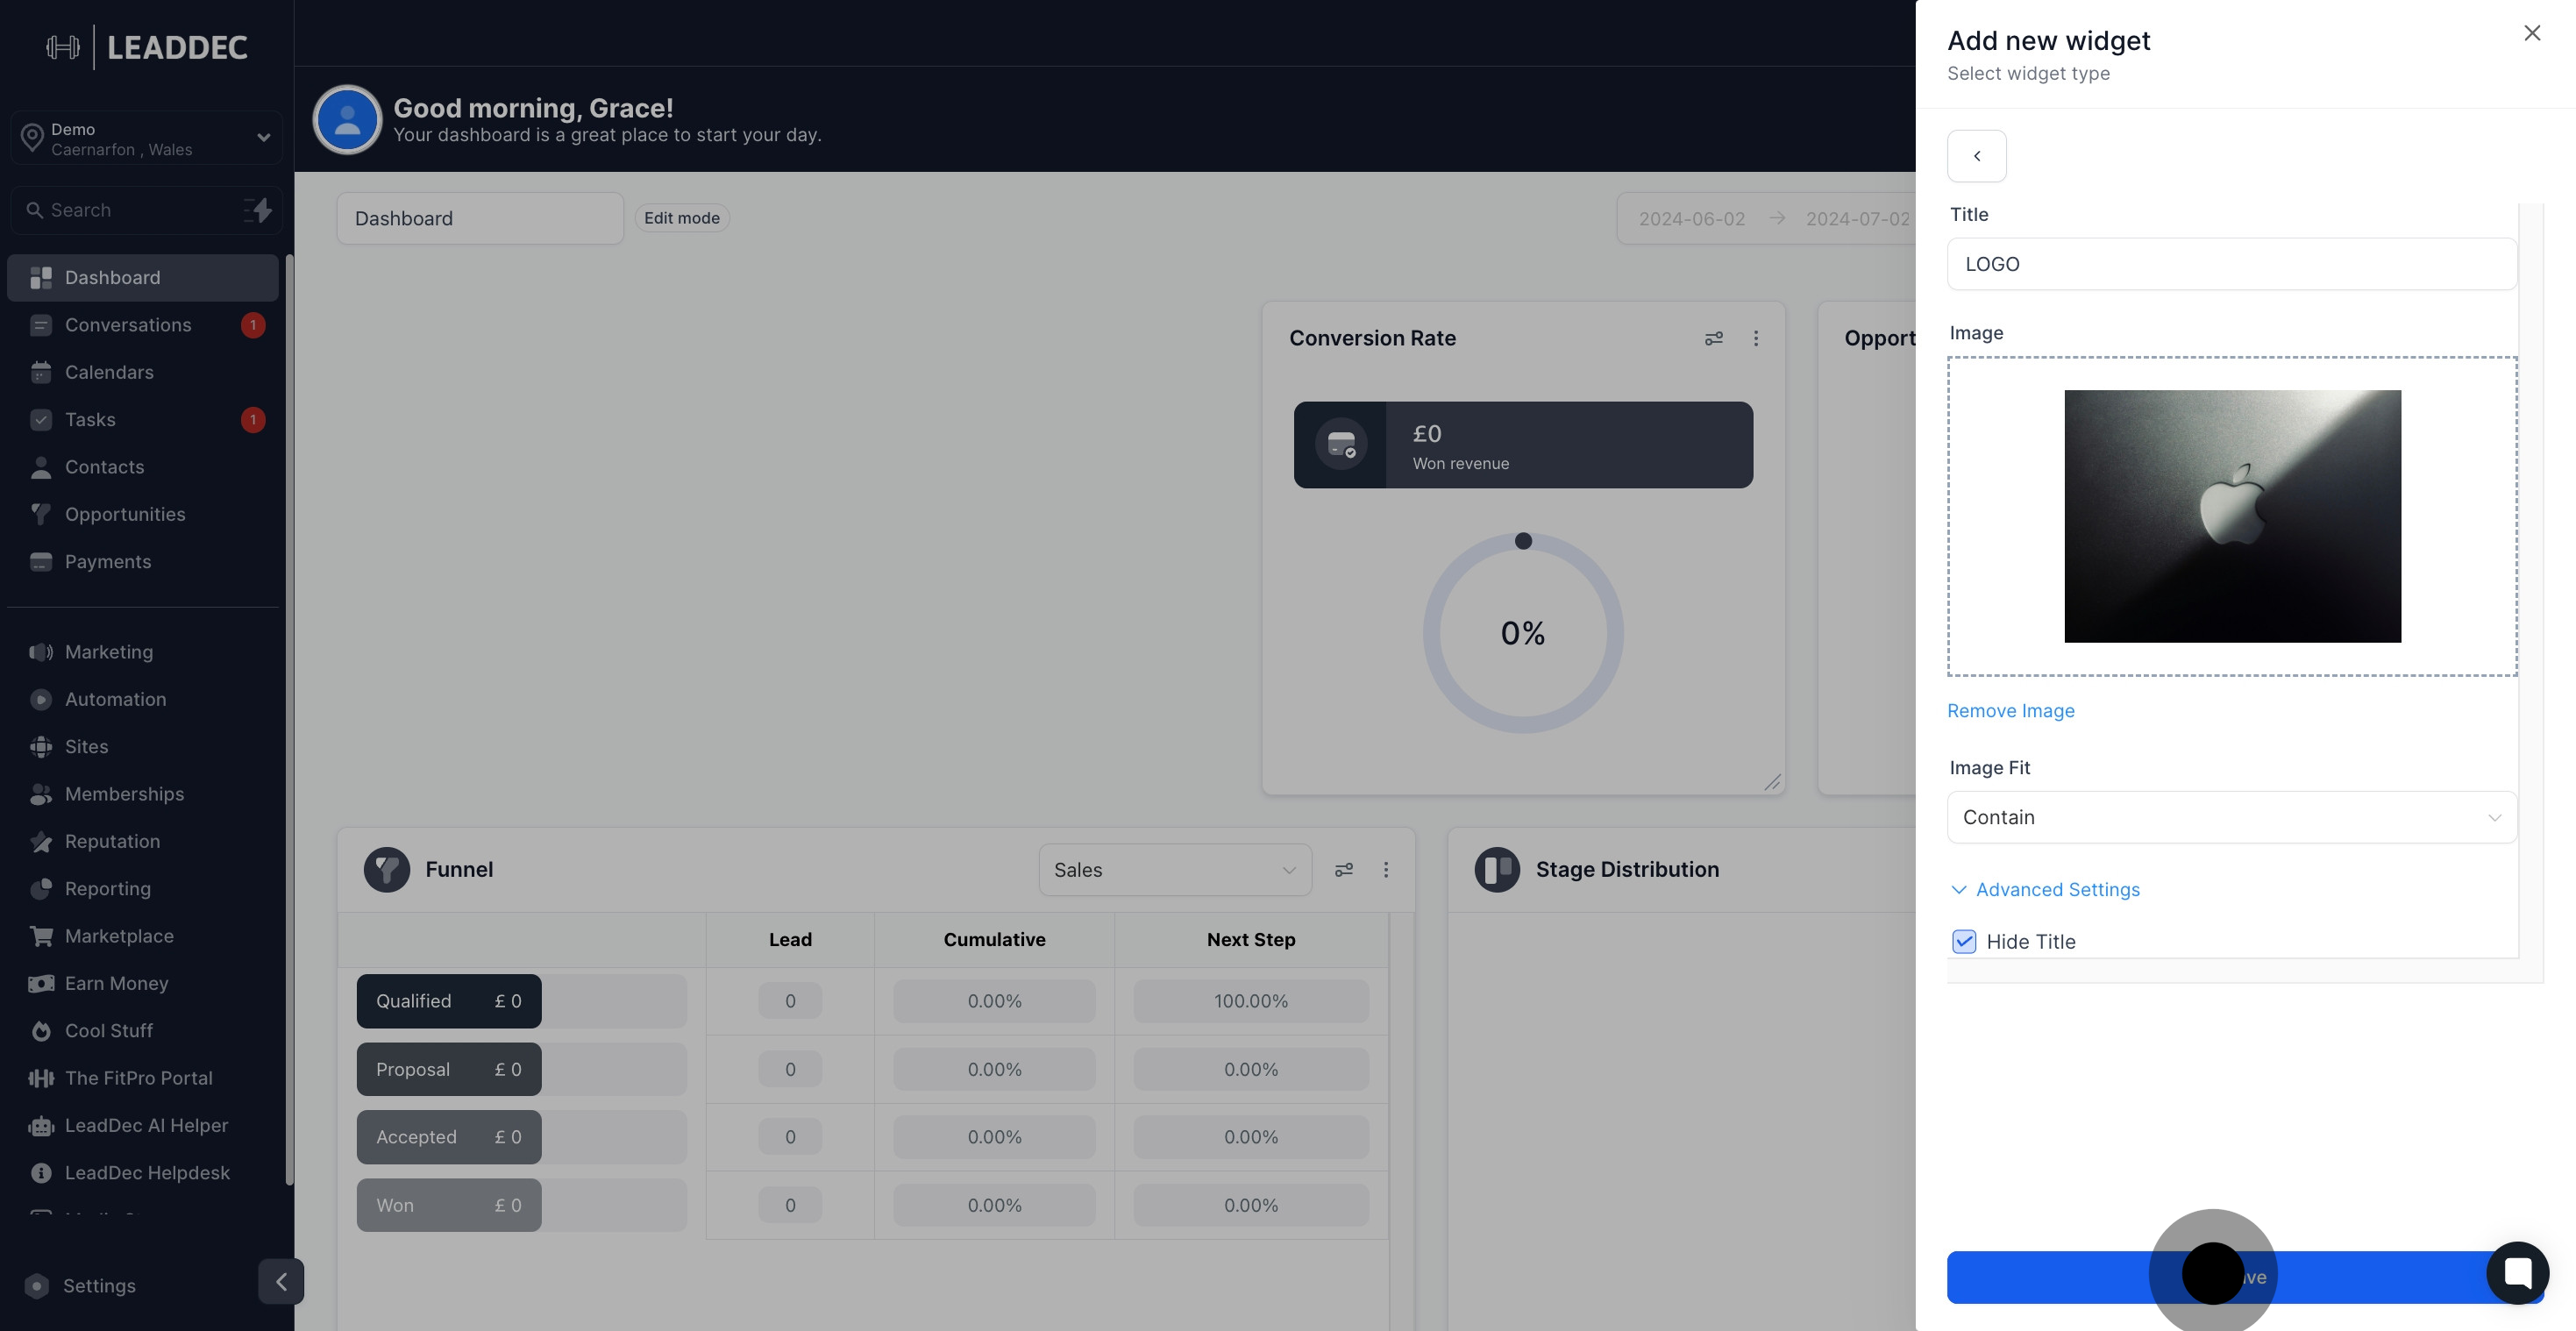
11. Consider hiding the title by enabling this option.

11 Click on the element.

12. Content ready? Save your settings to proceed.

12 Click on "Save".

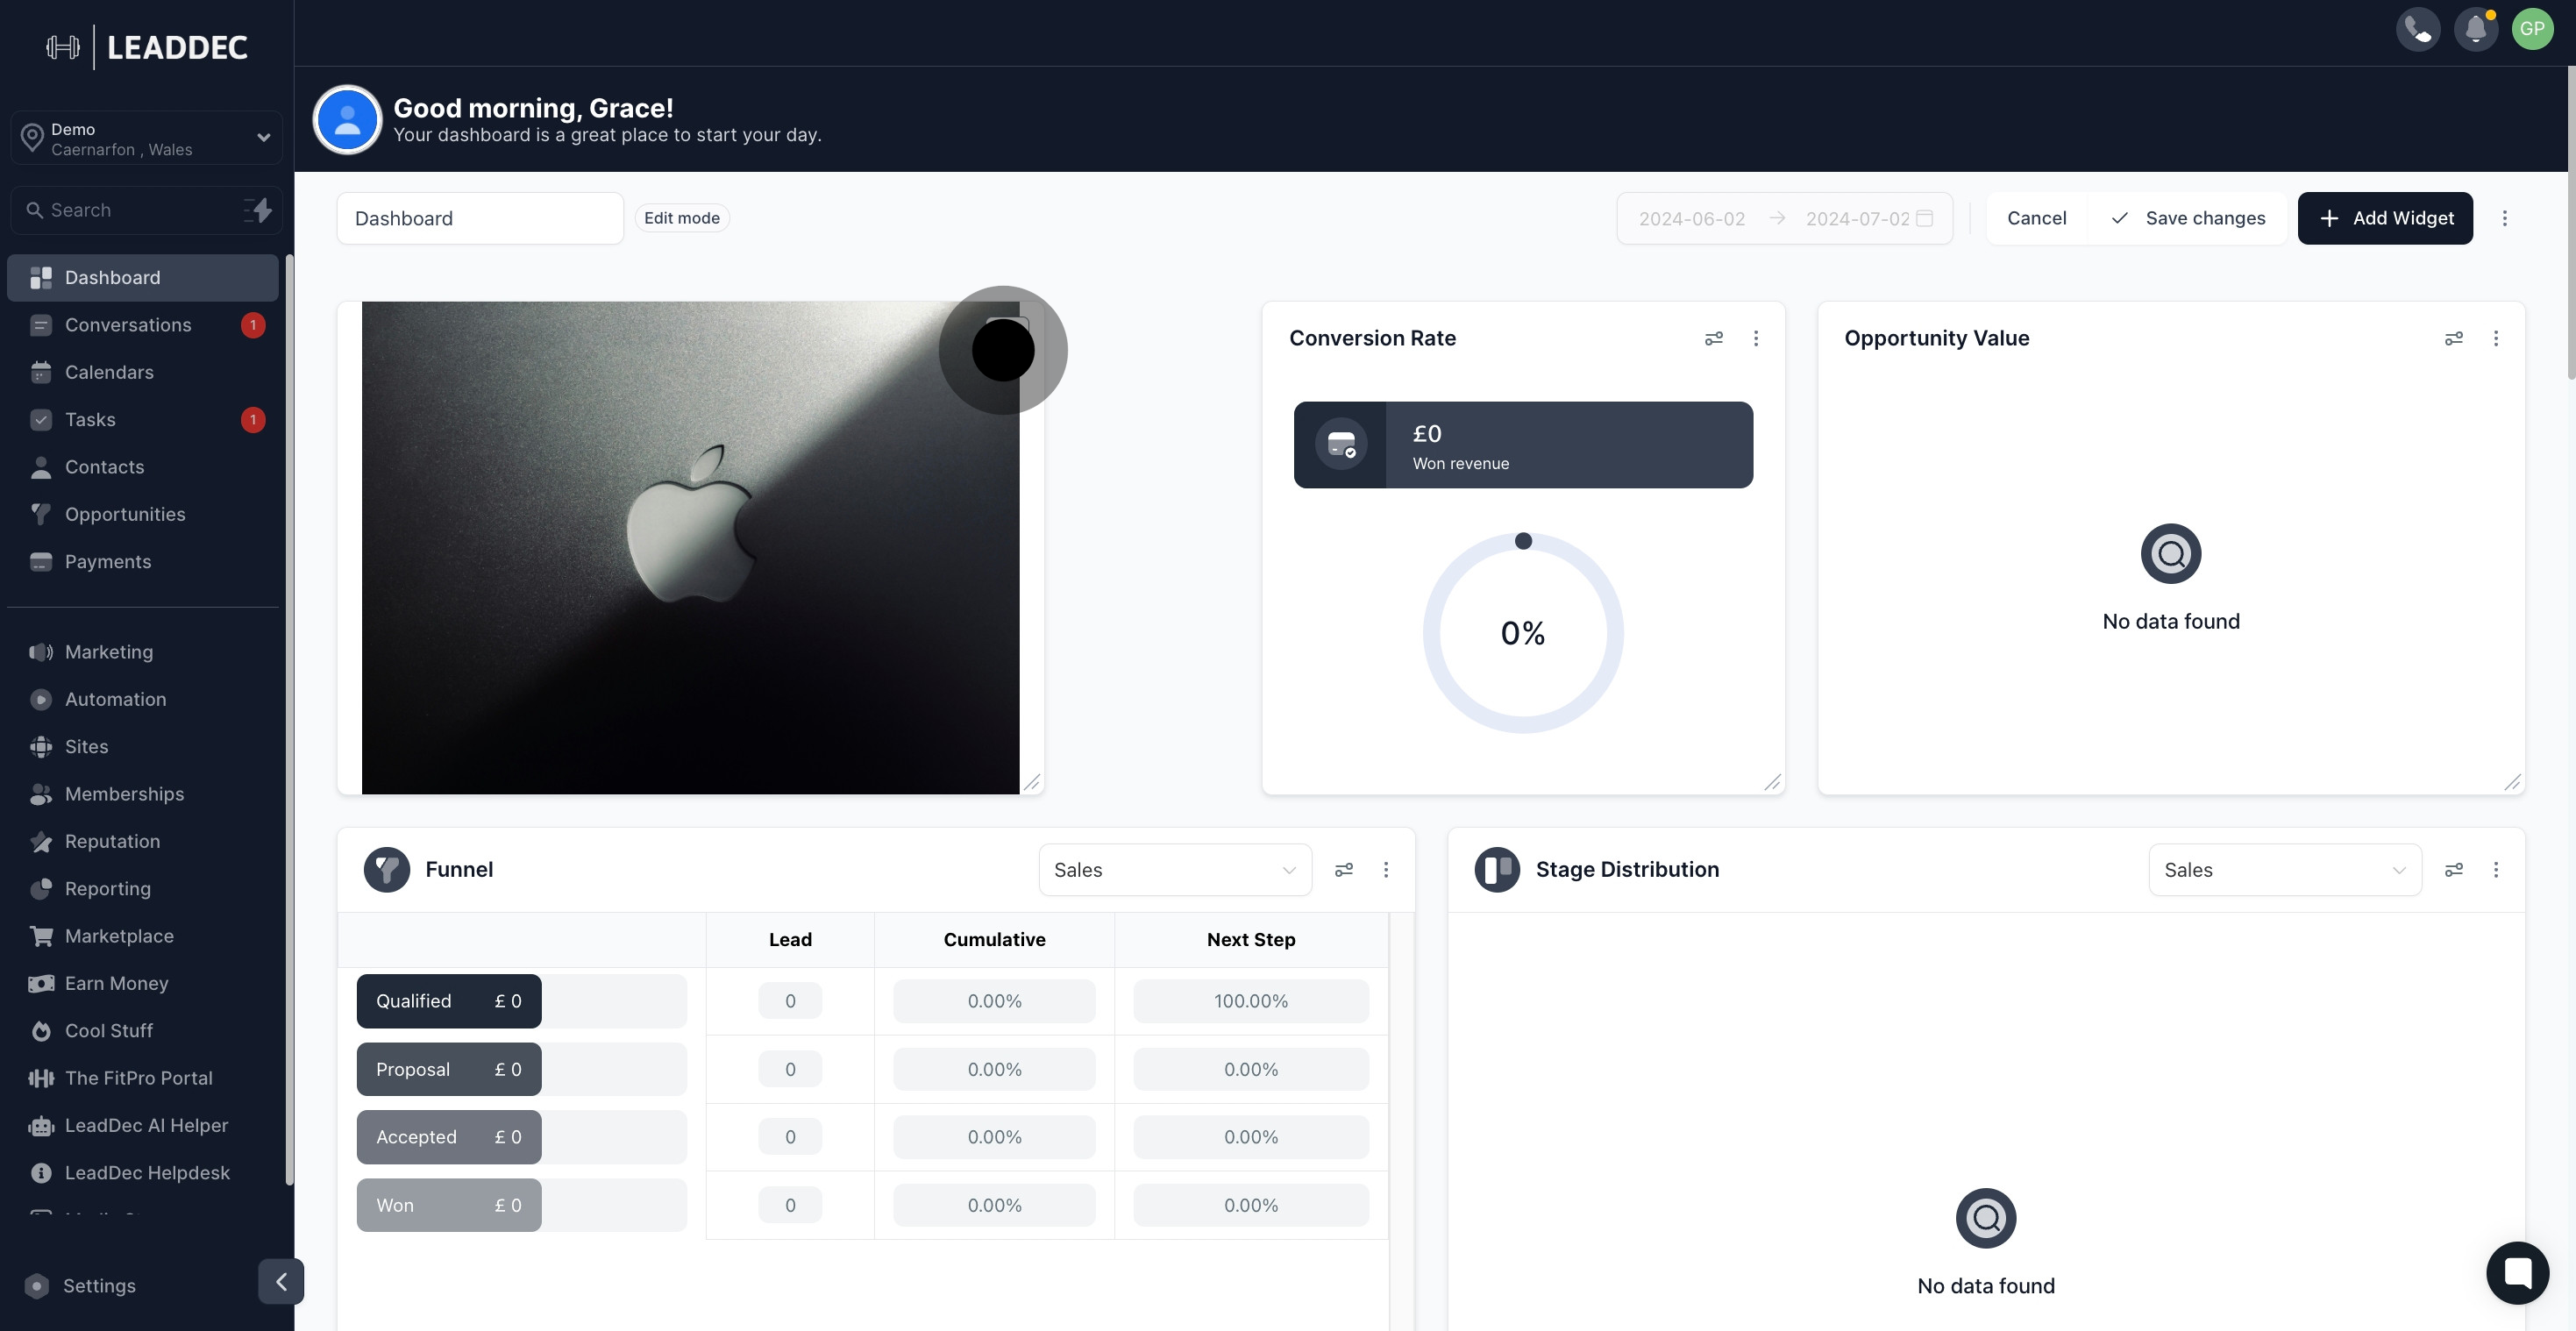
13. Check out additional options for further customization.

13 Click on the element.

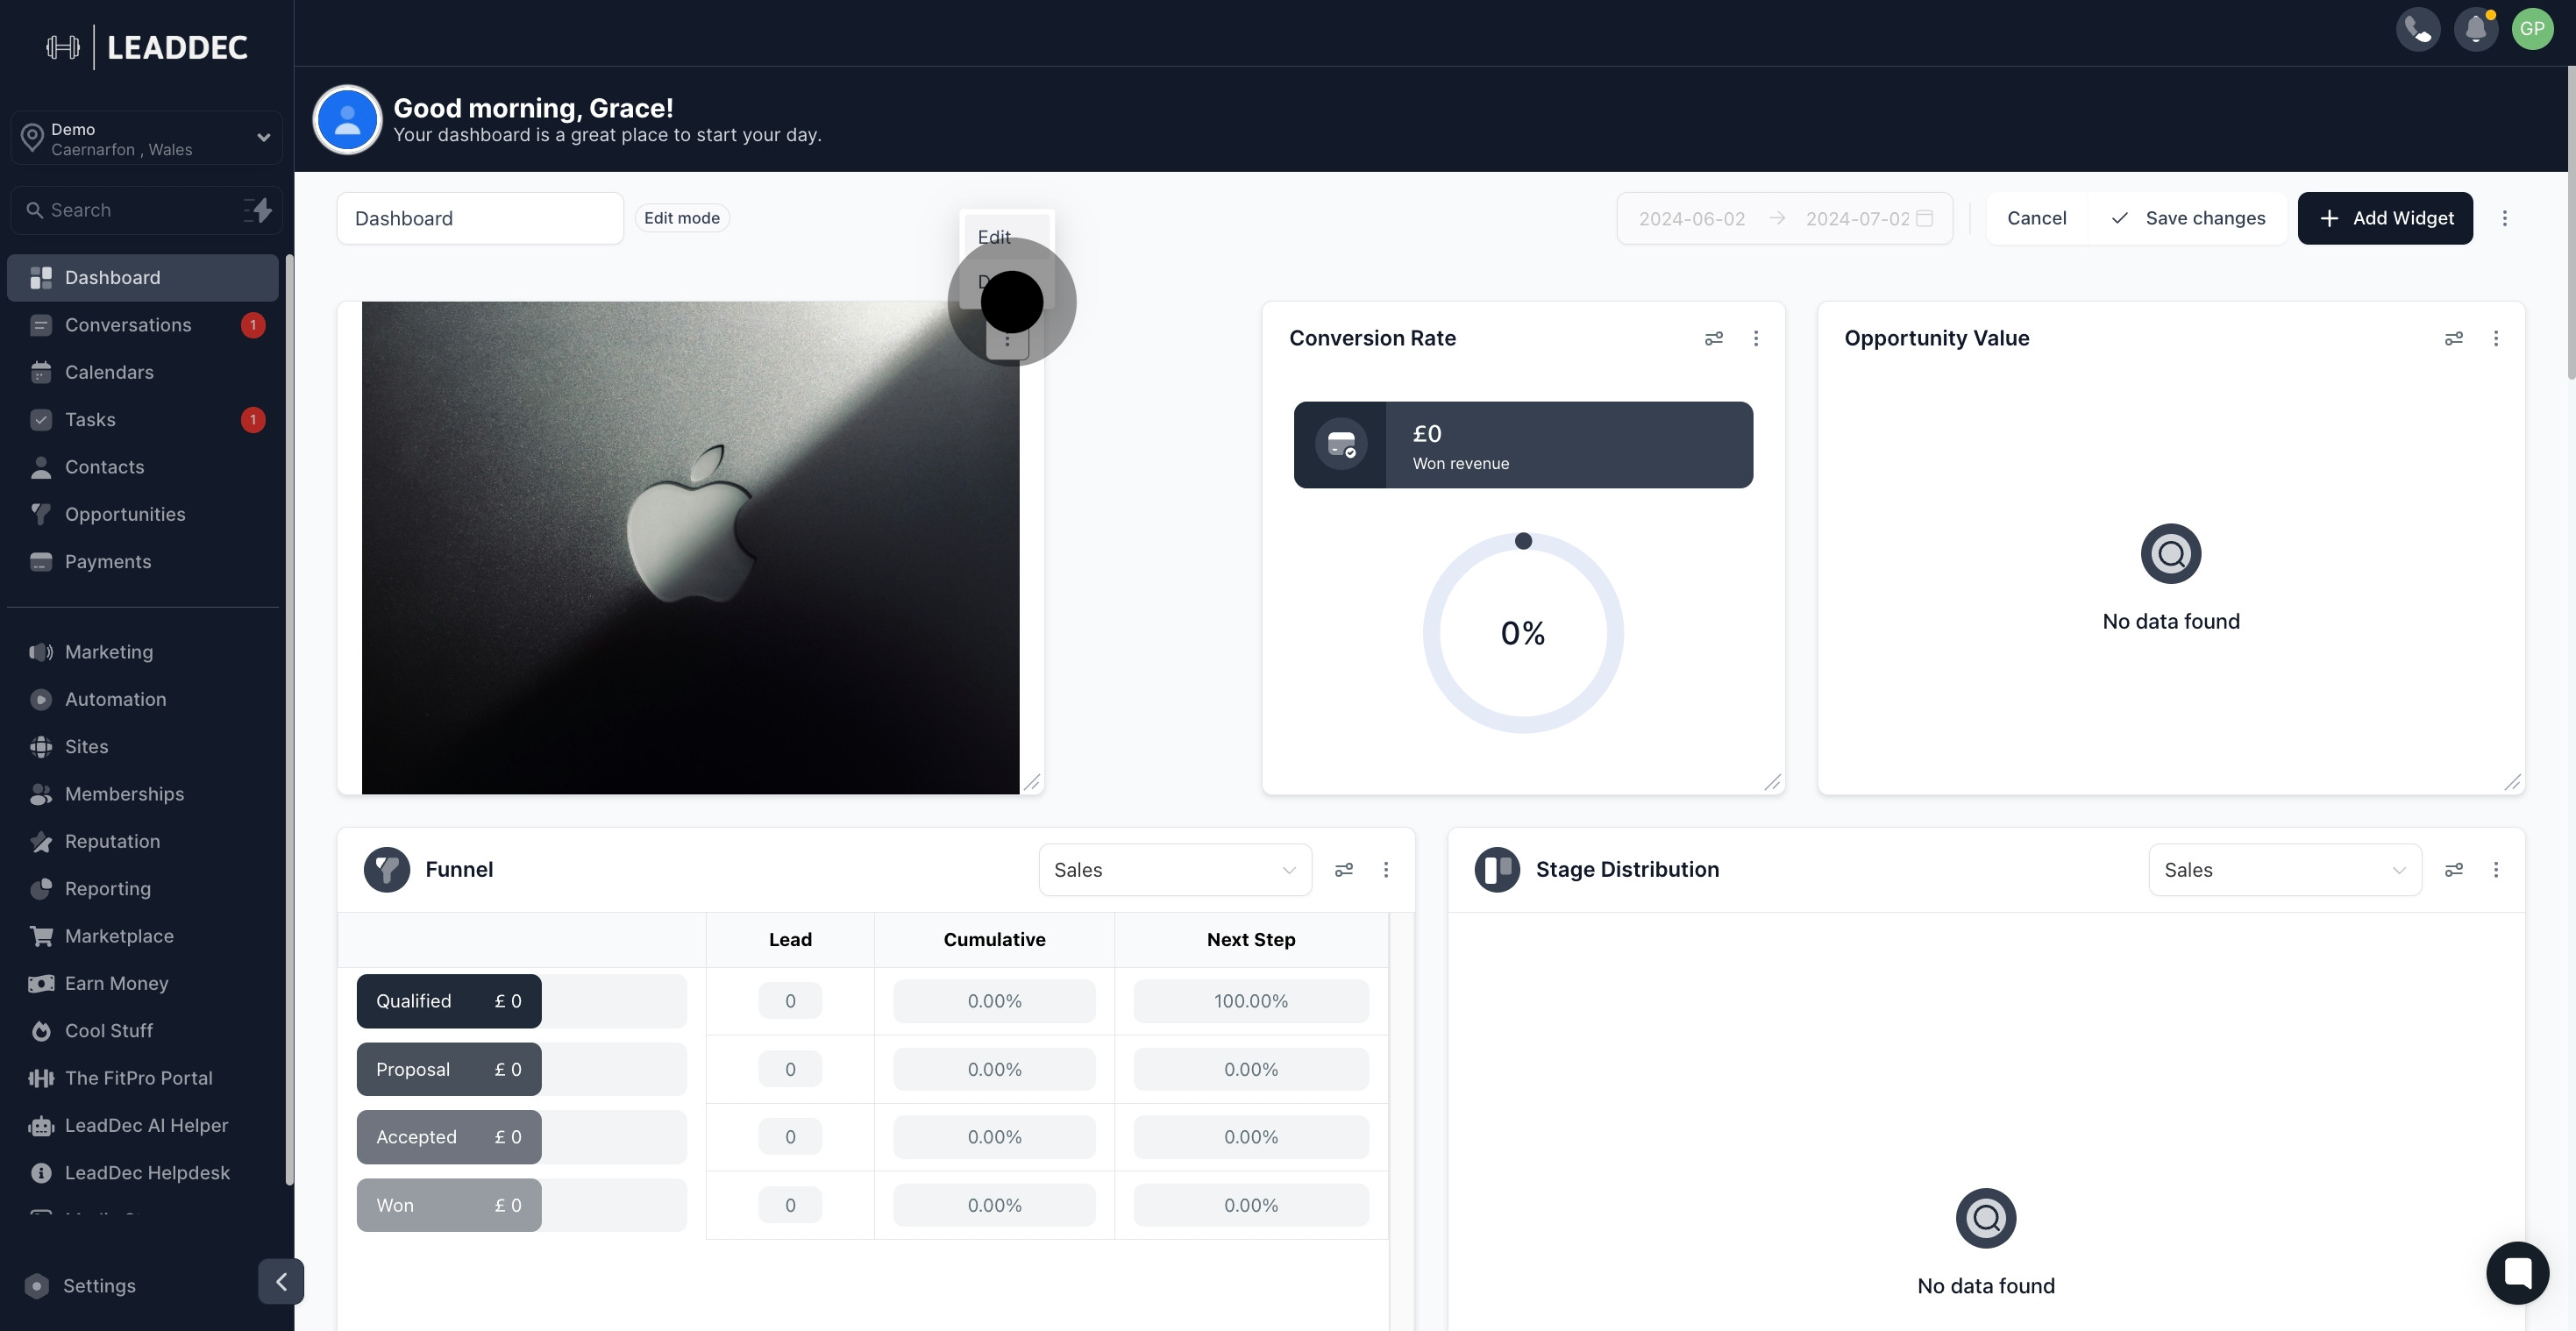
14. Need adjustments? Edit your widget here.

14 Click on "Edit".

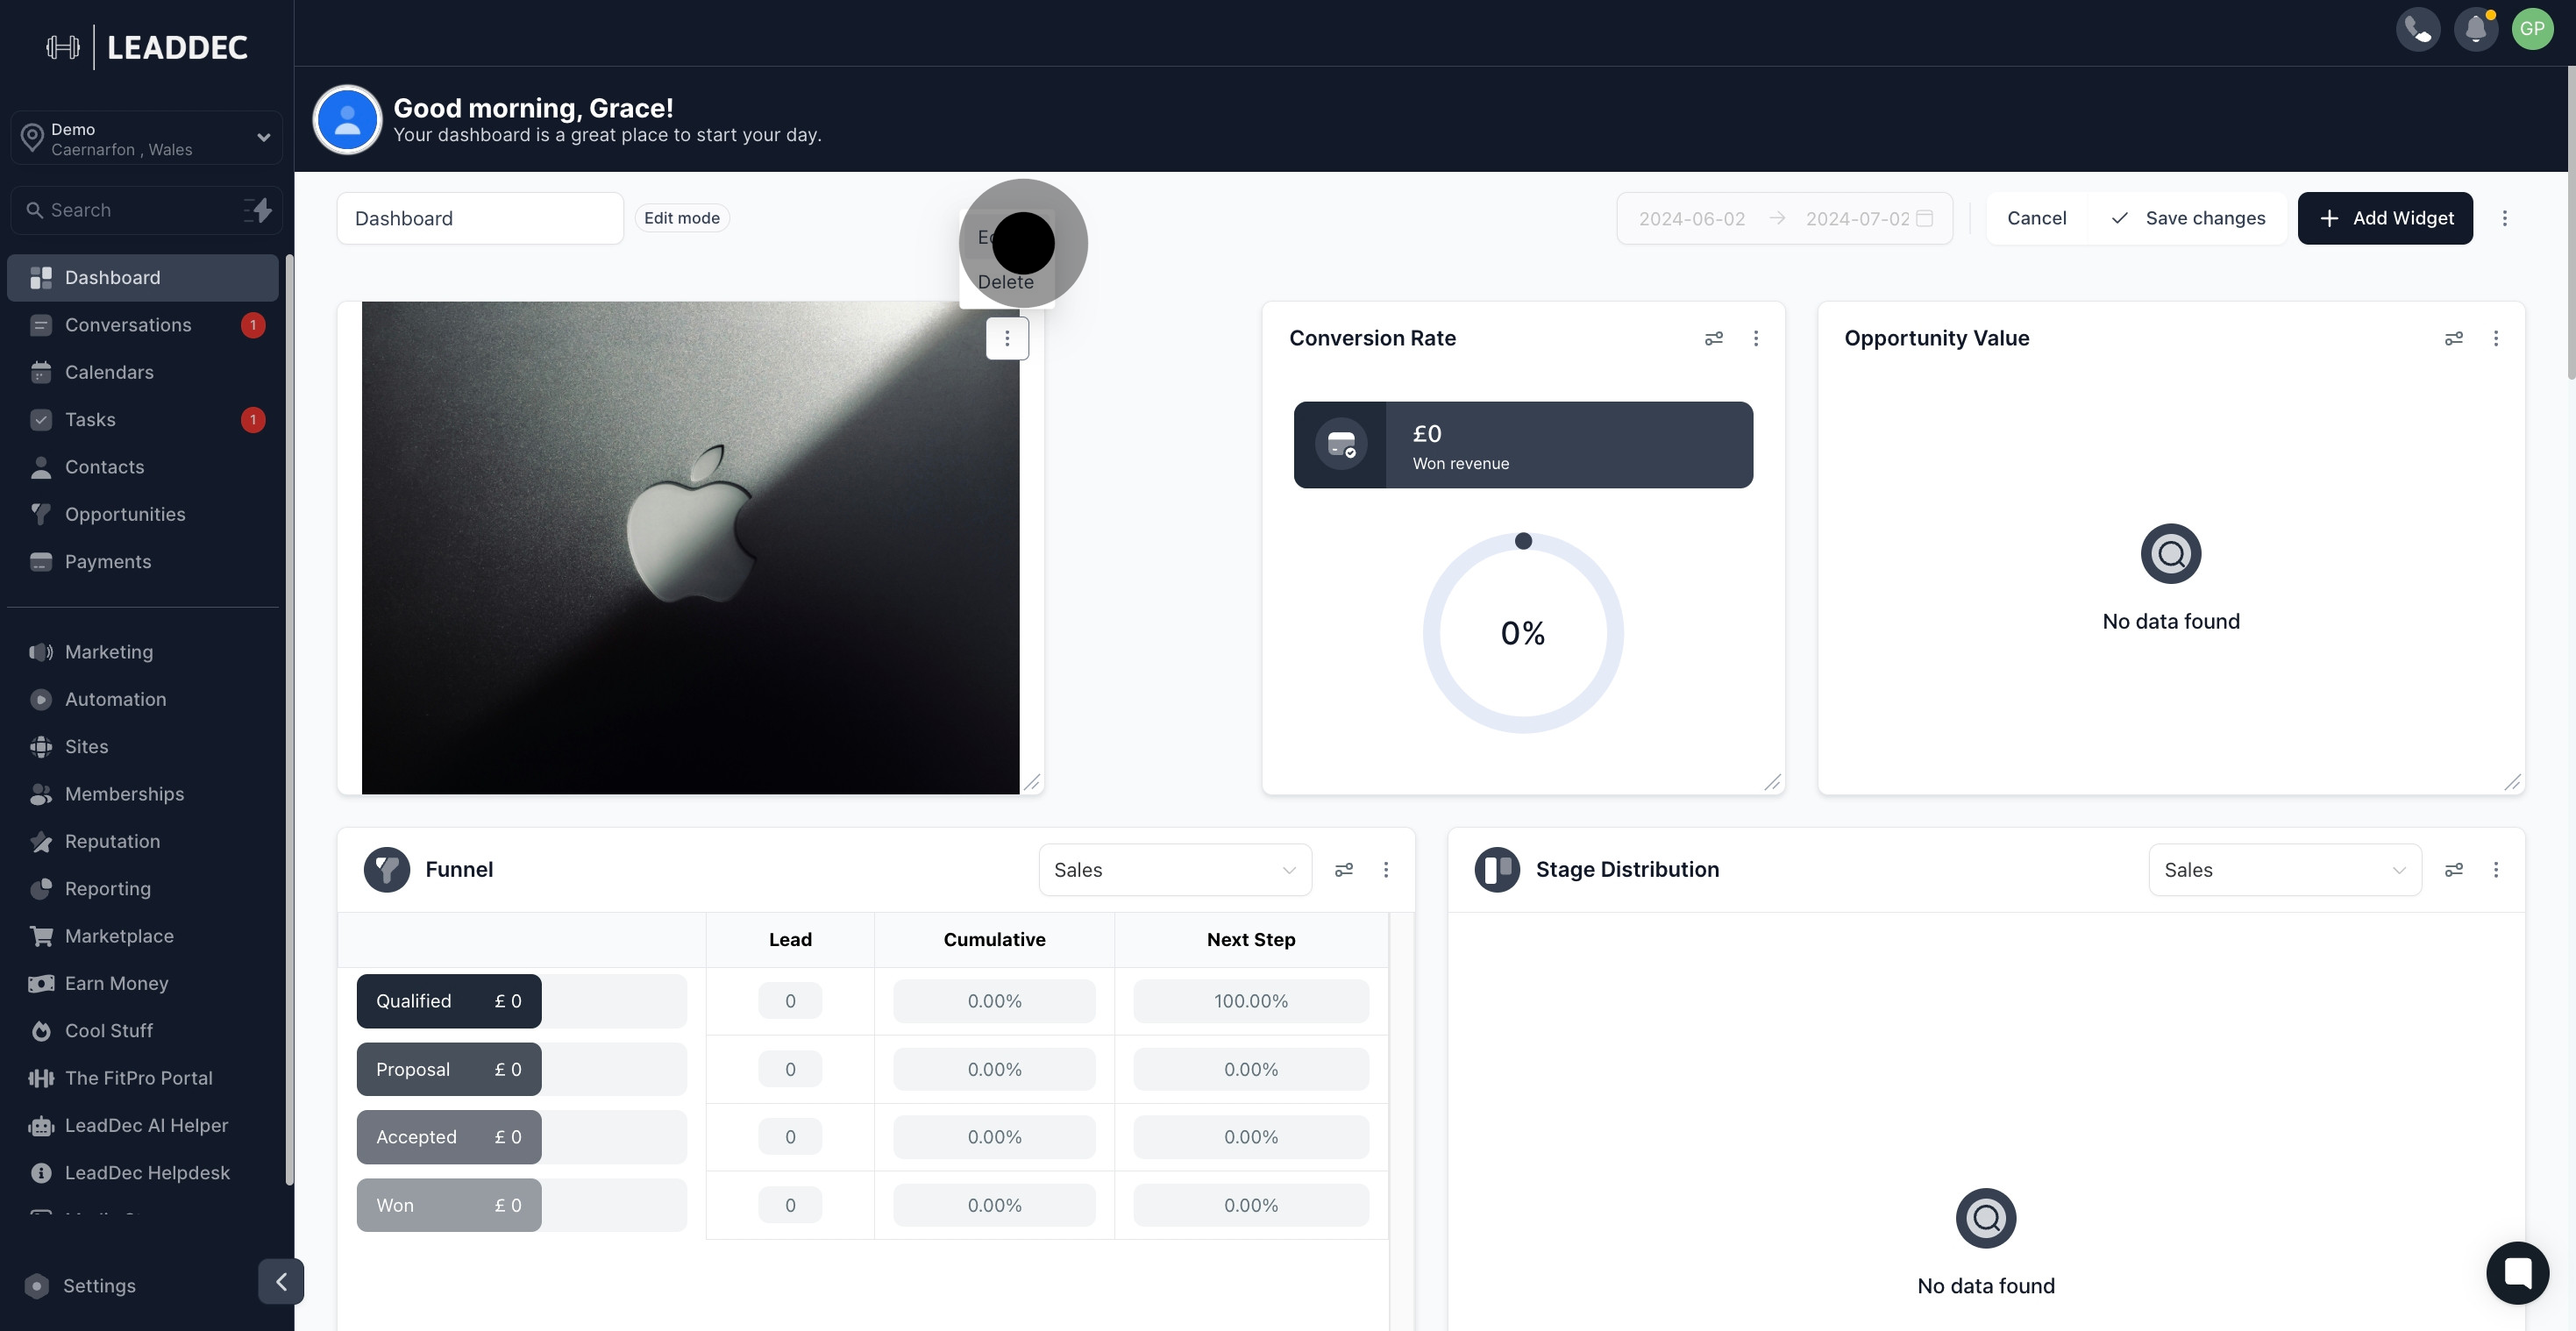
15. Or, delete the widget if it's no longer needed.

15 Upload

16. Finally, click 'Save changes' to finalize your adjustments.

16 Now, click on "Save changes".

Did this answer your question?
😞
😐
😁