Managing Your Dashboard in LeadDec: A Comprehensive Guide

Unlock the full potential of your LeadDec dashboard with this in-depth guide. Learn how to customize widgets, organize key data, and implement best practices for a streamlined and efficient dashboard experience. Perfect for users aiming to optimize their lead management process and improve overall productivity.


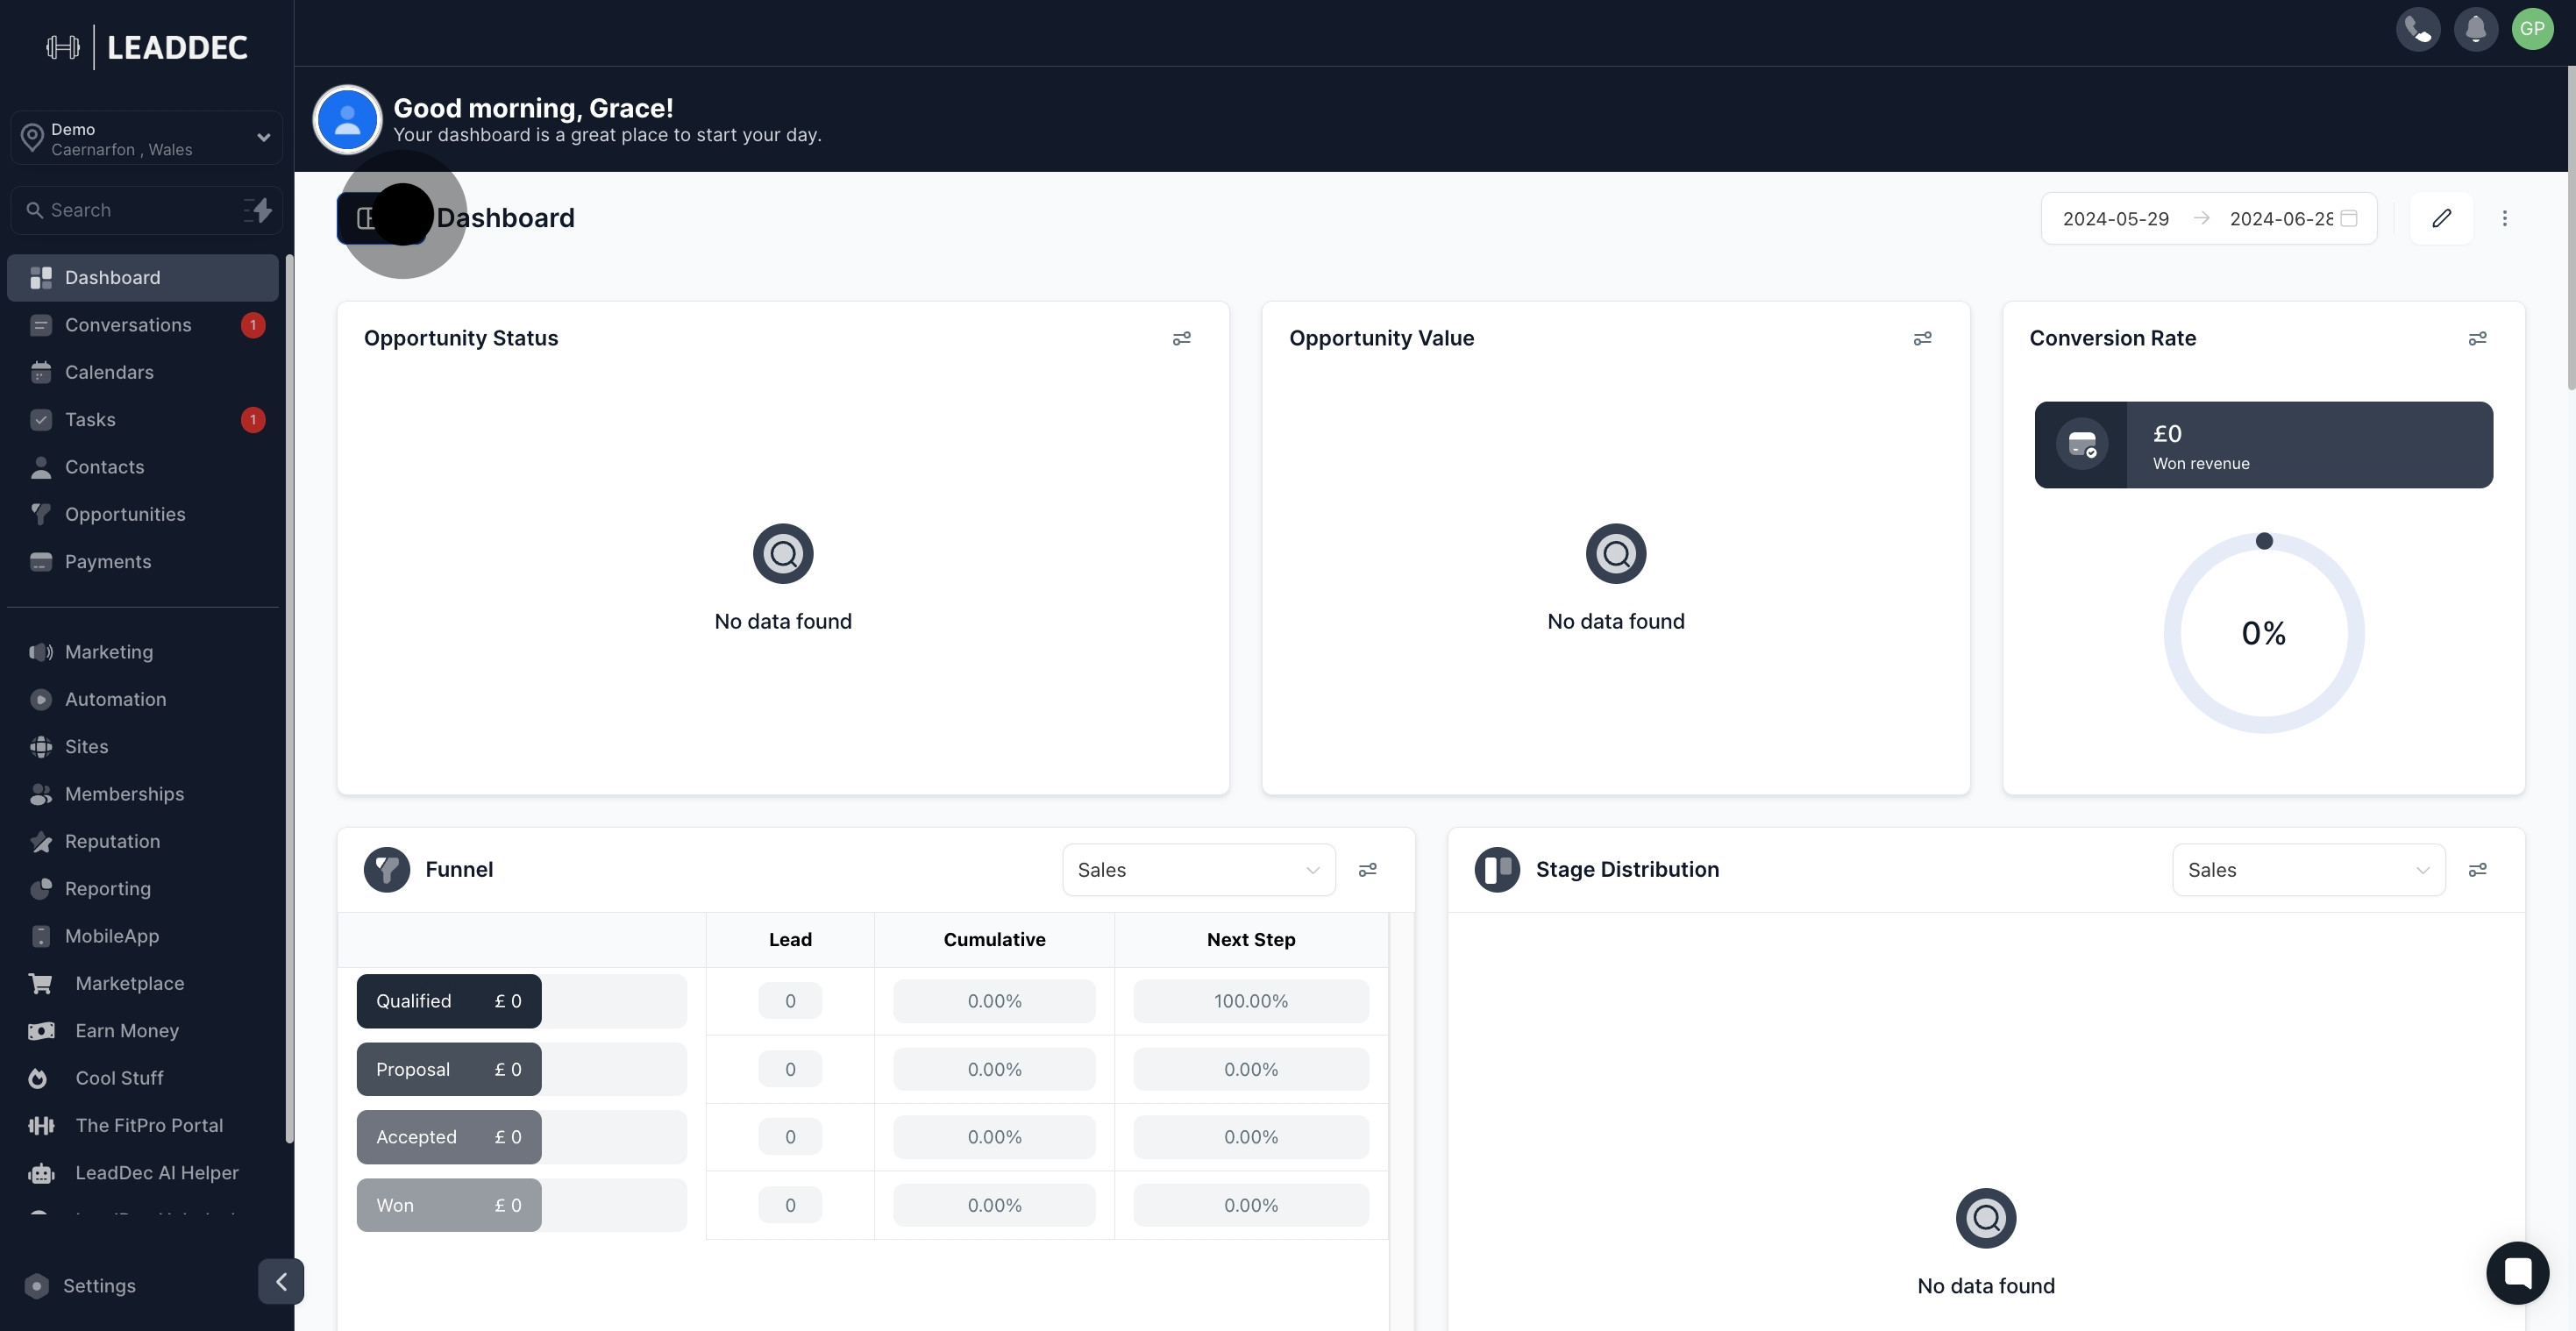
1. Start by navigating to the dashboard.

1 Click on the element.

2. Next, proceed by clicking the button.

2 Afterwards, click on the element.

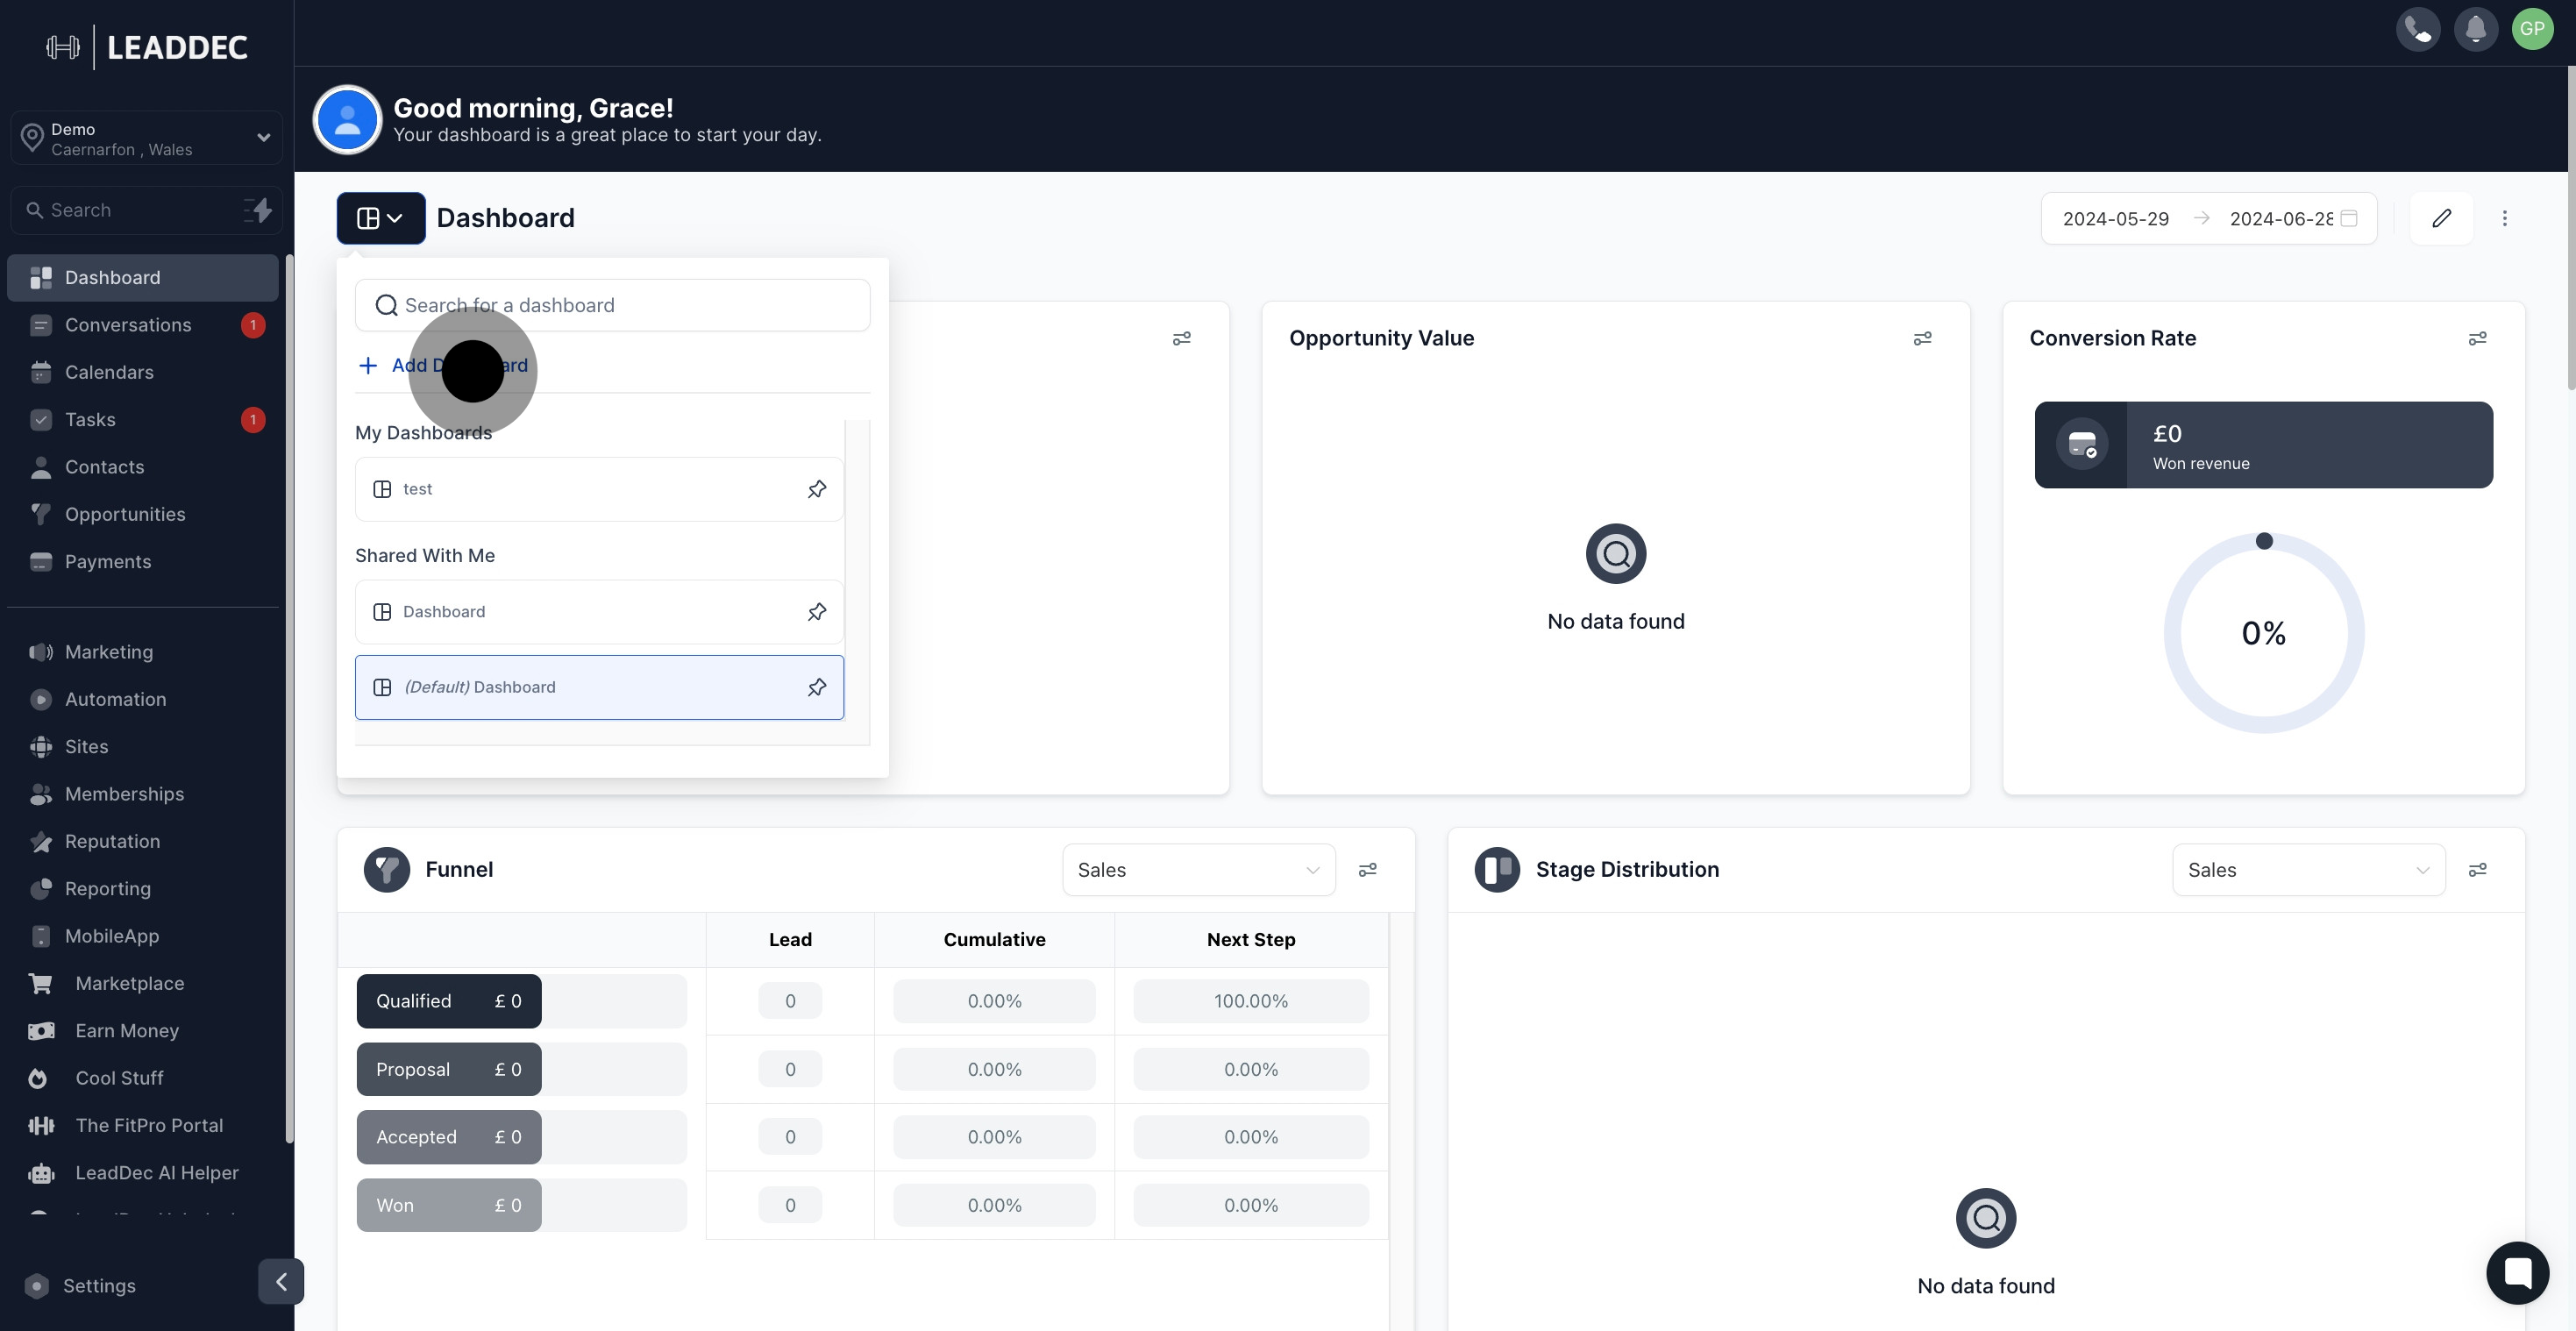
3. Now, add a dashboard by clicking here.

3 Click on "Add Dashboard".

4. Then, adjust the display date.

4 Once that's done, click on the element.

5. Want to edit the dashboard? Click here.

5 Click here.

6. To delete a widget, select this option.

6 After, click on "Delete".

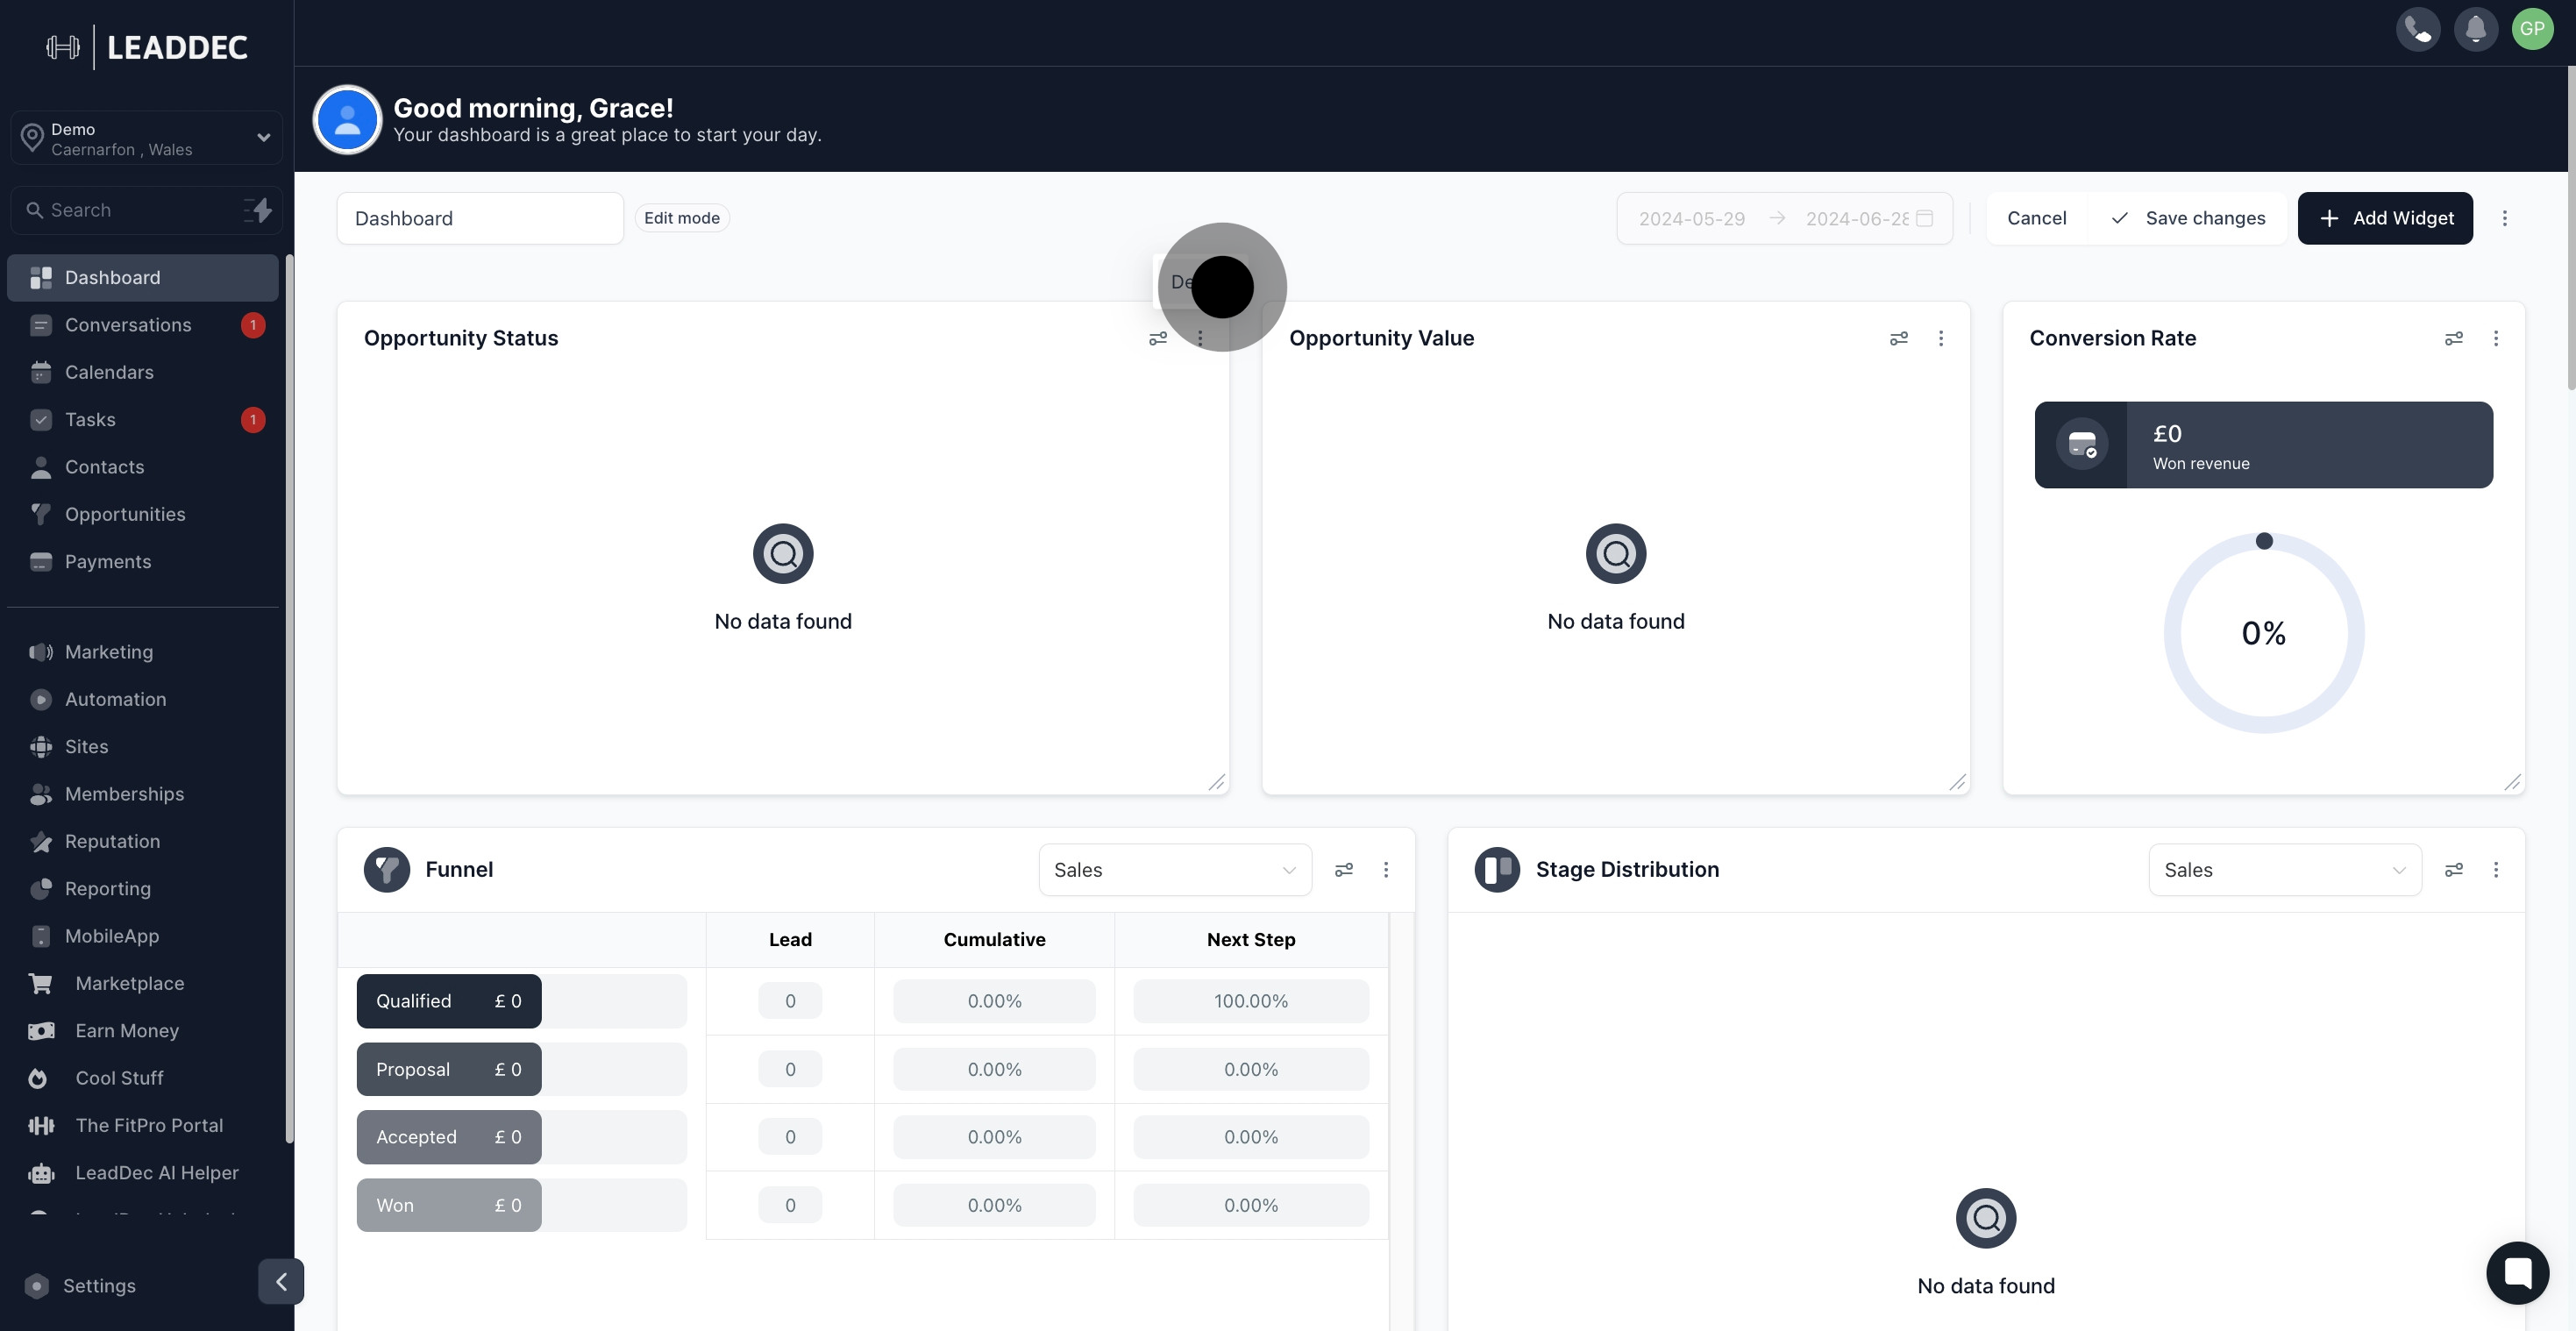
7. Remember to save all changes before proceeding.

7 Next up, click here.

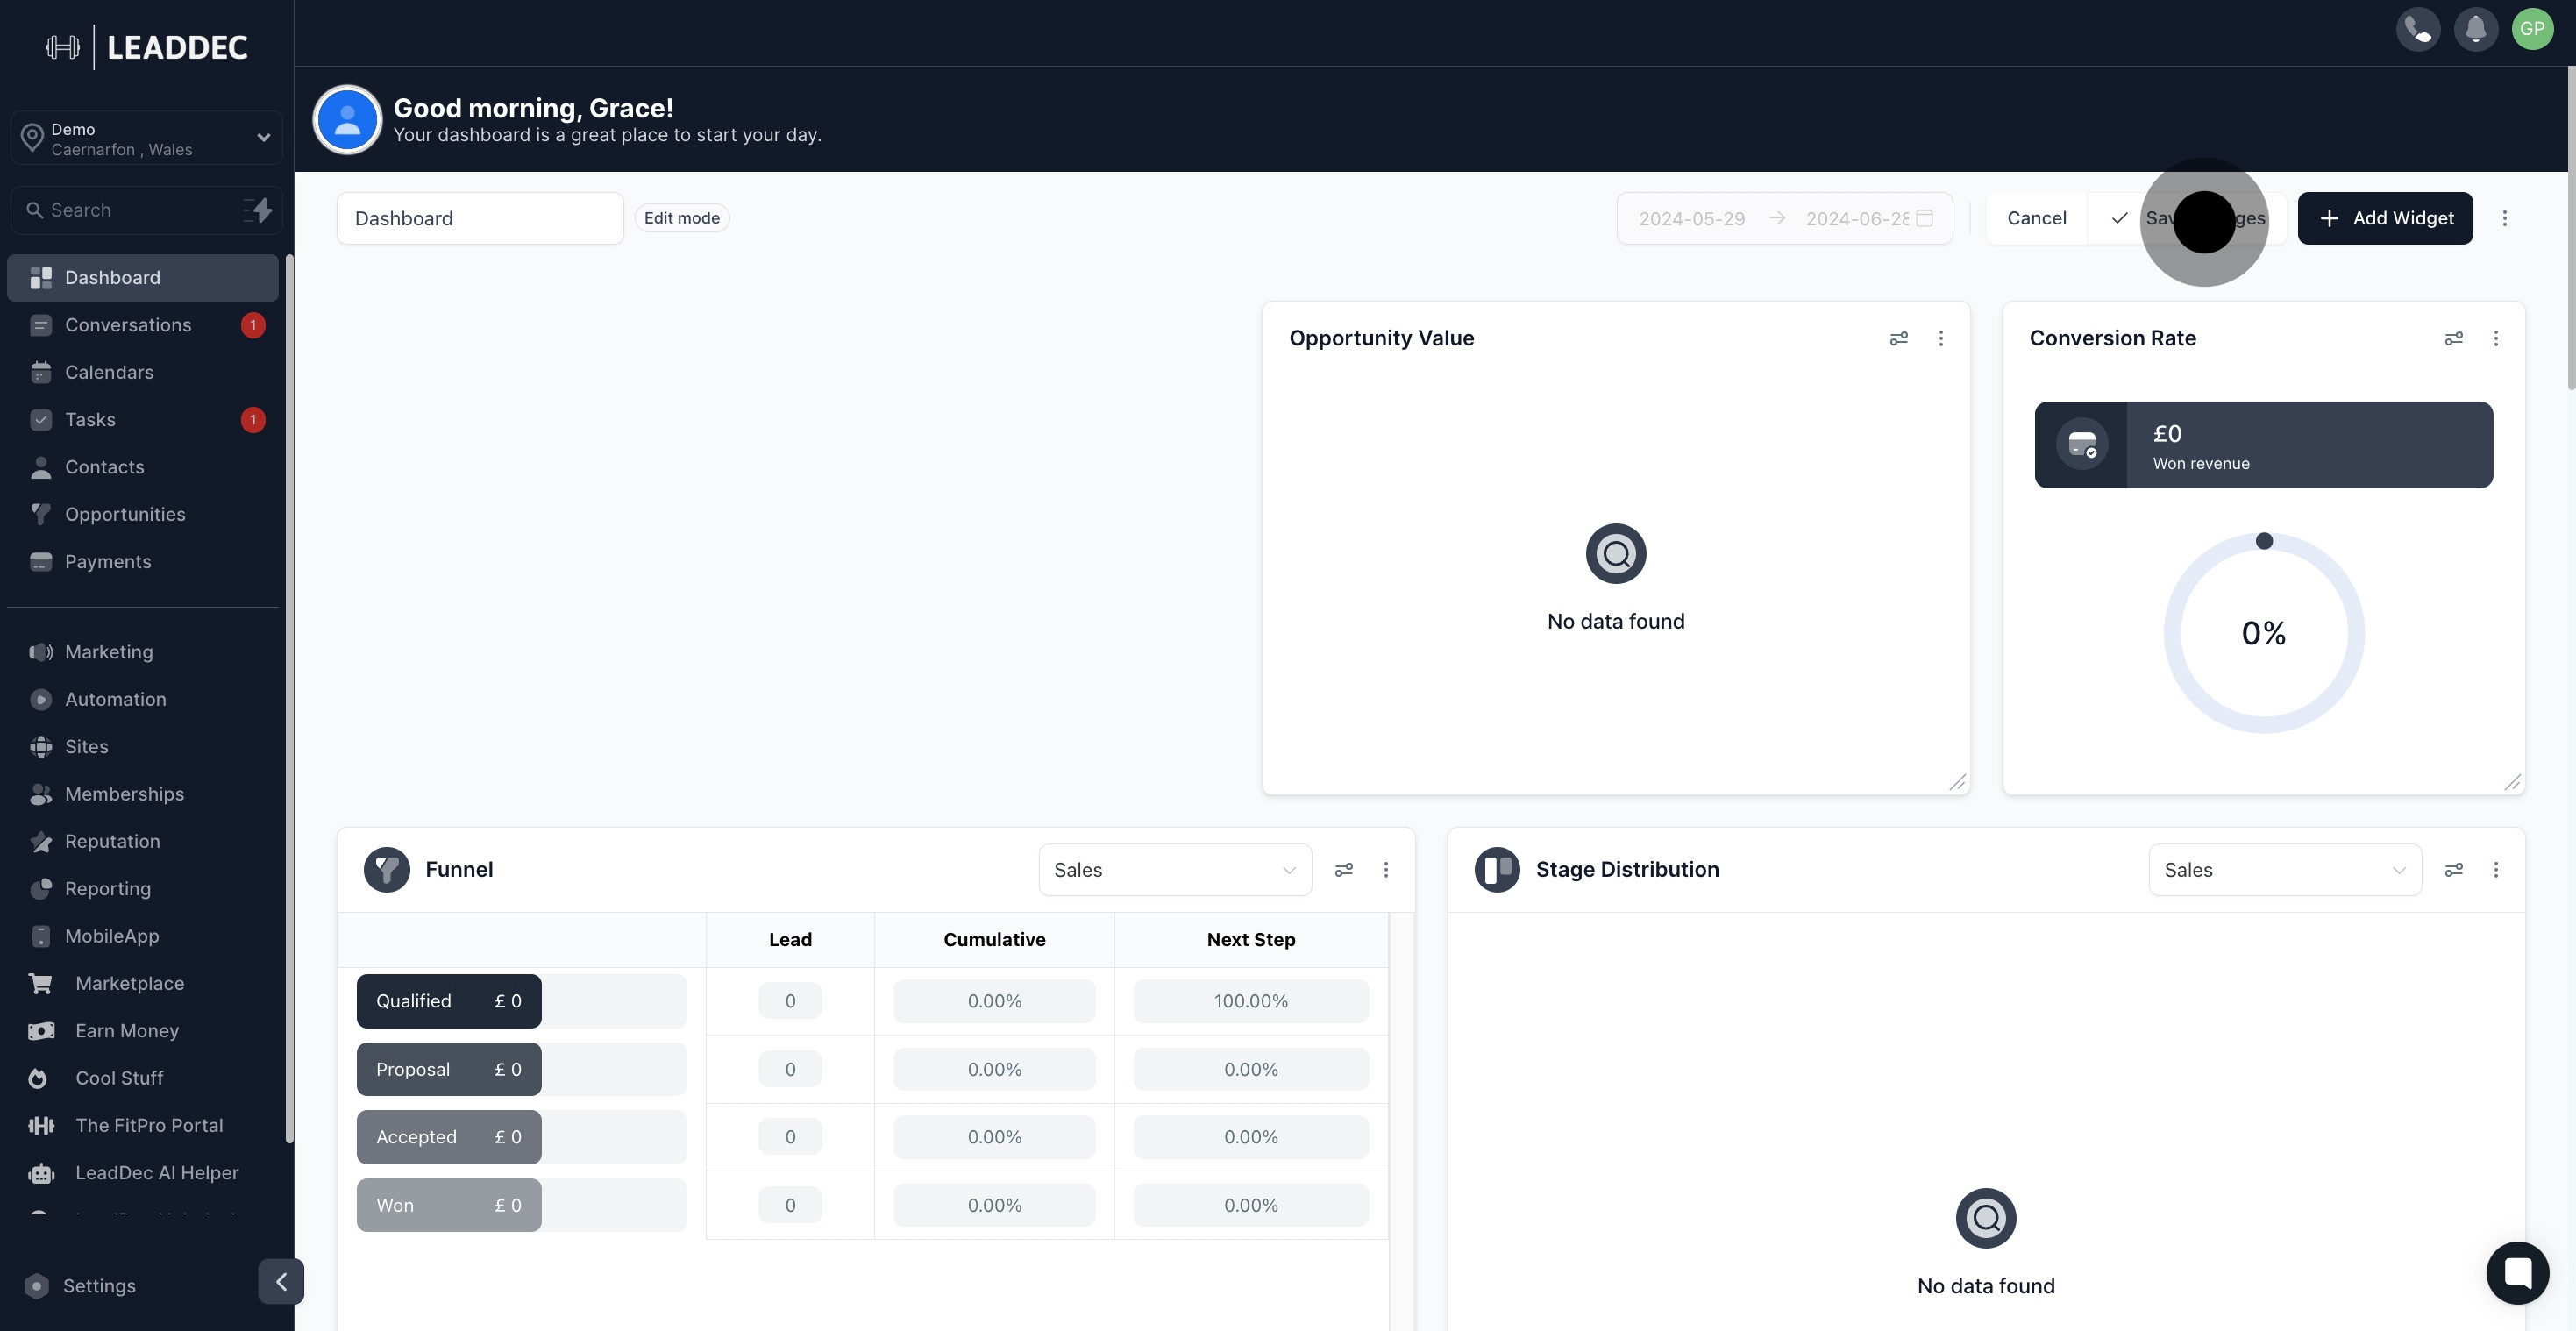
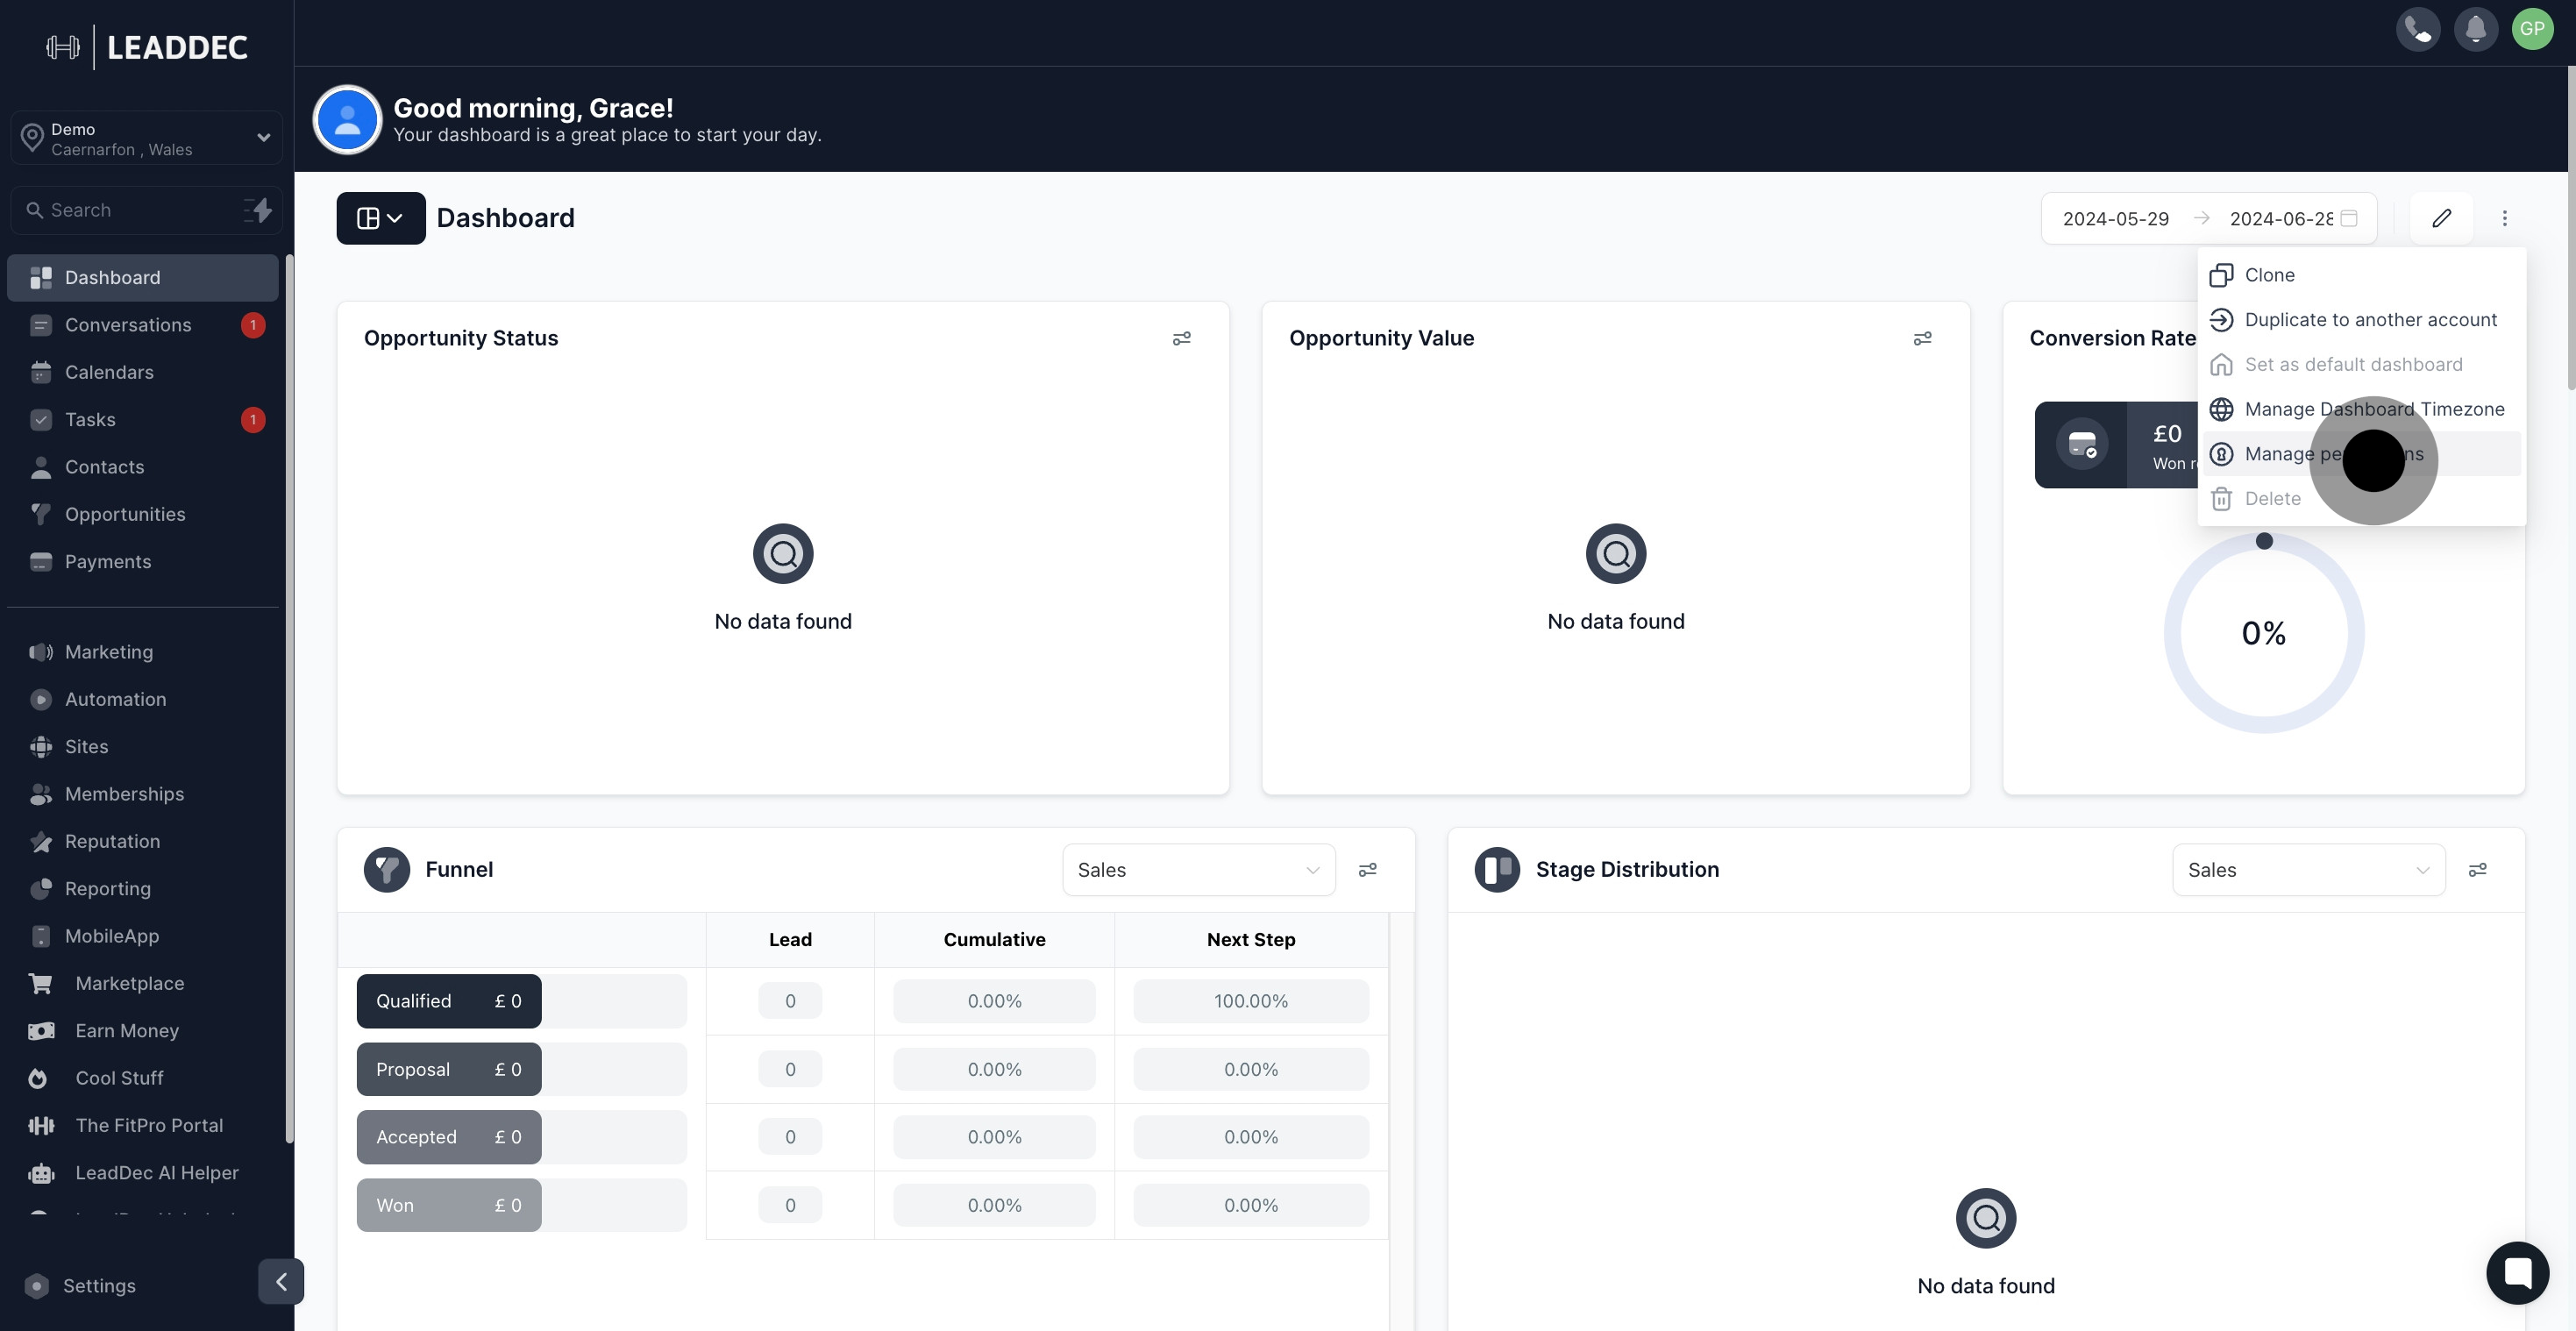
8. Explore more options by clicking here.

8 Click here.

9. Need to clone your dashboard? Do it here.

9 Then, click here.

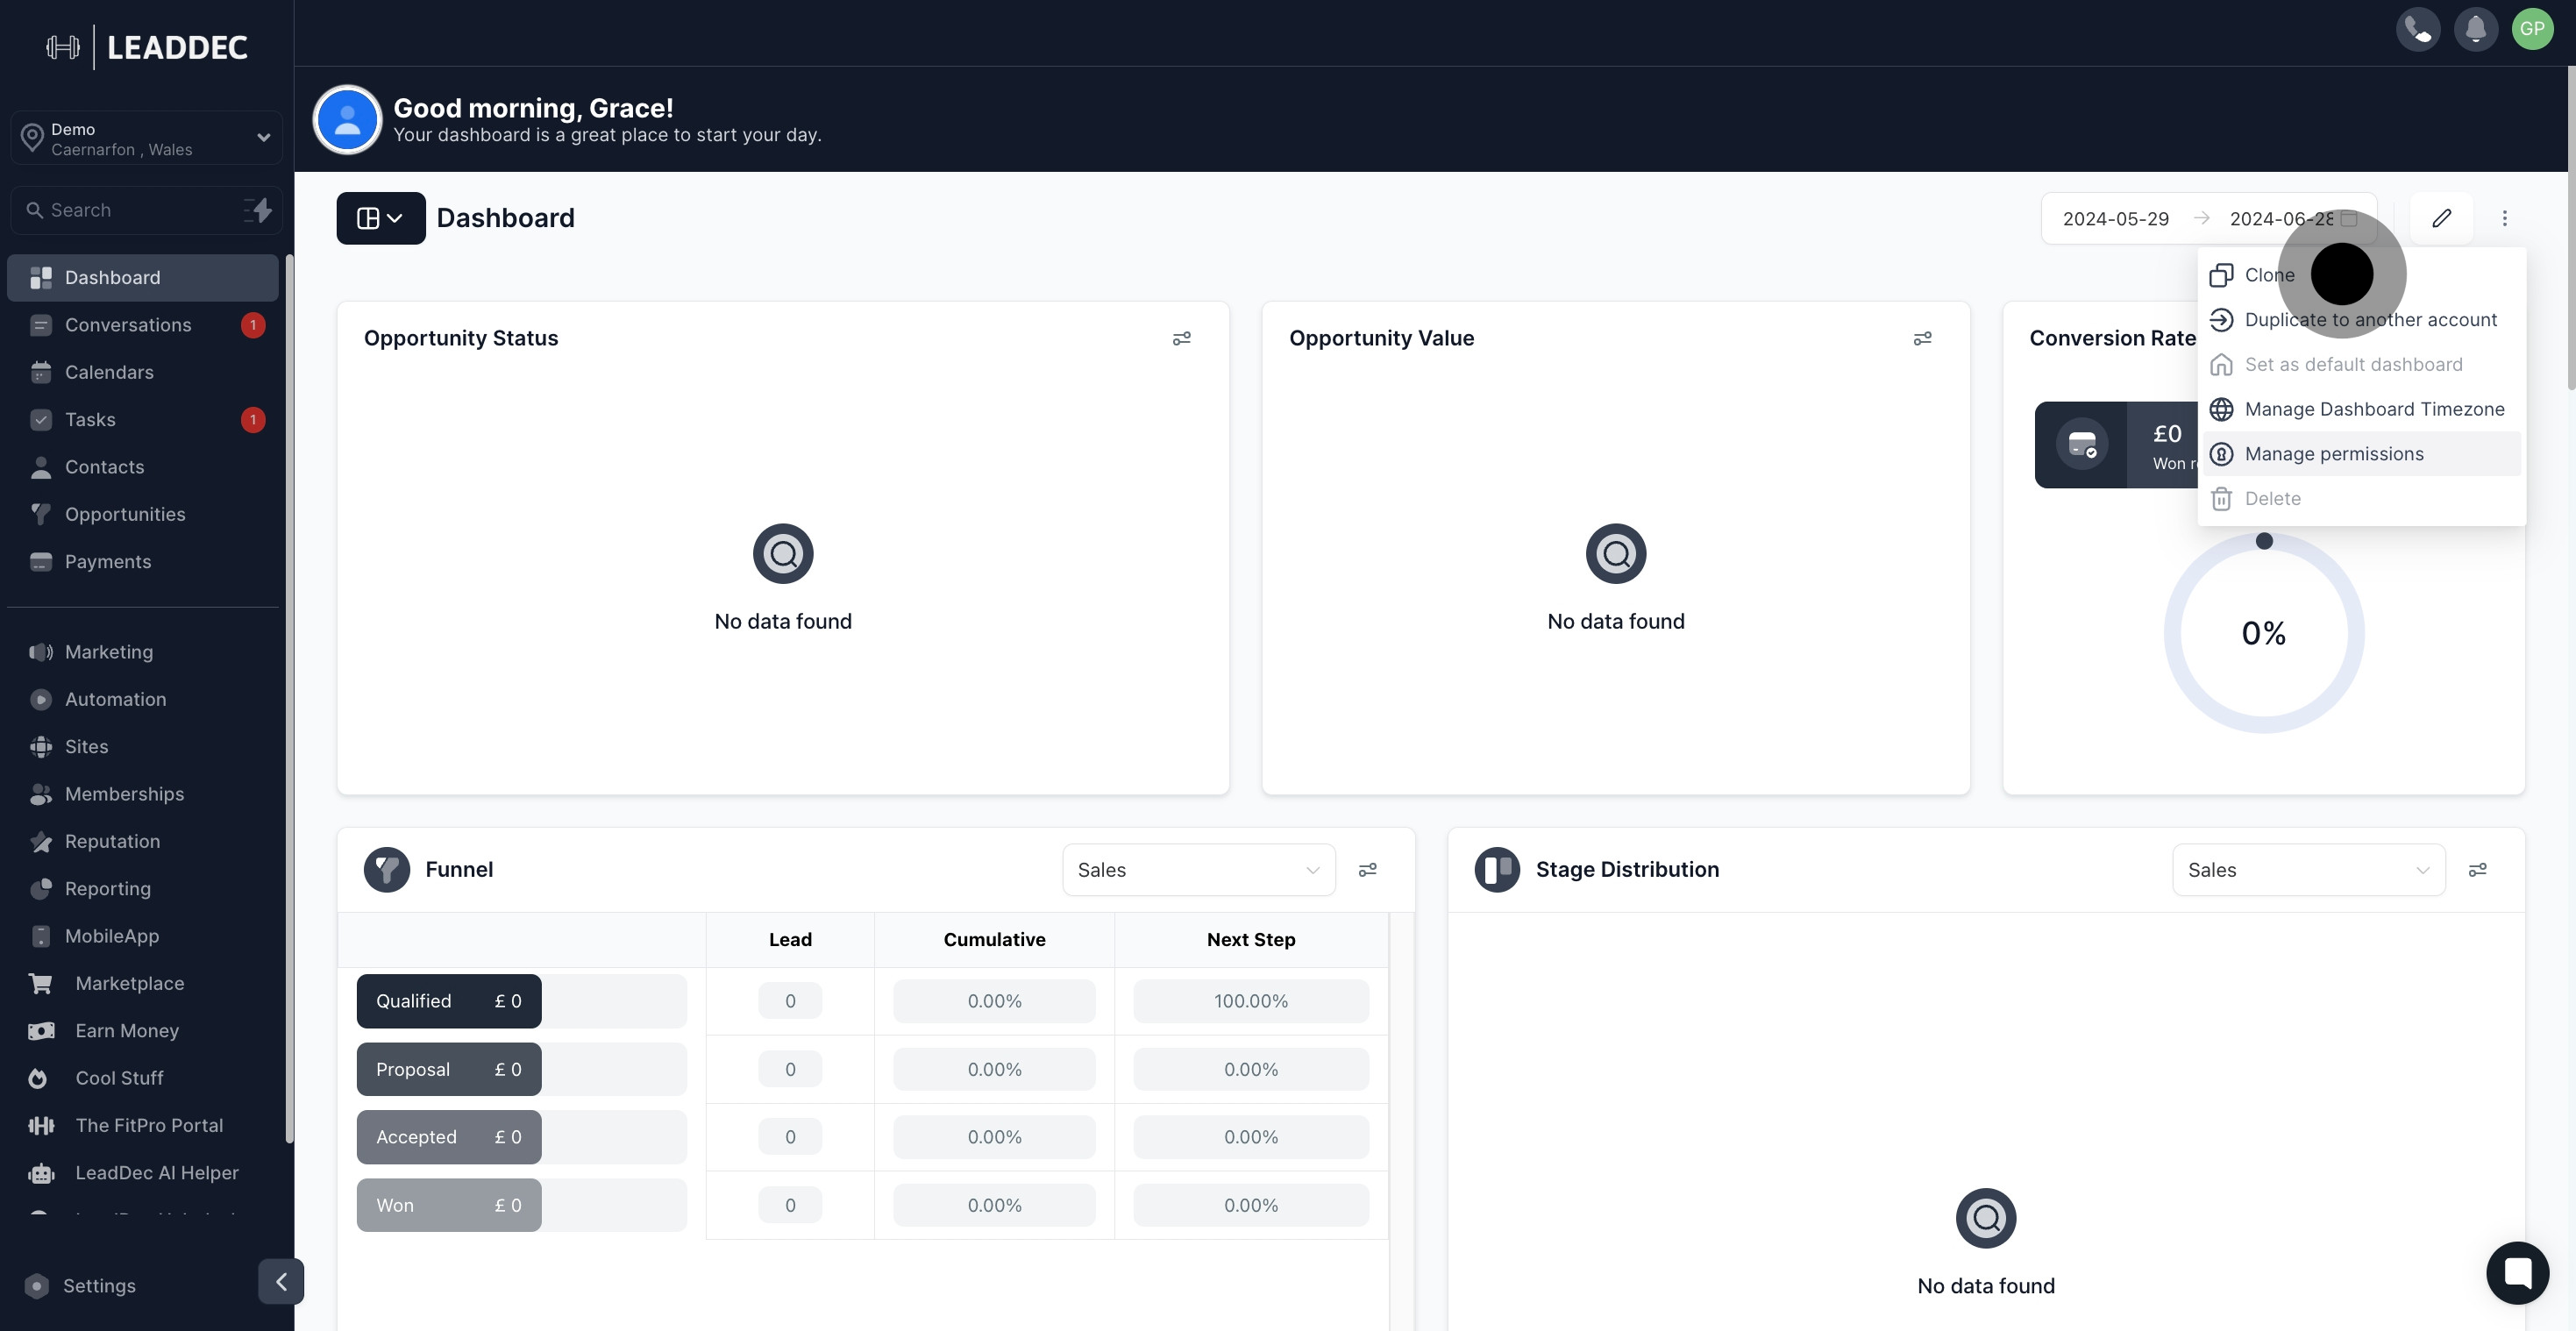
10. Duplicate the dashboard to another account now.

10 Upload

11. Set up your dashboard's timezone here.

11 Upload

12. Lastly, manage dashboard permissions by clicking this.

12 Upload

Did this answer your question?
😞
😐
😁