Adding Forms in LeadDec's Website Builder

Enhance your website's functionality by integrating custom forms using LeadDec's Website Builder. This article provides a detailed guide on how to create, customize, and add forms to your web pages for various purposes such as contact inquiries, registrations, and feedback. Learn the best practices for designing user-friendly forms that capture essential information efficiently, improving data collection and user engagement on your site.


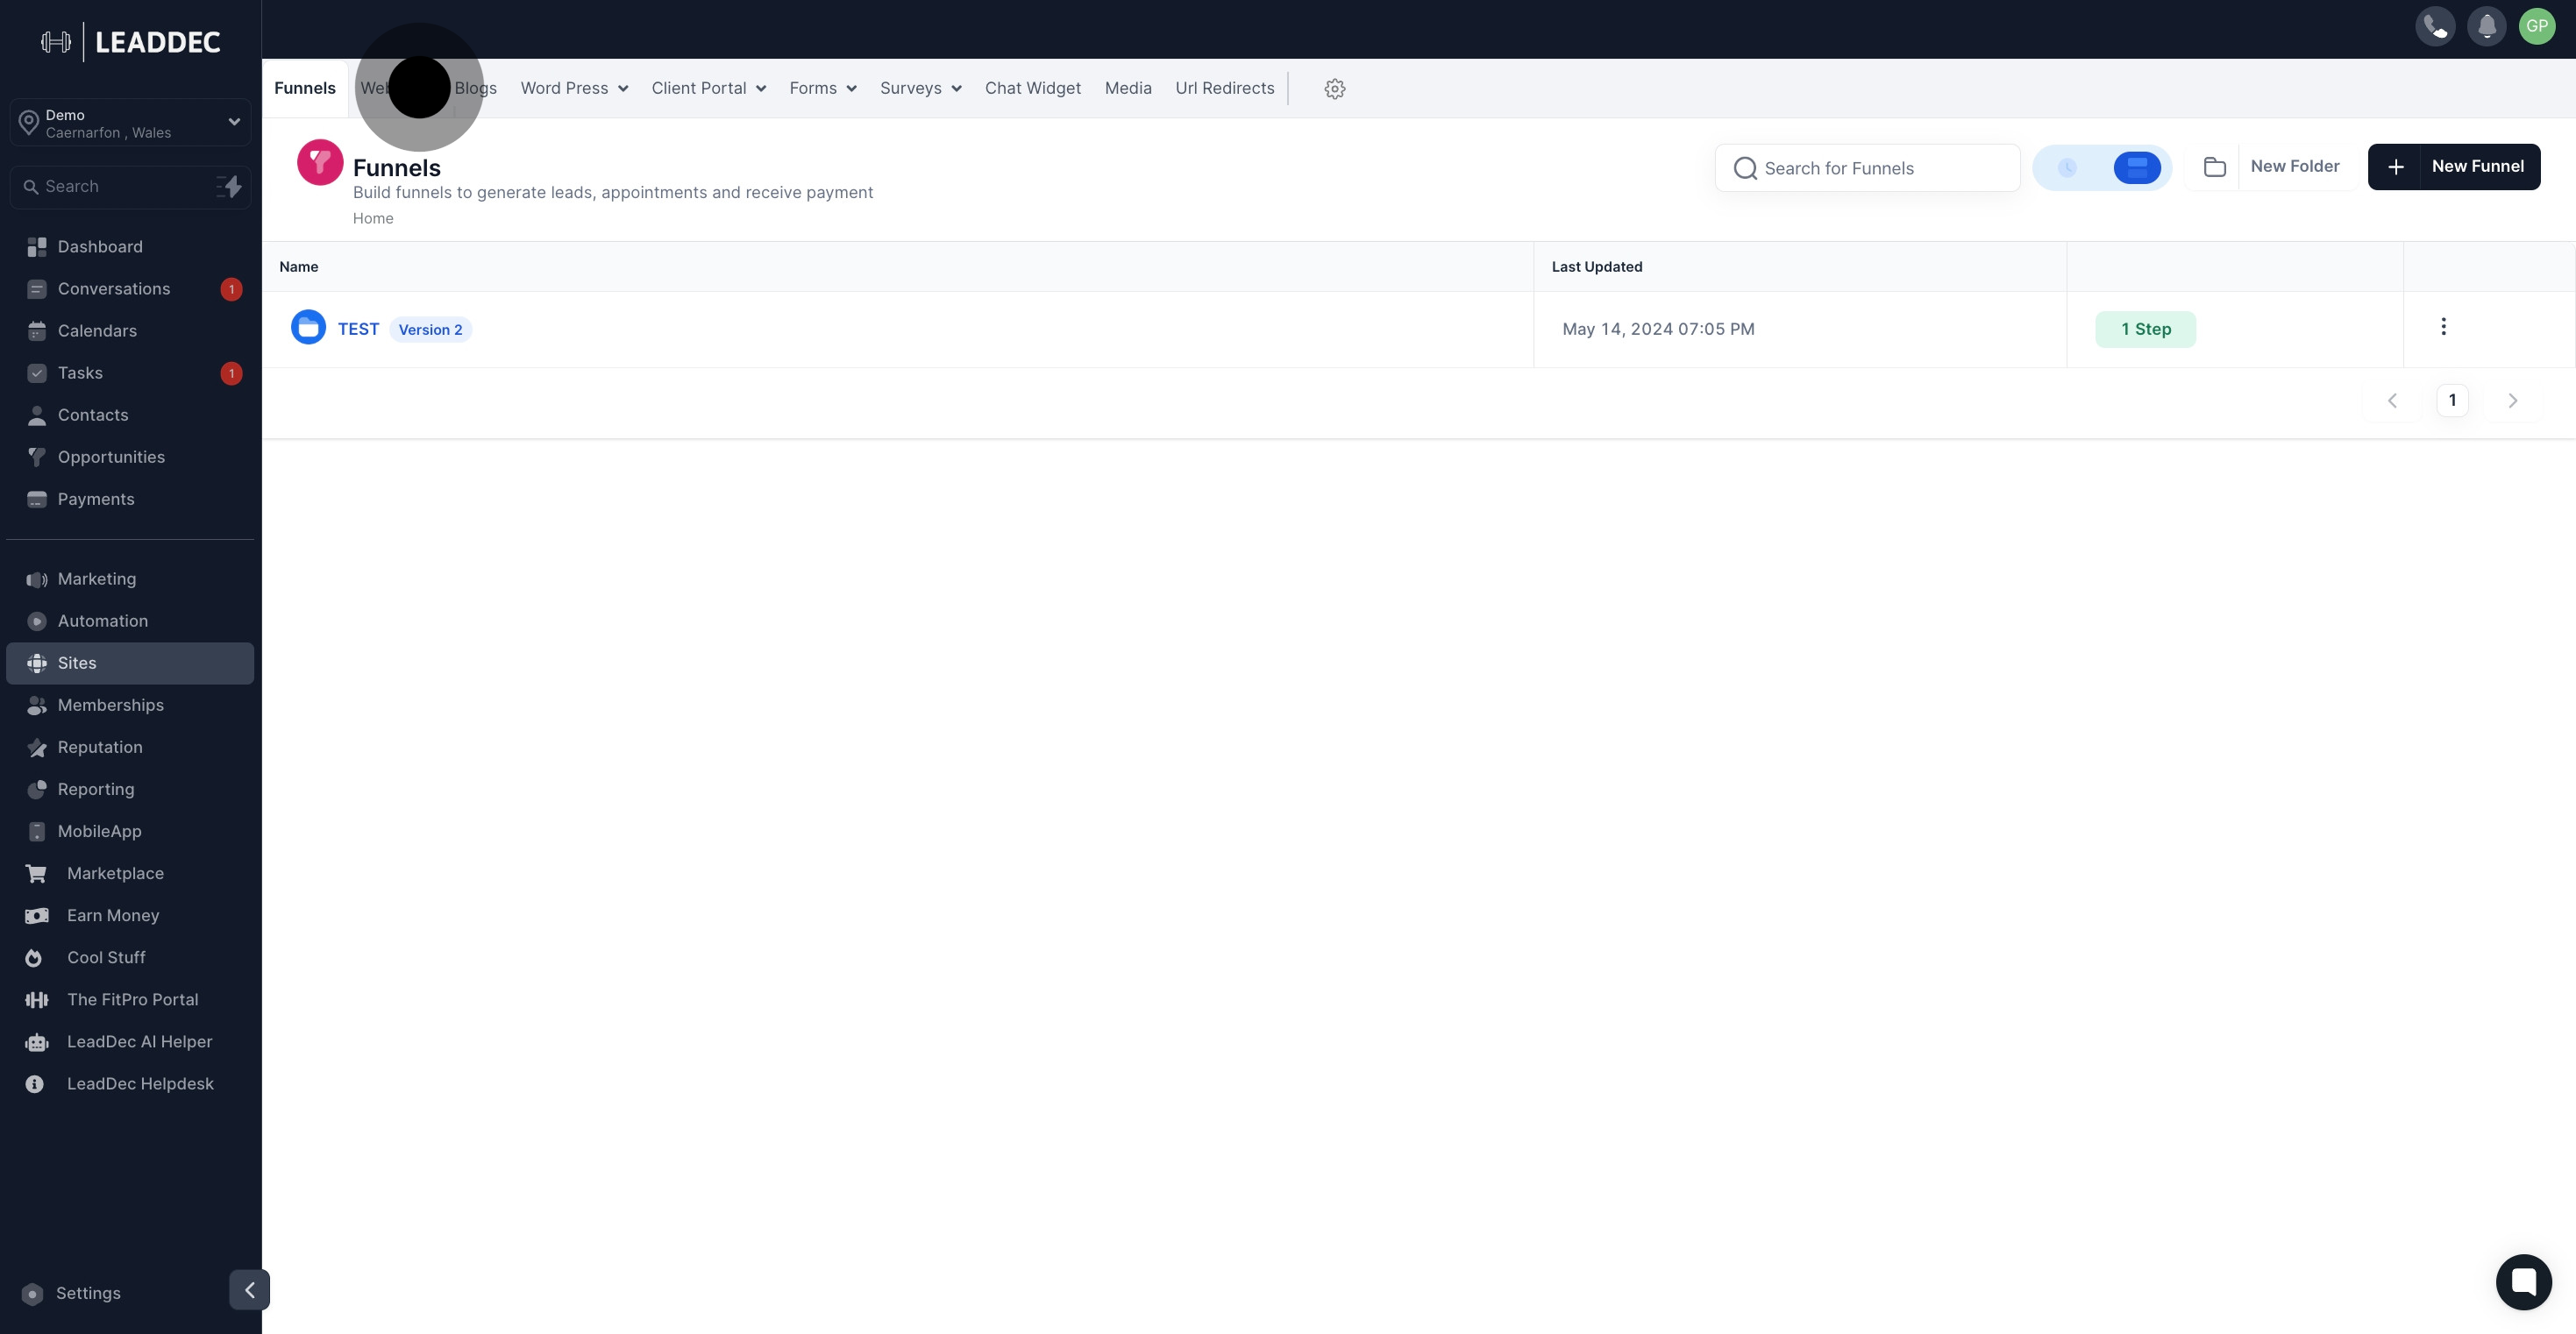
1. first, click 'sites'

1 Click on the element.

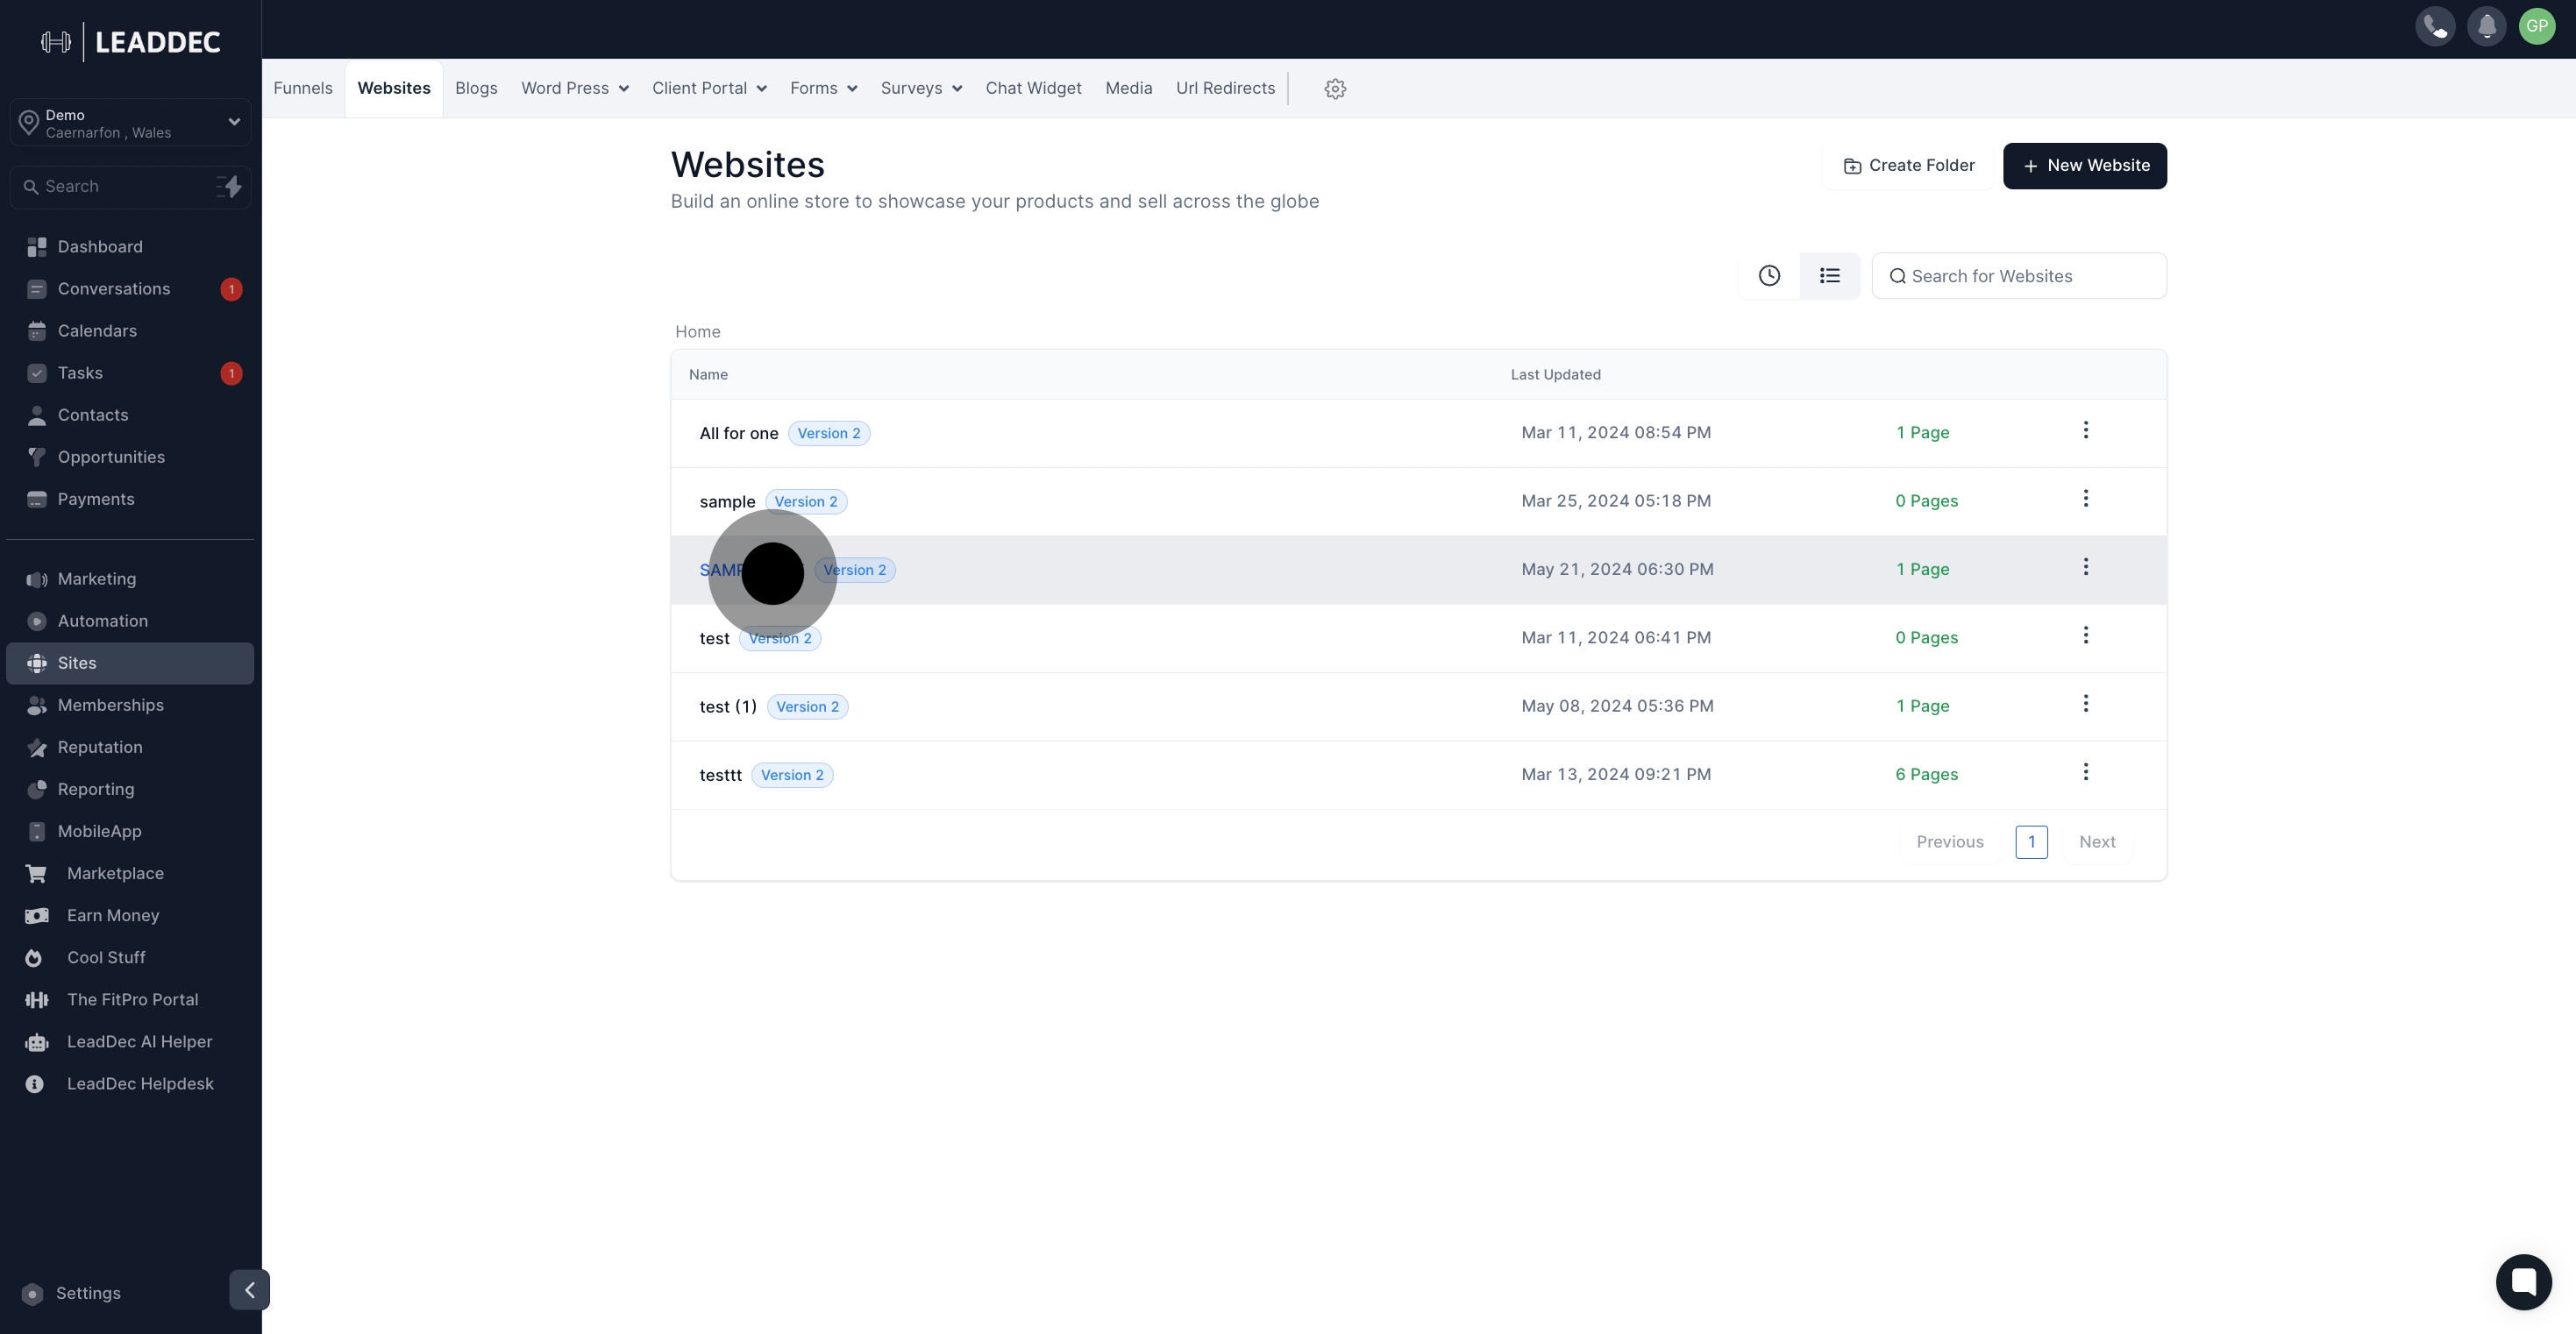
2. Following that, click on "Websites".

2 Following that, click on "Websites".

3. Select the website name from the list.

3 Once that's done, click on "SAMPLE ONE".

4. Next up, click on "Edit".

4 Next up, click on "Edit".

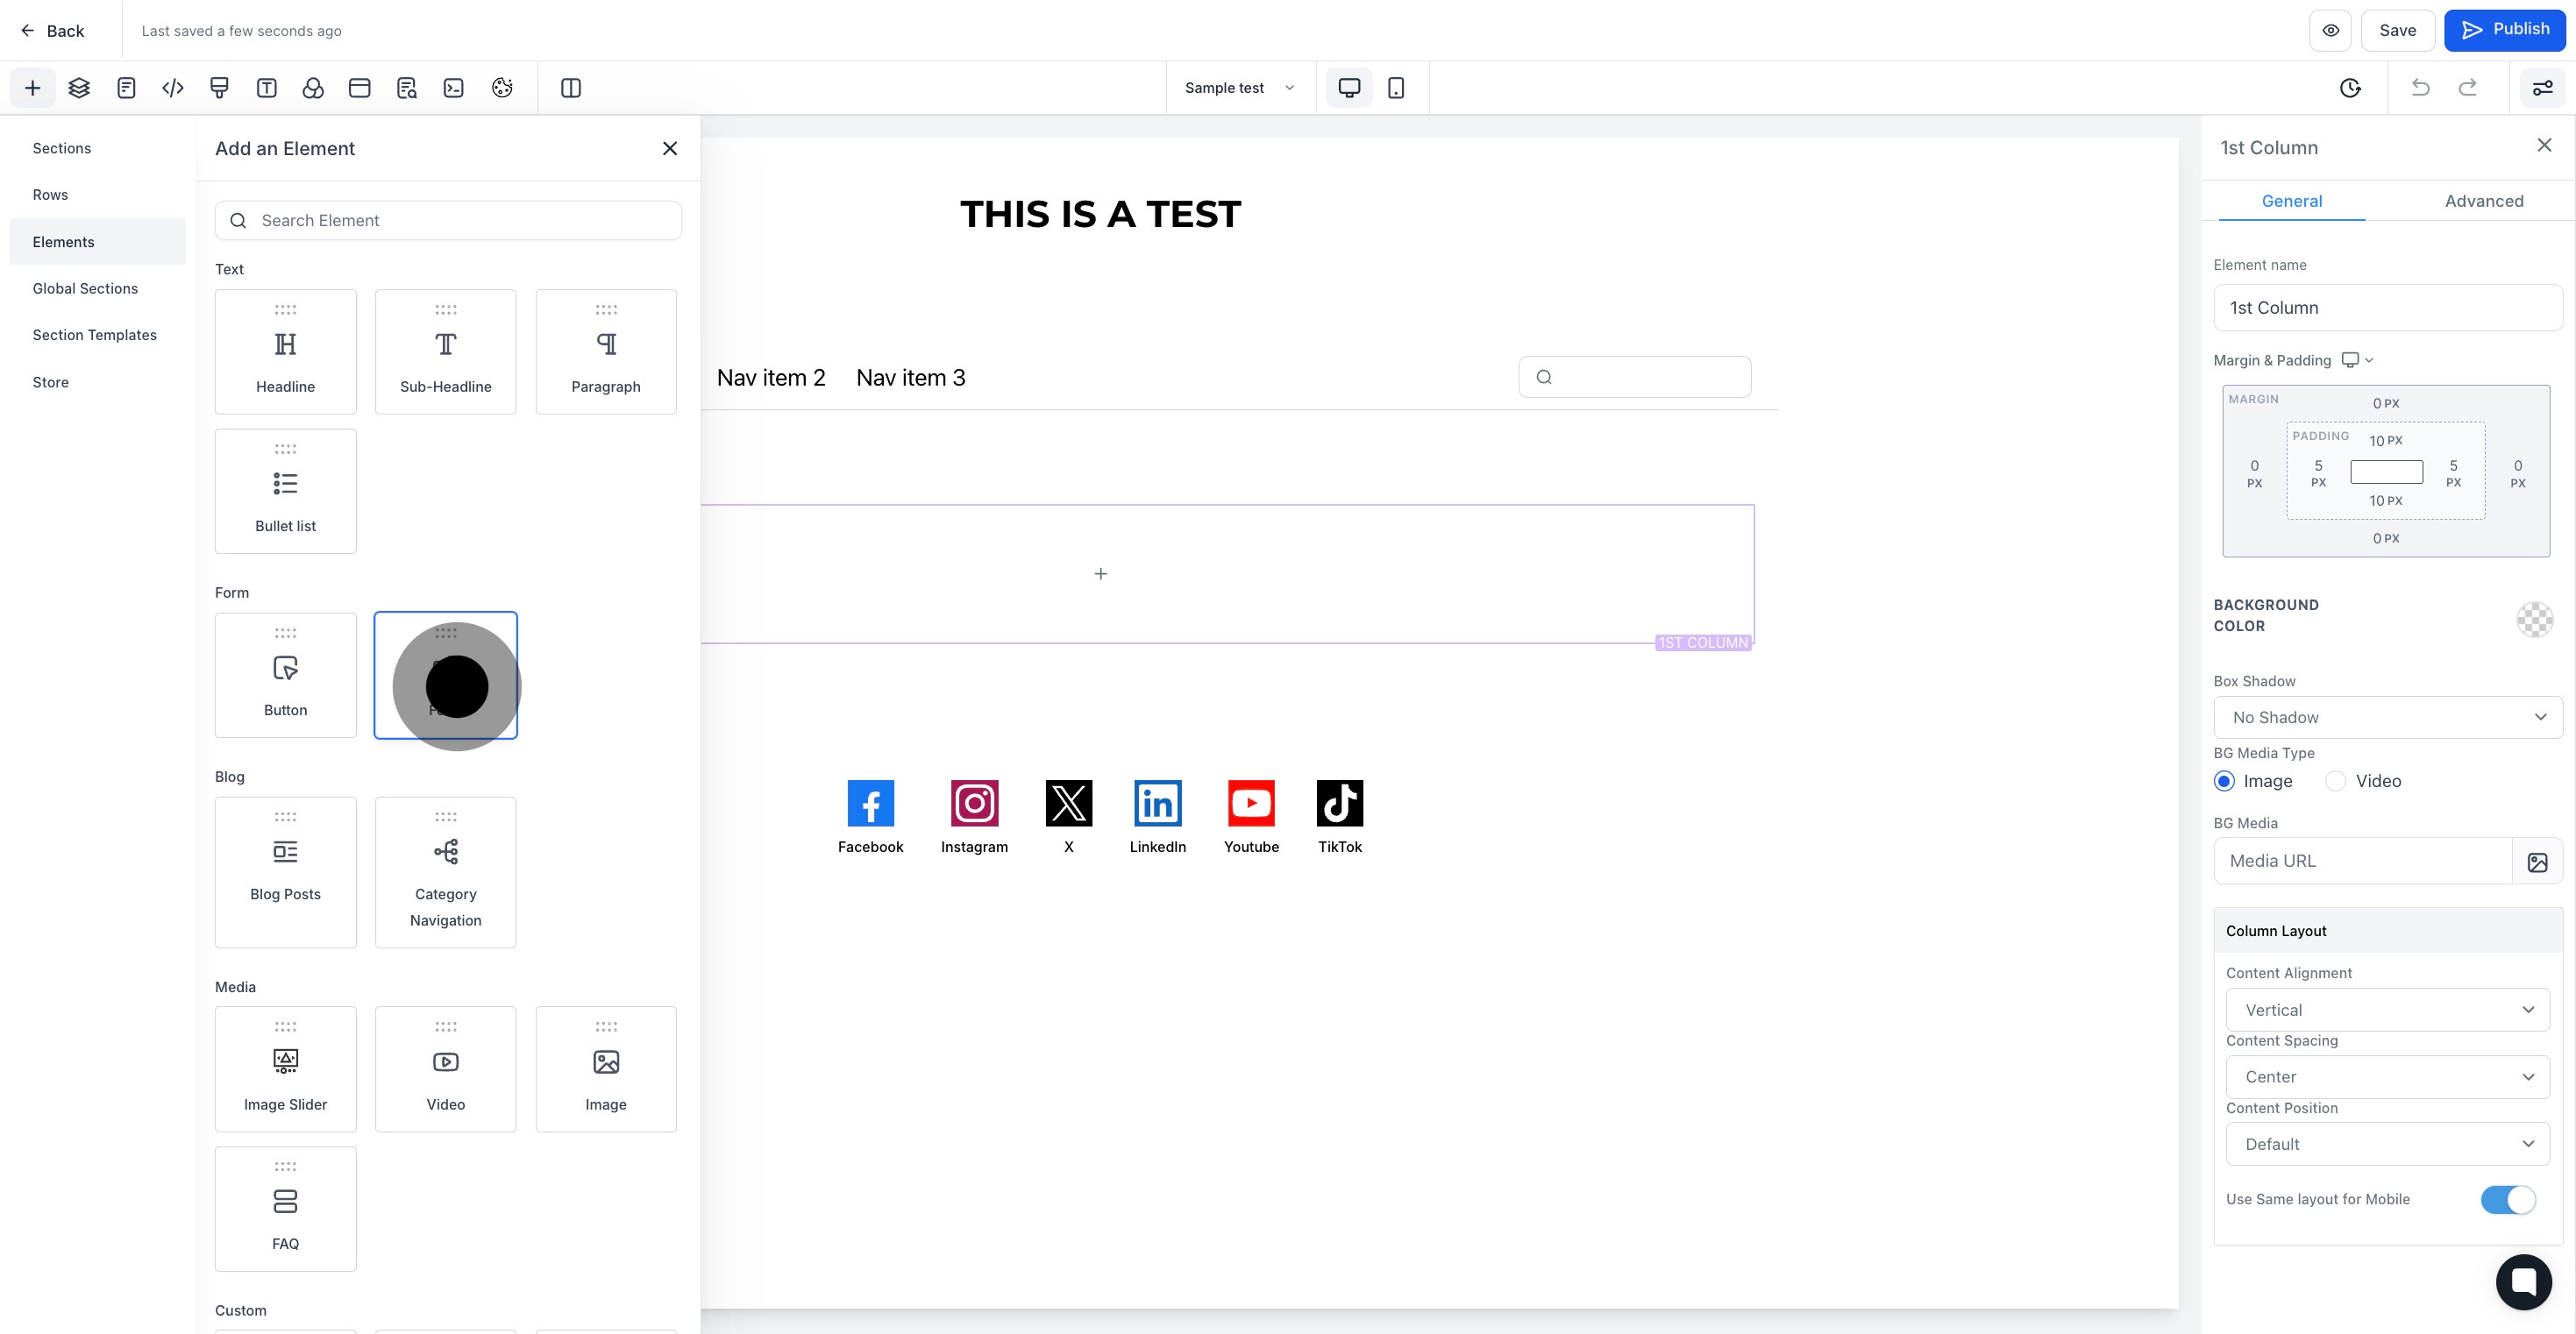
5. Click on "Add Element".

5 Click on "Add Element".

6. Next up, select form as element

6 Next up, click here.

7. After that, click here to select a form.

7 Then, click here.

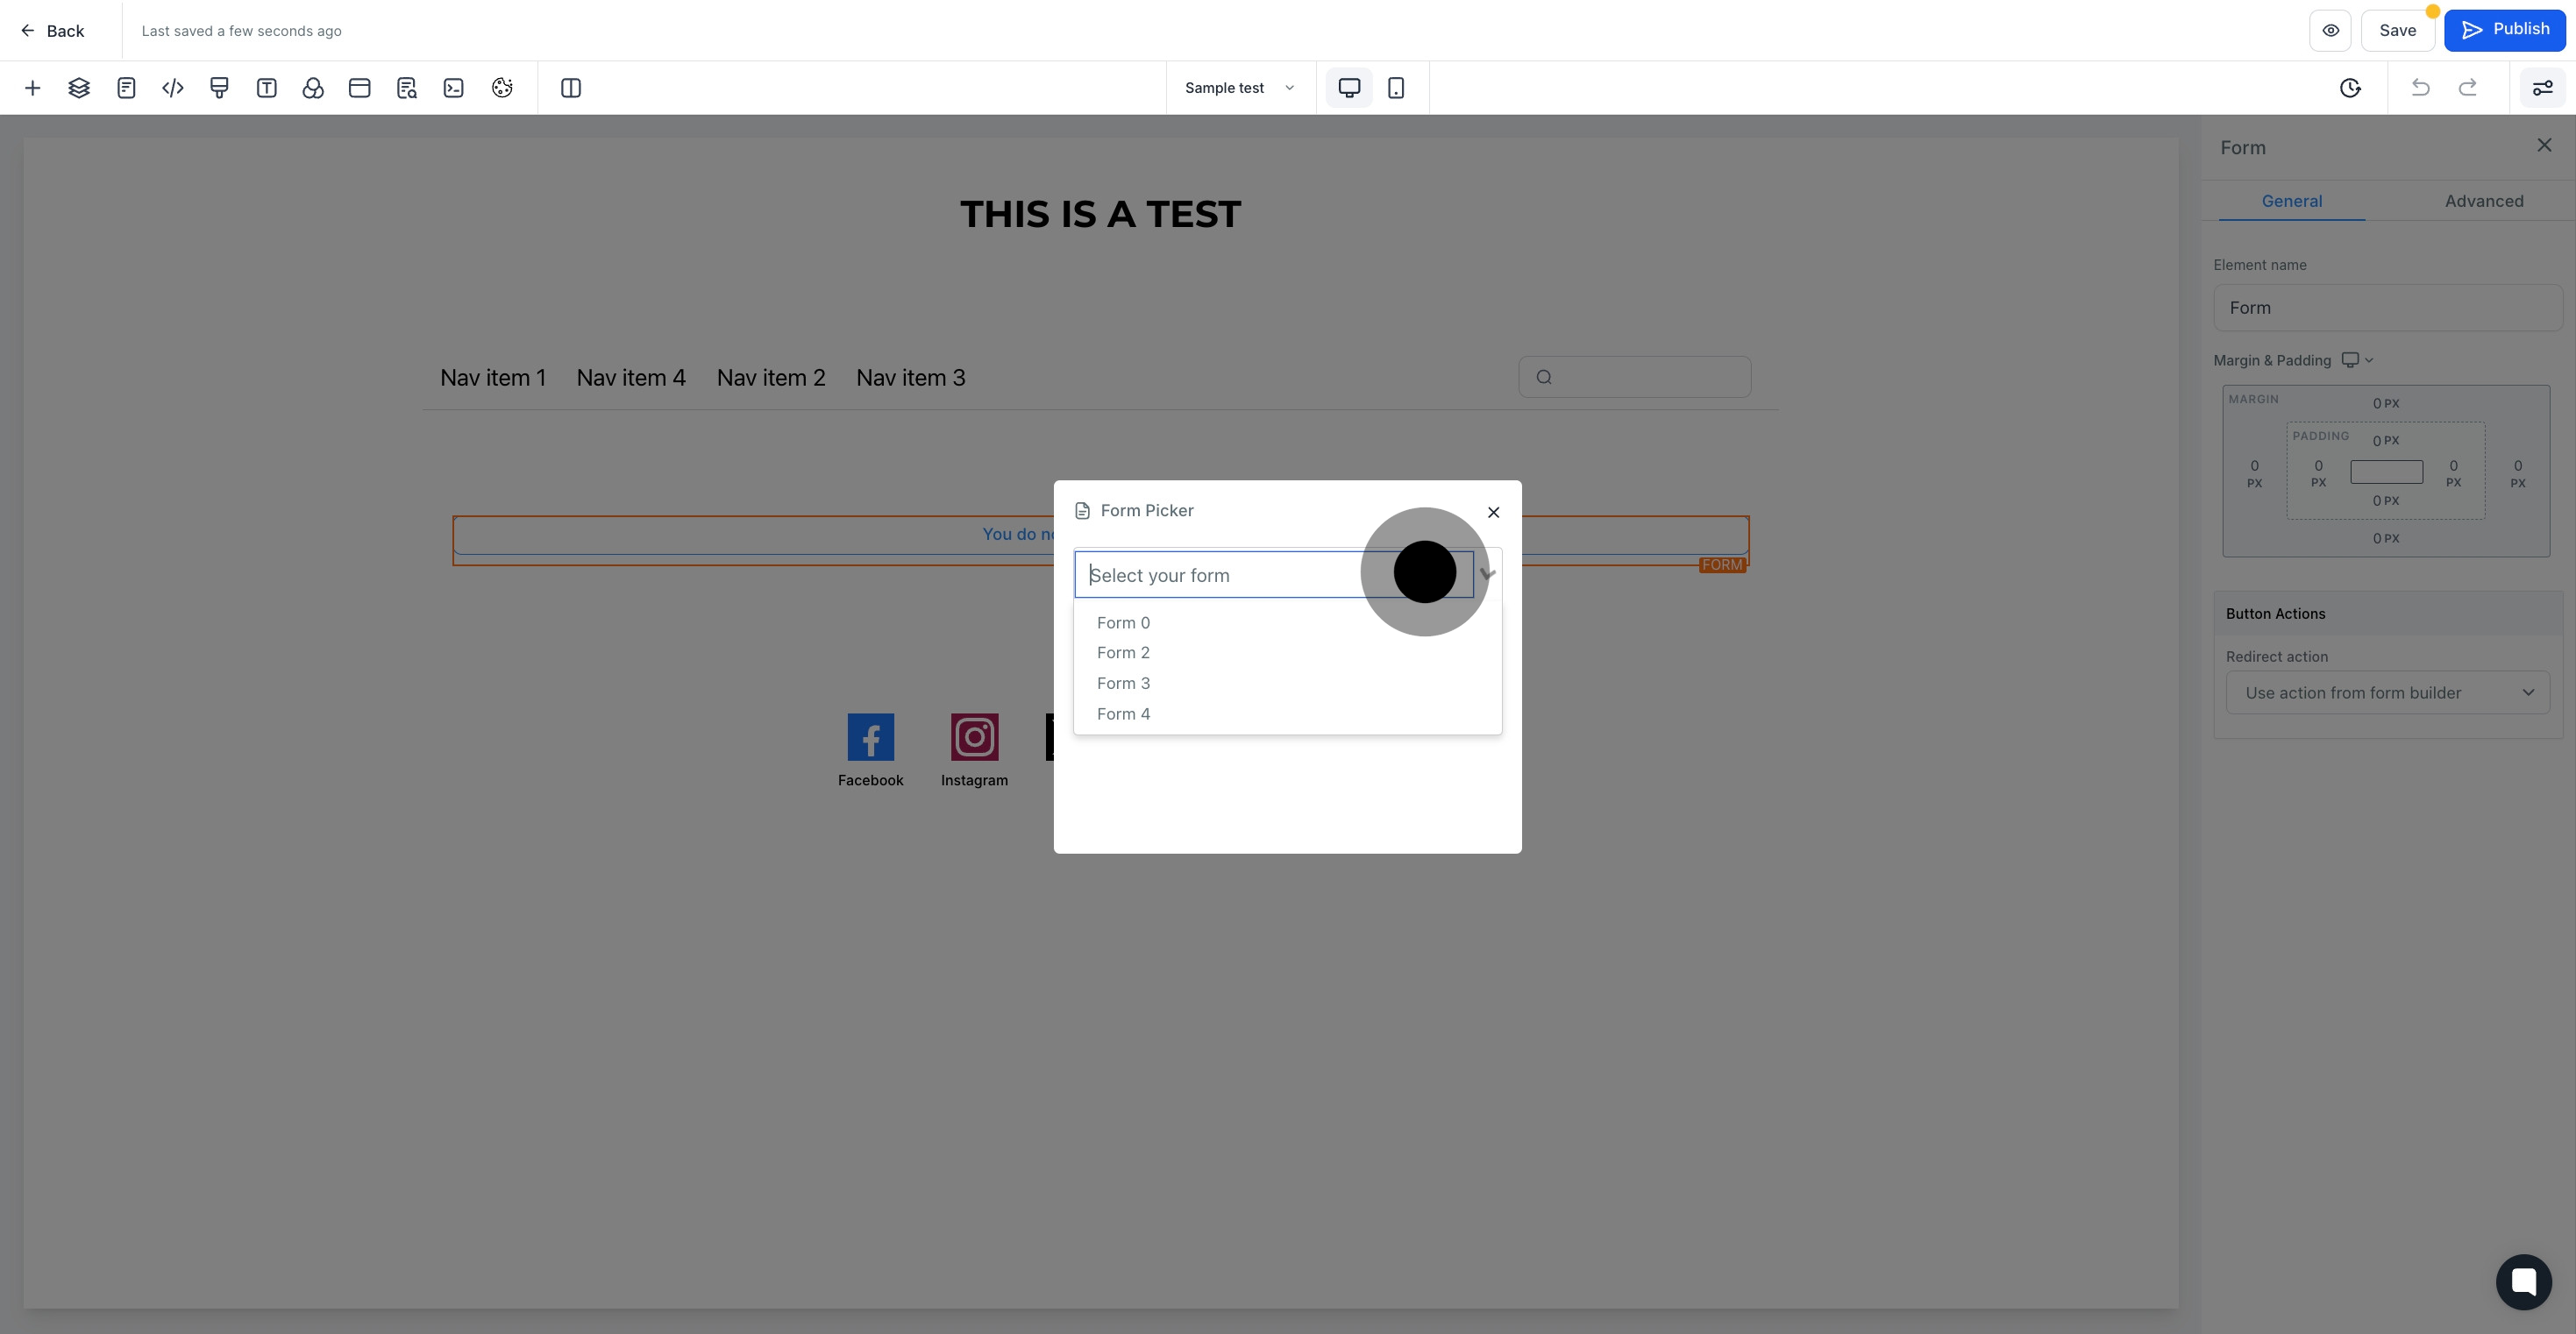
8. After that, click her to add element name

8 After that, click on the element.

9. You can also click here to choose or change form.

9 Click on "Edit form".

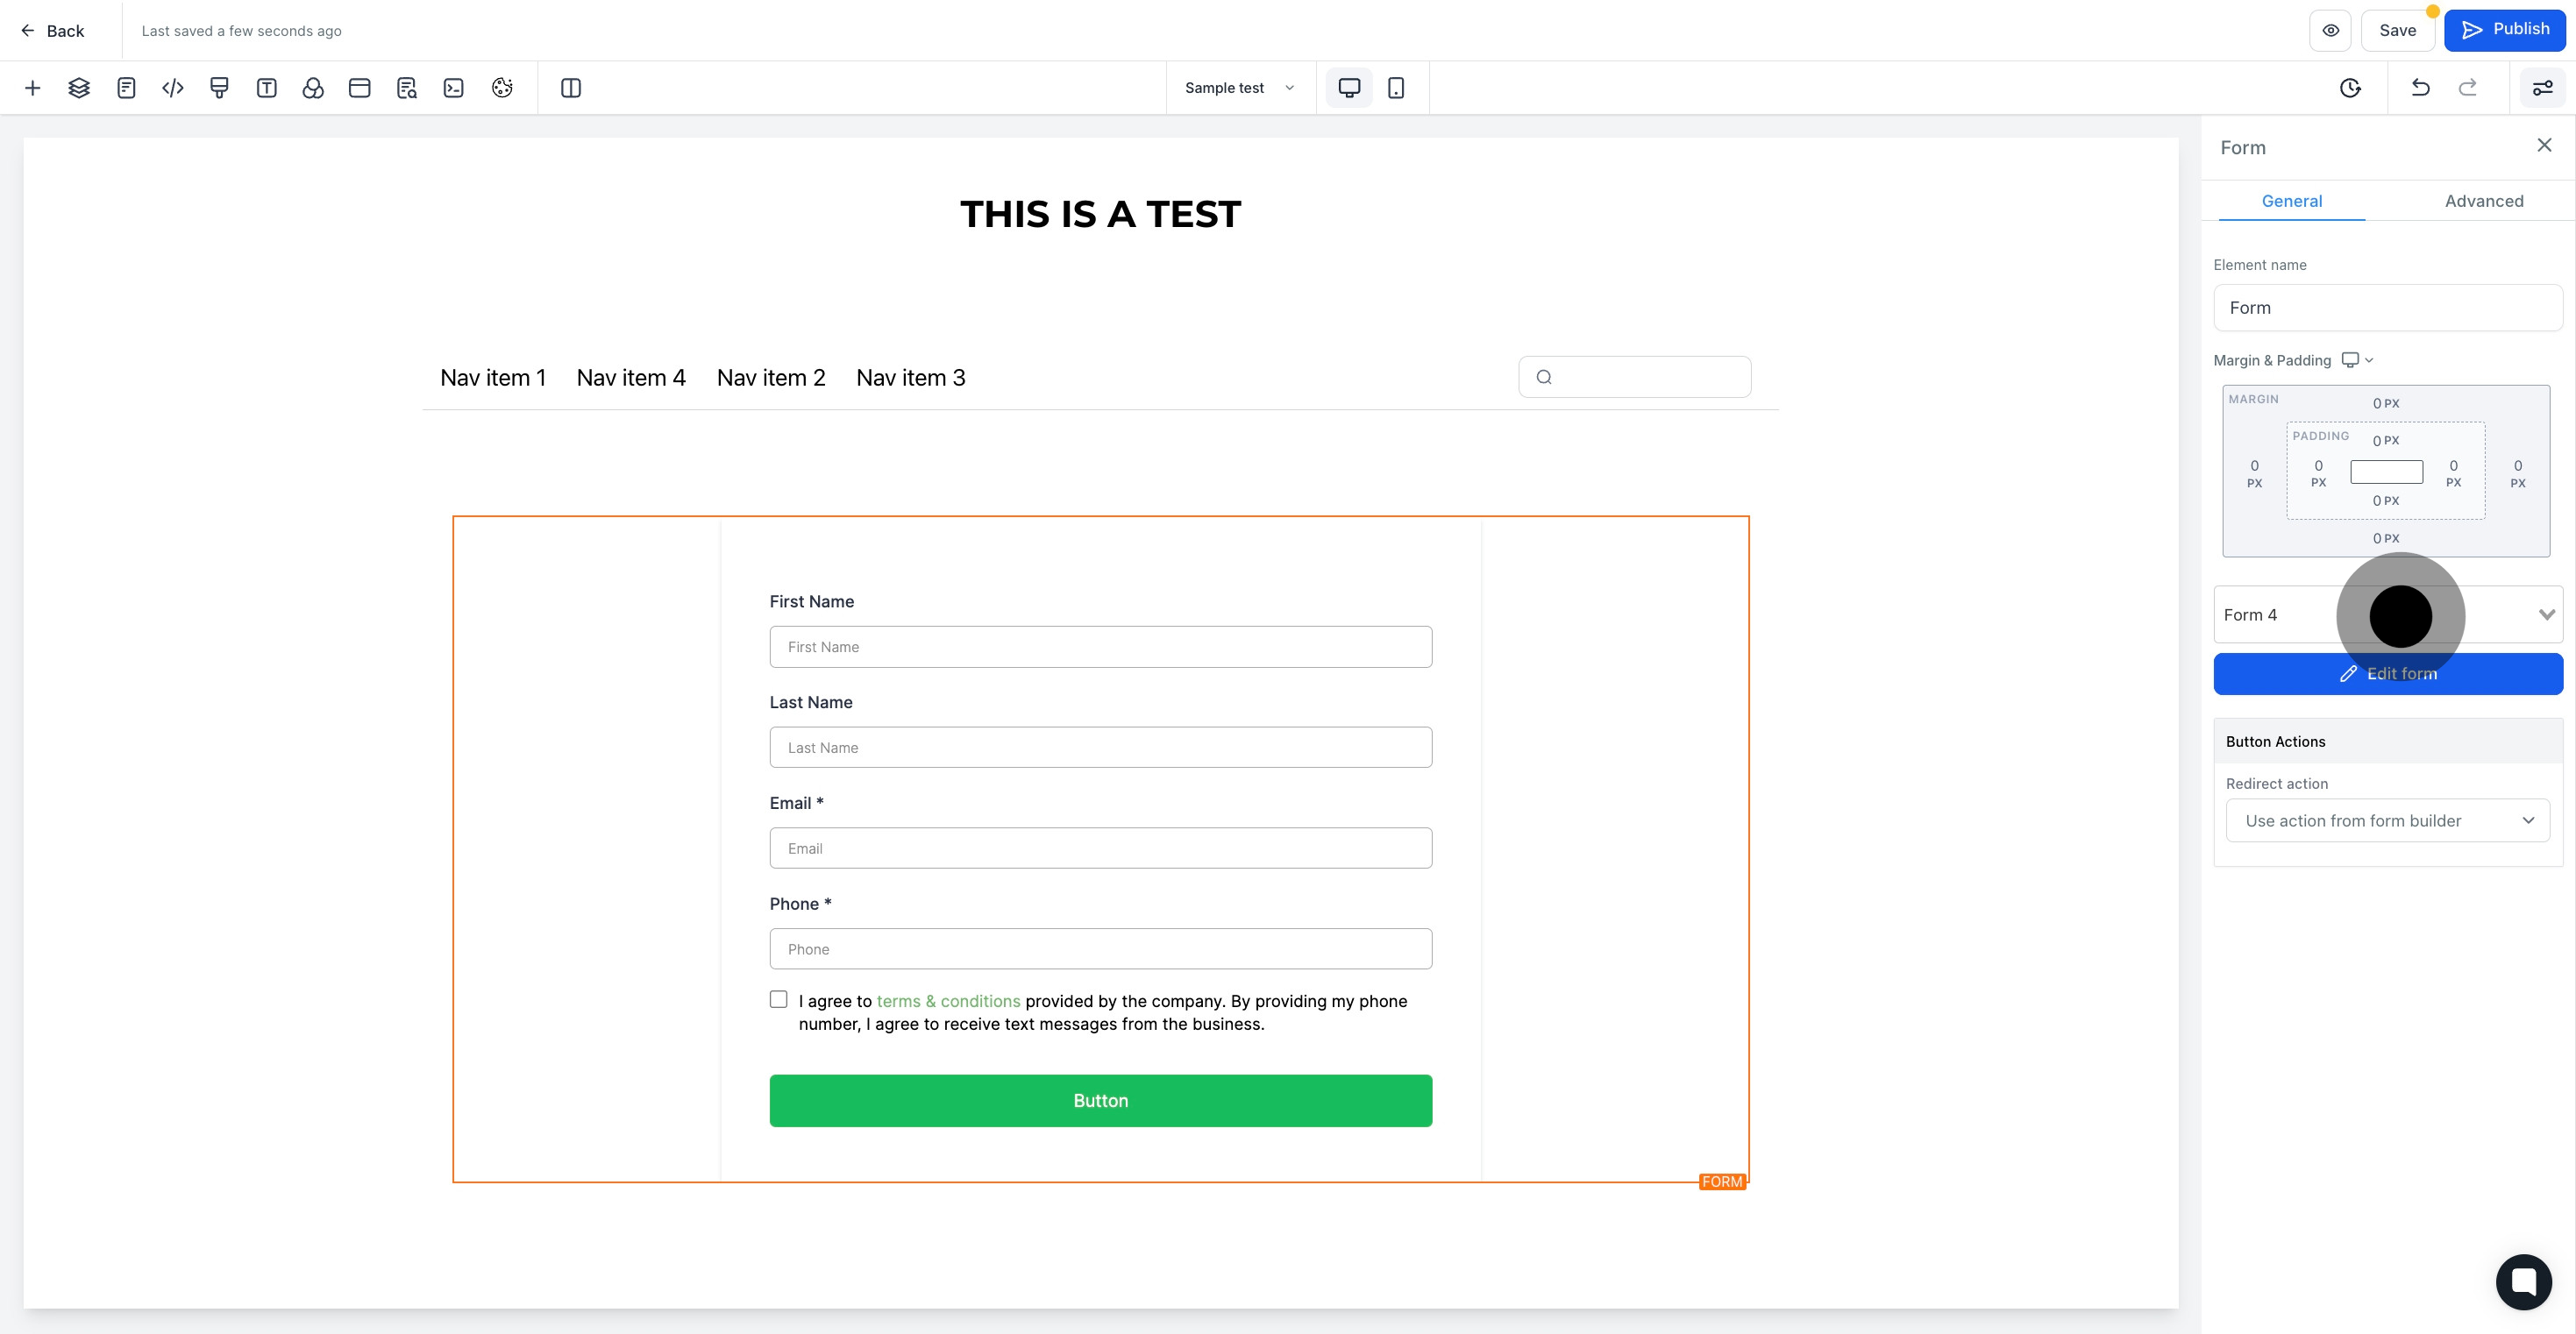
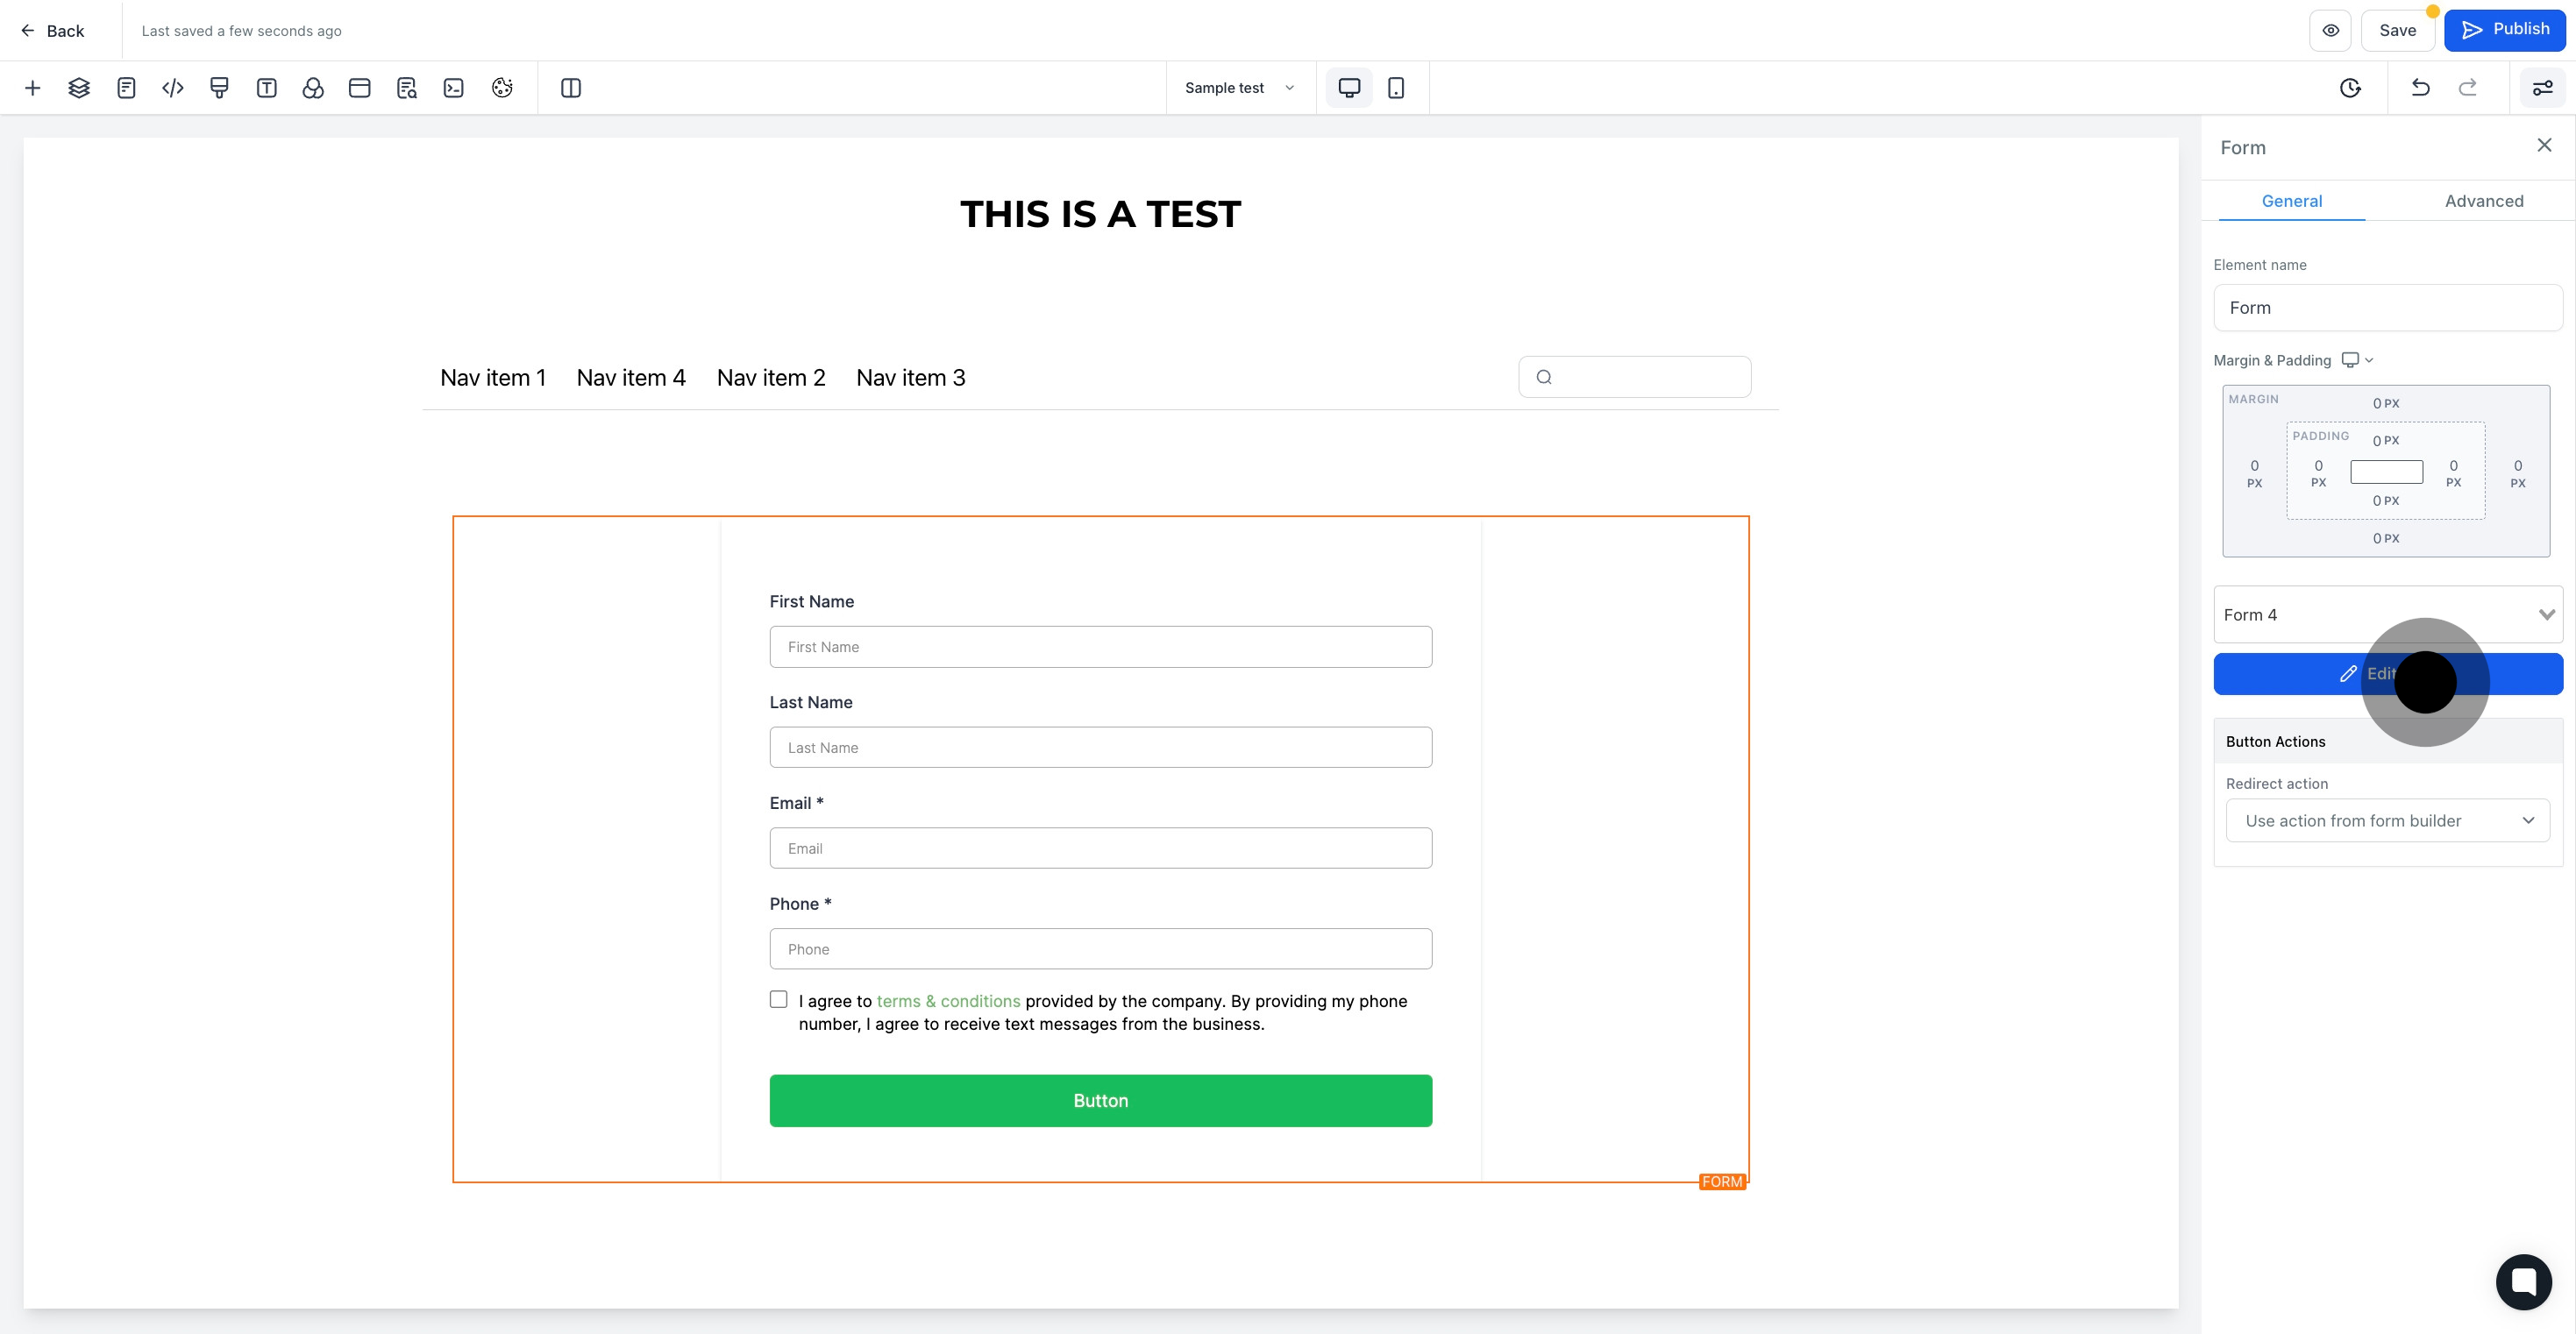
10. If you want to edit the form, click here, and it will redirect you to the form builder.

10 Upload

11. Click here to choose the button action.

11 Upload

12. Once that's done, click on "Save".

12 Once that's done, click on "Save".

Did this answer your question?
😞
😐
😁