Adding Category Navigation in LeadDec's Website Builder

Enhance your website's structure and user experience by implementing category navigation using LeadDec's Website Builder. This guide offers a step-by-step approach to creating and customizing category navigation menus, allowing visitors to easily browse and access relevant content. Learn how to categorize your pages effectively to make your site more intuitive and user-friendly, improving overall engagement and satisfaction.


1. First, click 'sites'

1 First, click here.

2. Click on "Websites".

2 Click on "Websites".

3. Now, select a website from the list
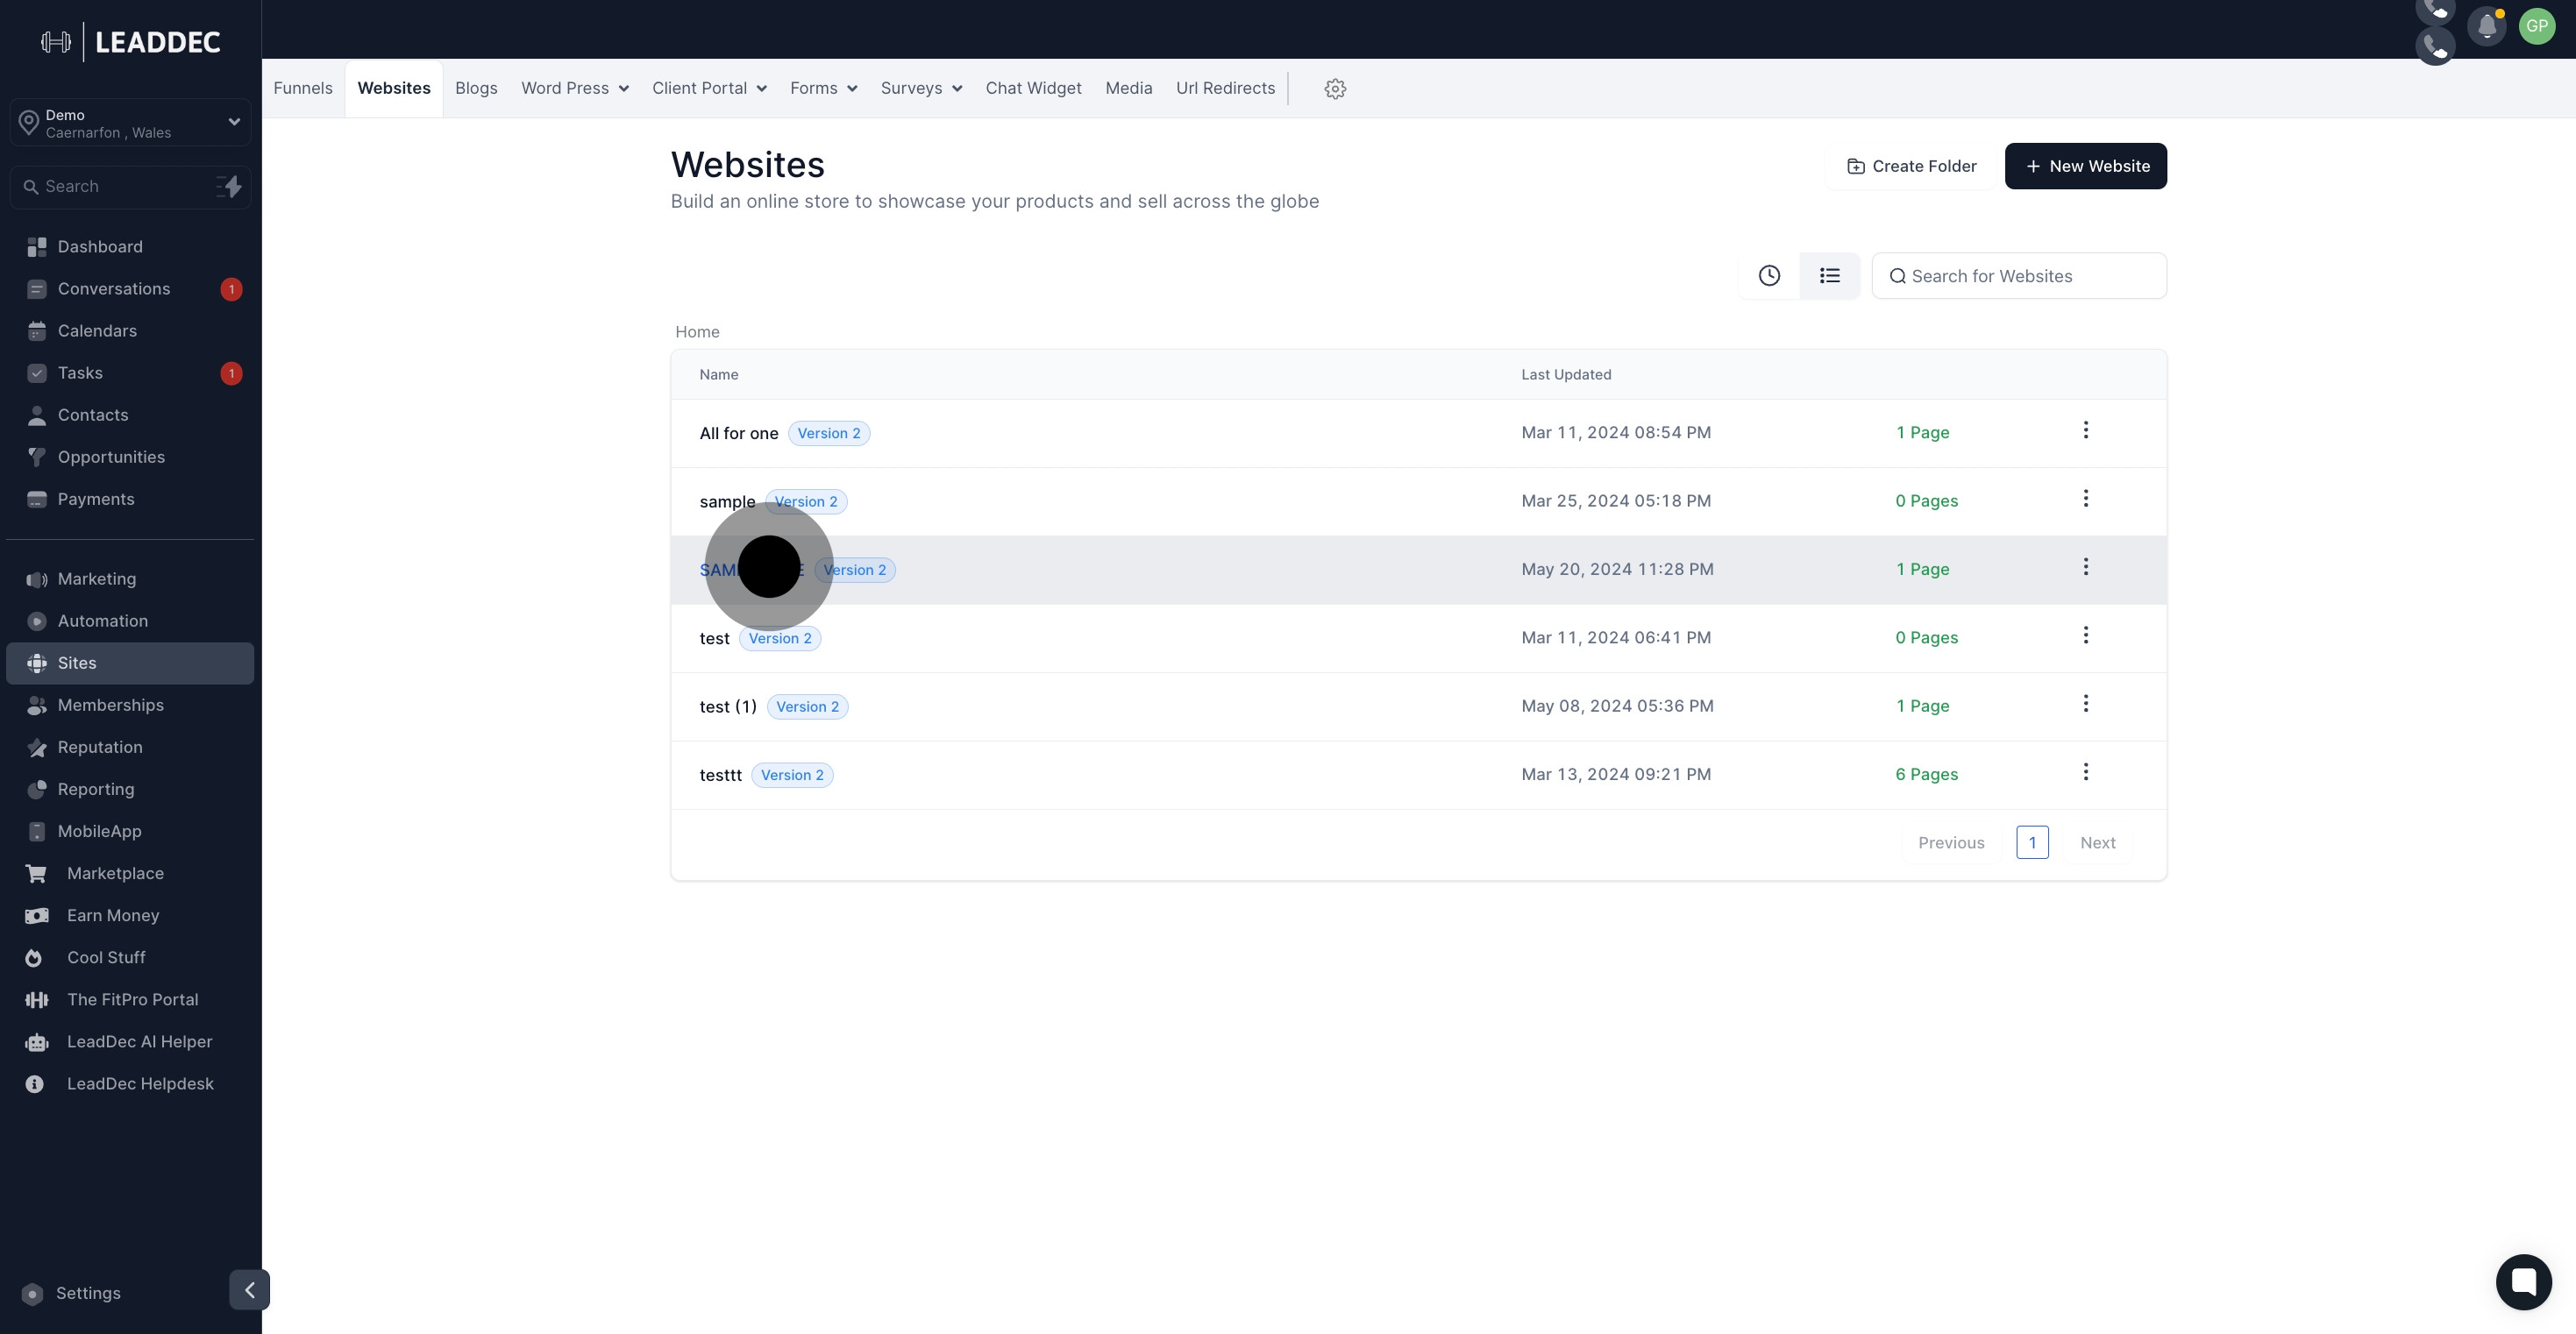
3 Now, click on "SAMPLE ONE".

4. Click on "Edit".

4 Click on "Edit".

5. Click on "Add Element".

5 Click on "Add Element".

6. Next up, click on "Category Navigation".
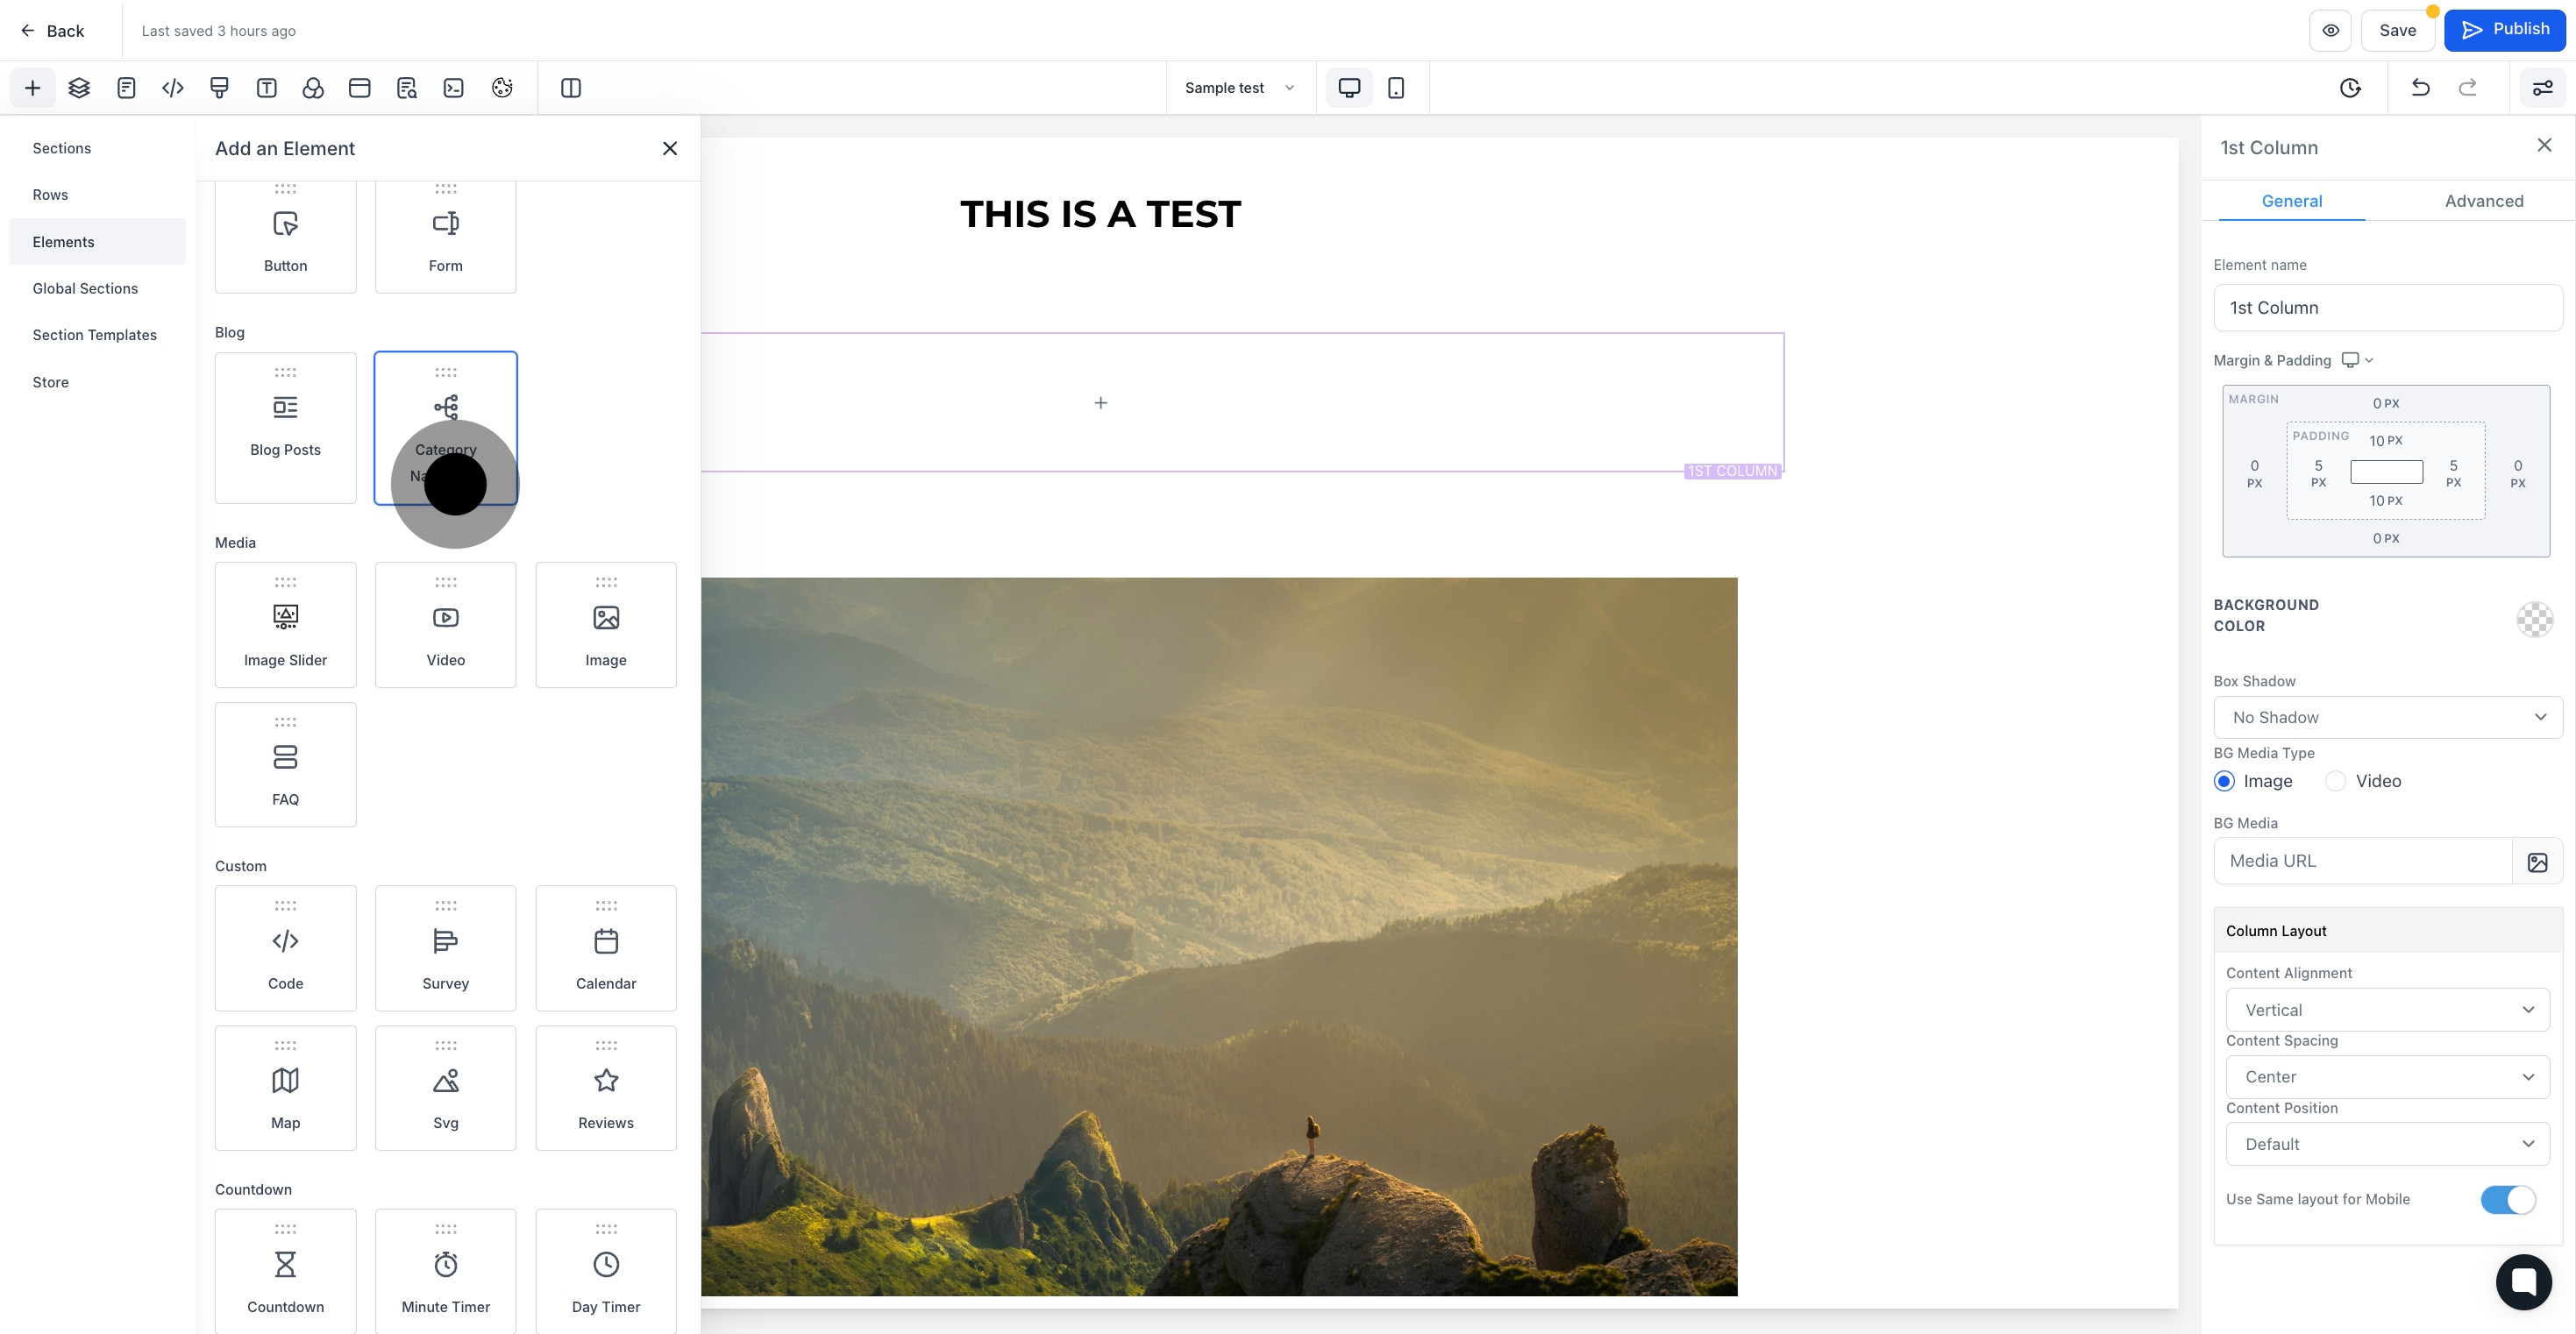
6 Next up, click on "Category Navigation".

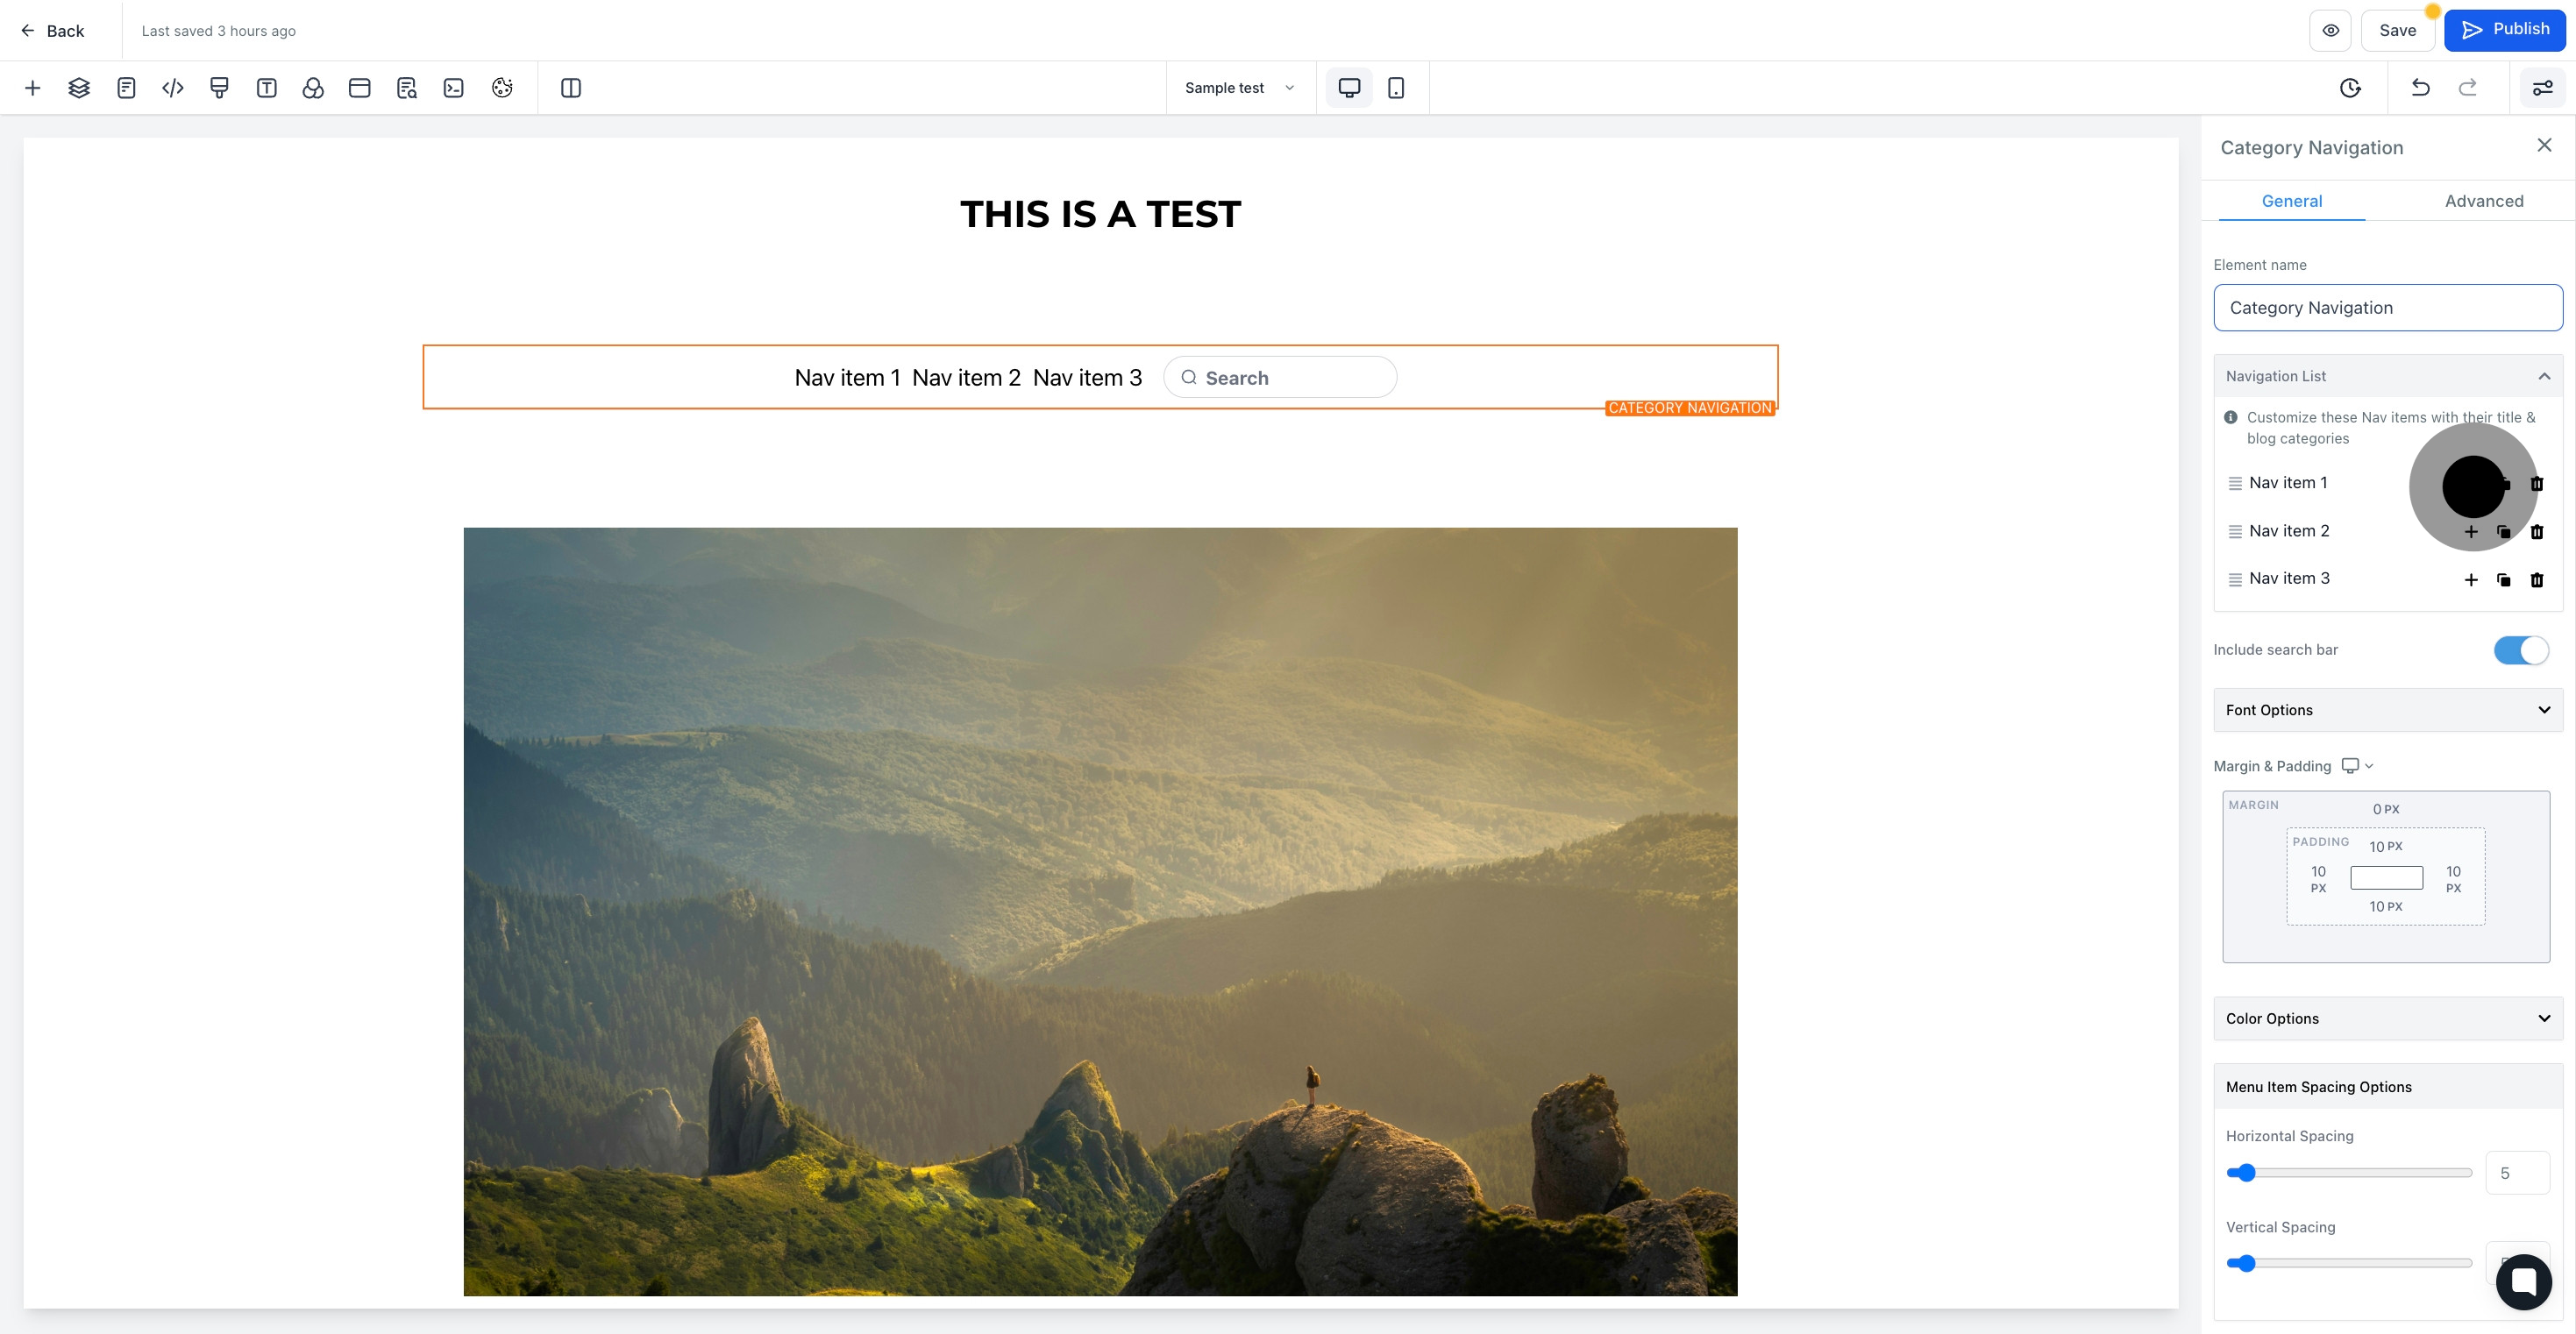
7. Click here to add element name
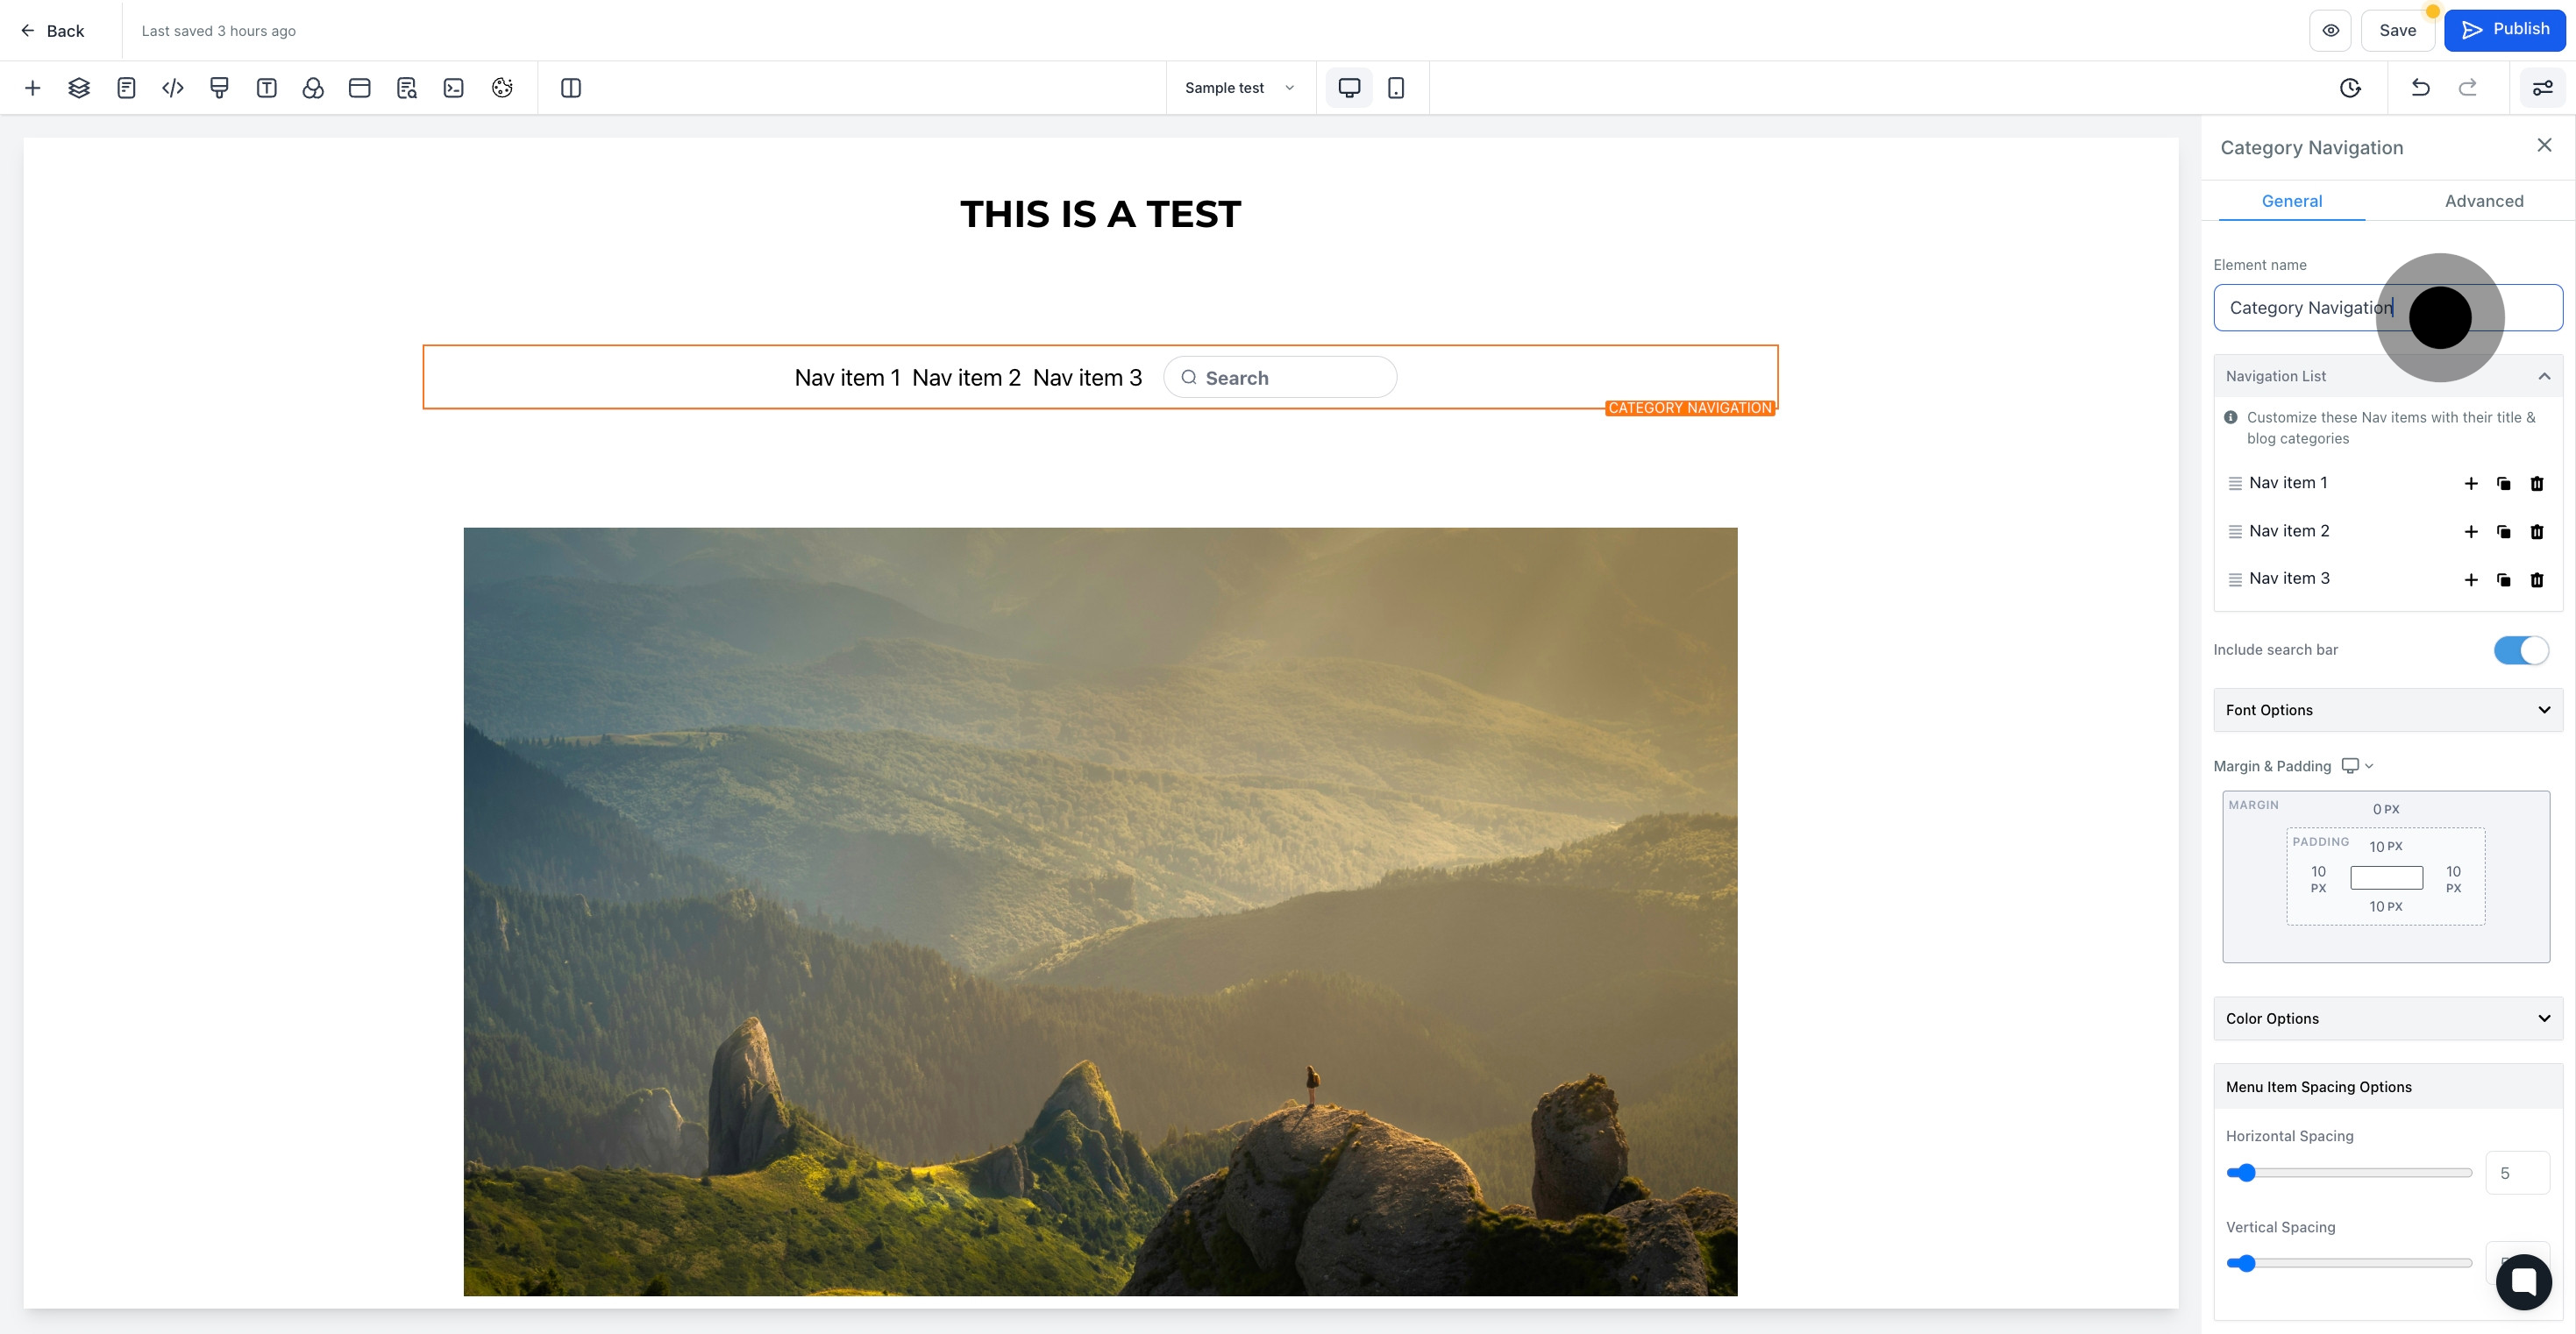
7 Click here.

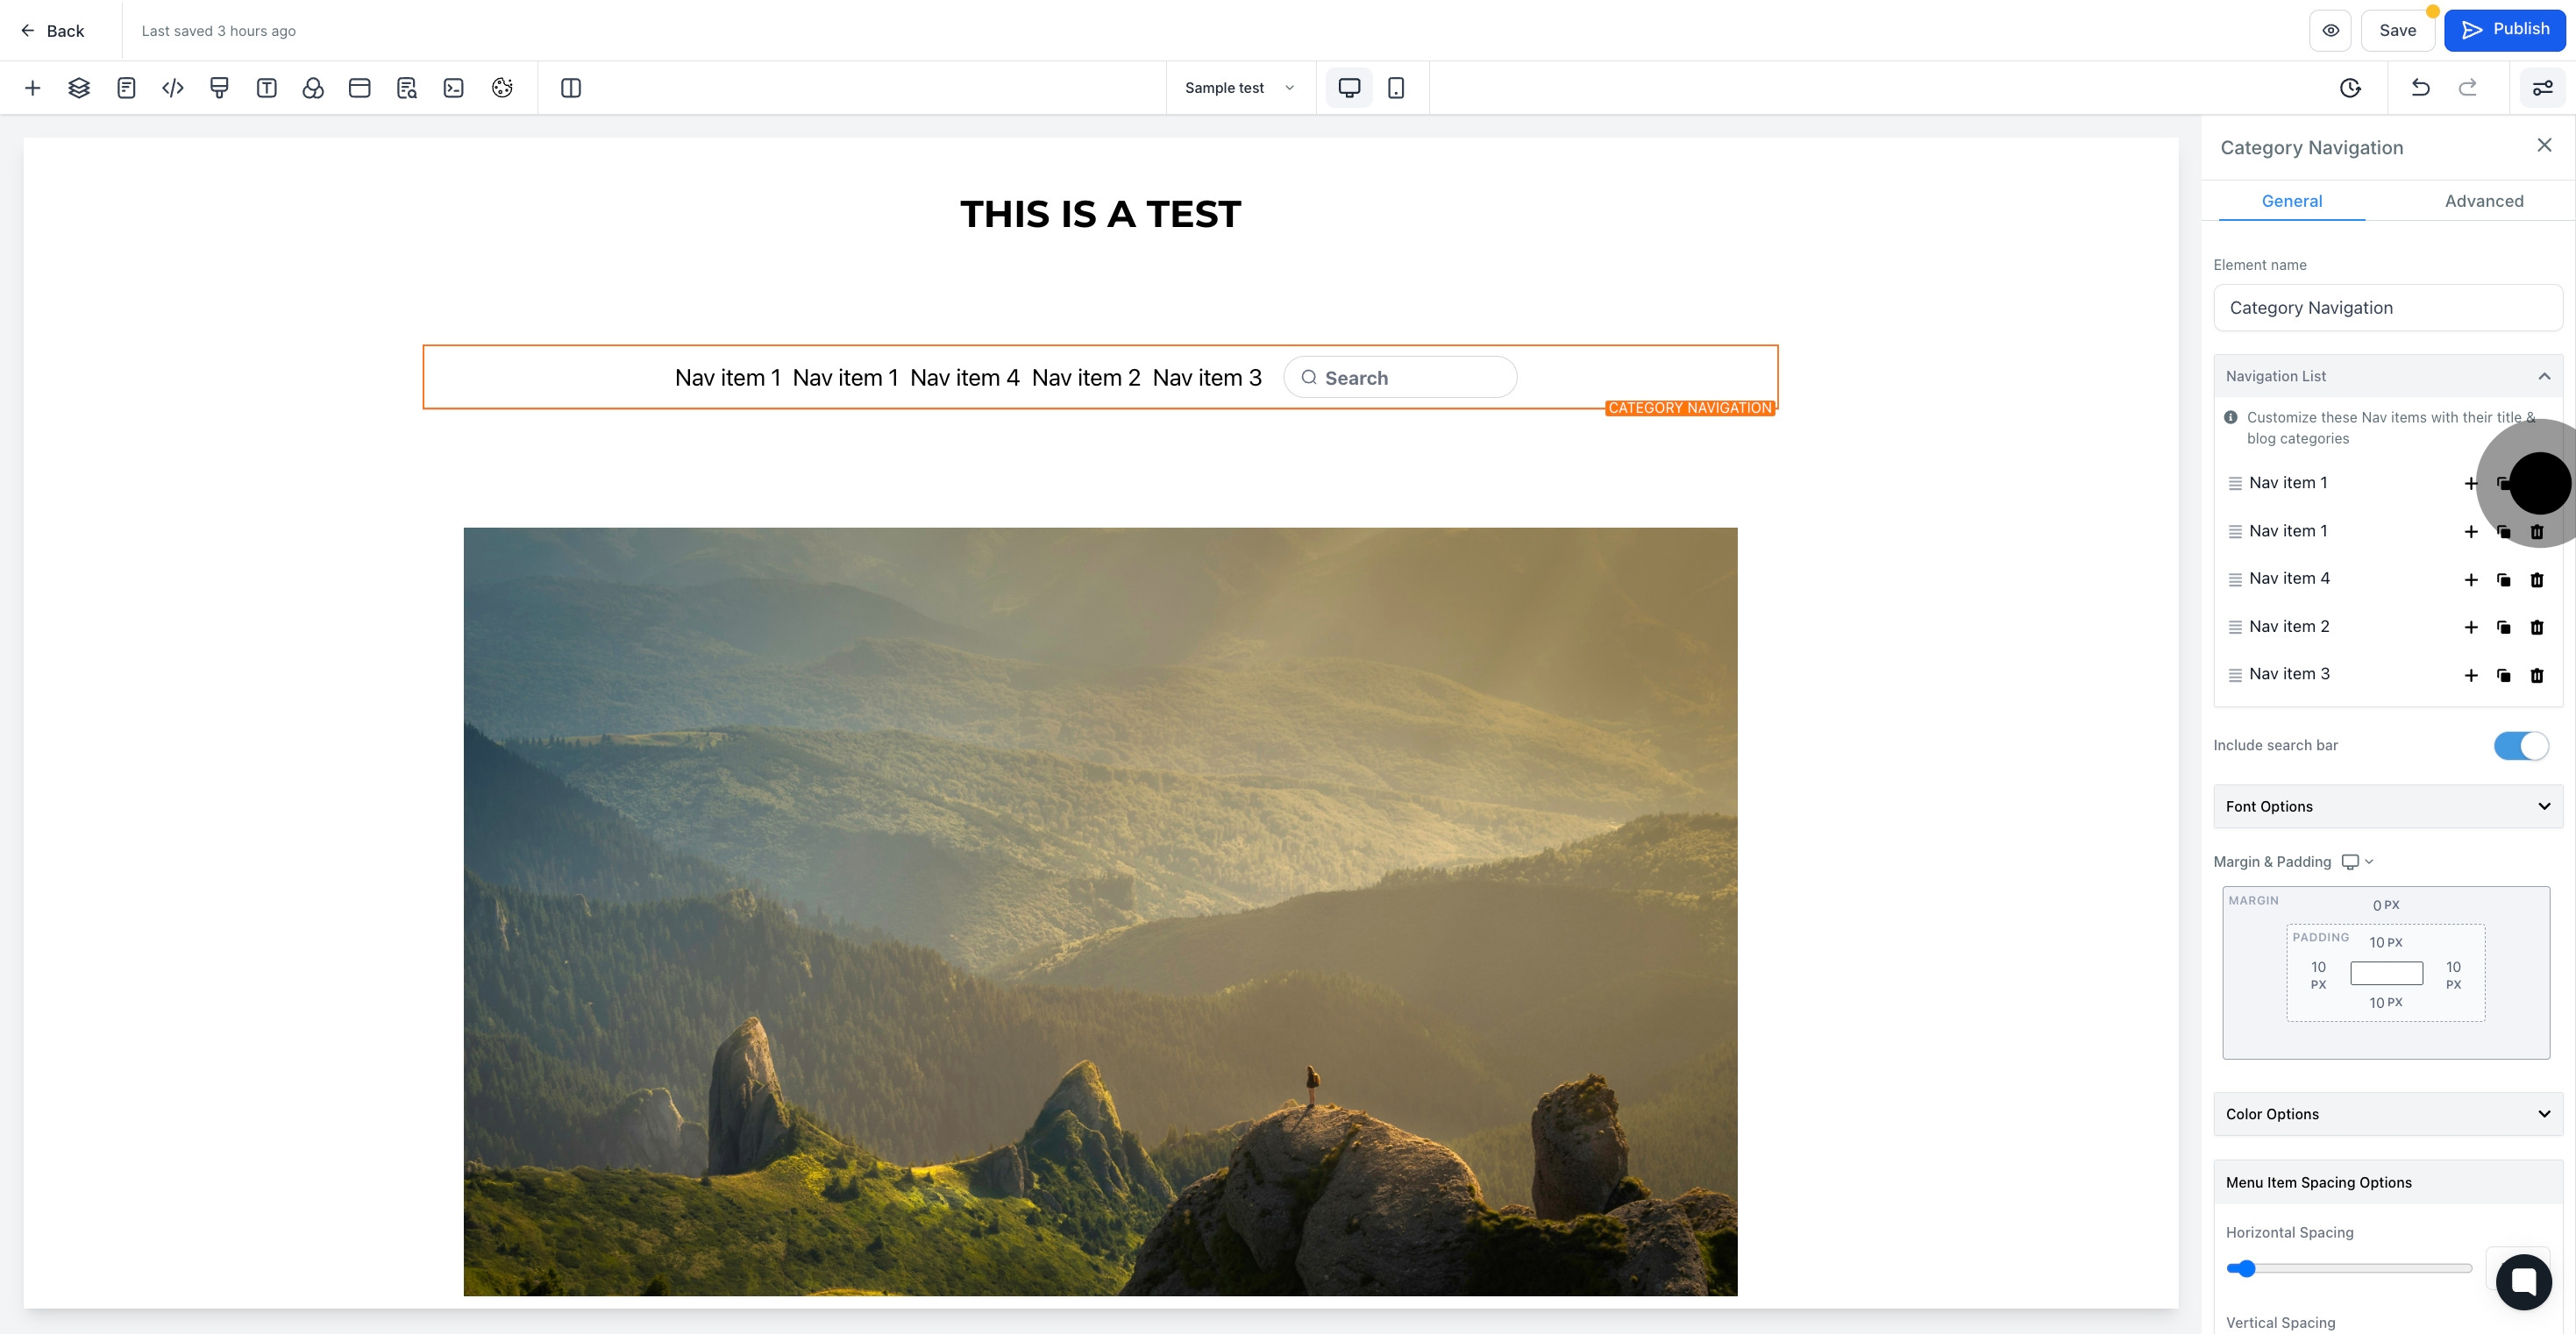
8. Click here to add more nav item

8 Click here.

9. click here if you want to duplicate nav item

9 Afterwards, click here.

10. Click here to delete nav item

10 Click here.

11. click here to include search bar

11 Click on the element.

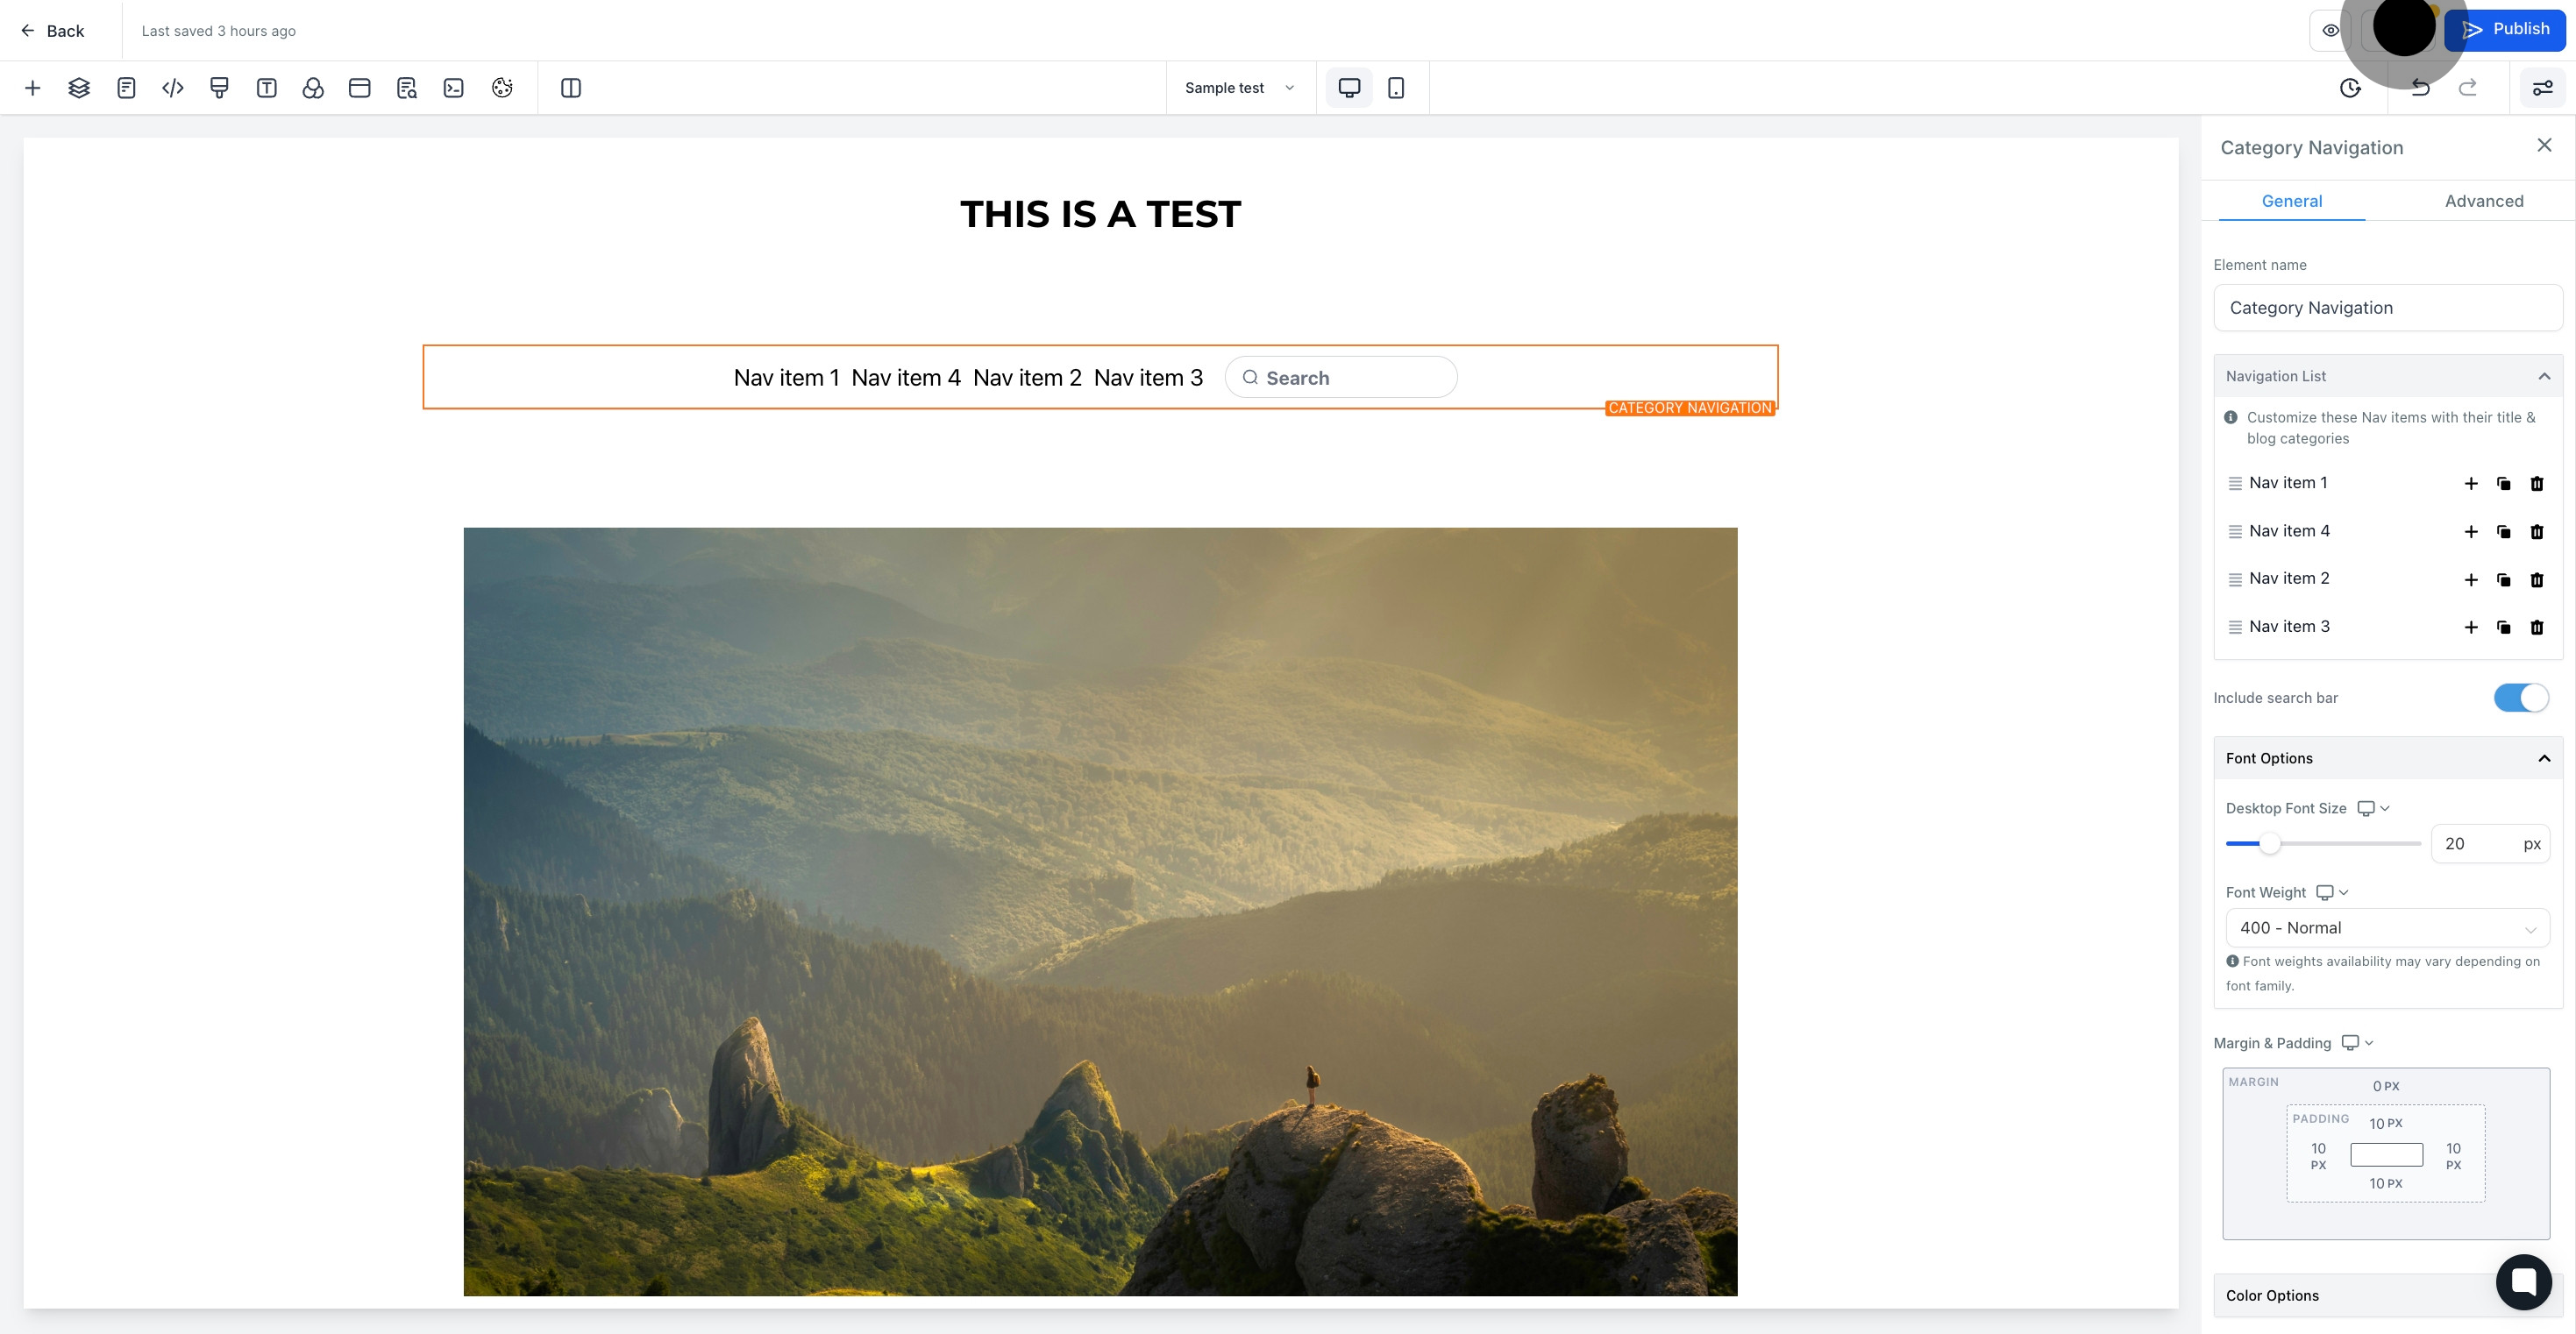
12. this section where you can customize font
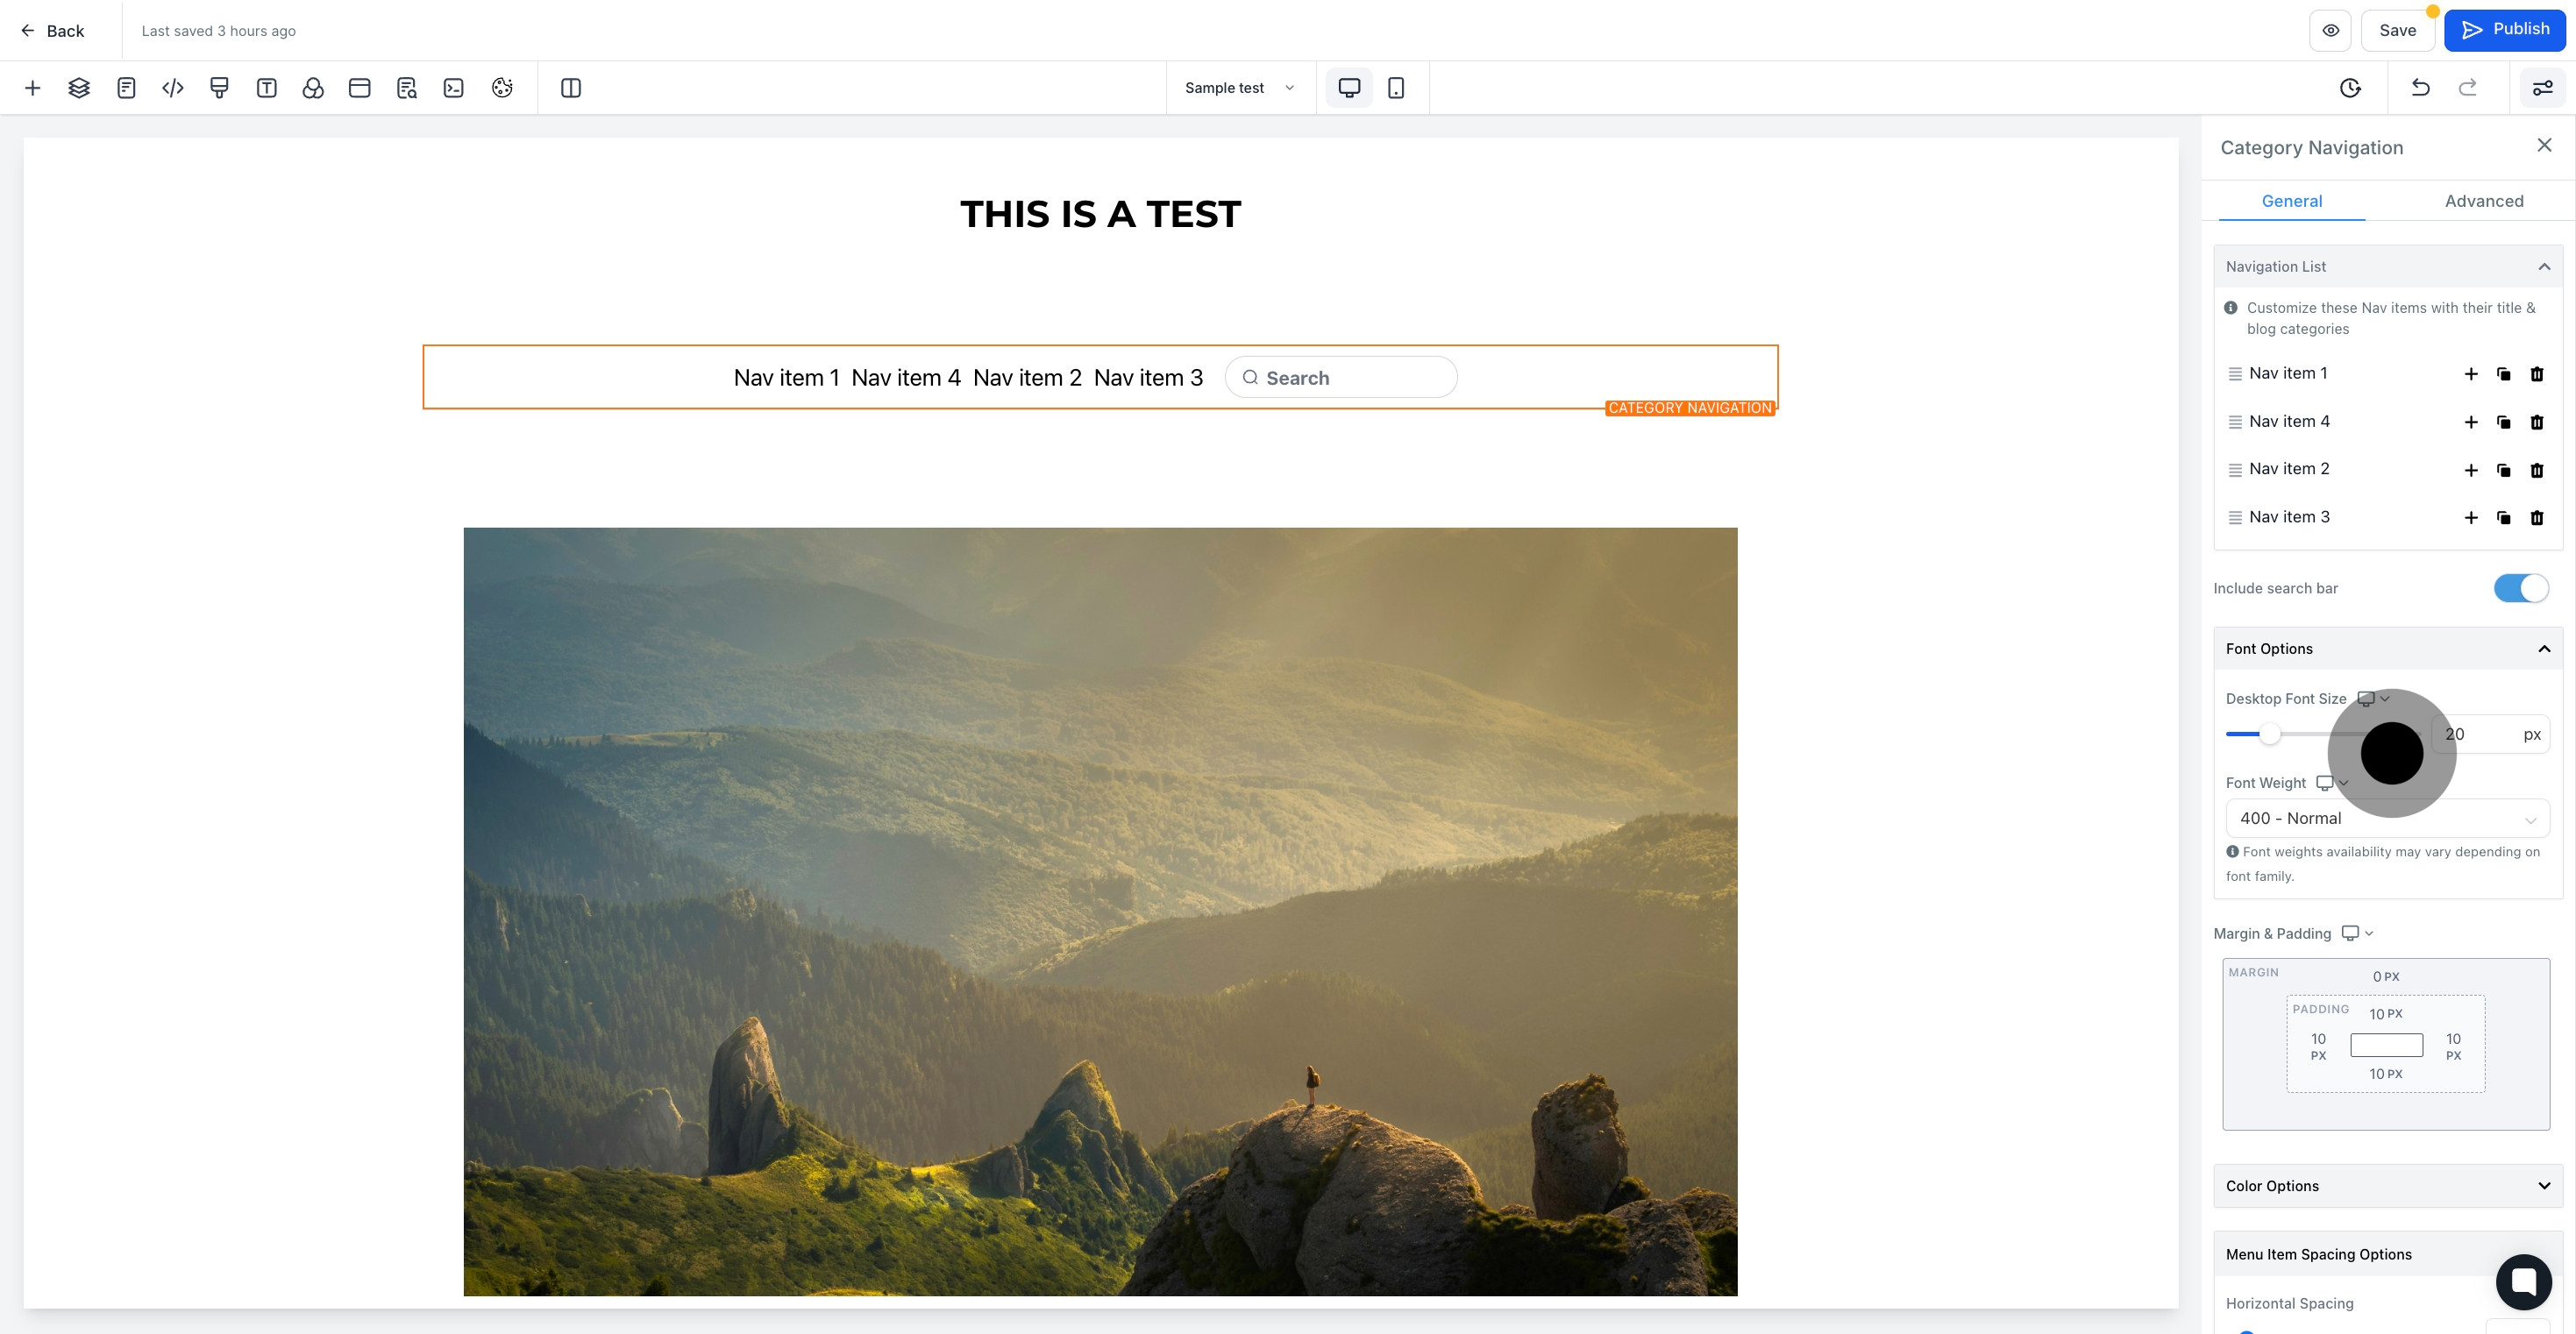
12 Click on "Font Options".

13. this section where you can customize color options
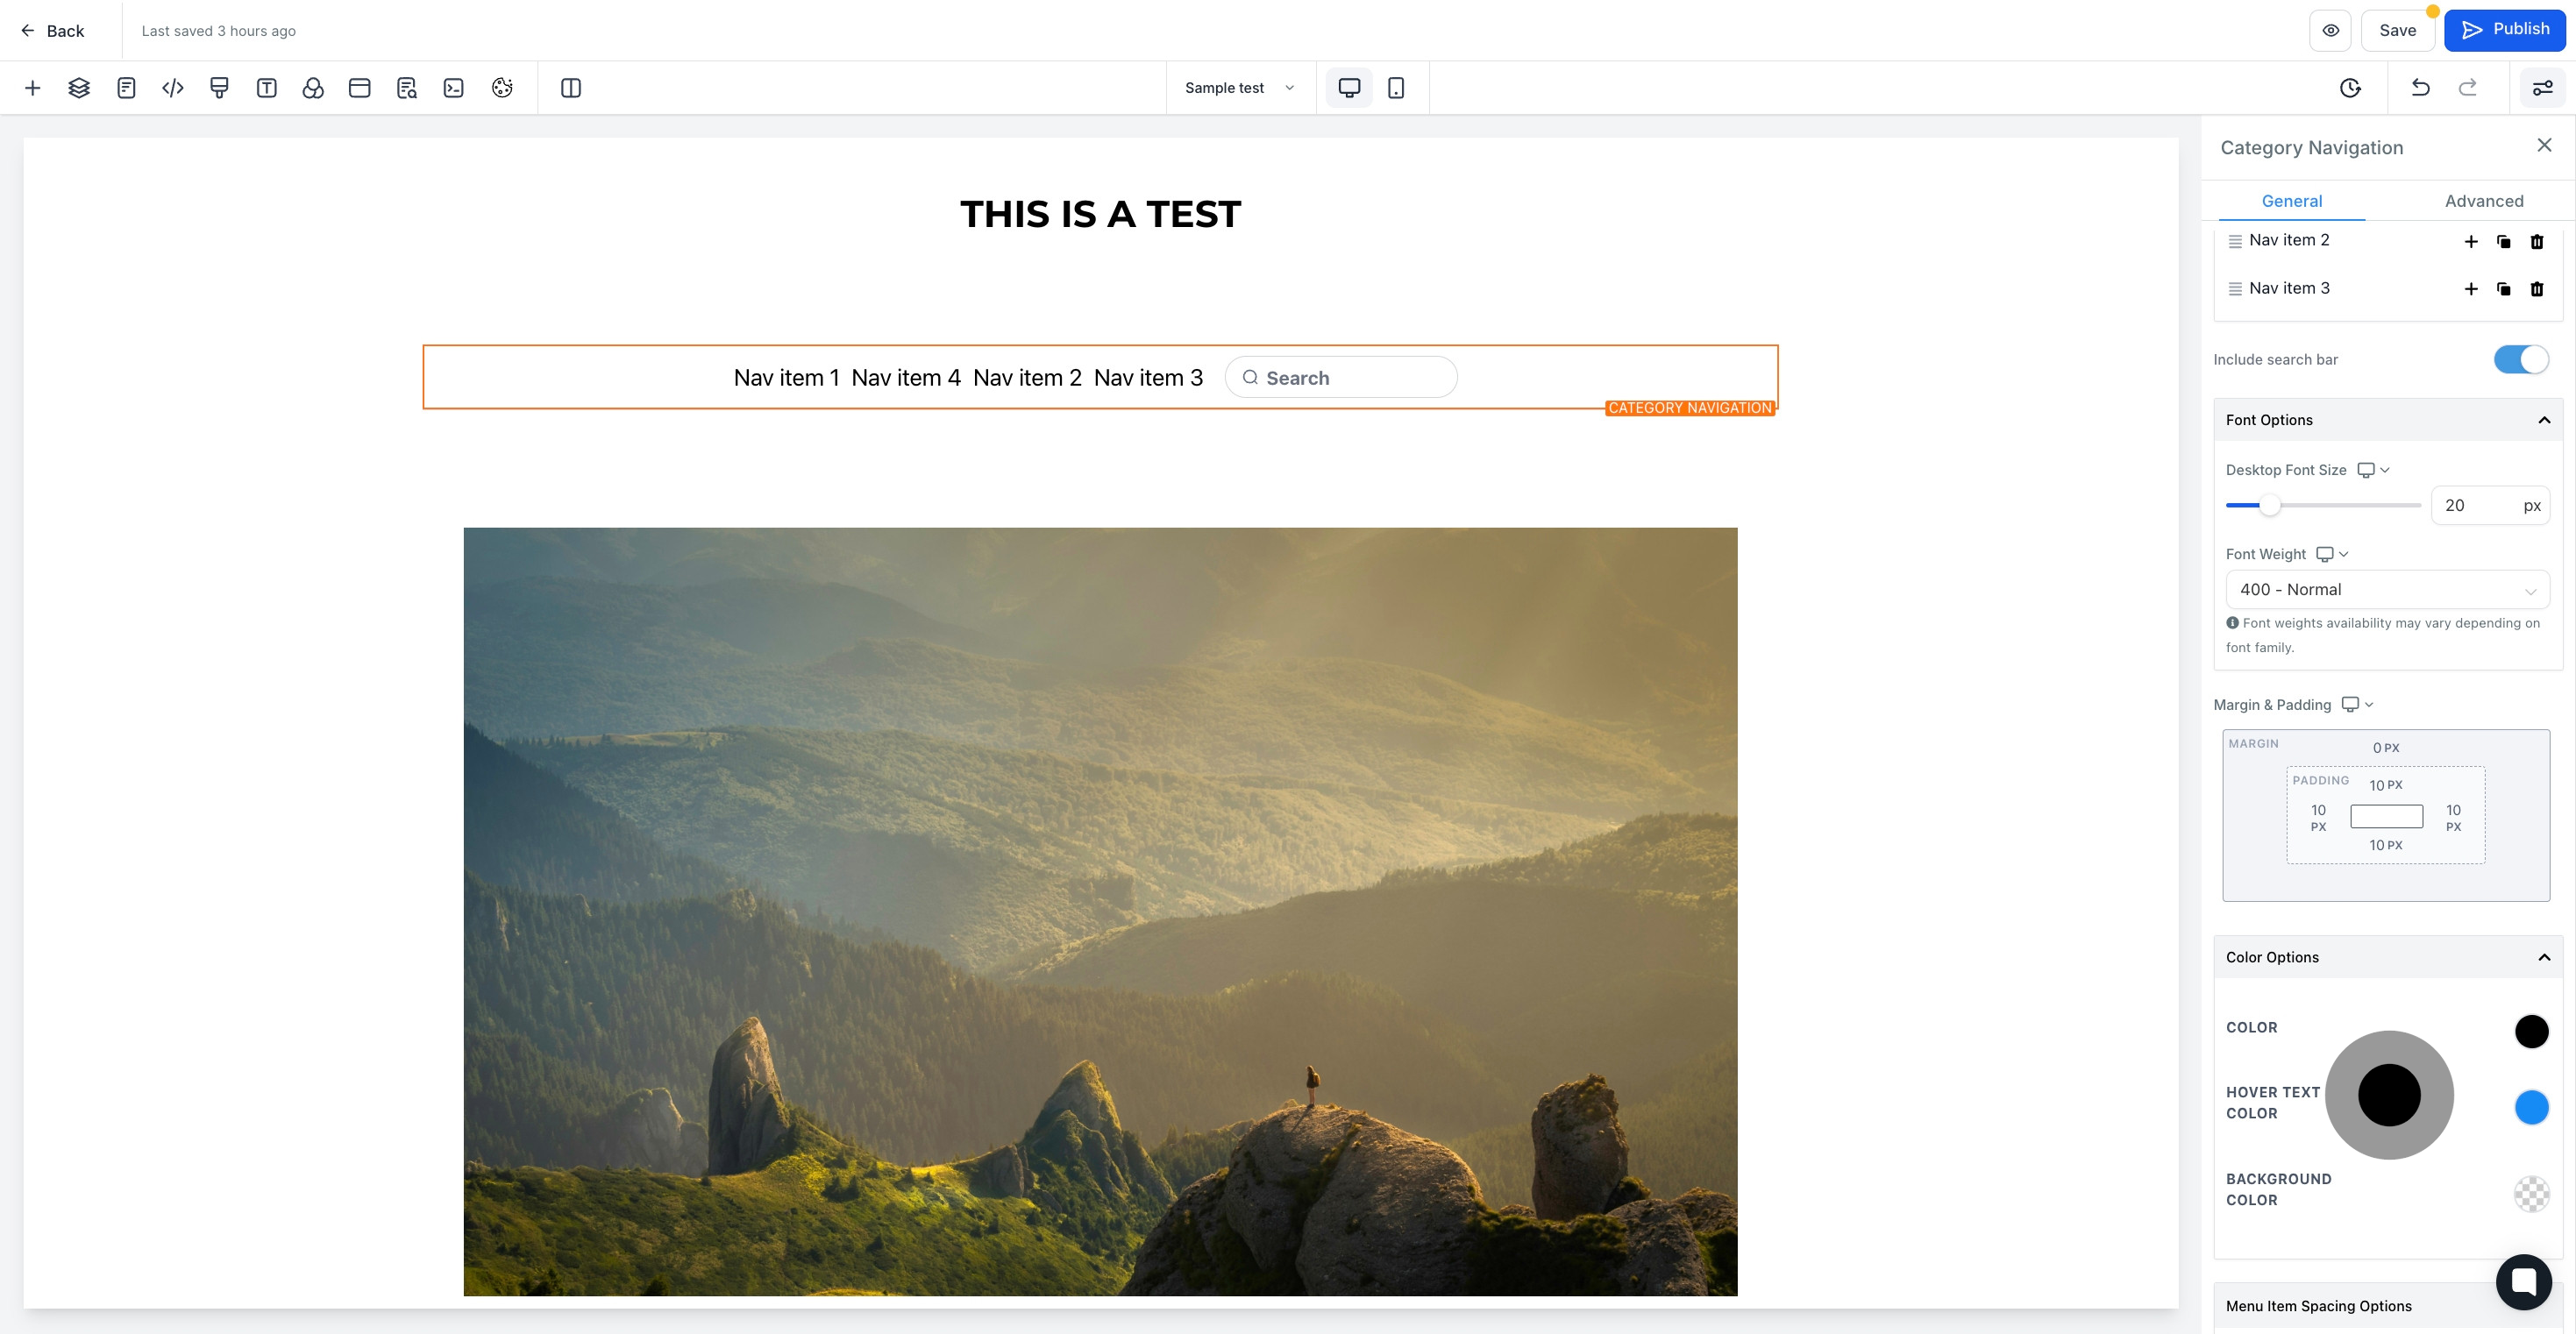
13 Click on "Color".

14. this section where you can adjust menu item spacing
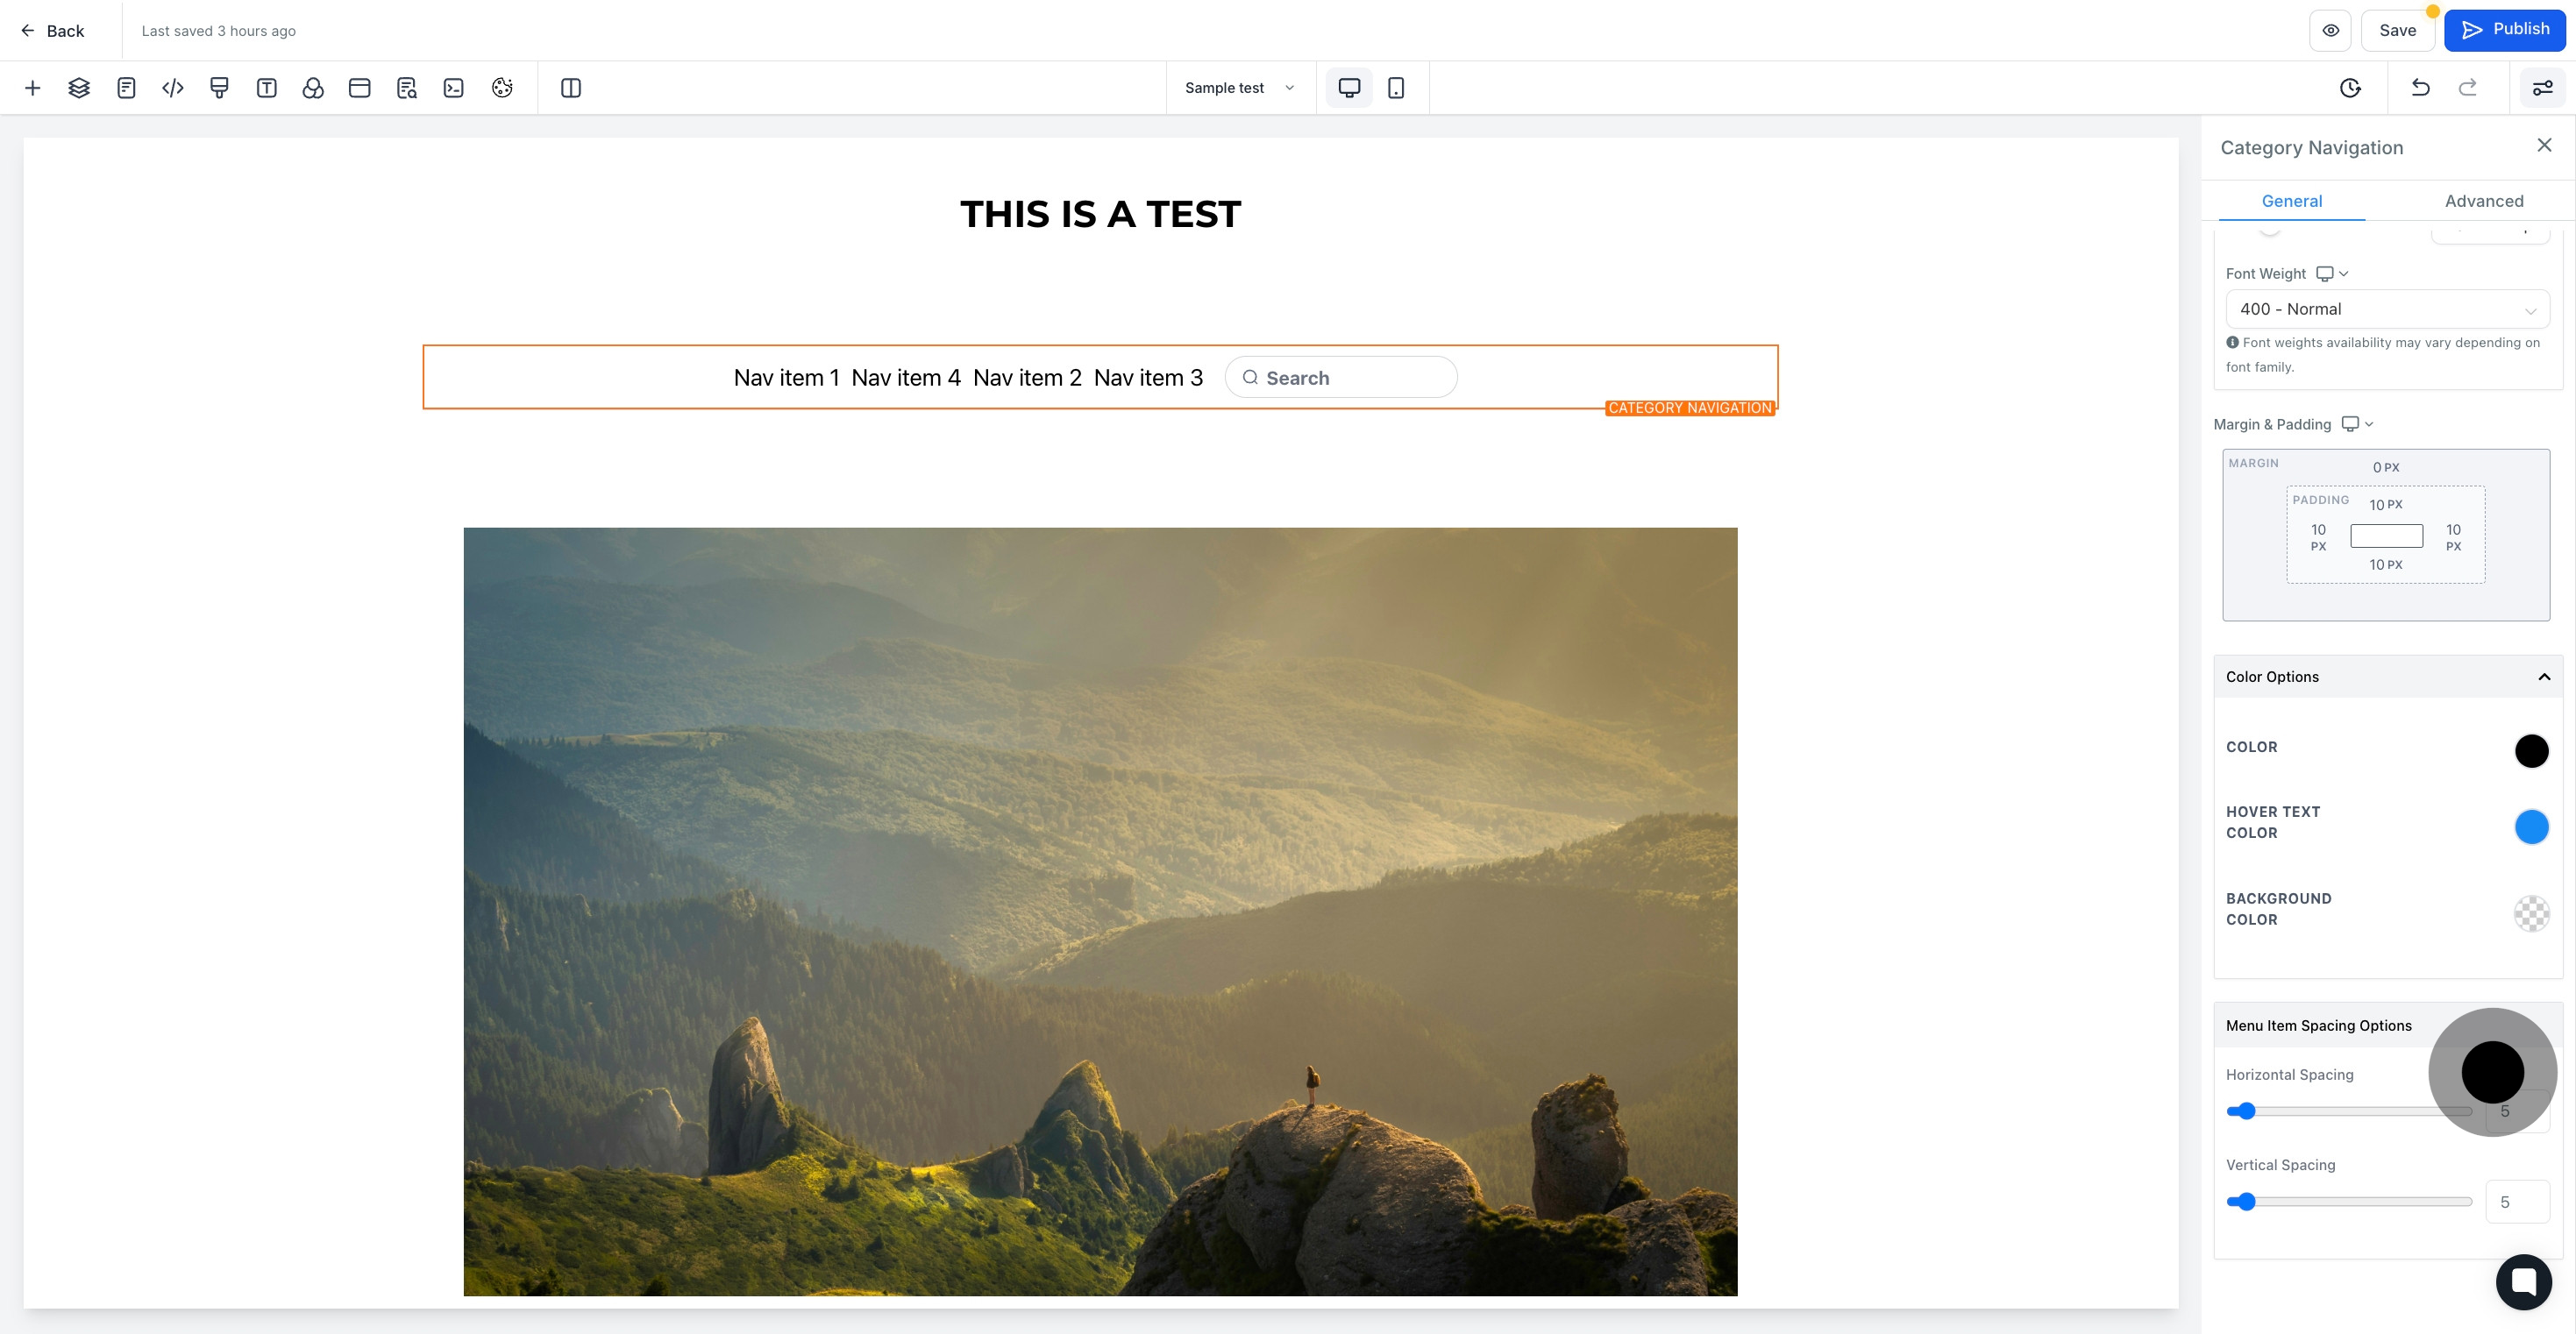
14 Click on "Horizontal Spacing".

15. Then, click on "Save".

15 Then, click on "Save".

Did this answer your question?
😞
😐
😁