Adding Navigation Menus in LeadDec's Website Builder

Enhance your website's usability by incorporating navigation menus using LeadDec's Website Builder. This guide provides detailed steps on how to create and customize navigation menus to improve site organization and visitor experience. Learn how to set up intuitive menus that help users find information quickly and easily, boosting engagement and satisfaction with your site's structure and flow


1. First, click 'sites'

1 Click on the element.

2. Click on "Websites".

2 Click on "Websites".

3. Select website name from the list
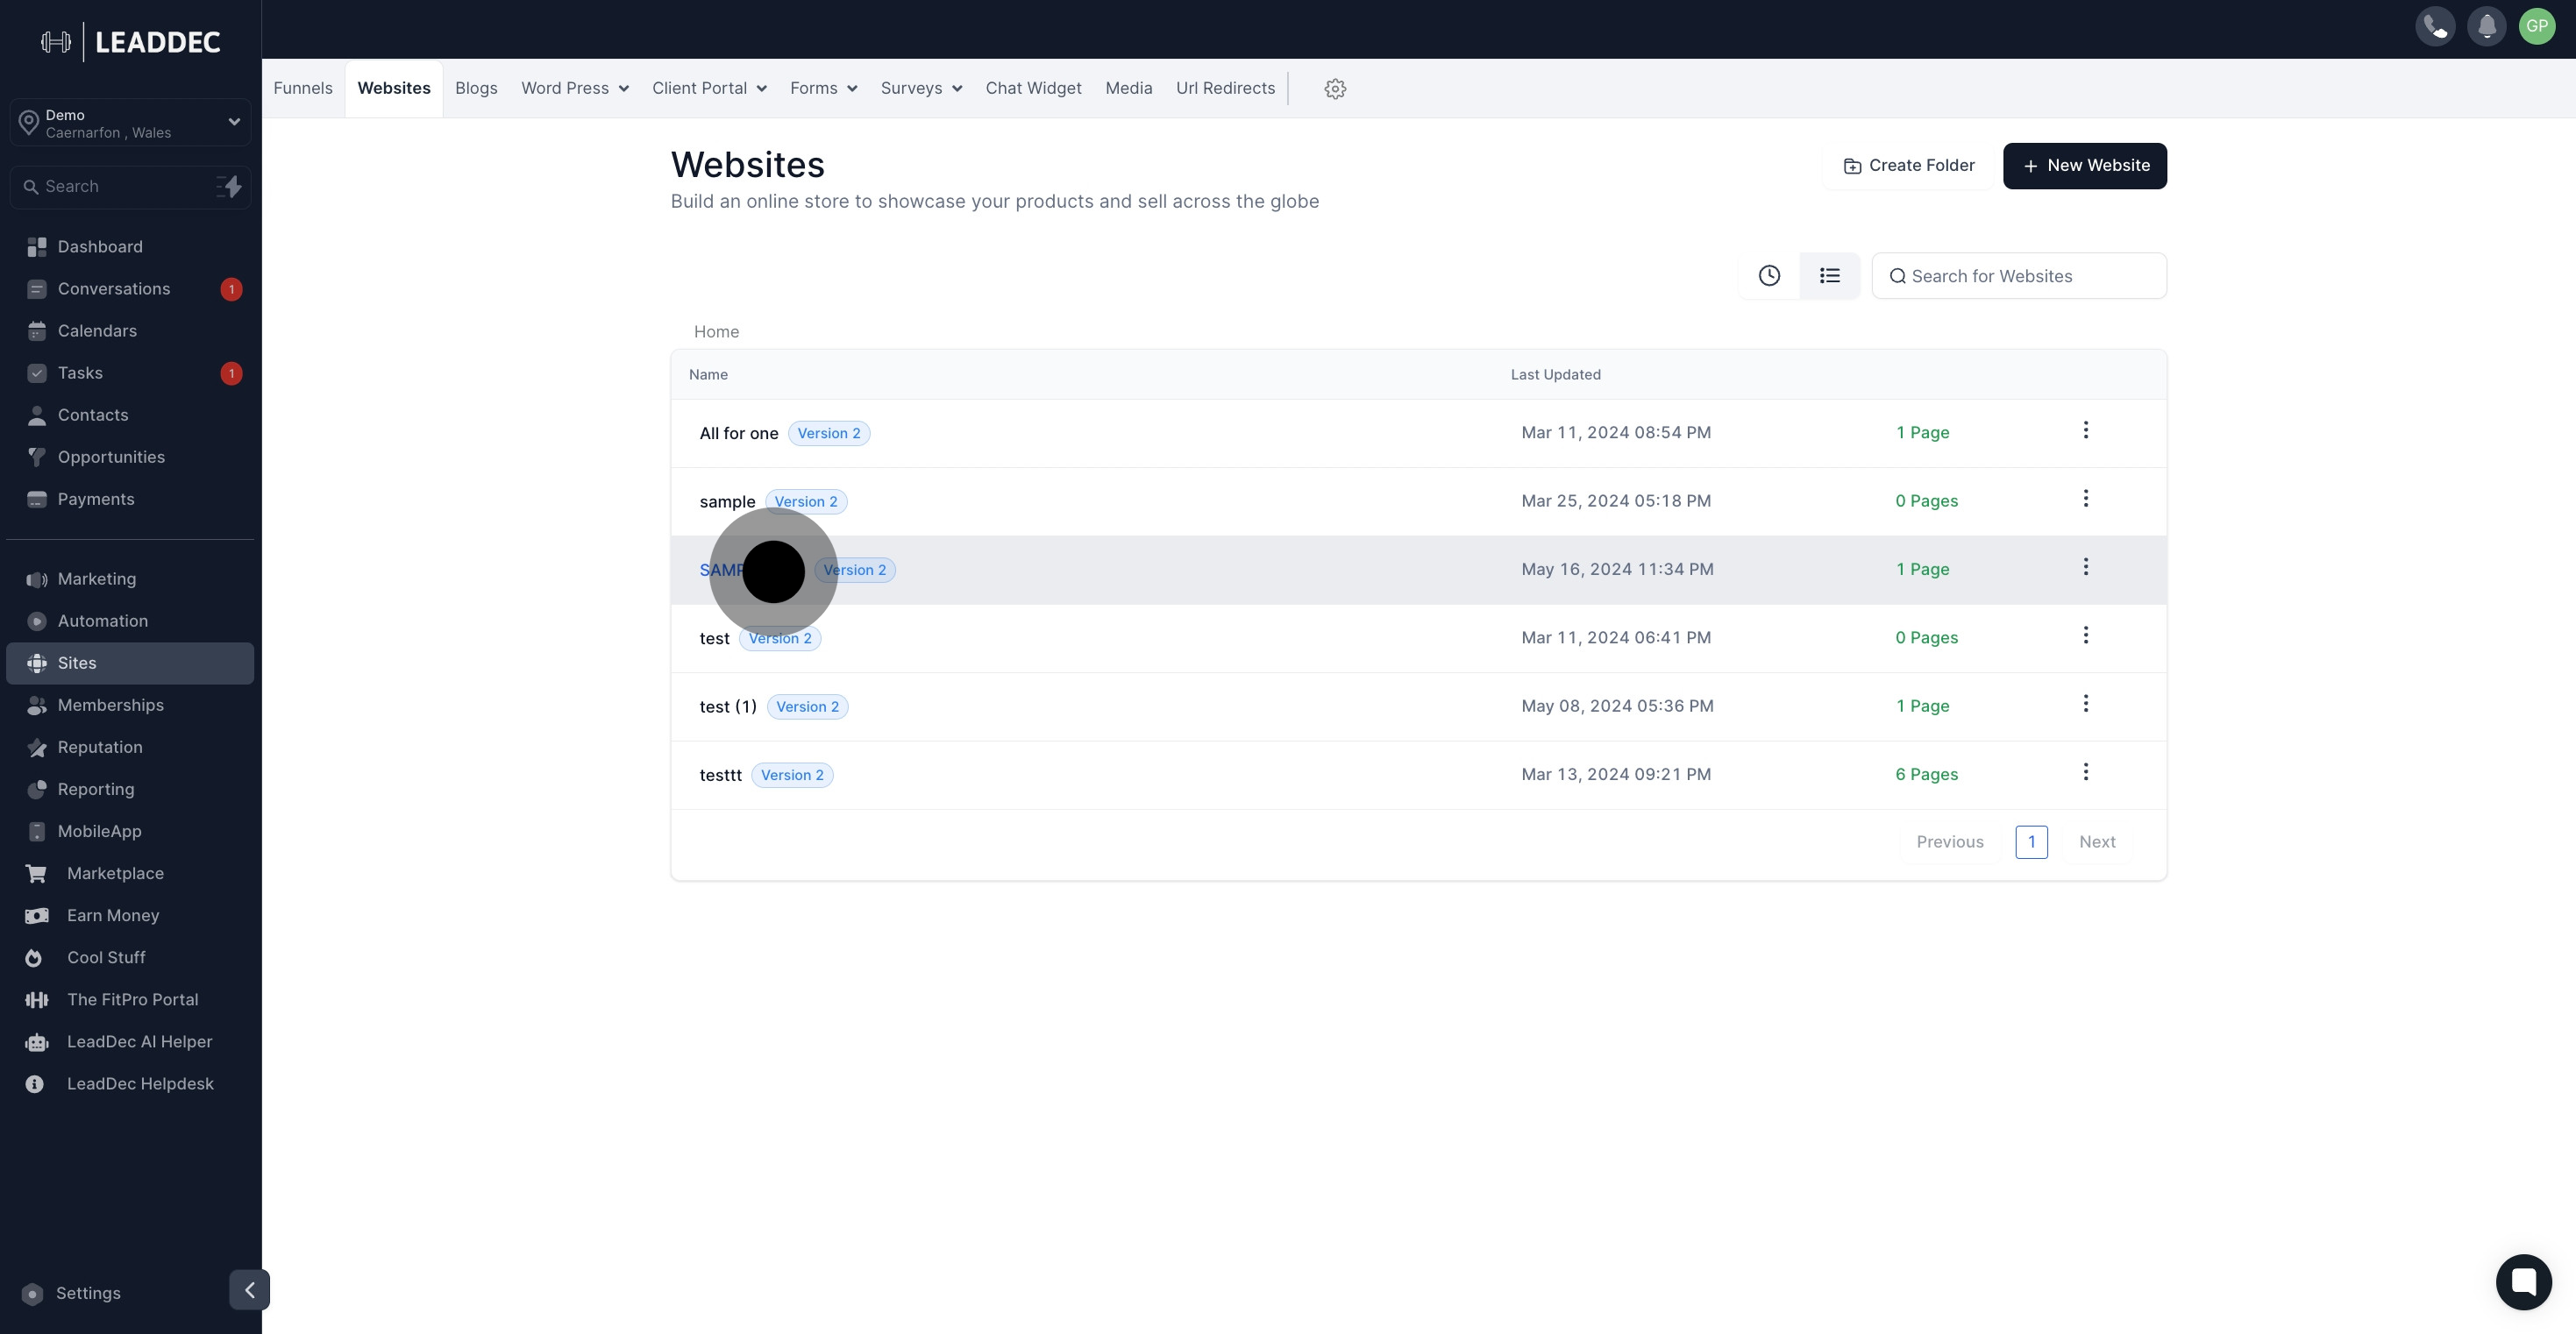
3 Click on "SAMPLE ONE".

4. Click on "Edit".

4 Click on "Edit".

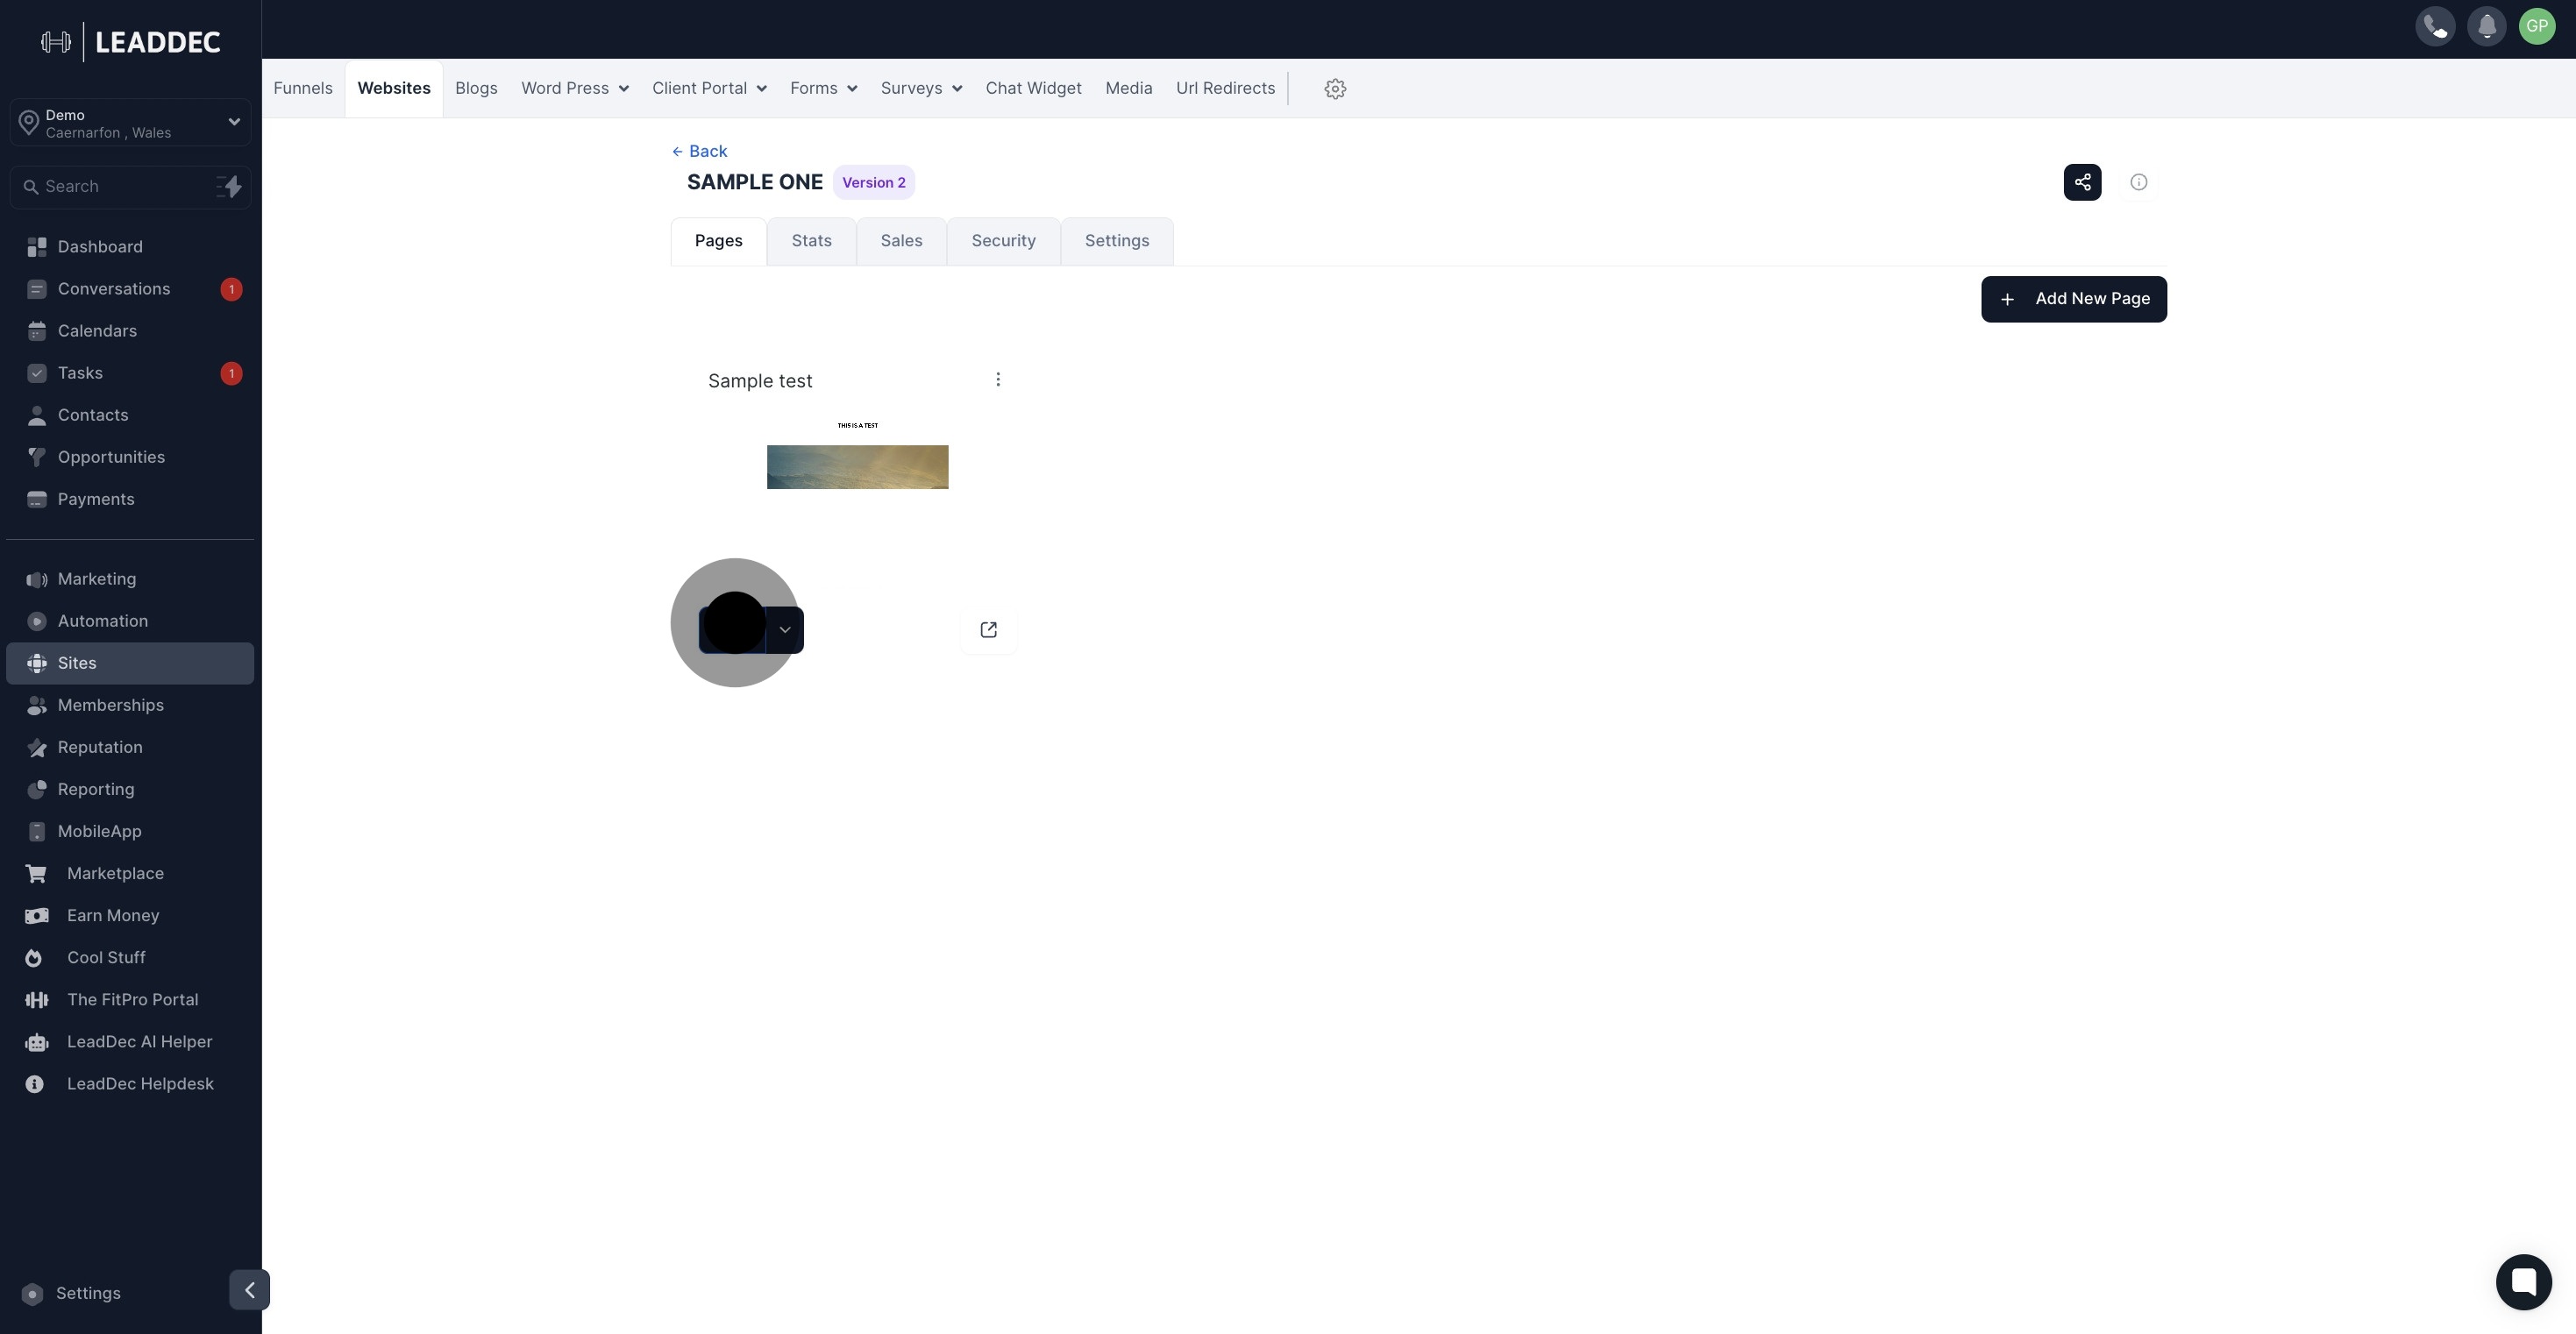
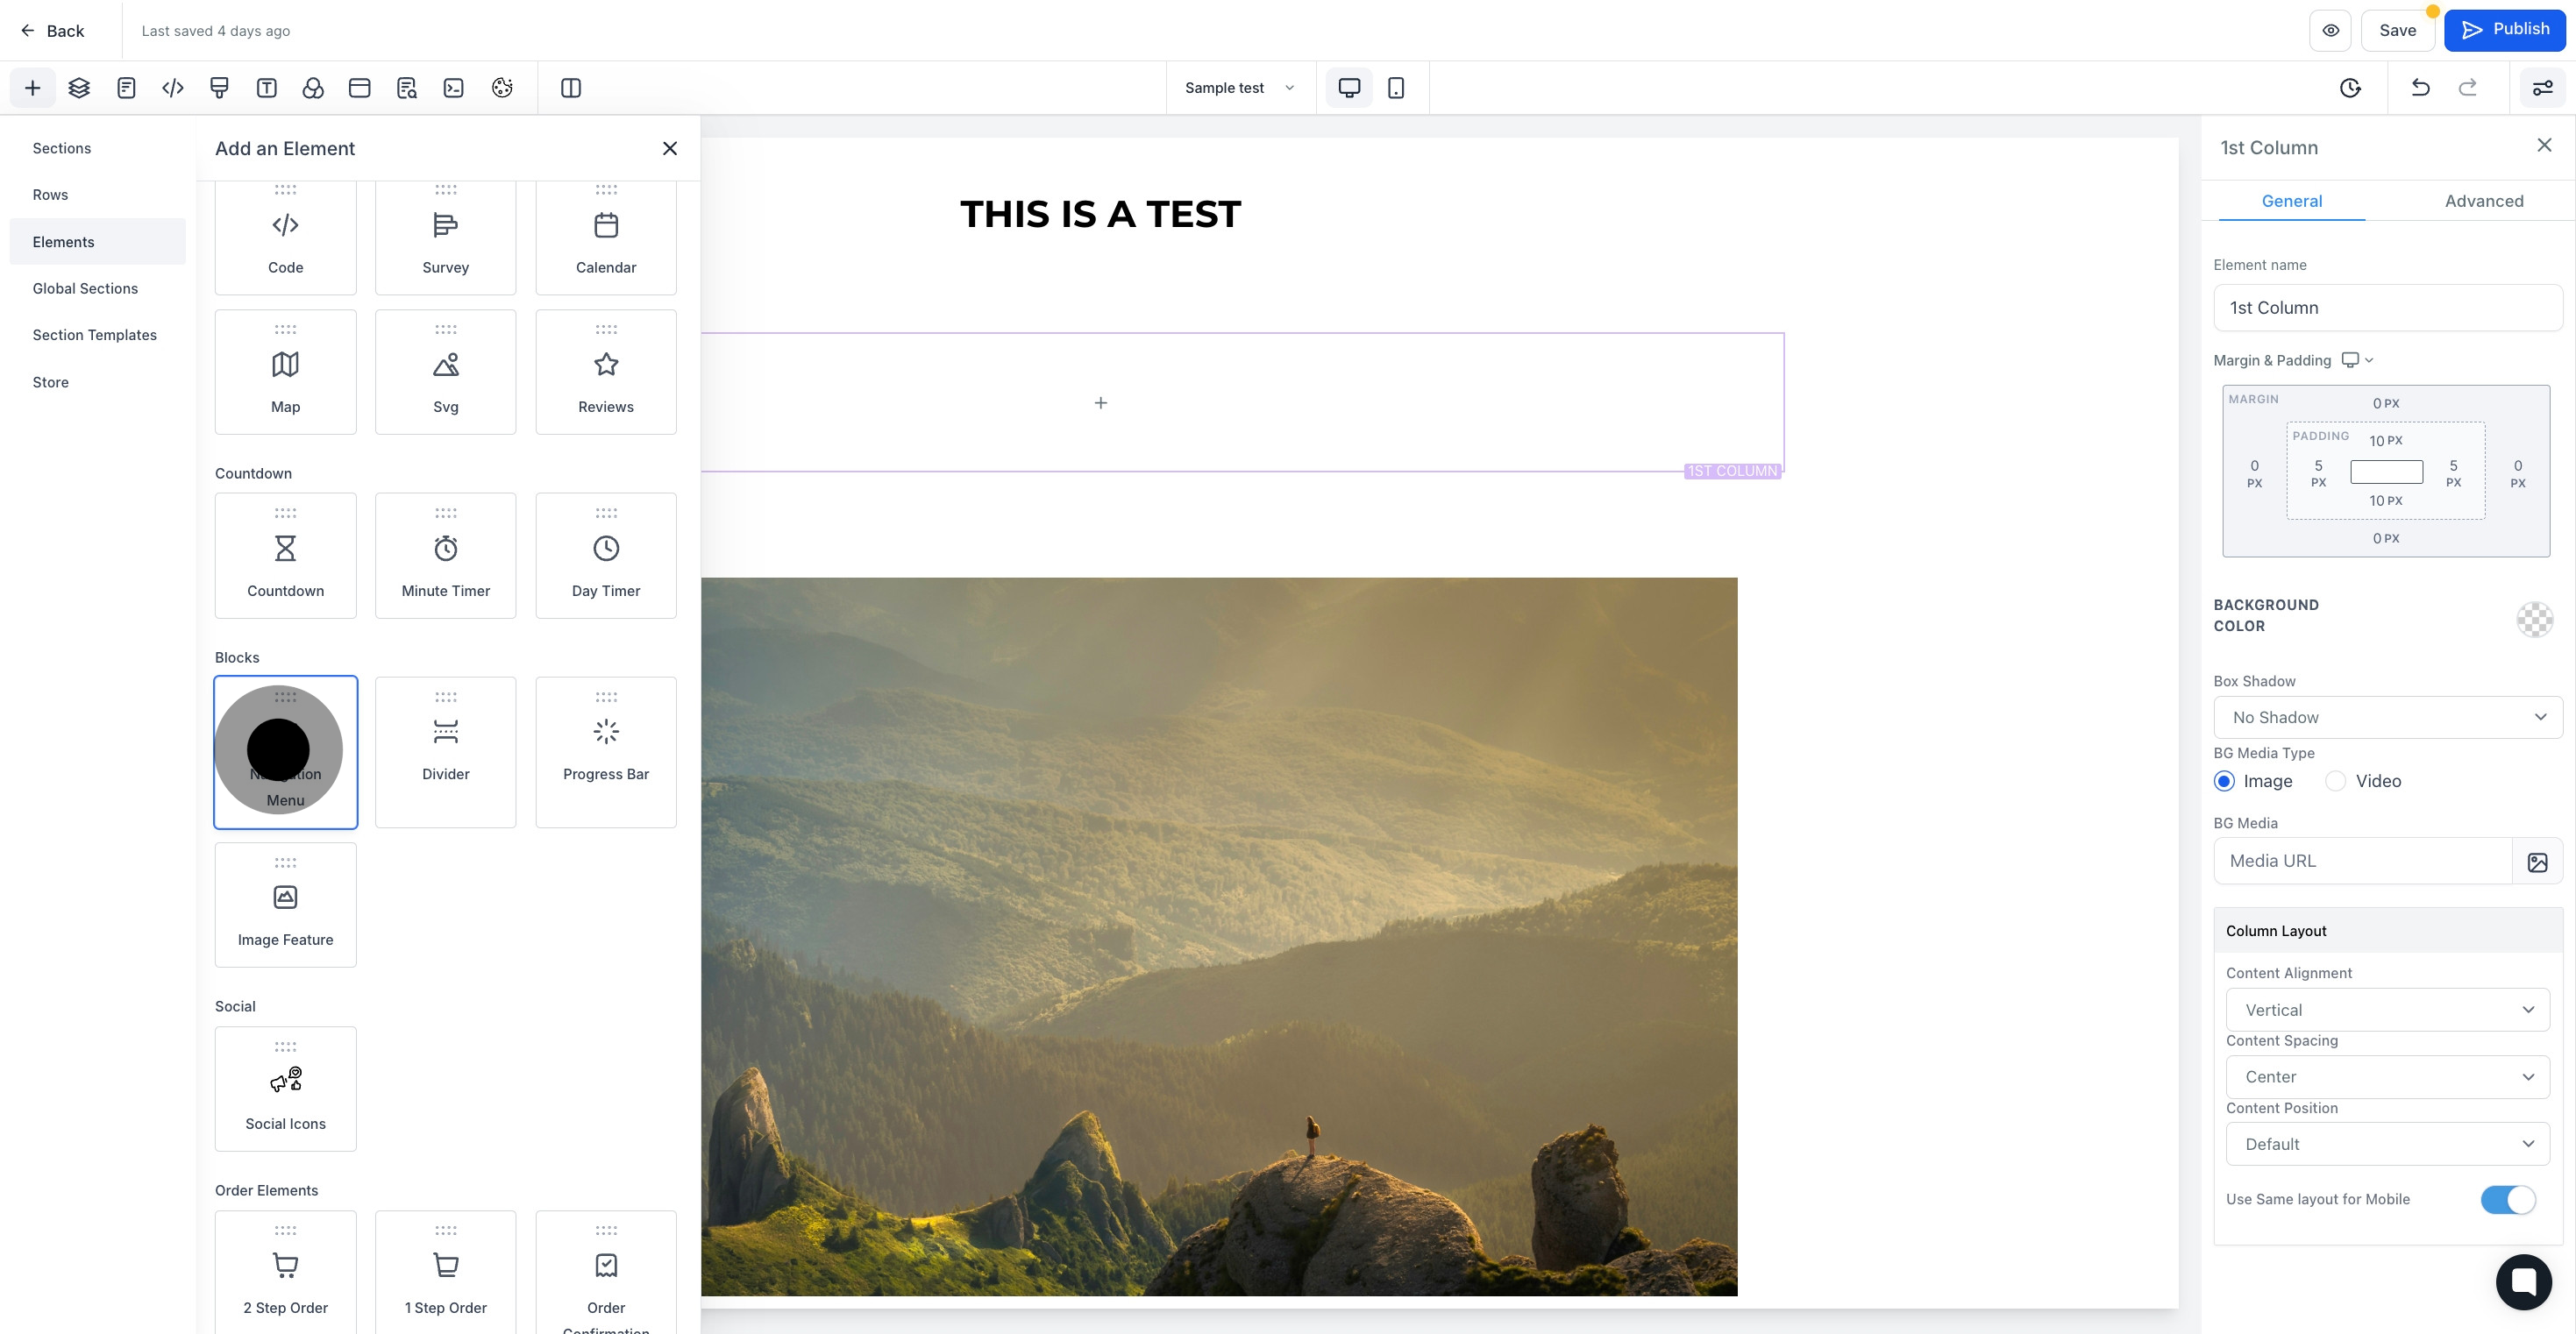
5. Click on "Add Element".

5 Click on "Add Element".

6. Select 'Navigation menu'

6 Click on the element.

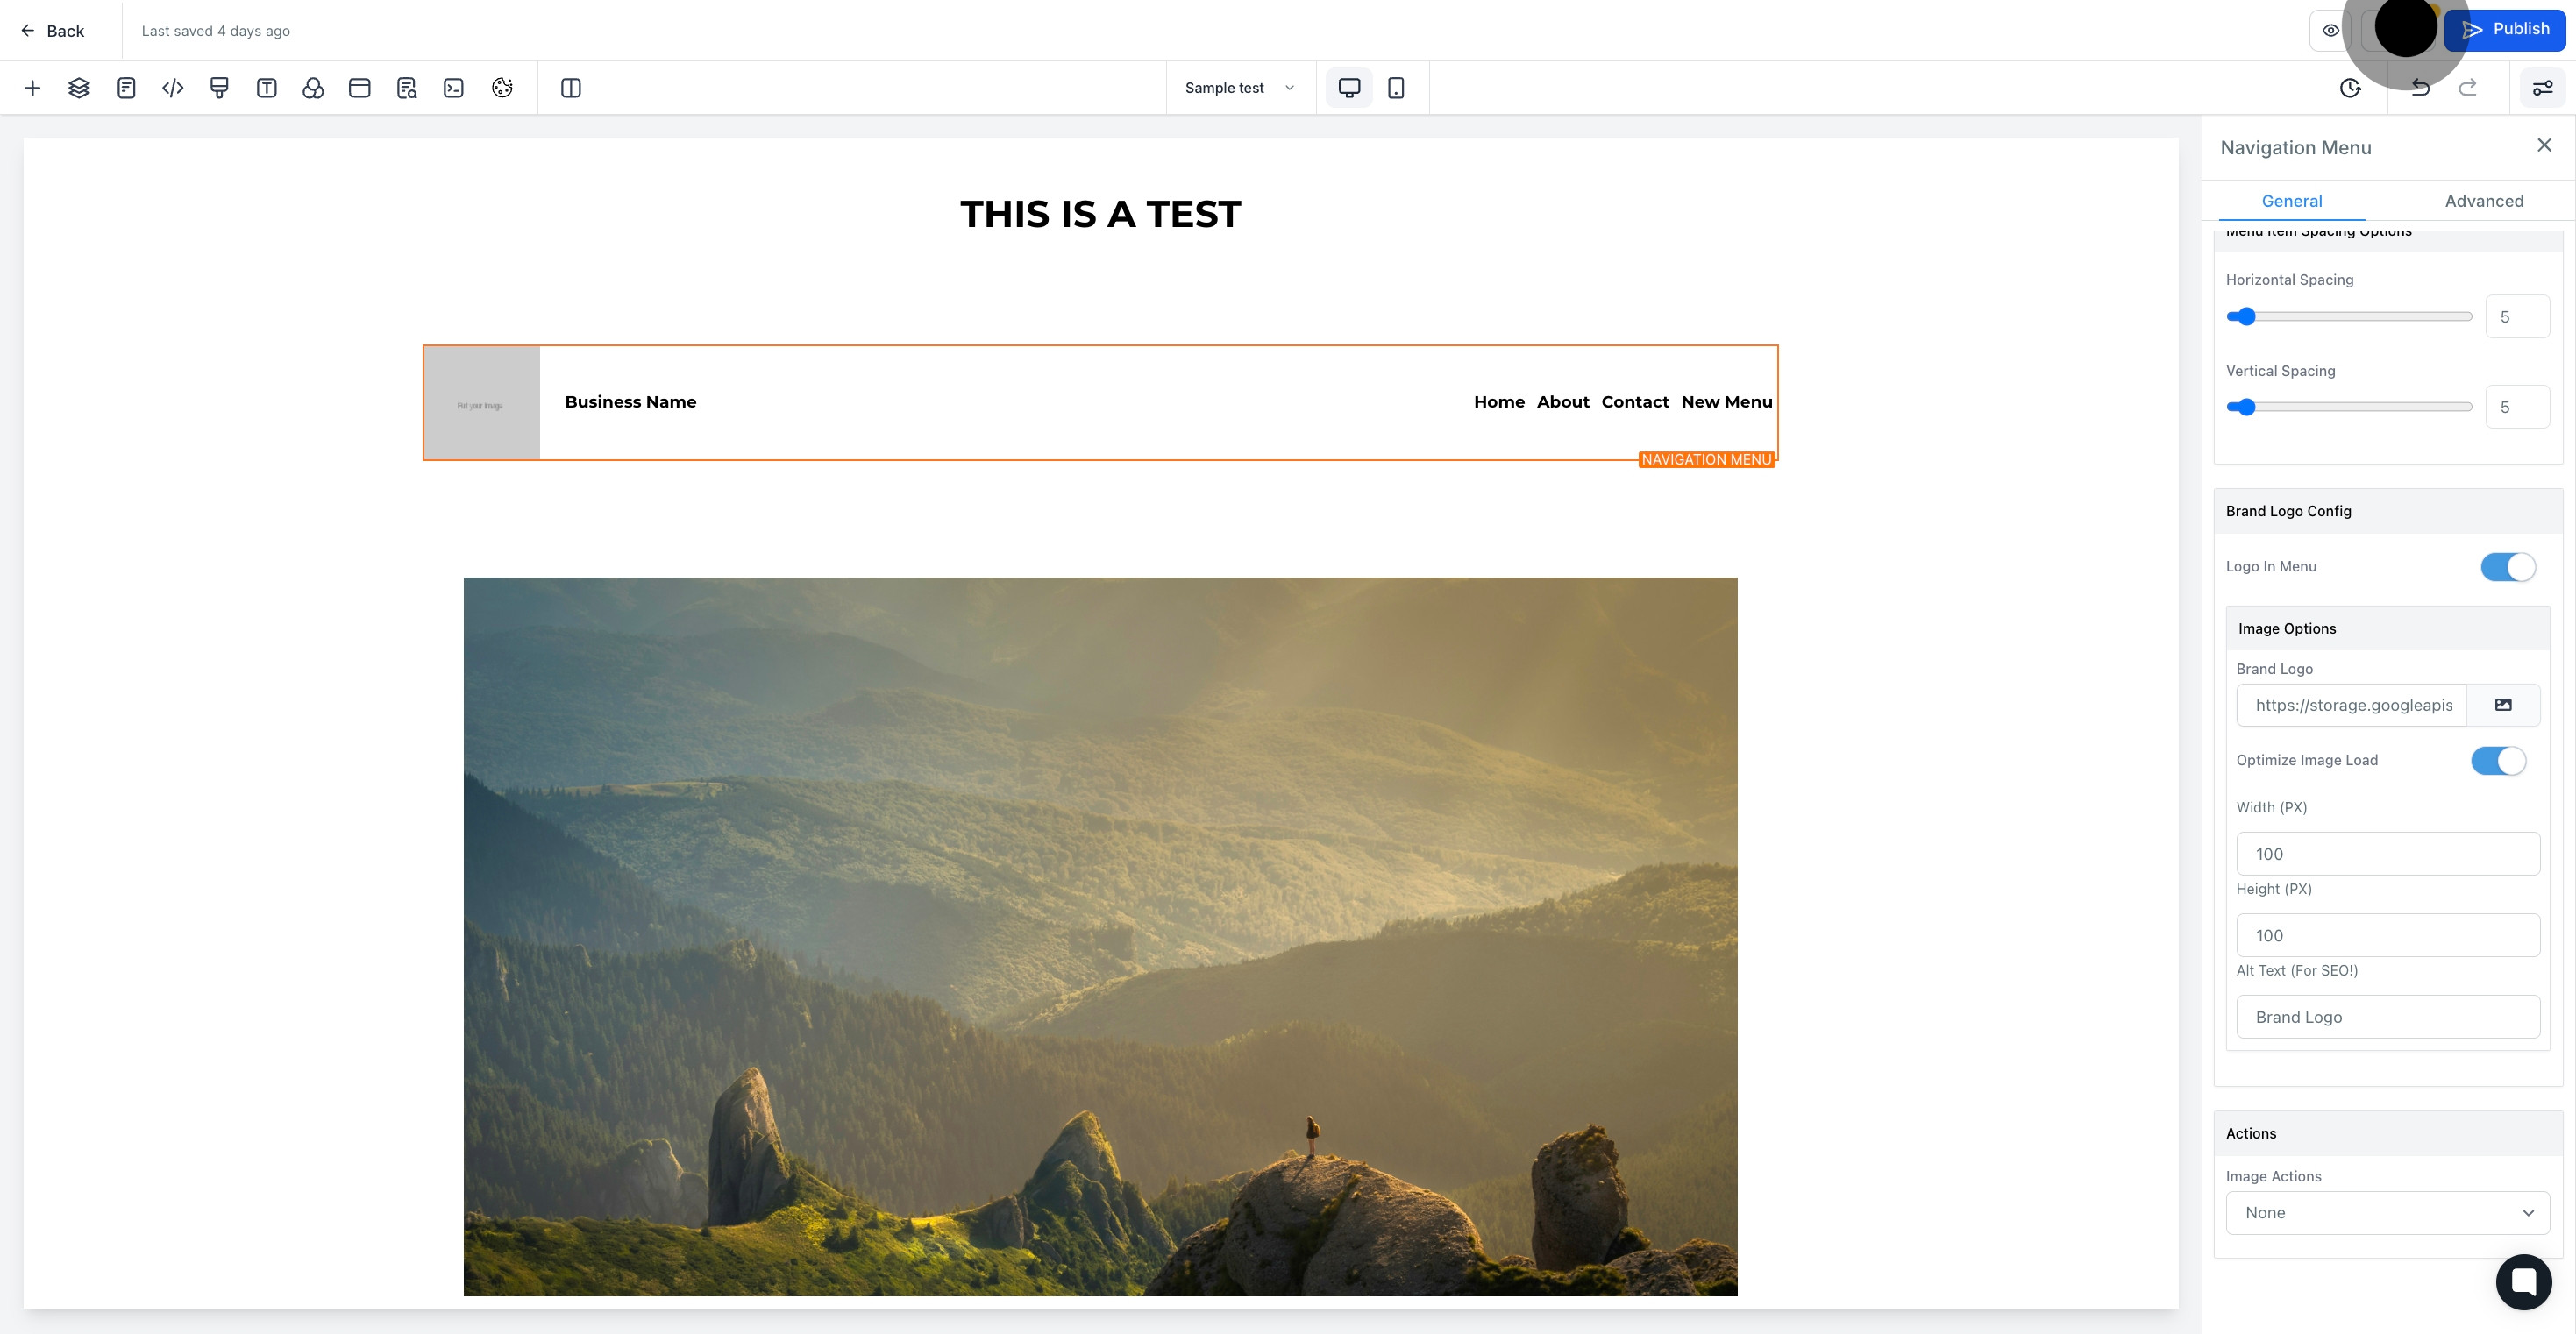
7. Navigation menu is added

7 Click on "Home".

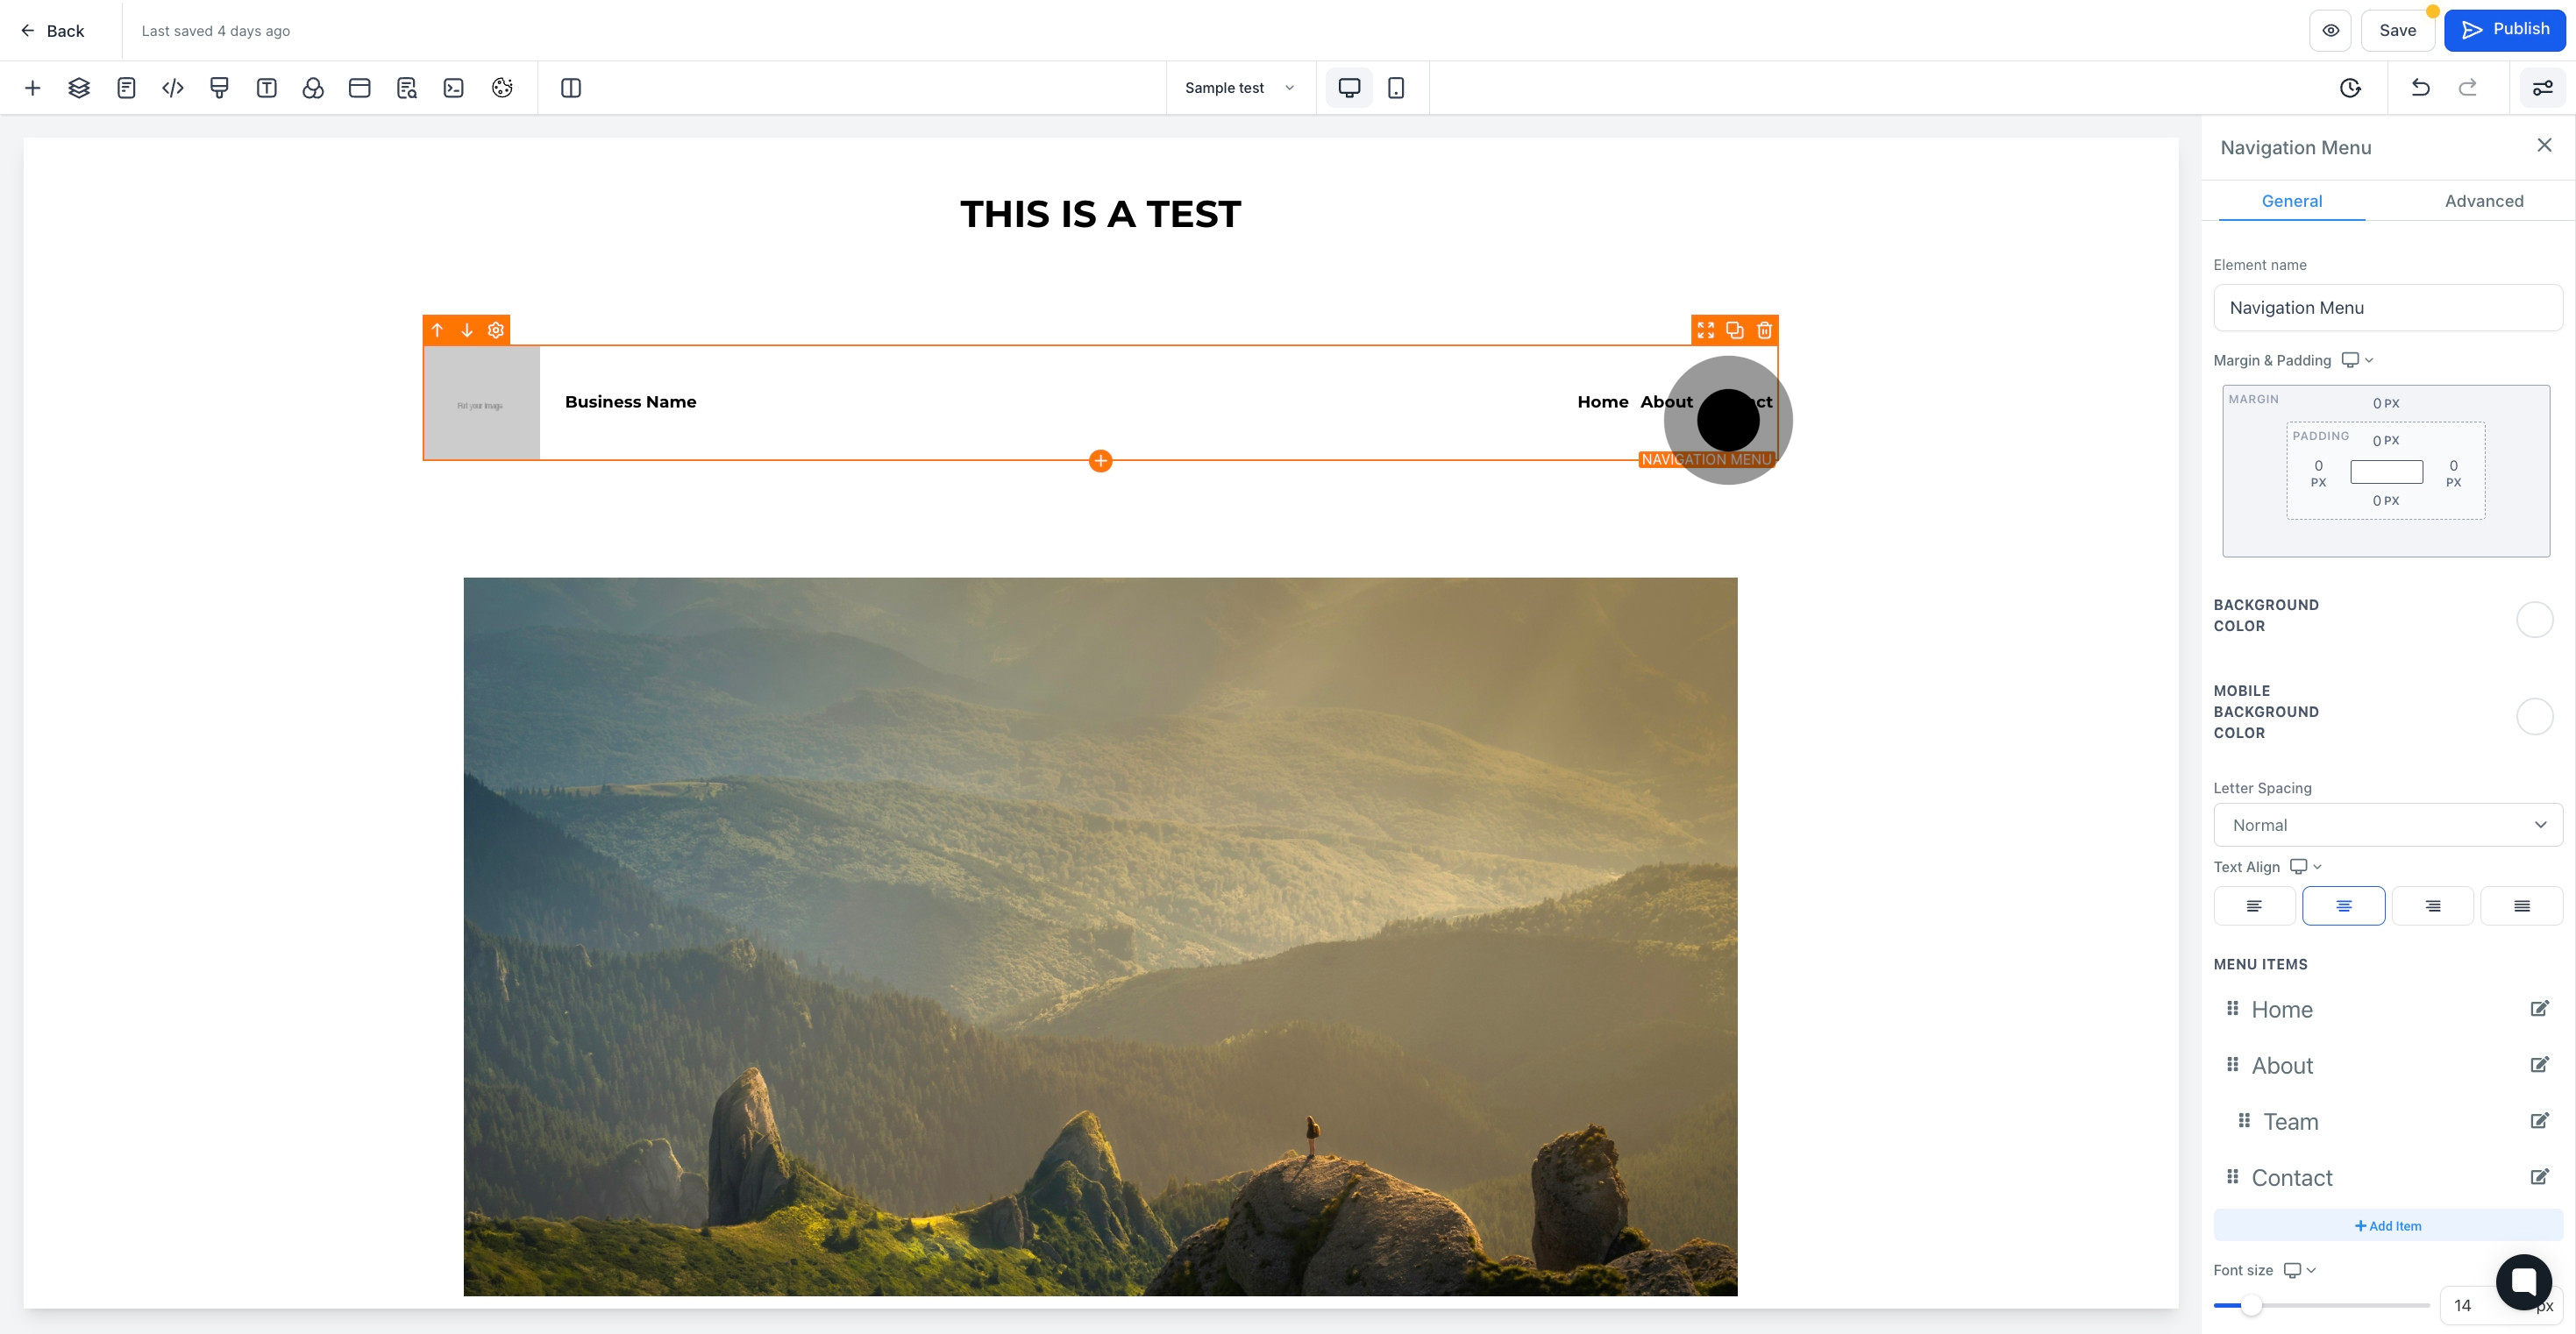
8. Add element name here

8 Then, click here.

9. Click here to update menu items

9 Following that, click on the element.

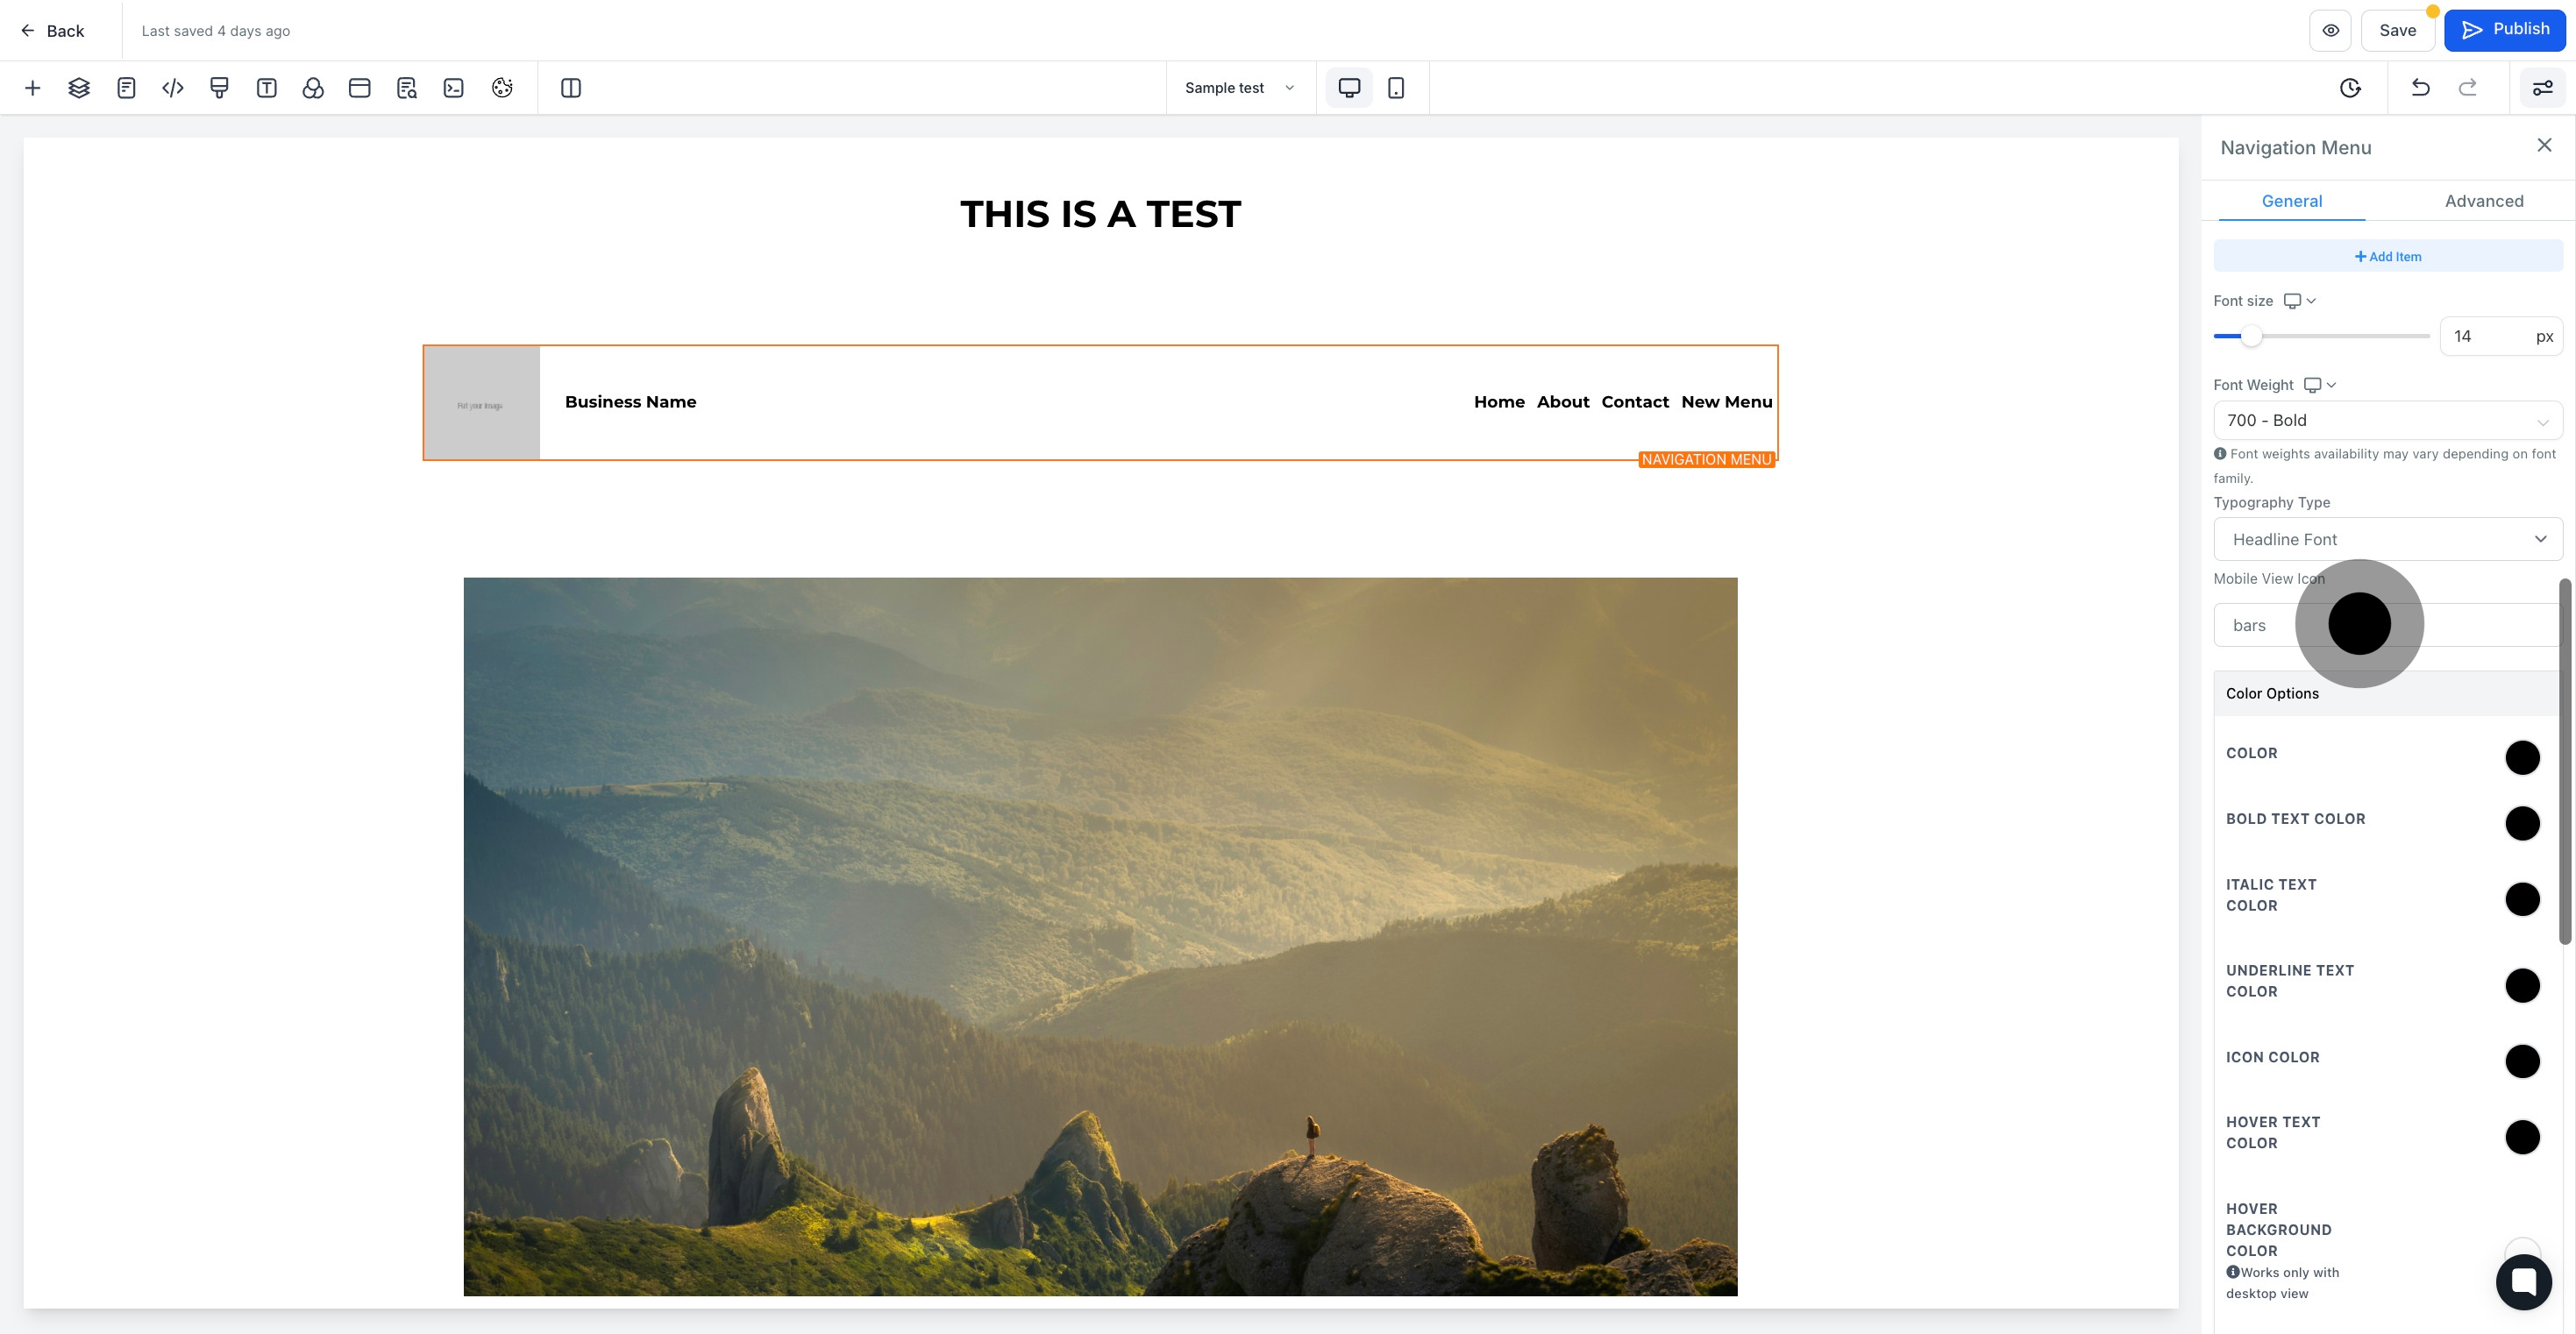
10. click here to add more item

10 Click on "Add Item".

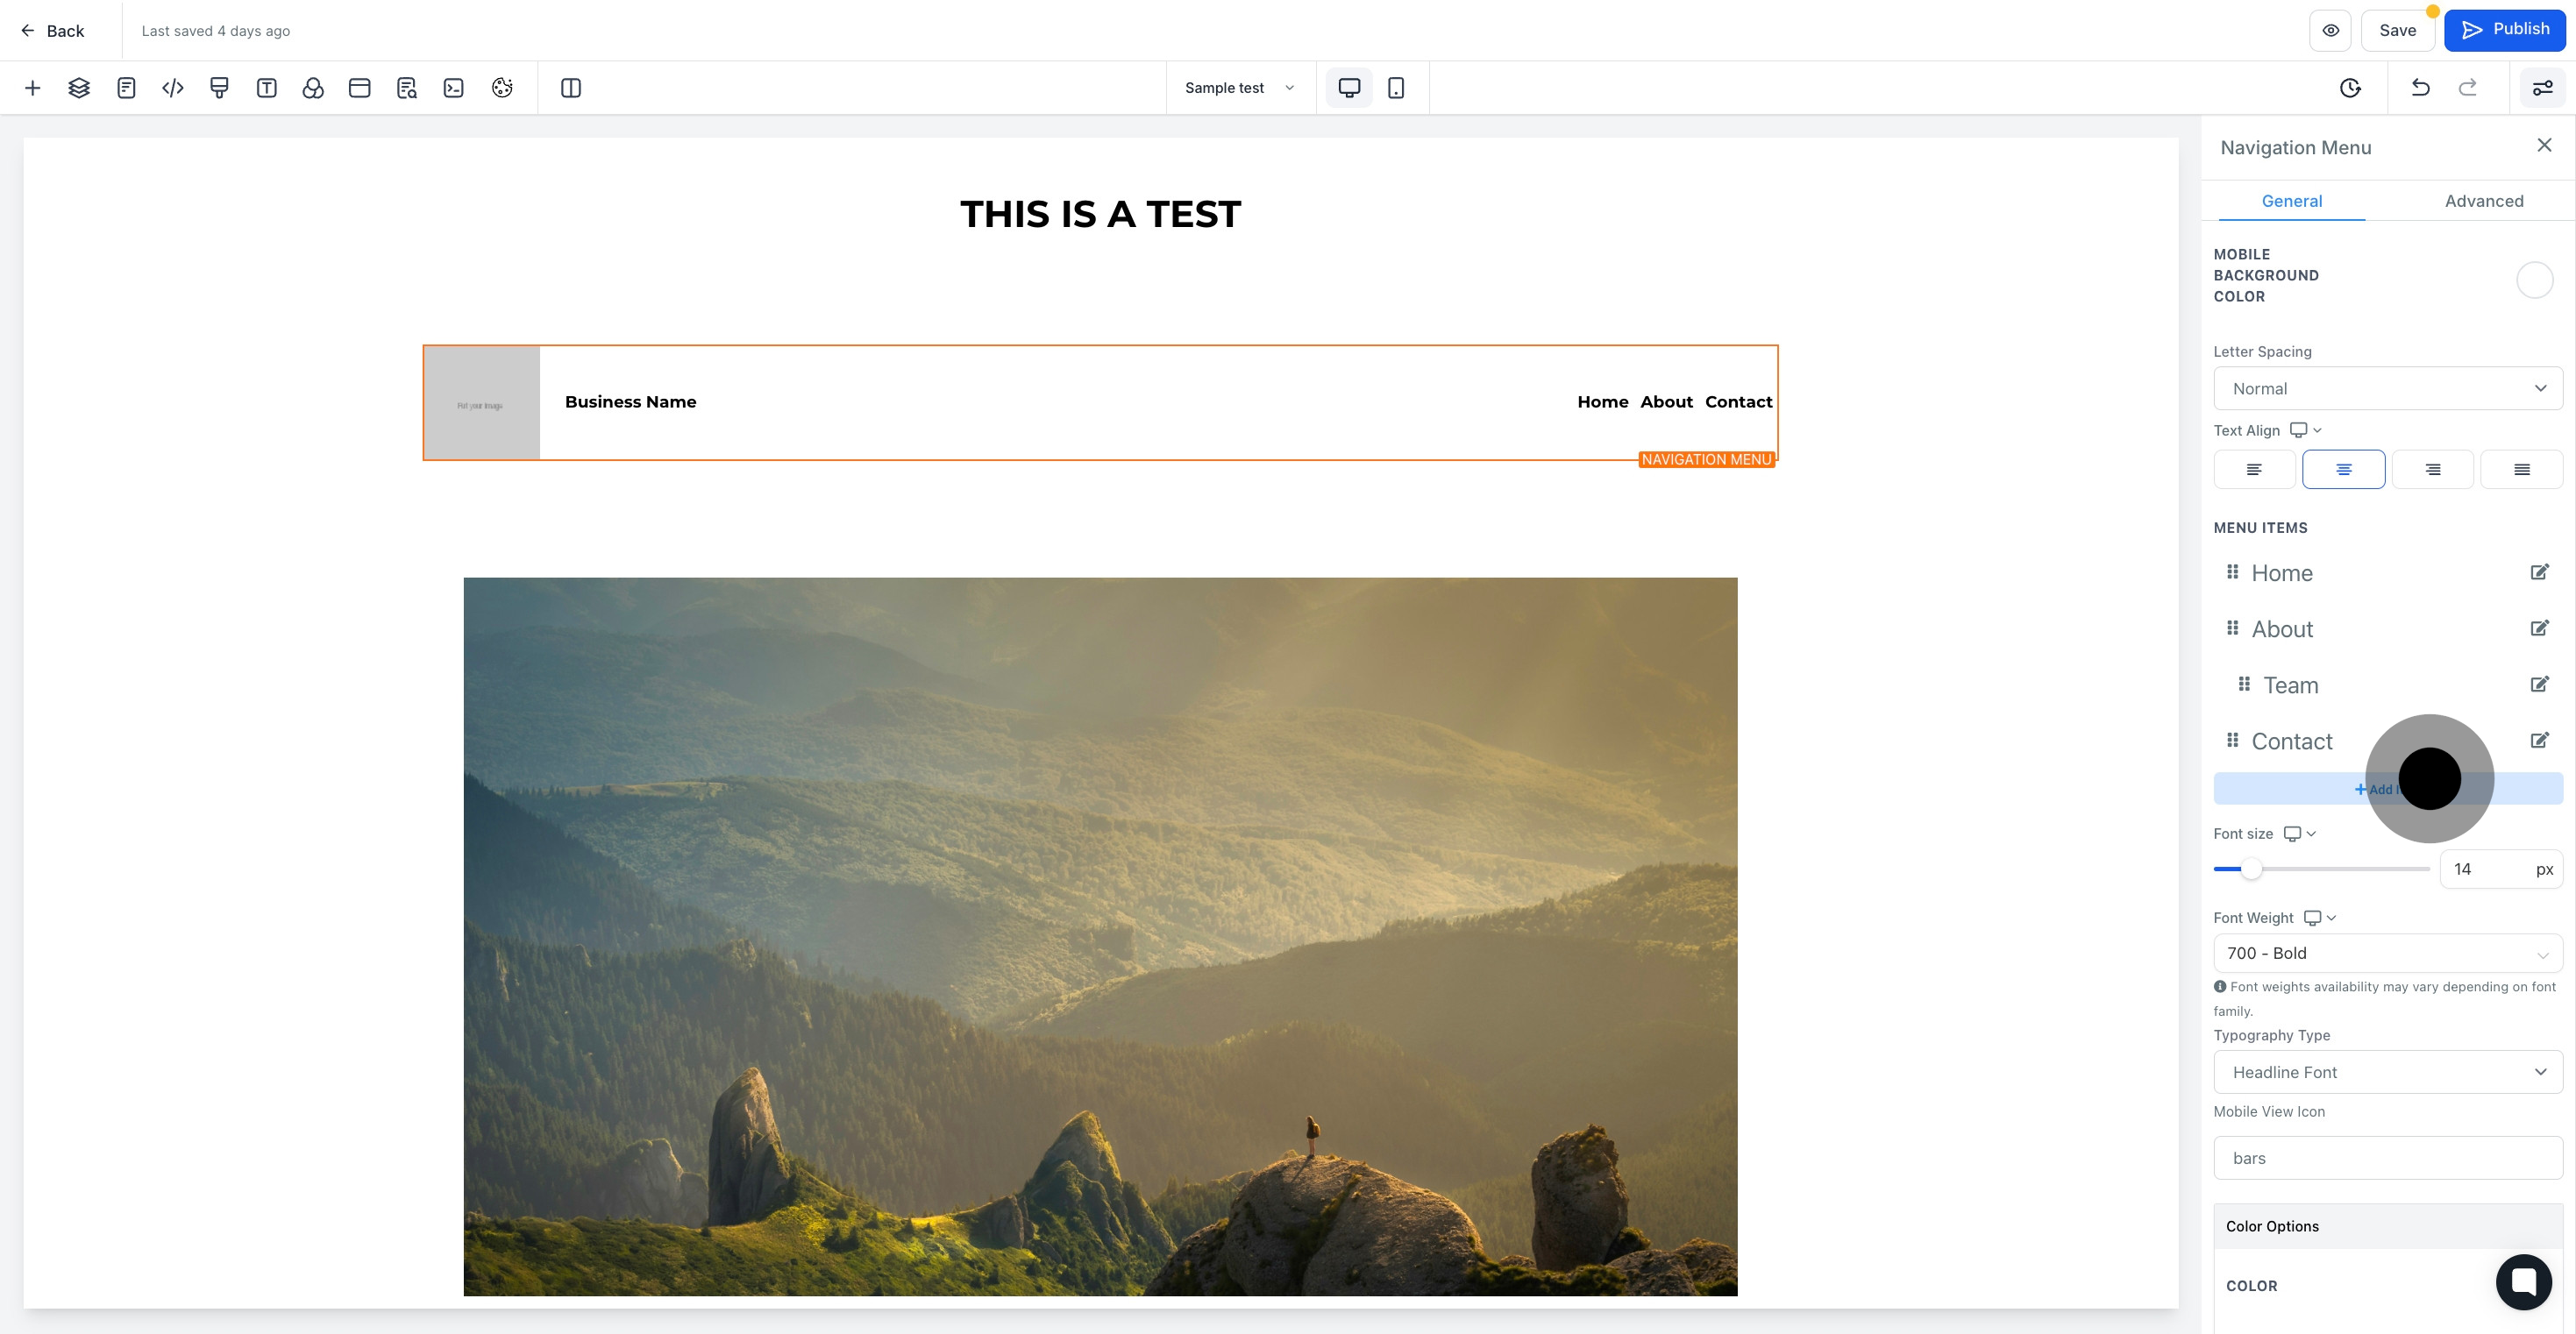
11. this section where you can customize the font

11 Click on "Font size".

12. Click here to select mobile view icon

12 Following that, click on the element.

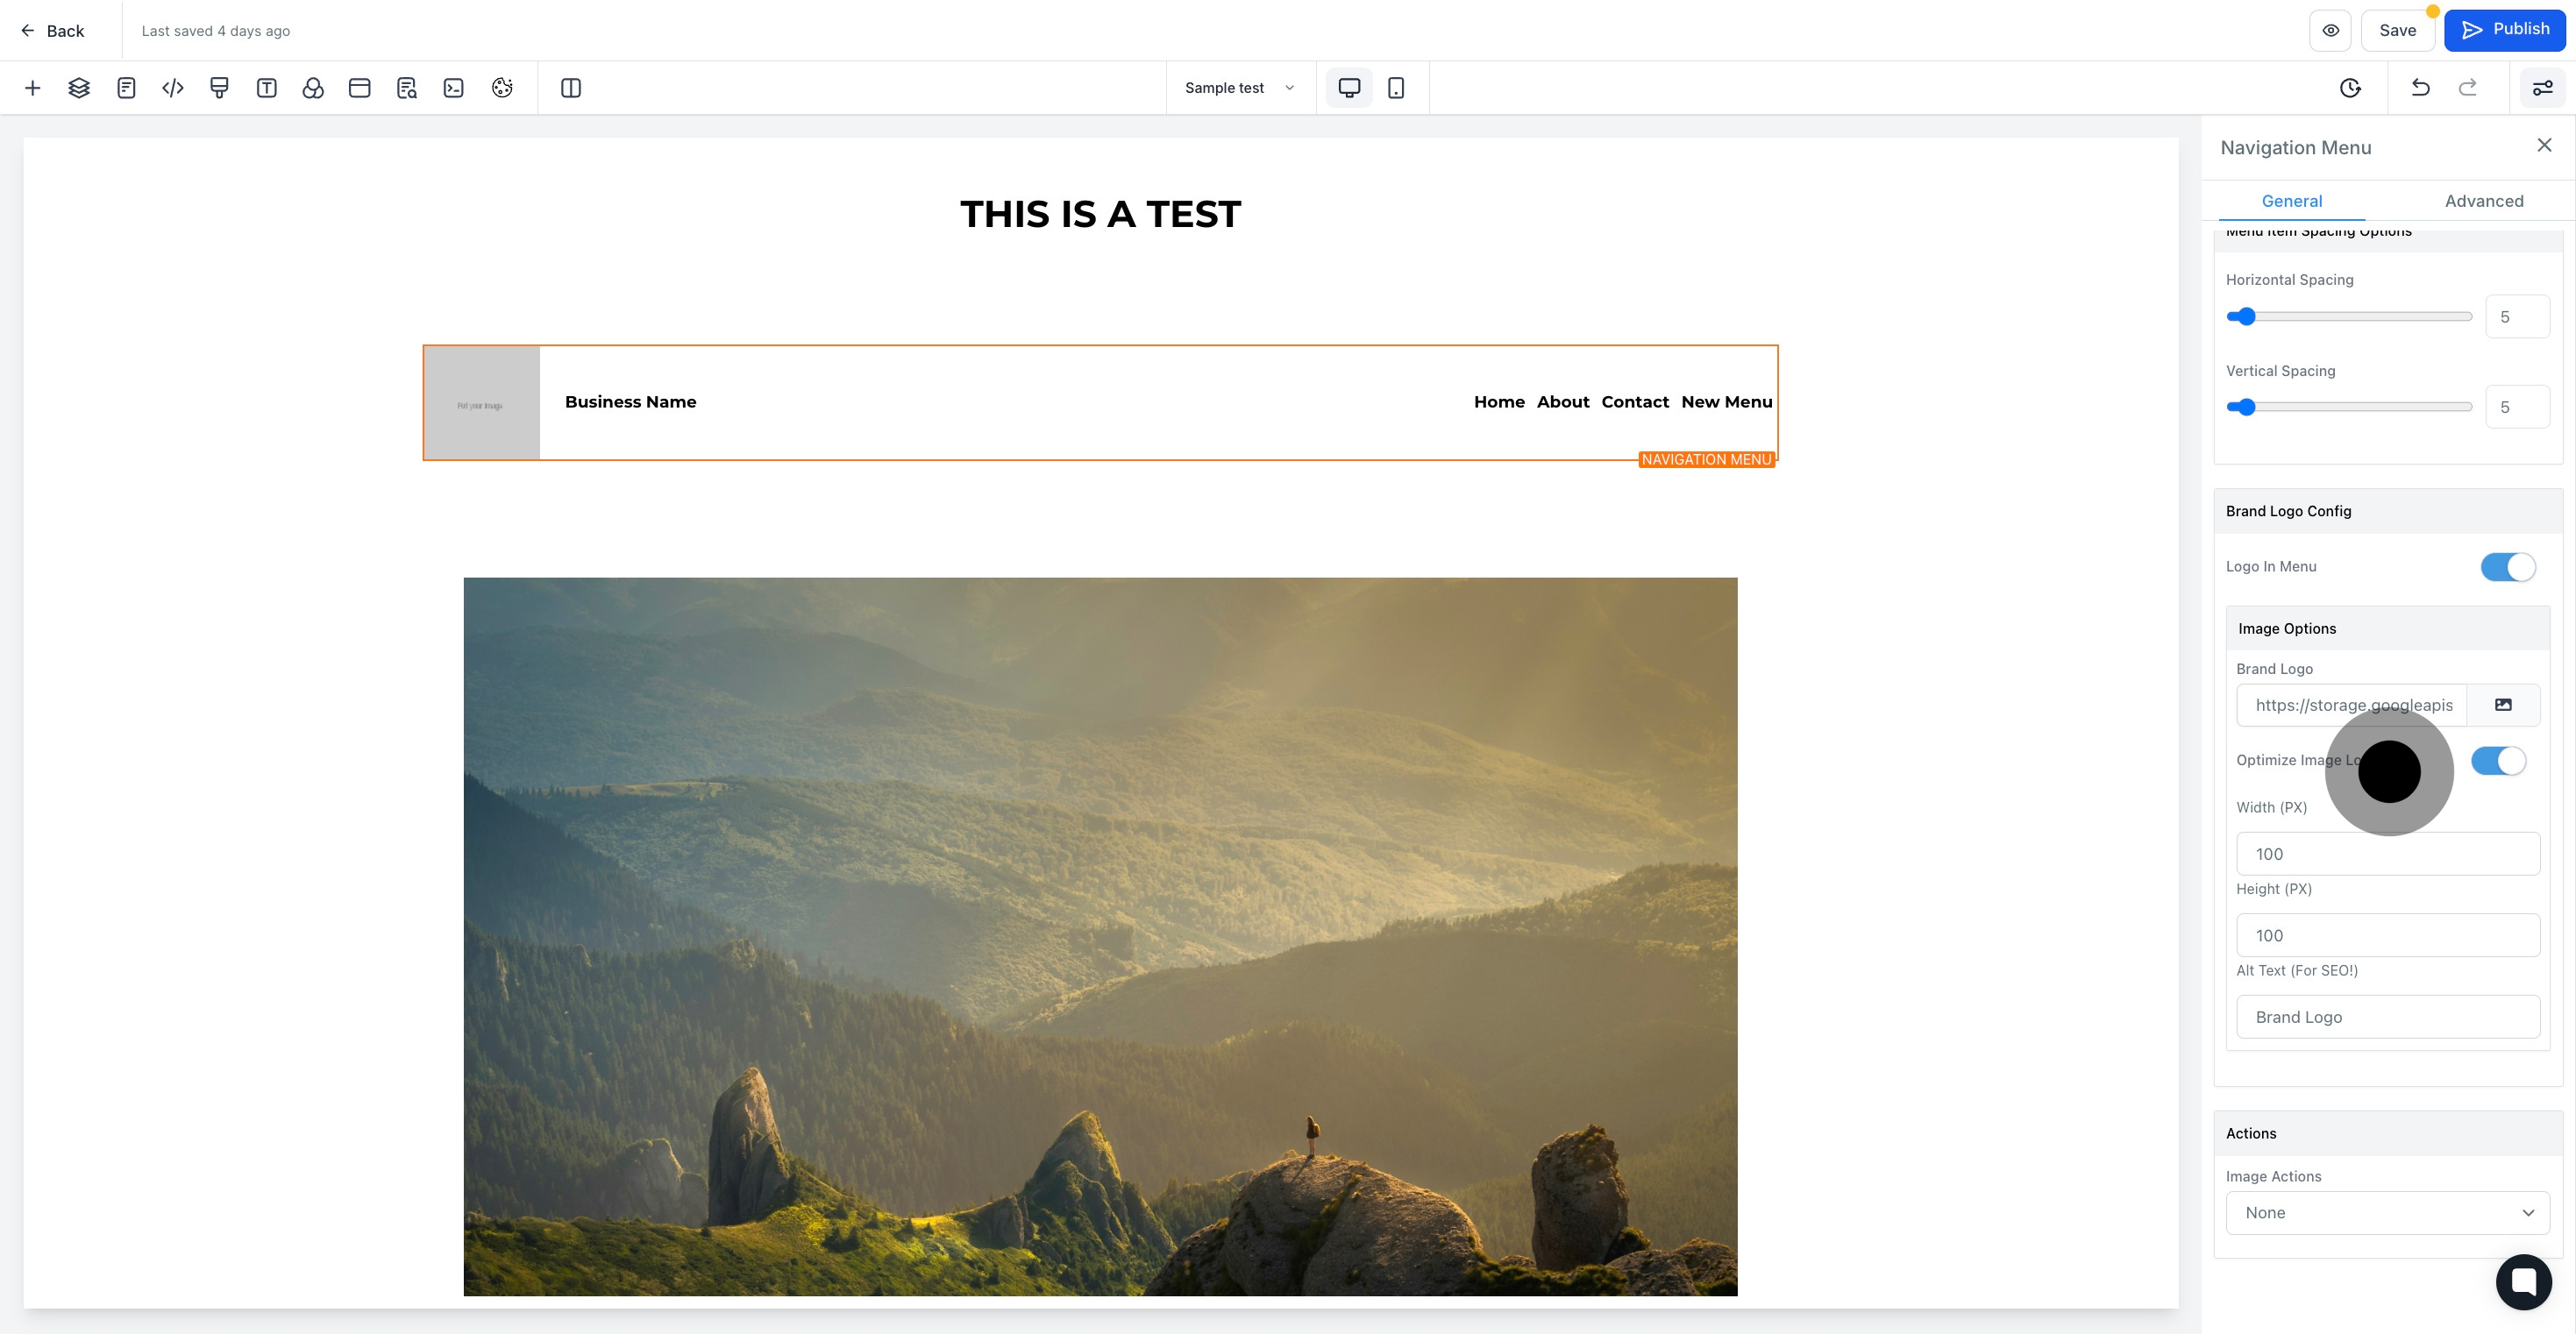
13. this section where you can customize menu item spacing options

13 Click on the element.

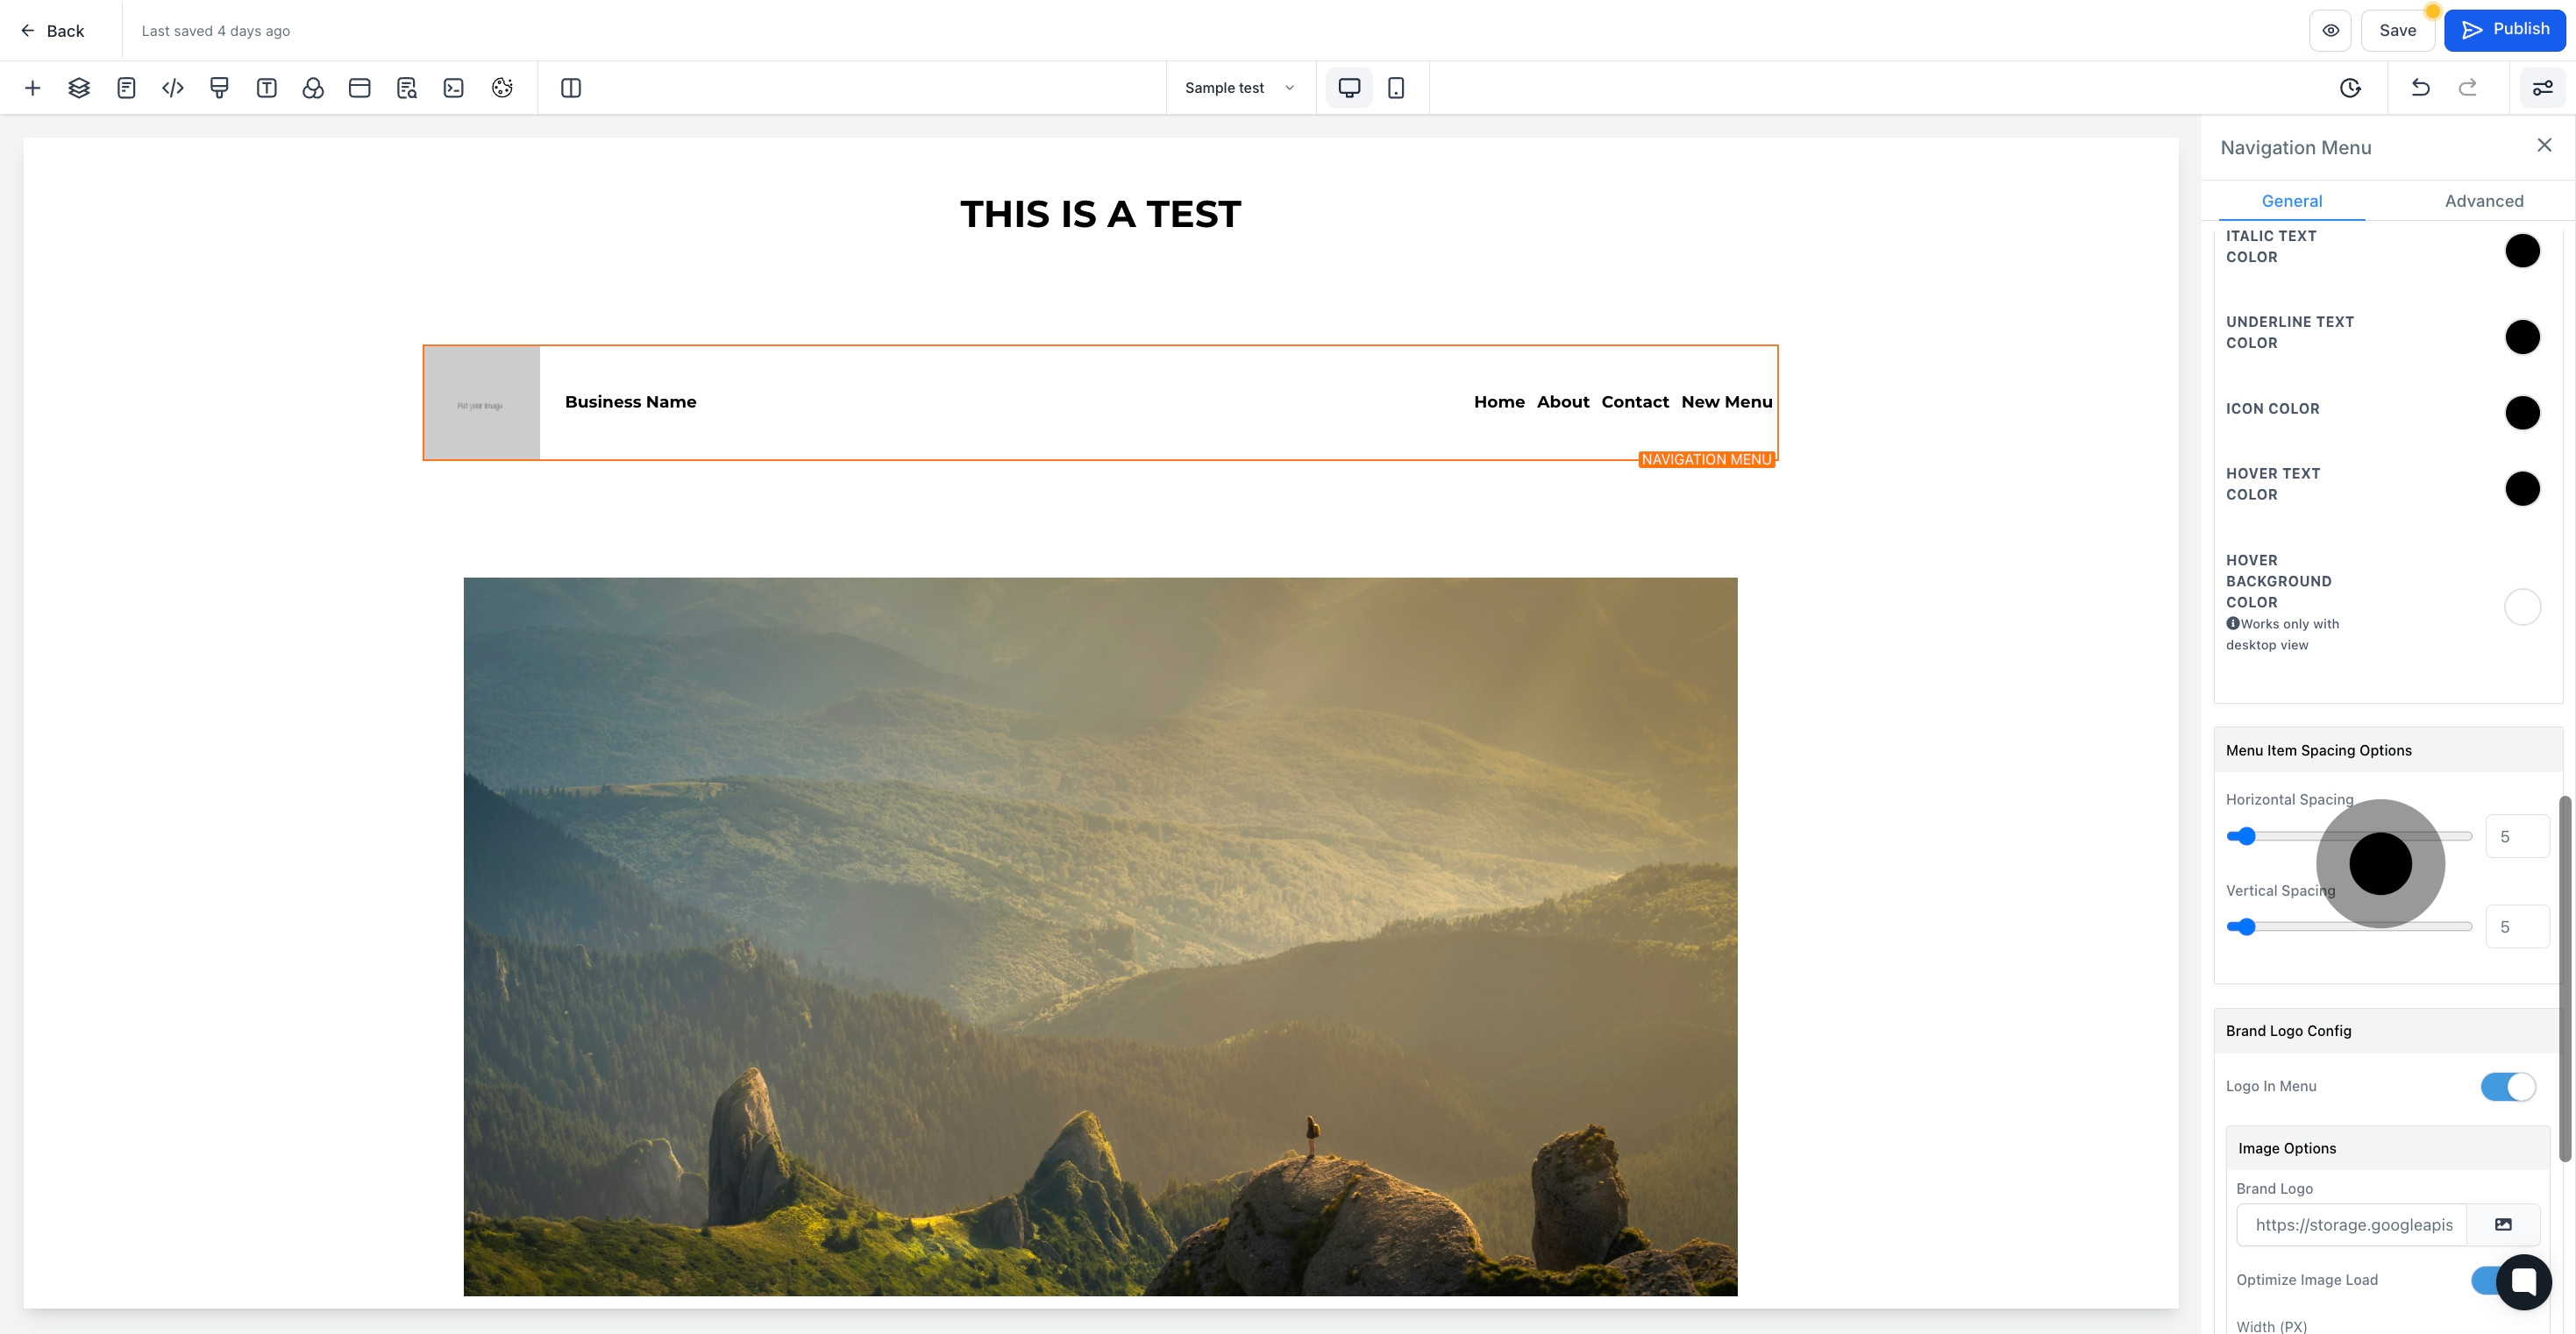
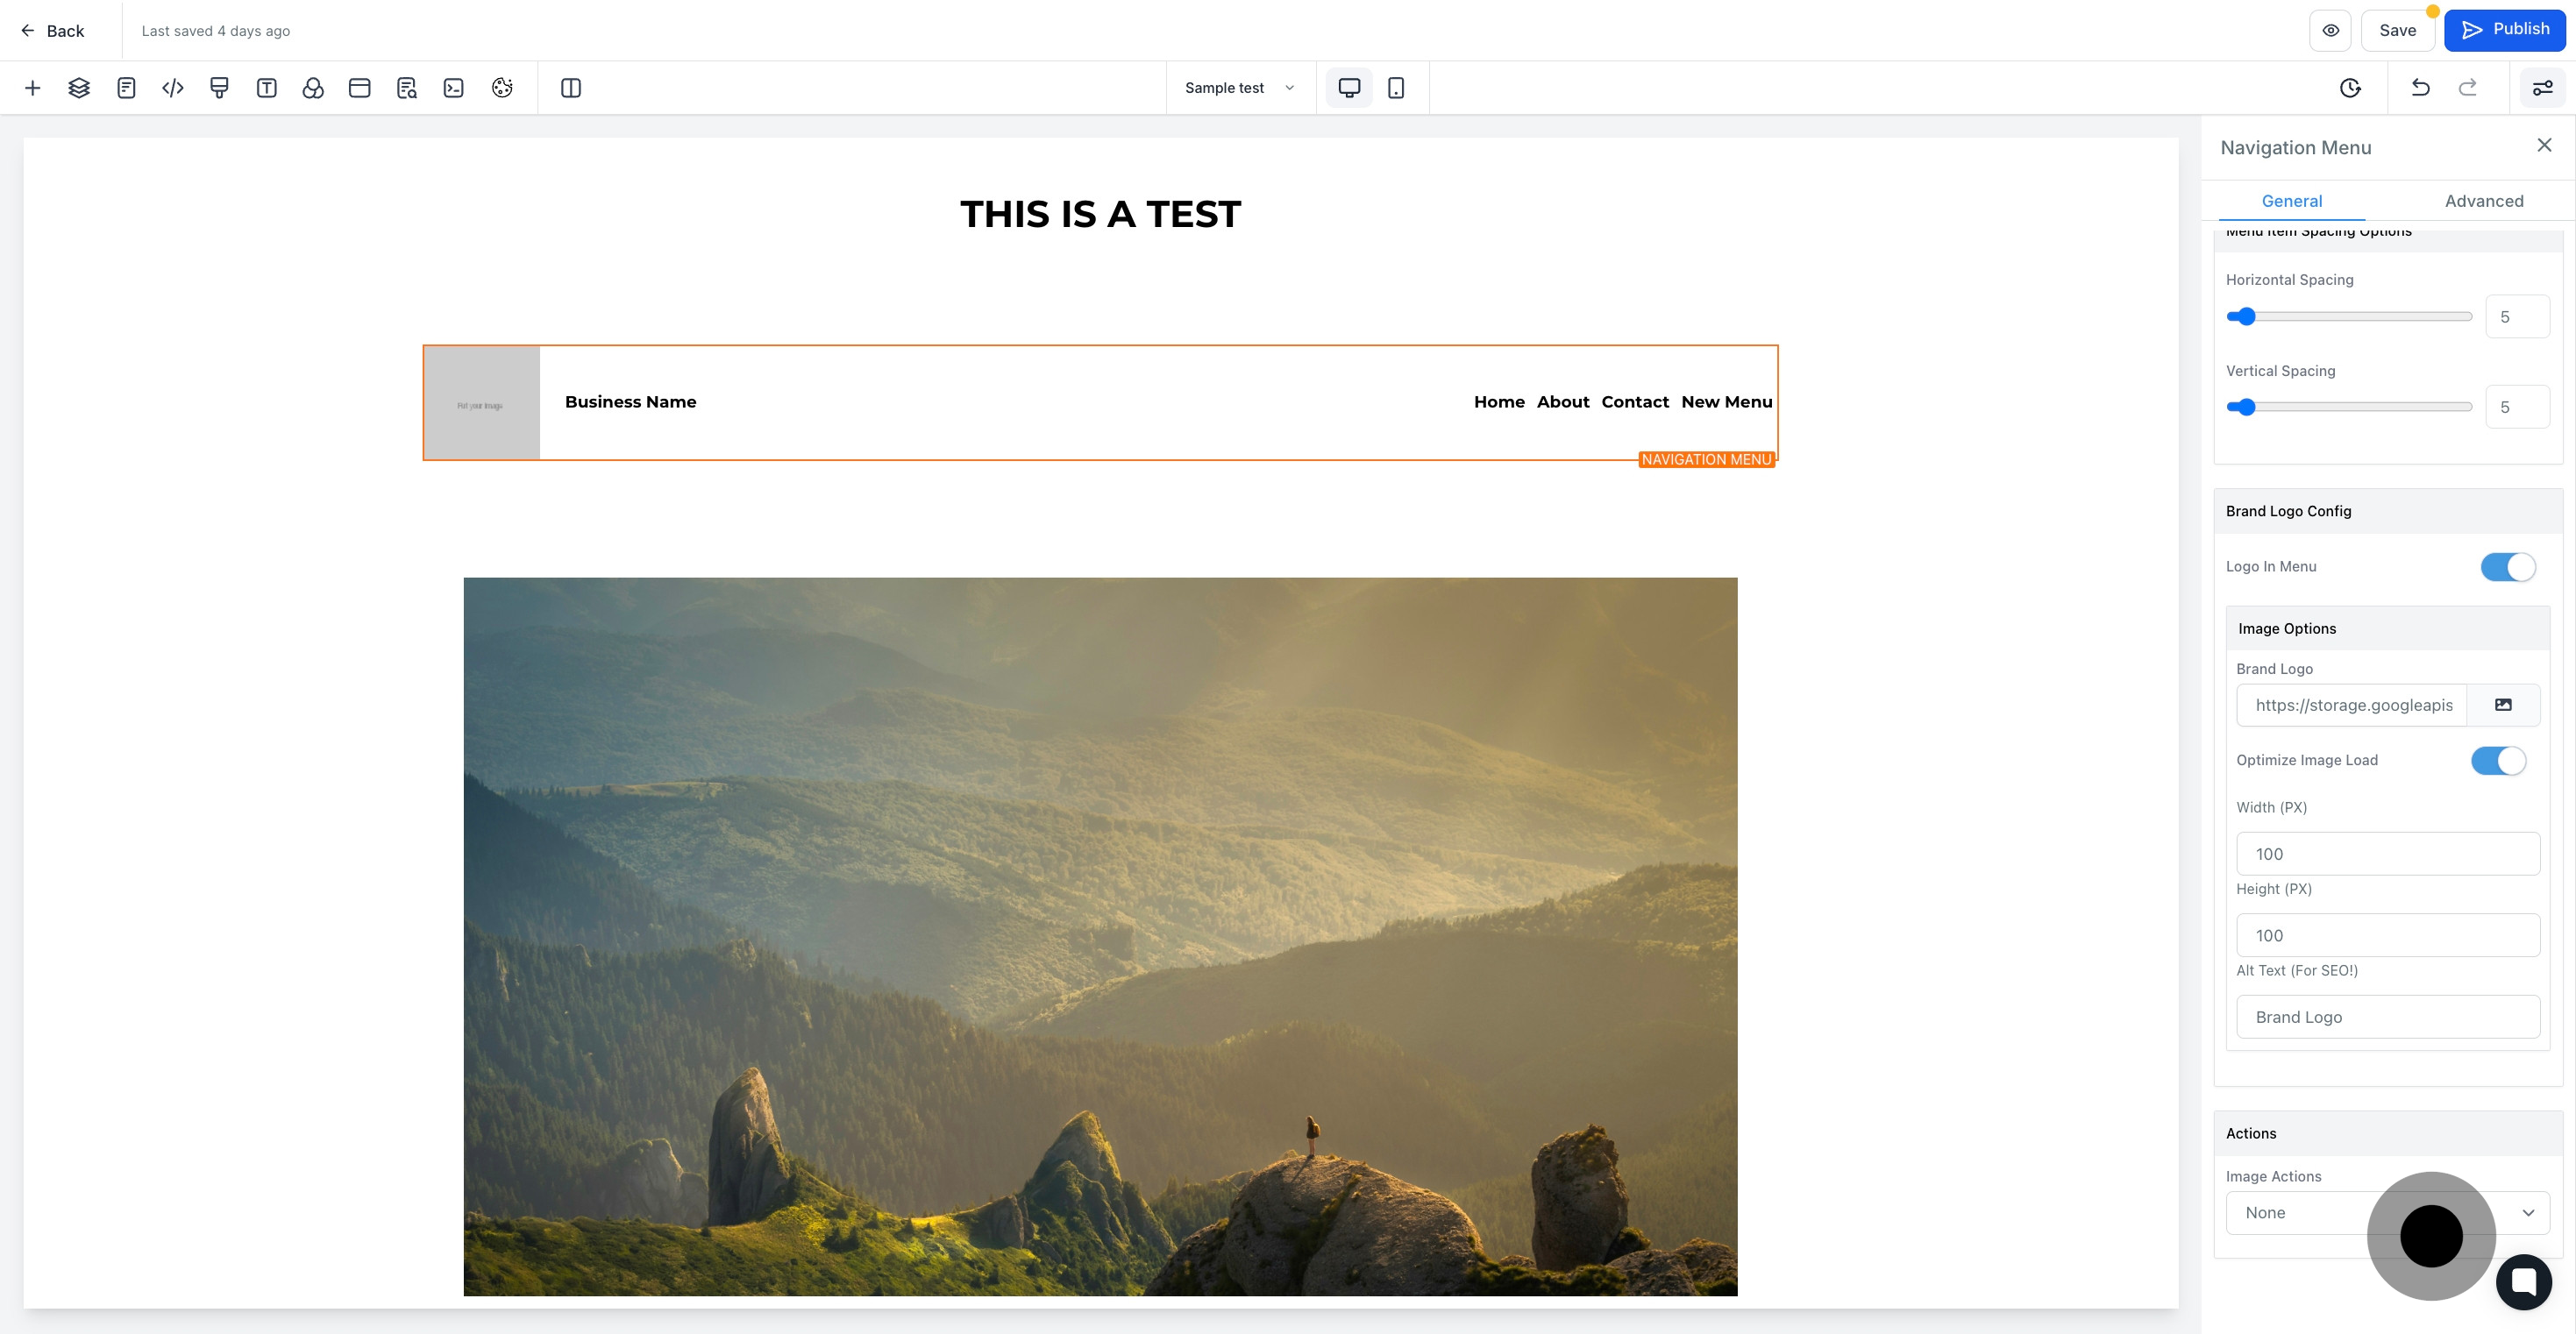
14. this section where you can customize brand logo

14 Then, click on "Logo In Menu".

15. click here to select image actions

15 Then, click on "Actions".

16. Now, click on "Save".

16 Now, click on "Save".

Did this answer your question?
😞
😐
😁