Adding Social Icons in LeadDec's Website Builder

Enhance your website’s connectivity by adding social media icons using LeadDec's Website Builder. This article provides a straightforward guide on how to insert and link social media icons to your profiles, allowing visitors to easily engage with you on various platforms. Learn to customize the icons to match your website’s design, ensuring a cohesive look that boosts your online presence and fosters community interaction.


1. Click 'Sites' to start the process.

1 First up, click on the element.

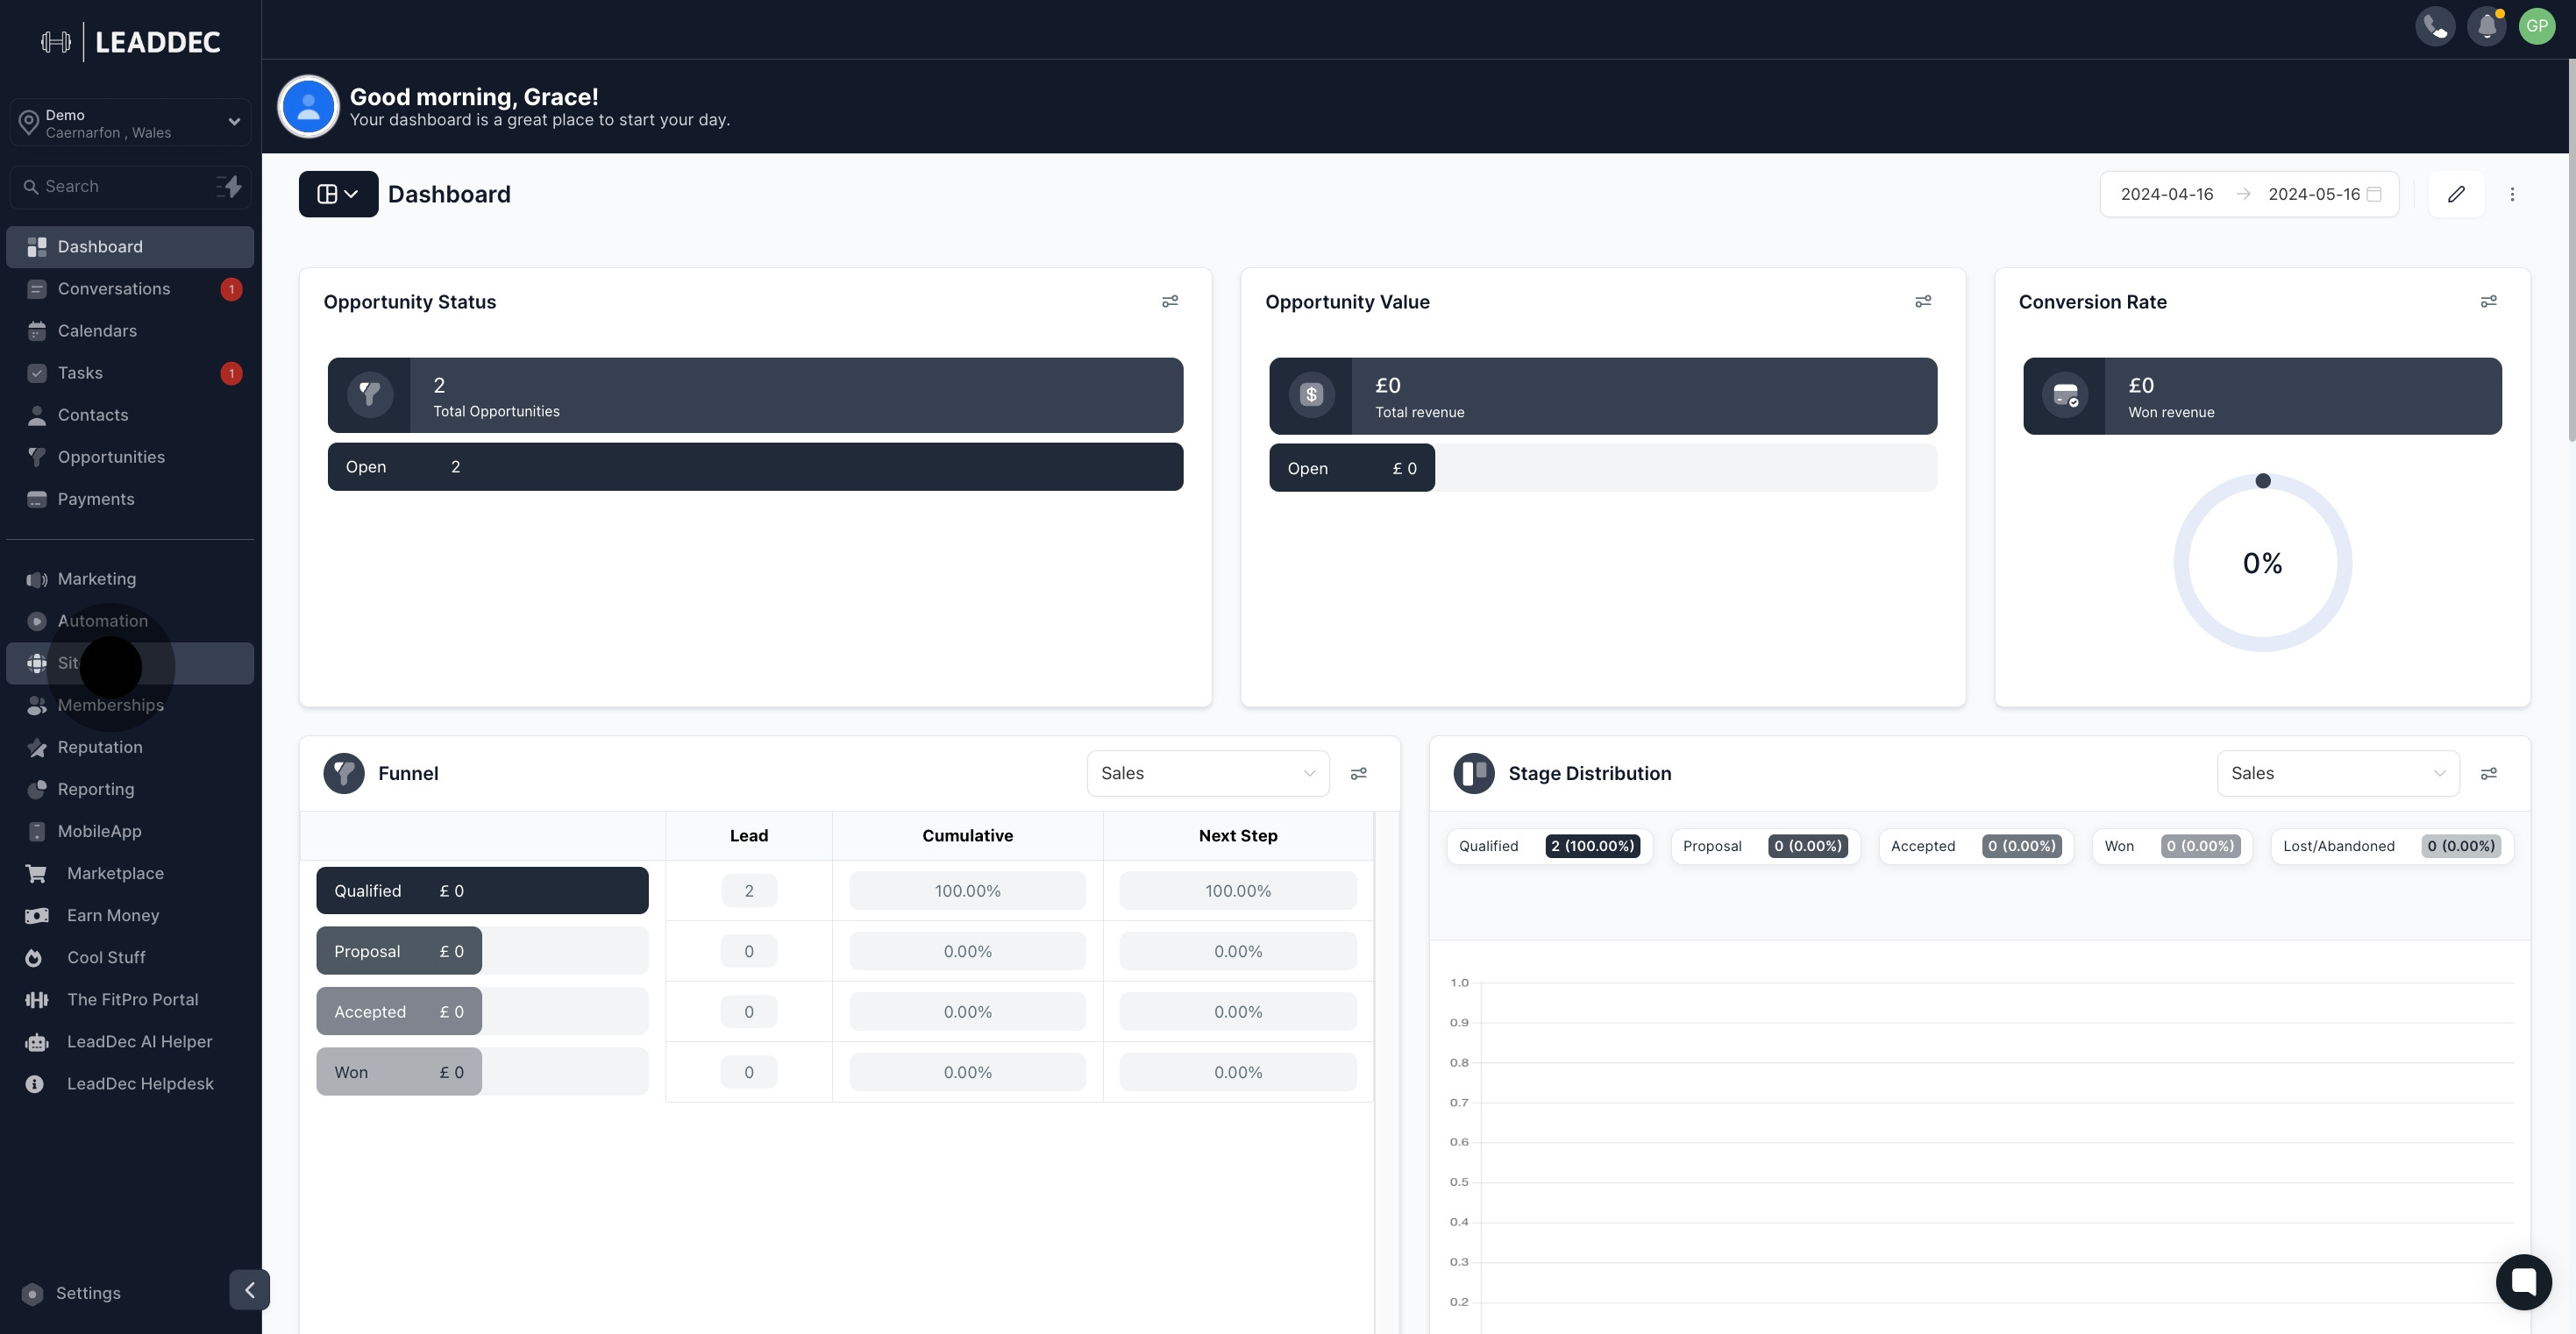
2. Next, proceed by clicking on 'Websites'.

2 Then, click on "Websites".

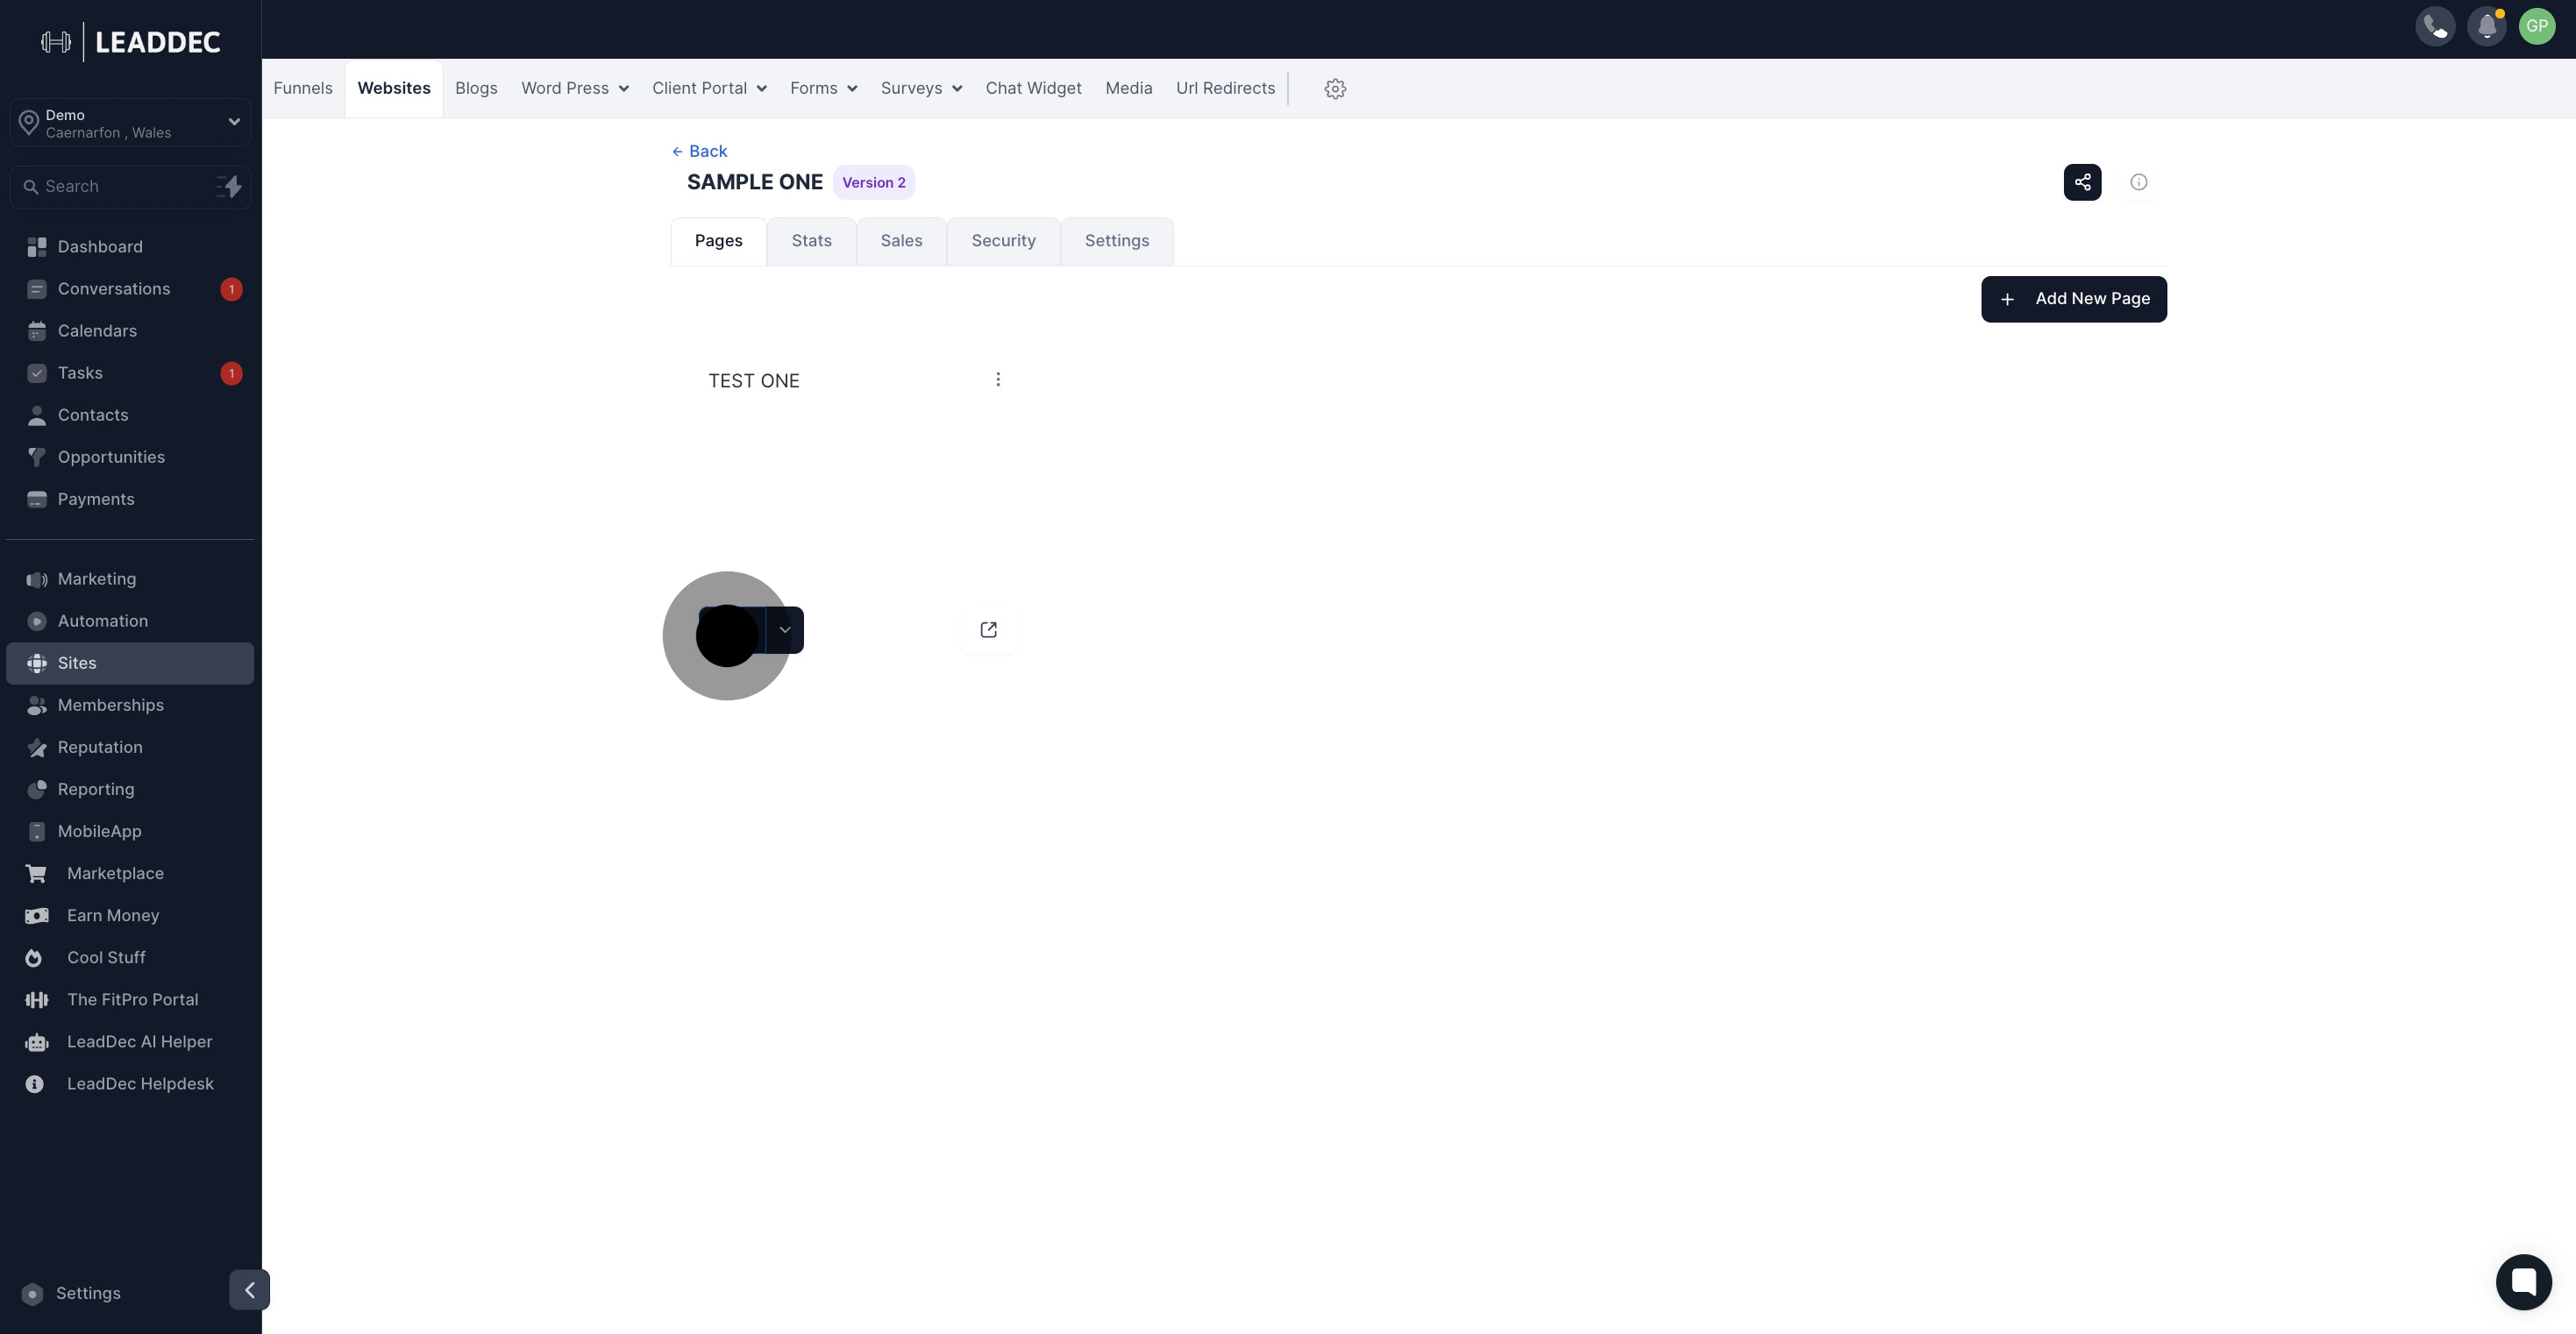
3. Choose a website name from the provided list.

3 Click on "SAMPLE ONE".

4. Click 'Edit' to make changes to the selected website.

4 Then, click on "Edit".

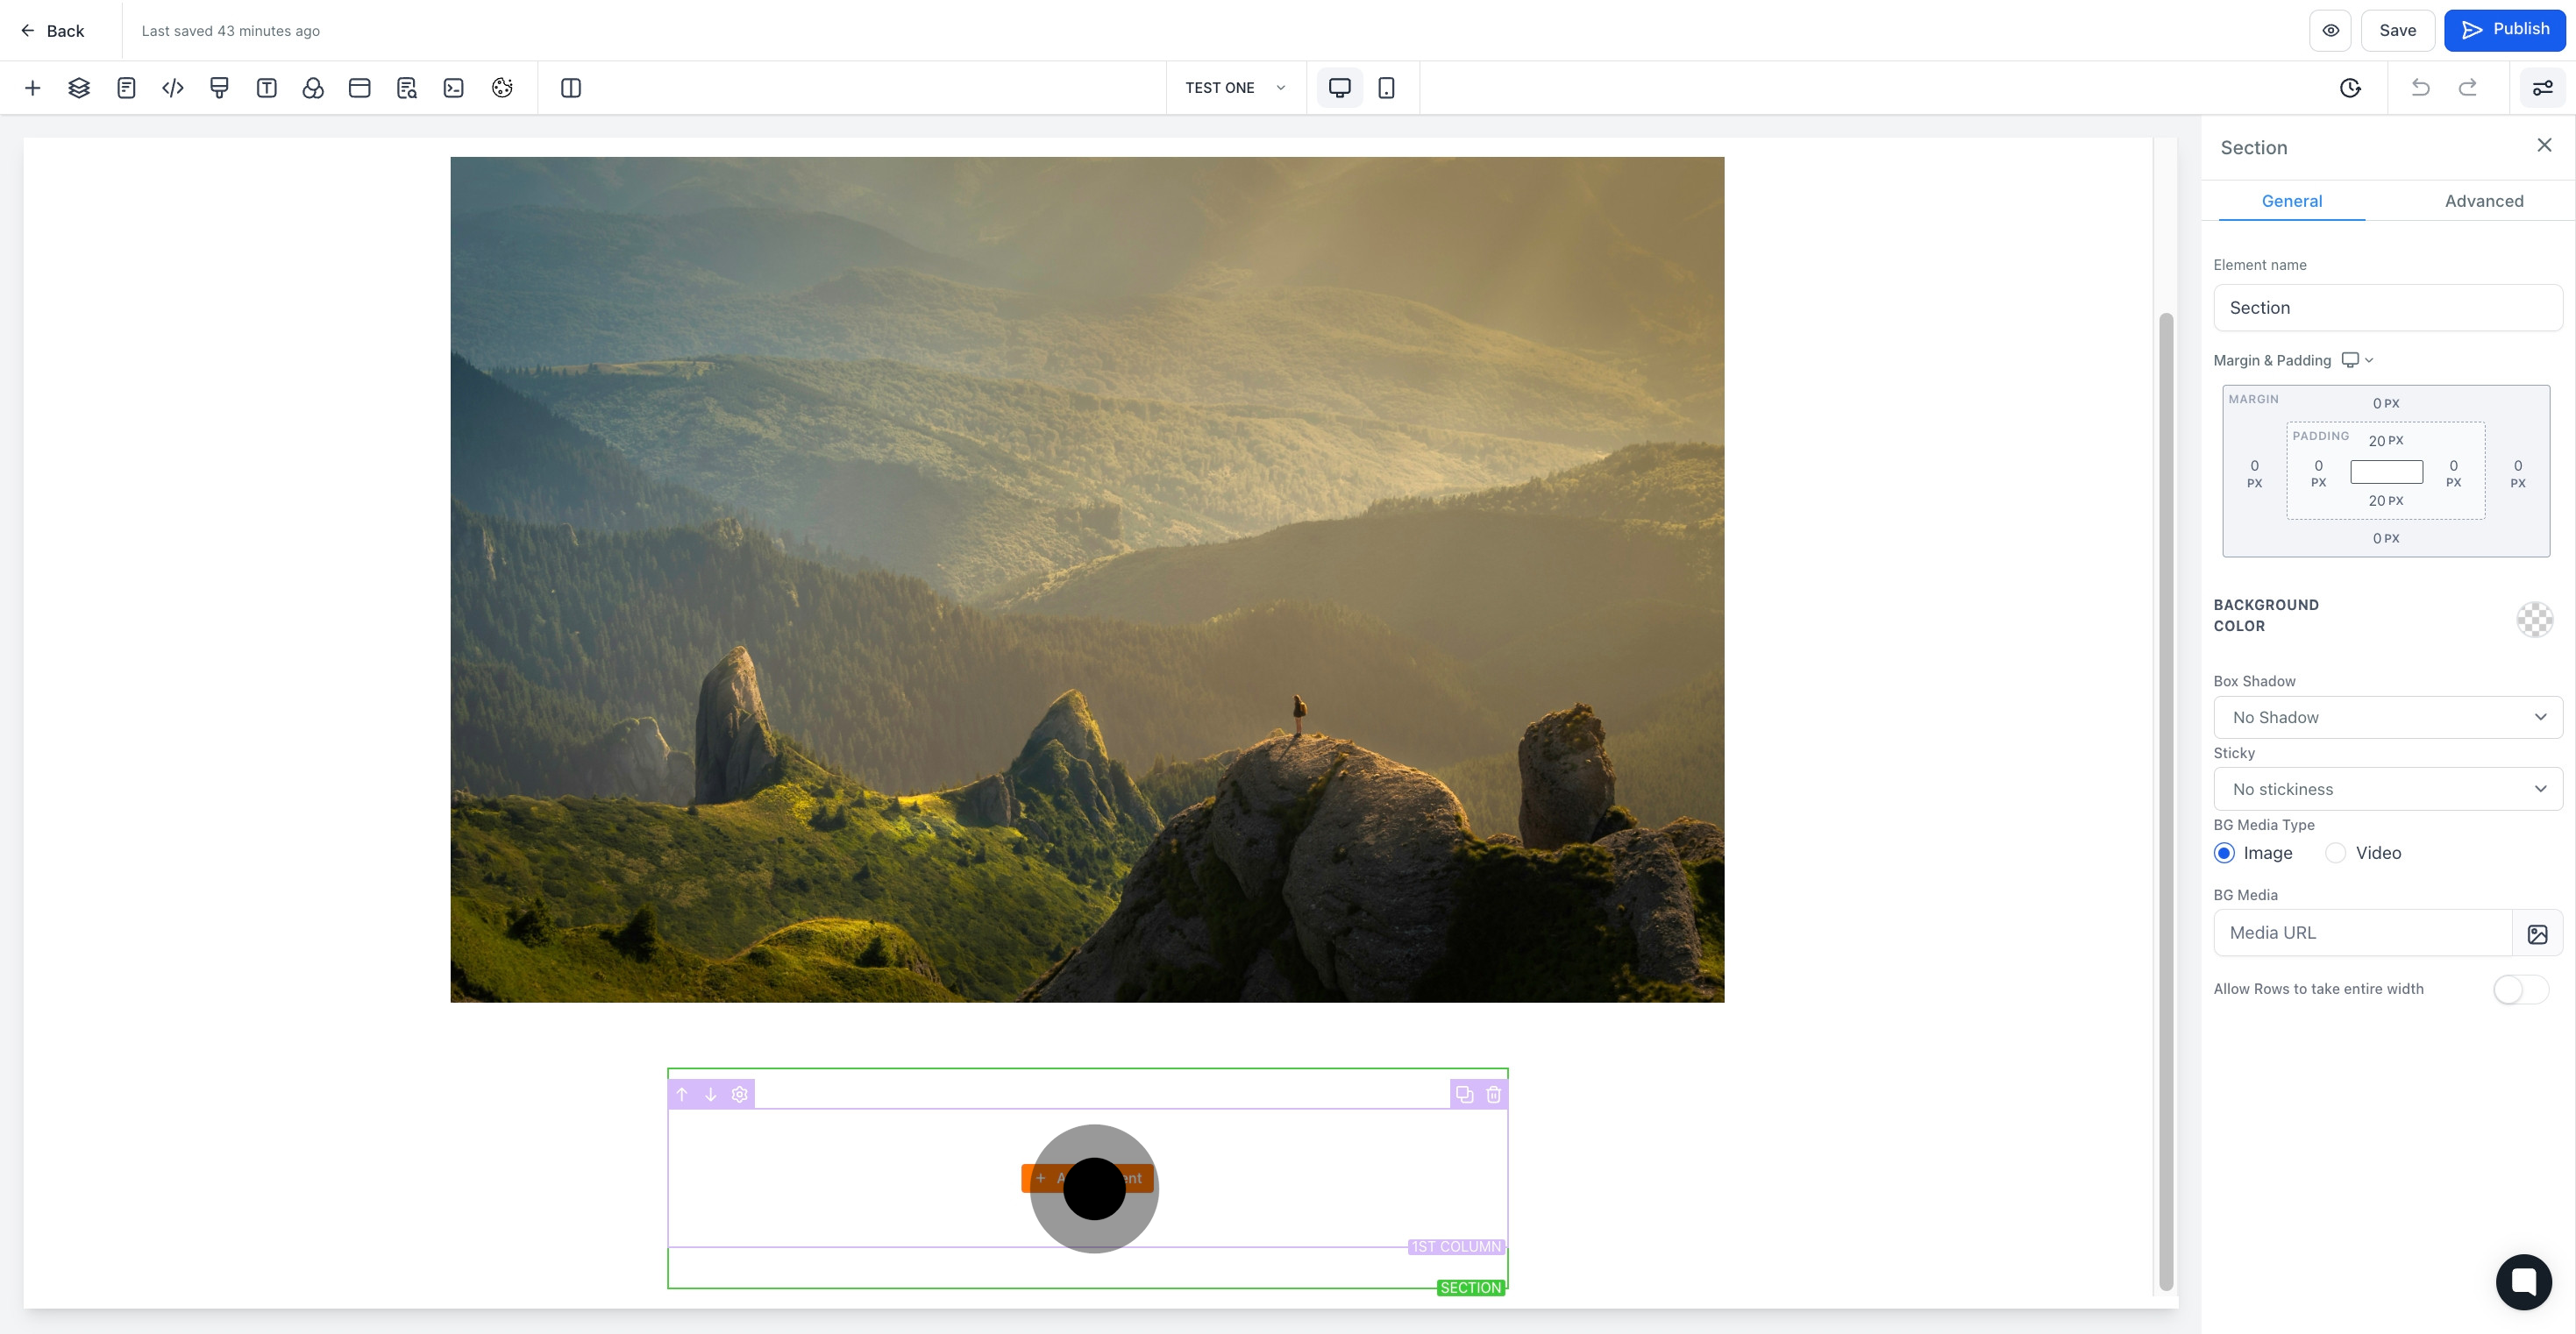
5. Use the 'Add element' option to enhance your website.

5 Click here.

6. A social icon has now been added to your site.

6 Afterwards, click on the element.

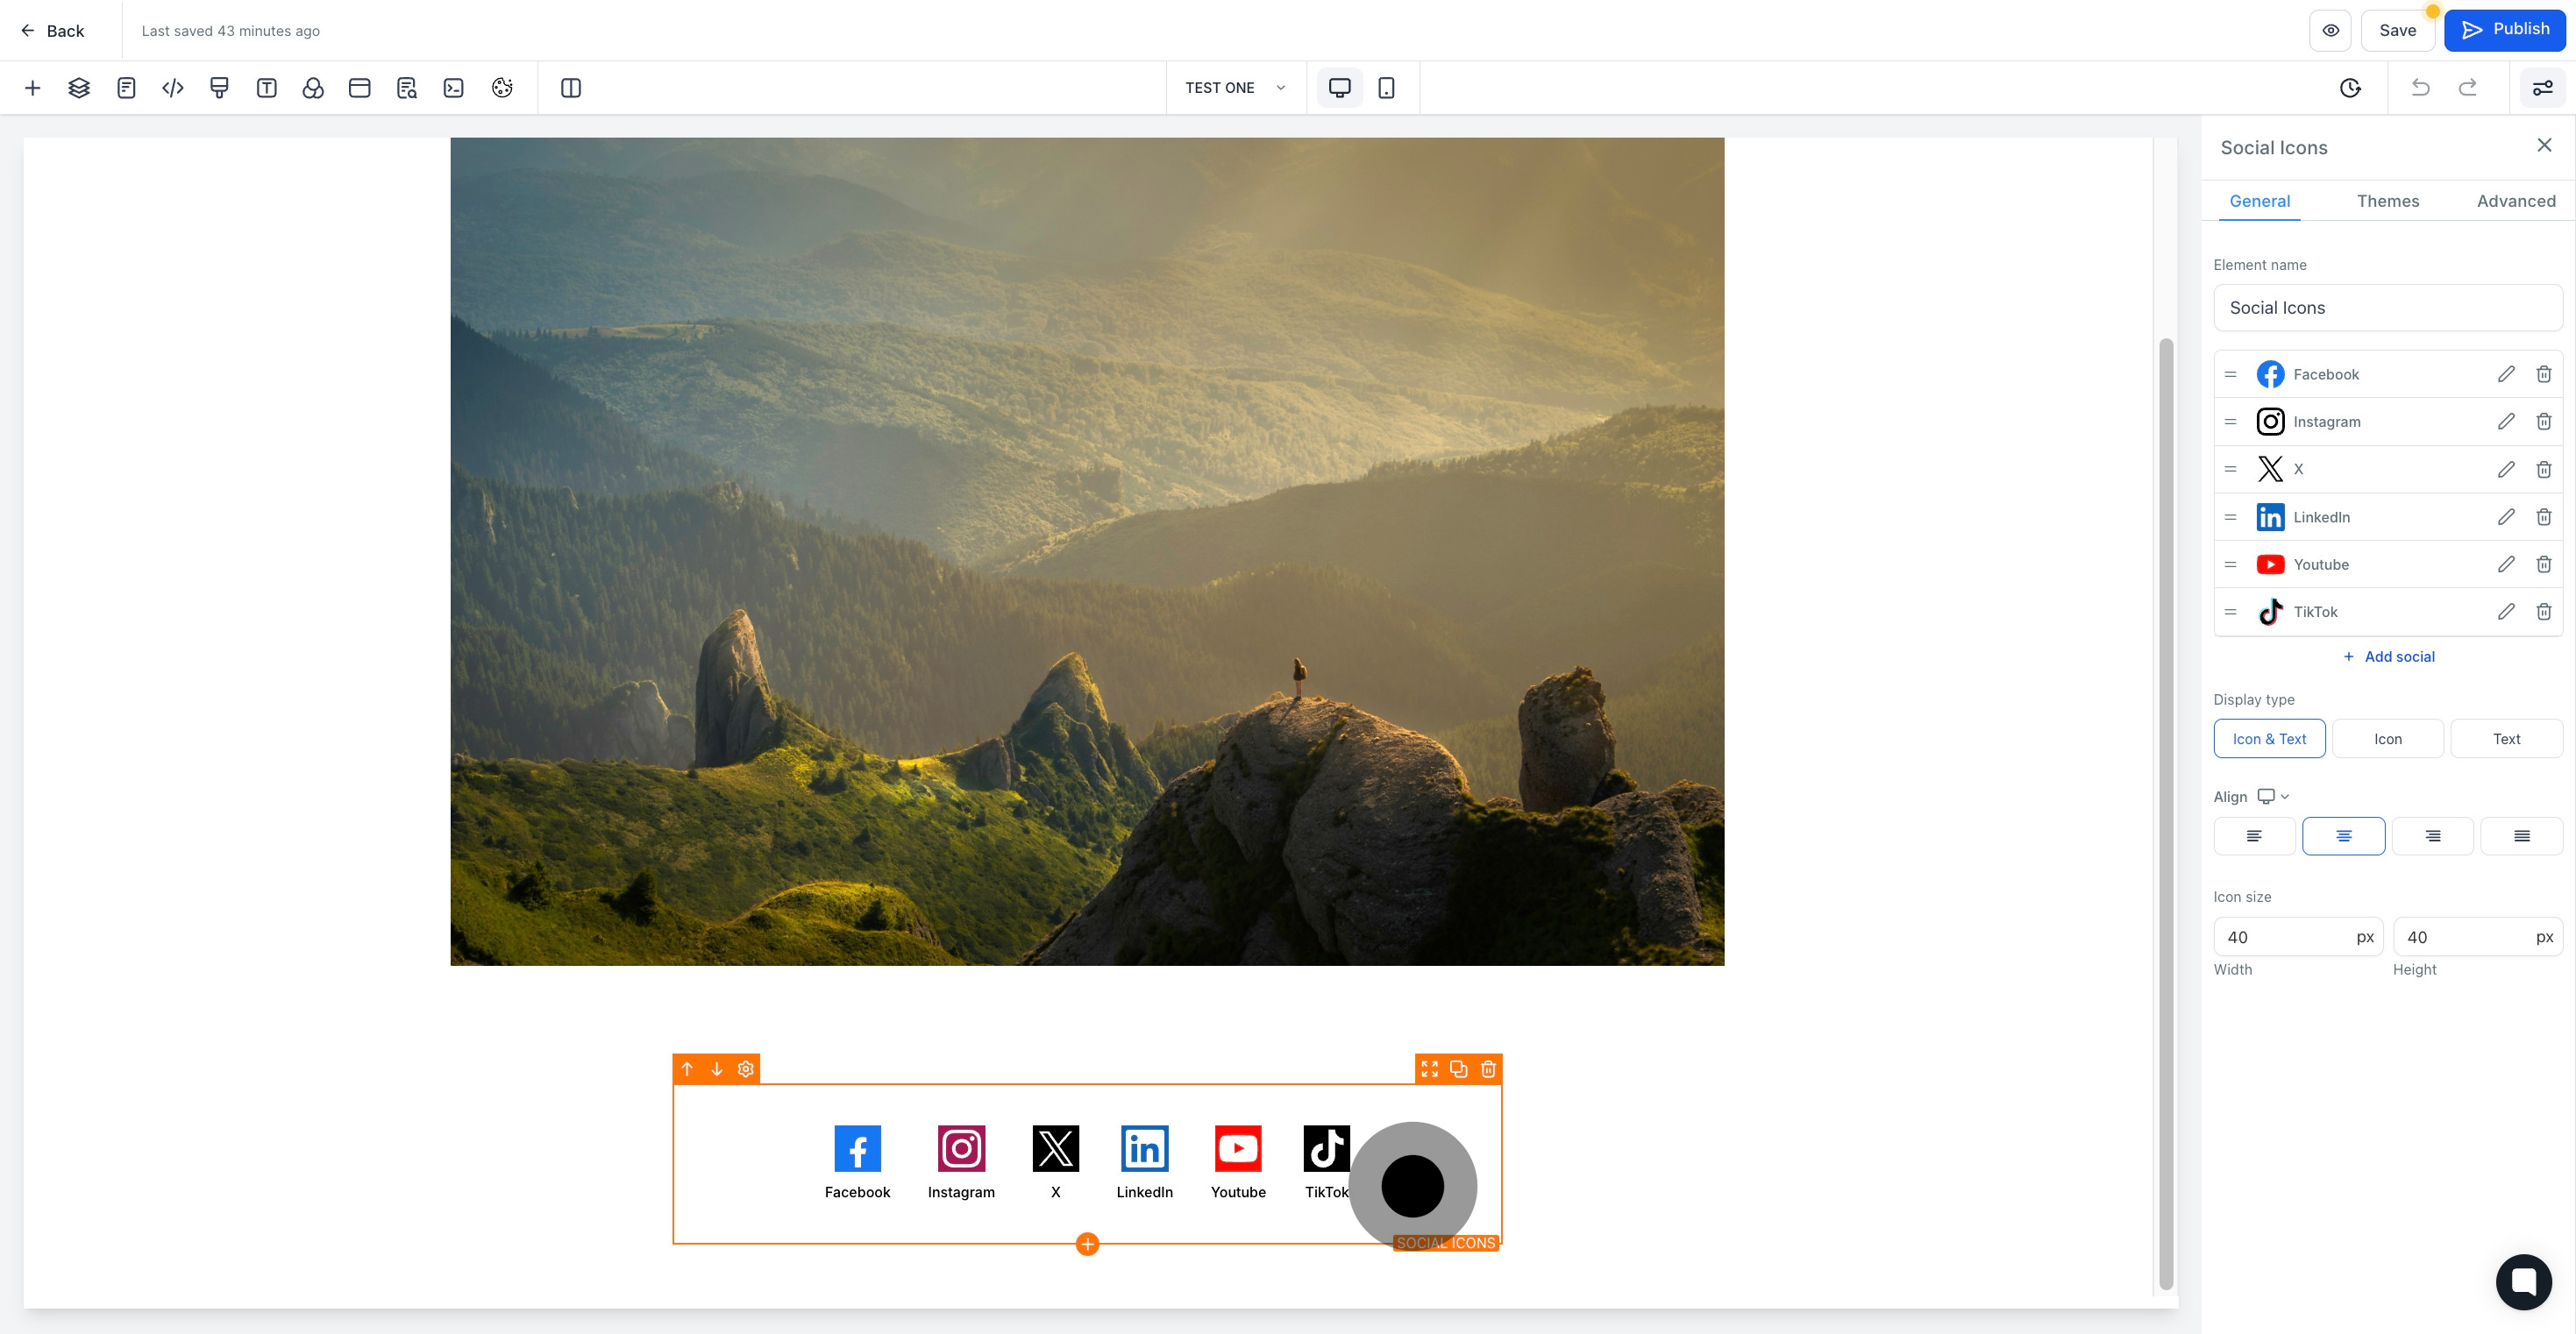
7. Click to add a custom name for your new element.

7 Upload

8. Click on the social icon to make edits.

8 Upload

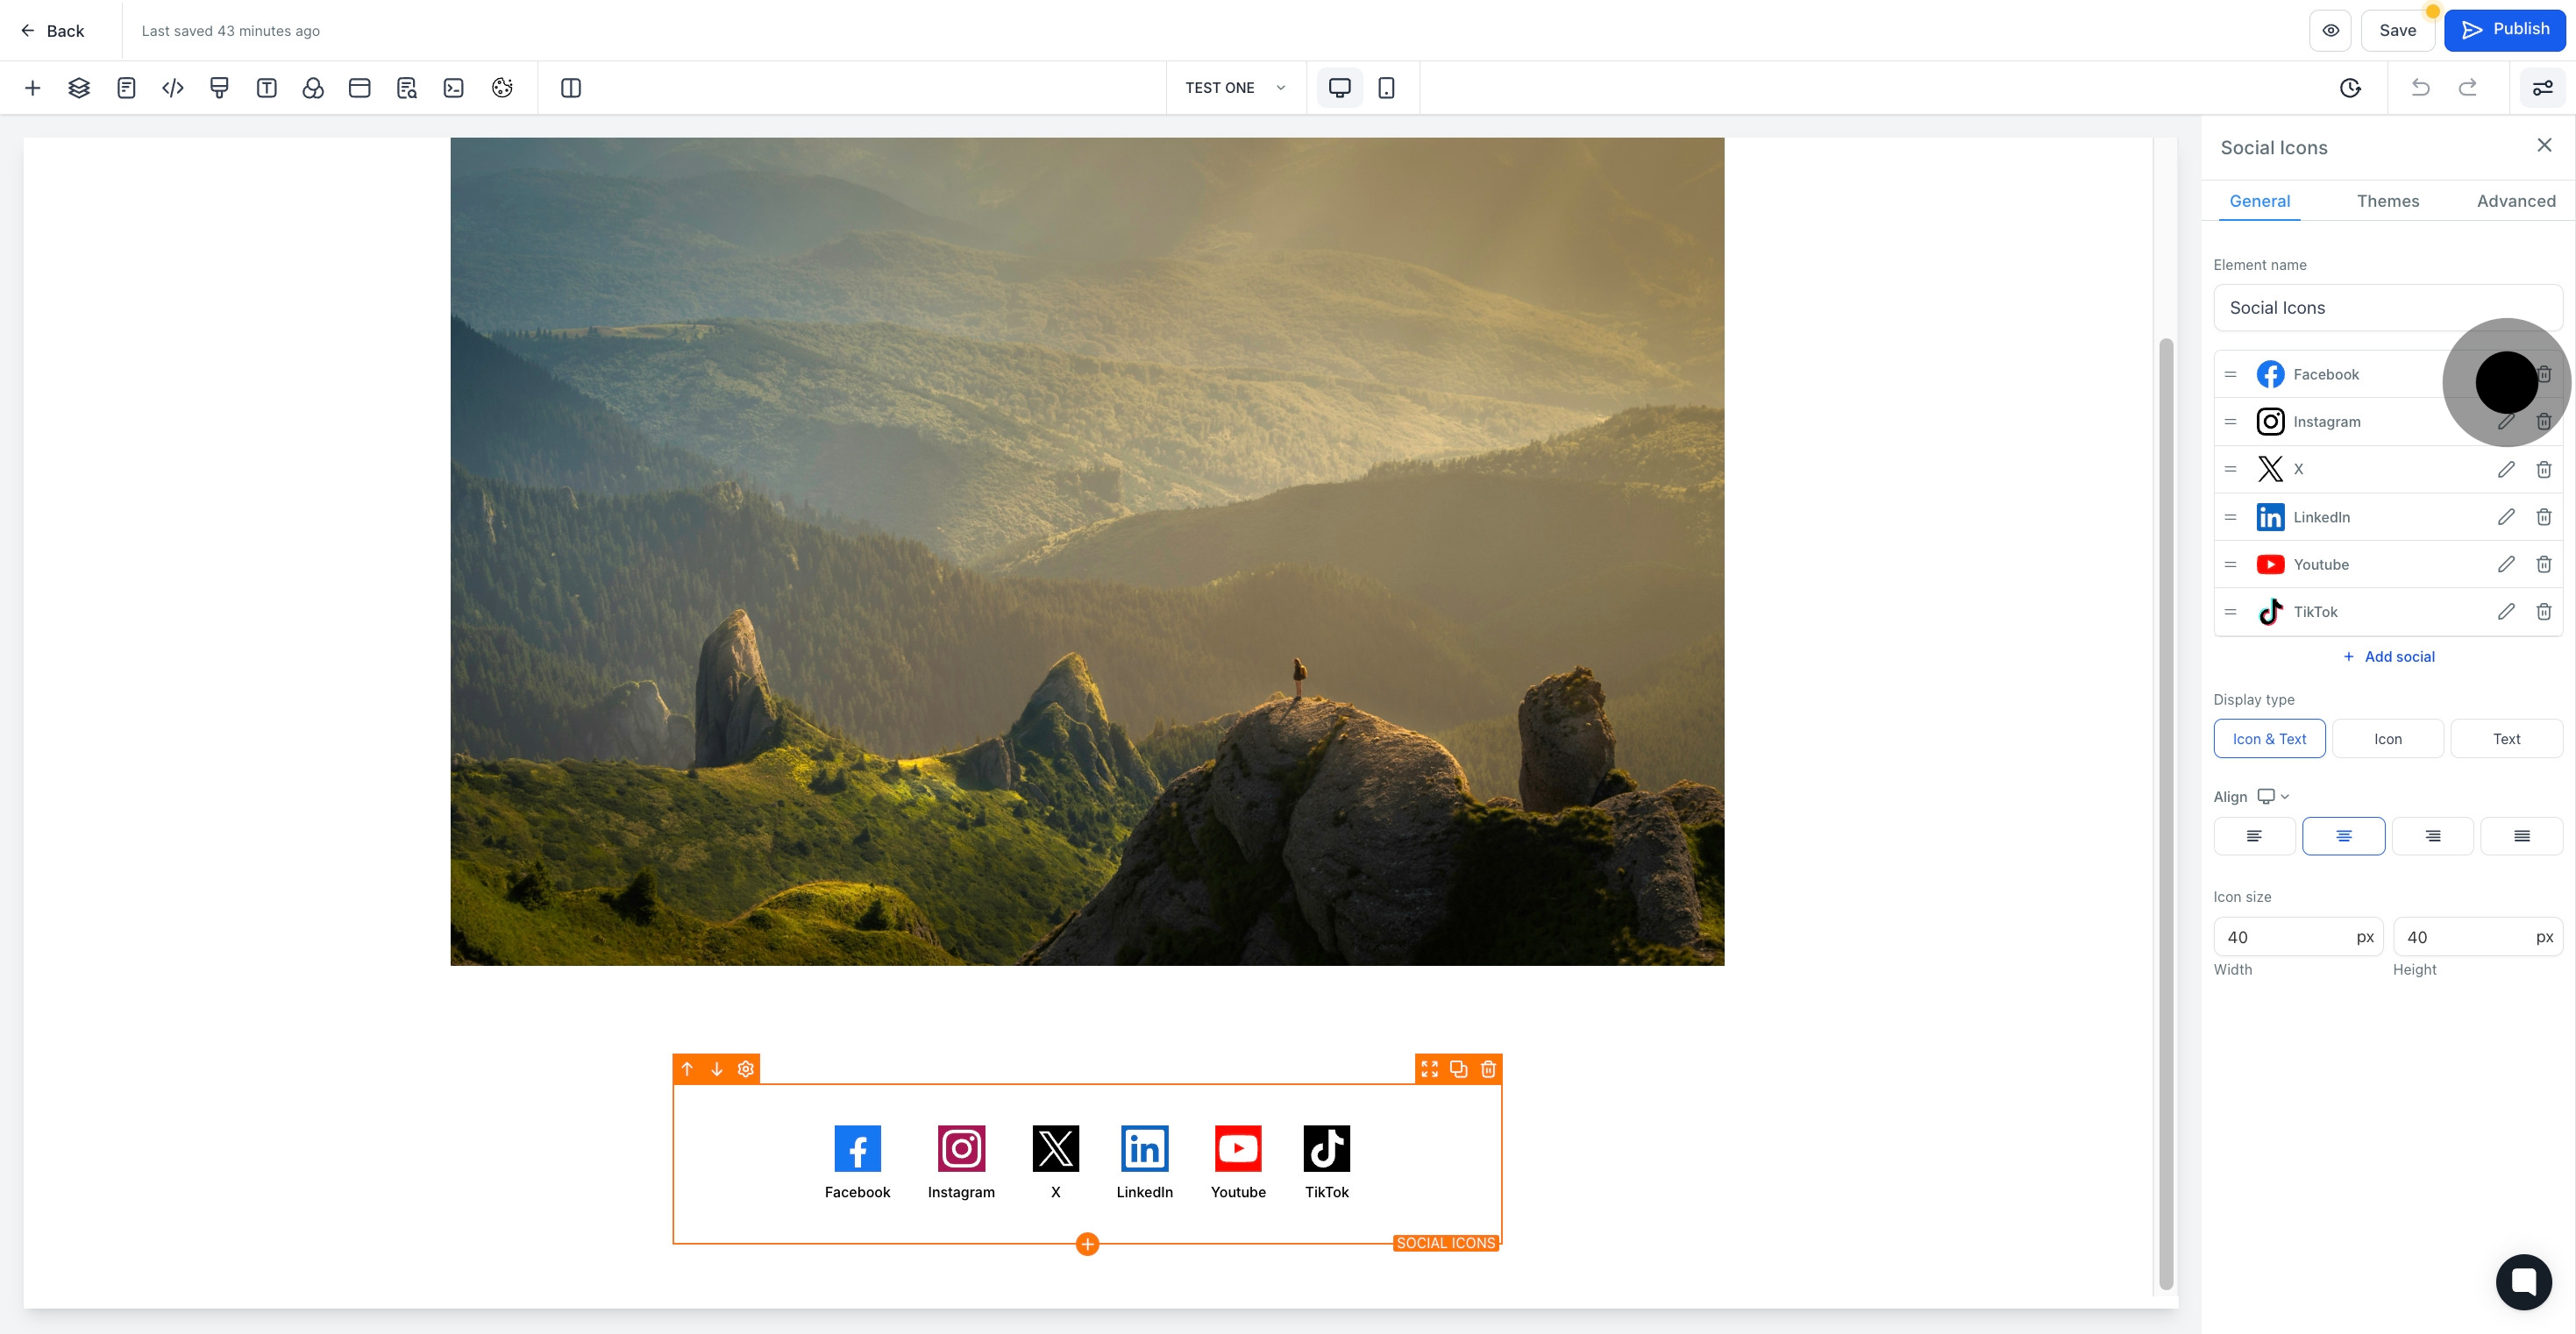
9. Add more social icons if desired.

9 Upload

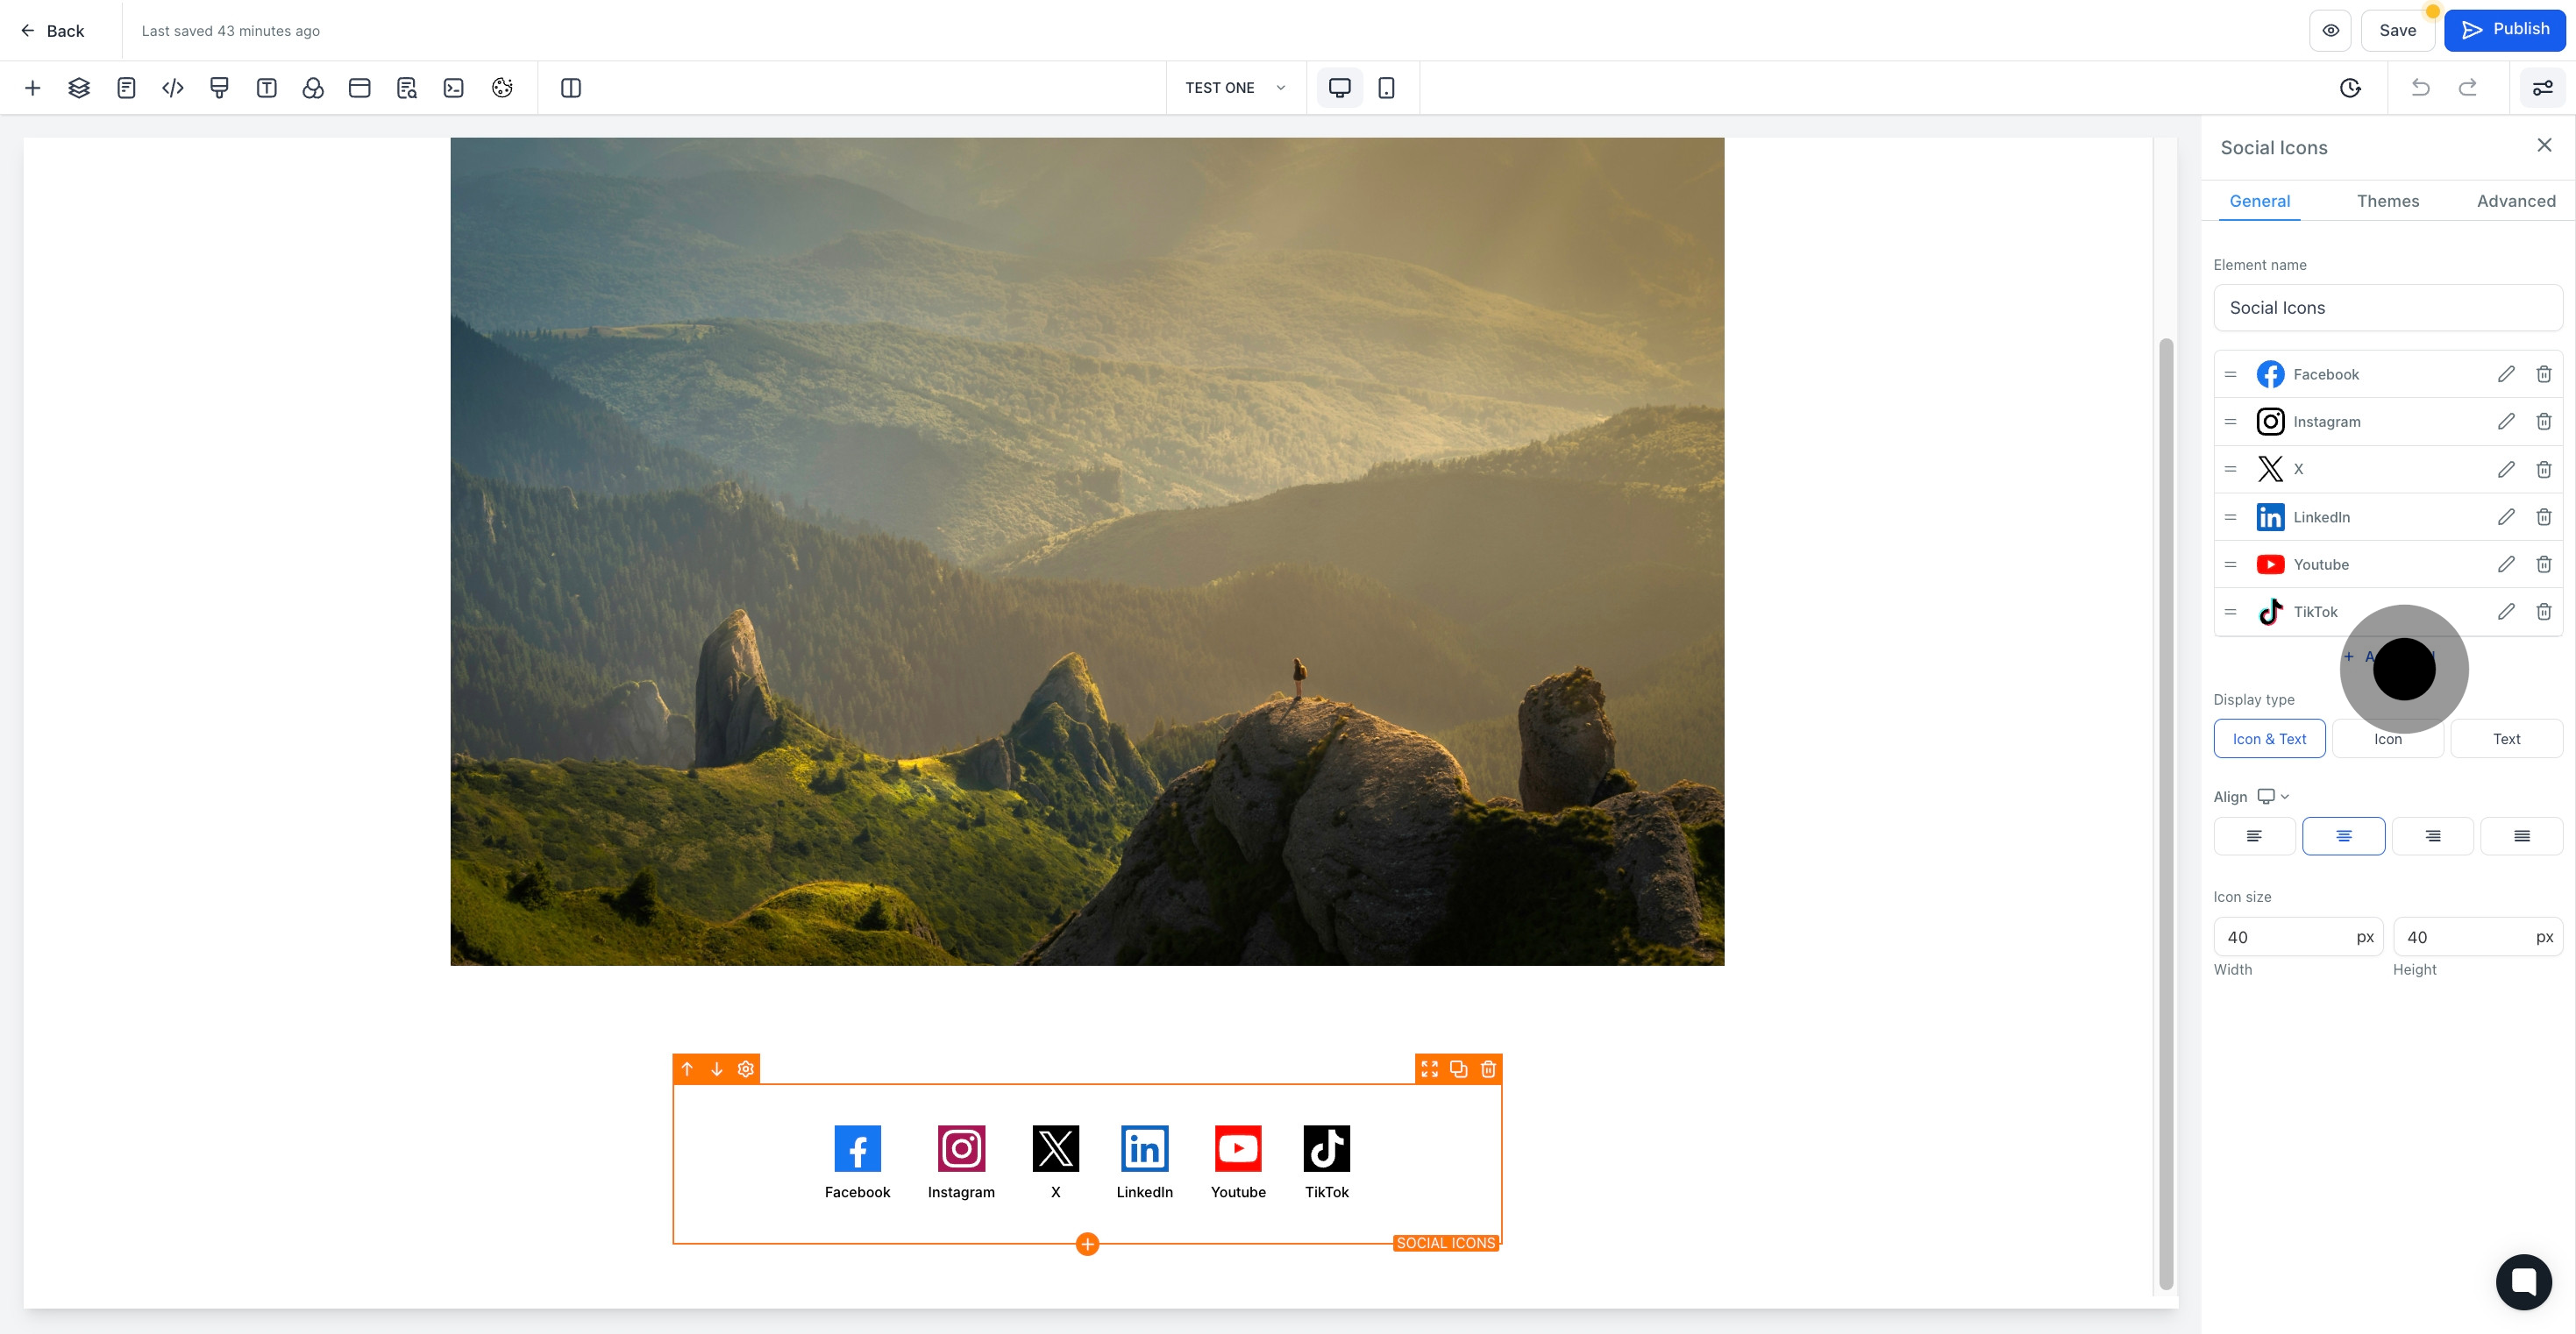
10. If you wish, delete social icons by clicking here.

10 Upload

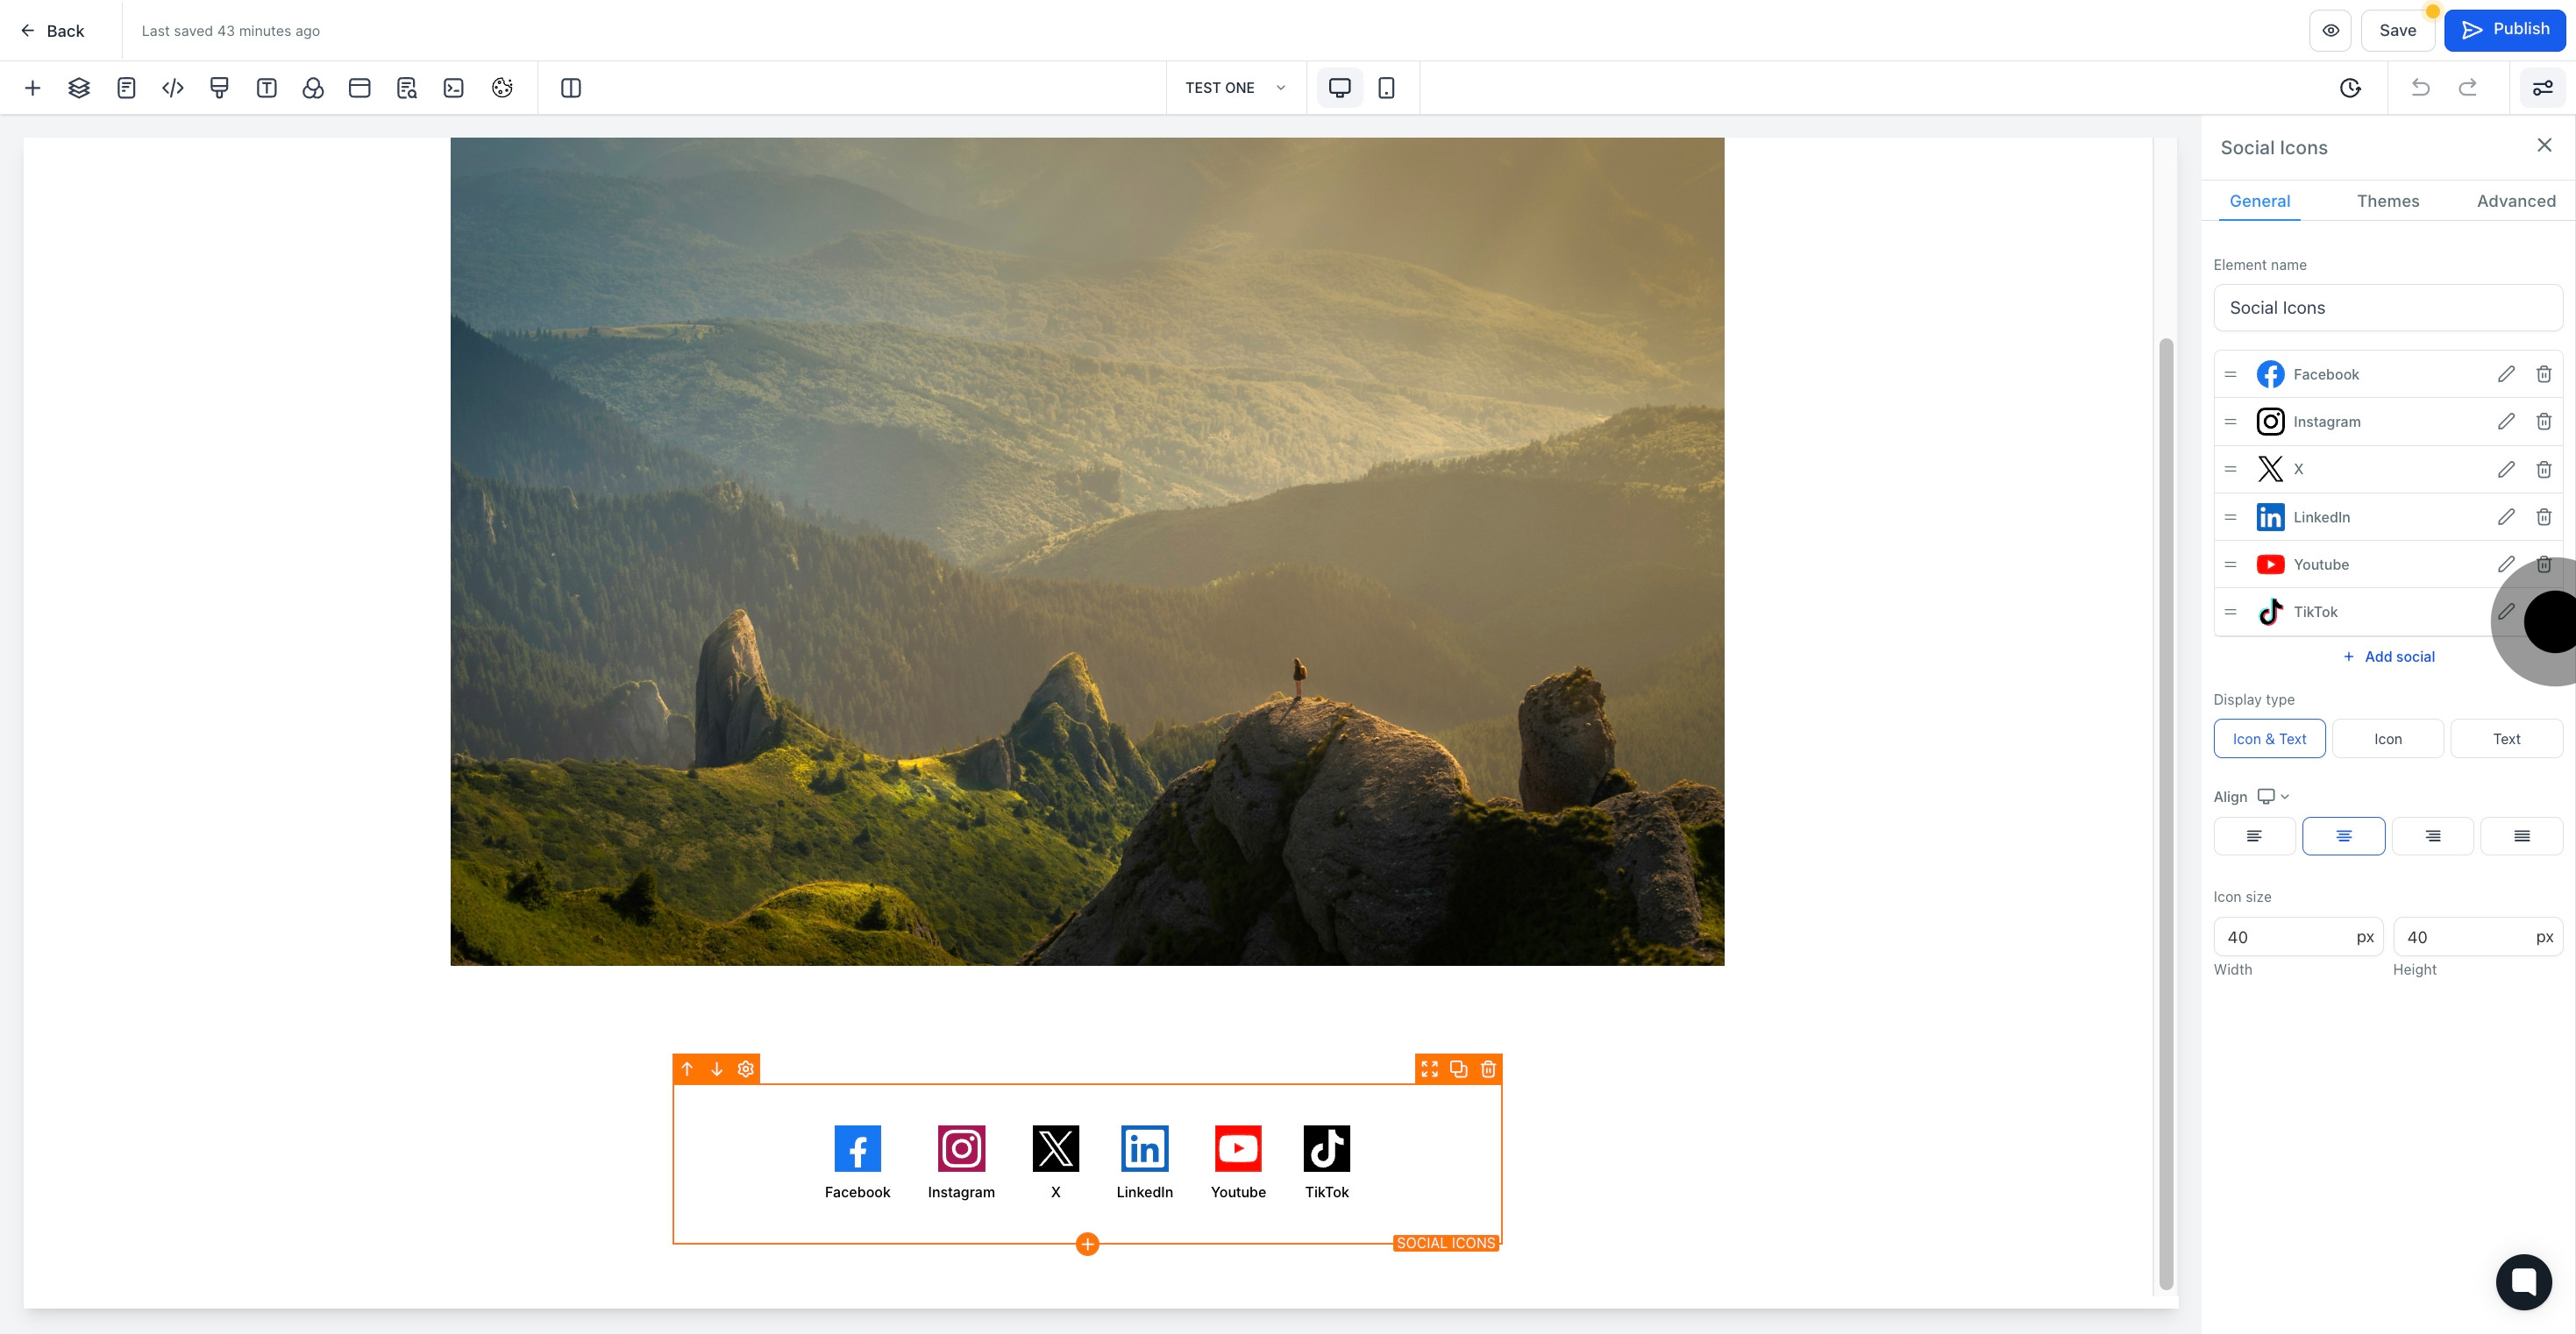
11. Choose a 'display type' for your social icons.

11 Upload

12. Select the alignment for your social icons.

12 Upload

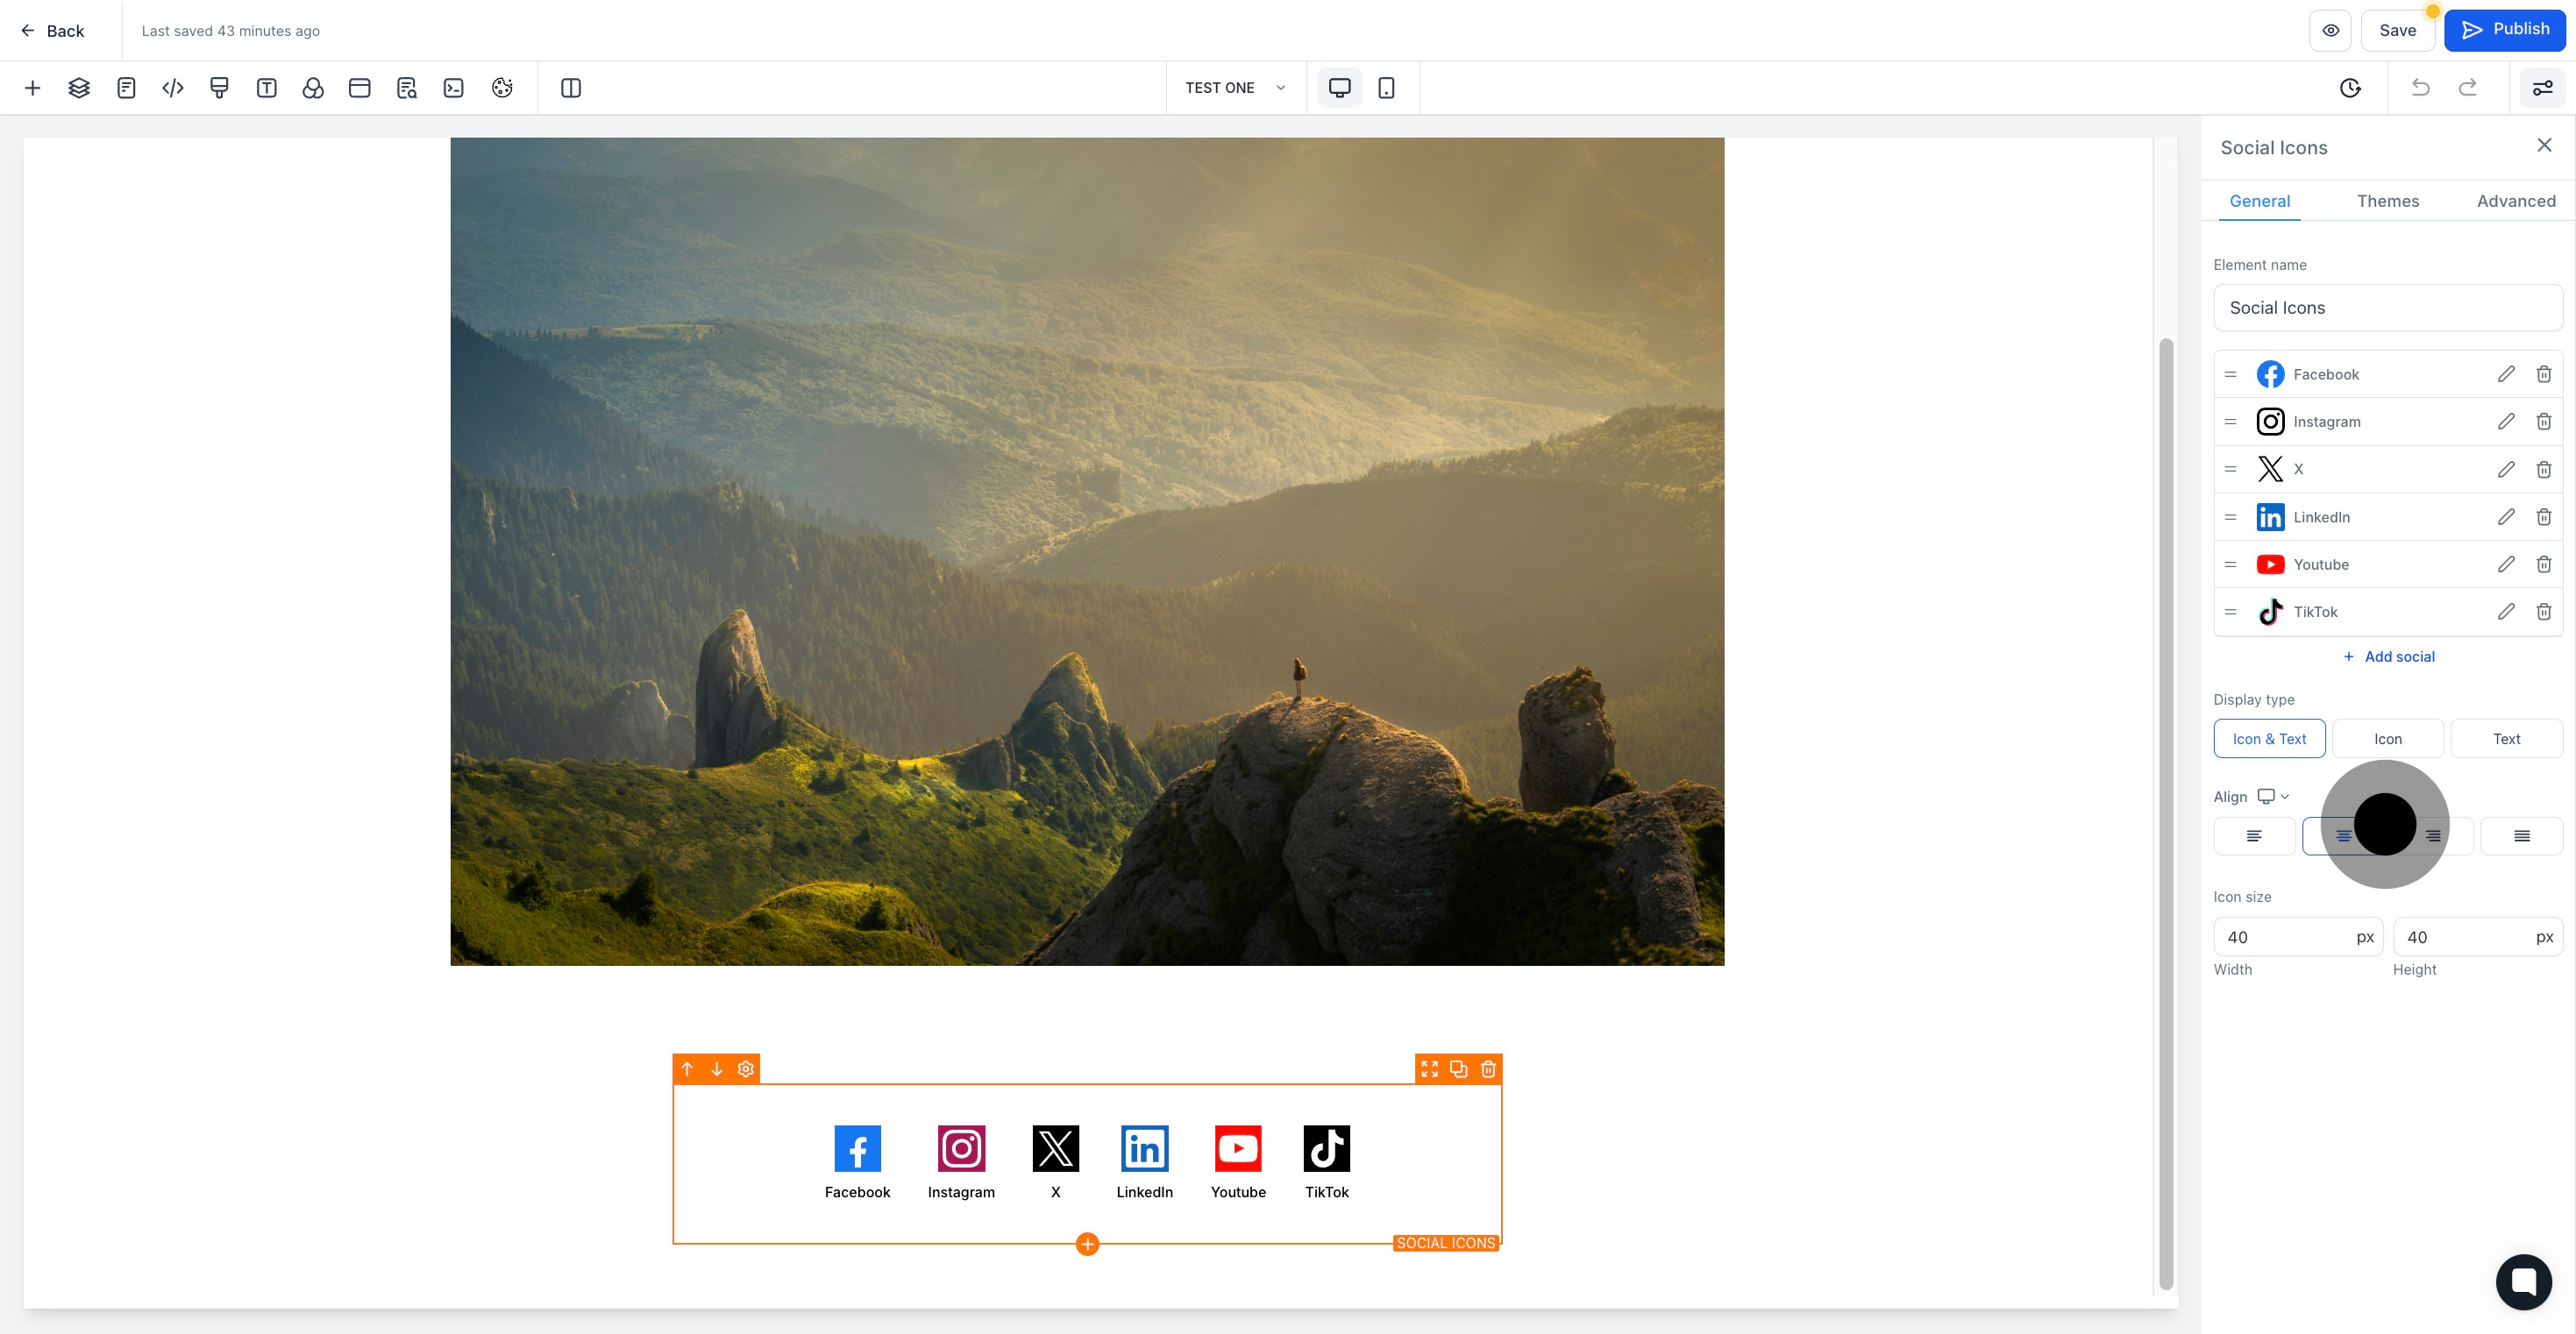
13. Adjust the icon size to suit your design.

13 Upload

14. Save your edits and changes to finalize your design.

14 Upload

Did this answer your question?
😞
😐
😁