Adding a Calendar to Your Website in LeadDec

Integrate a dynamic calendar into your website using LeadDec's Website Builder to keep your visitors informed about upcoming events, availability, and more. This guide will show you how to seamlessly add and customize a calendar on your site, enhancing user interaction by allowing visitors to view important dates and schedule appointments directly through your platform. Learn how to leverage this tool to improve engagement and provide real-time updates, making your website a go-to resource for timely information.


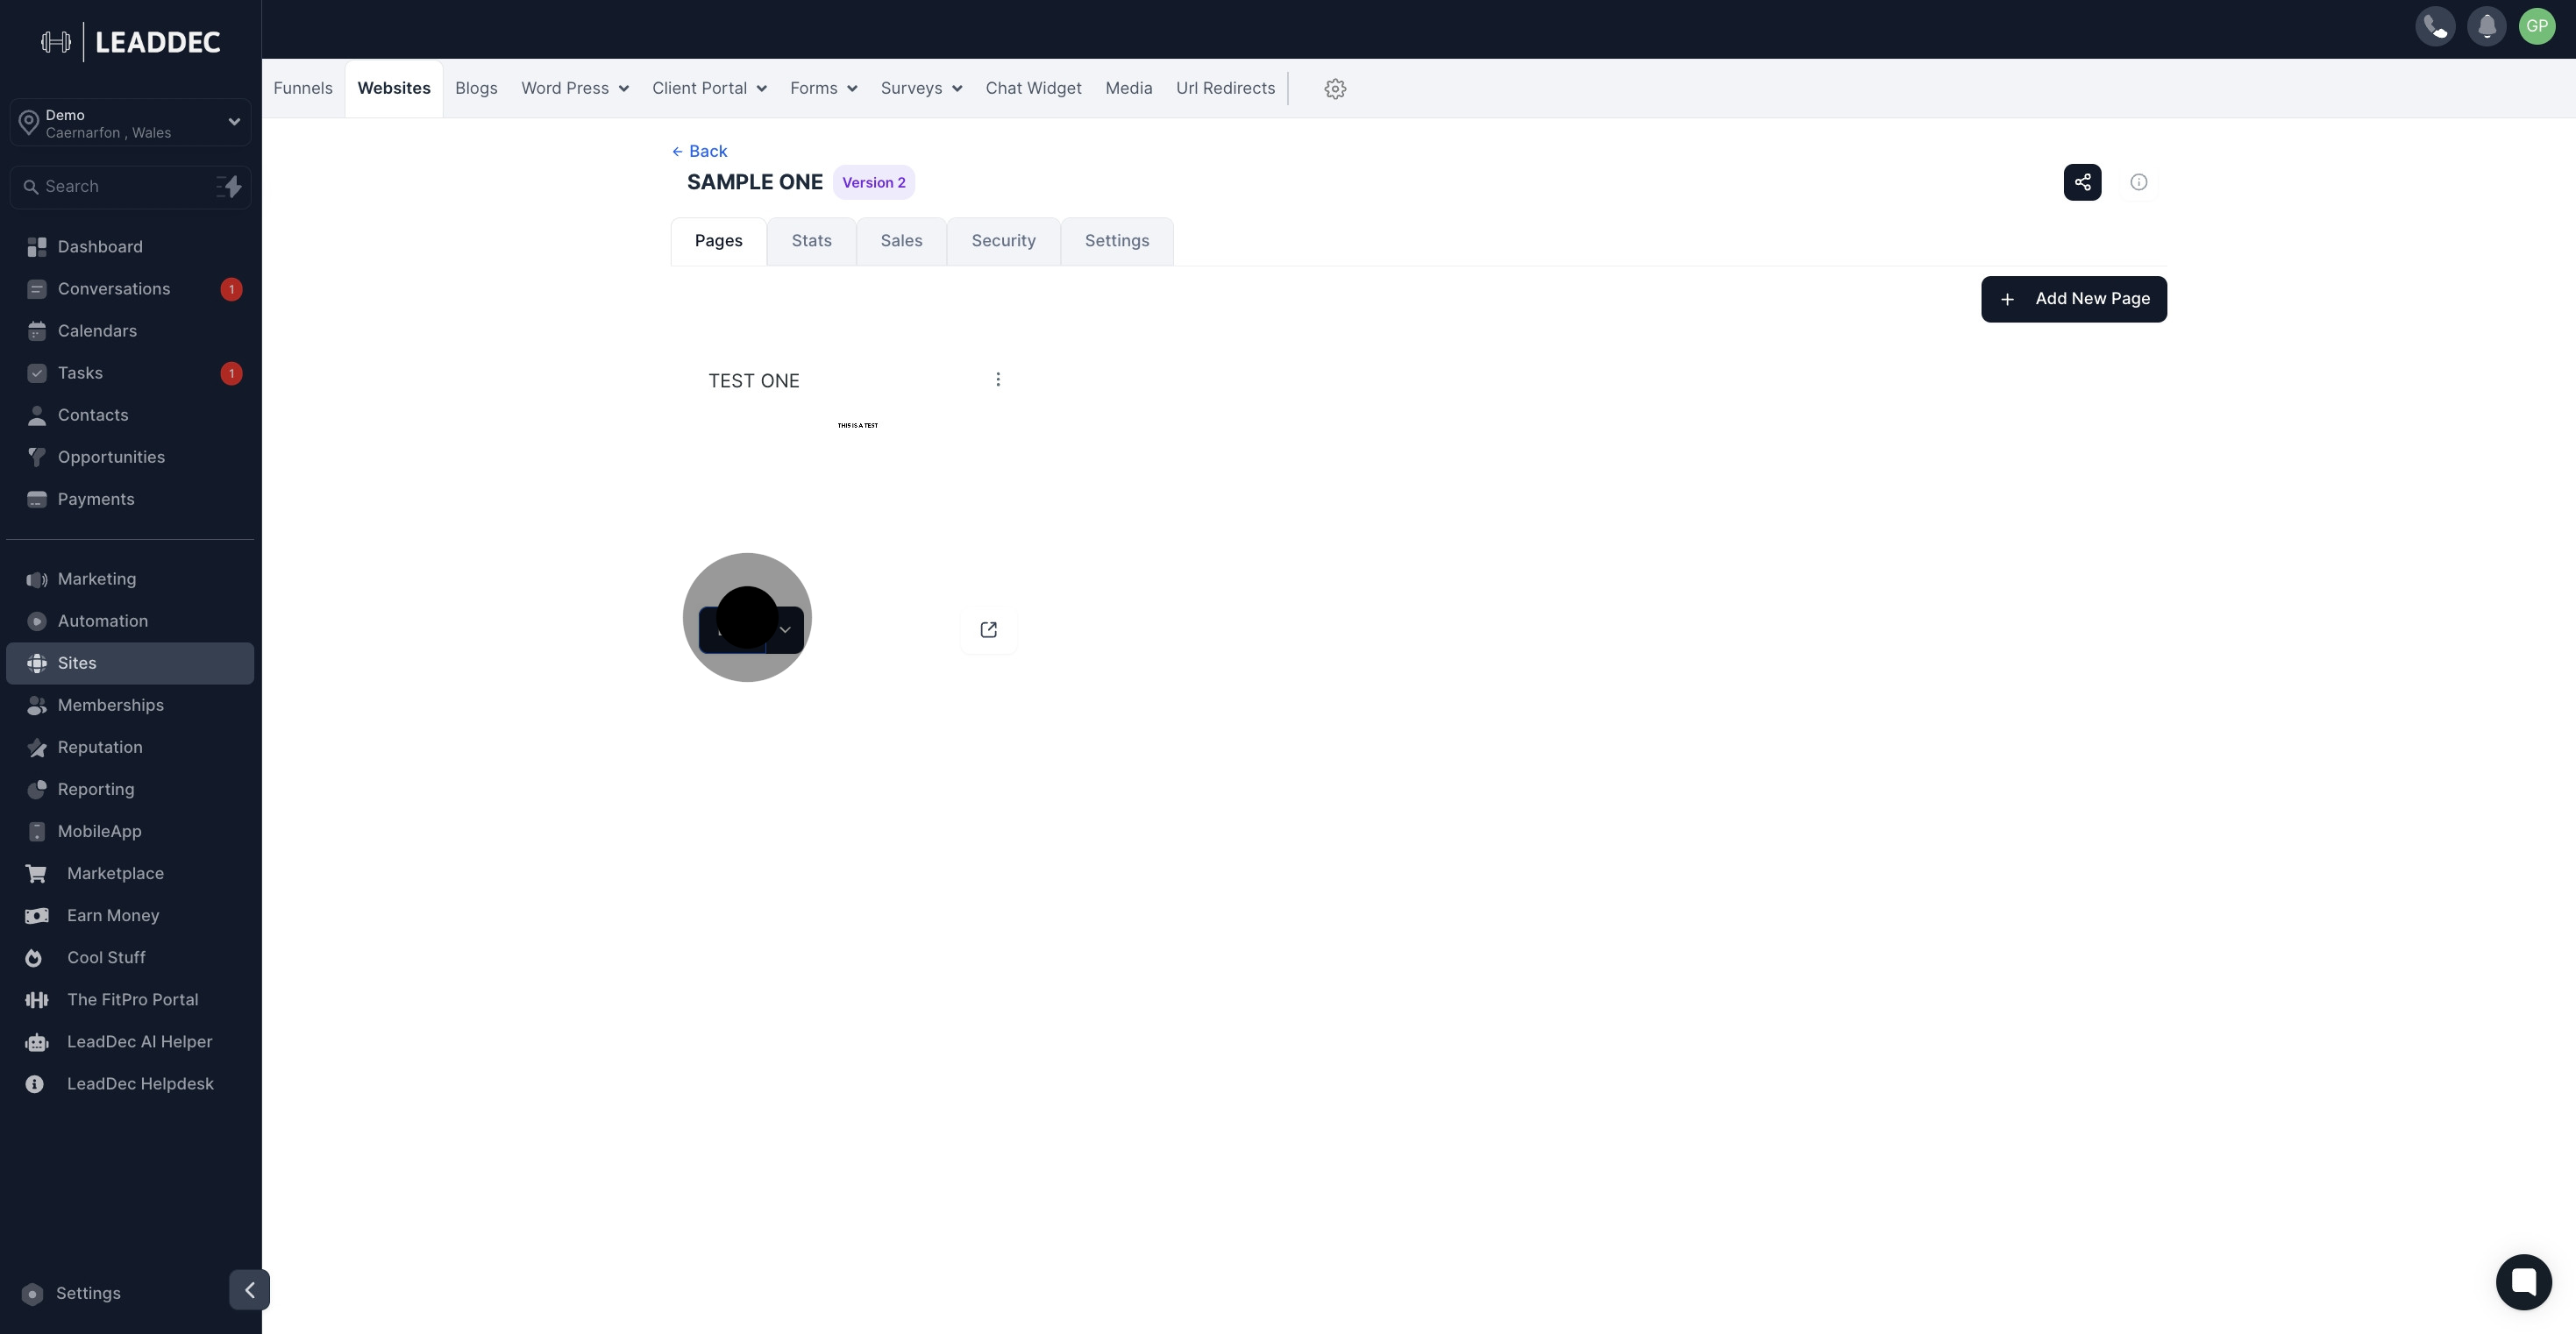
1. Start by navigating to 'Sites'.

1 To begin, click here.

2. Next, select the 'Websites' tab.

2 Click on "Websites".

3. Choose a website name from the displayed list.

3 Click on "SAMPLE ONE".

4. Now, you can edit by clicking 'Edit'.

4 Click on "Edit".

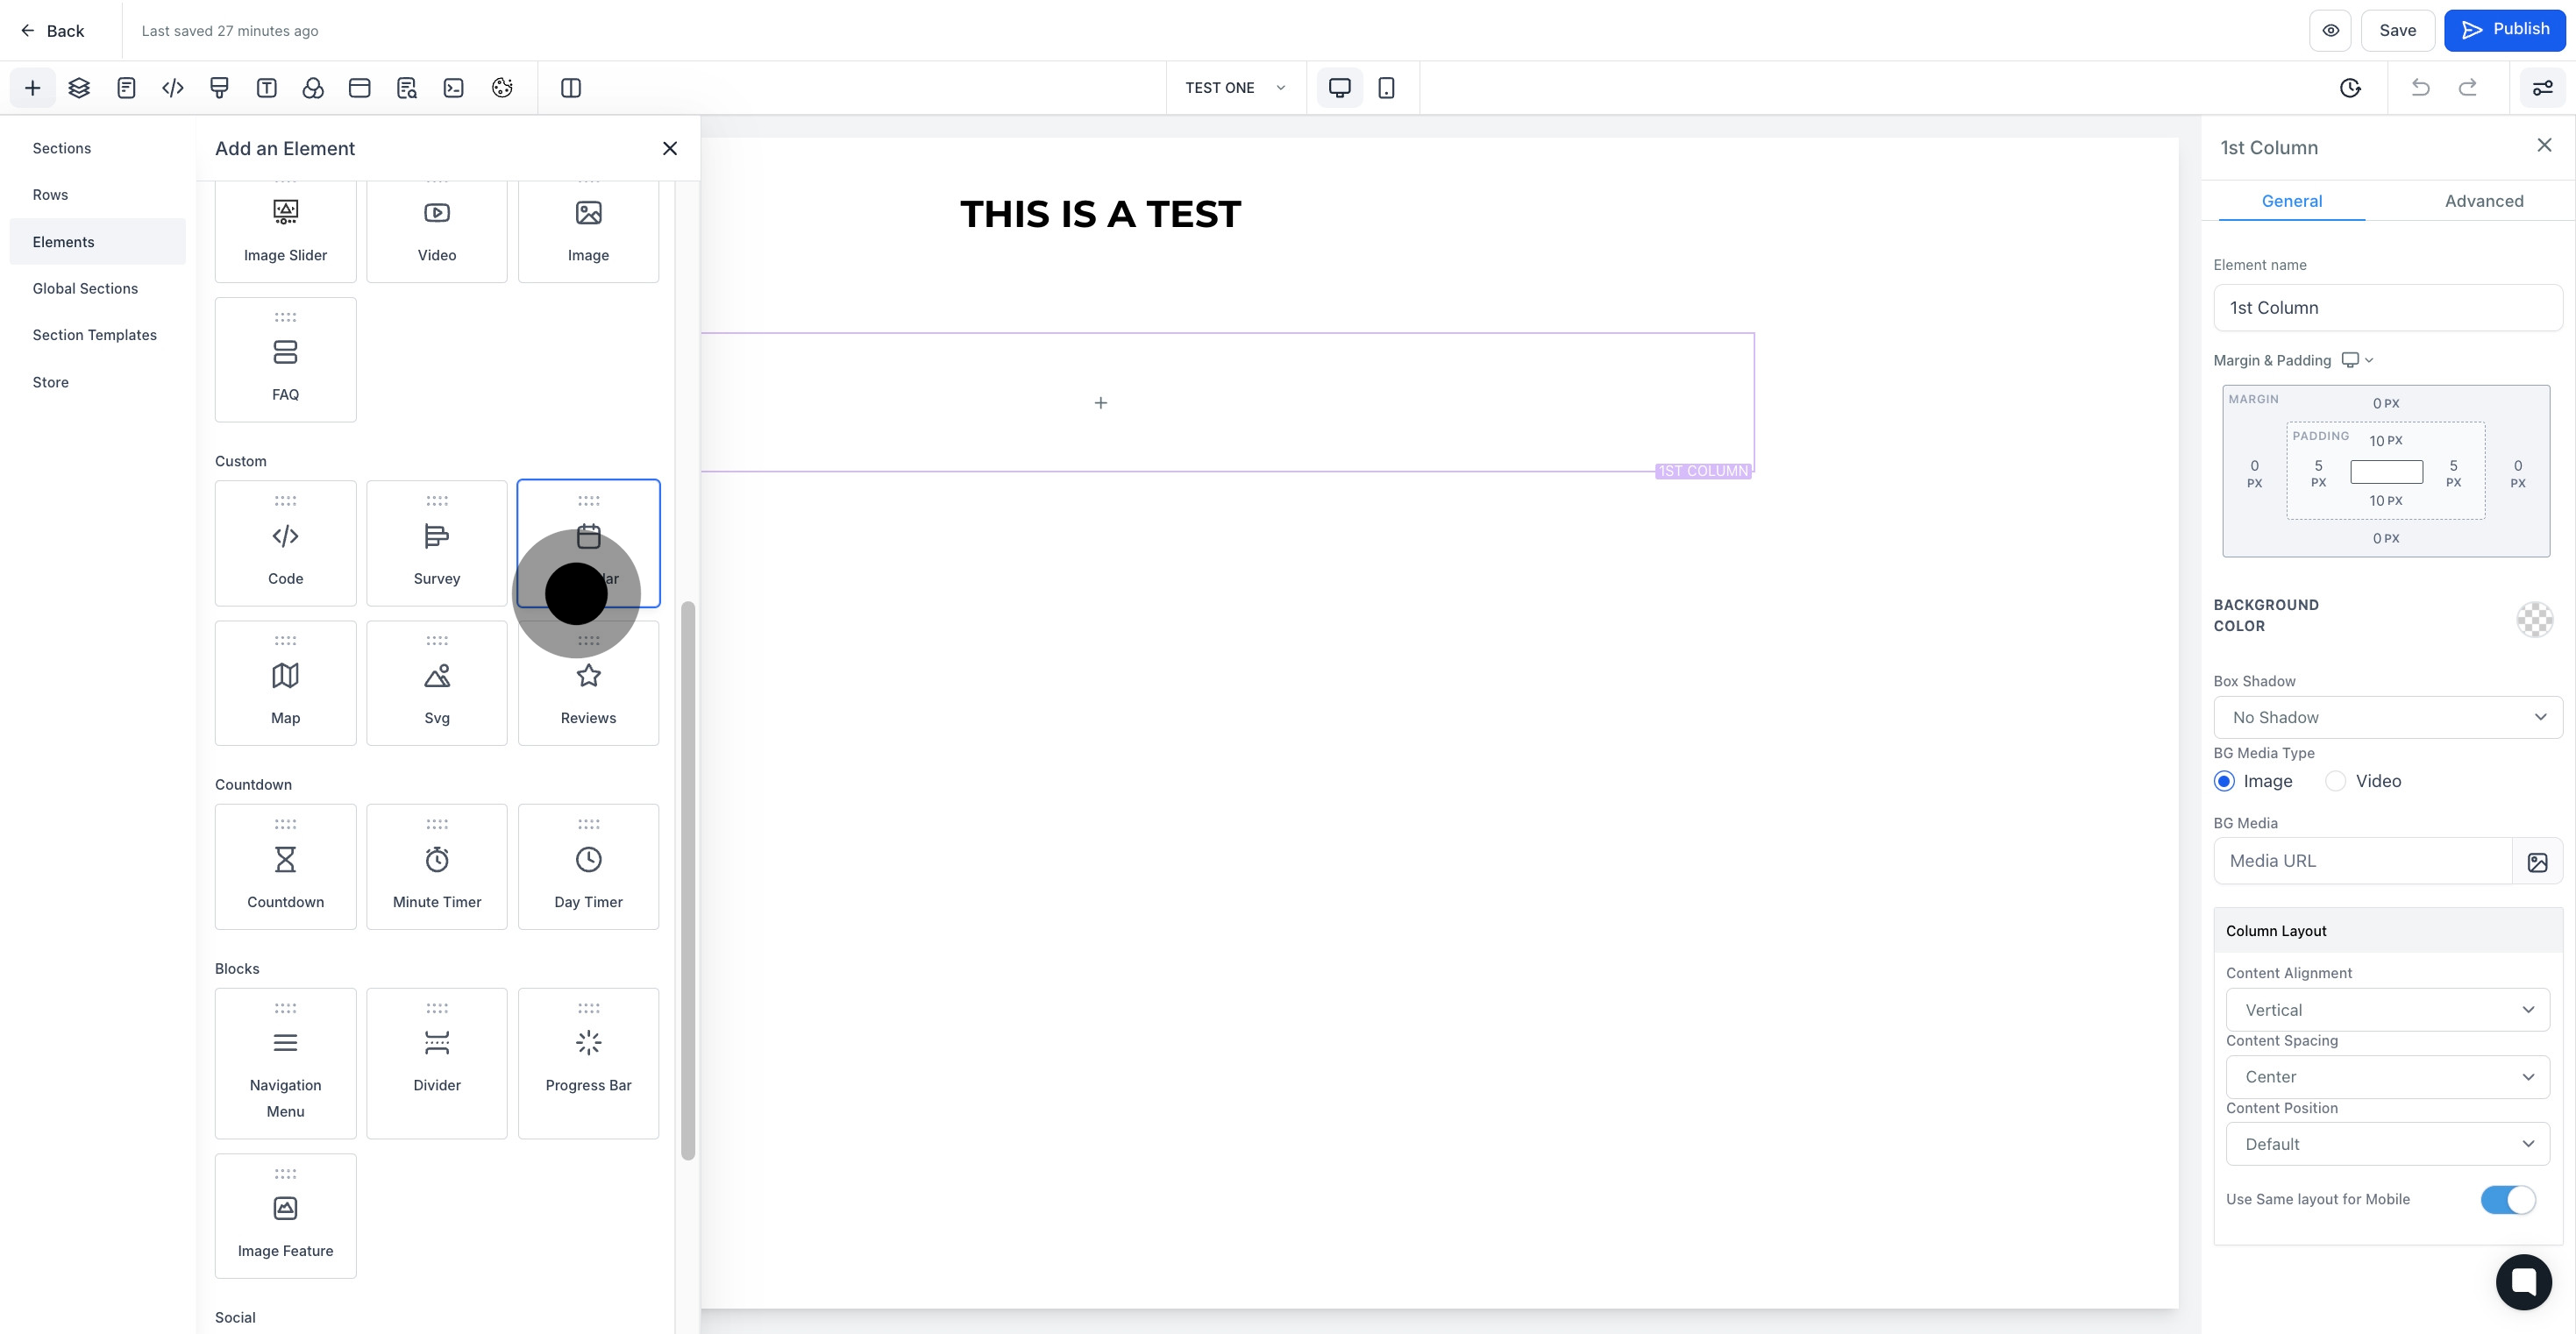
5. Click the element for the next stage.

5 Afterwards, click on the element.

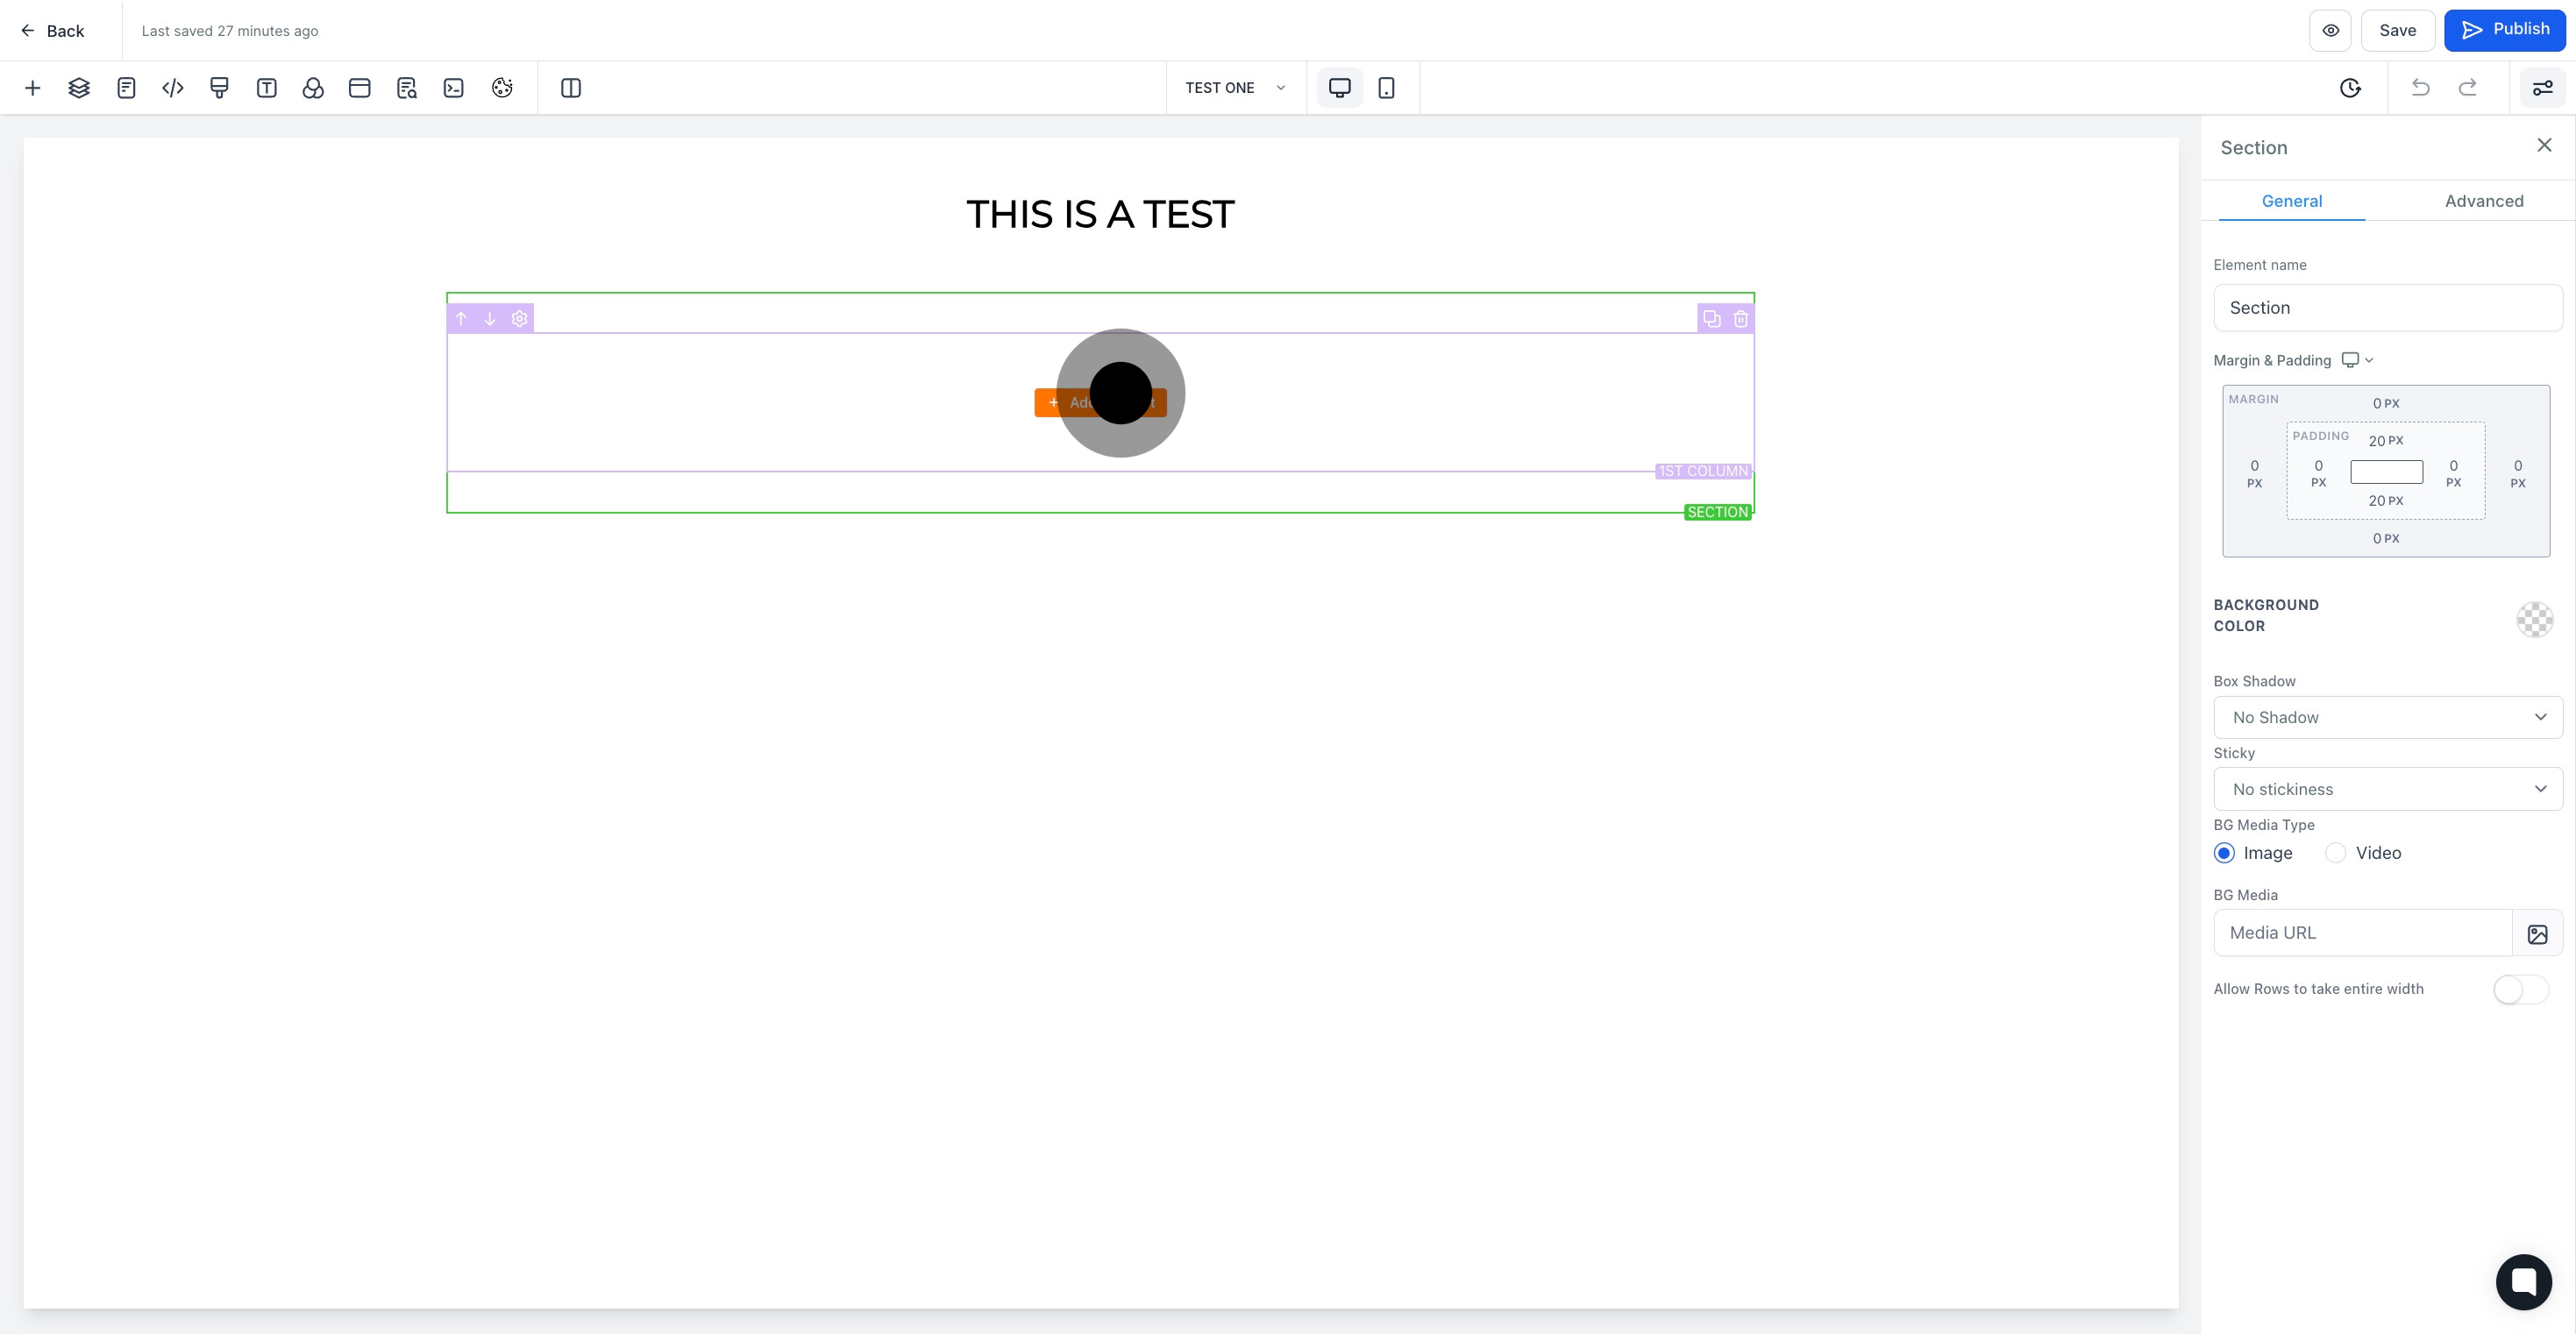
6. Select 'calendar' as the element you wish to add next.

6 Click here.

7. Enable the 'group page' option.

7 Click on the element.

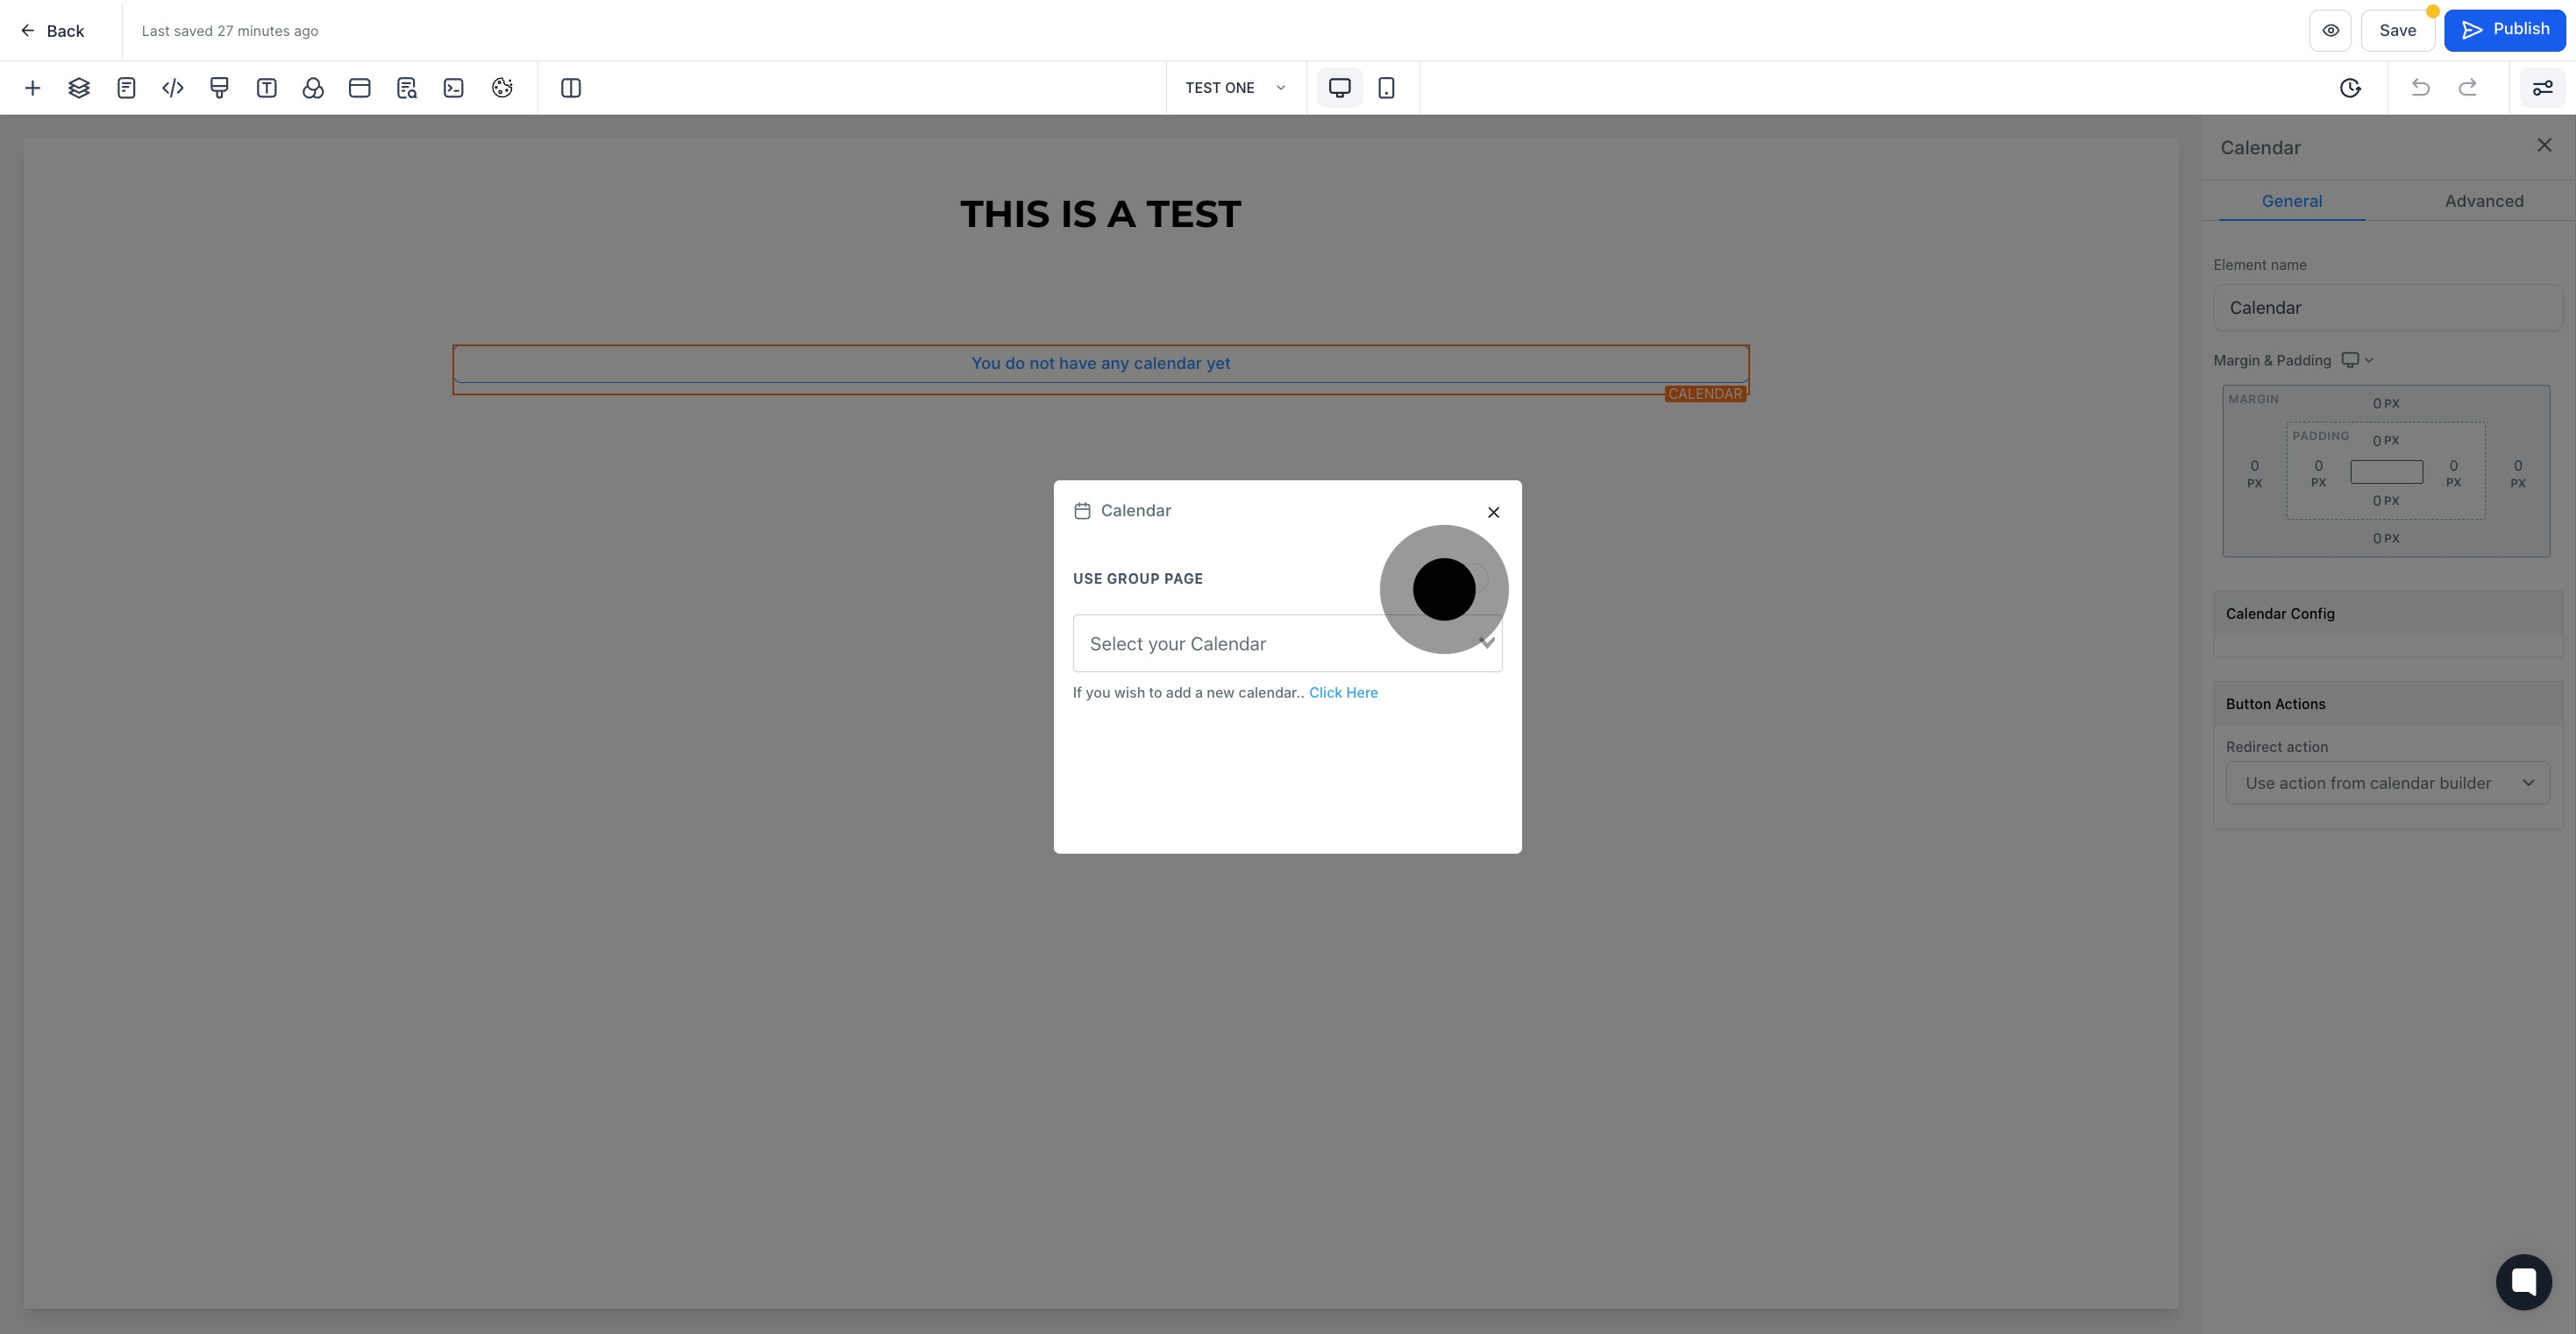
8. From the dropdown list, choose your calendar.

8 Click on "sample calendar".

9. Look at the website builder where the calendar has been added.

9 Click here.

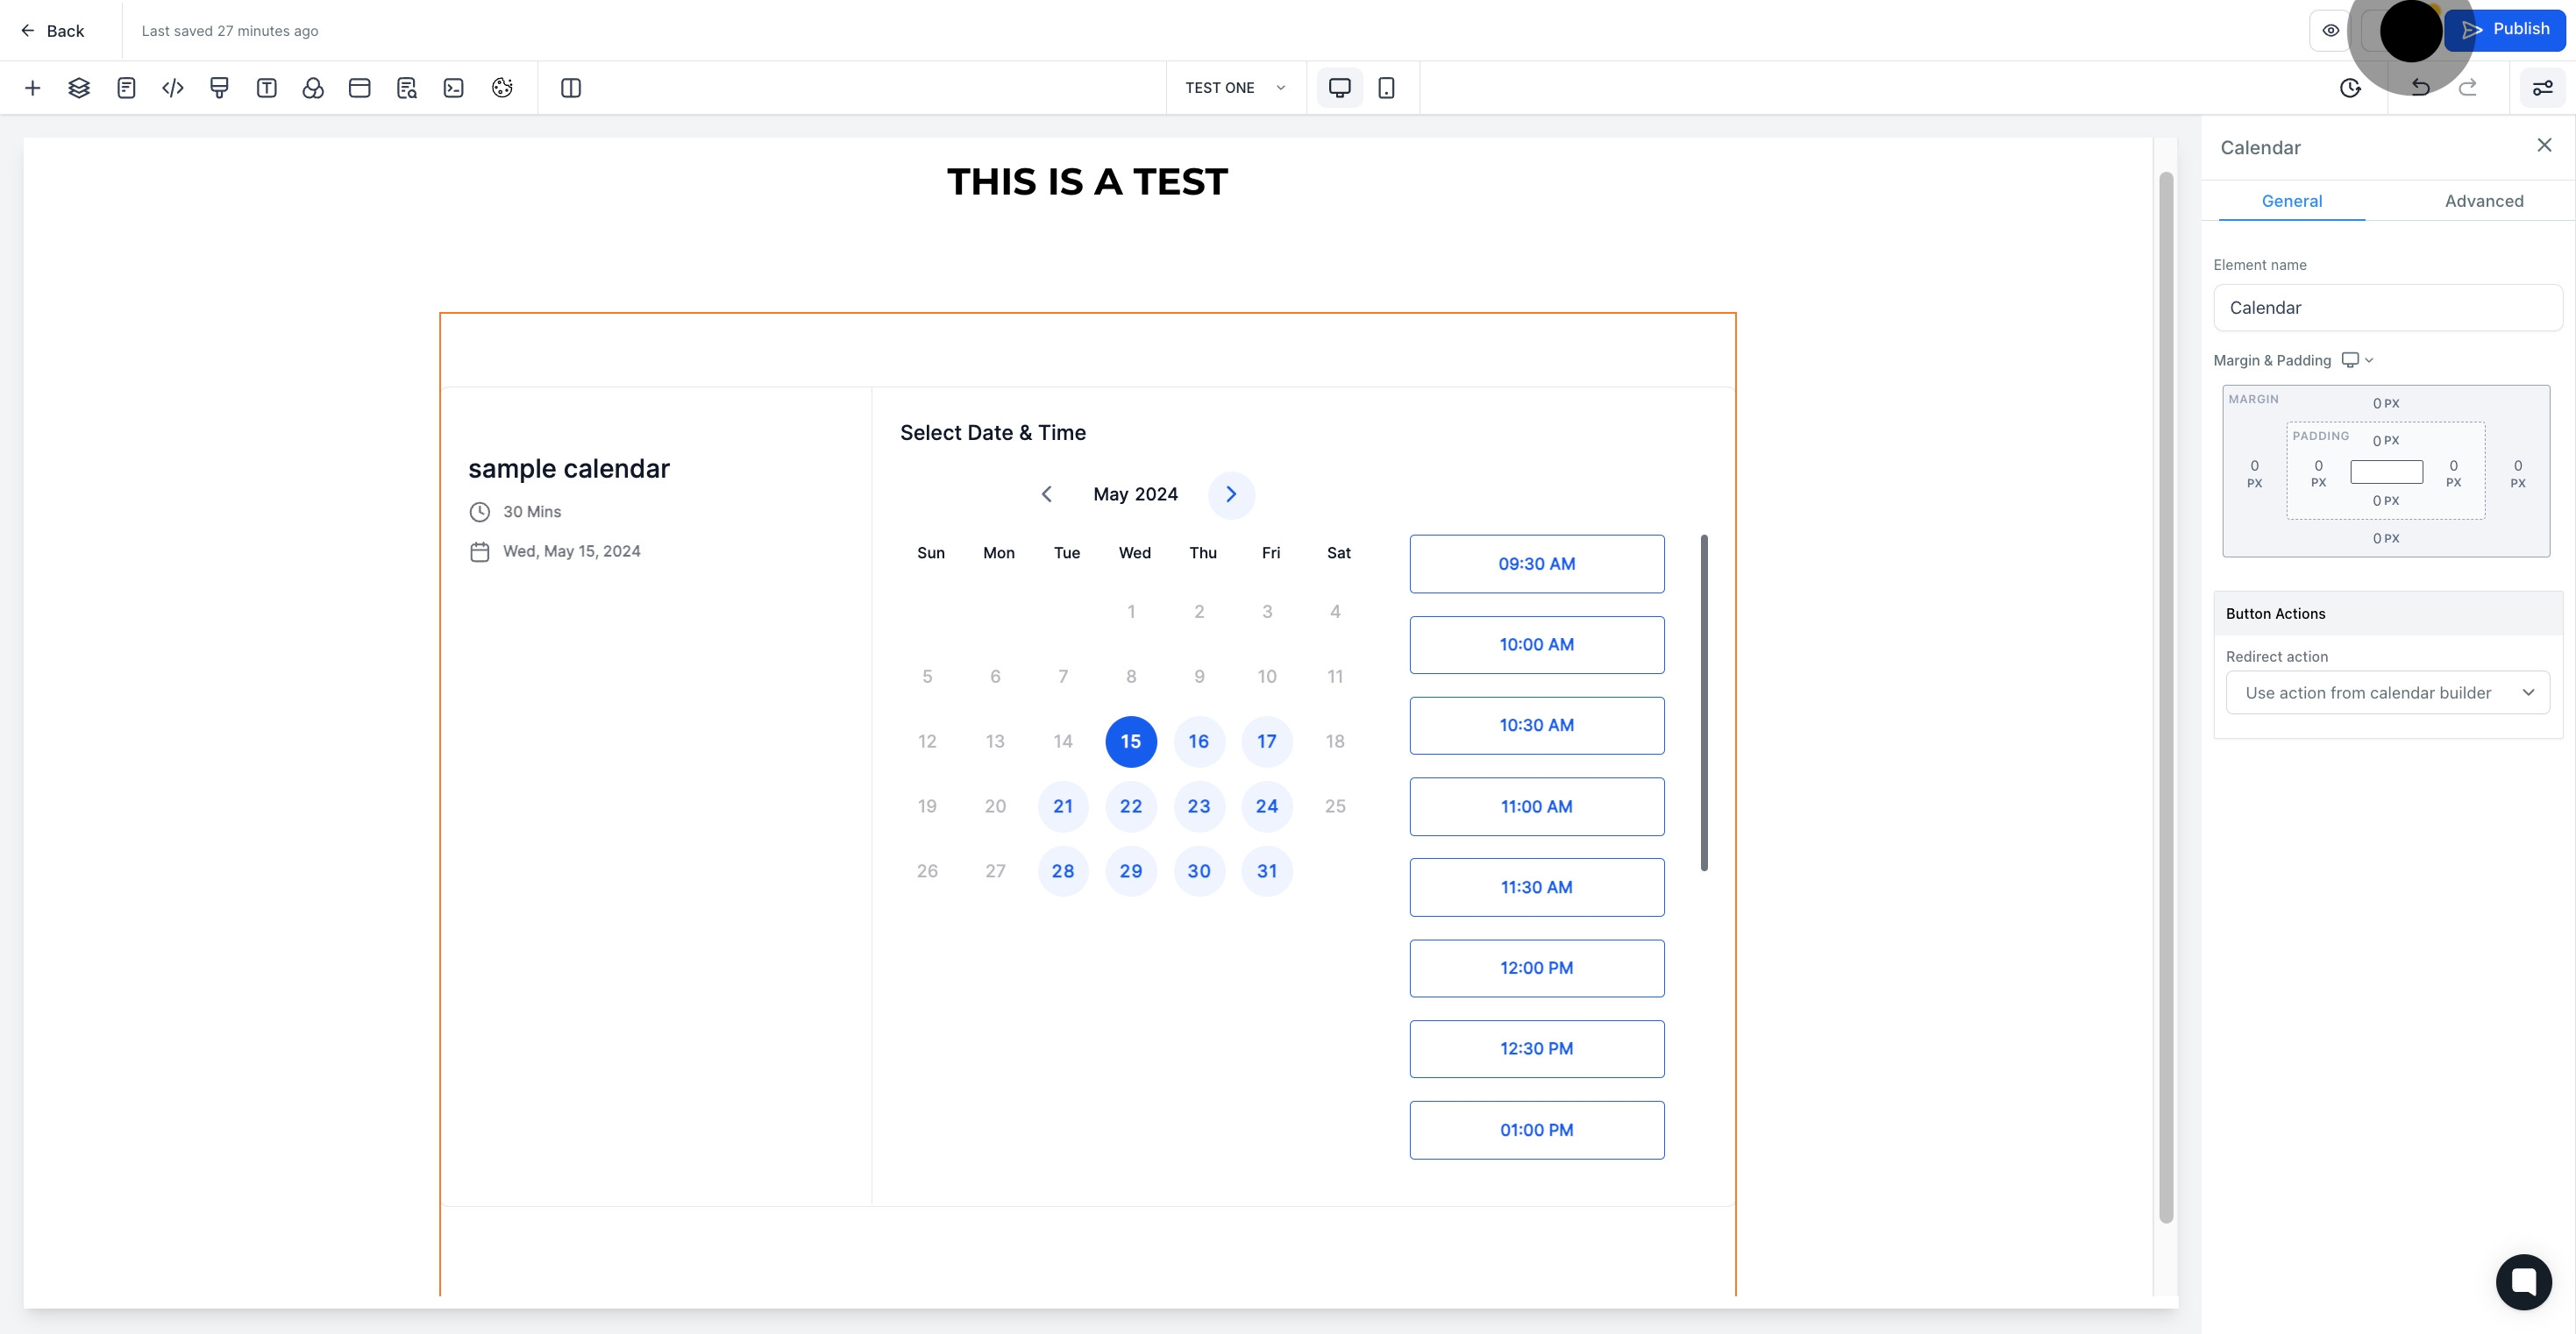
10. Give the element a fitting name.

10 Then, click on the element.

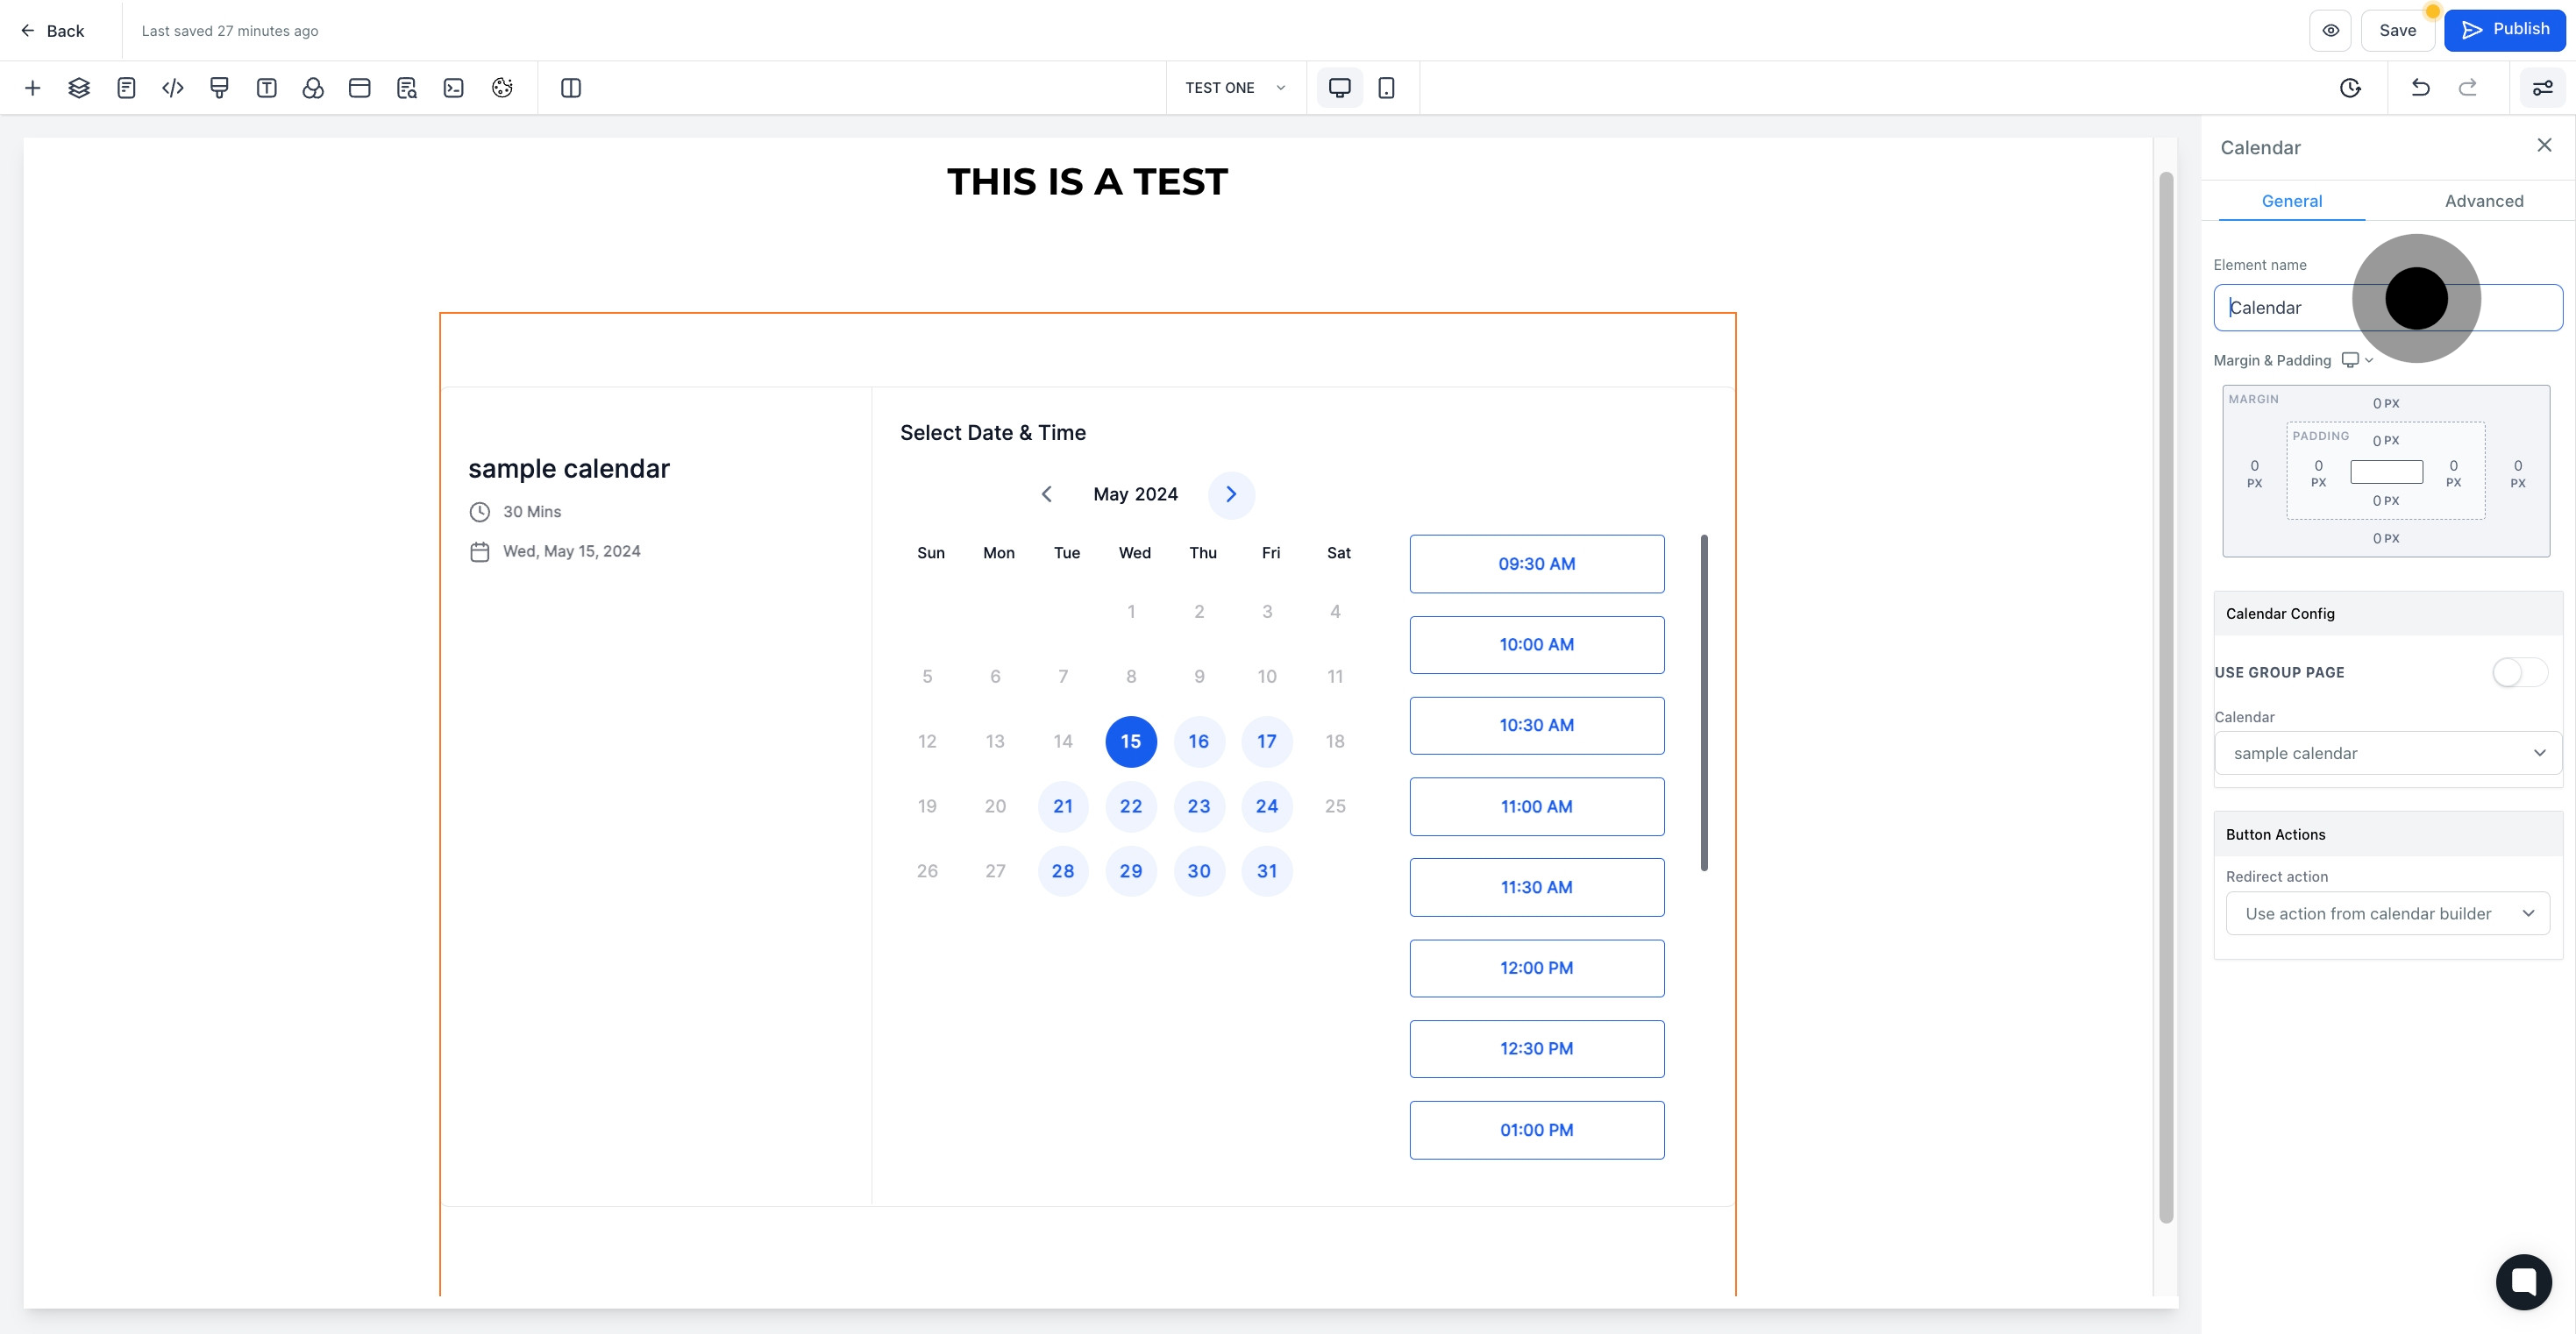
11. You can now customize the calendar in the 'Calendar Config' section.

11 Following that, click on "Calendar Config".

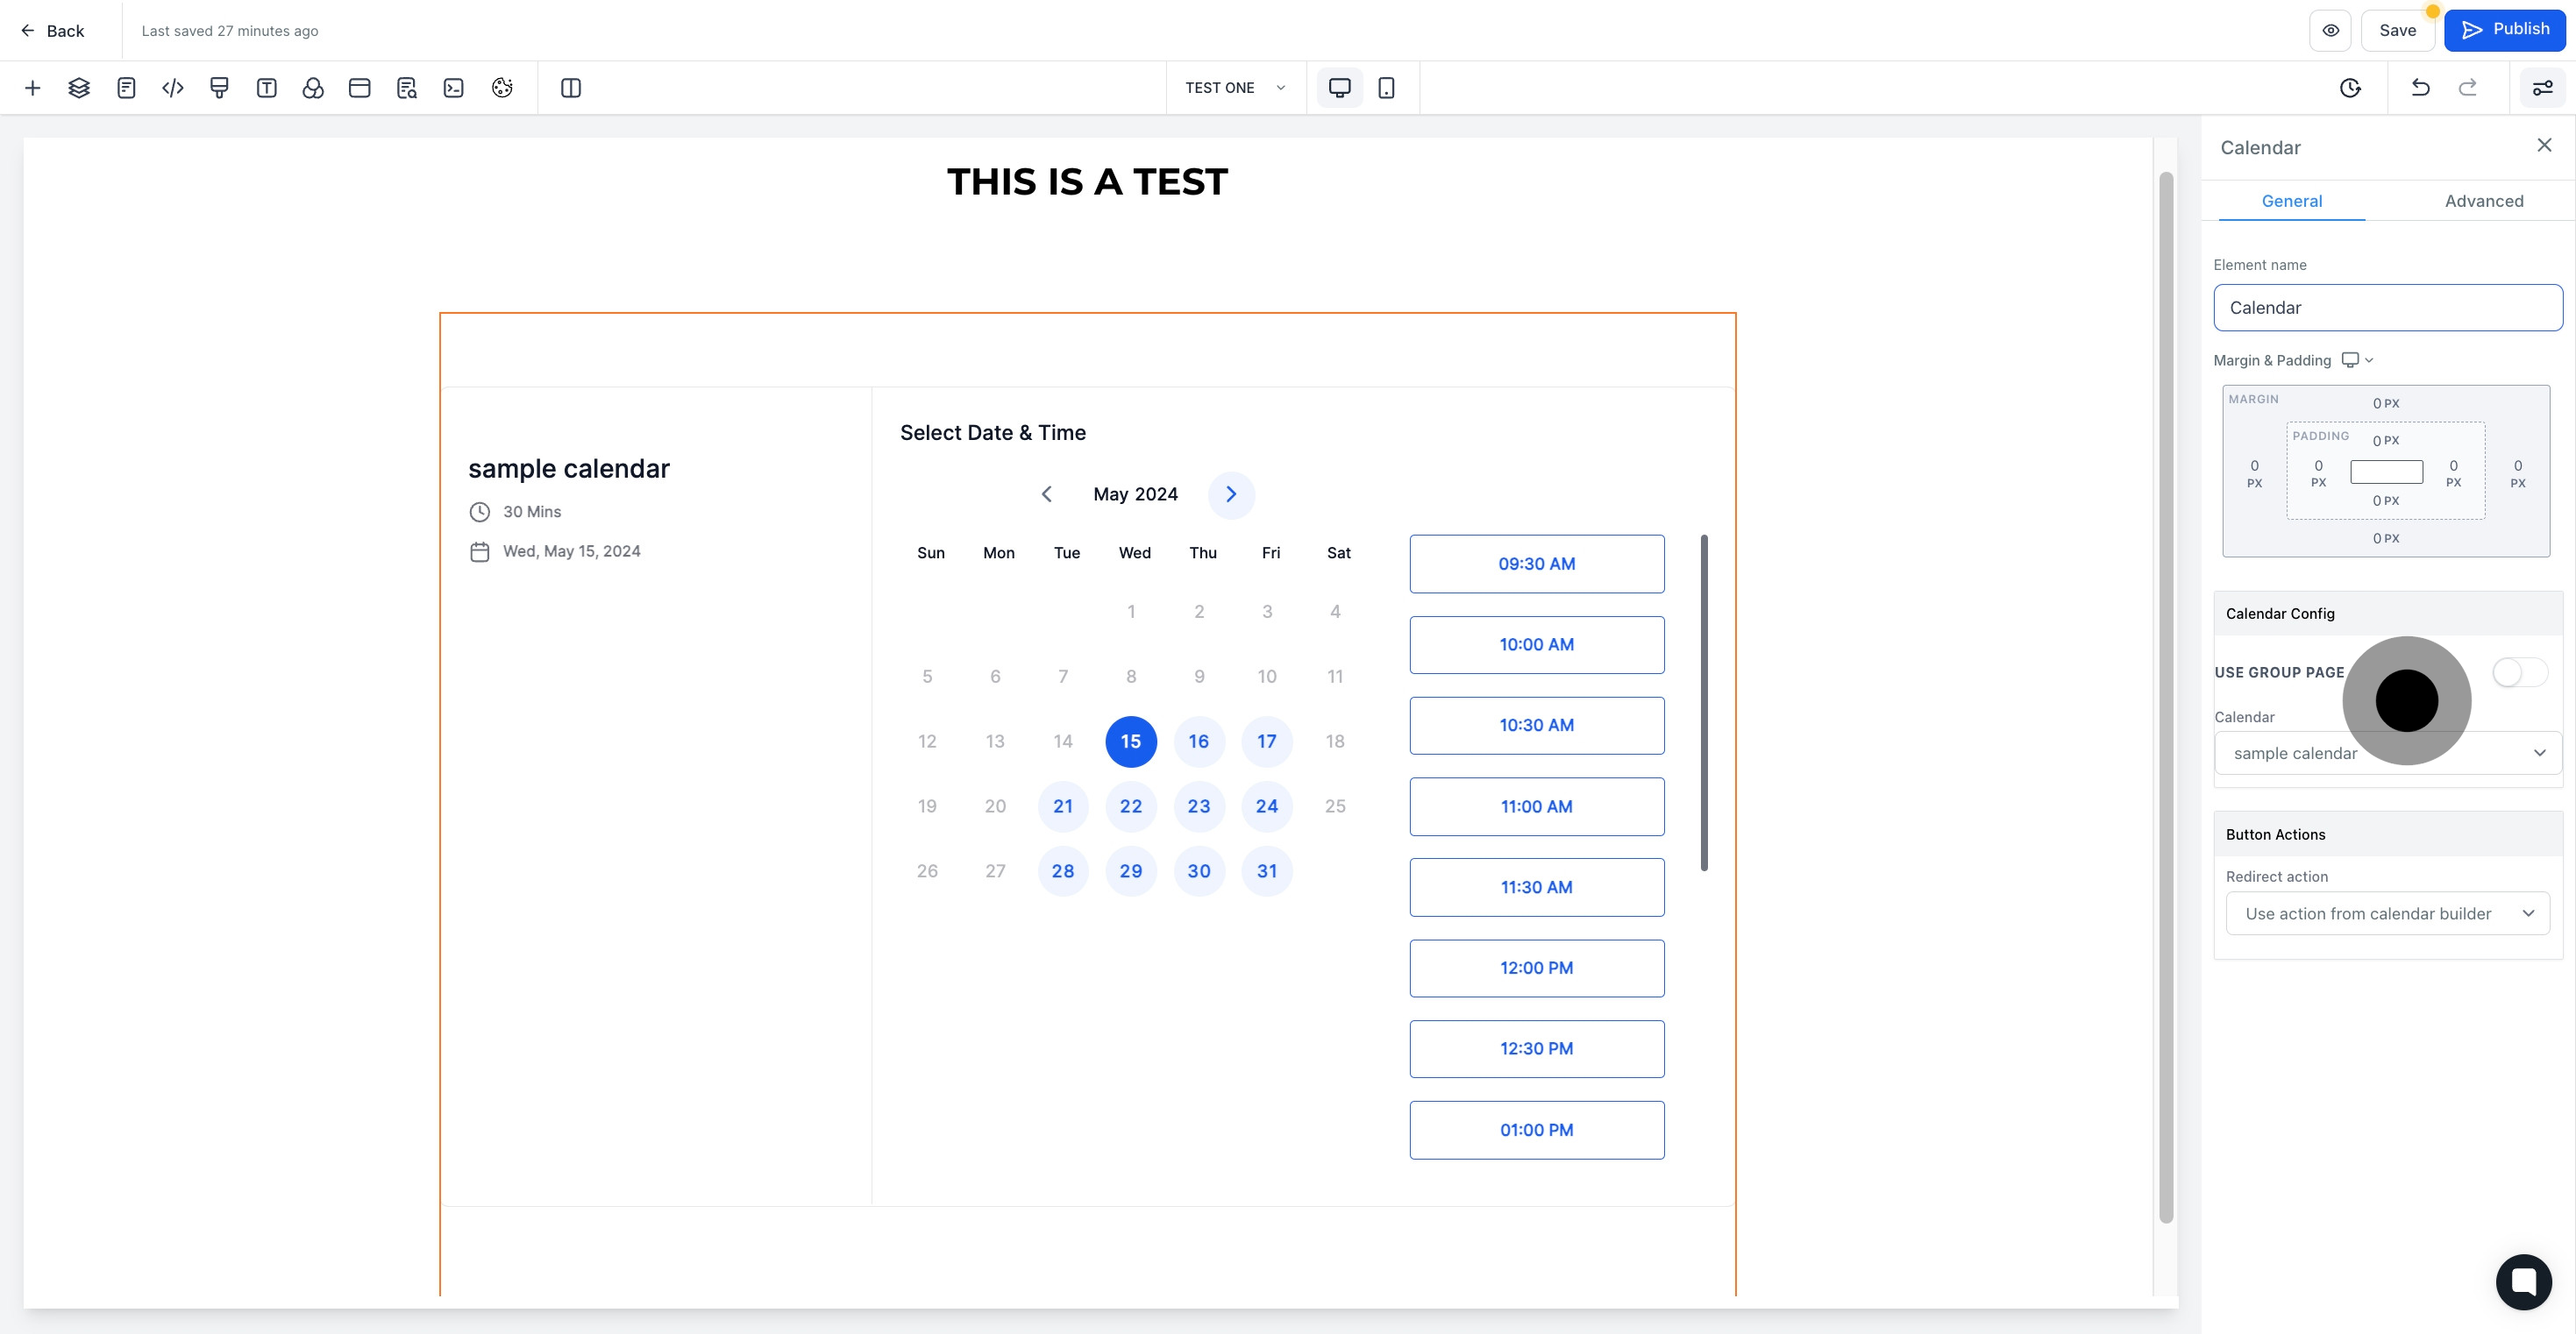
12. Select suitable button actions in this section.

12 Click on "Calendar Config".

13. Lastly, save your progress by clicking 'Save'.

13 Now, click on "Save".

Did this answer your question?
😞
😐
😁