Adding Buttons to Your Website in LeadDec

Learn how to boost interactivity on your website by incorporating clickable buttons using LeadDec’s Website Builder. This guide provides detailed instructions on how to add and customize buttons that lead to conversions, whether they’re for signing up, getting in touch, or making purchases. Discover the keys to designing visually appealing and functional buttons that improve user experience and guide visitors towards your desired actions.


1. Begin by clicking the 'Sites' menu.

1 Firstly, click here.

2. Go ahead and select 'Websites'.

2 Then, click on "Websites".

3. Pick a website from the provided list.

3 Click on "SAMPLE ONE".

4. Look for the 'Edit' button and click on it.

4 Following that, click on "Edit".

5. Continue by selecting an element to add.

5 Afterwards, click on the element.

6. Choose 'button' as the desired element.

6 Click here.

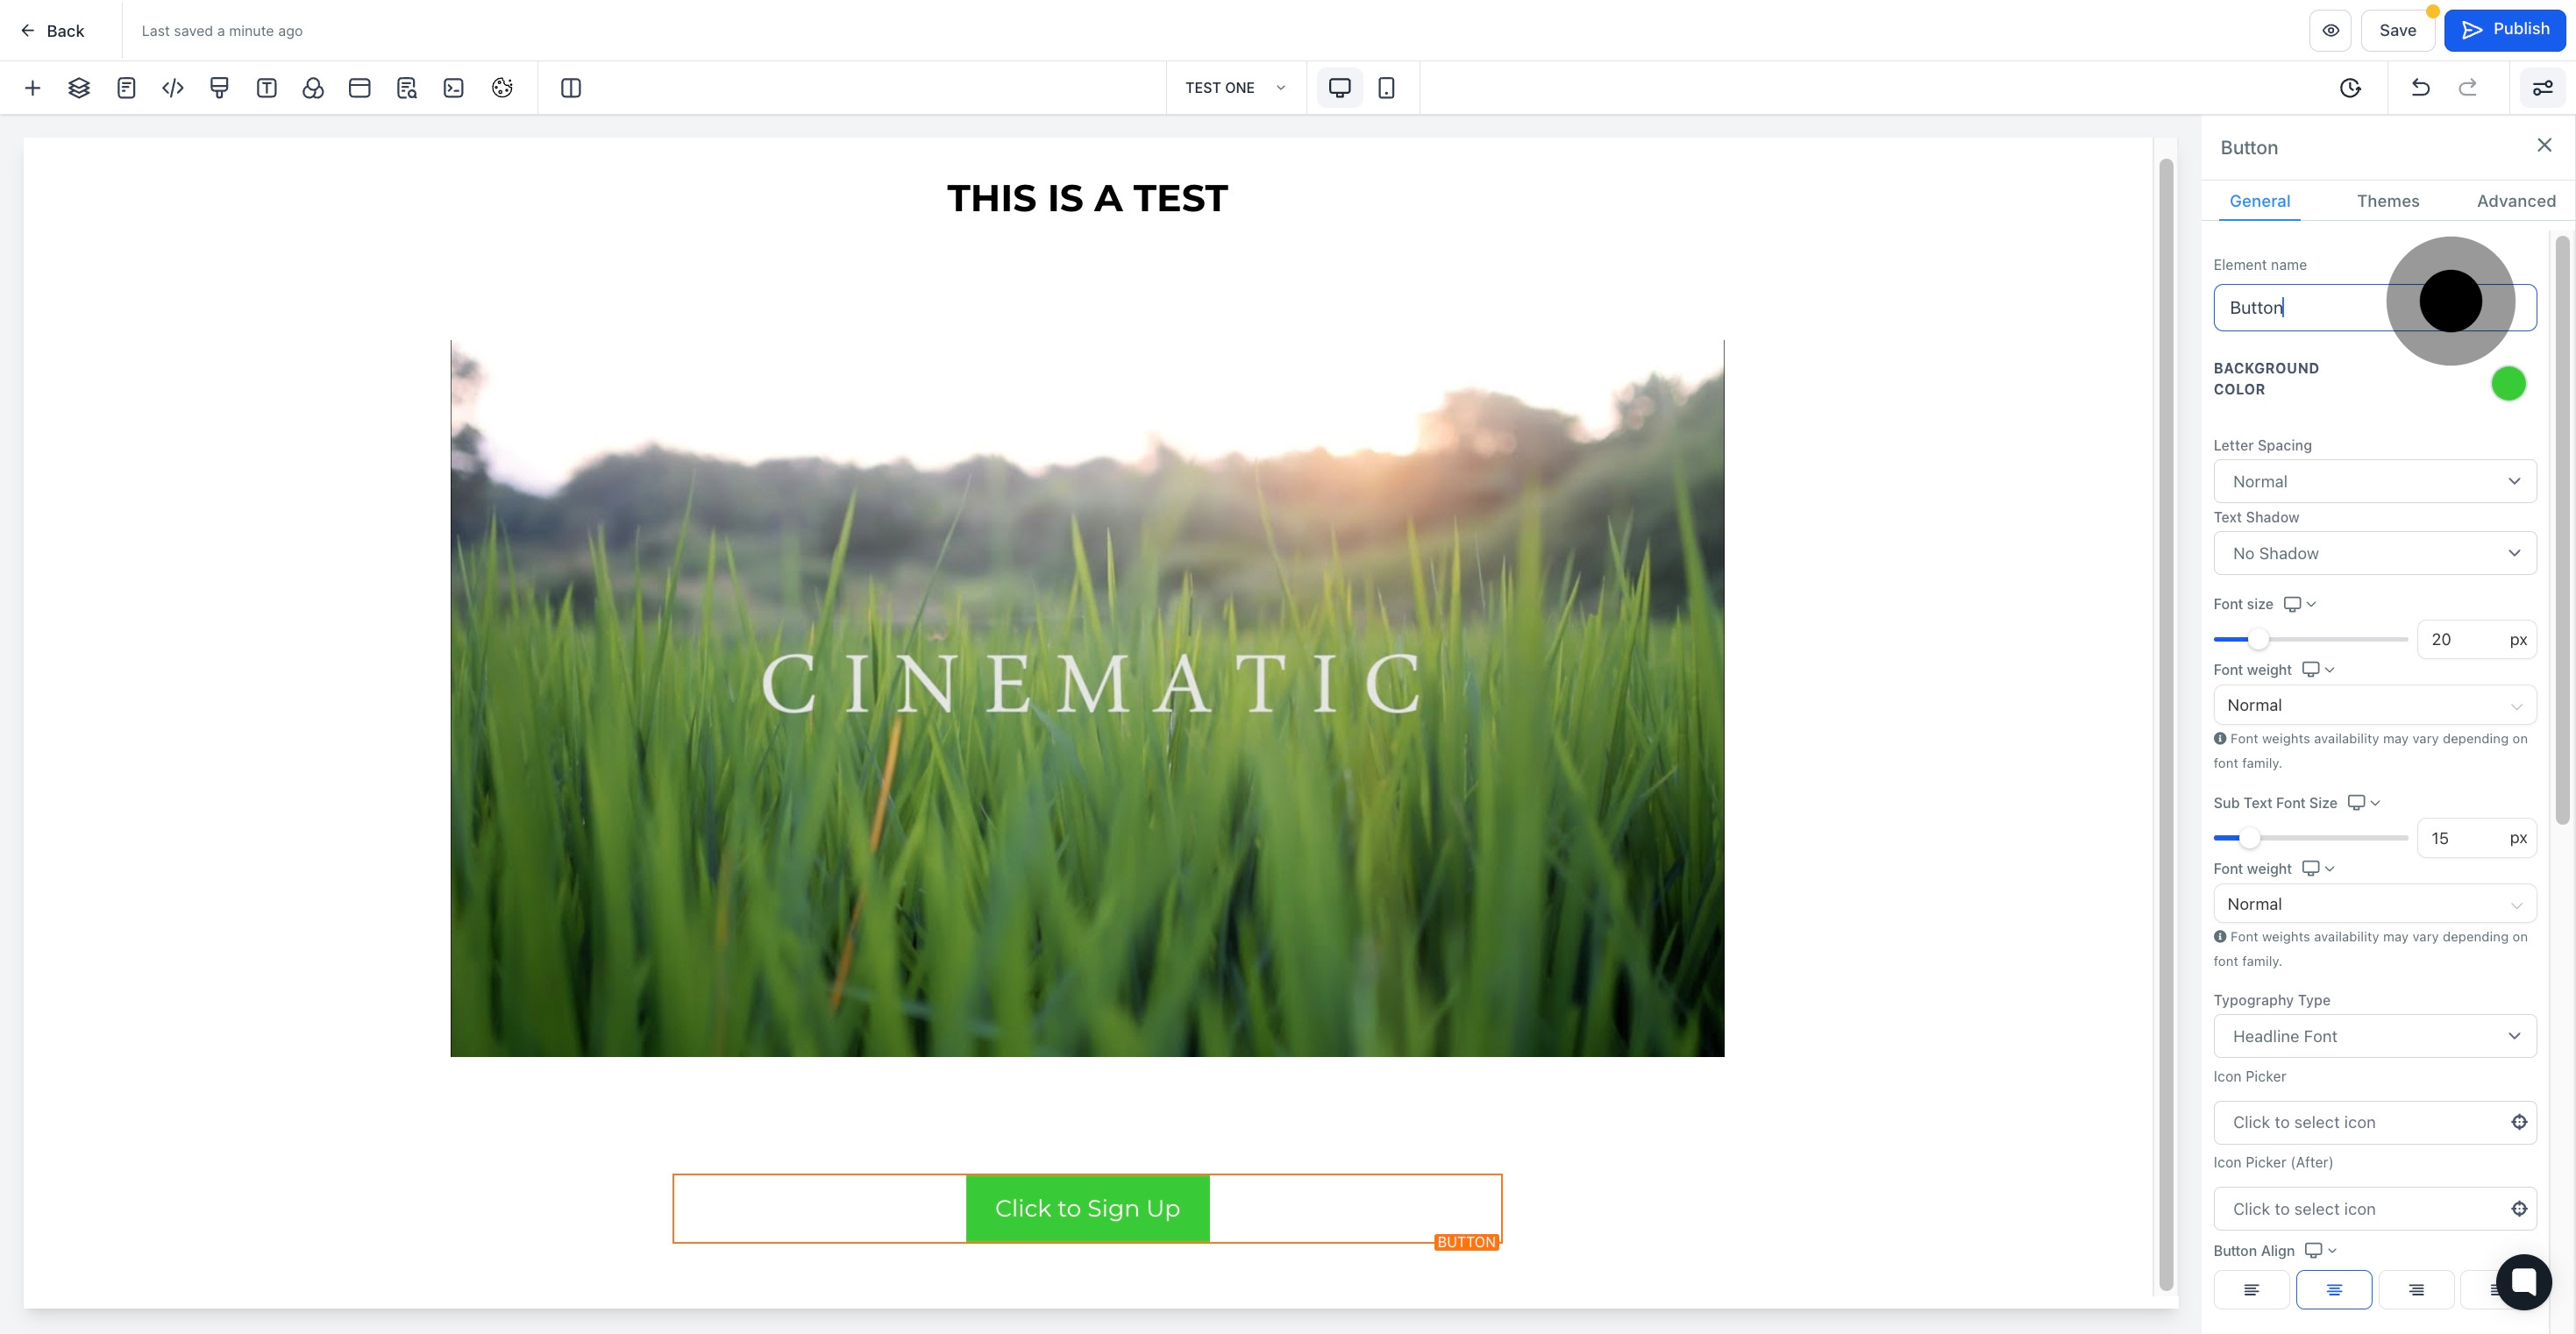
7. The button has been added, confirm its placement.

7 After that, click on "Click to Sign Up".

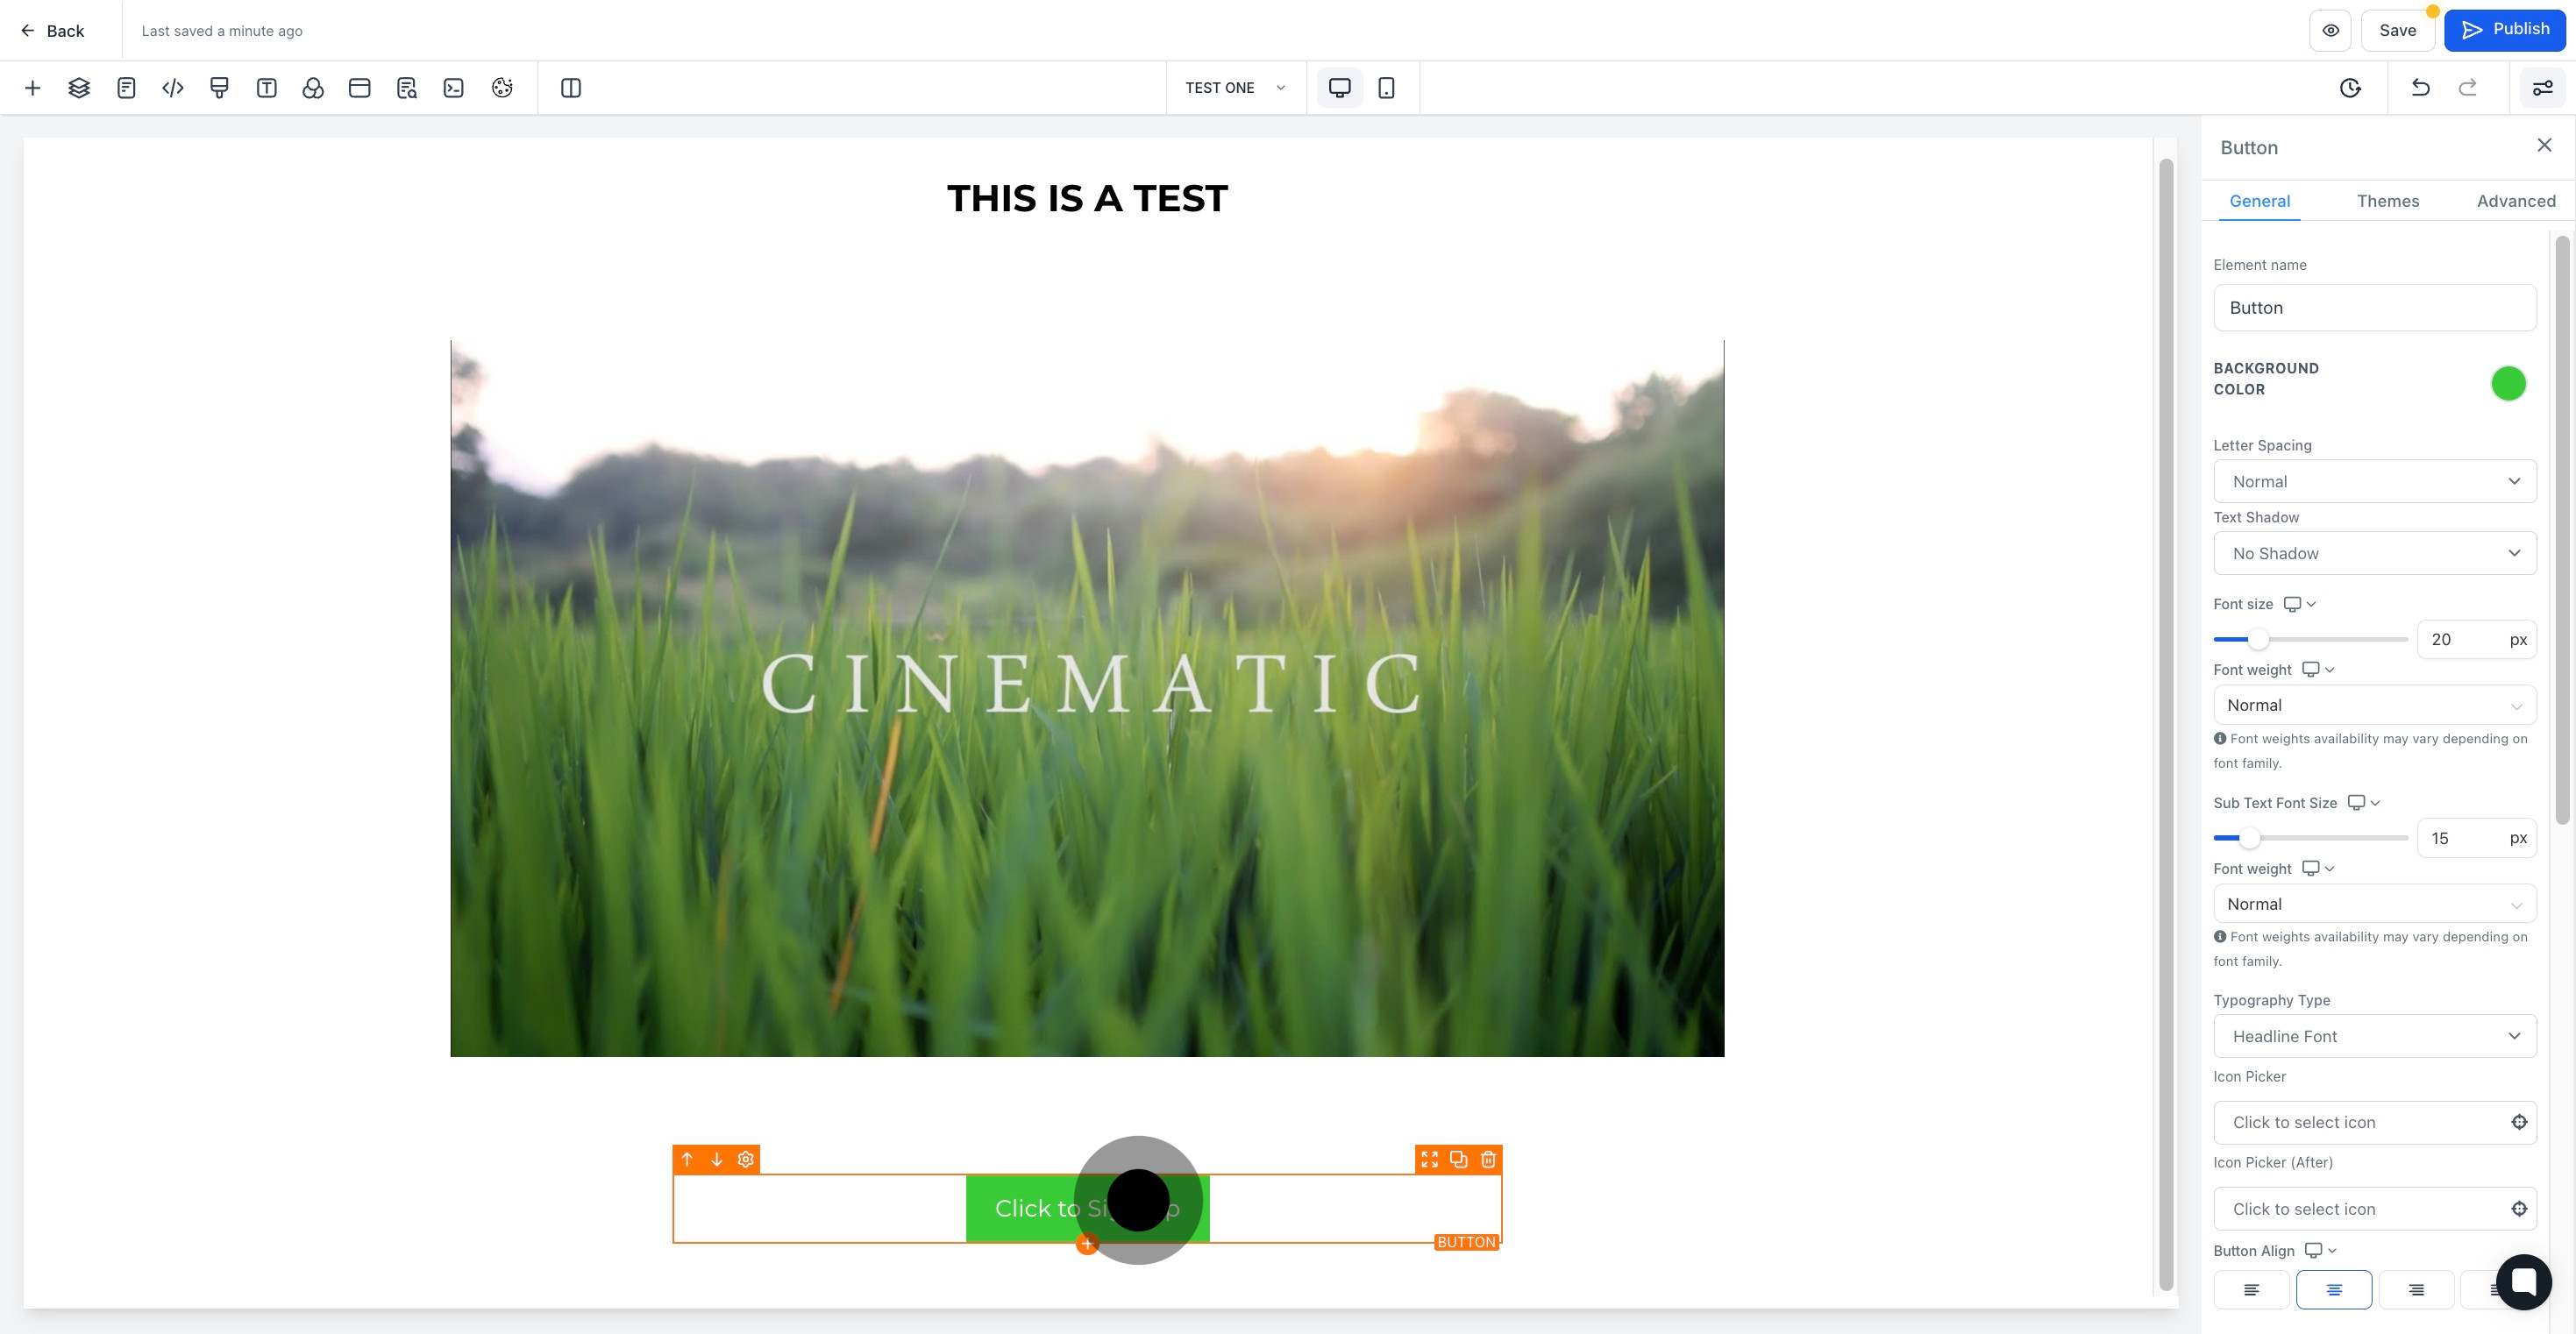
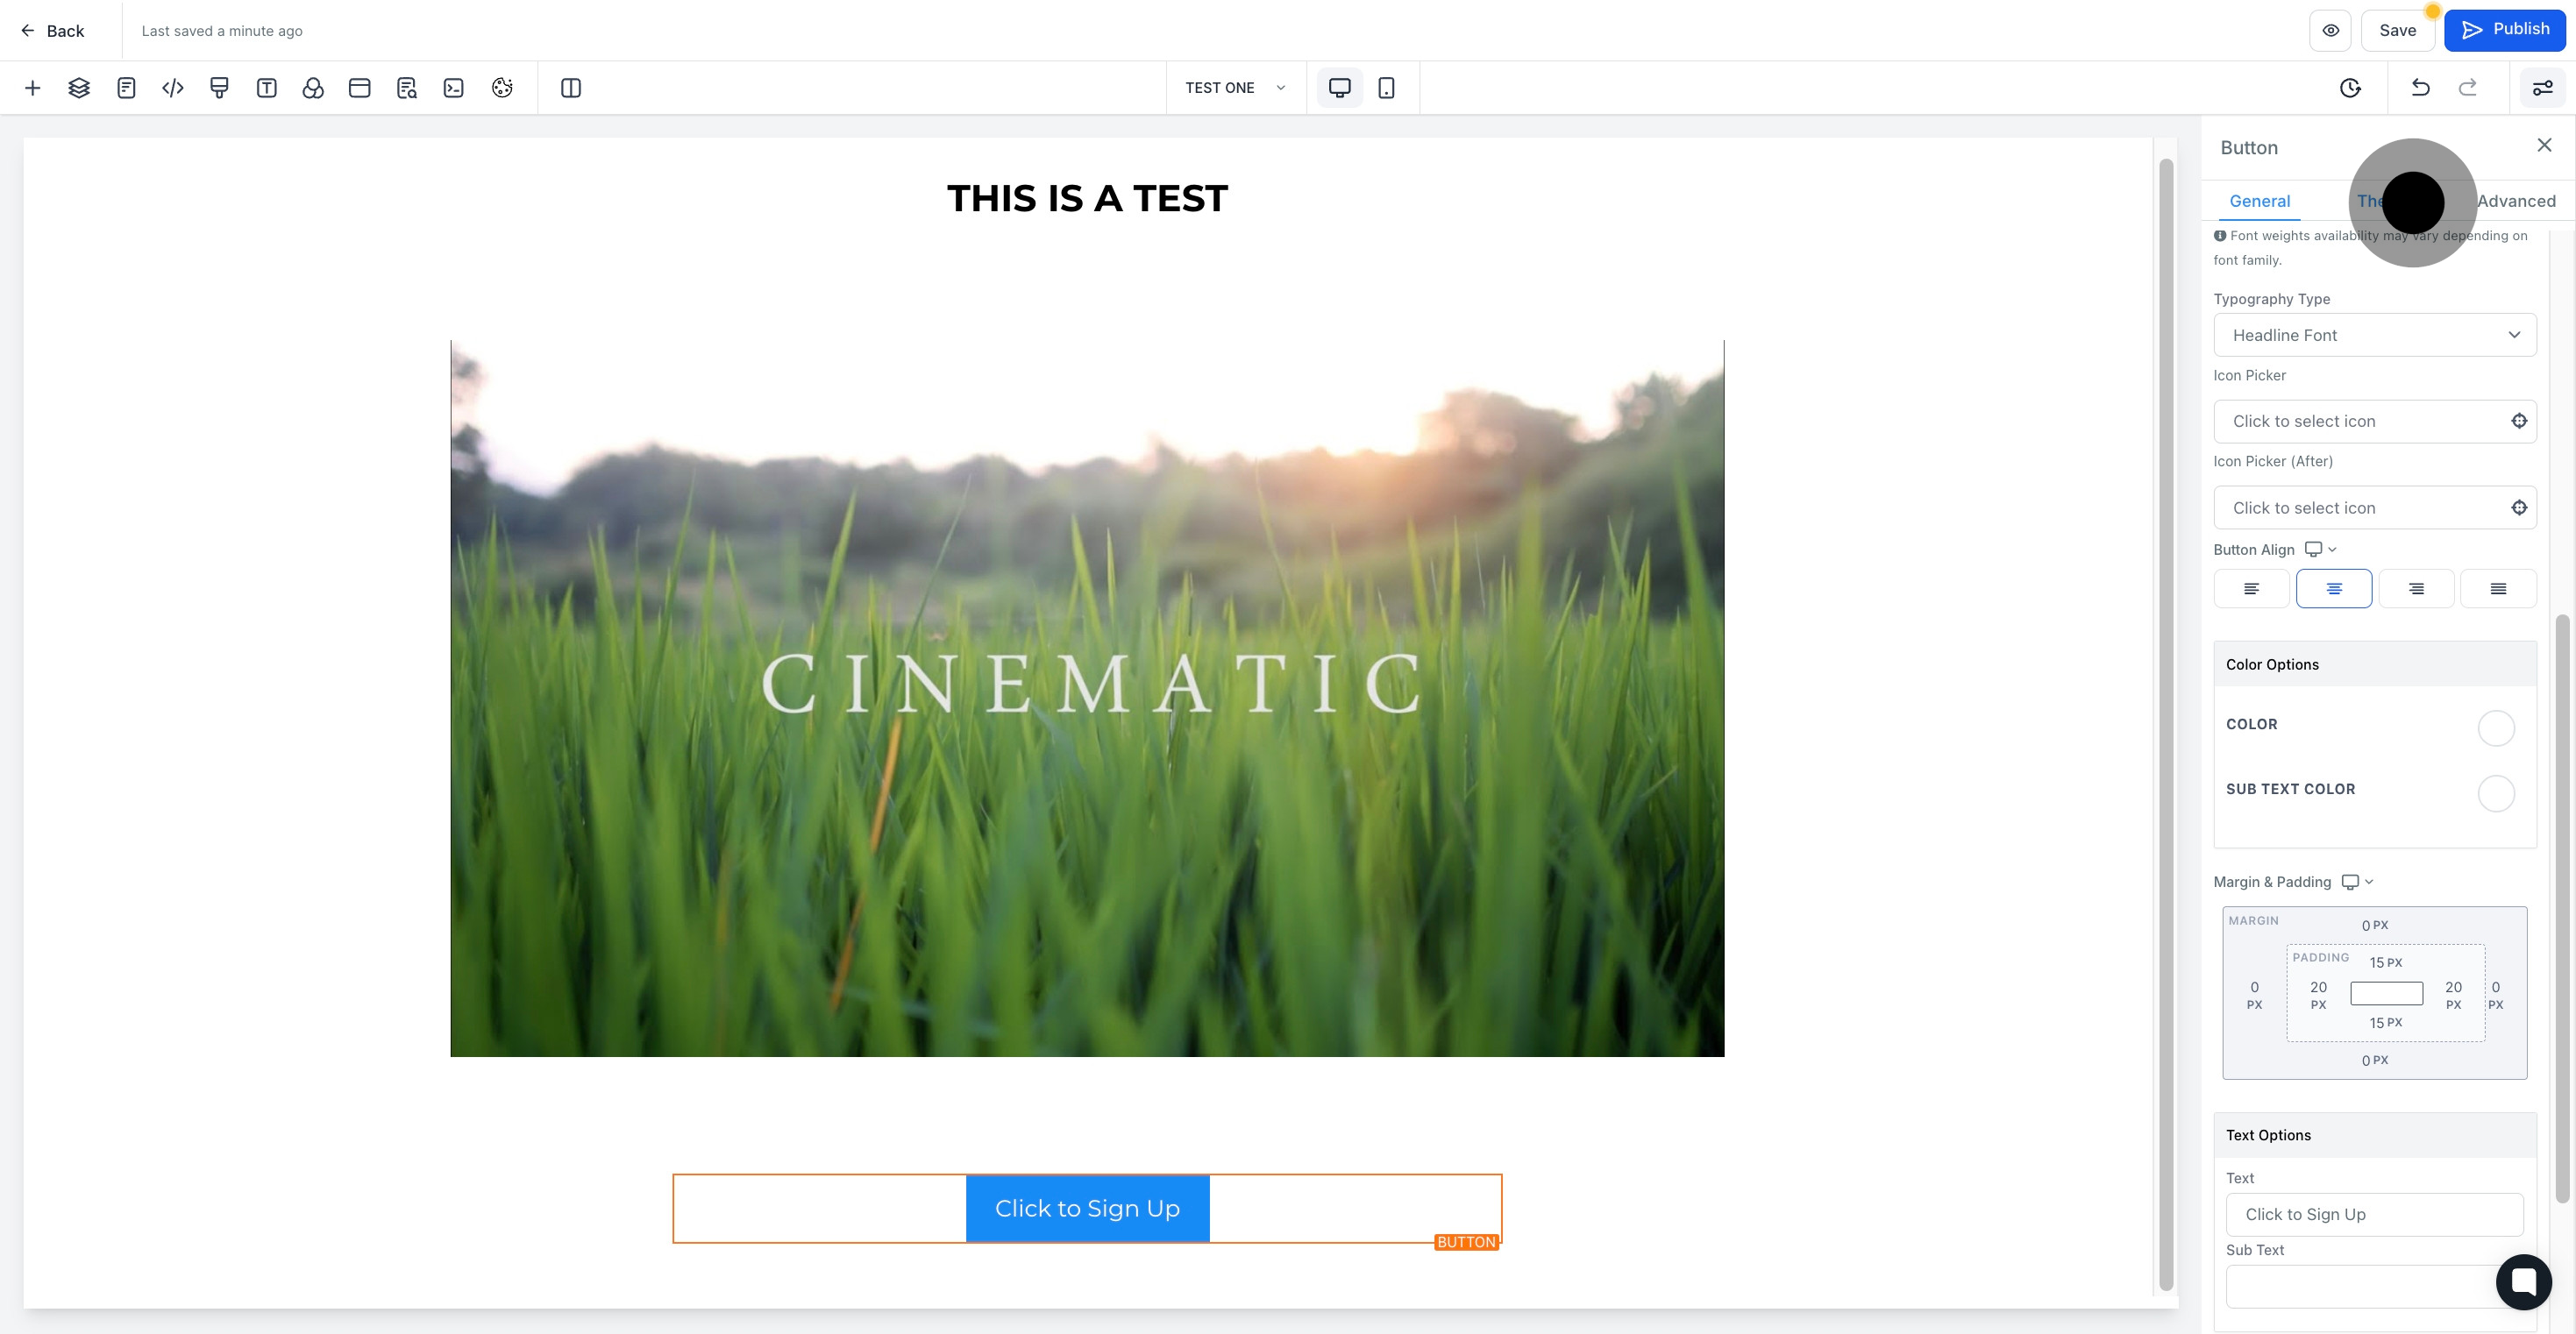
8. Please label the element now.

8 Click here.

9. Proceed to select a new background color.

9 Click on the element.

10. You can make text adjustments here.

10 Click on "Text Shadow".

11. Use this section to add icons to your button.

11 Next up, click here.

12. Now, let's personalize your color options.

12 Click on "Color Options".

13. Time to customize the text settings.

13 Click here.

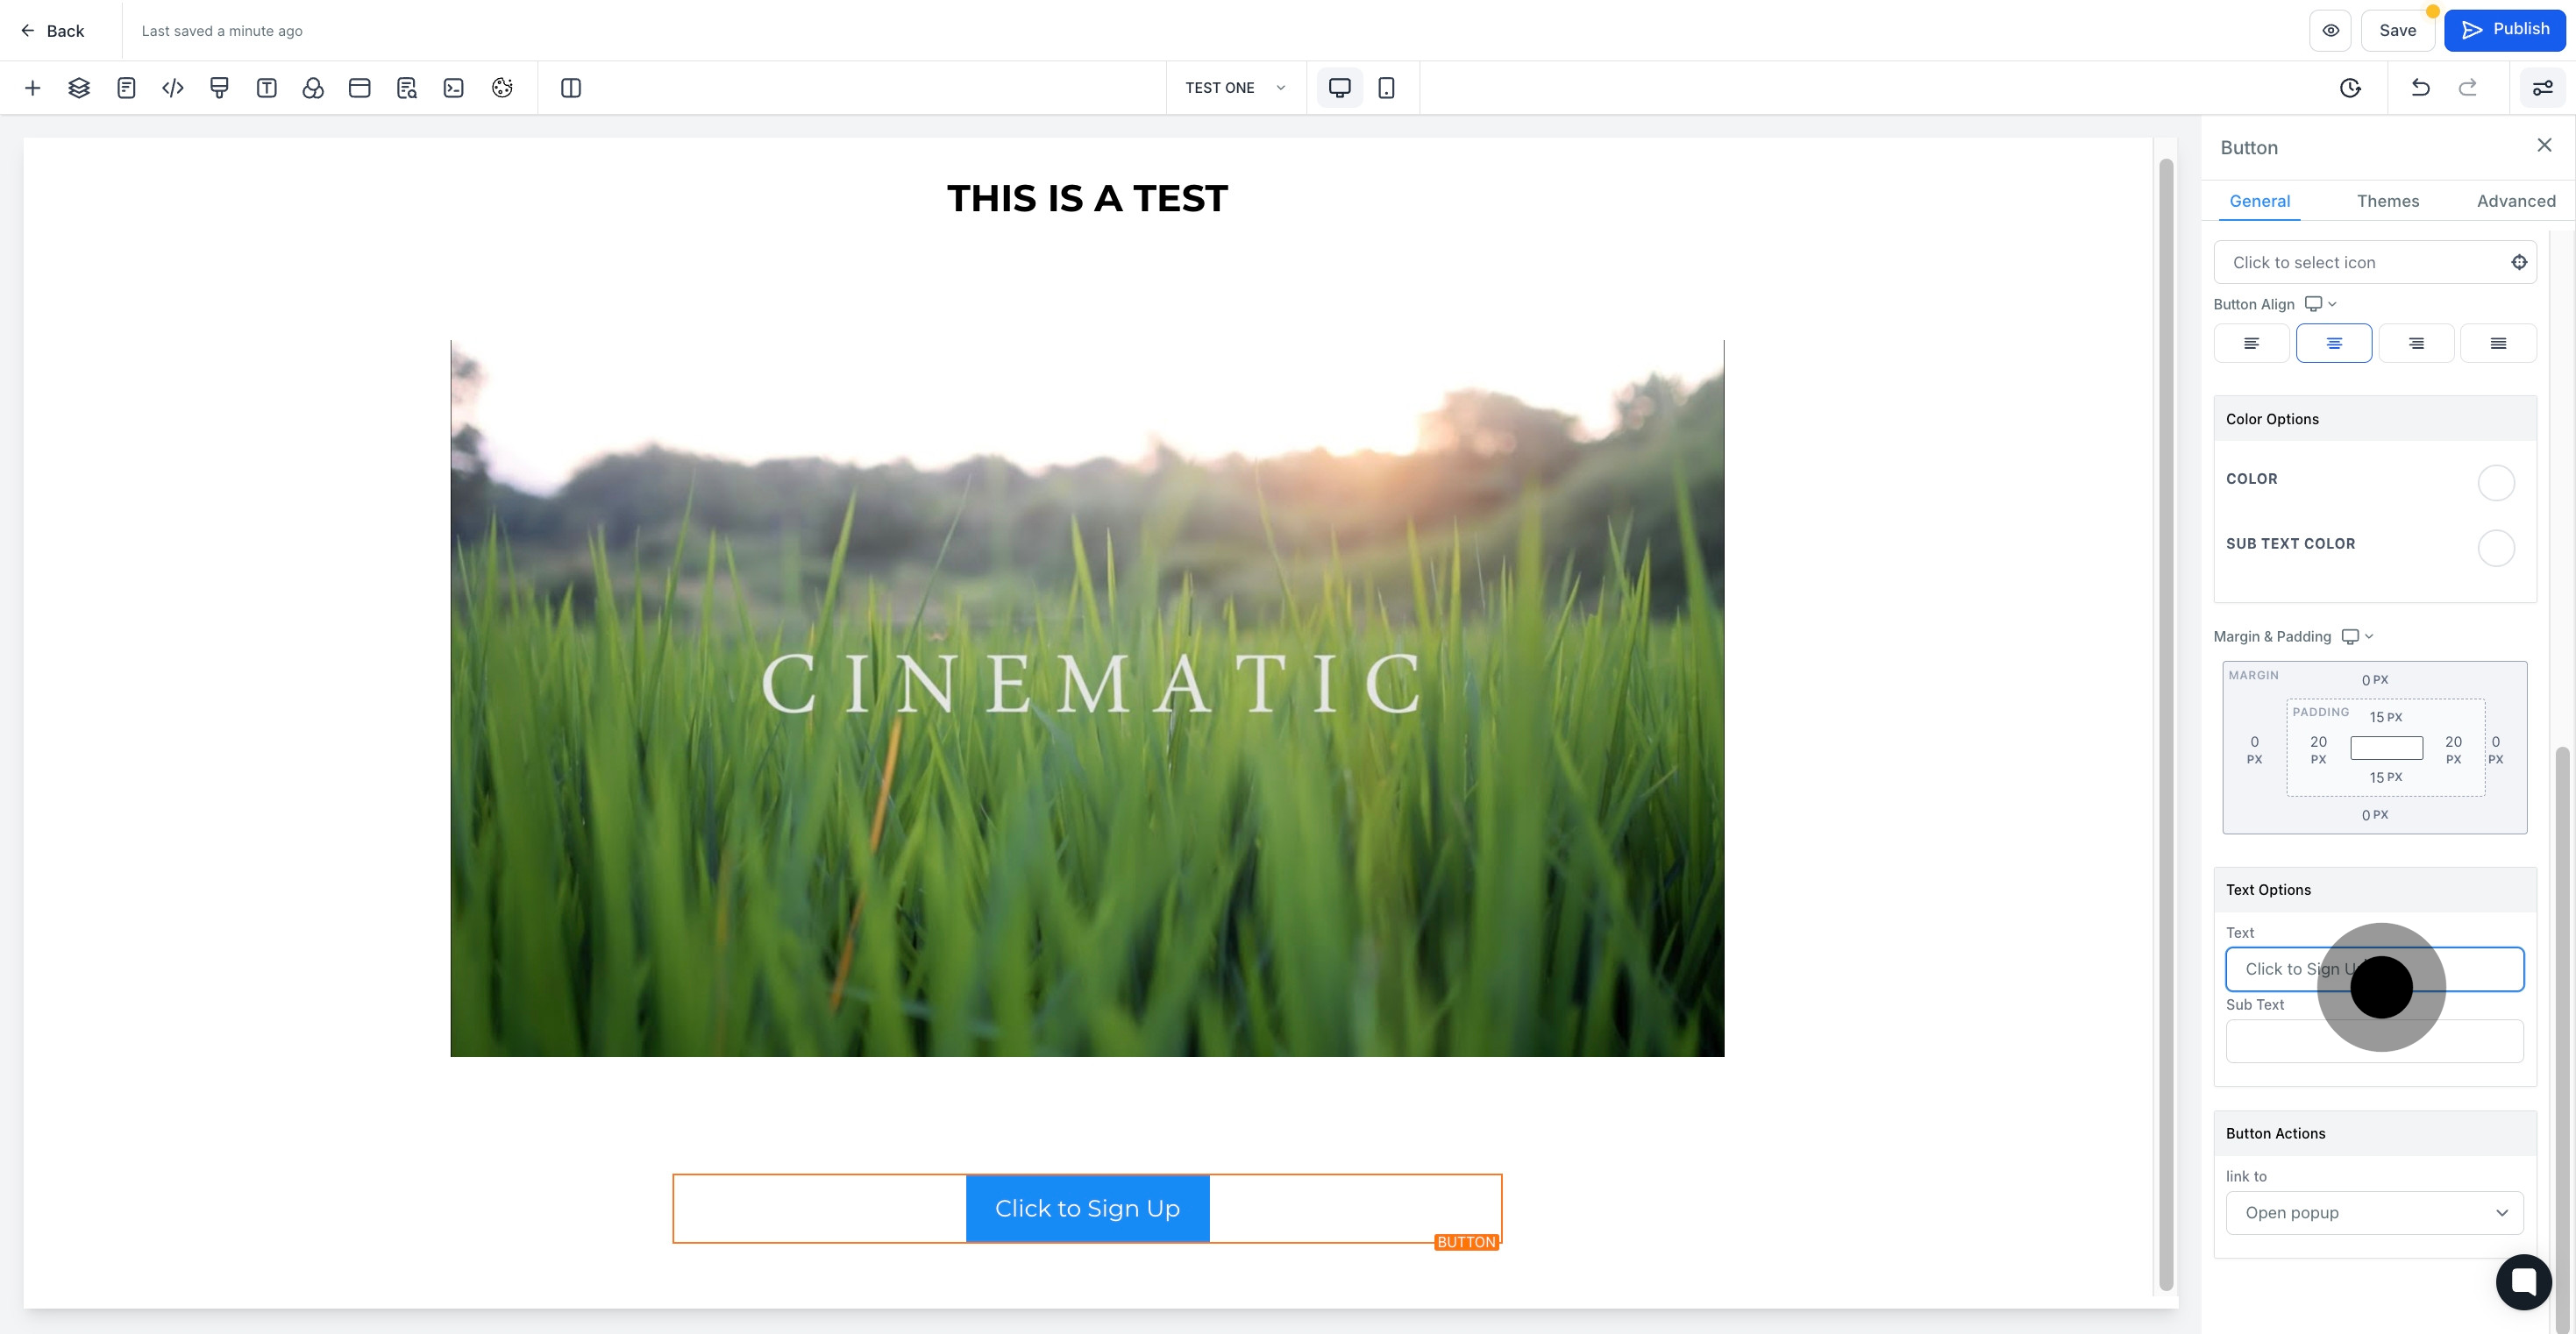
14. Specify the desired button actions.

14 After that, click here.

15. Move to the 'Themes' section next.

15 Next, click on "Themes".

16. Here you are, a plethora of themes to select from!

16 Next up, click on the element.

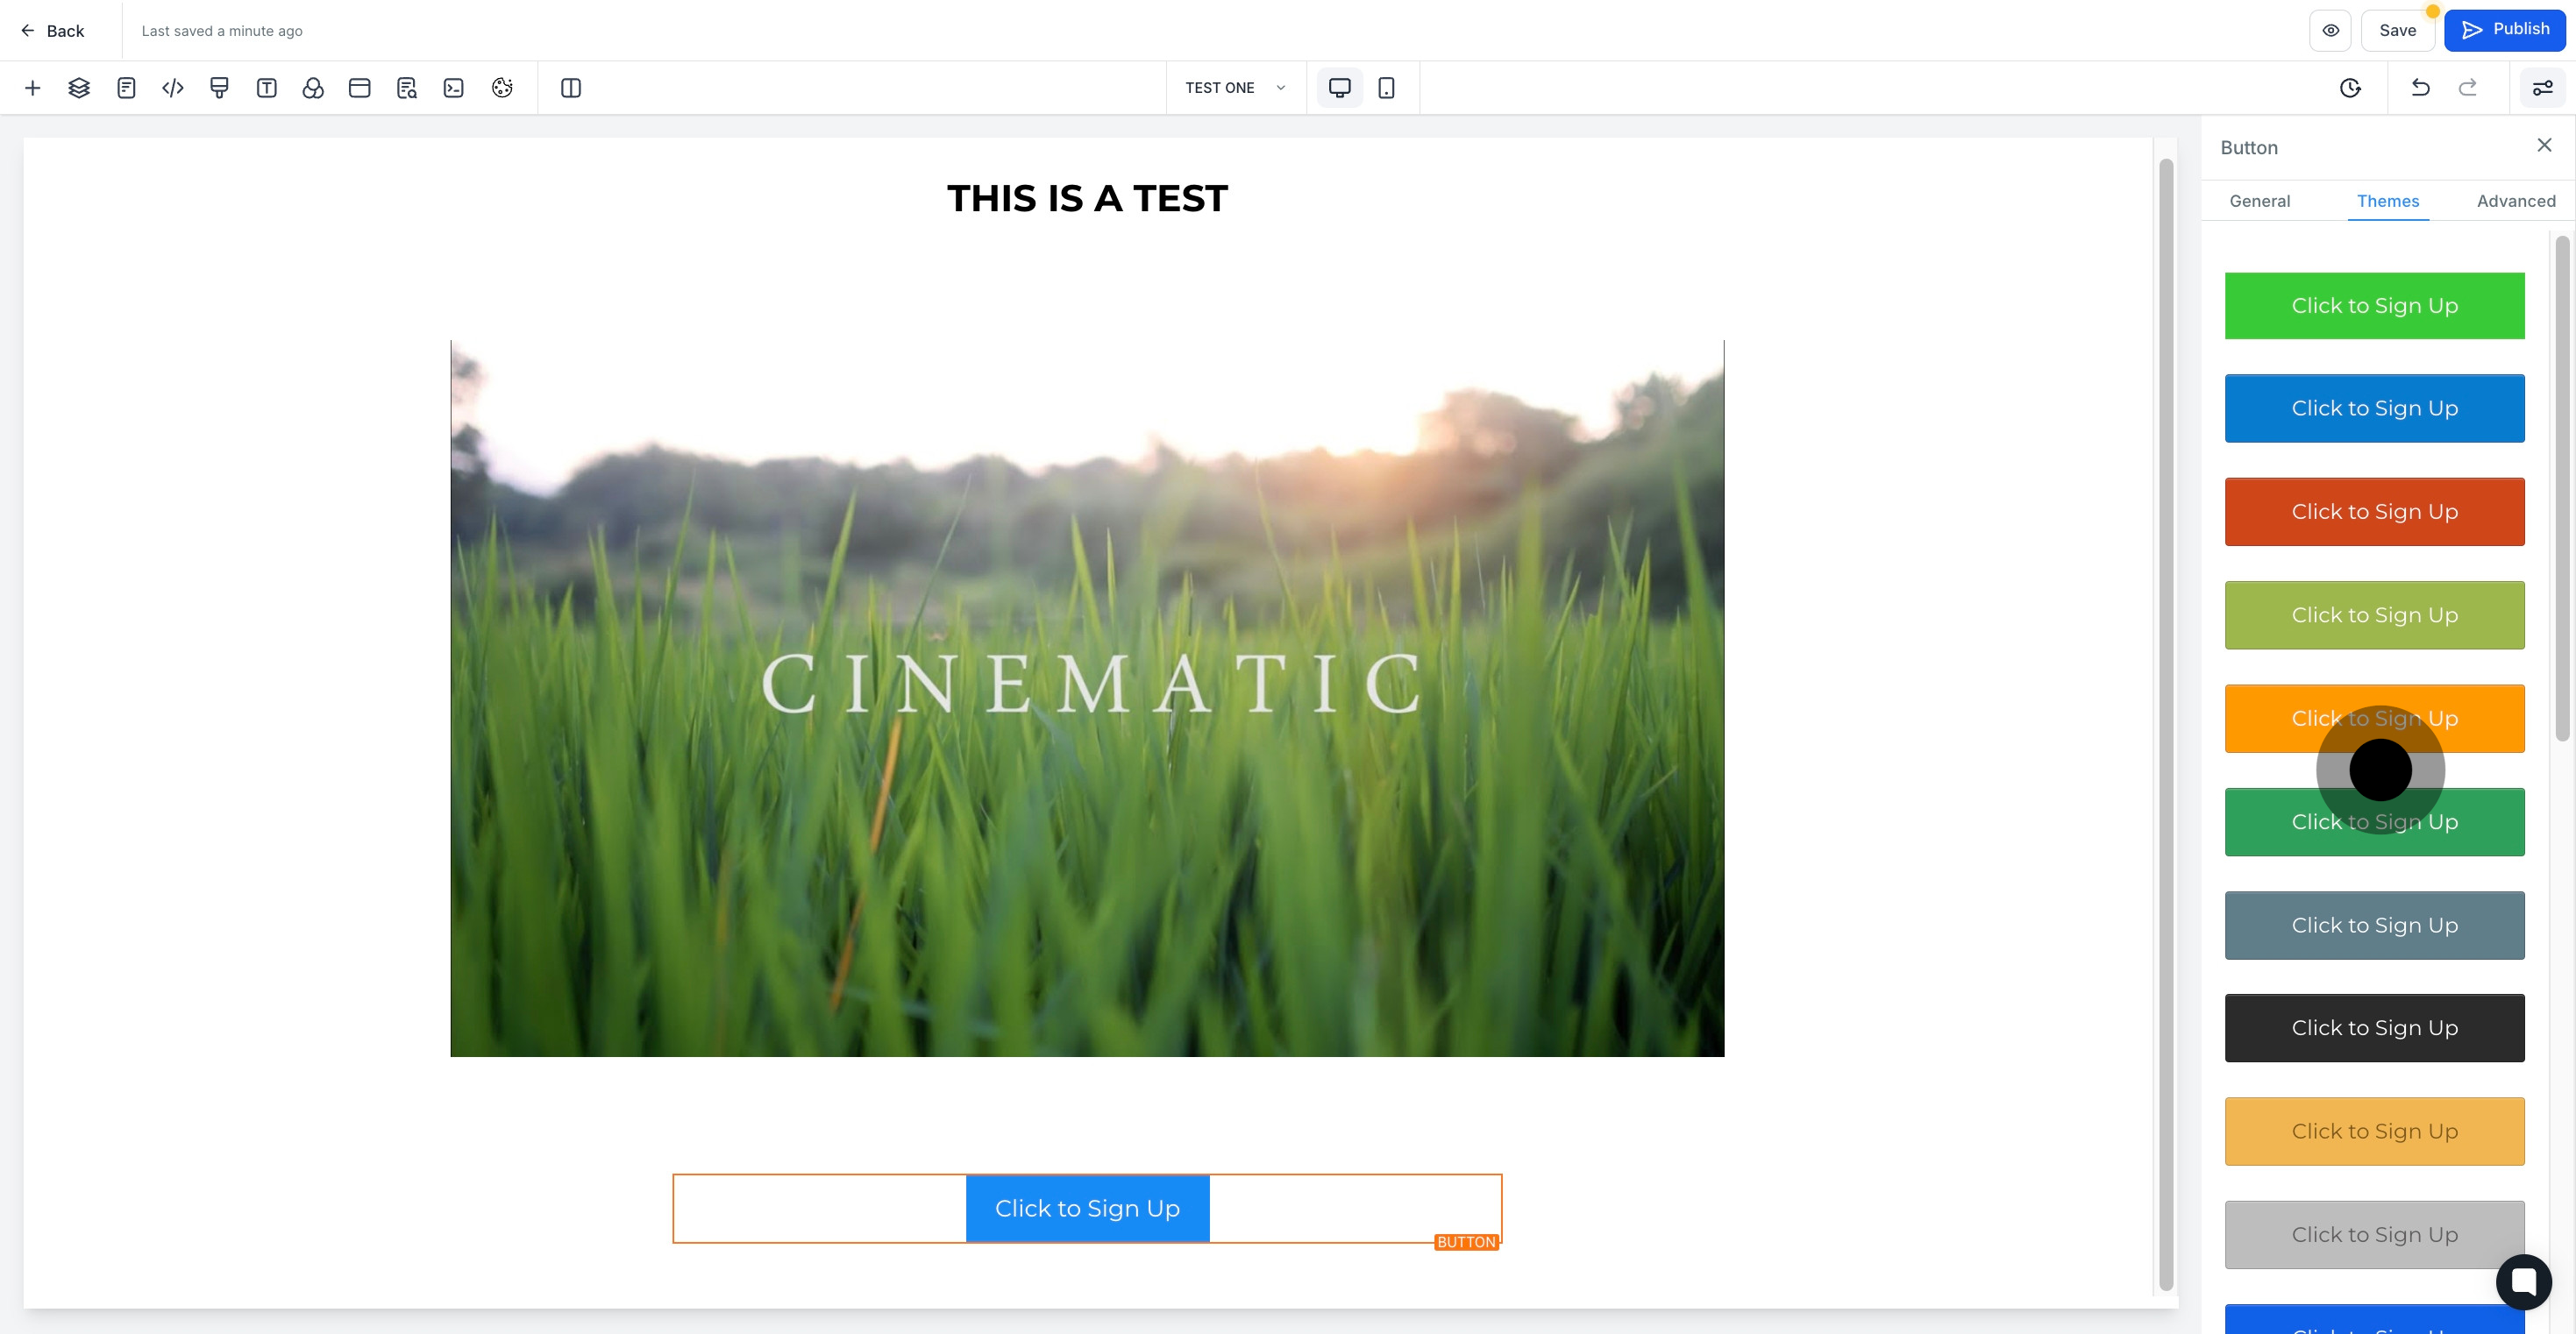
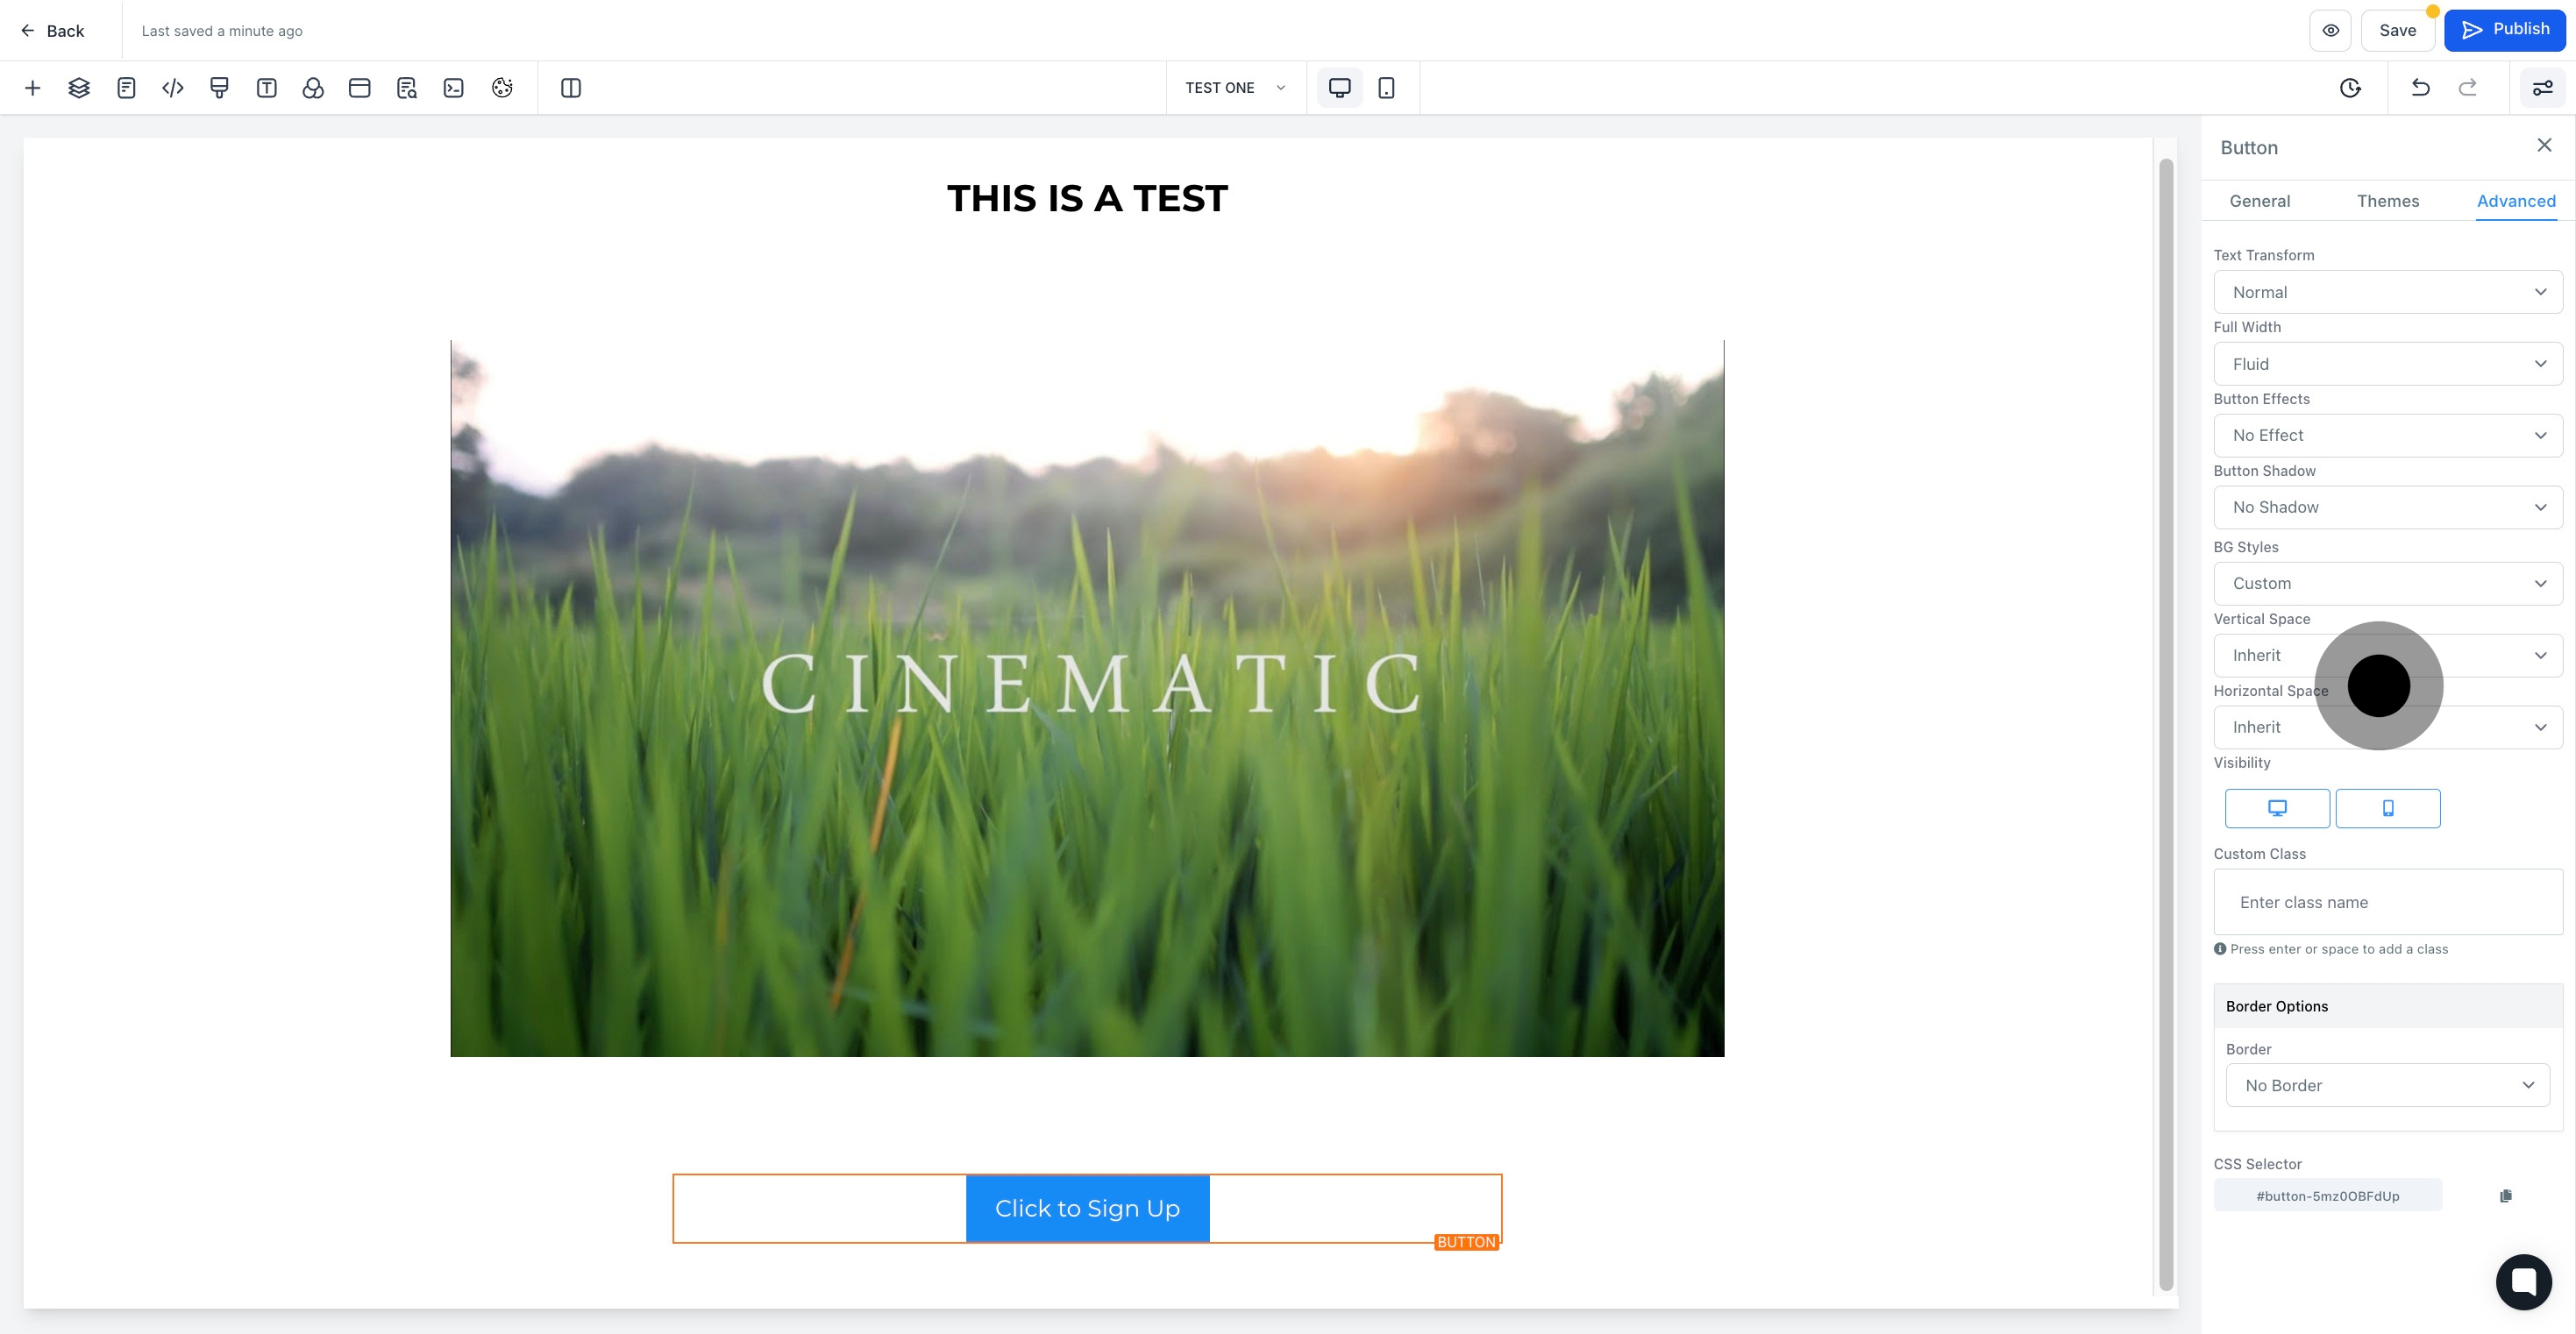
17. Up next, go for the 'Advanced' settings.

17 Now, click on "Advanced".

18. This is where you can add special effects to the button.

18 Click here.

19. Finally, hit 'Save' to keep your changes.

19 Click on "Save".

Did this answer your question?
😞
😐
😁