Adding Maps to Your Website in LeadDec's Website Builder

Enhance the user experience and increase your business's accessibility by integrating maps into your website using LeadDec's Website Builder. This guide covers the steps to embed interactive maps that help users locate your business or understand service areas more clearly. Learn how to seamlessly incorporate Google Maps or similar services into your website, providing visitors with useful geographic information that complements your contact details and improves overall user navigation and trust.


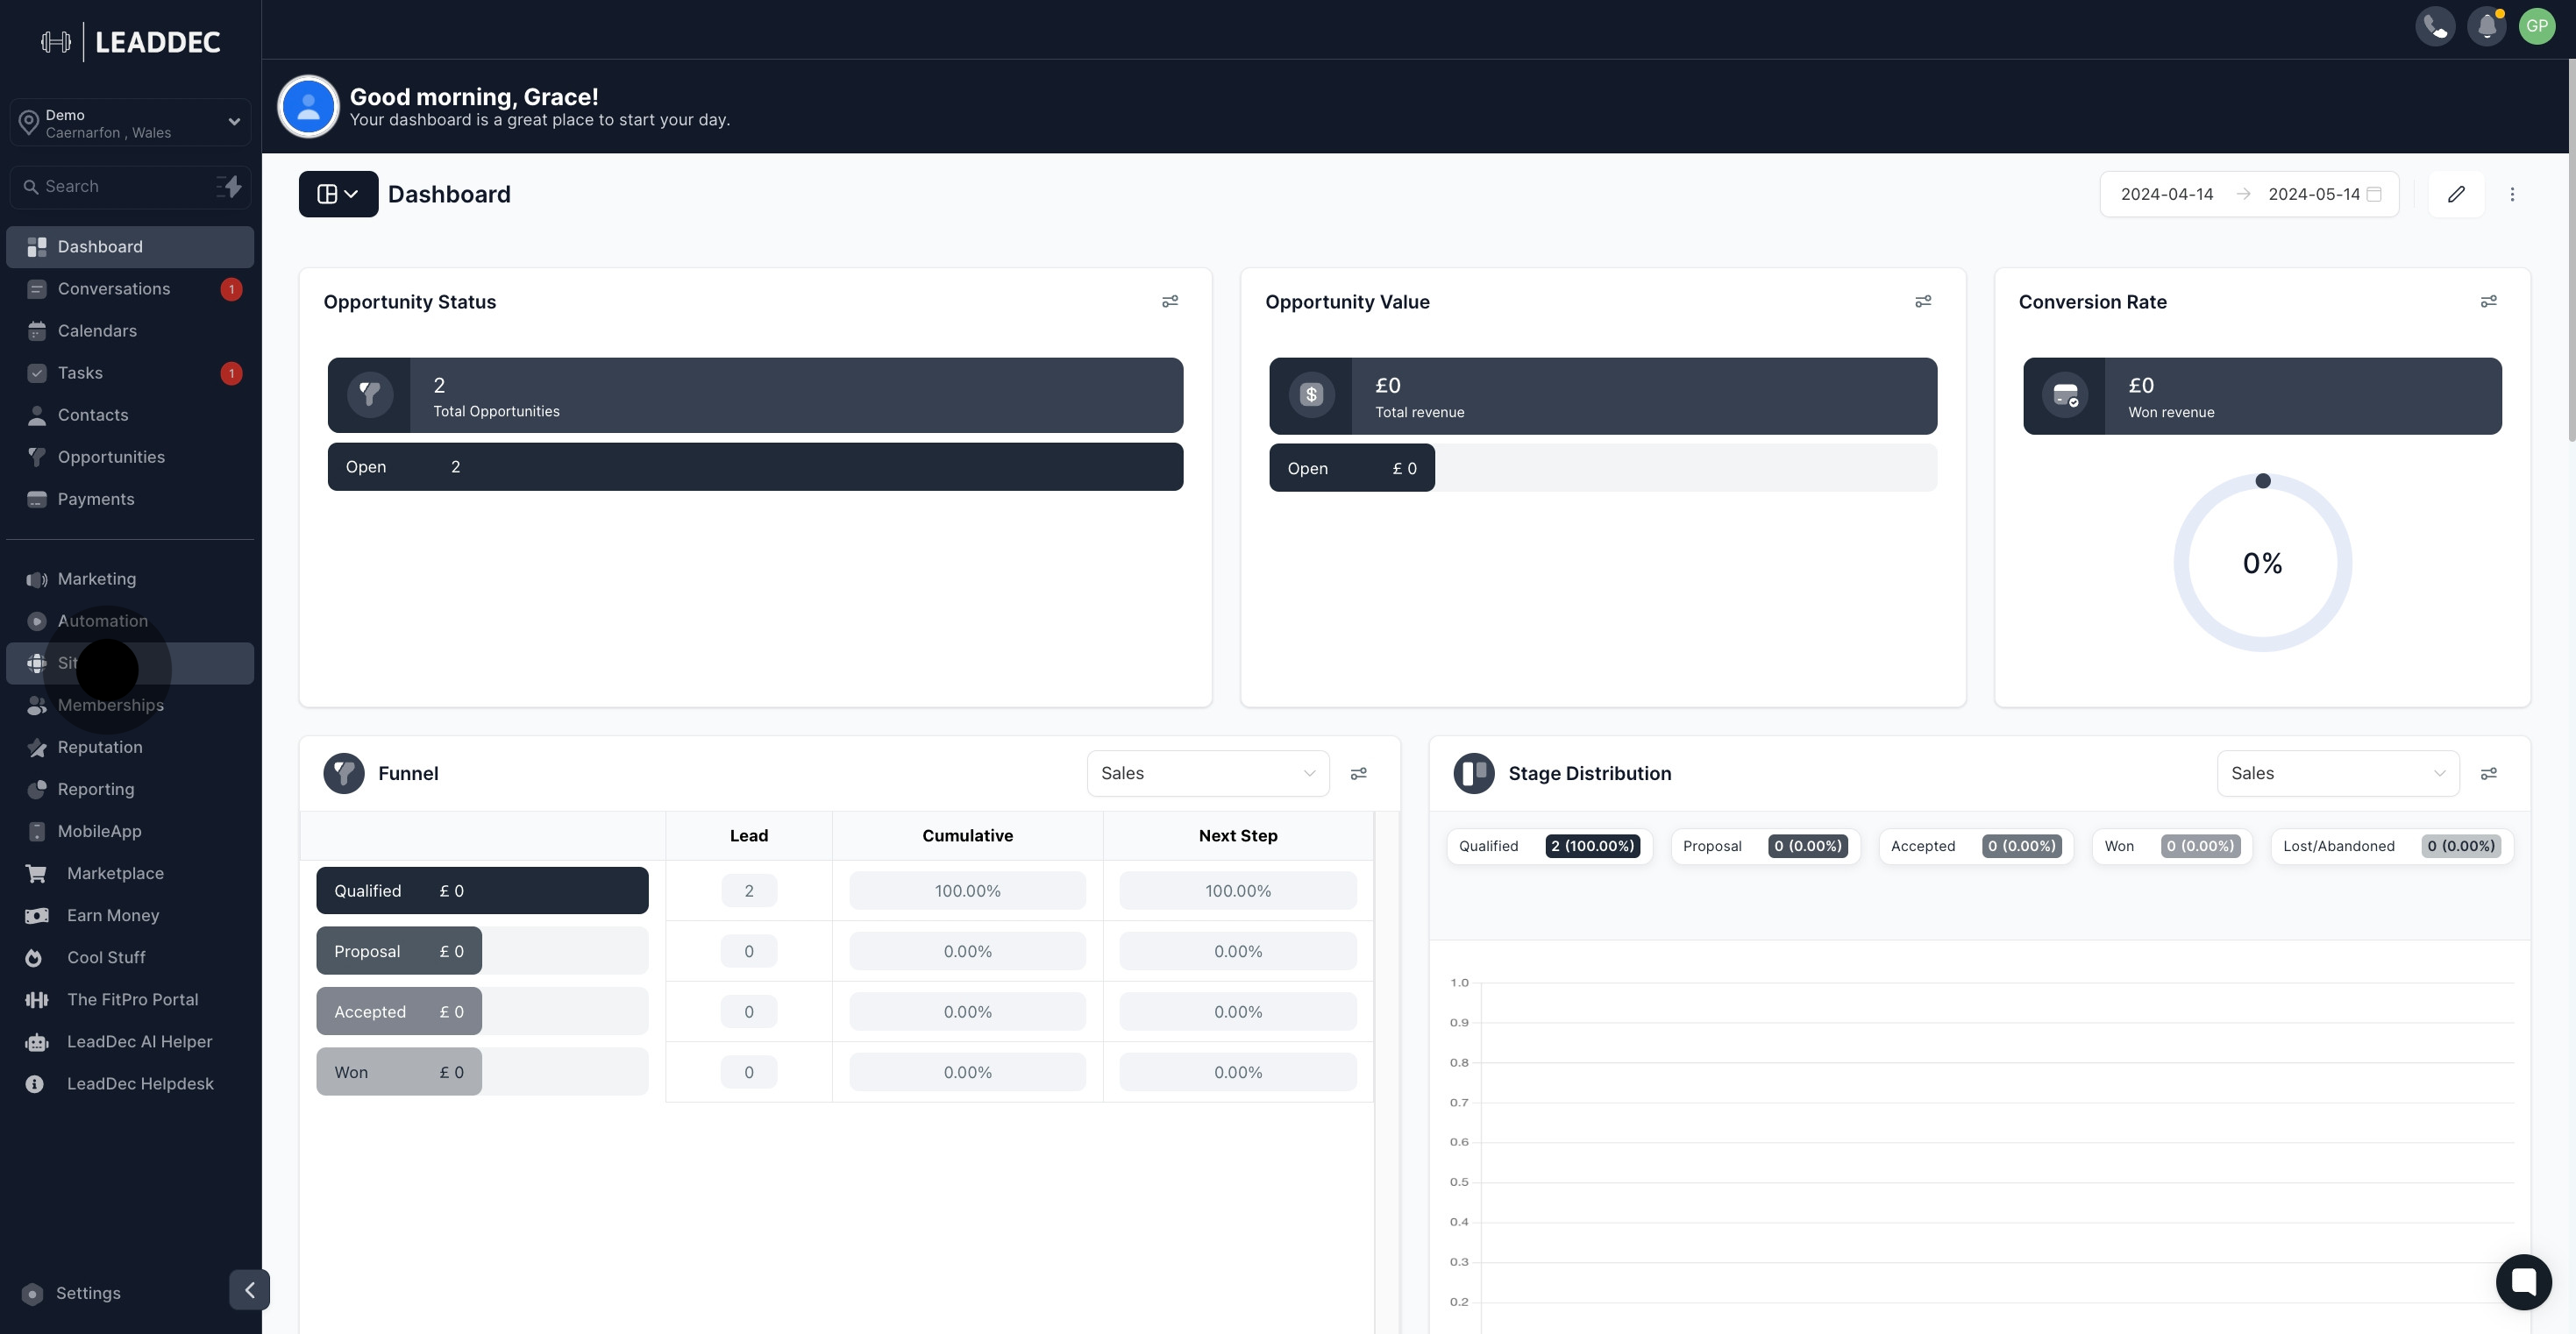
1. Start by opening the 'sites' section.

1 Click here.

2. From the displayed list, choose your desired funnel name.

2 Afterwards, click on "New Blog Post".

3. Proceed by selecting the funnel steps.

3 Then, click on "New Blog Post".

4. Now, click on the 'Edit' button.

4 Then, click on "Edit".

5. Find and click on the 'Add Element' button.

5 Click on "Add Element".

6. Pick the 'map' element from the list.

6 Click on the element.

7. Then, name your newly added element.

7 Next, click on the element.

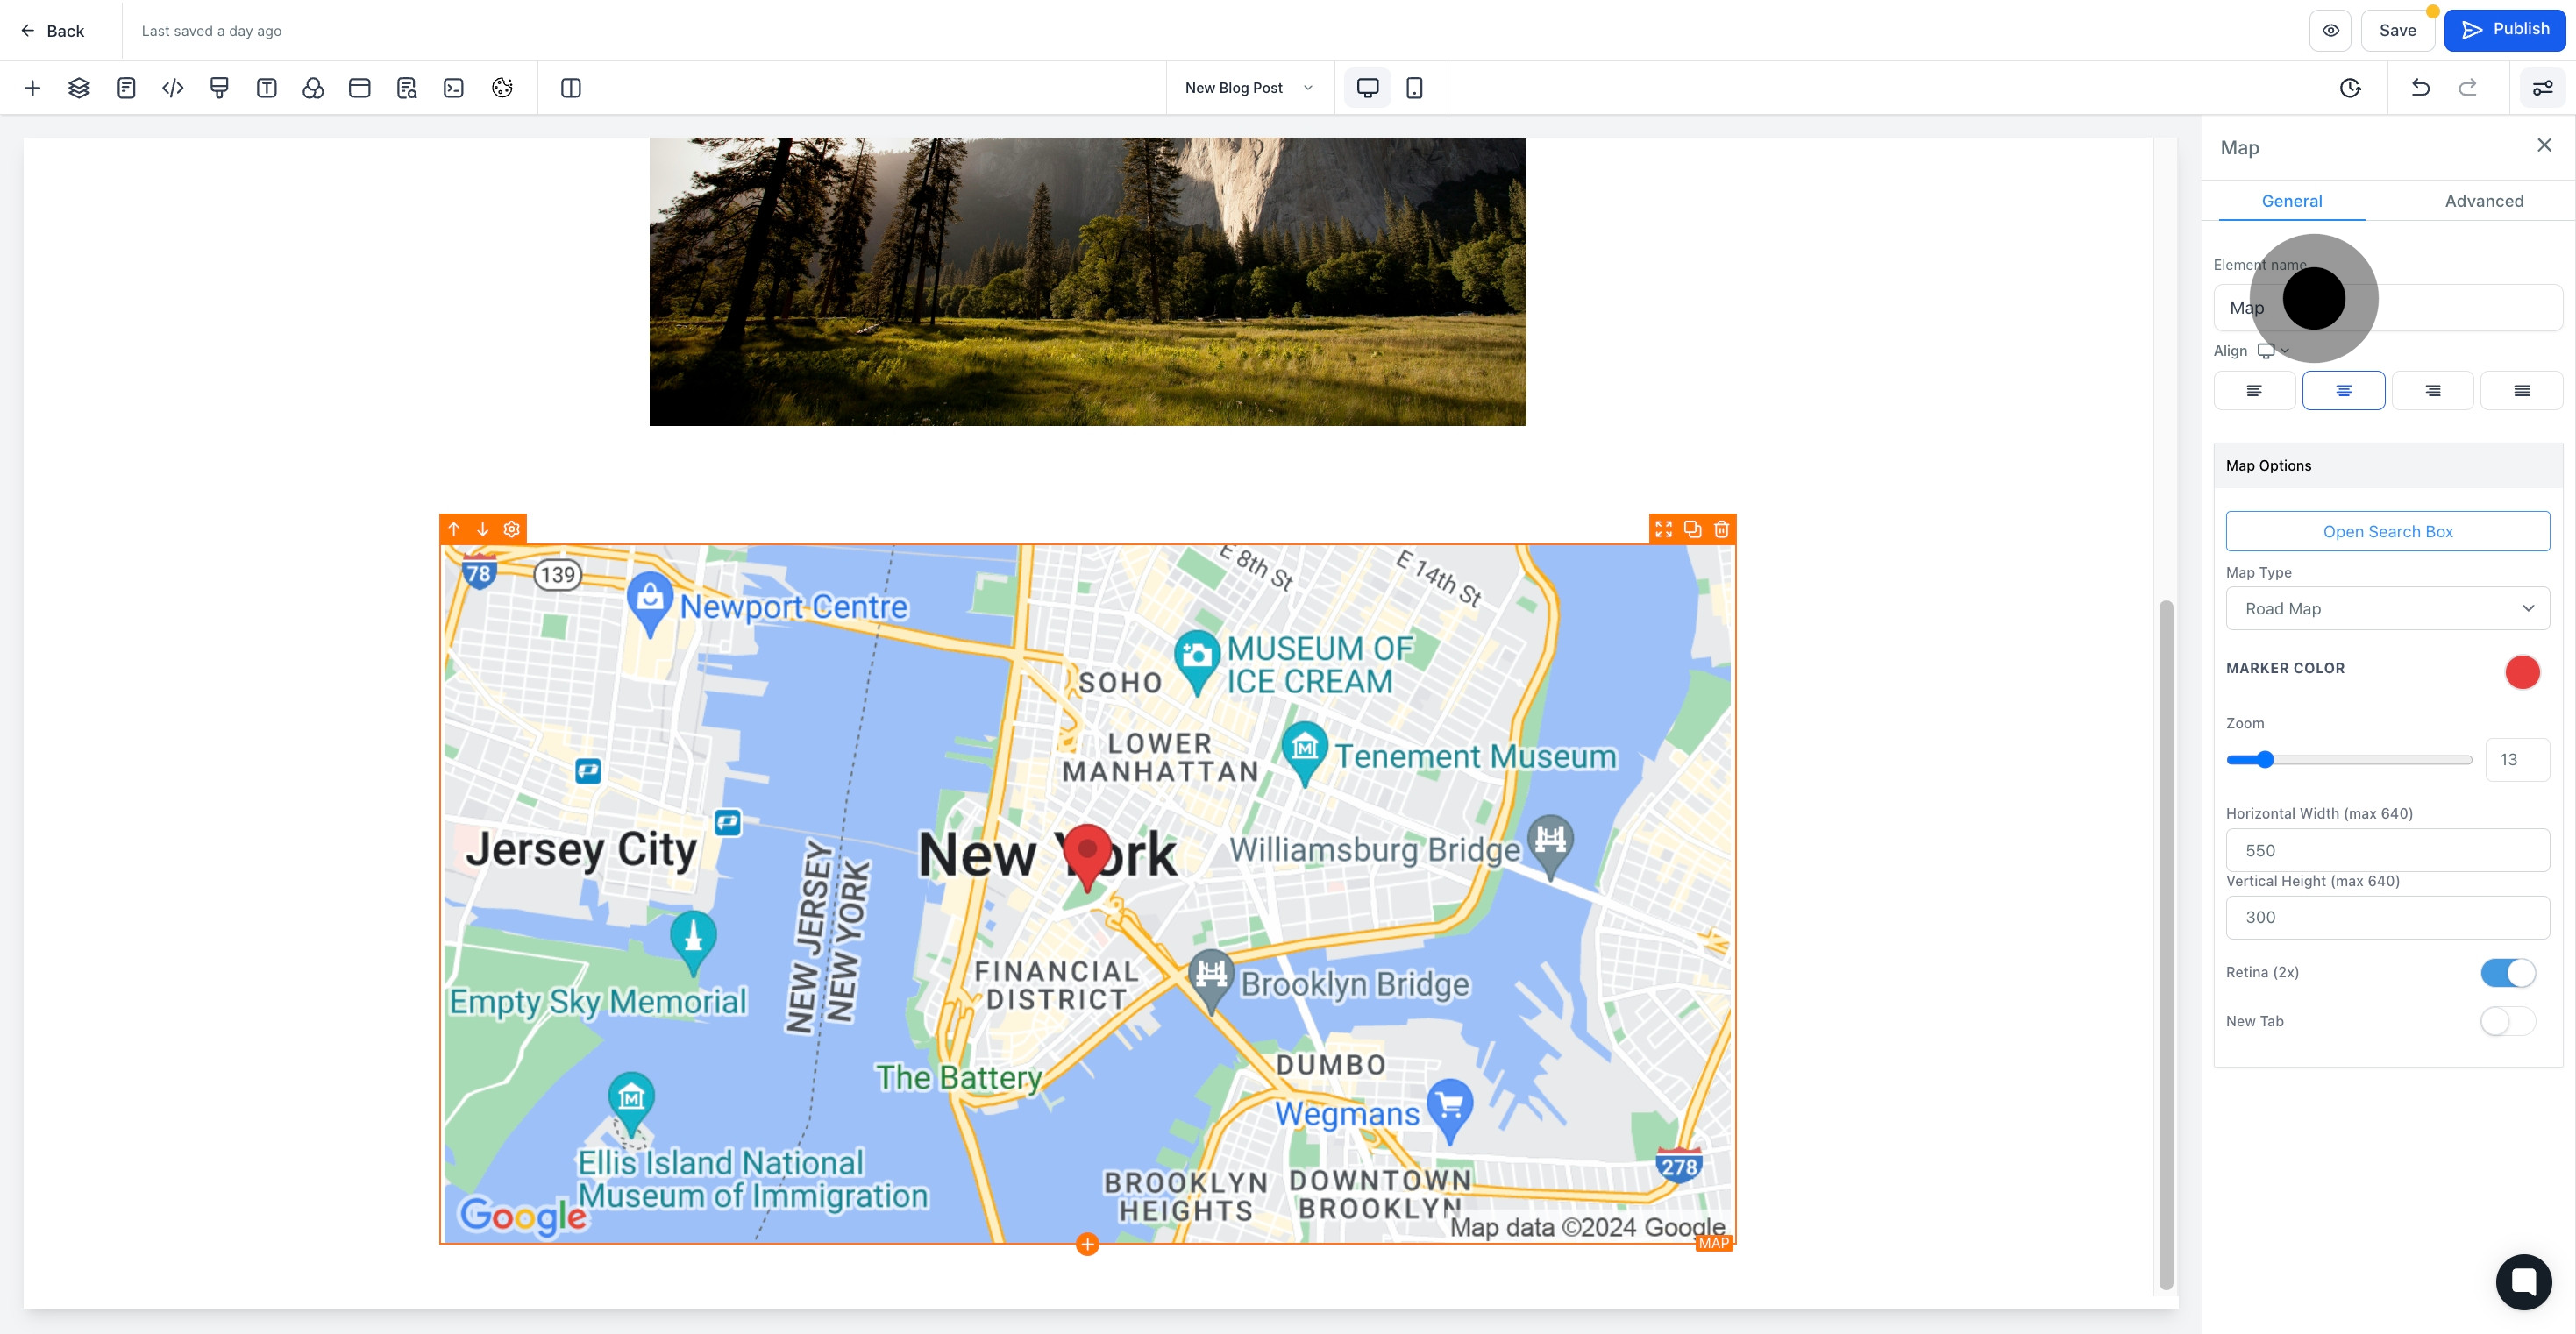
8. Proceed to open the search box by clicking on 'Map Type'.

8 Following that, click on "Map Type".

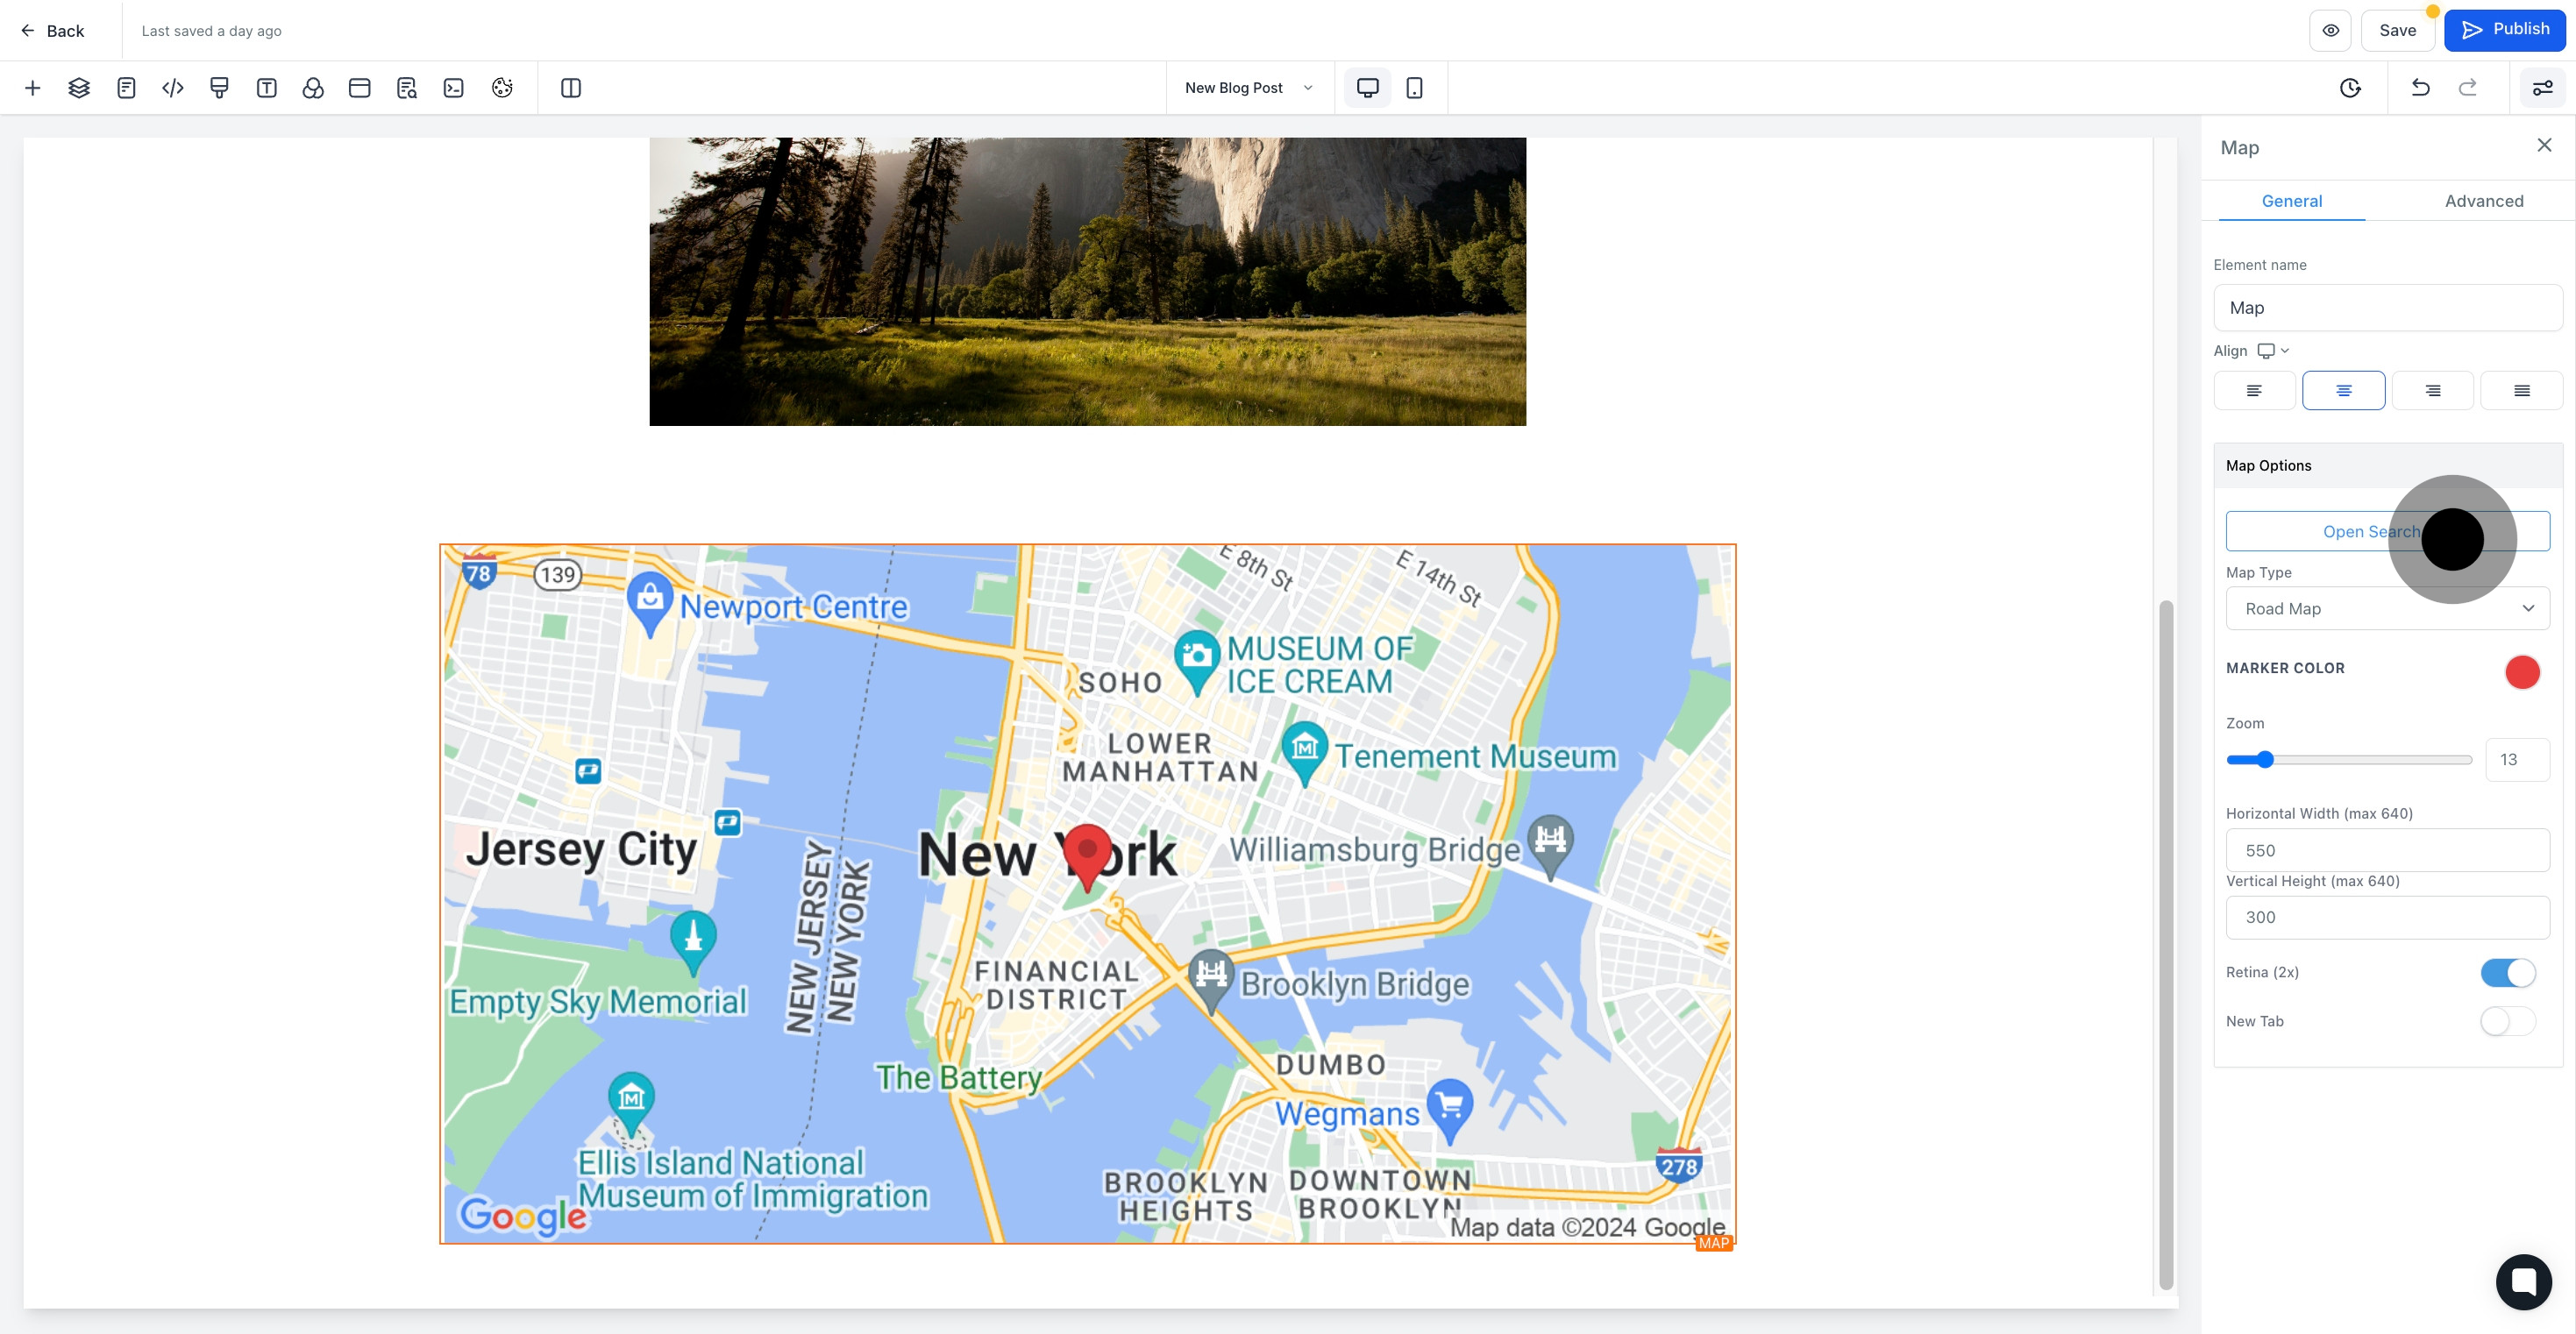
9. Now, select the map type of your preference.

9 Click on the element.

10. Lastly, don't forget to save your changes by hitting the 'Save' button.

10 Click on "Save".

Did this answer your question?
😞
😐
😁