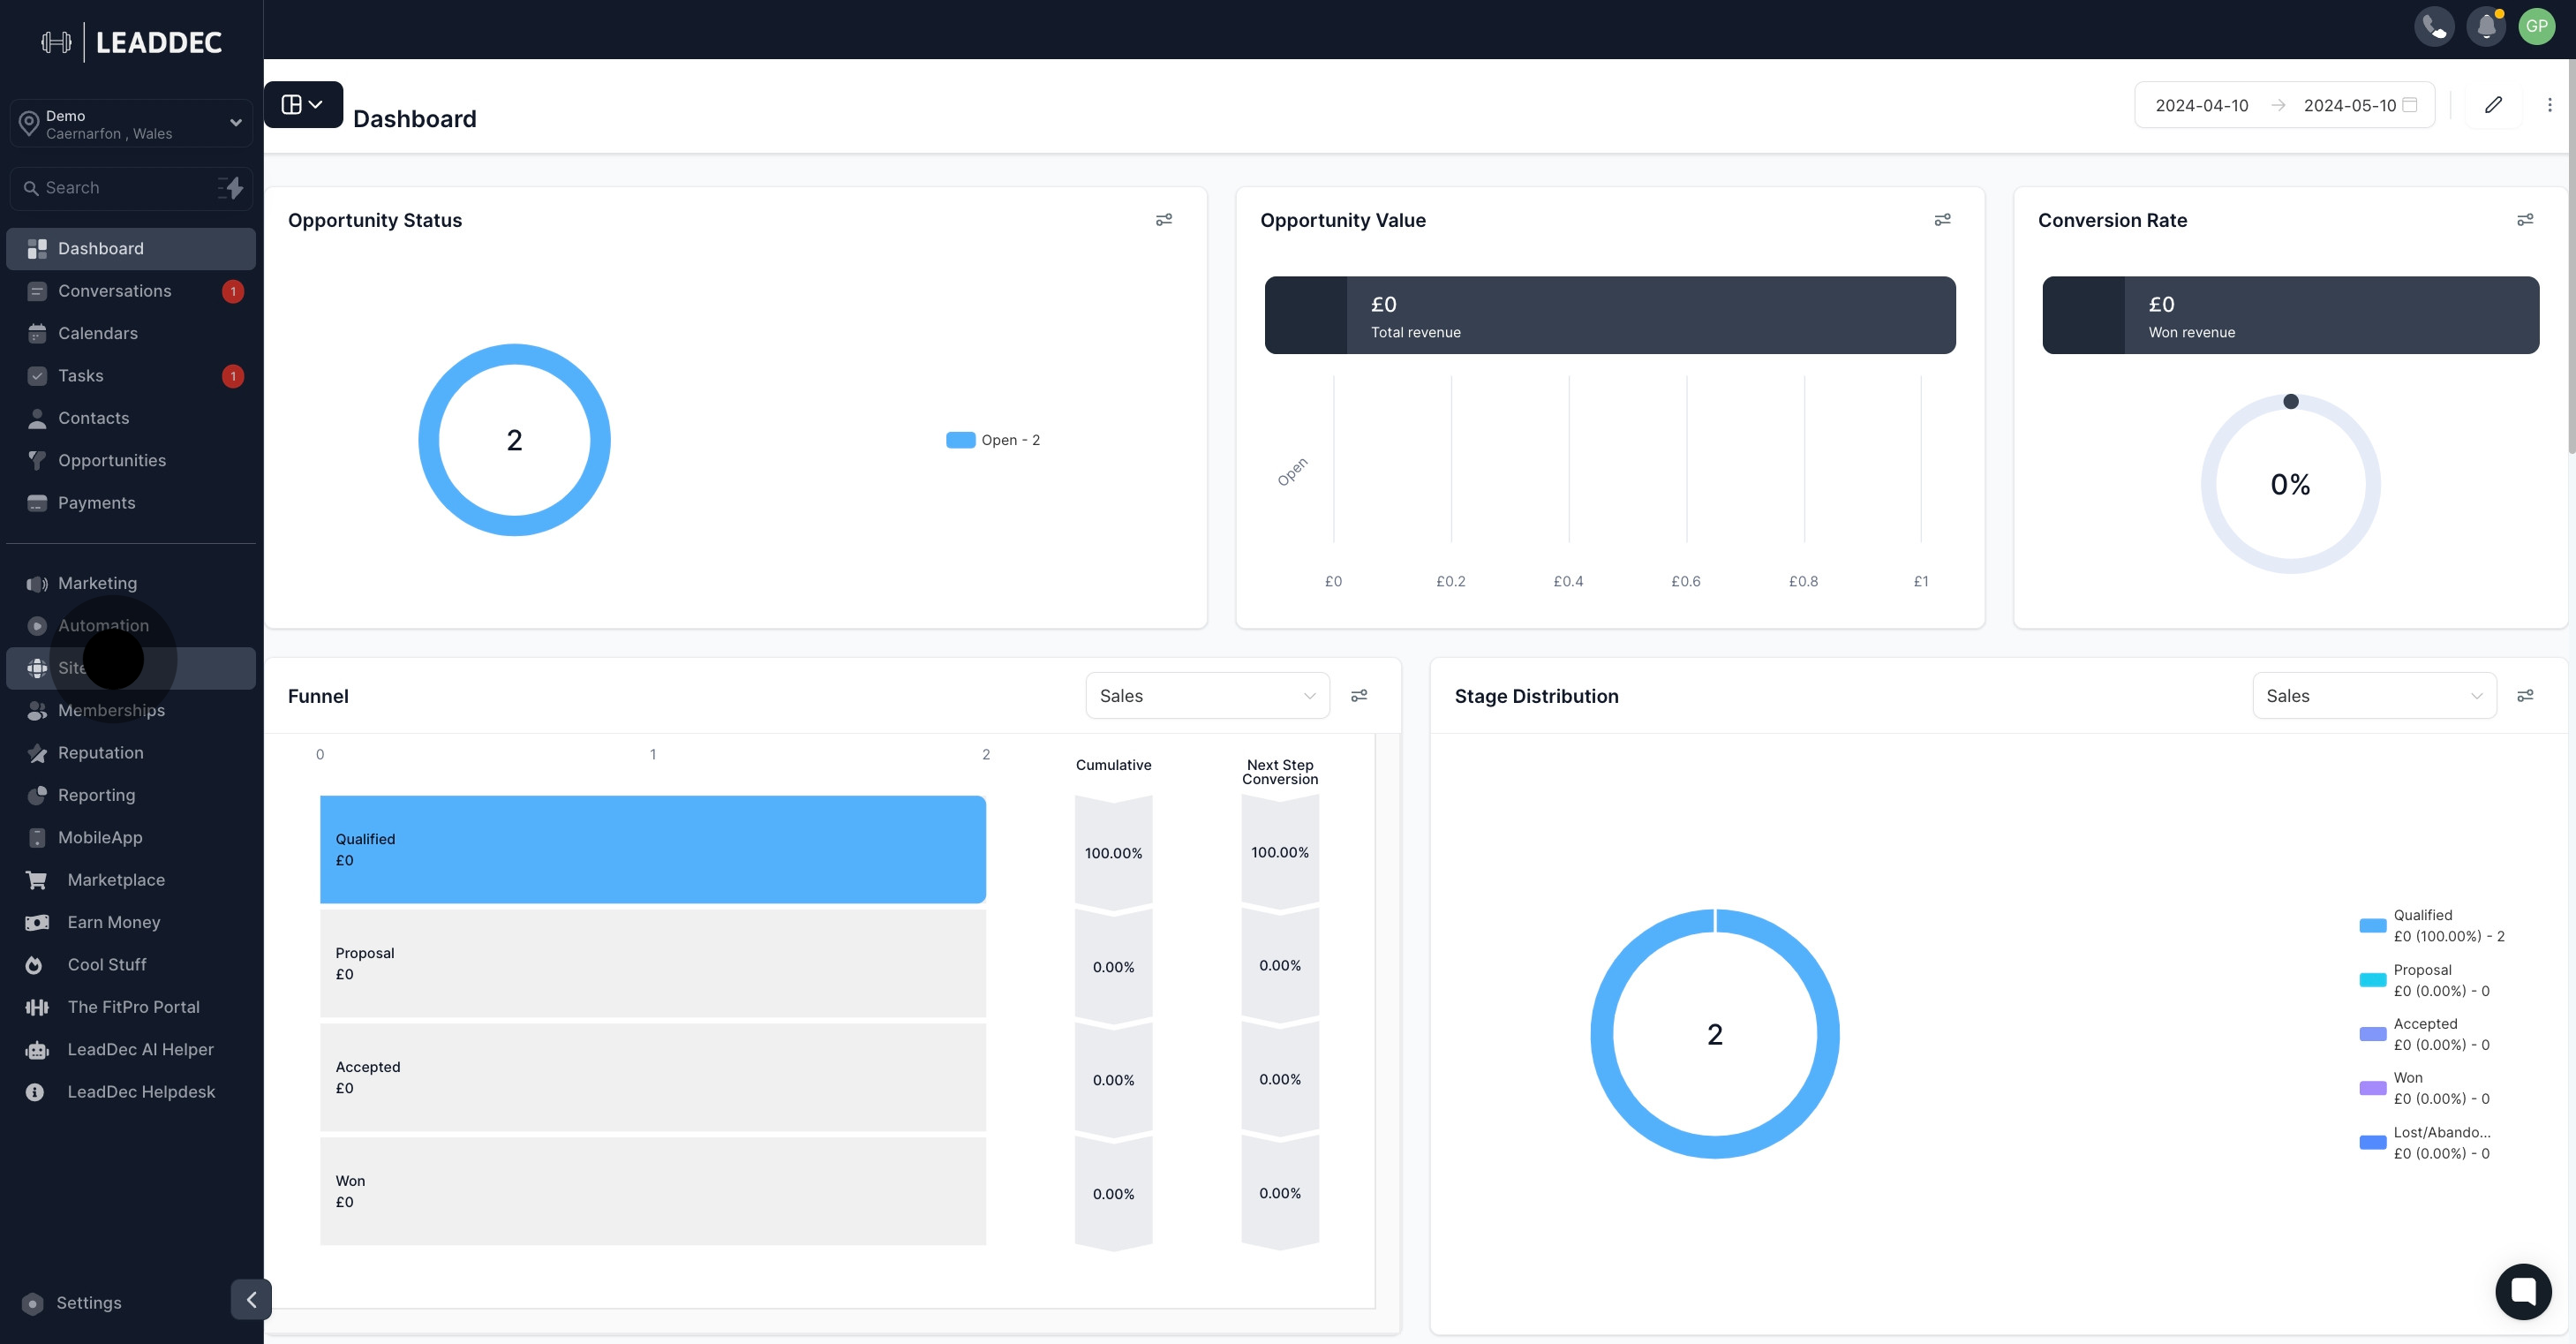
1. Begin by clicking on 'Sites'.
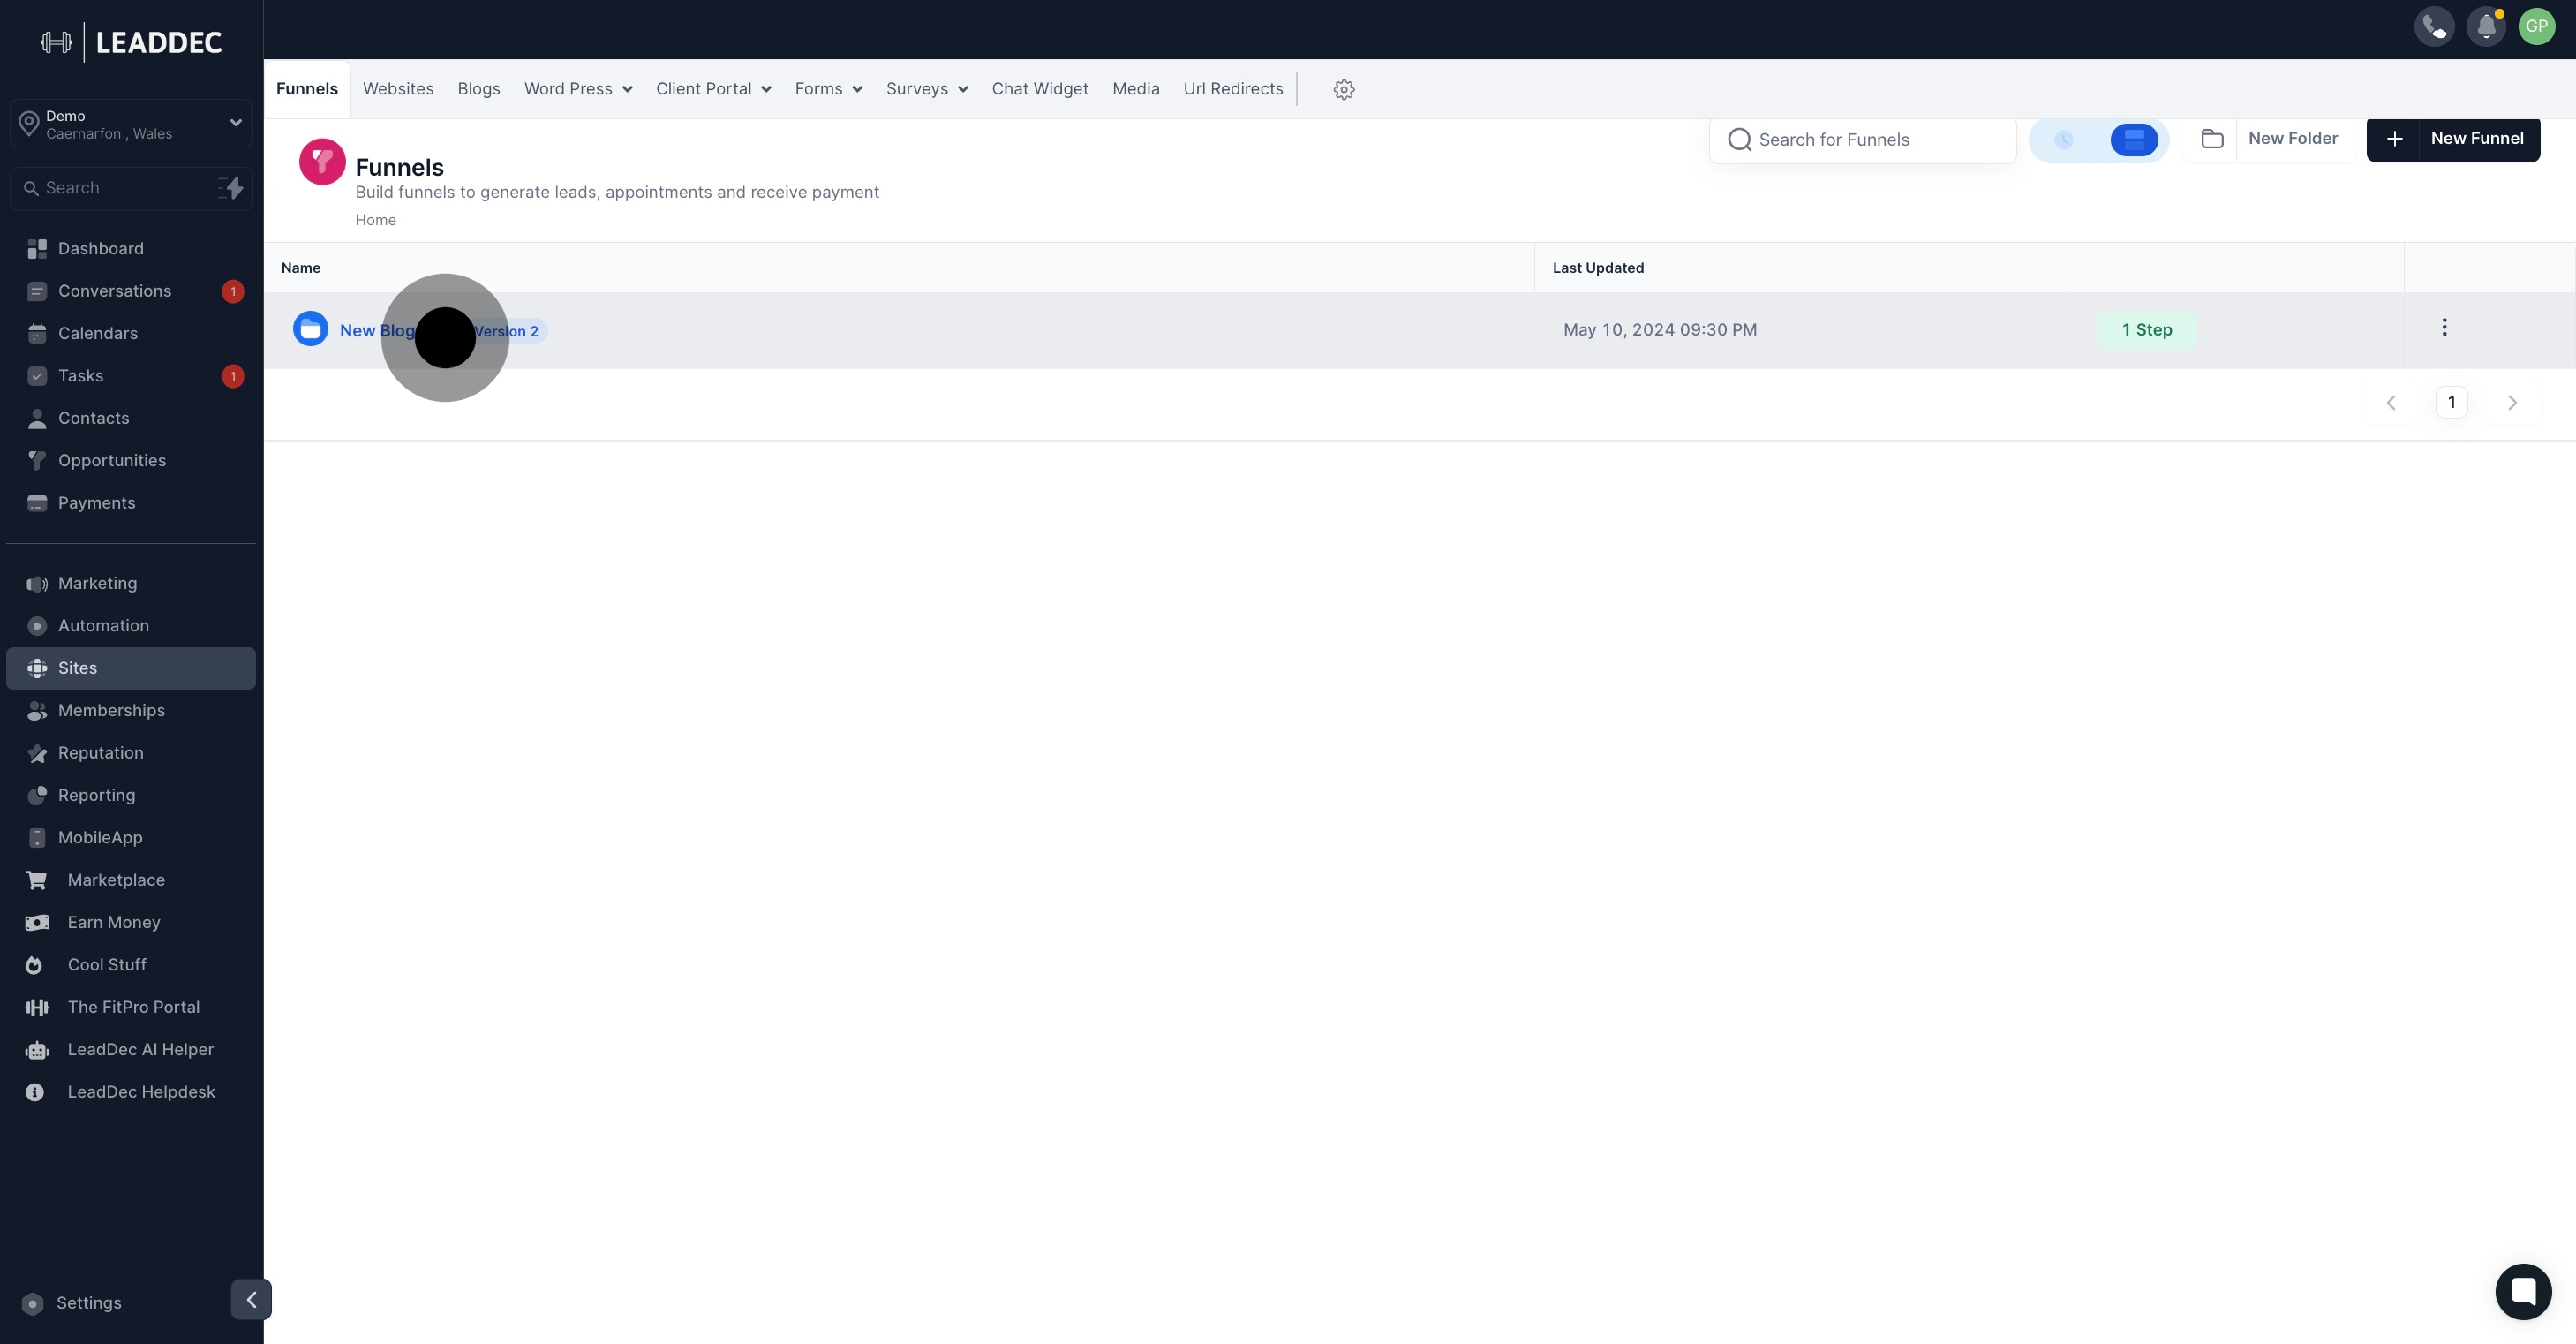
2. Next, choose the desired funnel name from the provided list.
3. Now, proceed to select the relevant funnel steps
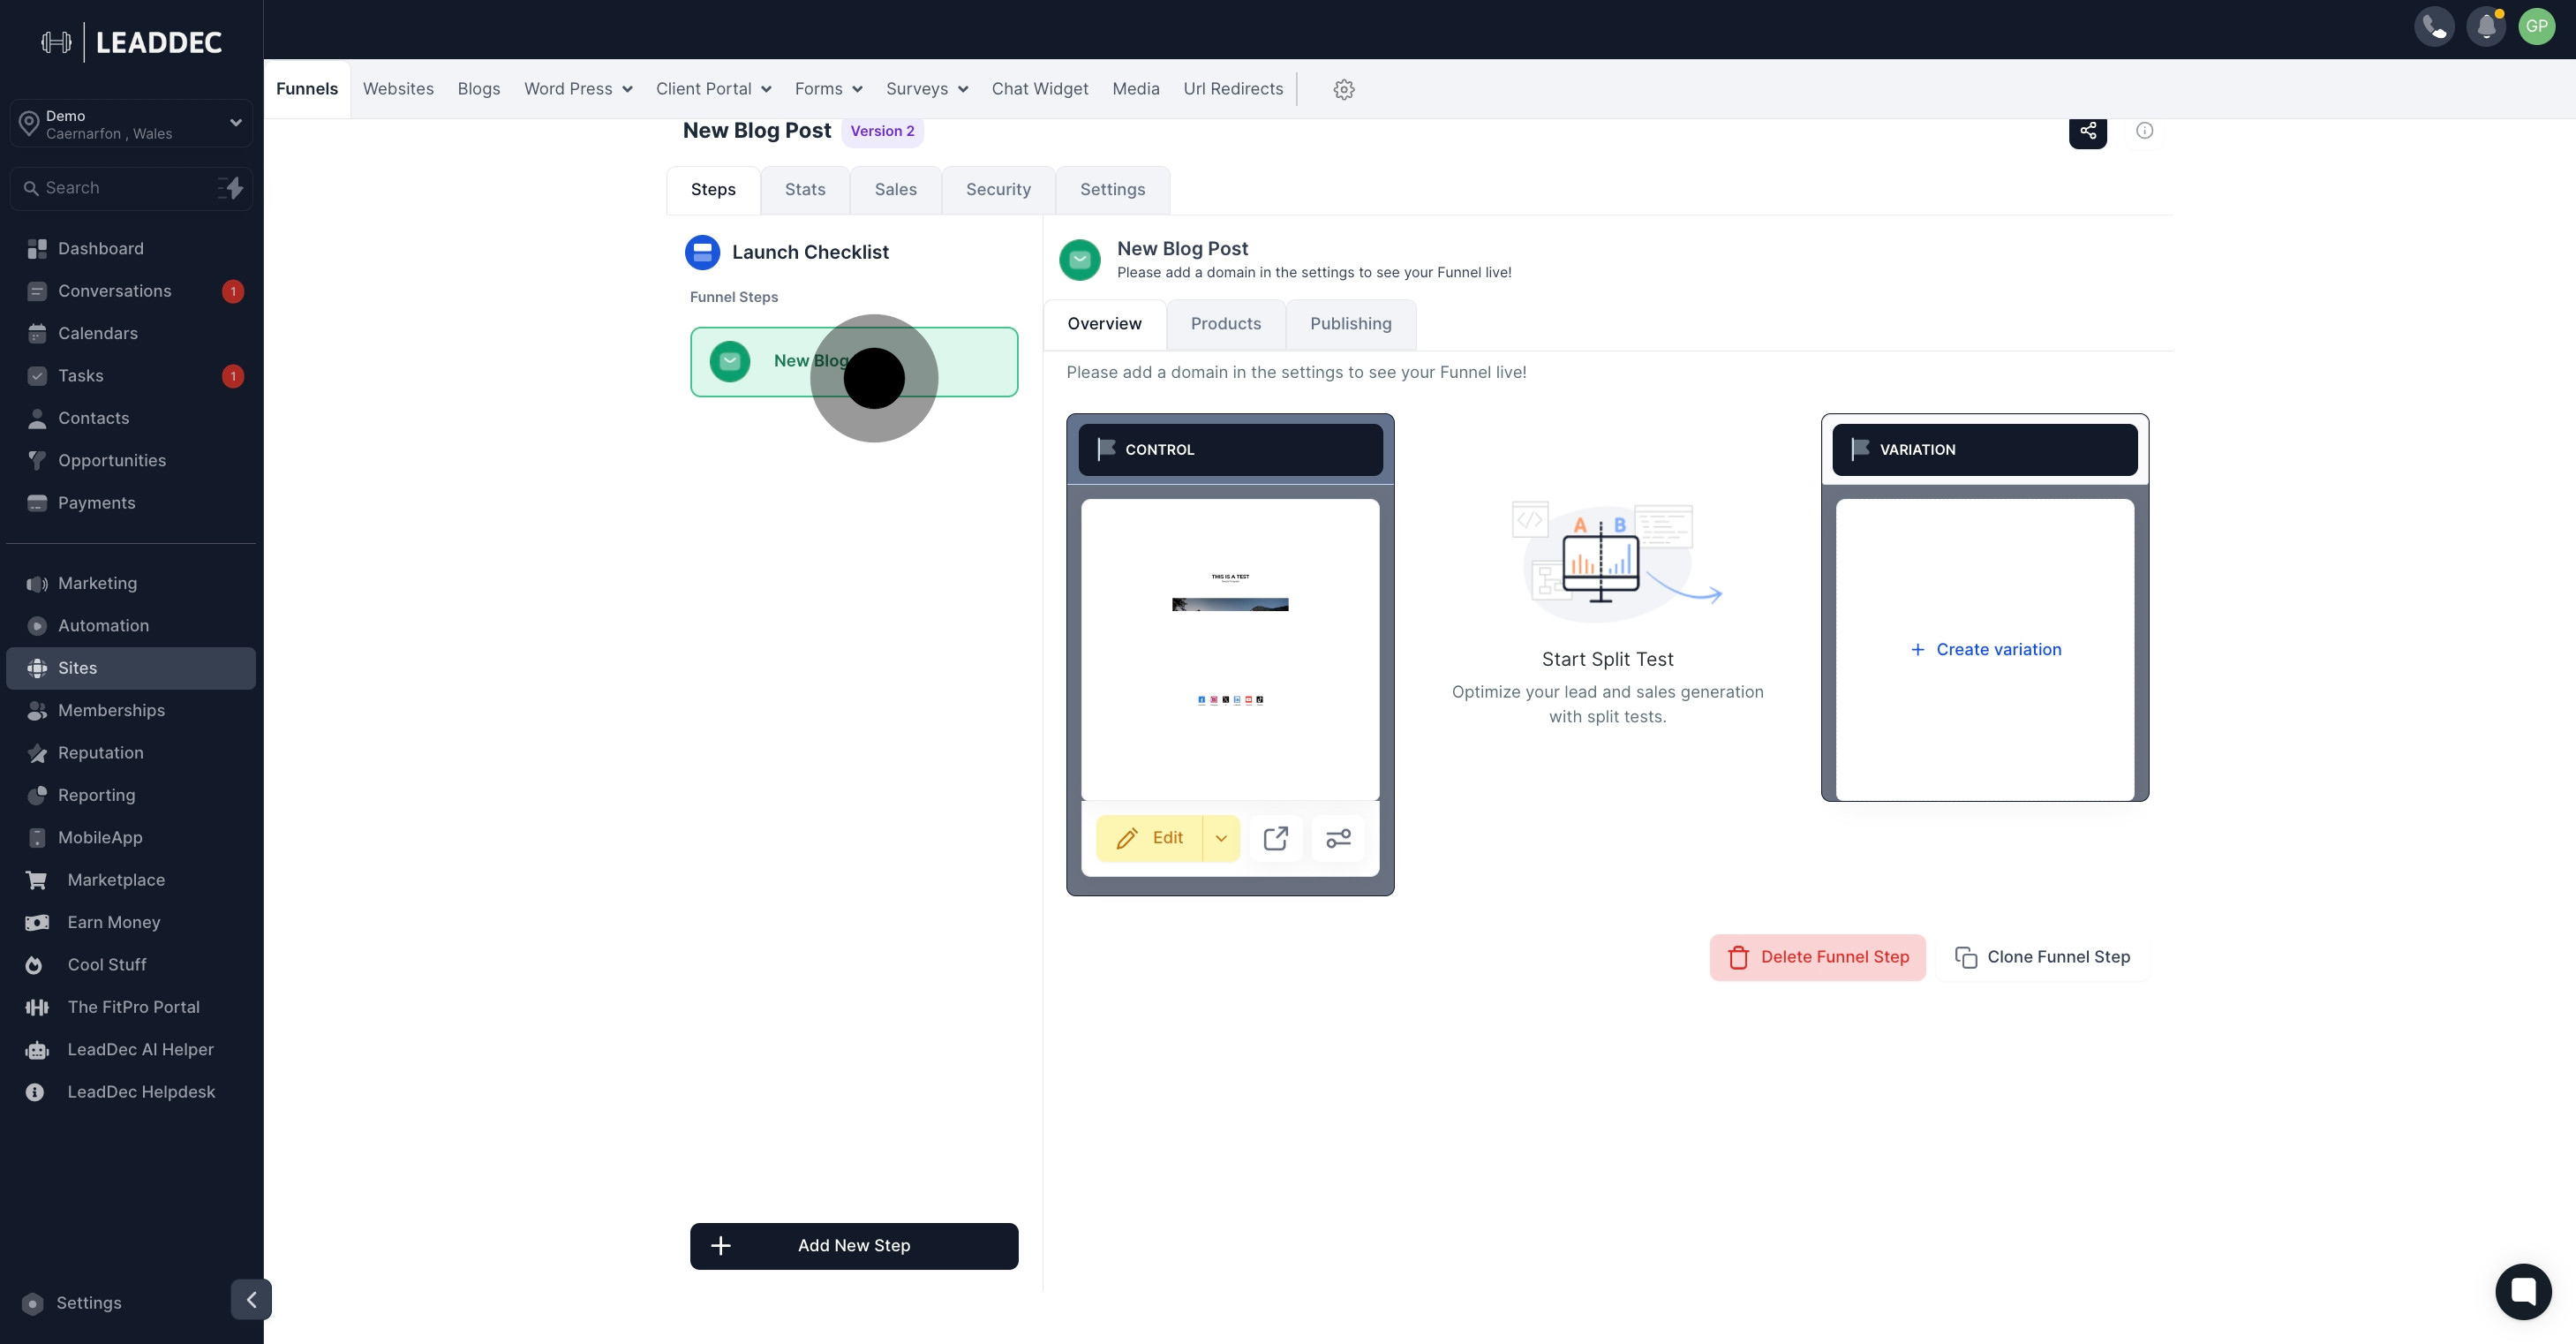
4. After that, click on the 'Edit' button.
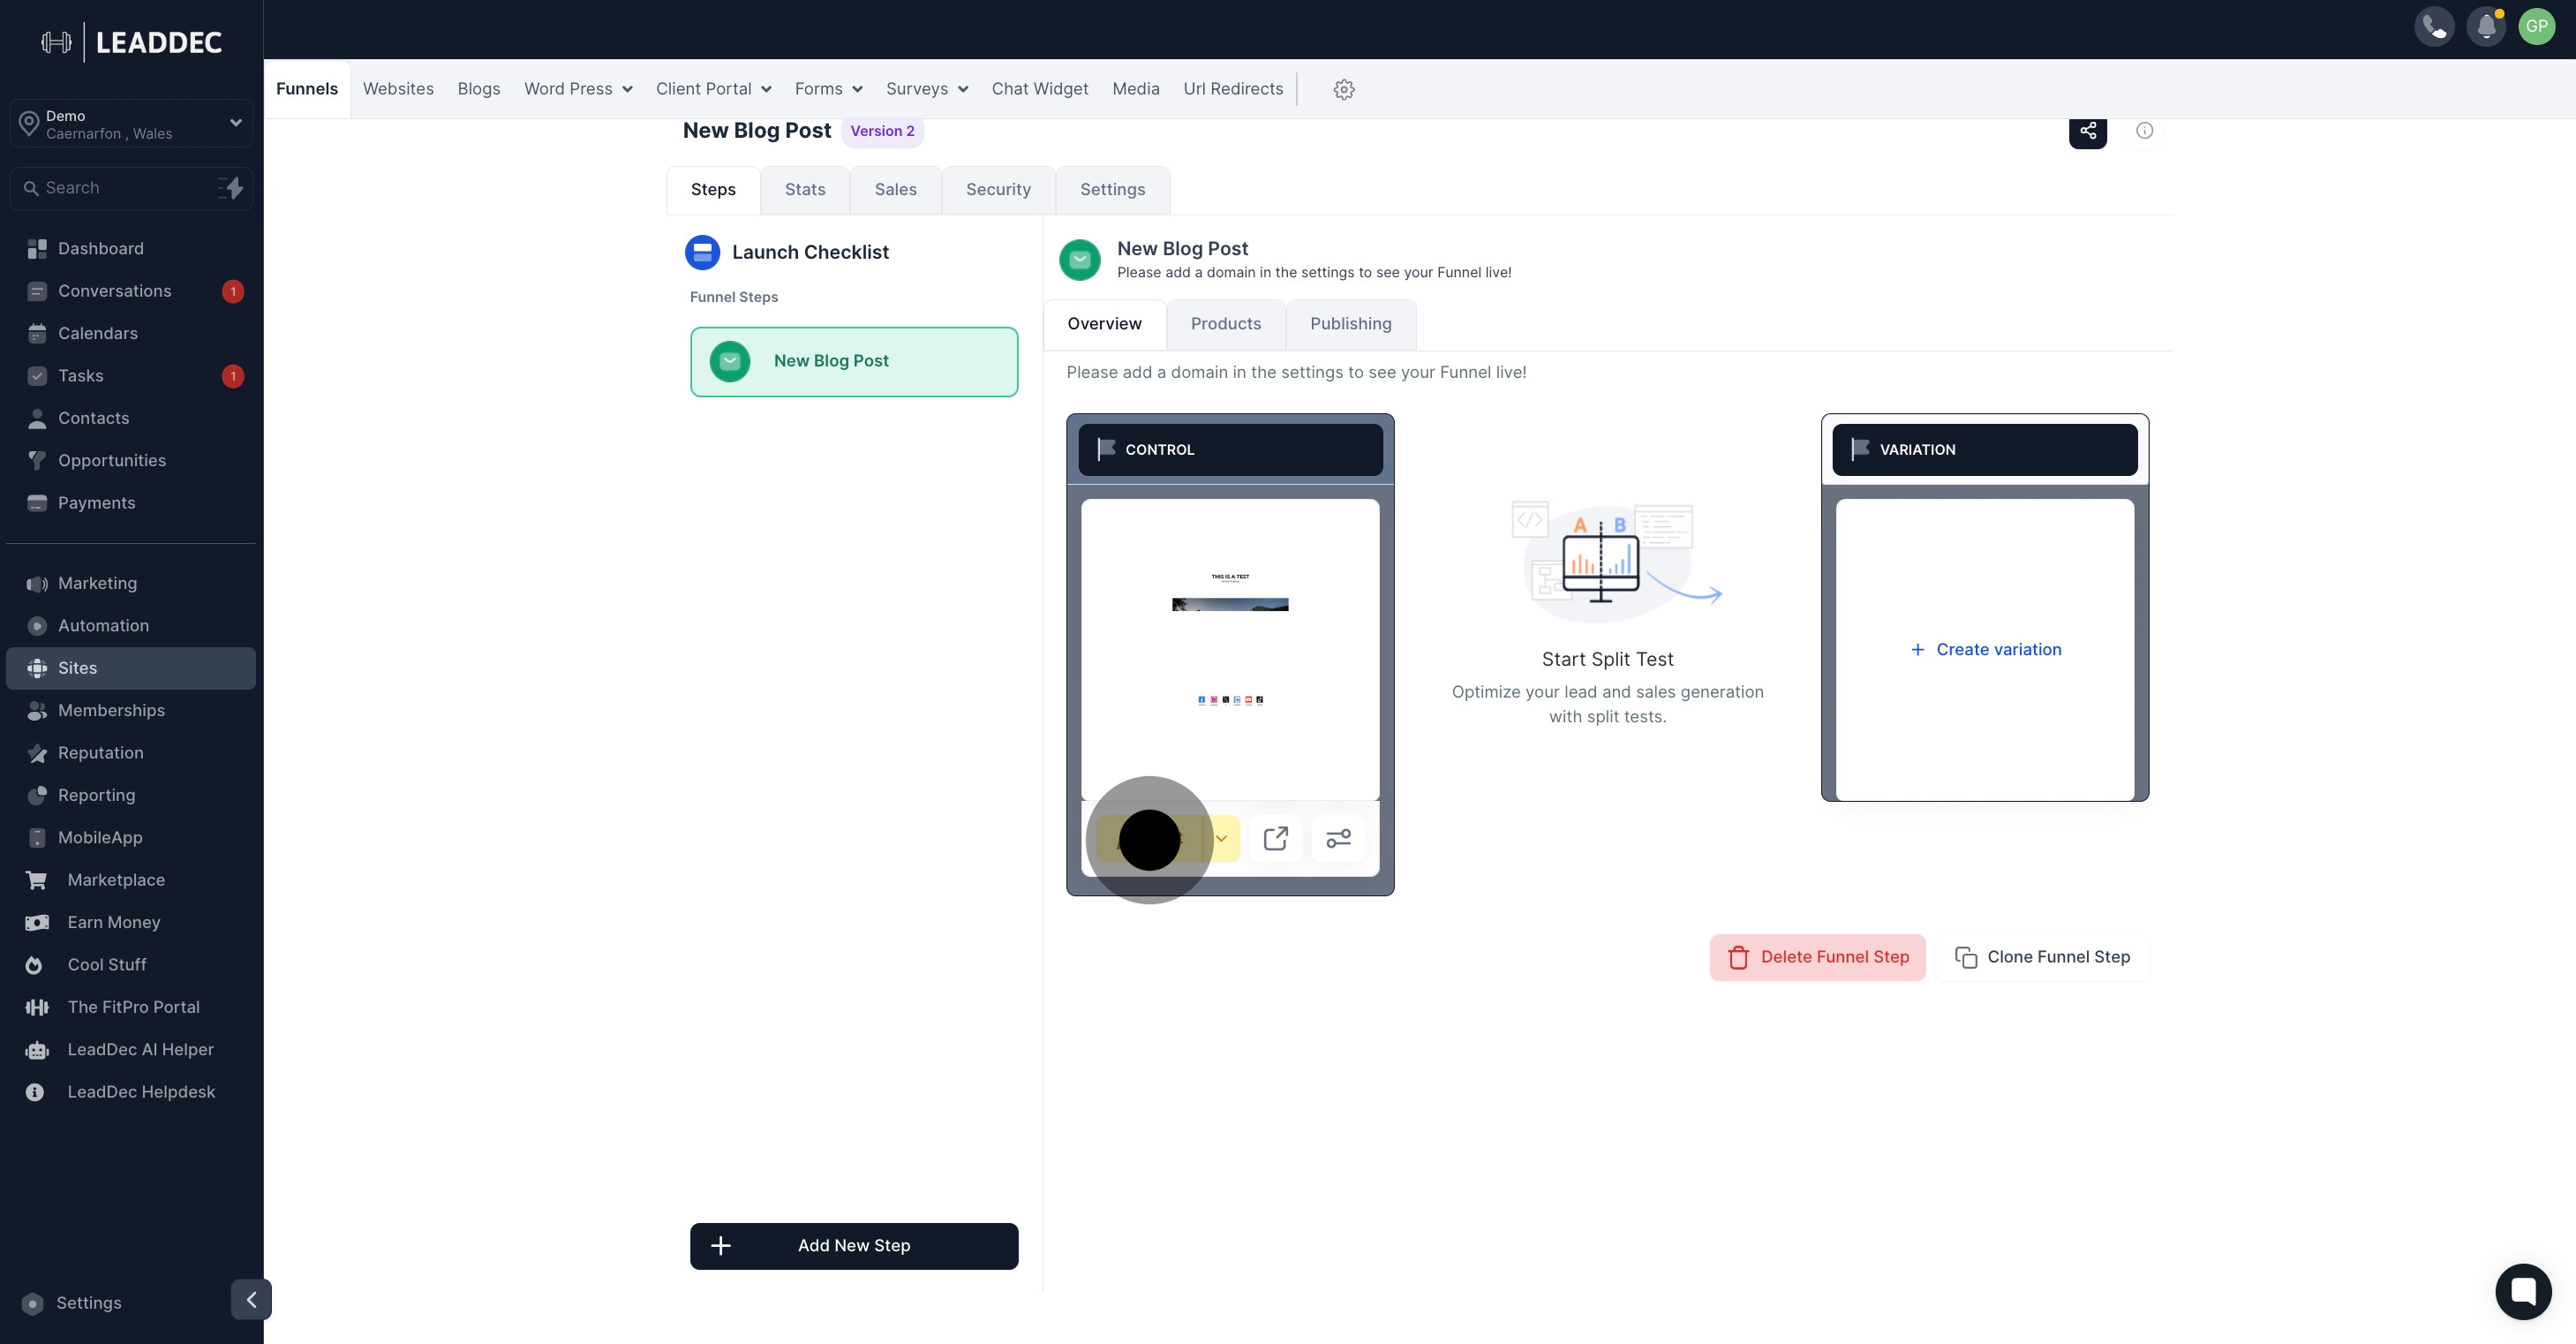
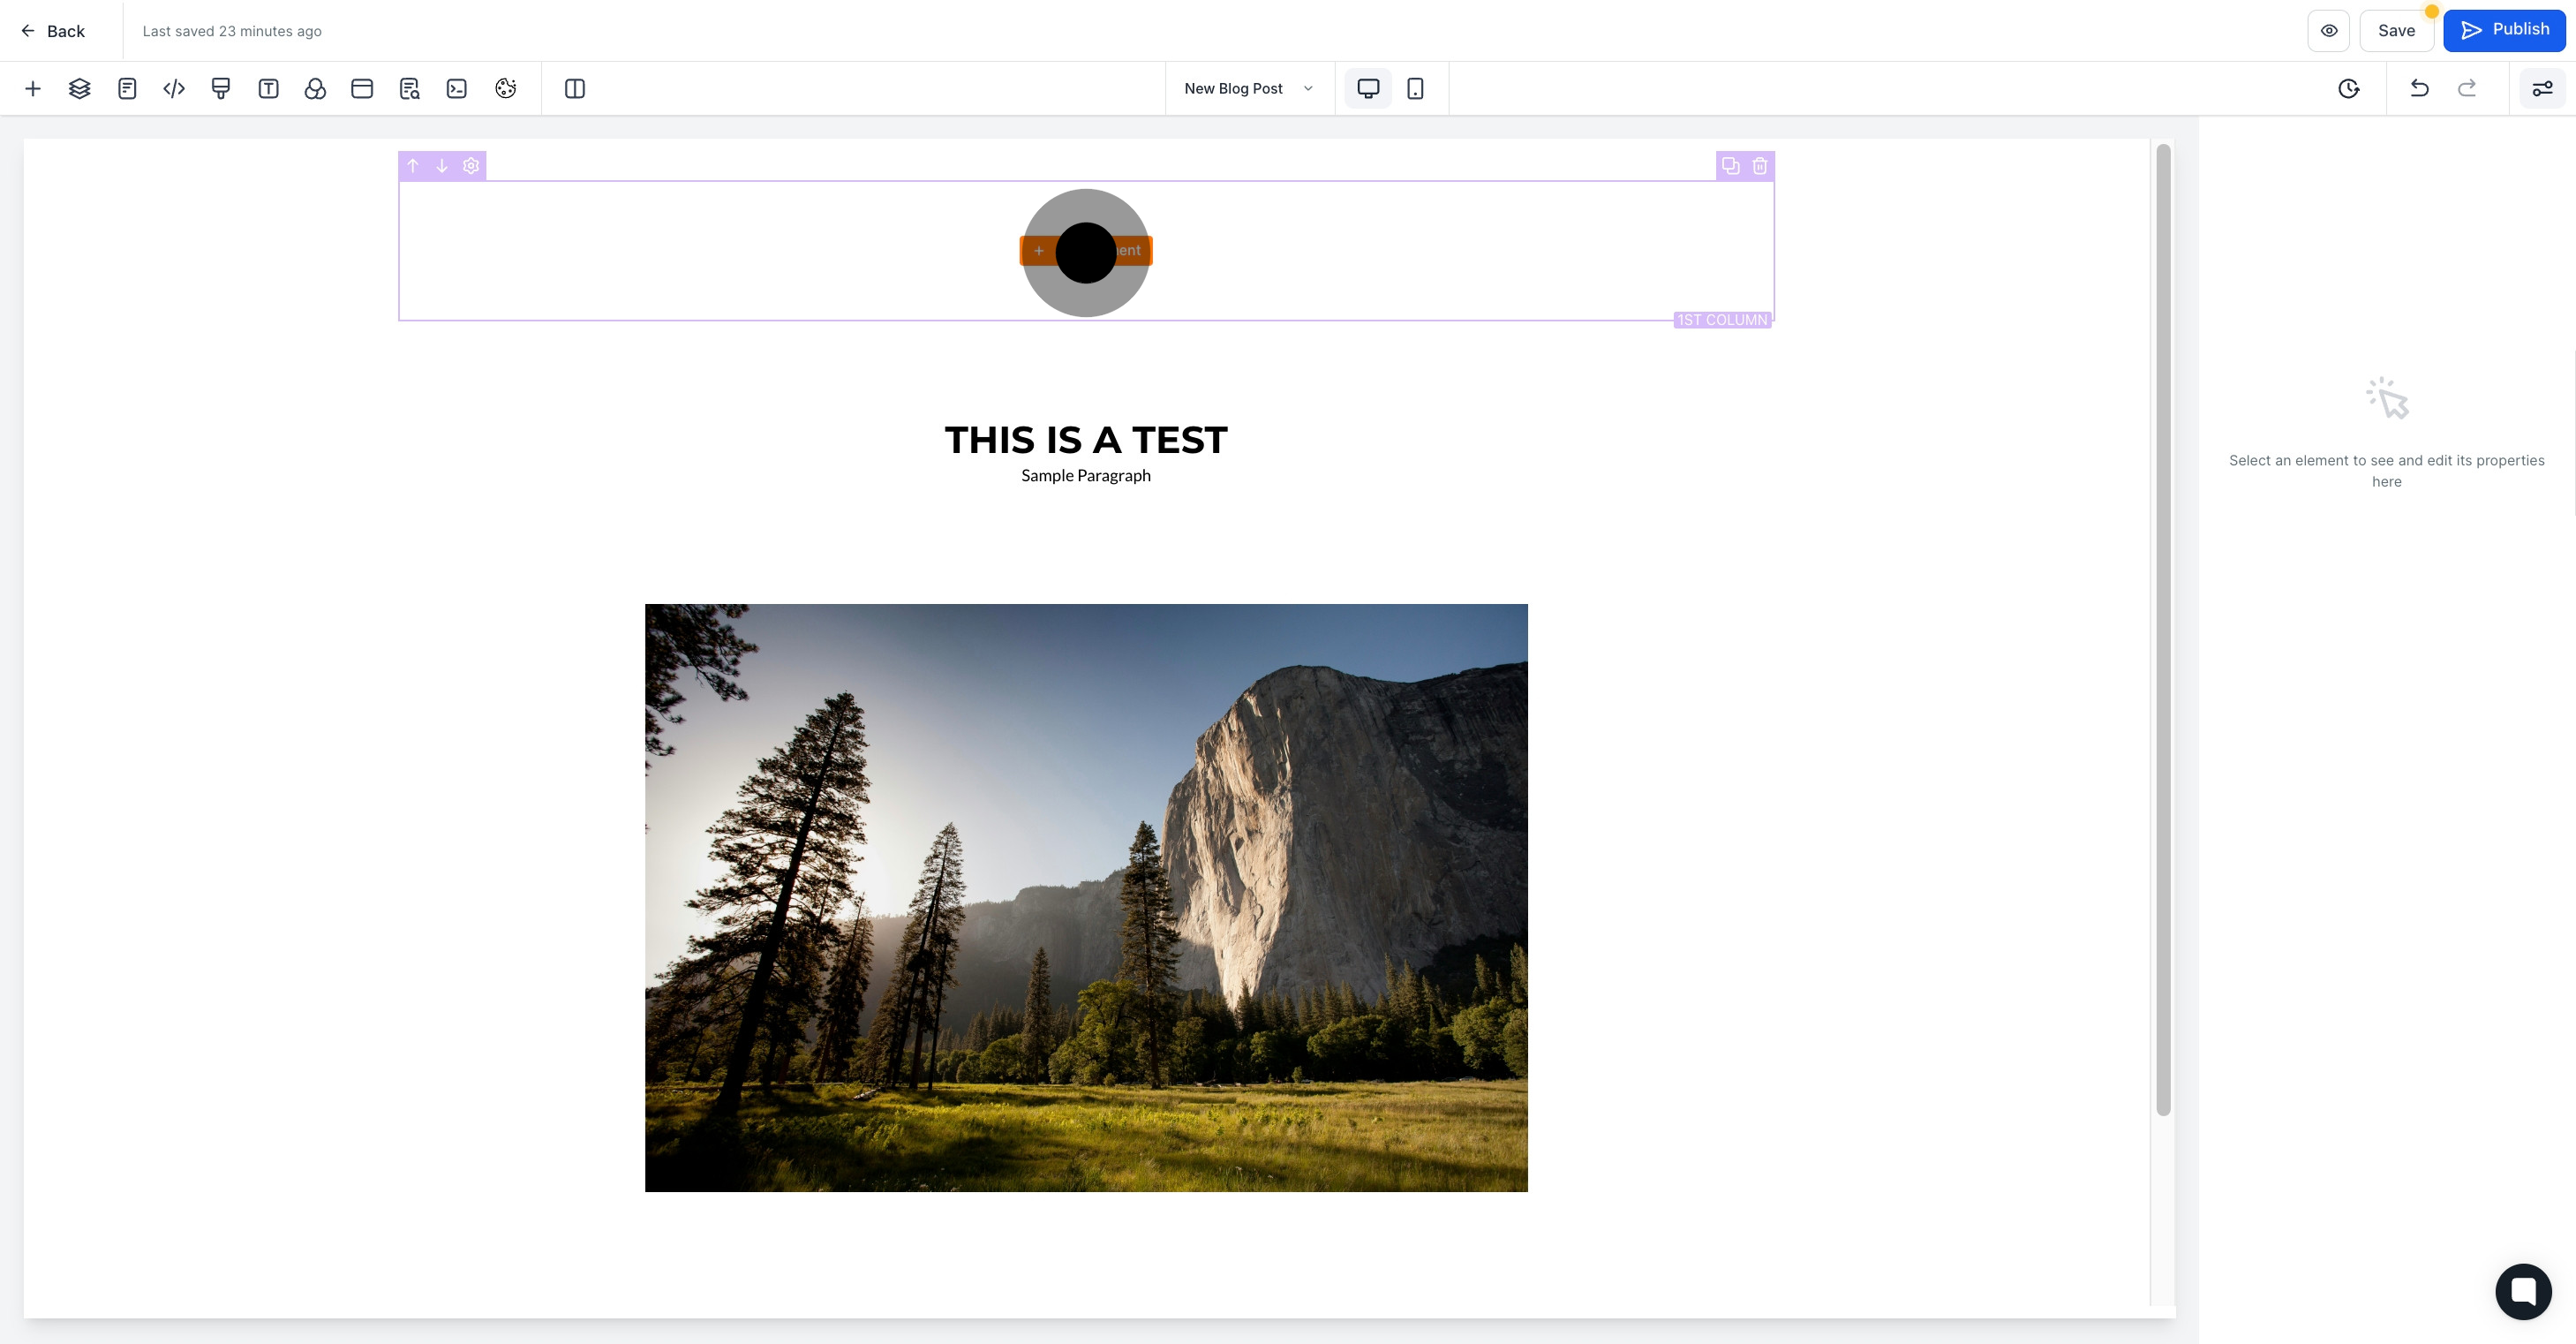
5. Then, hit the 'Add Element' button.
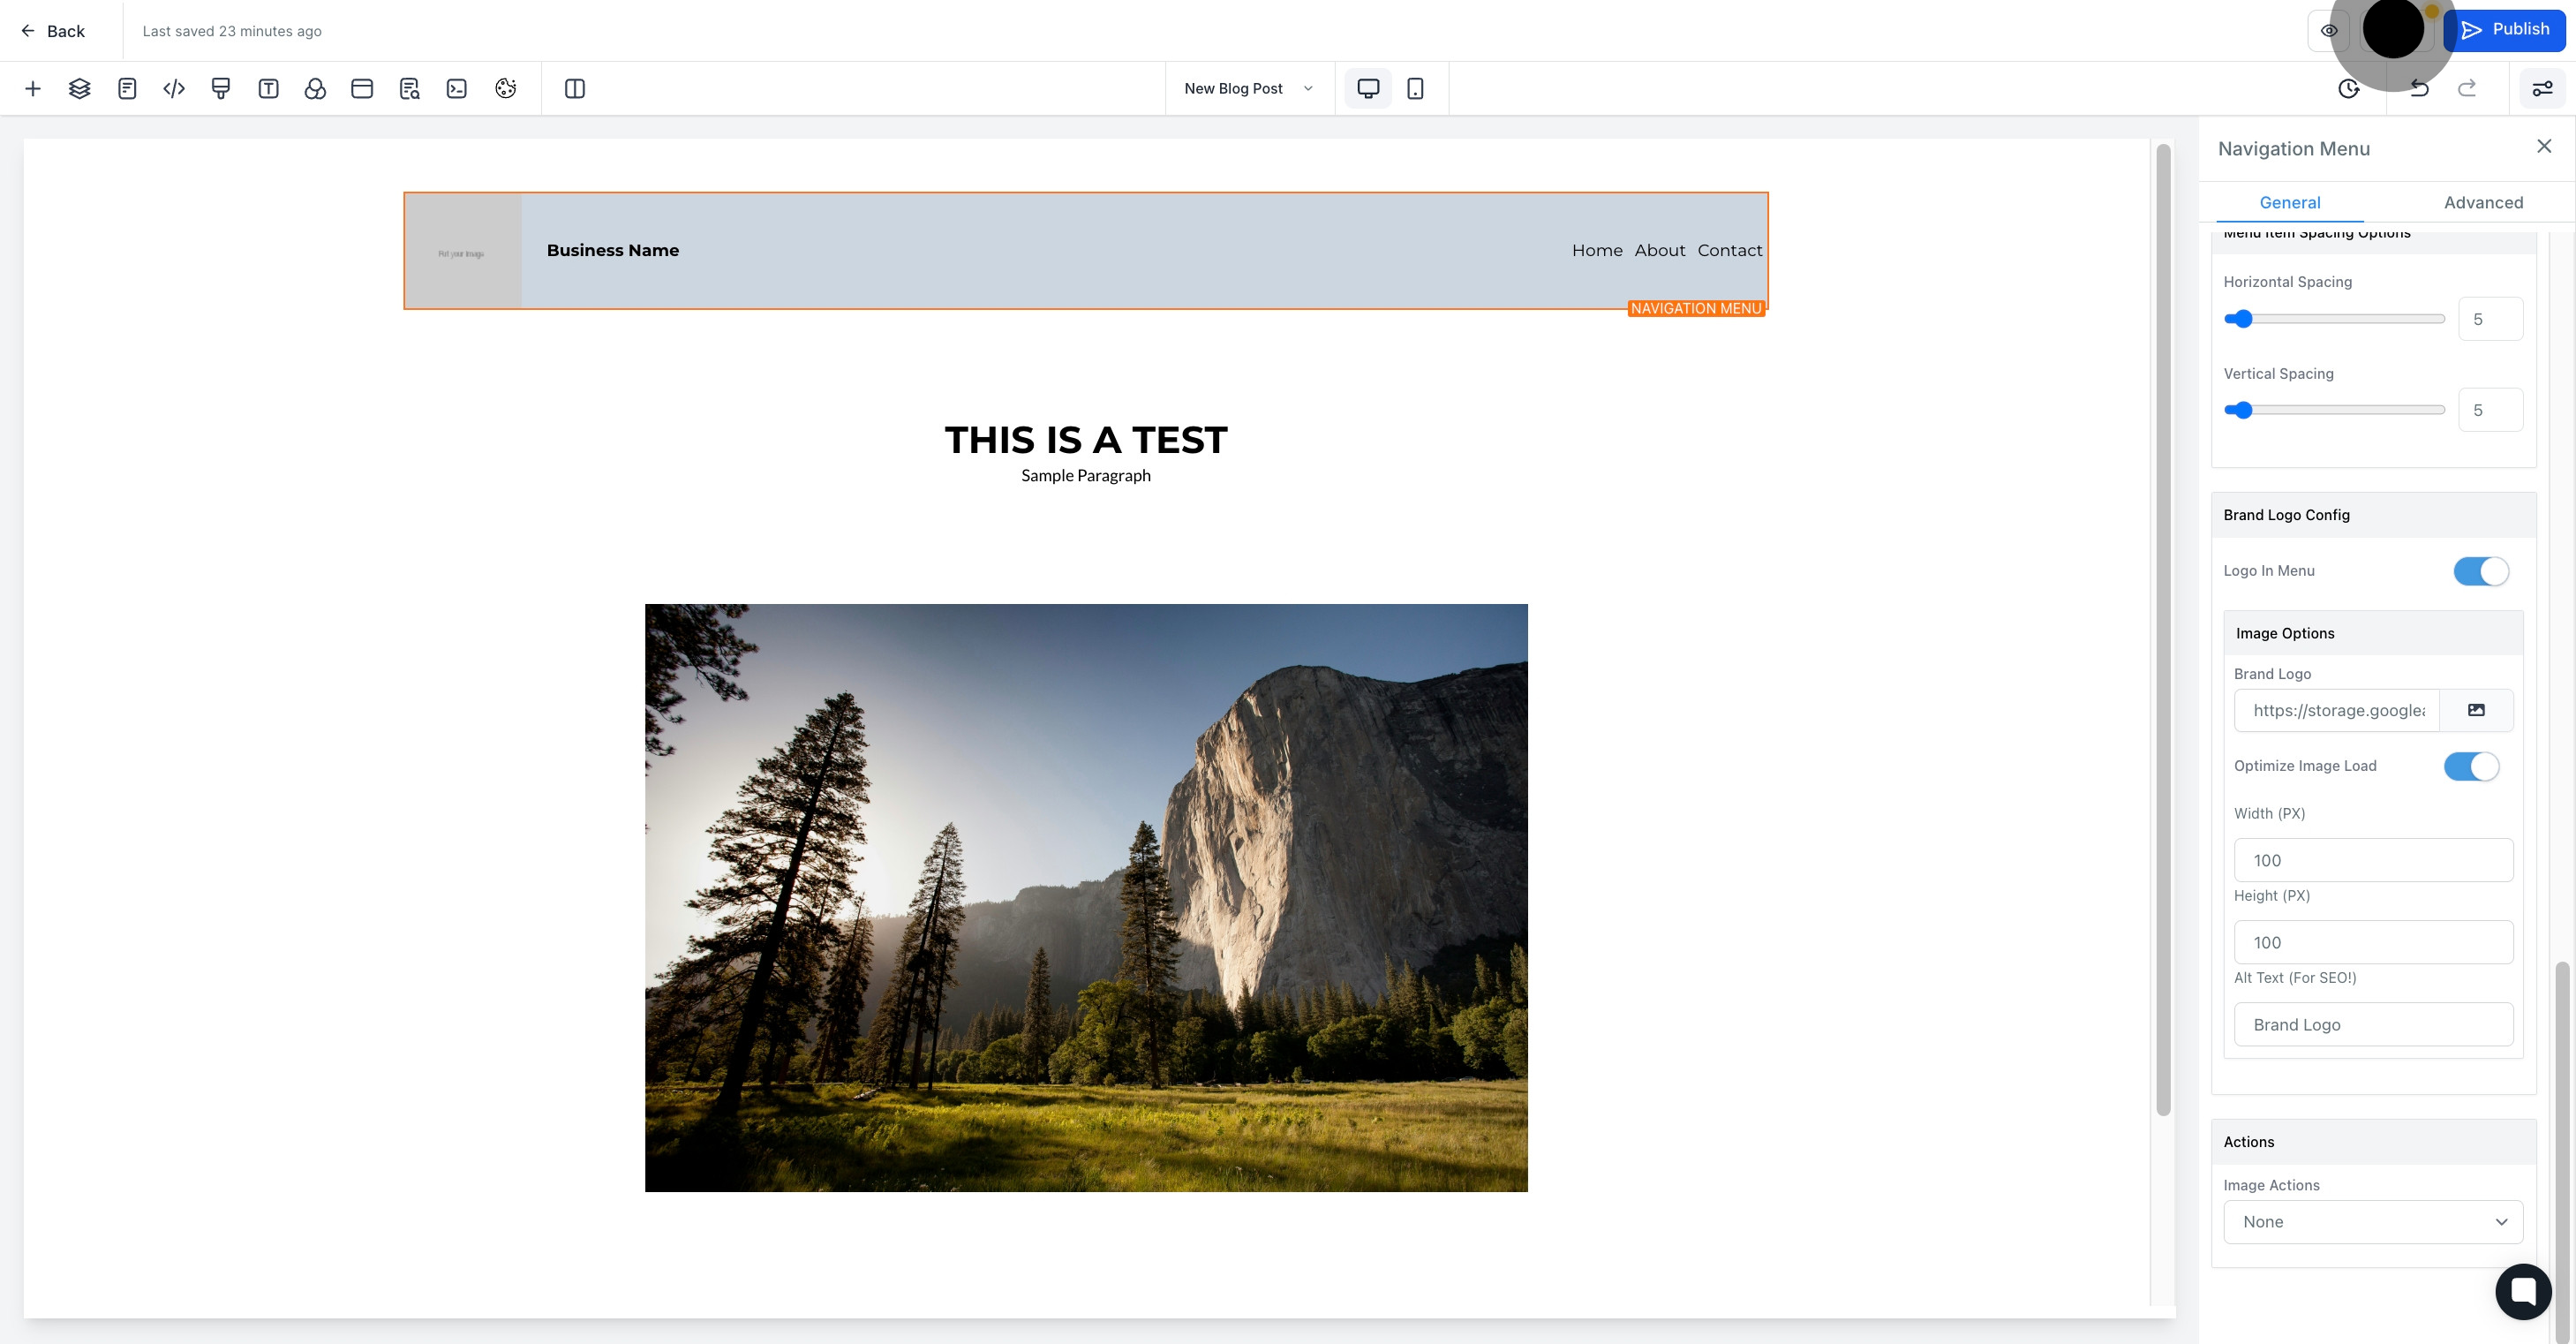
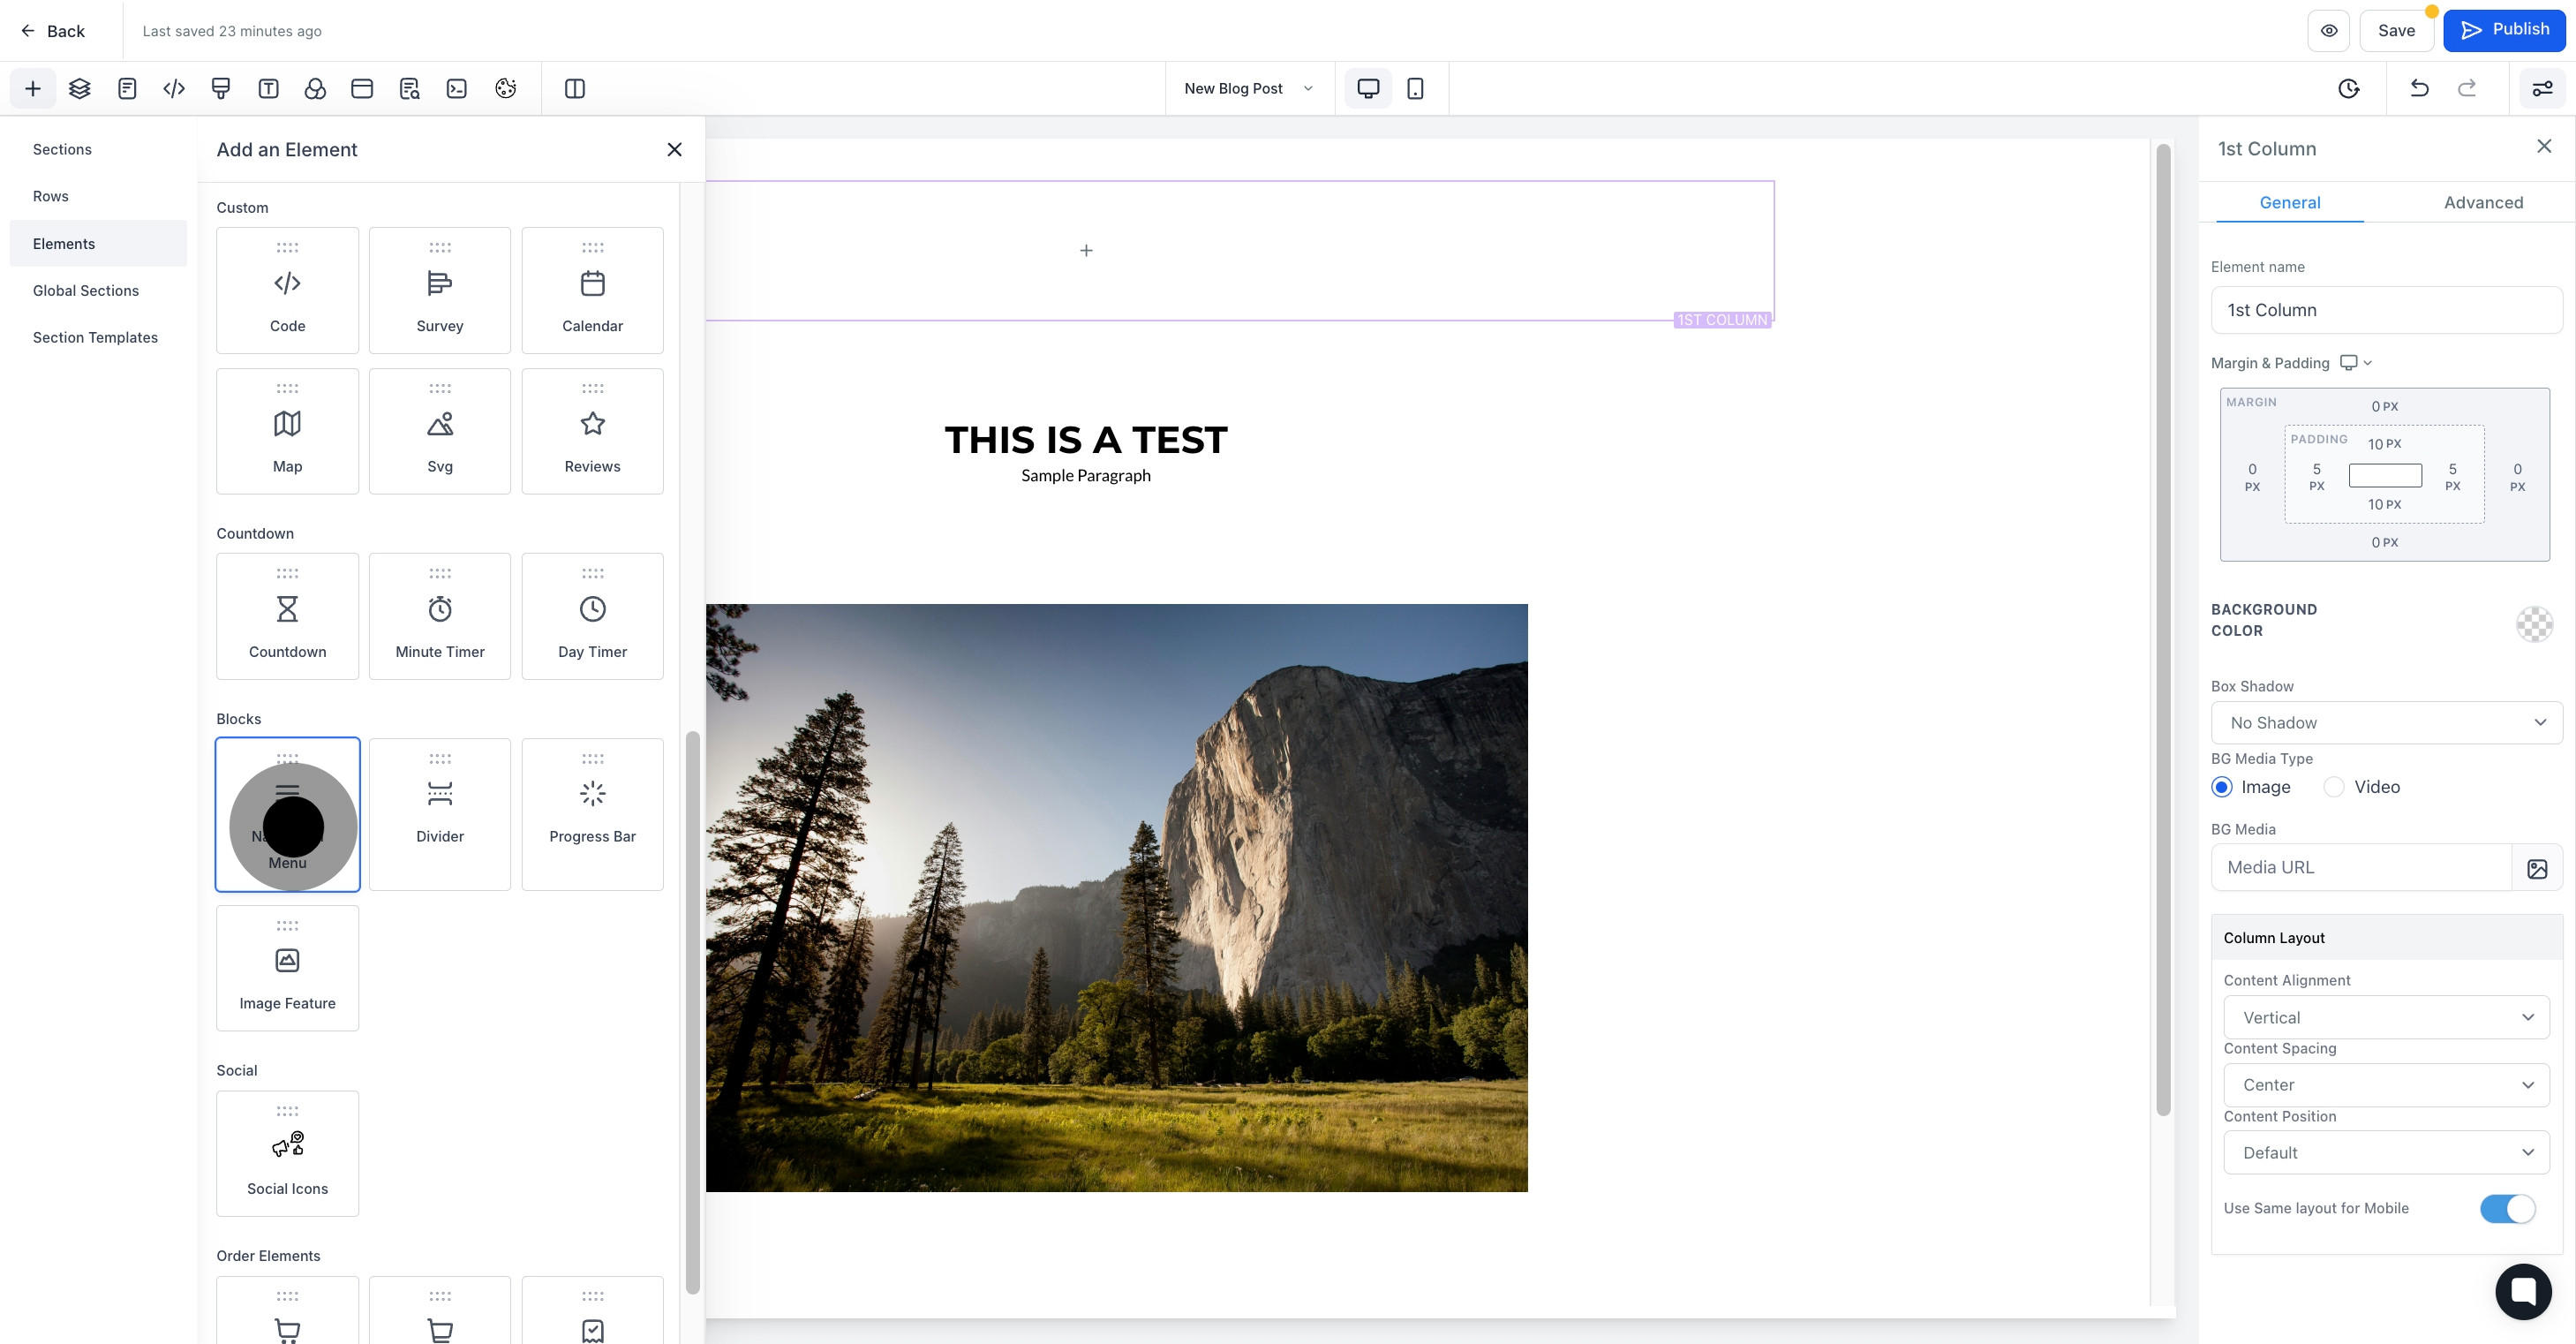
6. Look for 'Navigation Menu' and select it.
7. Now, you have successfully added the navigation menu.
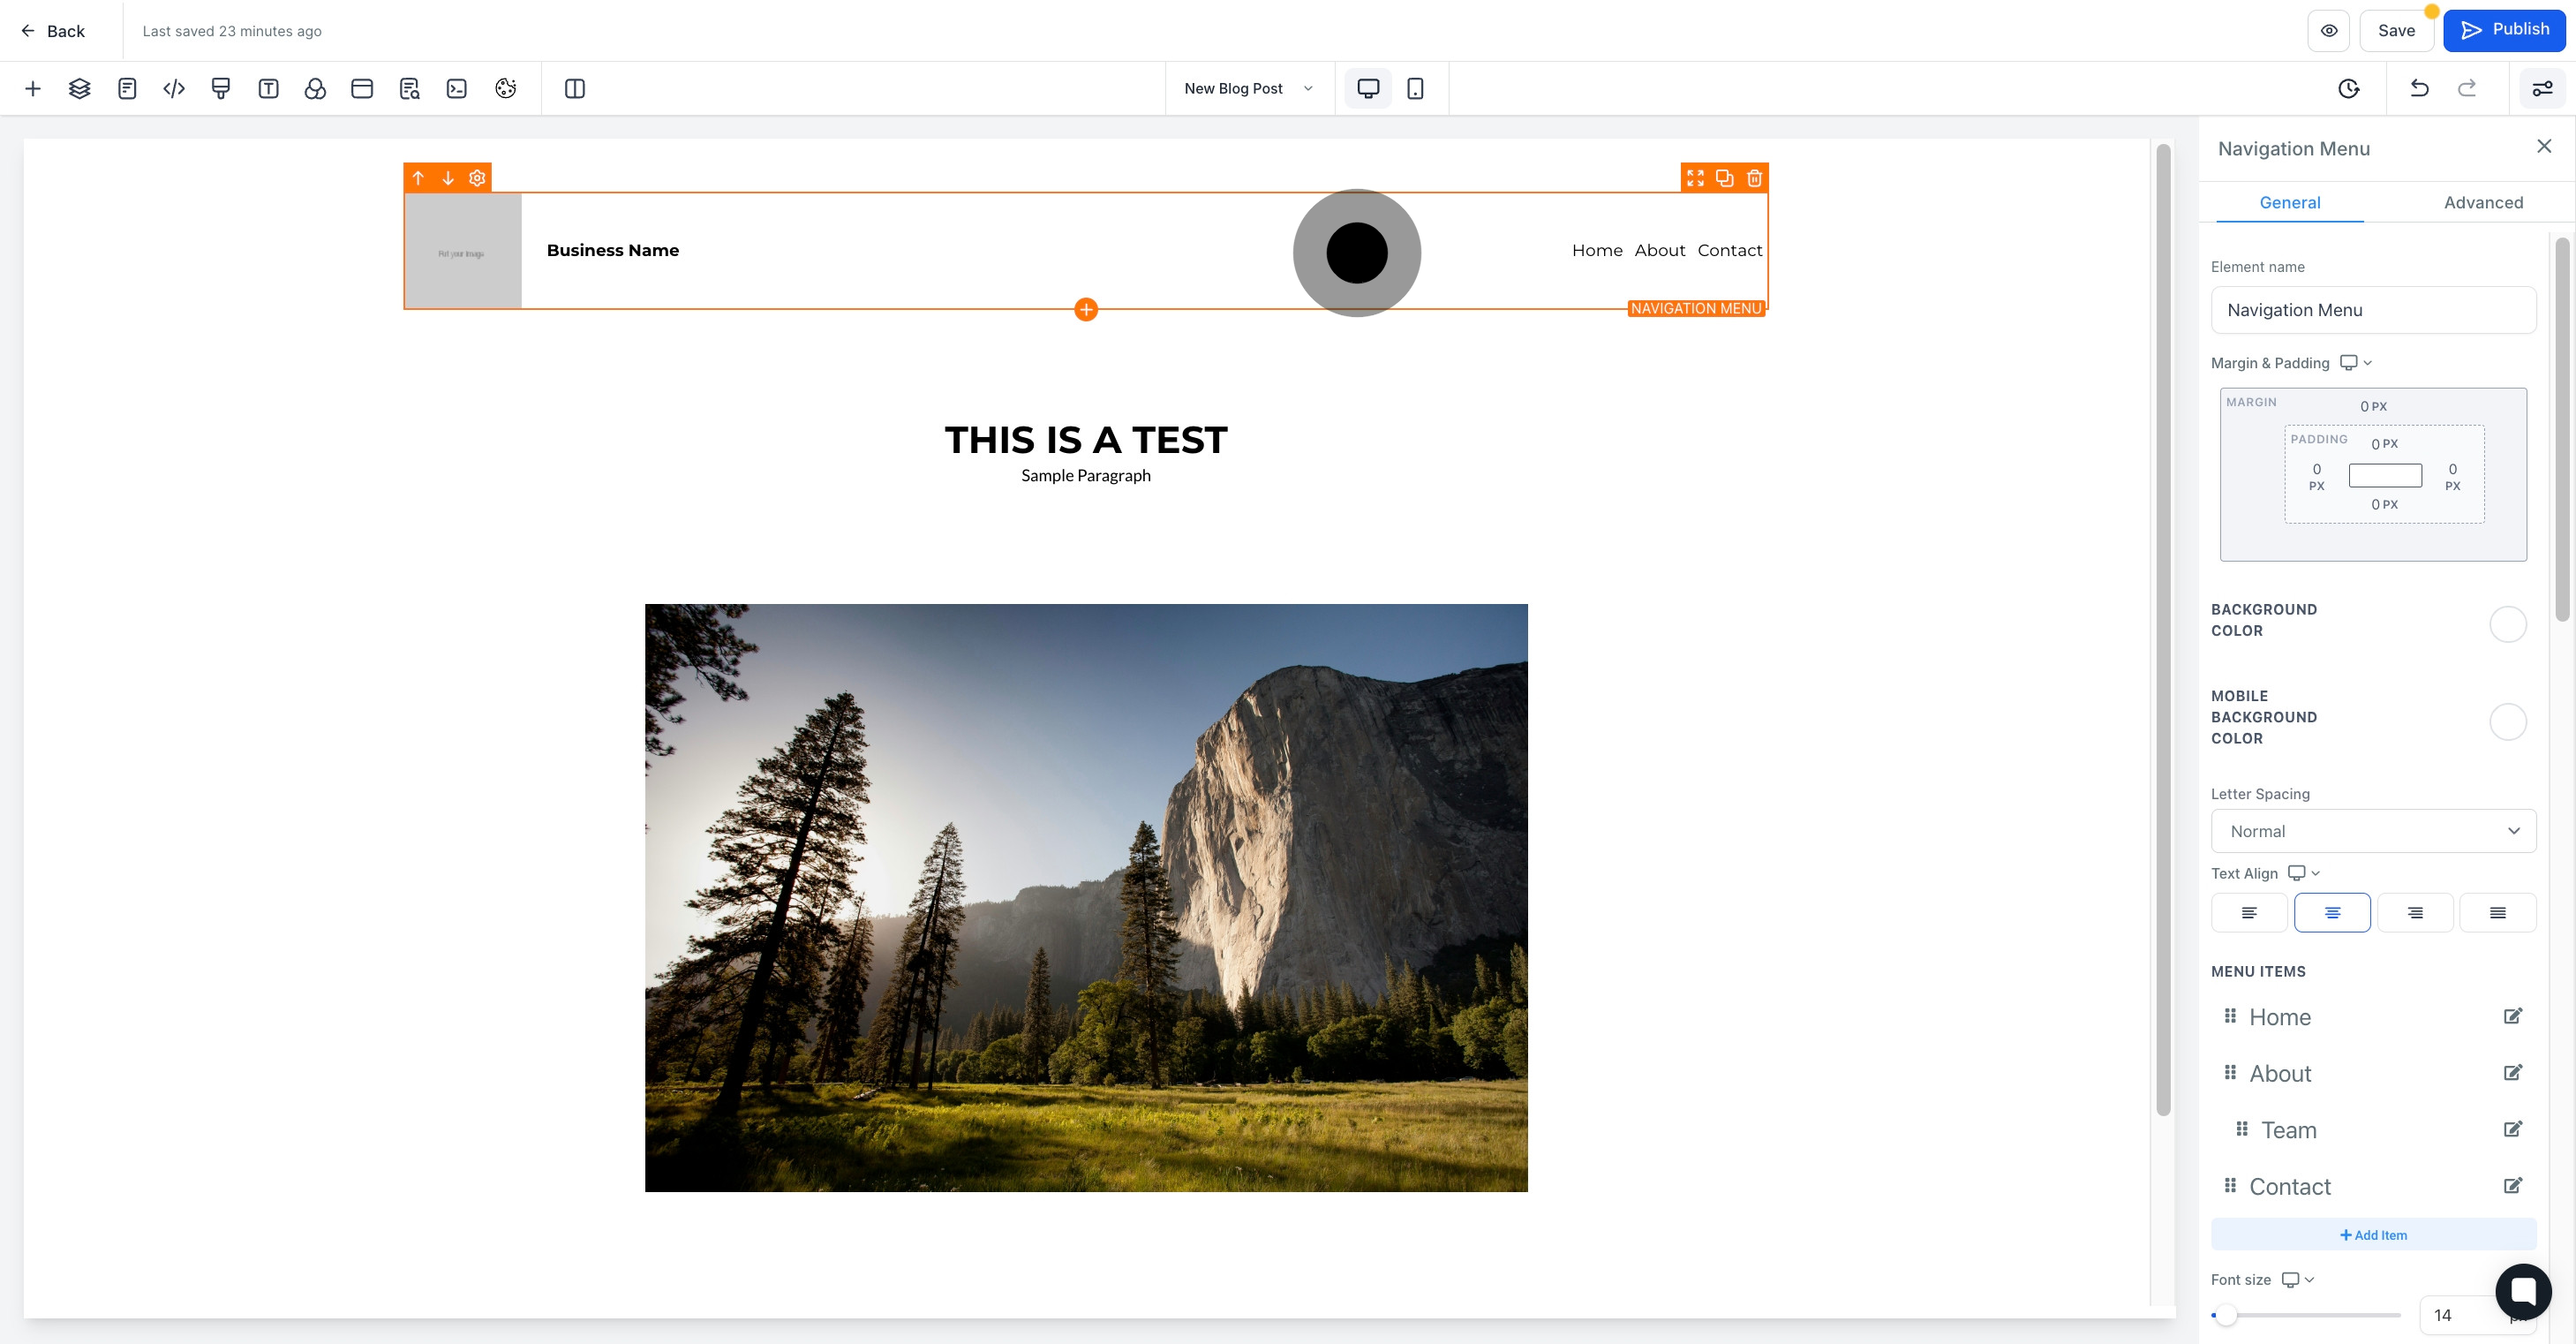
8. Go ahead and add an element name in the provided field.
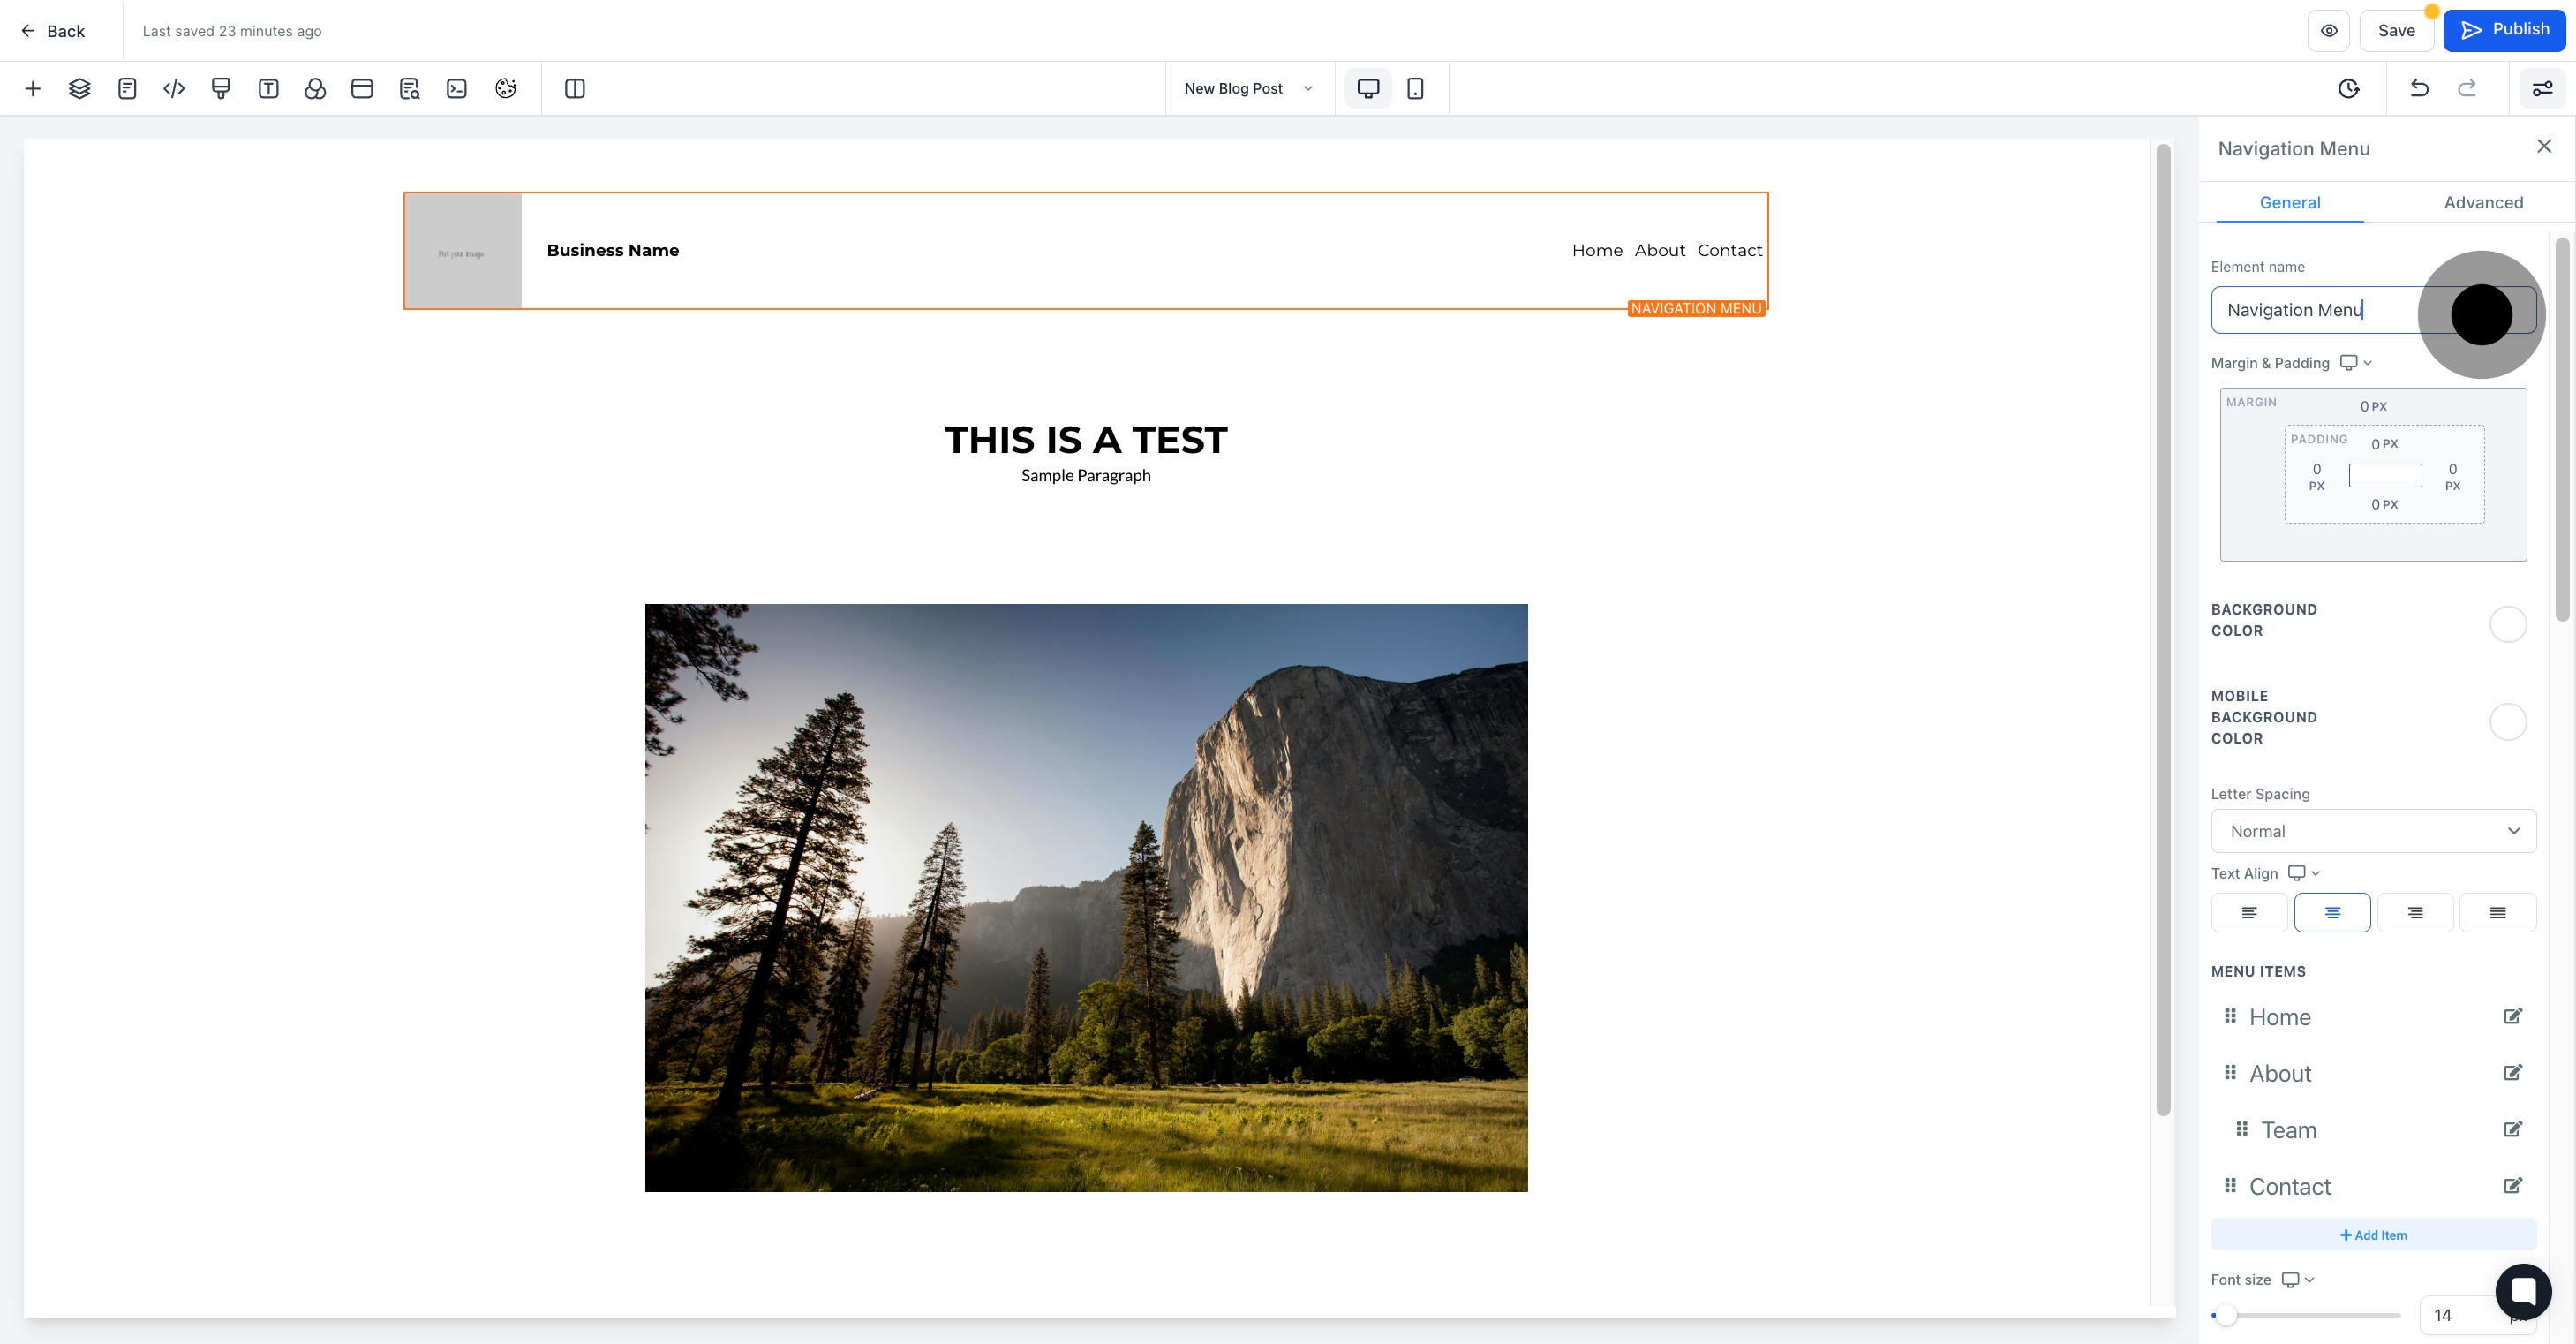
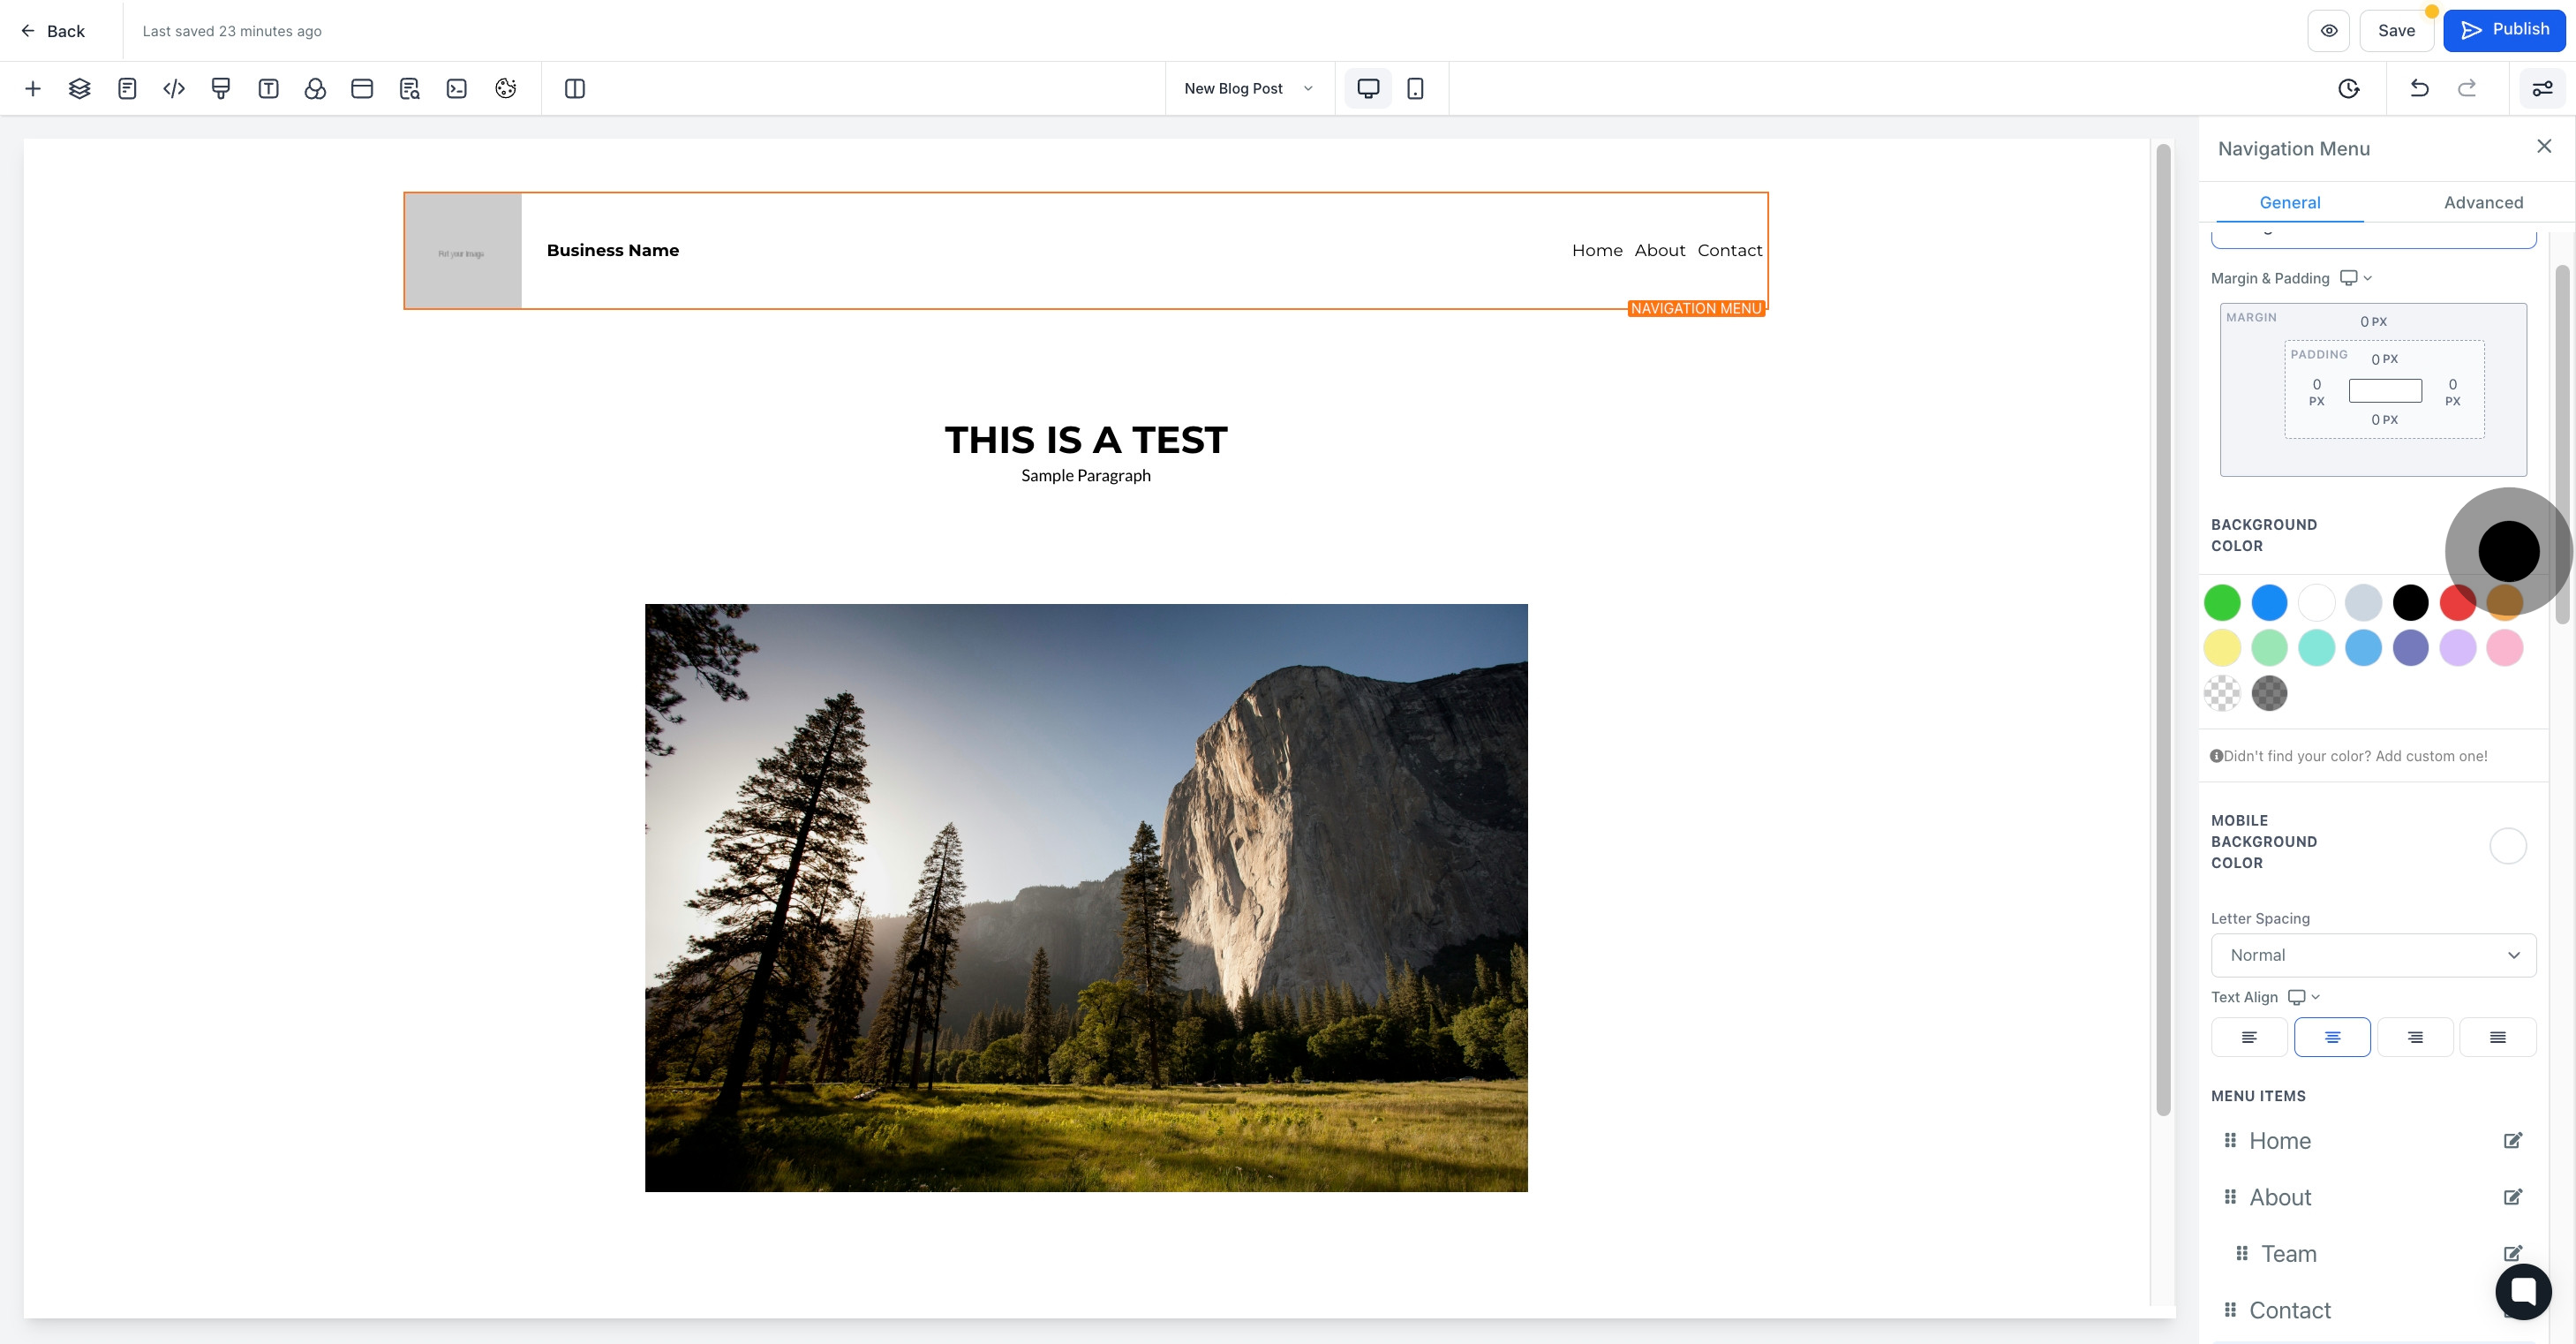
9. Subsequently, alter the background color according to your preference.
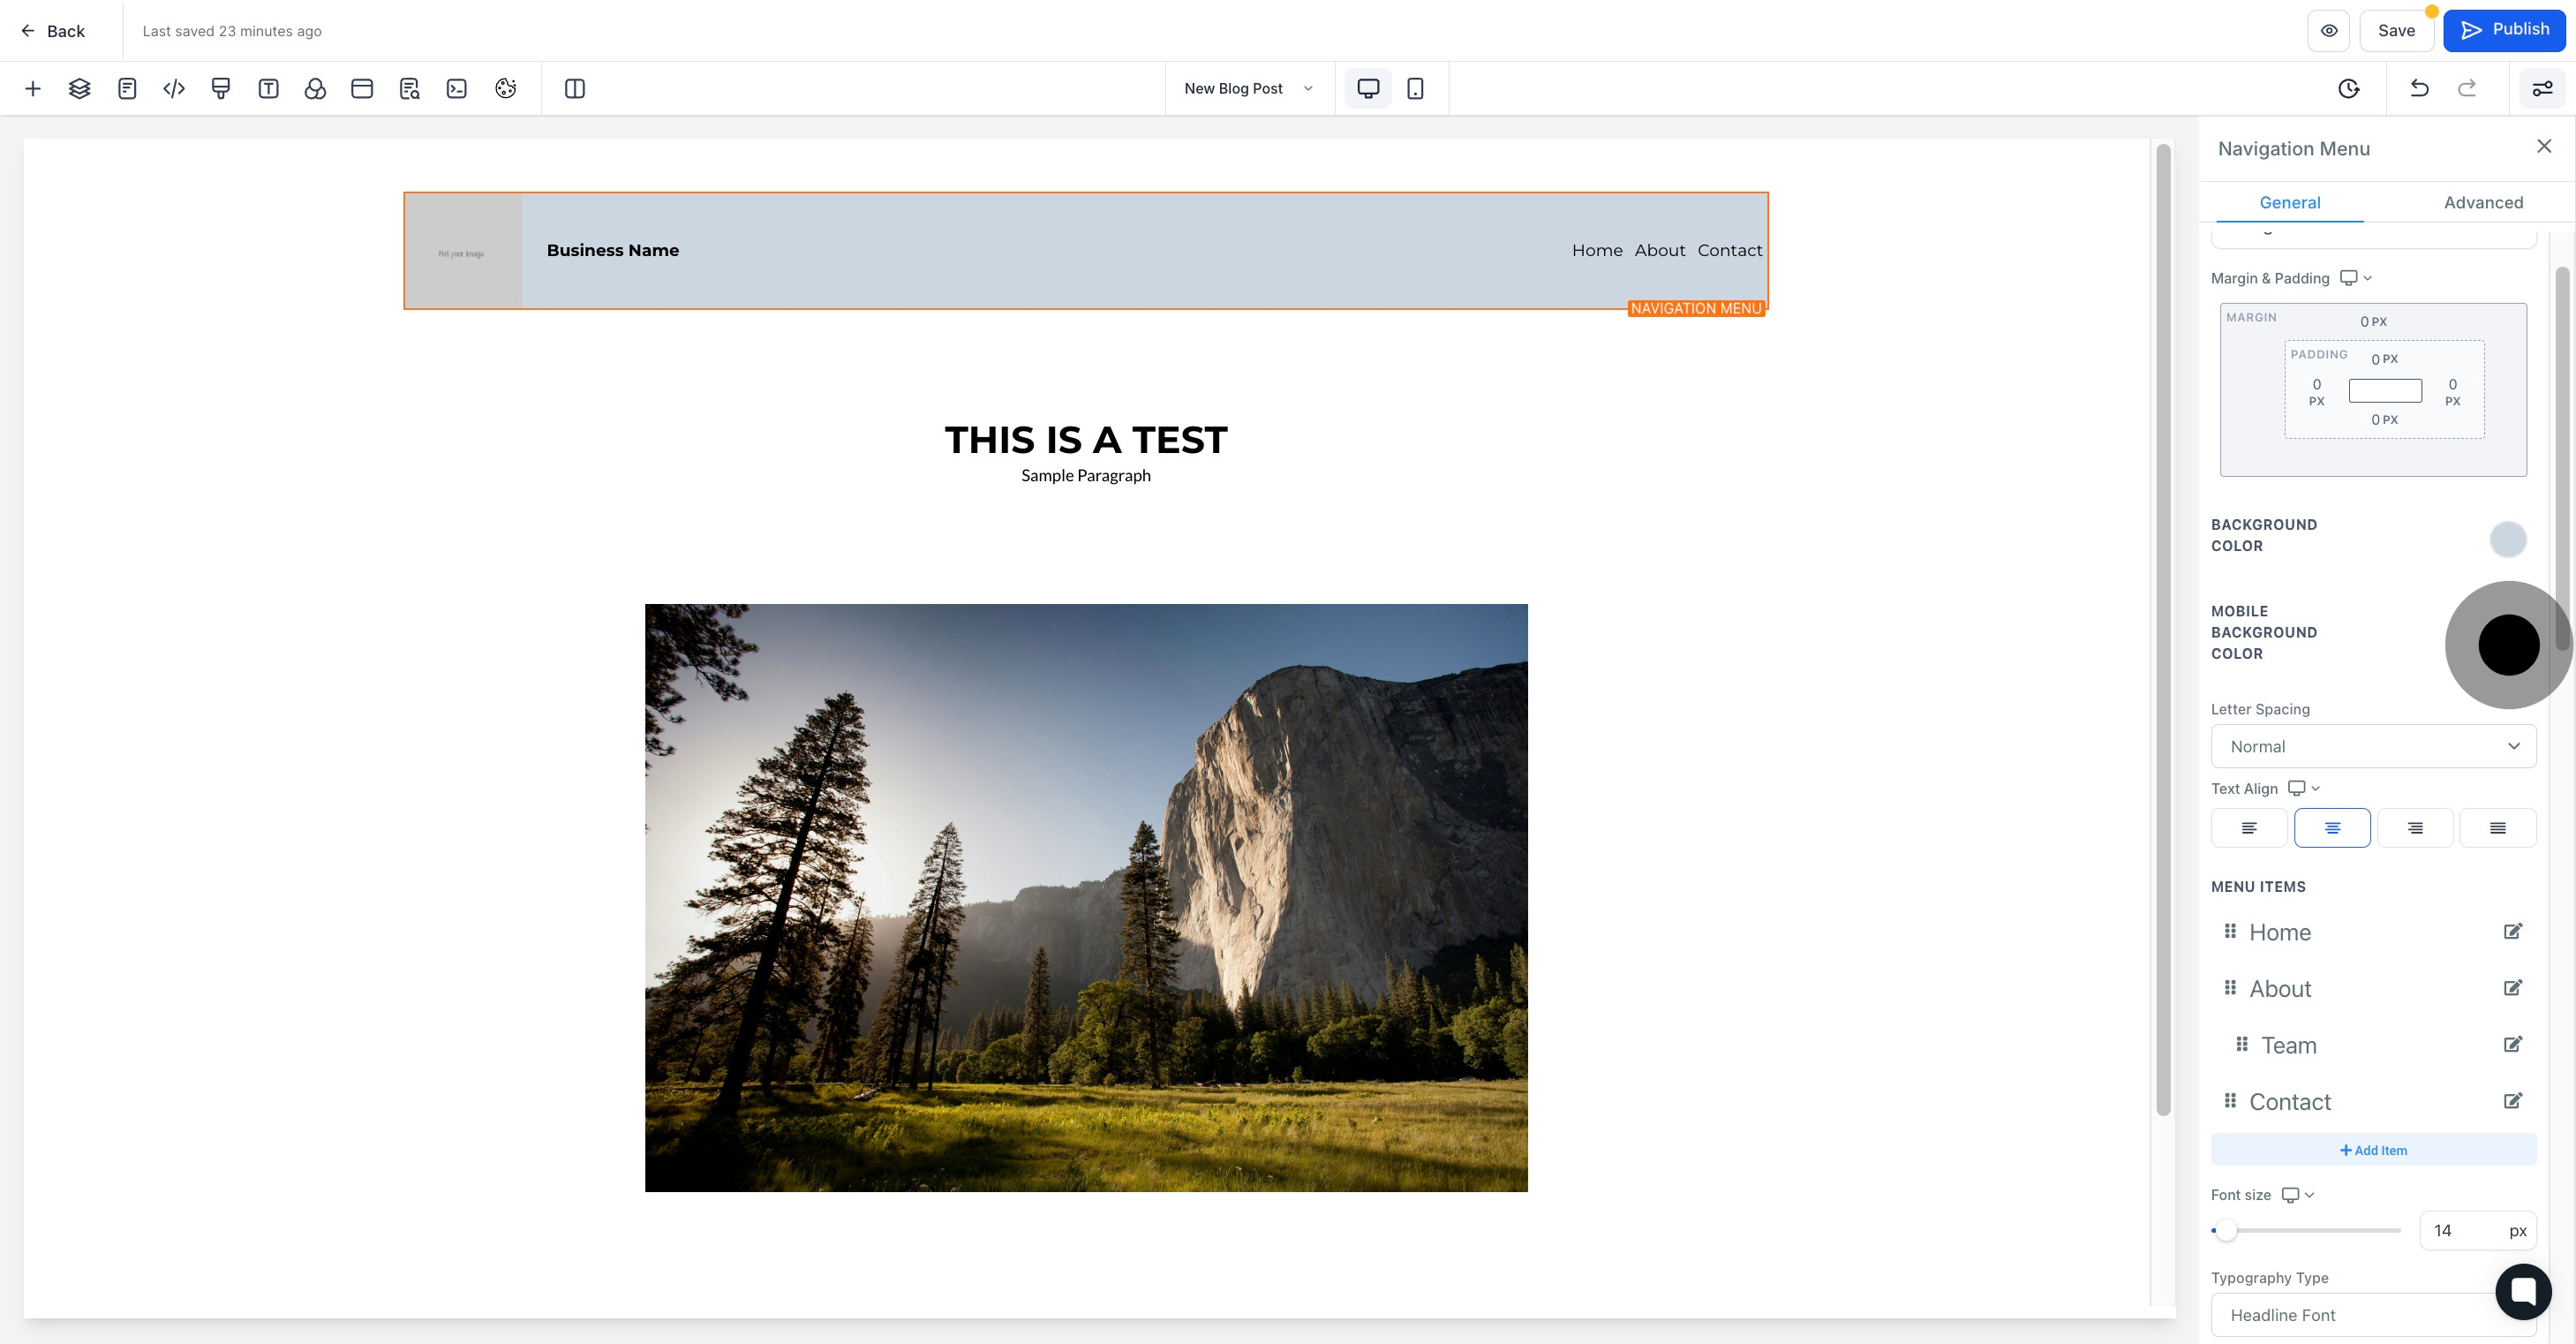
10. Now, adjust the mobile background color as per your requirement.
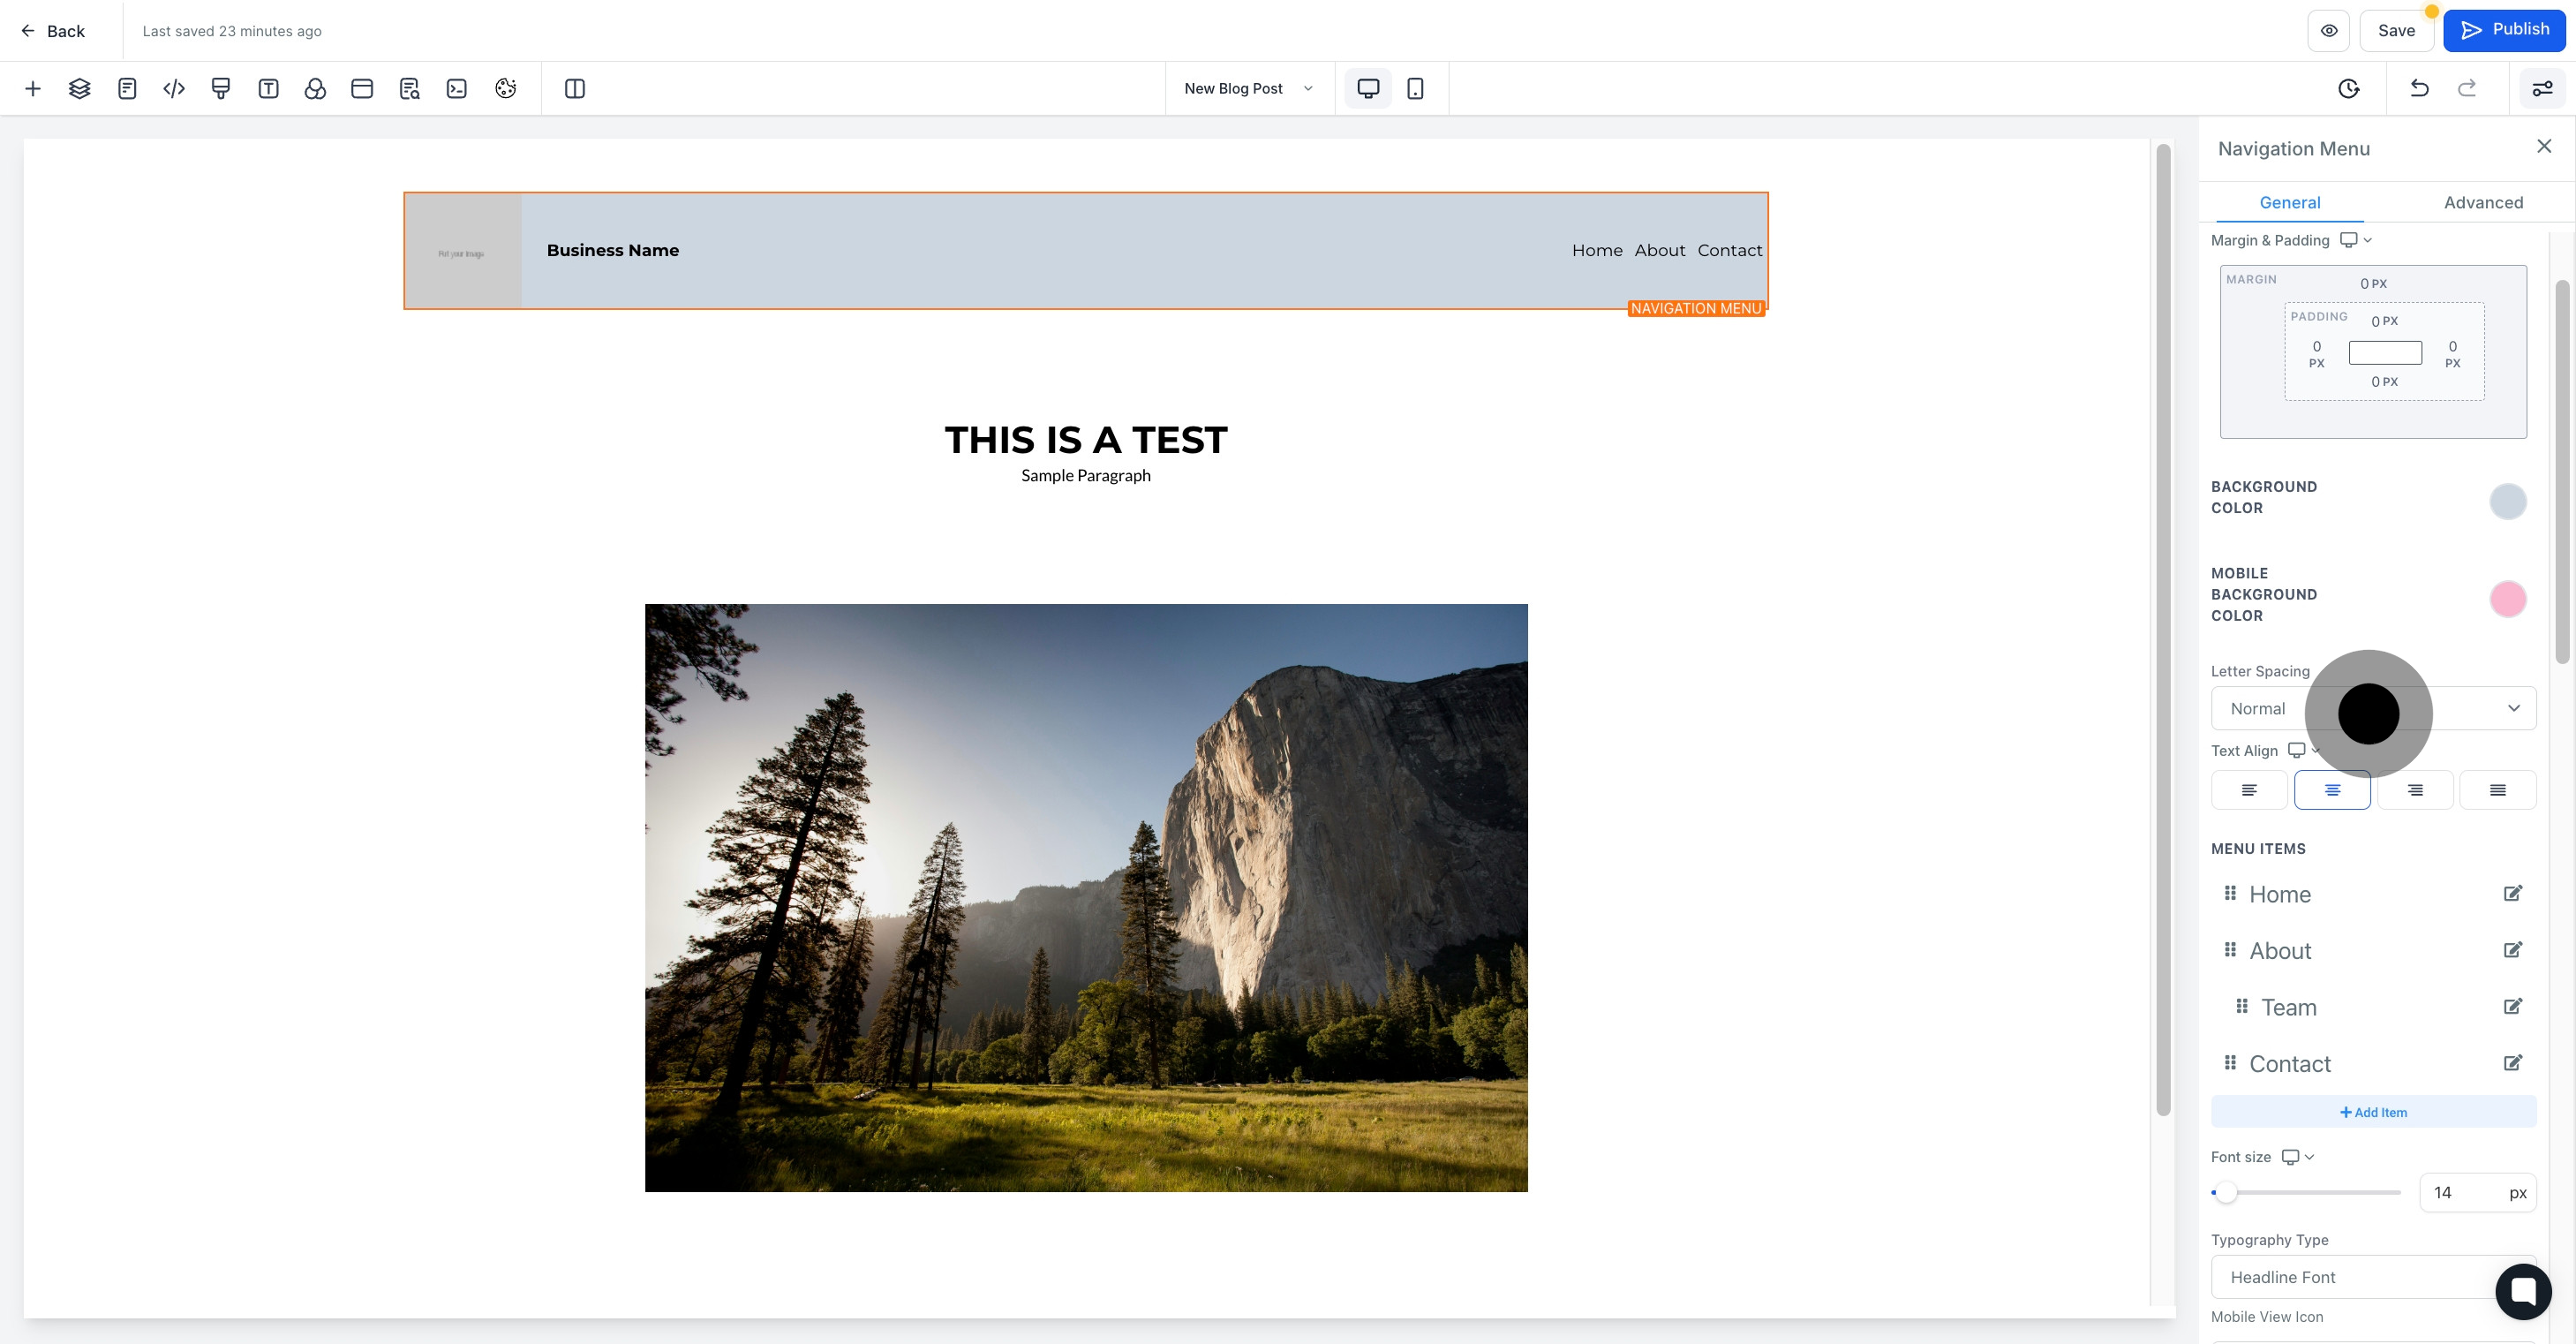
11. Next, select your desired letter spacing
12. Afterwards, choose your preferred text alignment
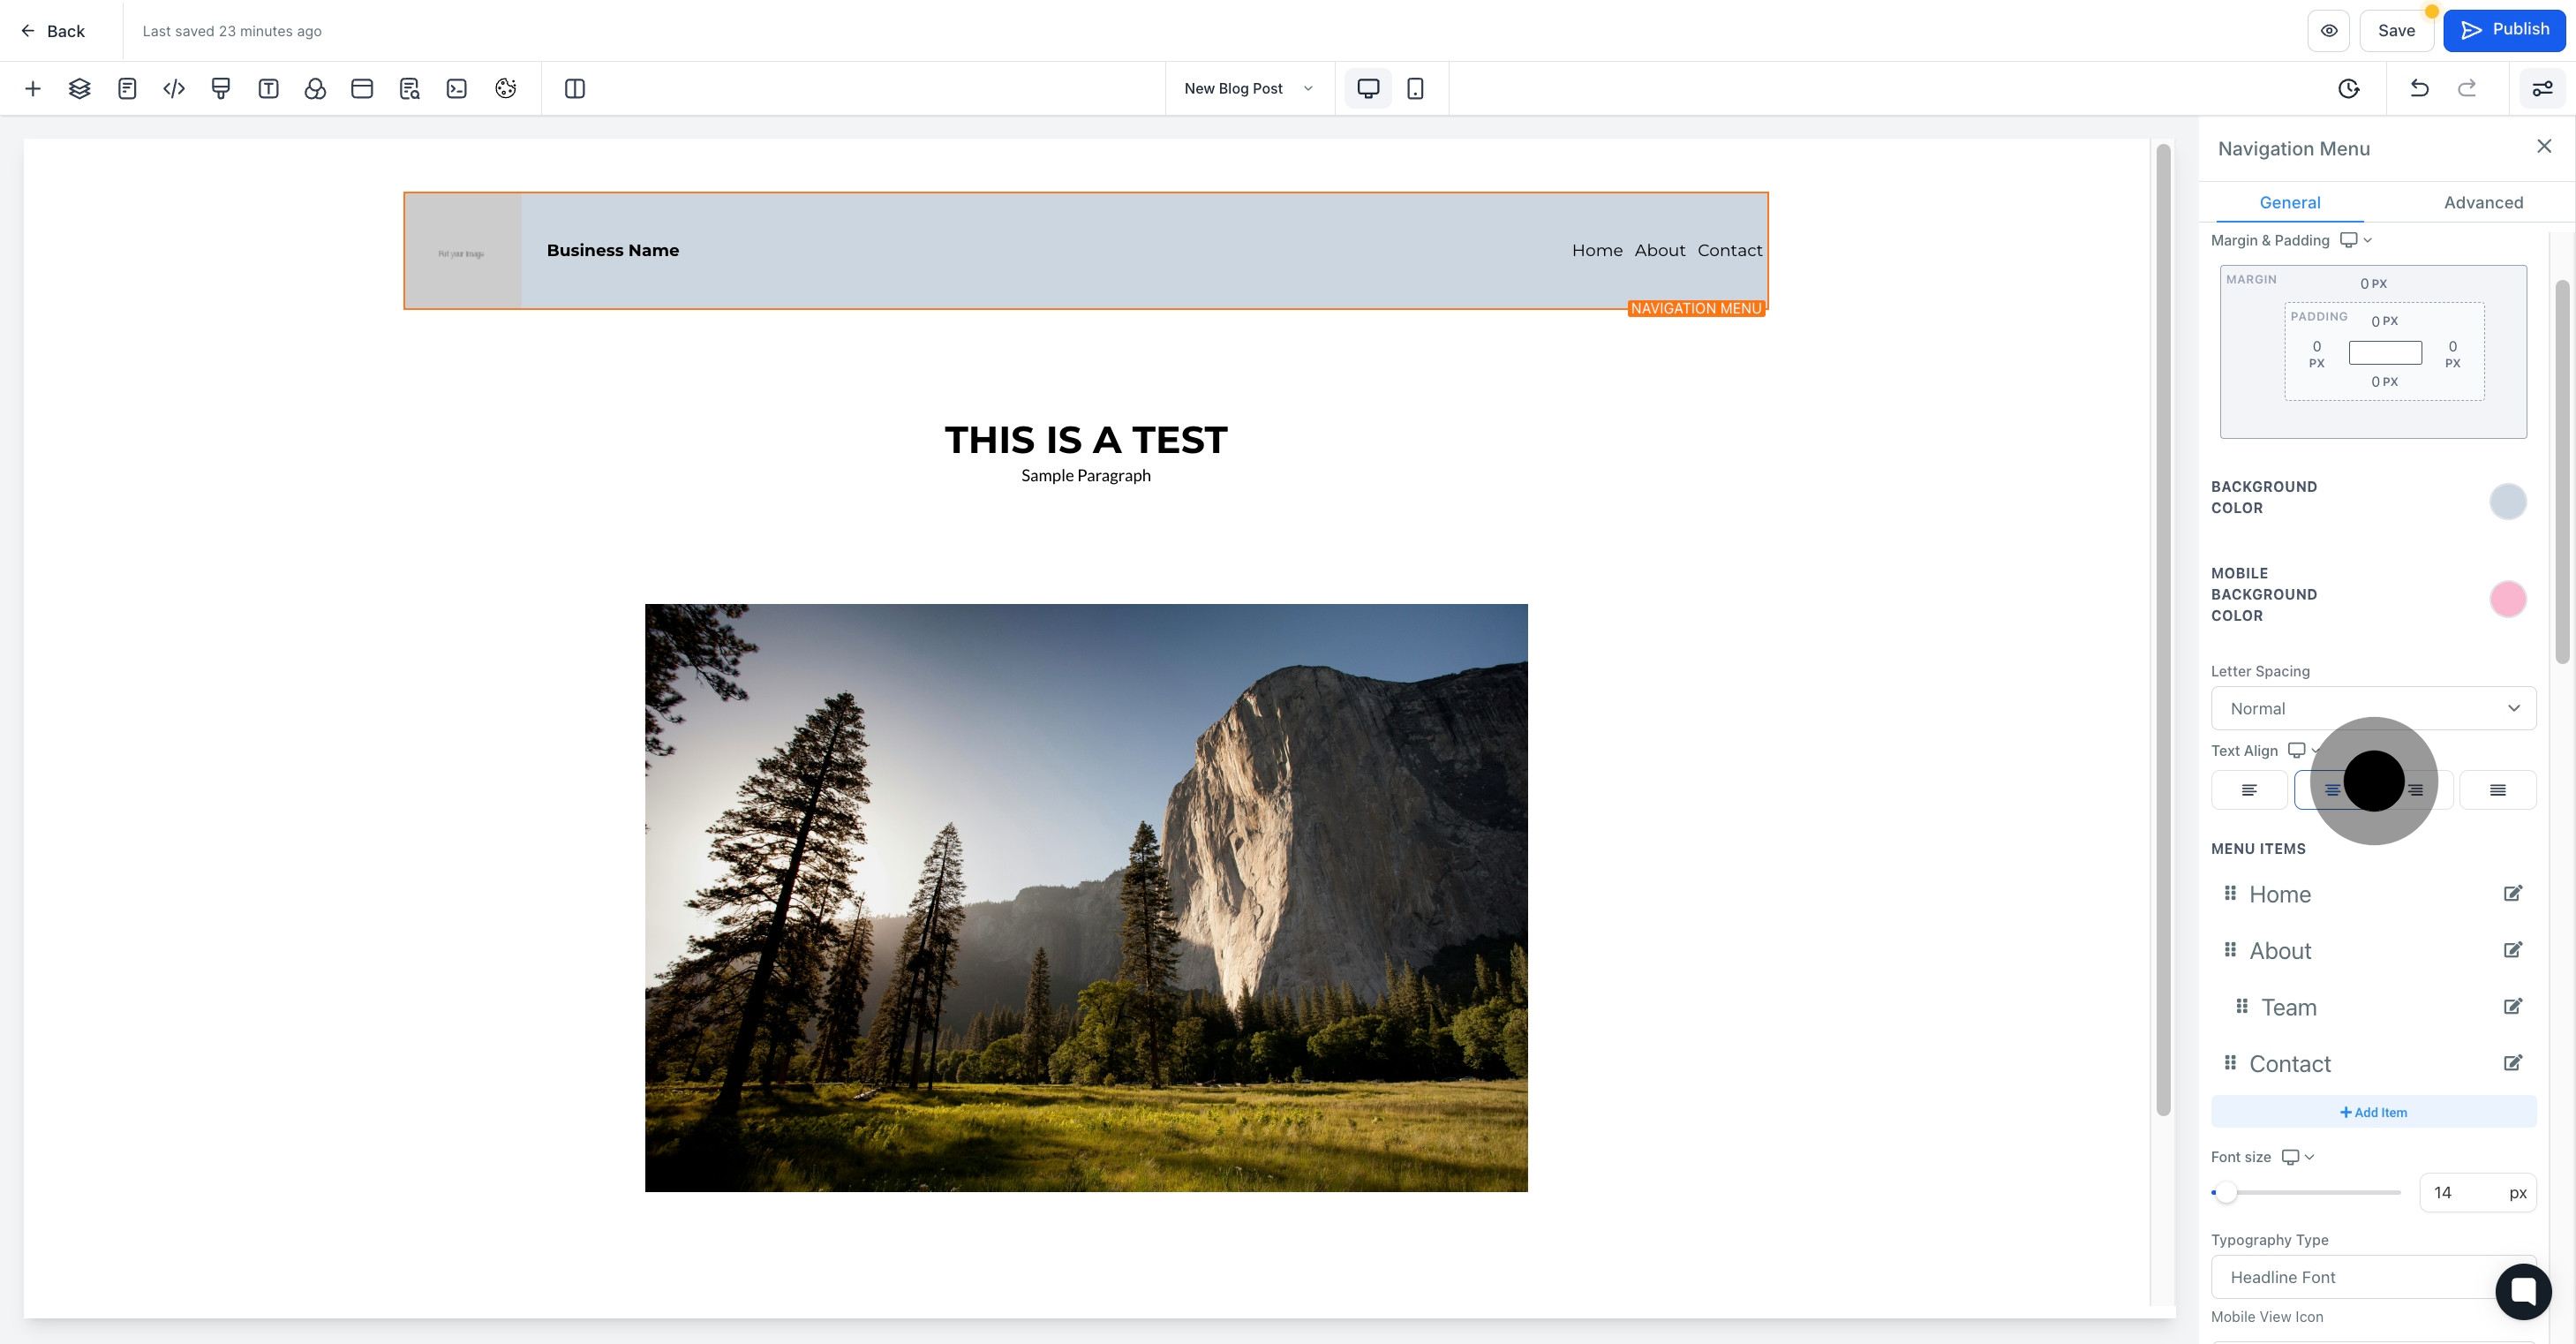
13. Furthermore, customize the menu items according to your needs.
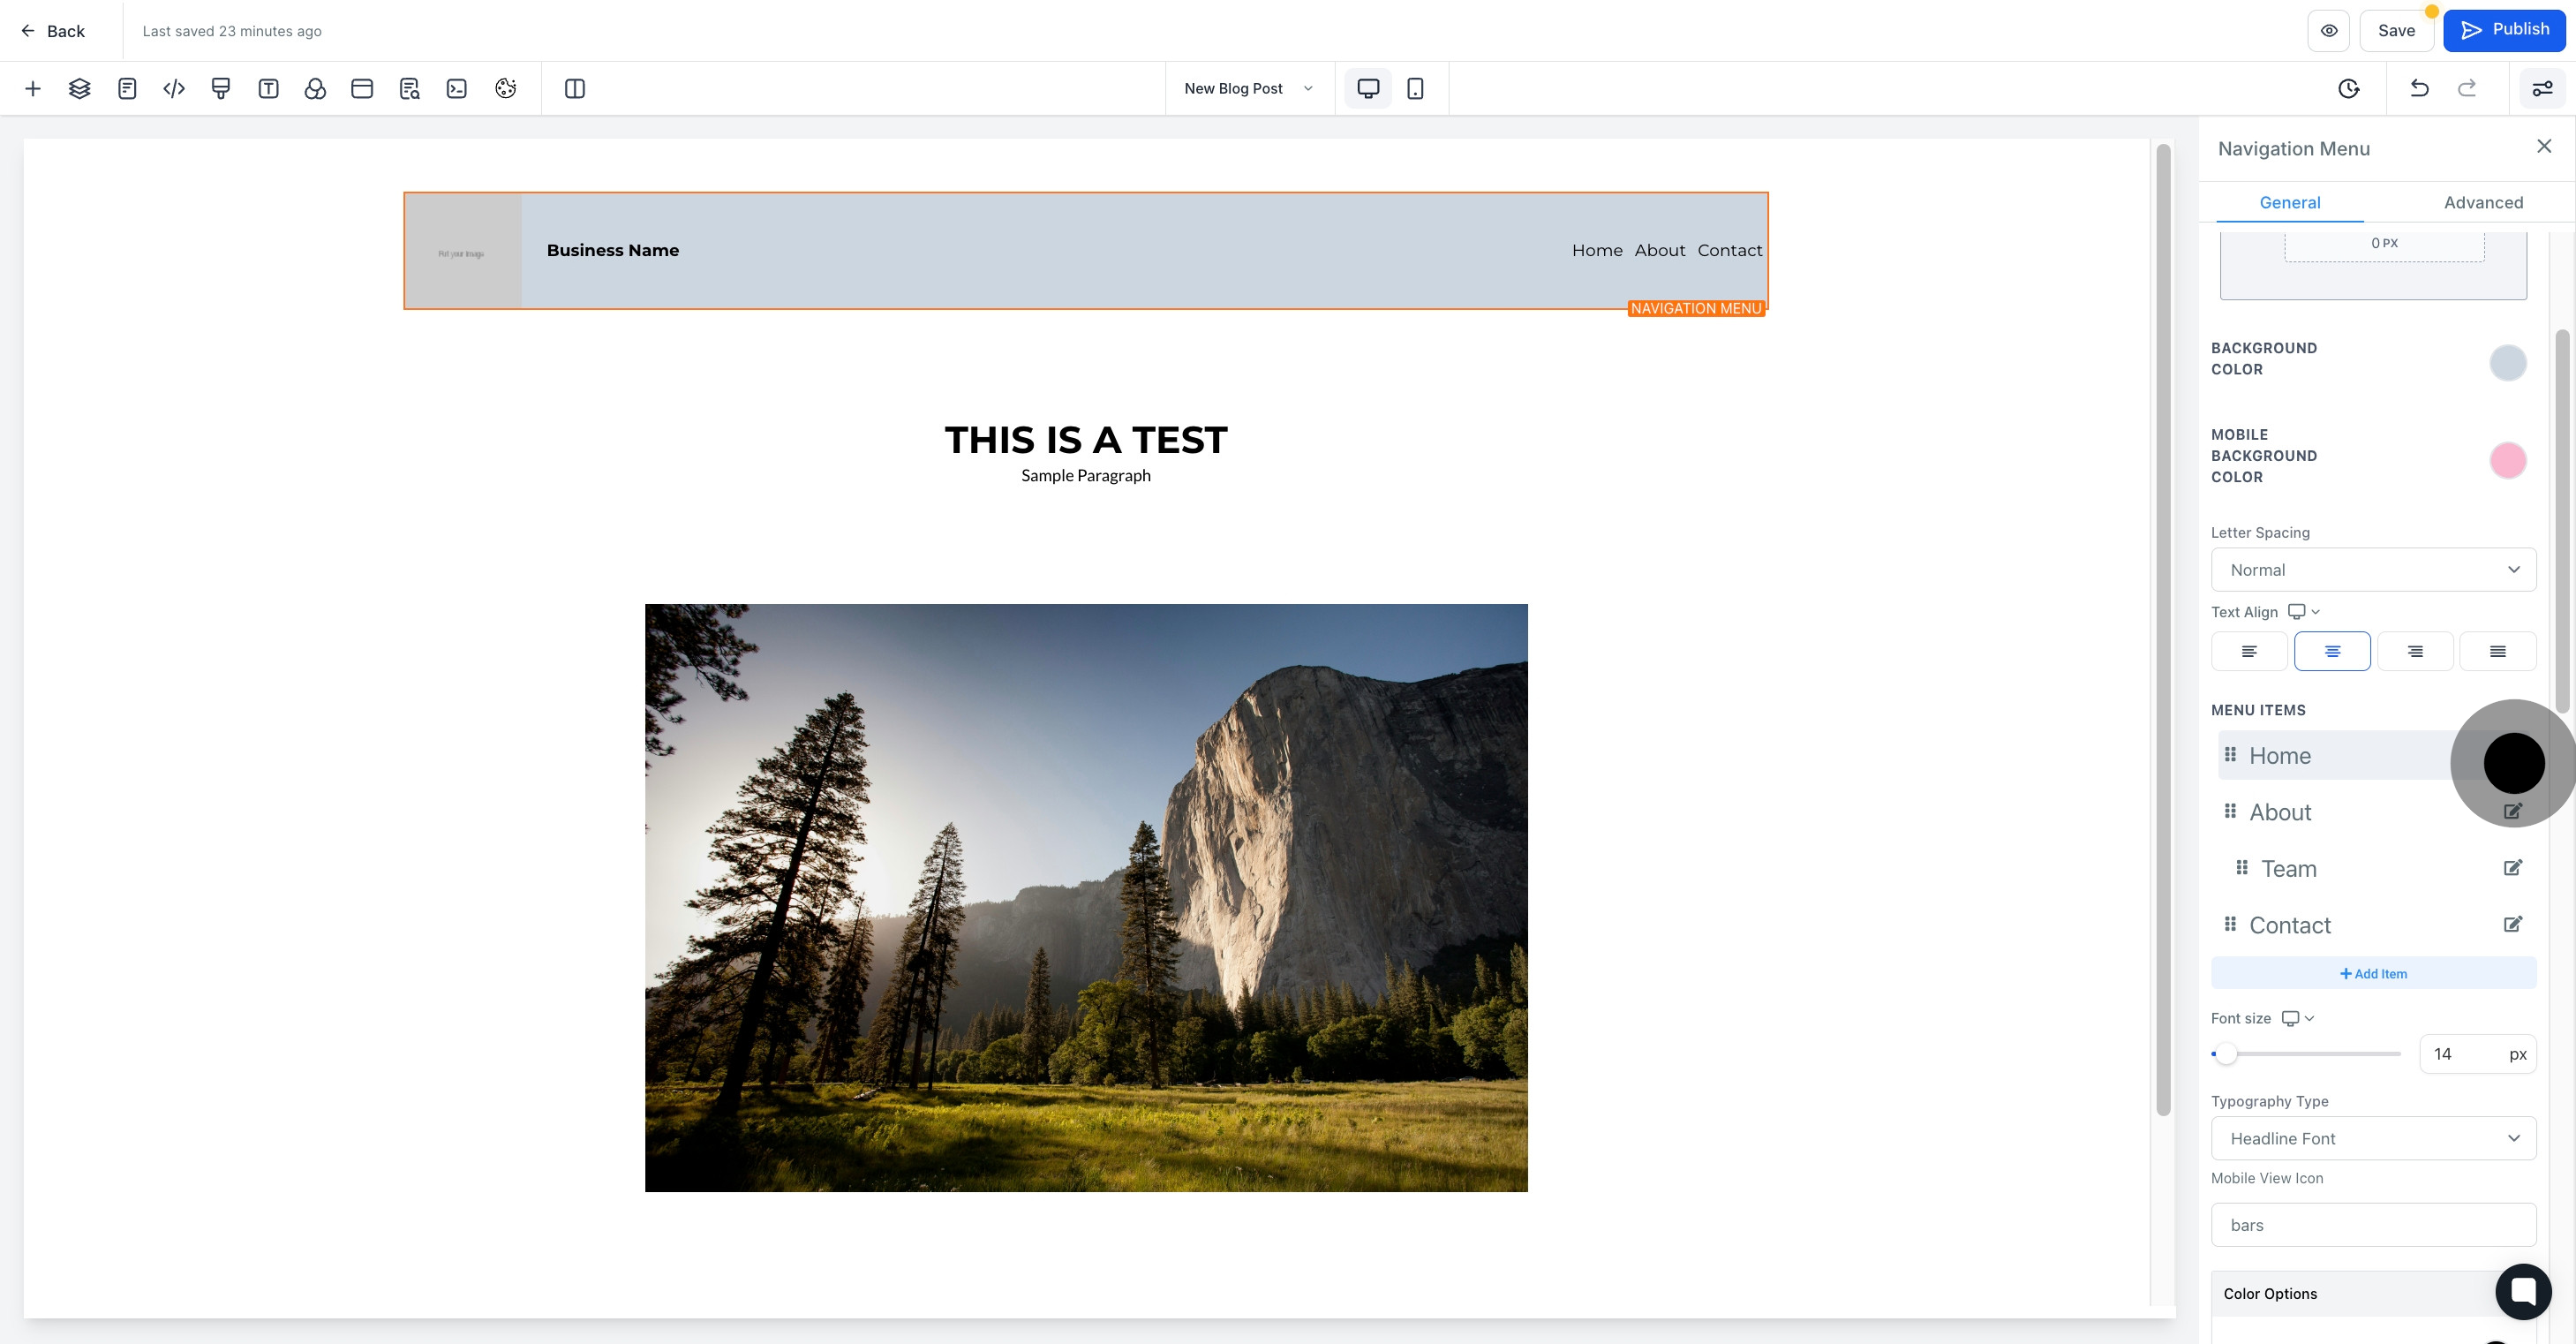
14. Augment your additions by clicking on 'Add Item'.
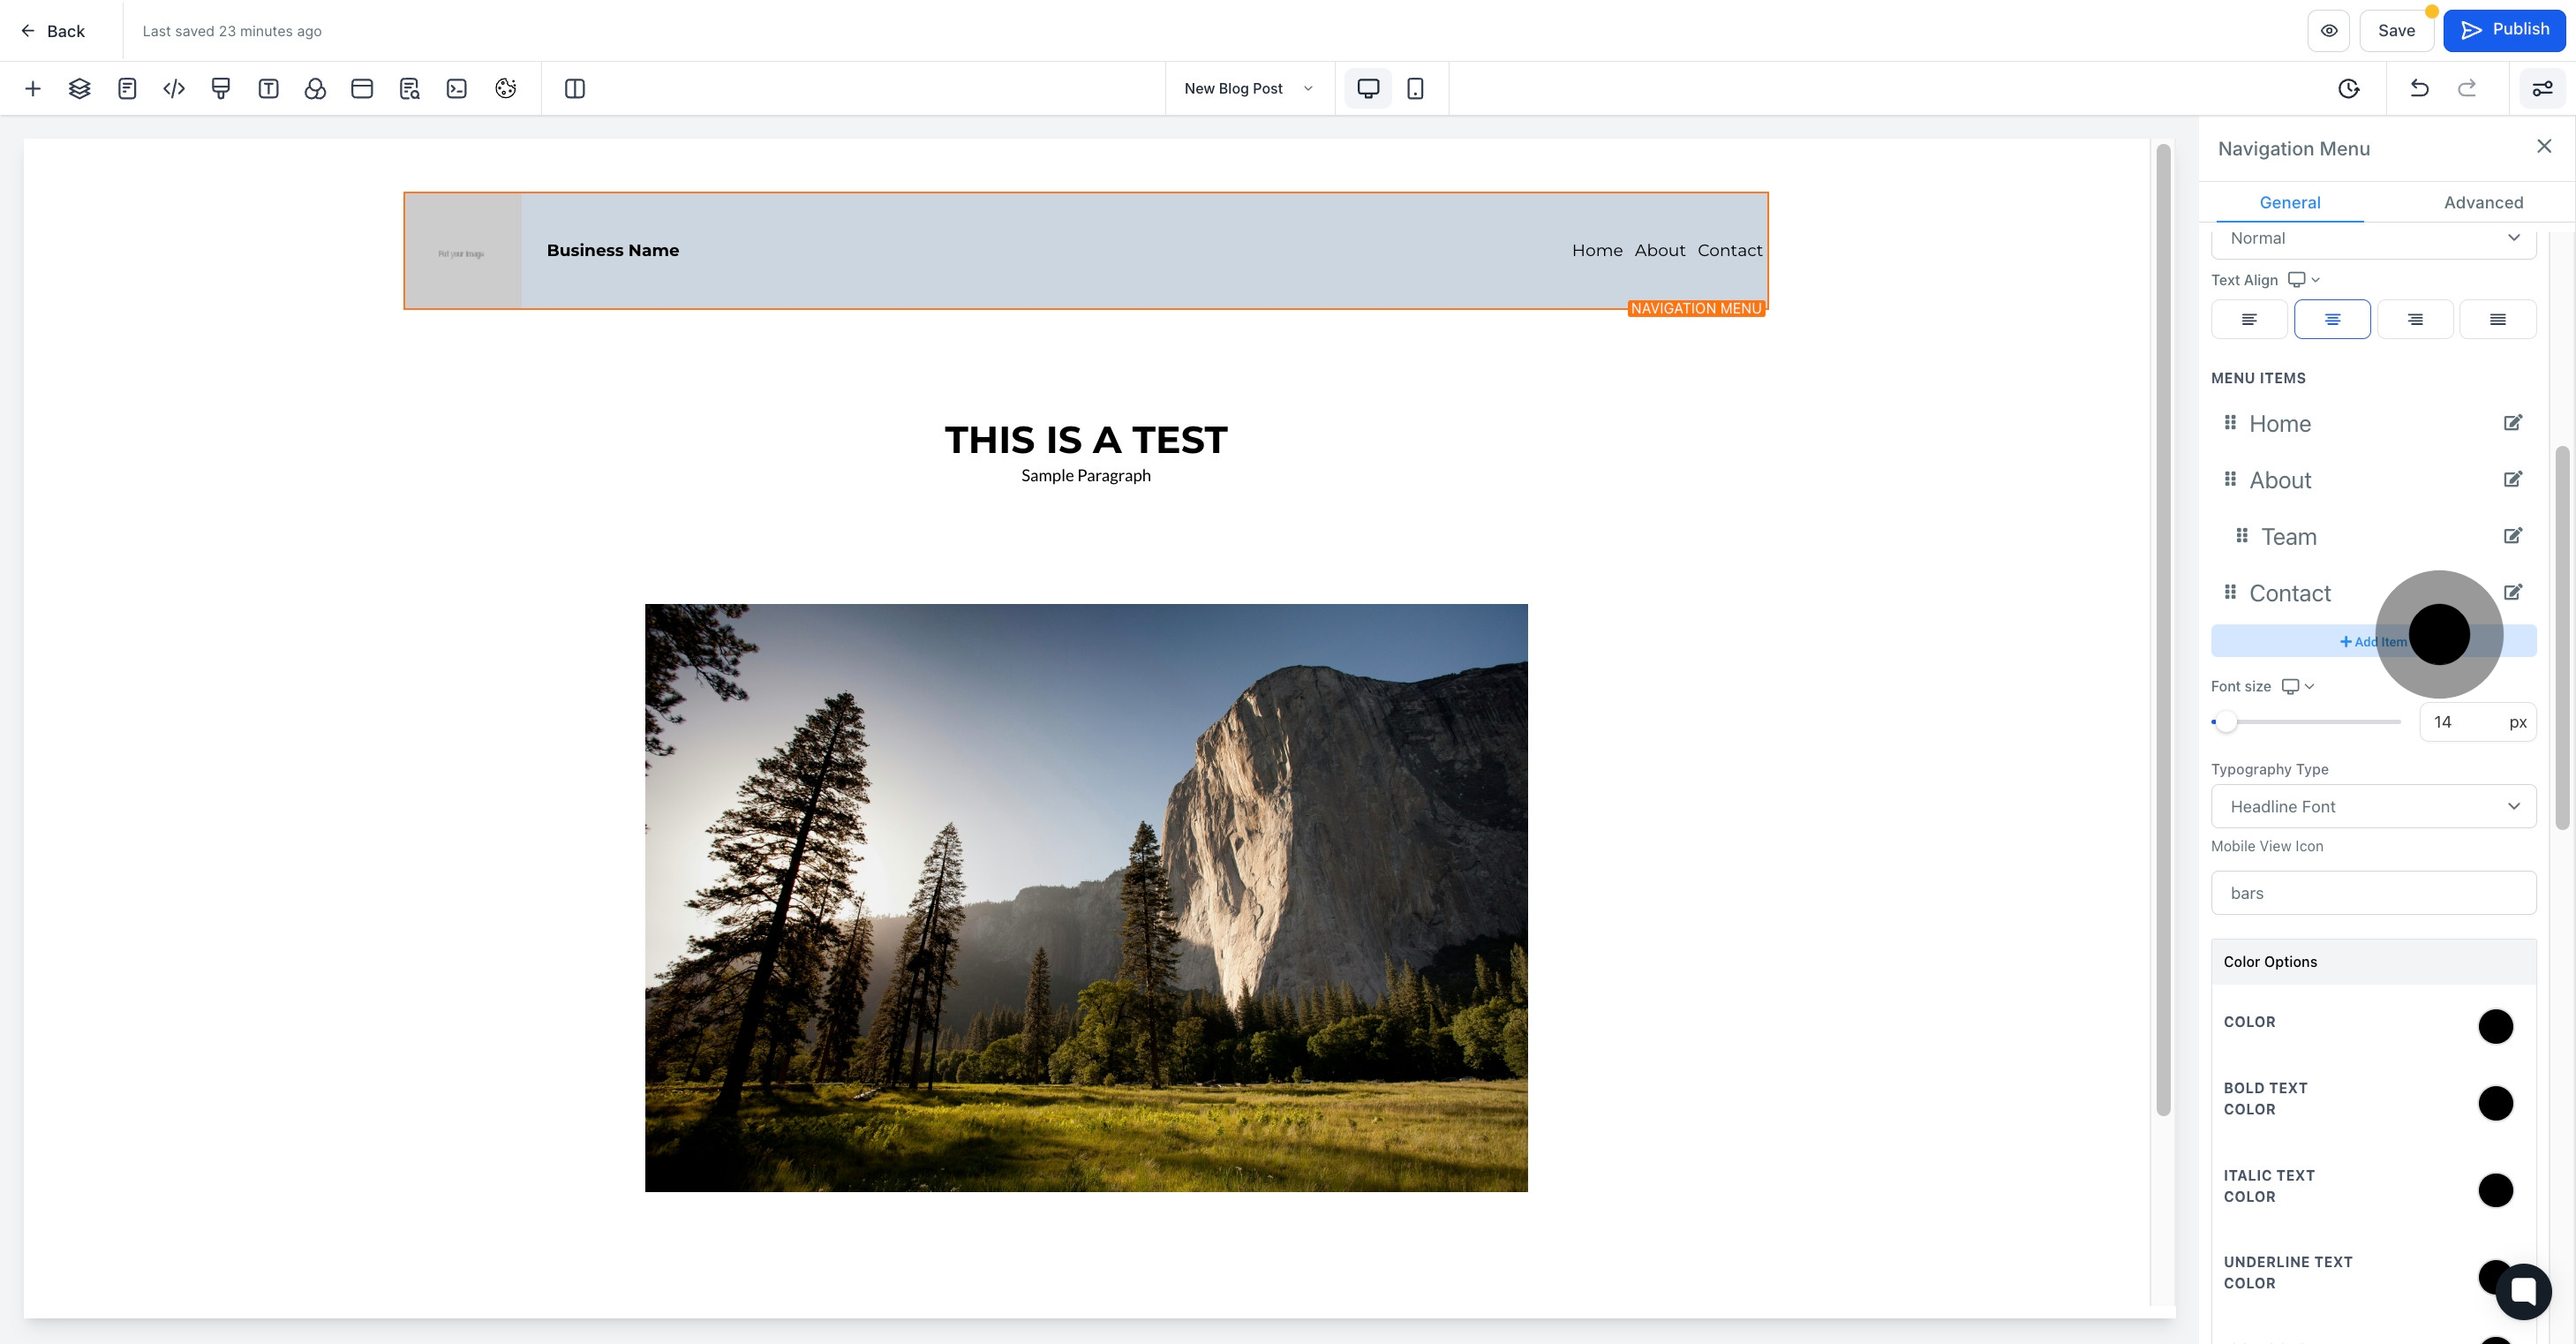
15. You can adjust the font size to suit your design.
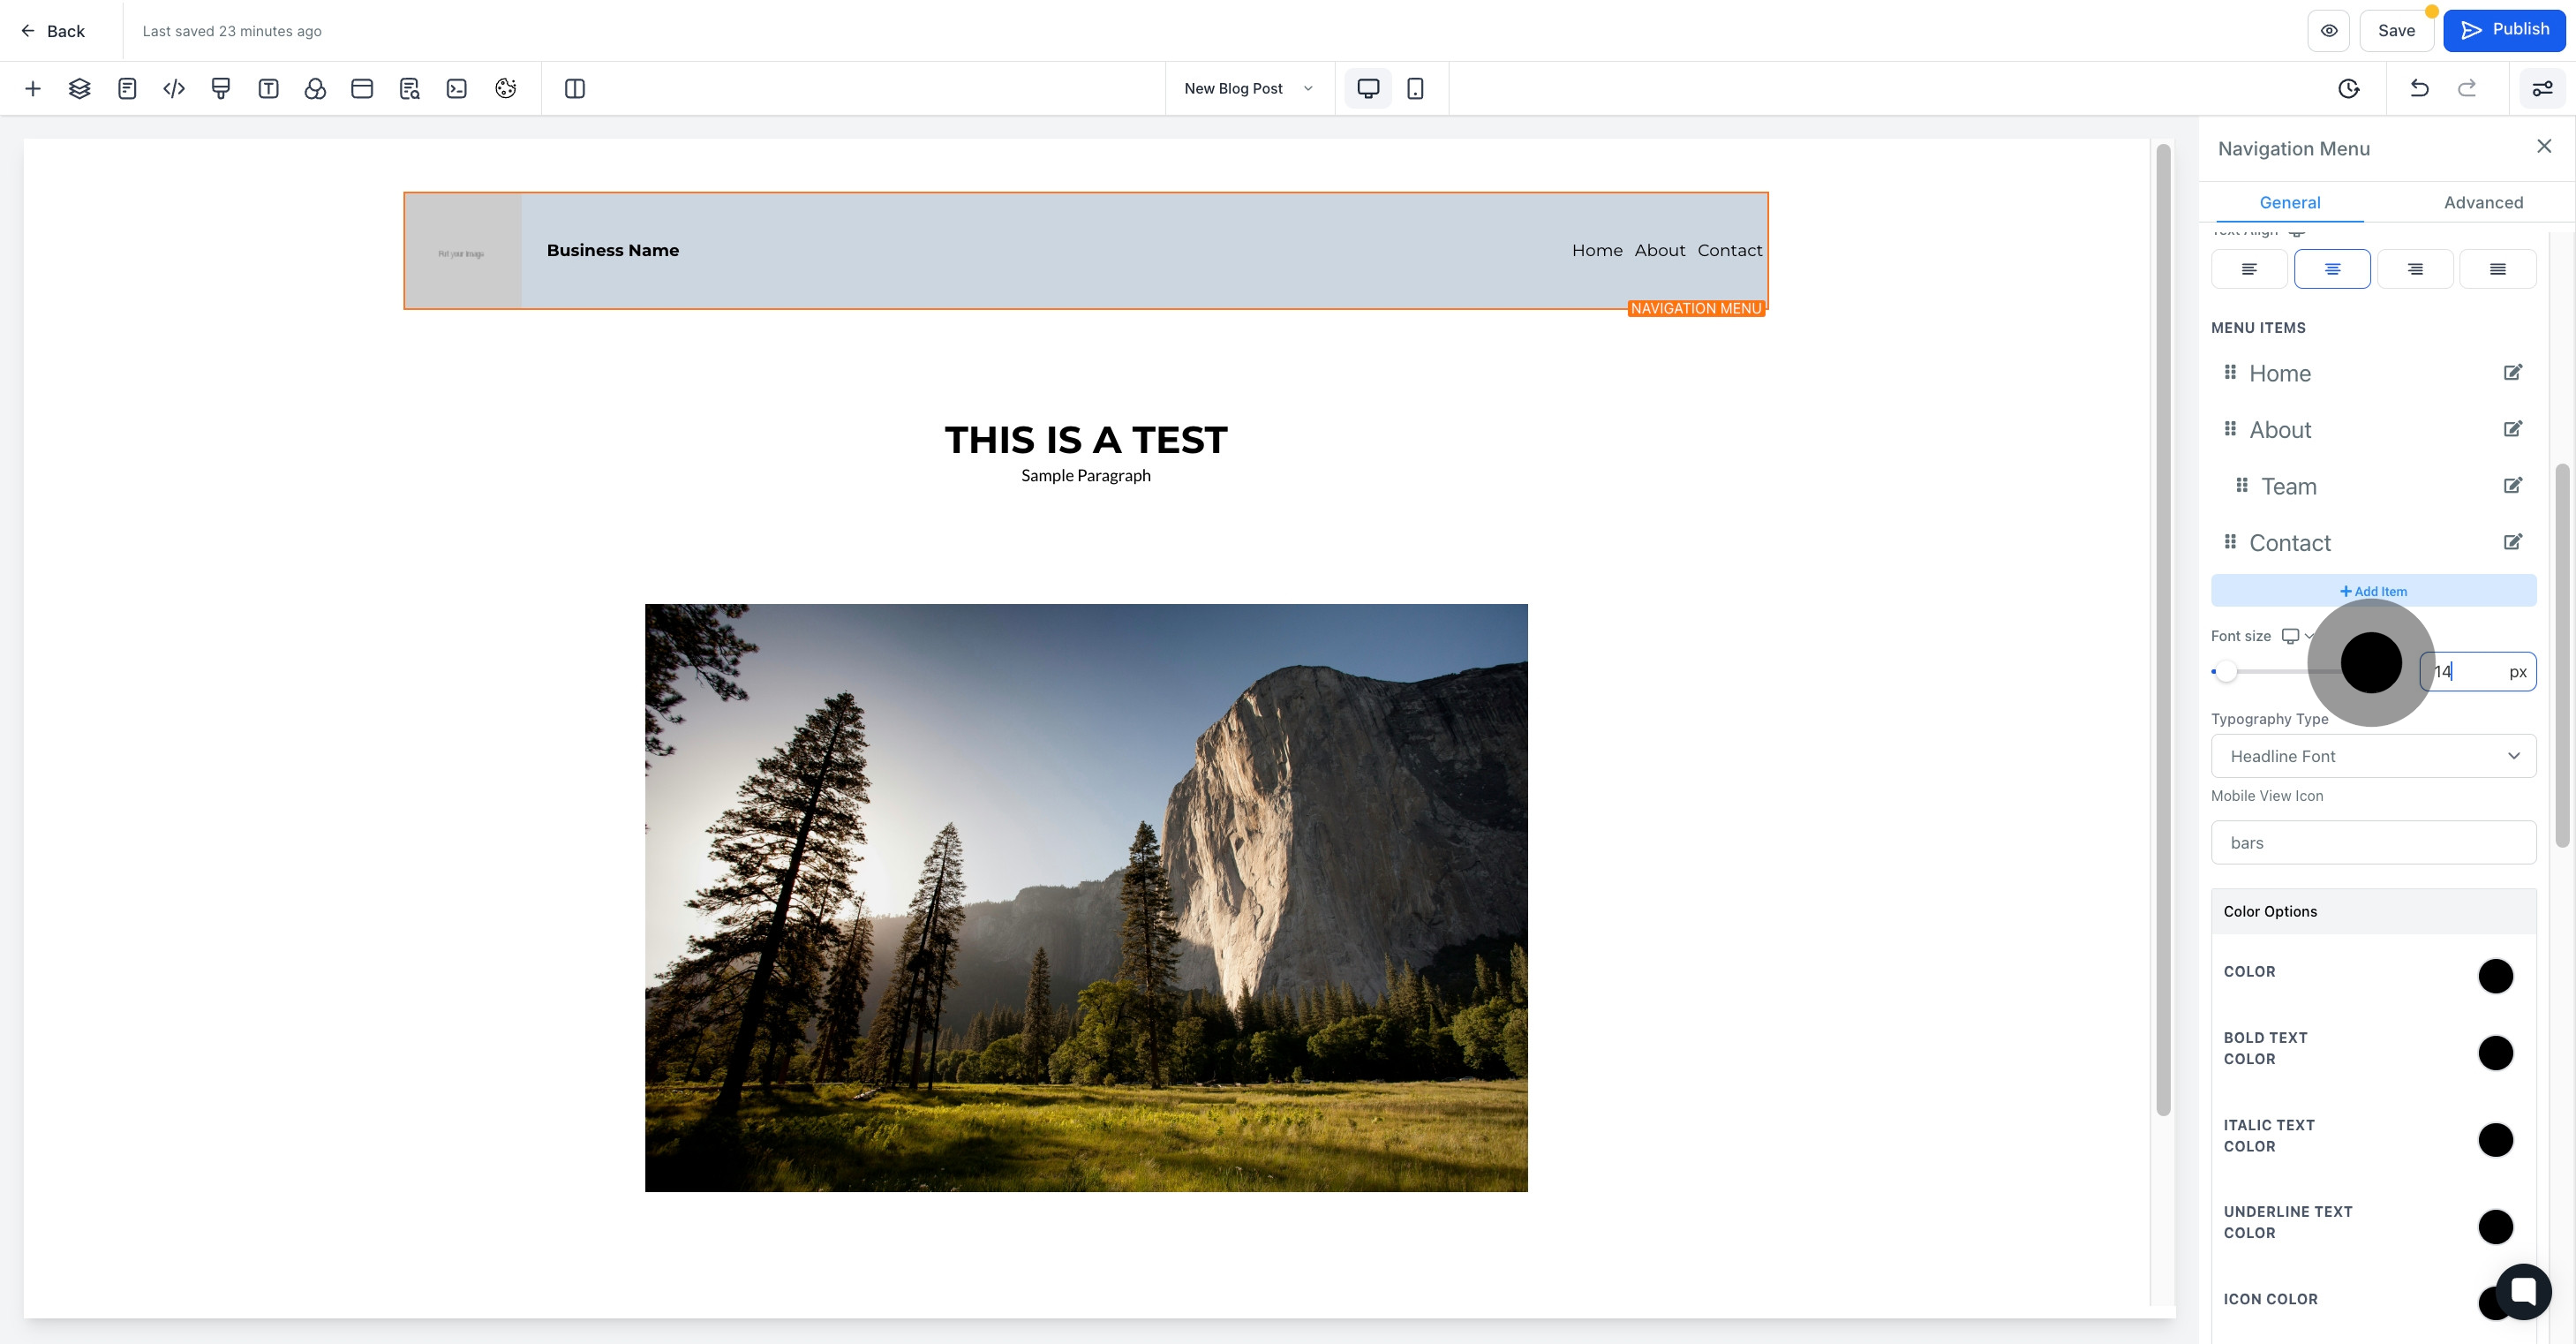
16. Choose your desired typography type for the website.
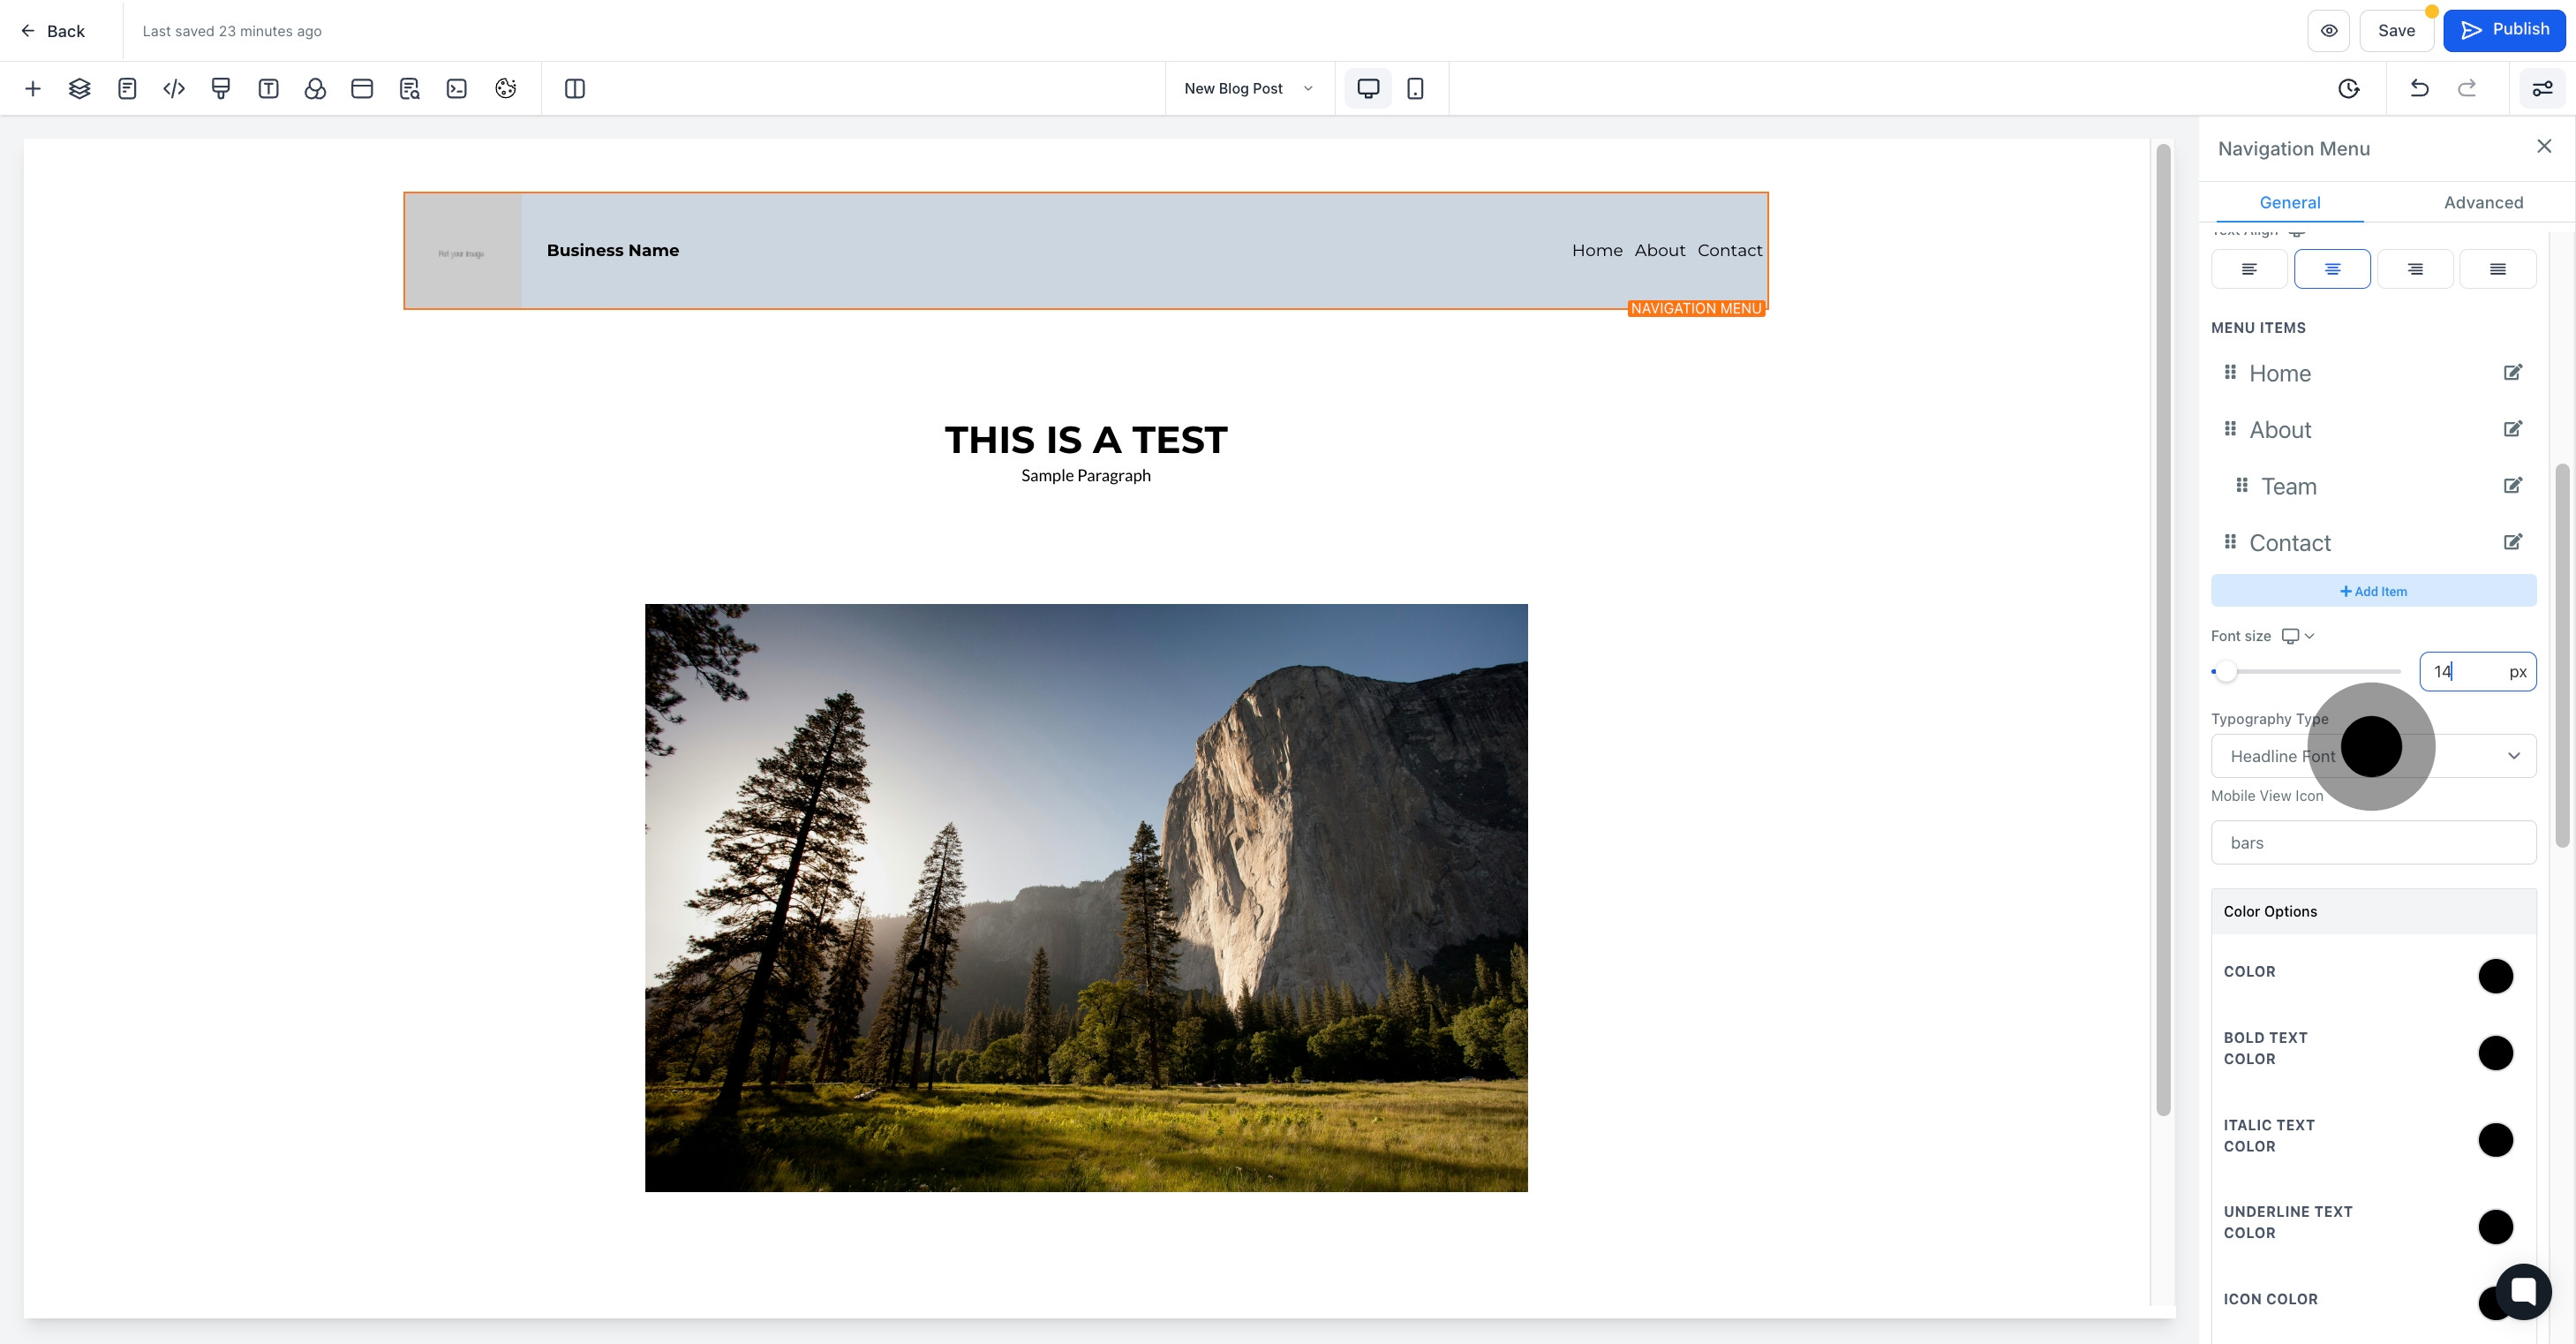
17. Now, pick the mobile icon of your choice
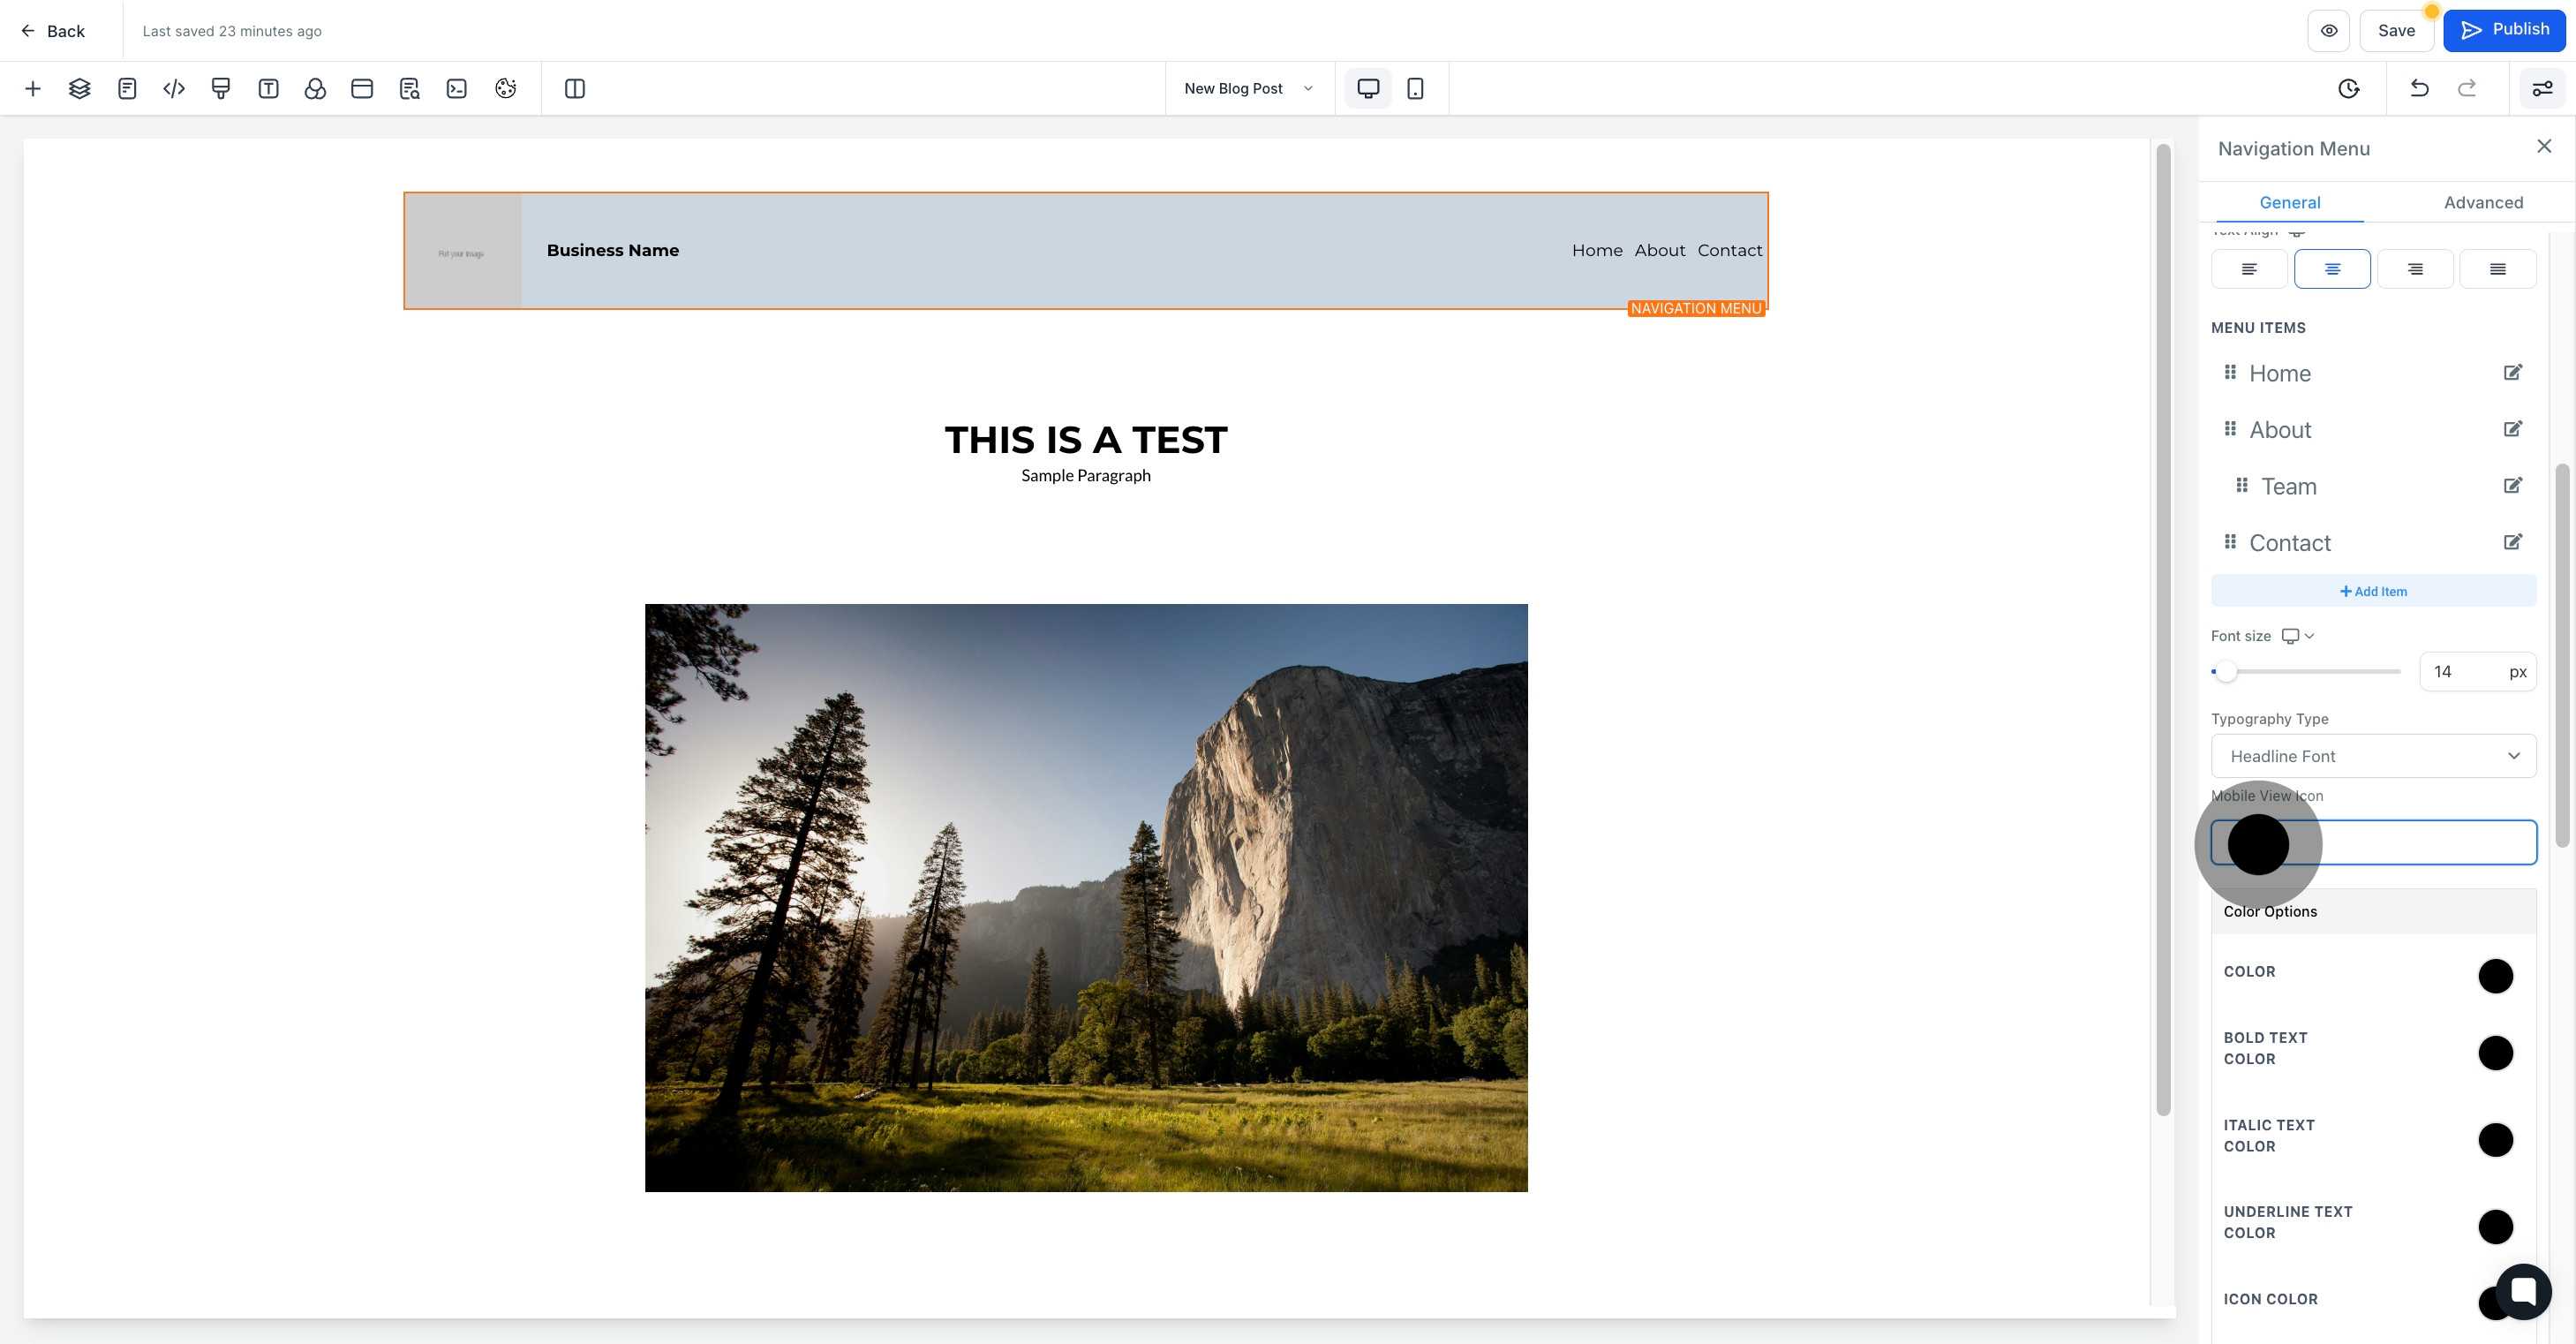
18. Then, customize the color options as per your liking.
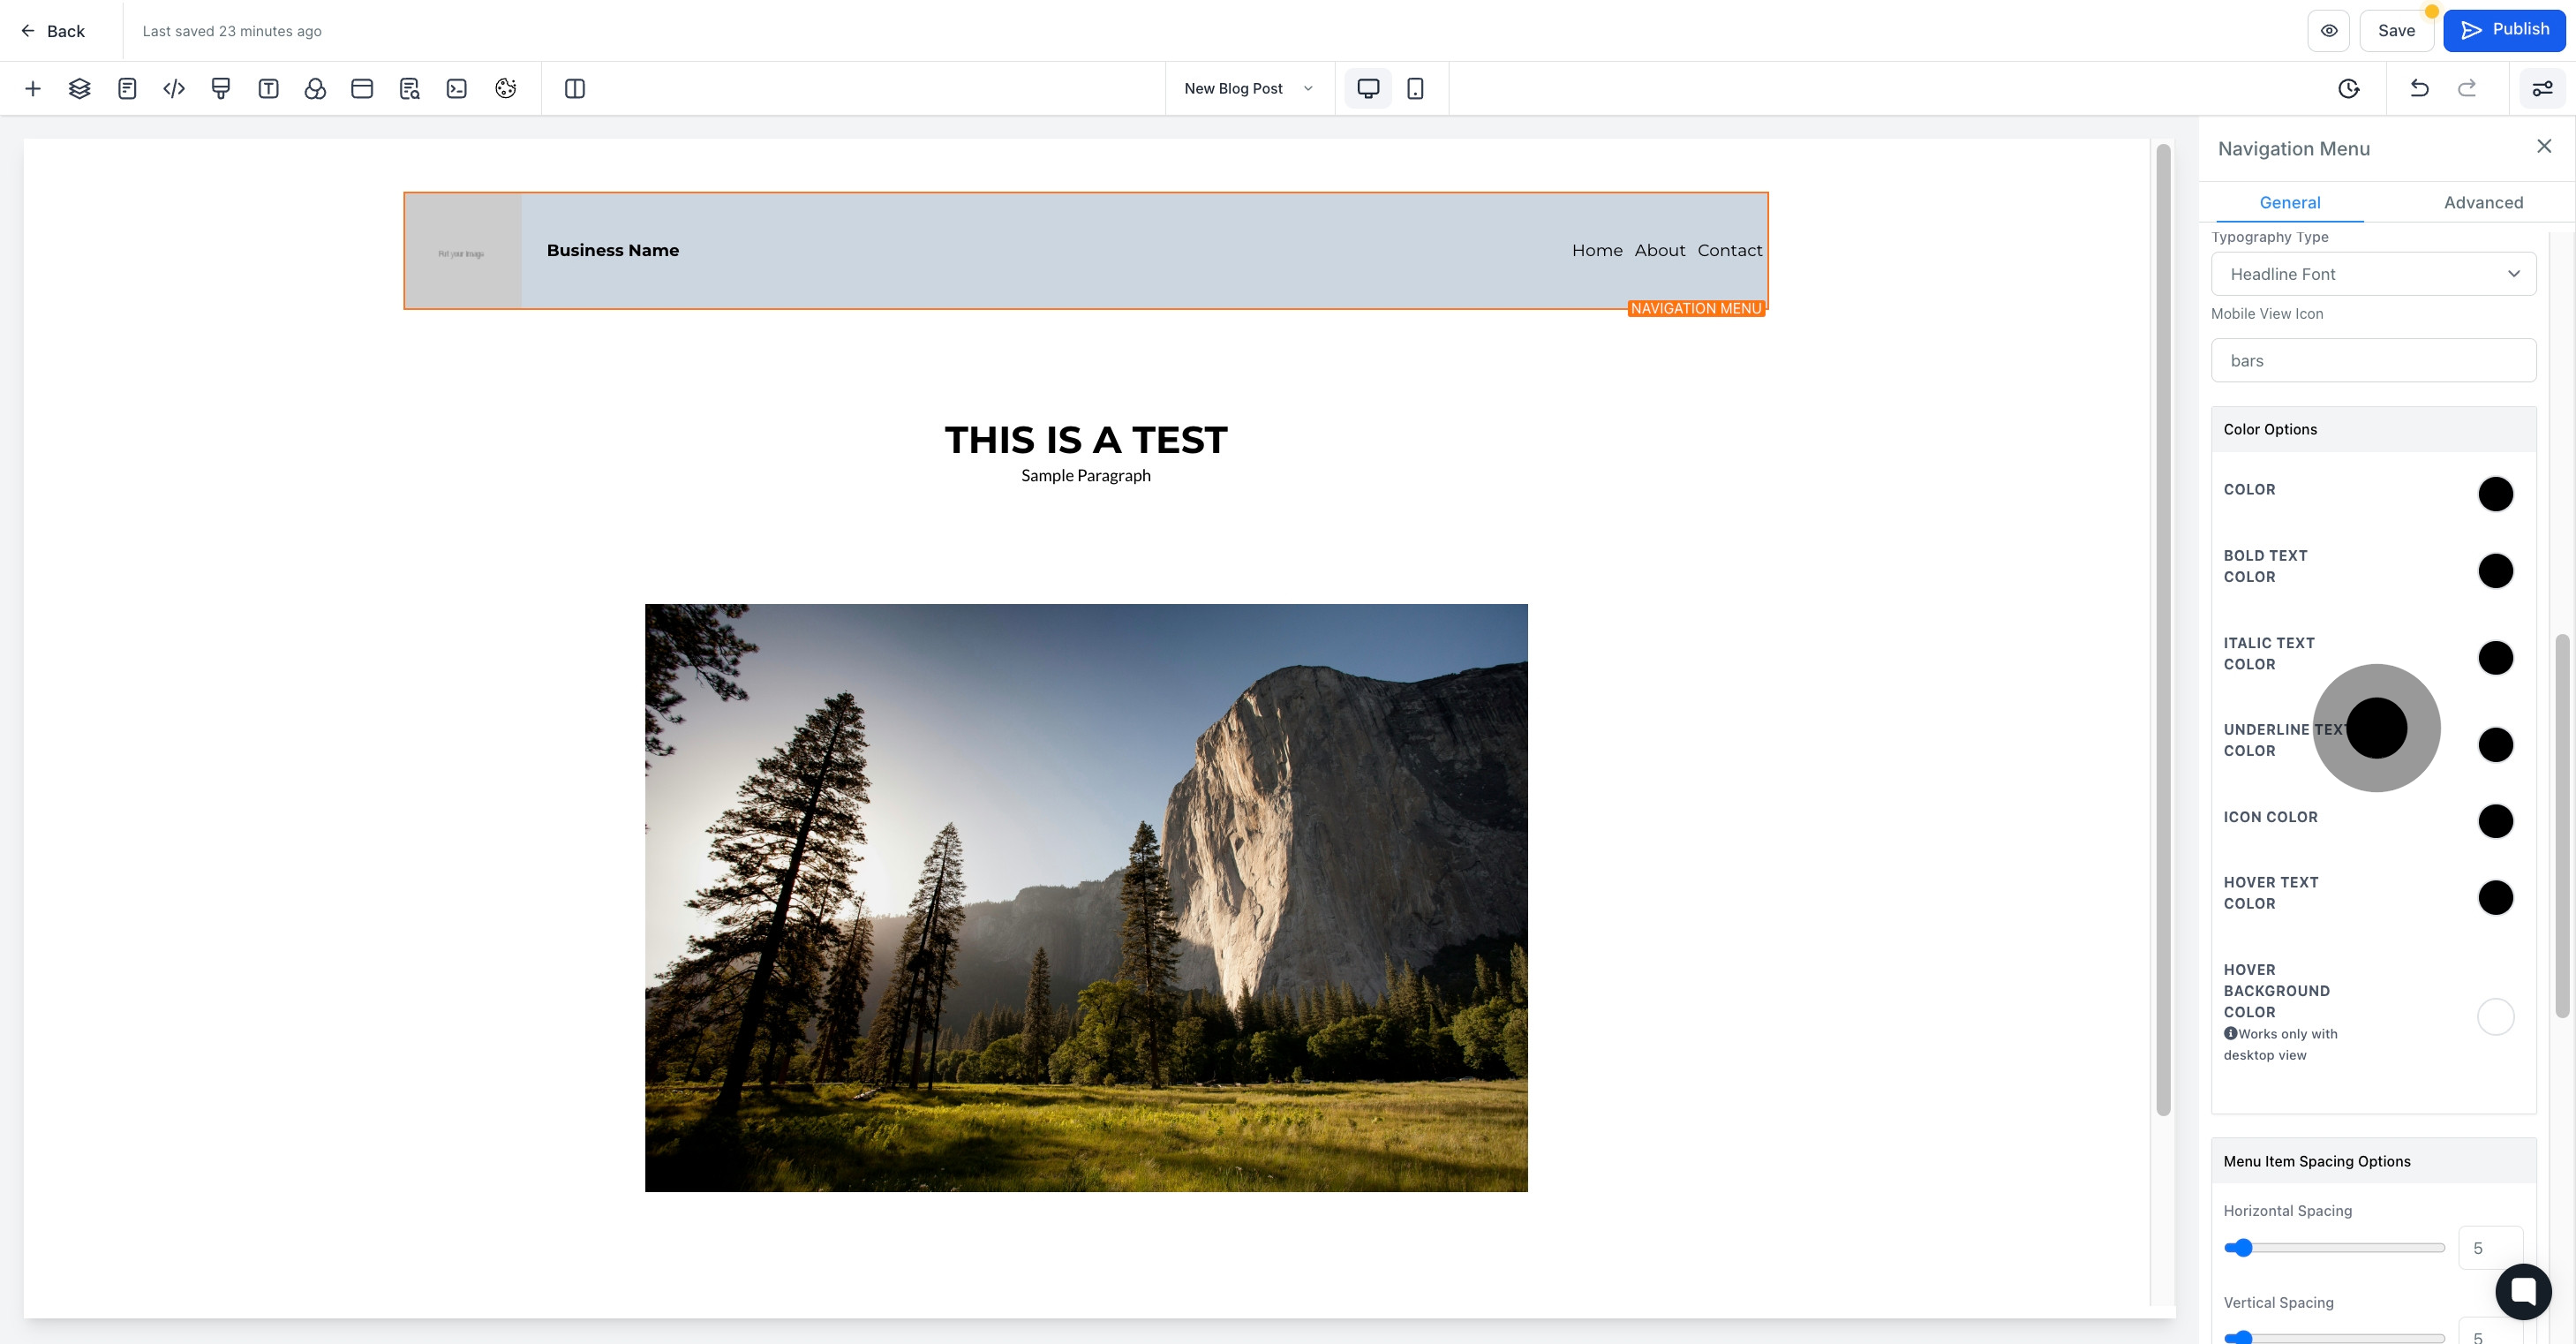
19. Adjust the menu item spacing options for better layout.
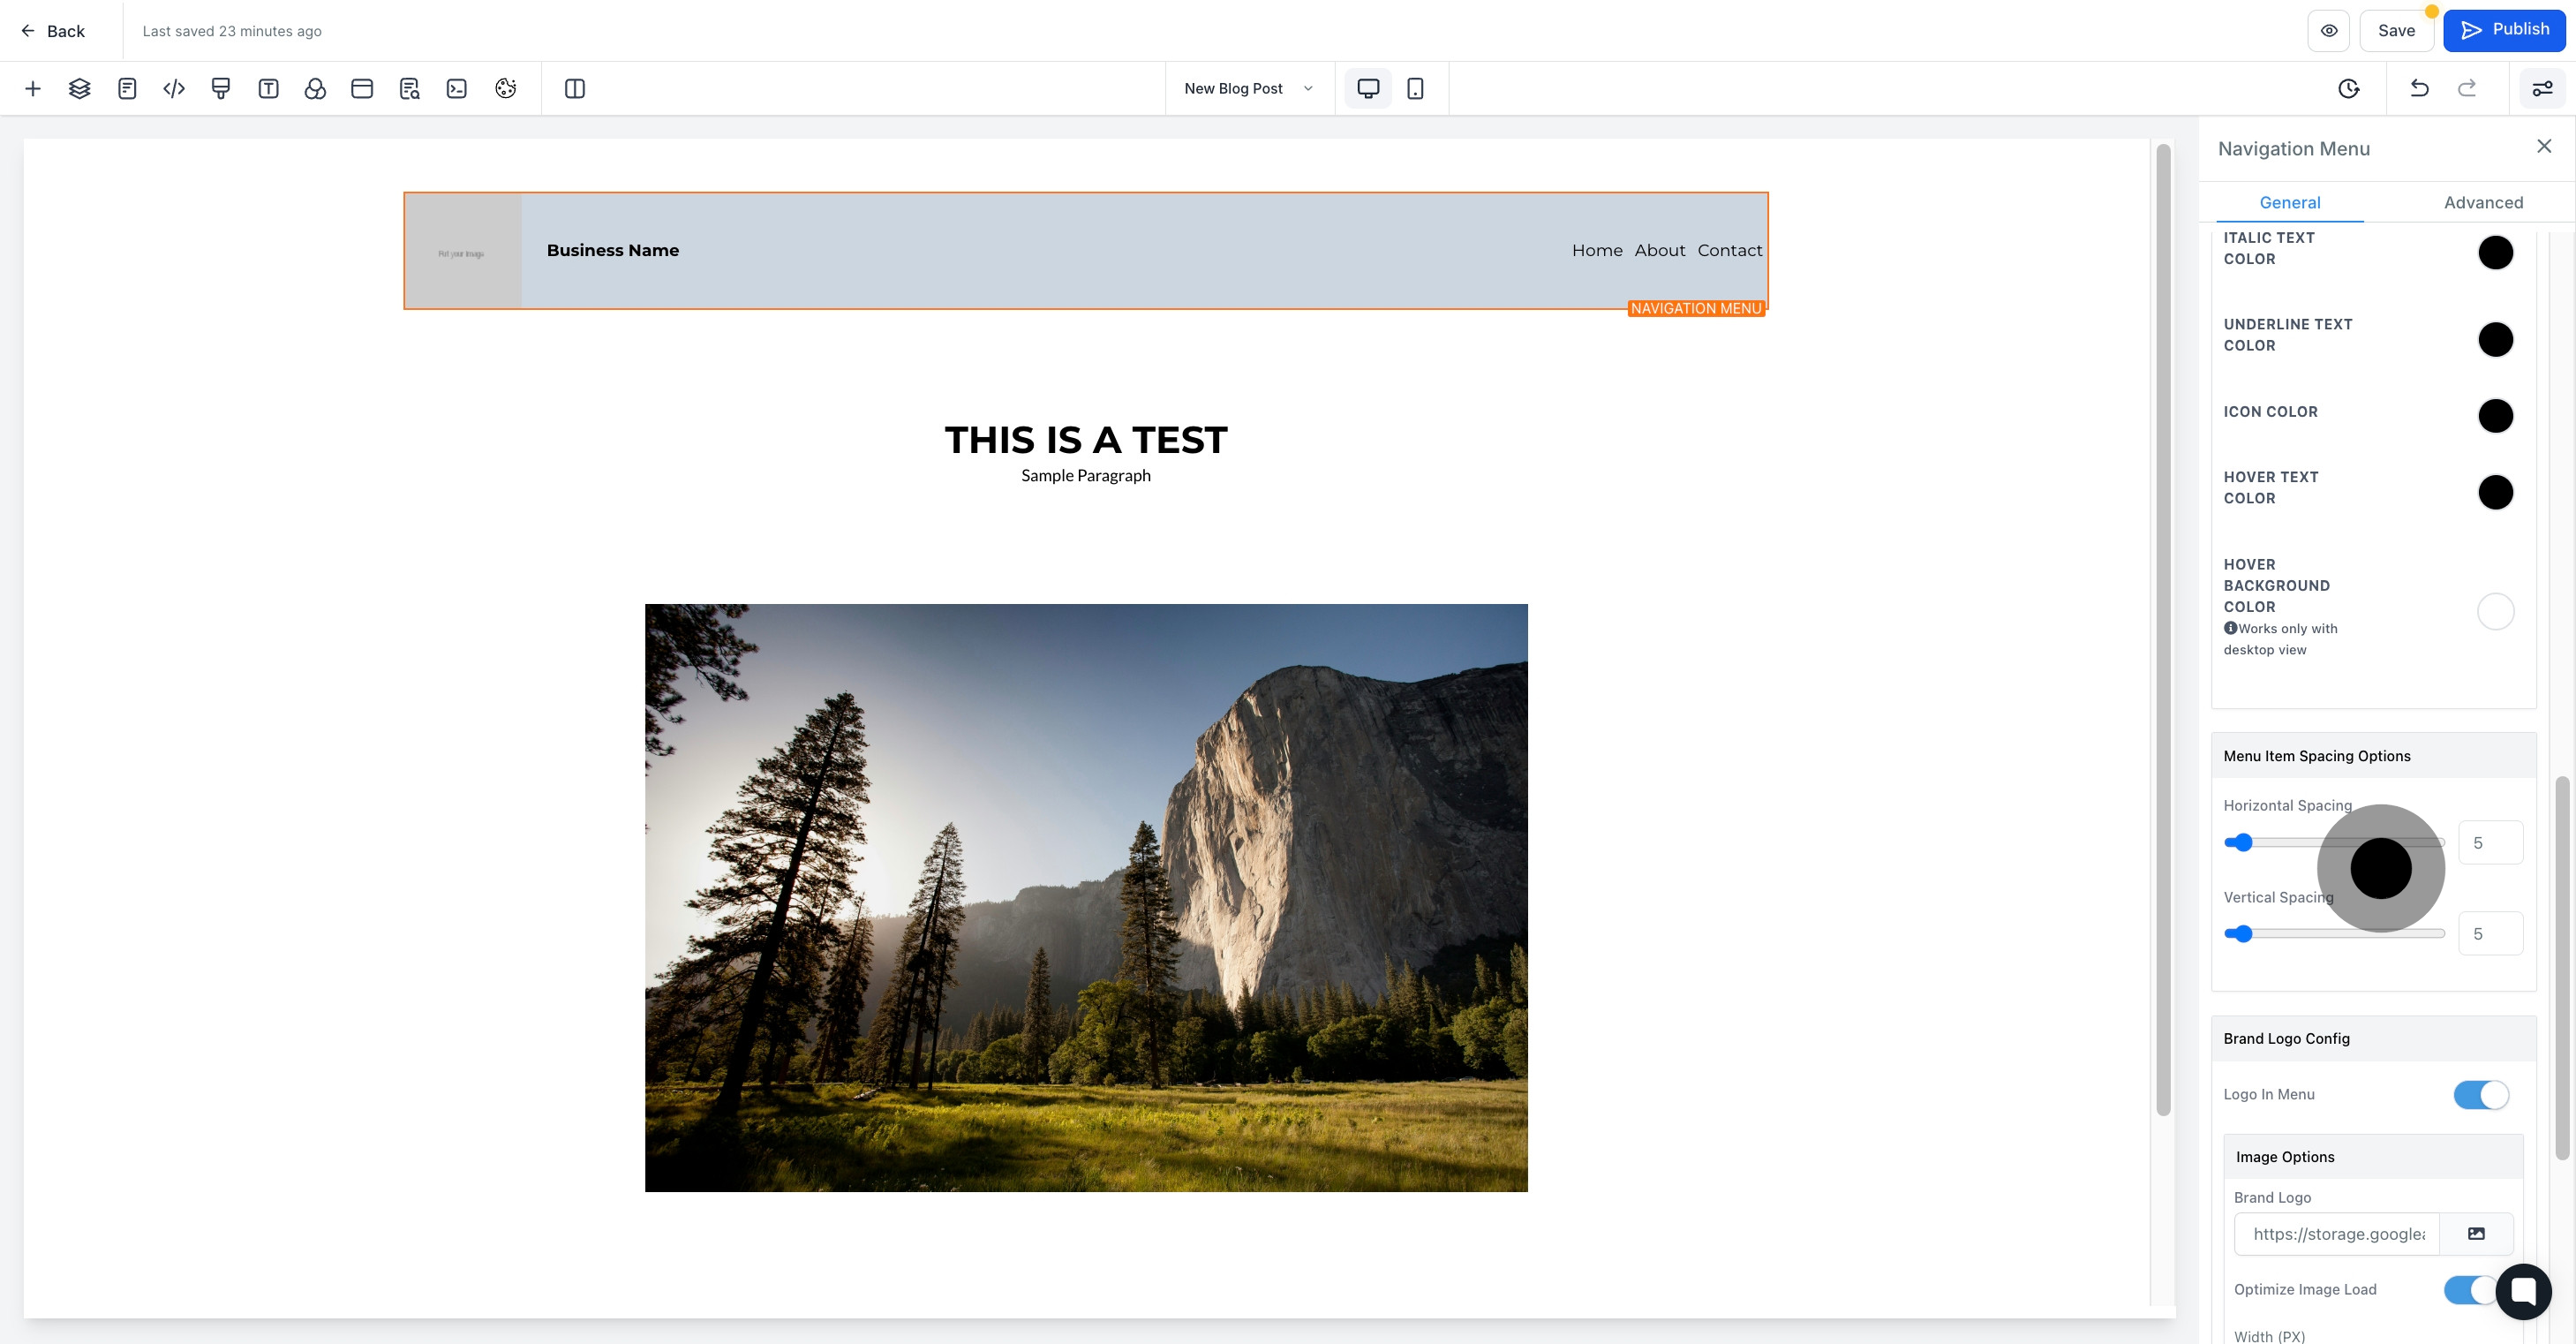
20. Click on the 'Logo In Menu' to enable it.
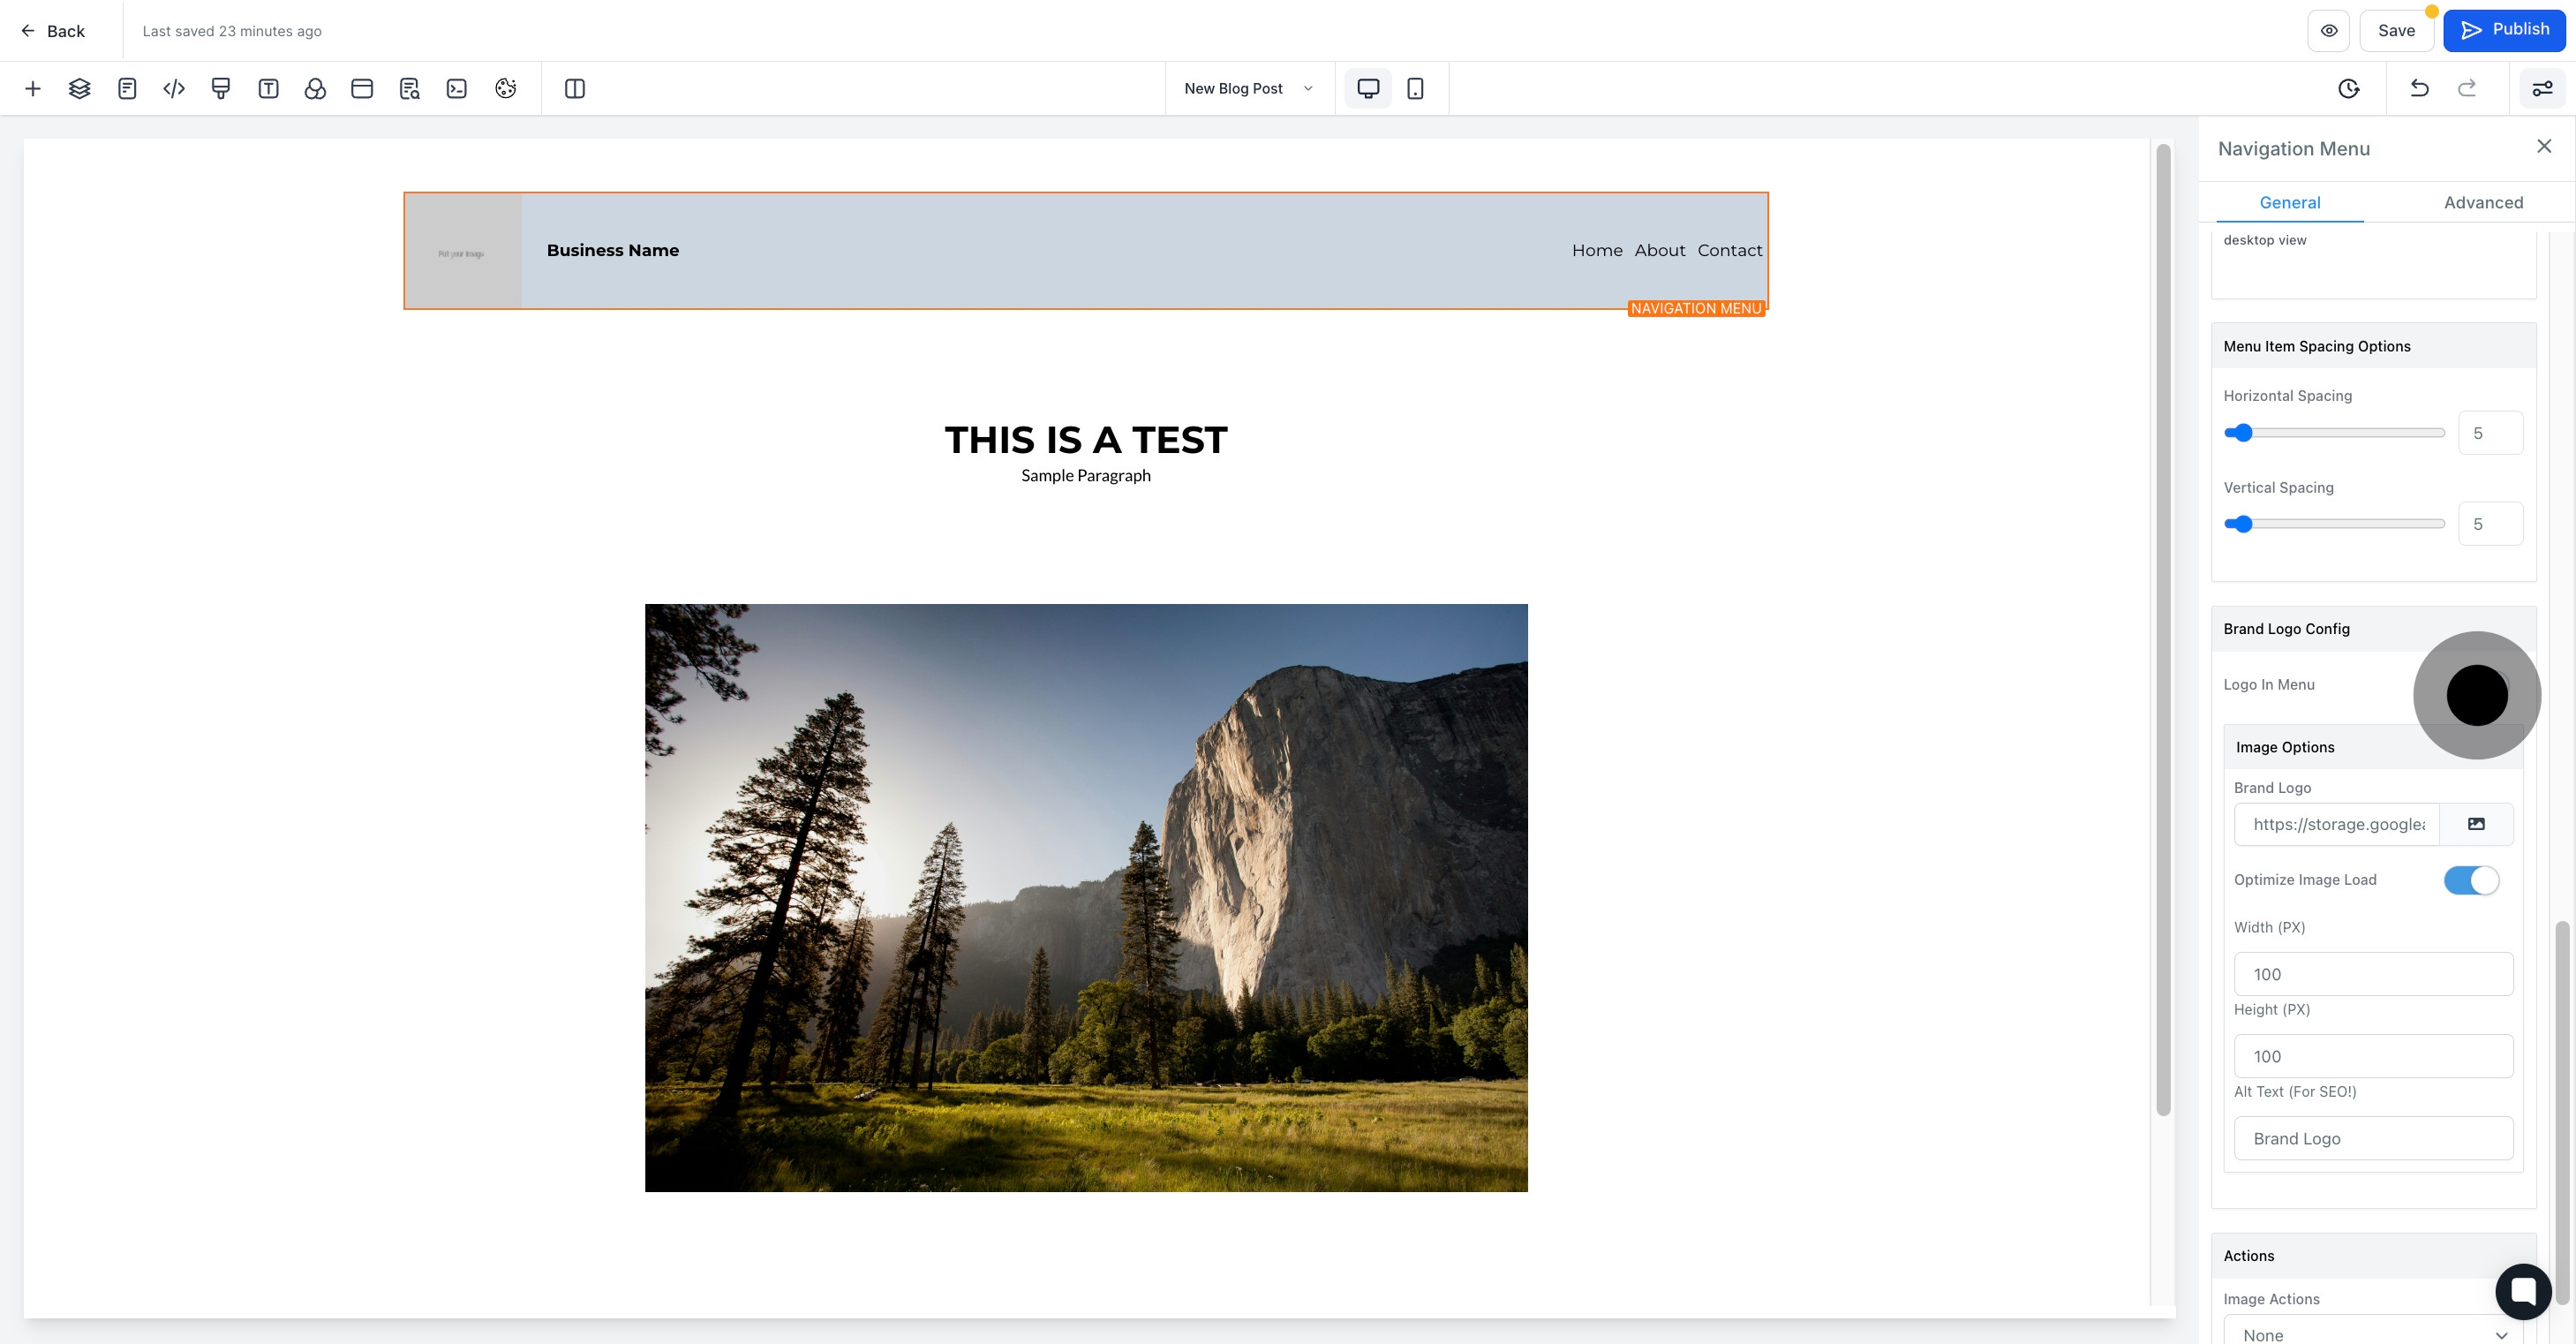
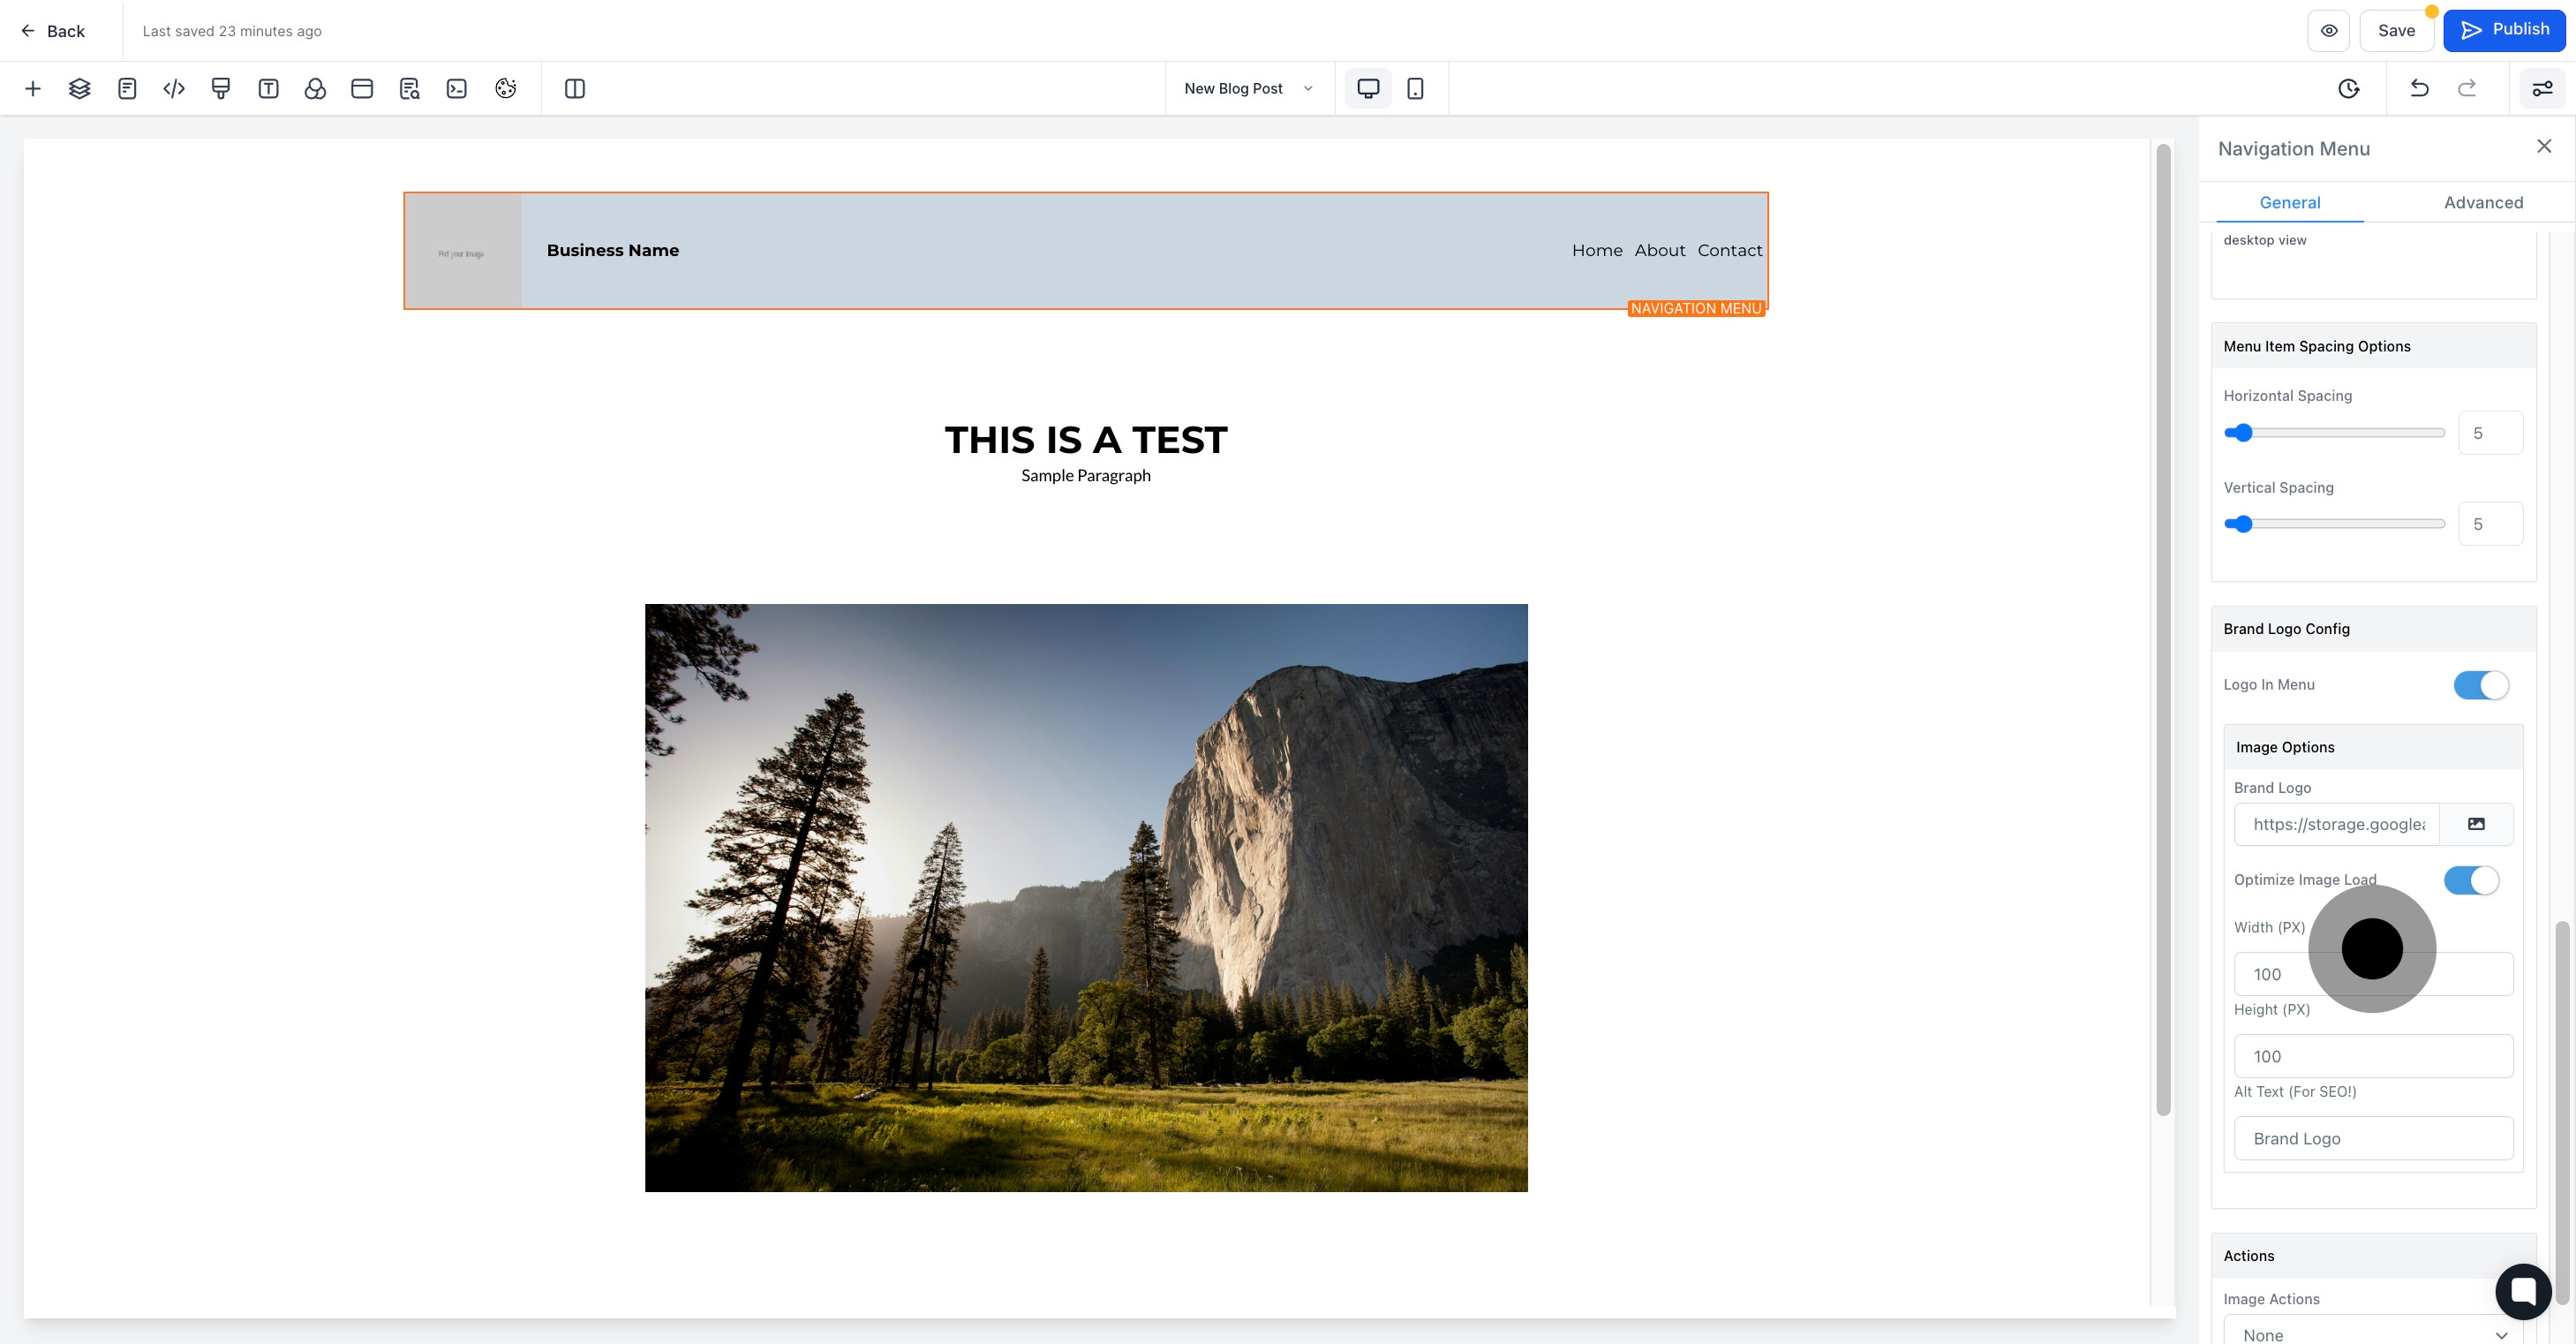
21. Customize your image options for a more personalized look.
22. Select your desired image actions for optimal performance.
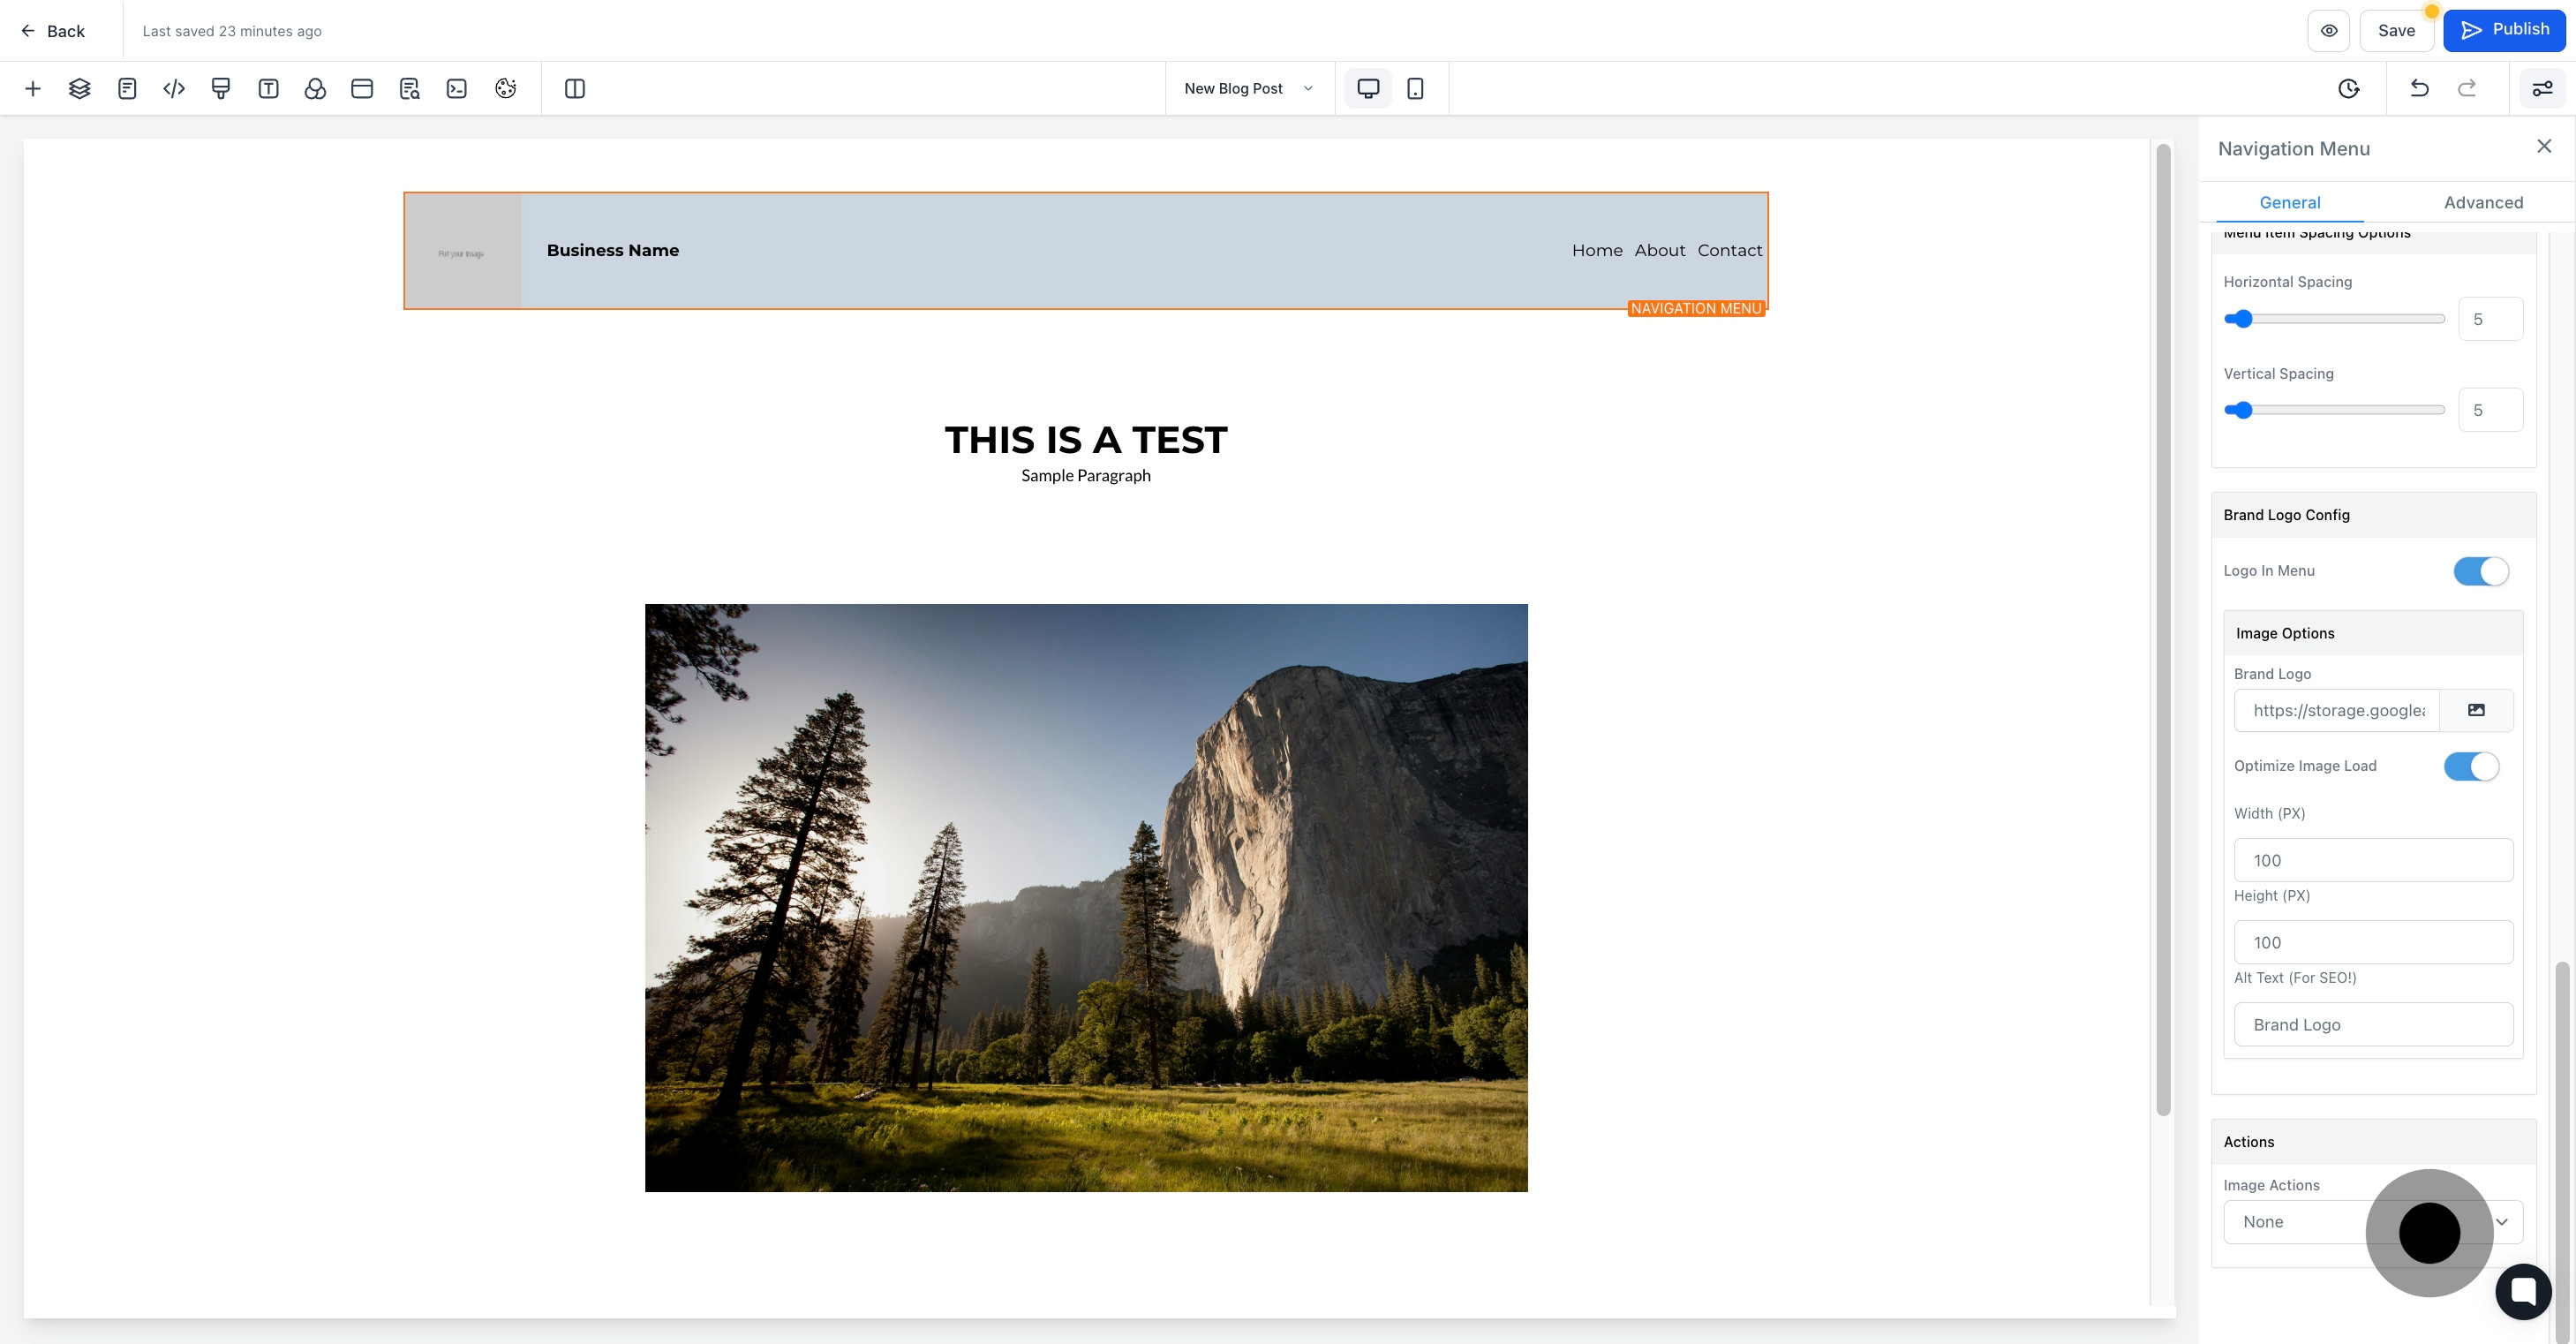
23. Finally, don't forget to save your changes to secure your fantastic work.
