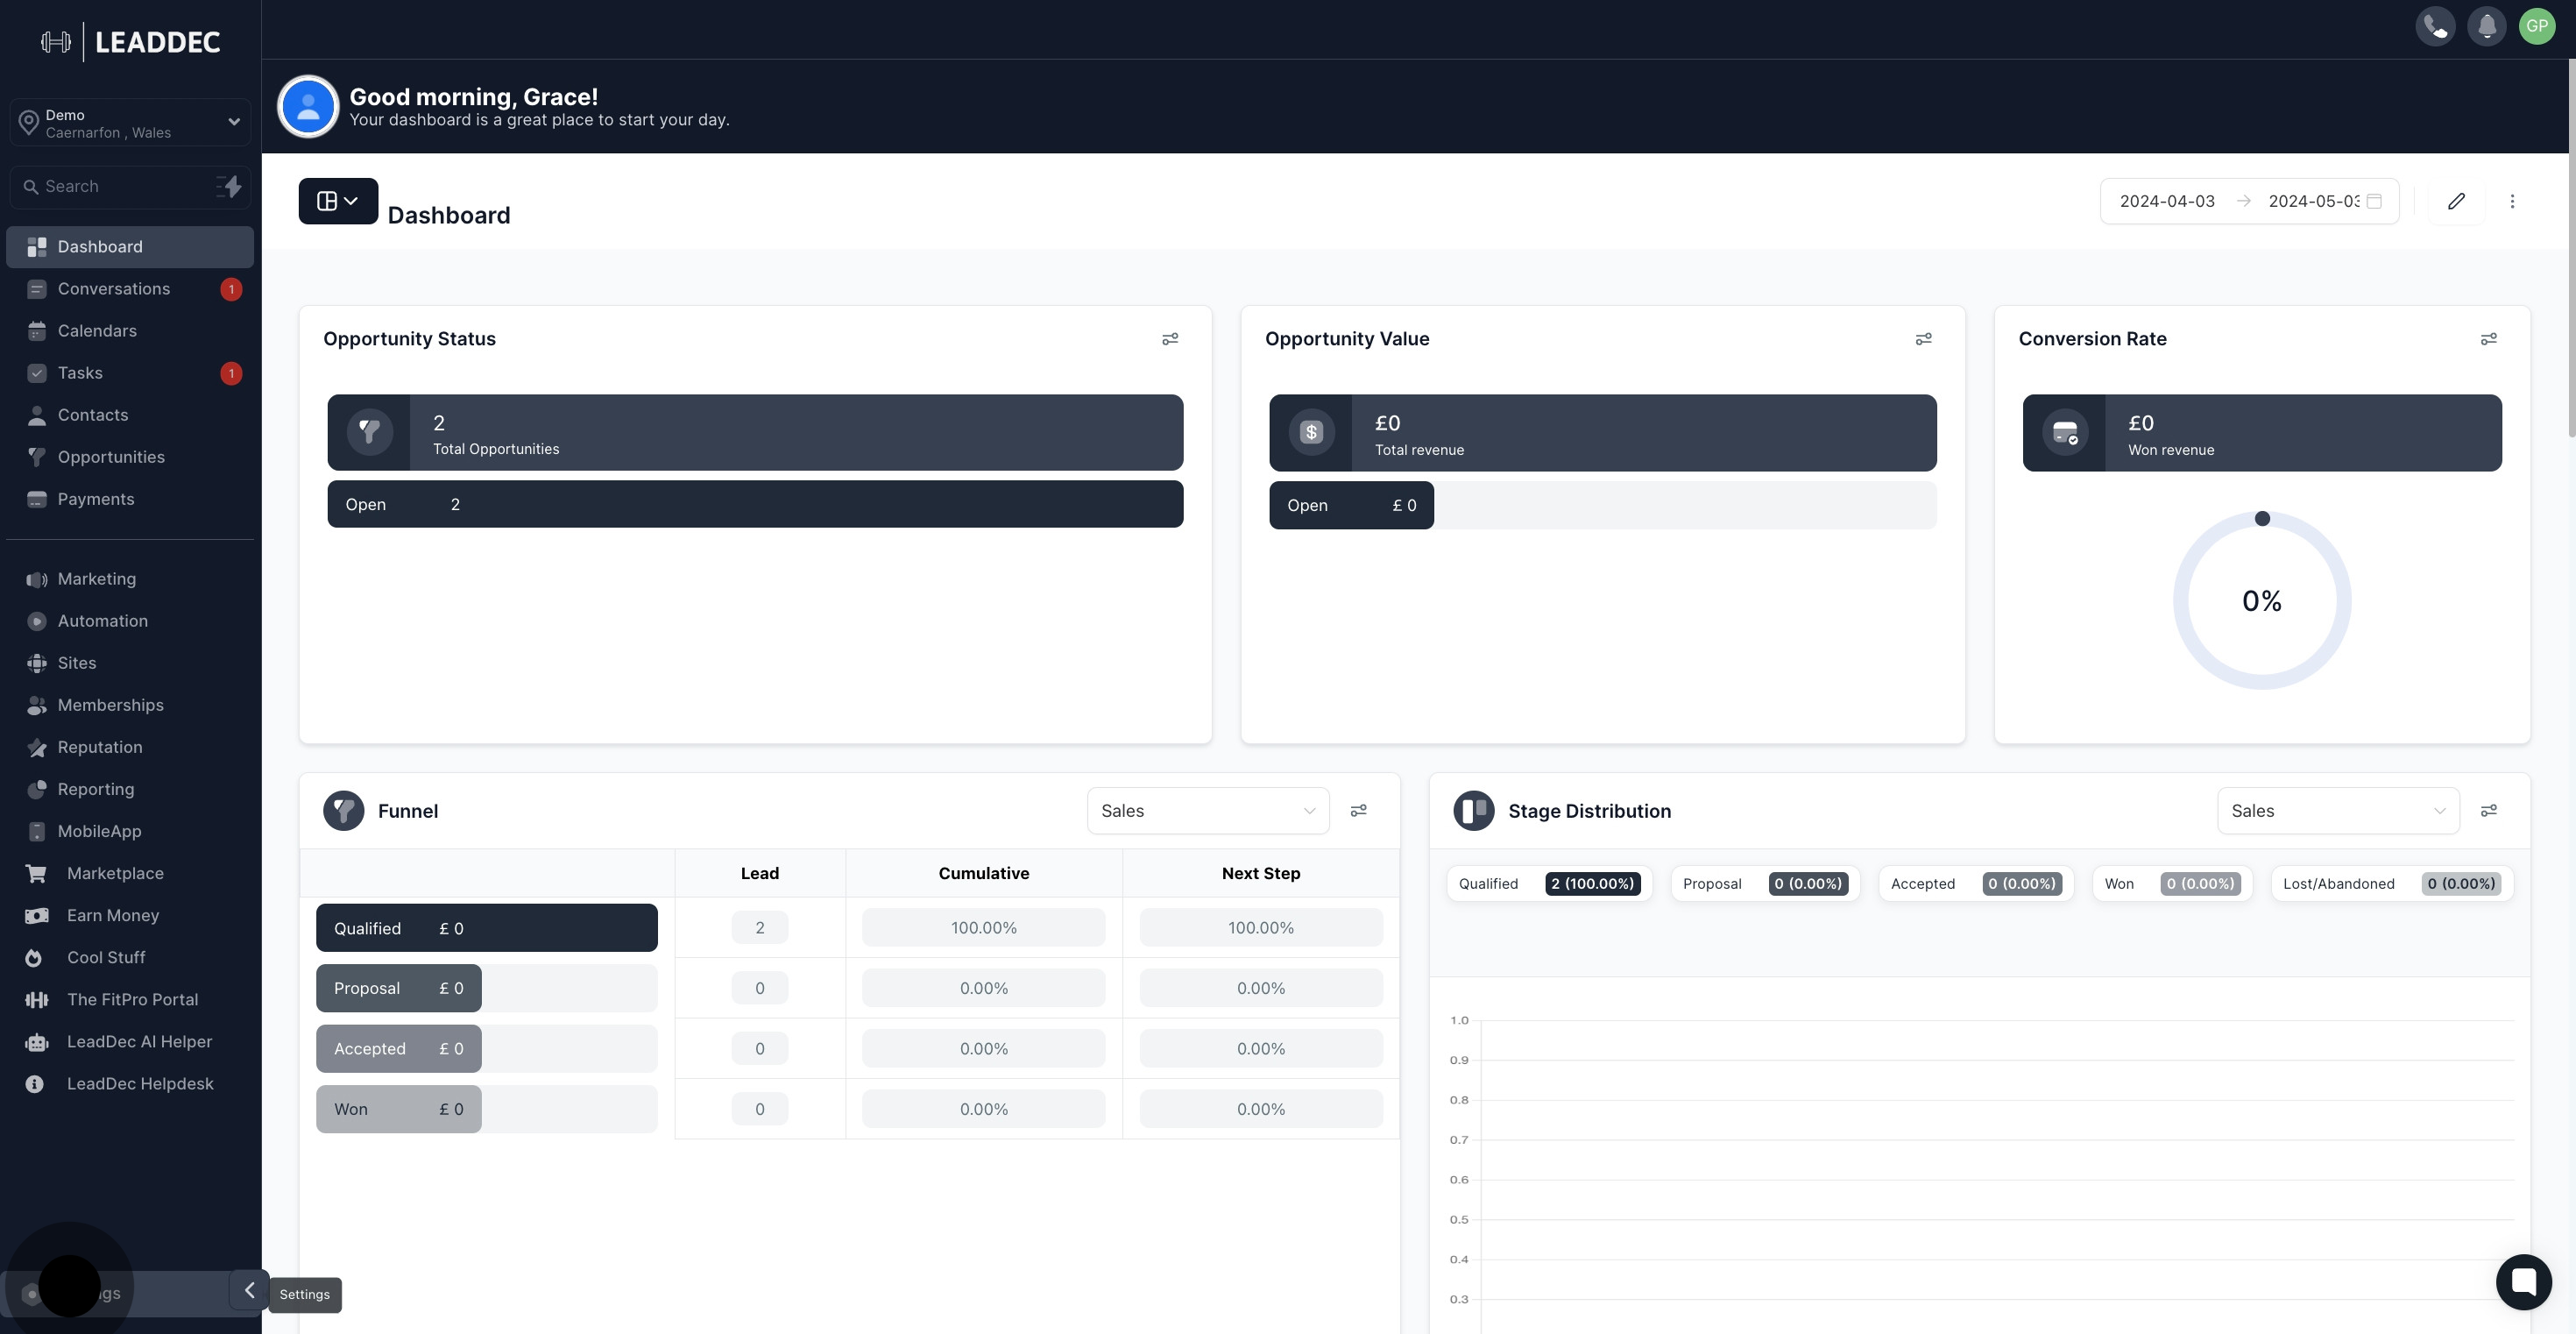
1. Let's start with clicking on the settings menu.
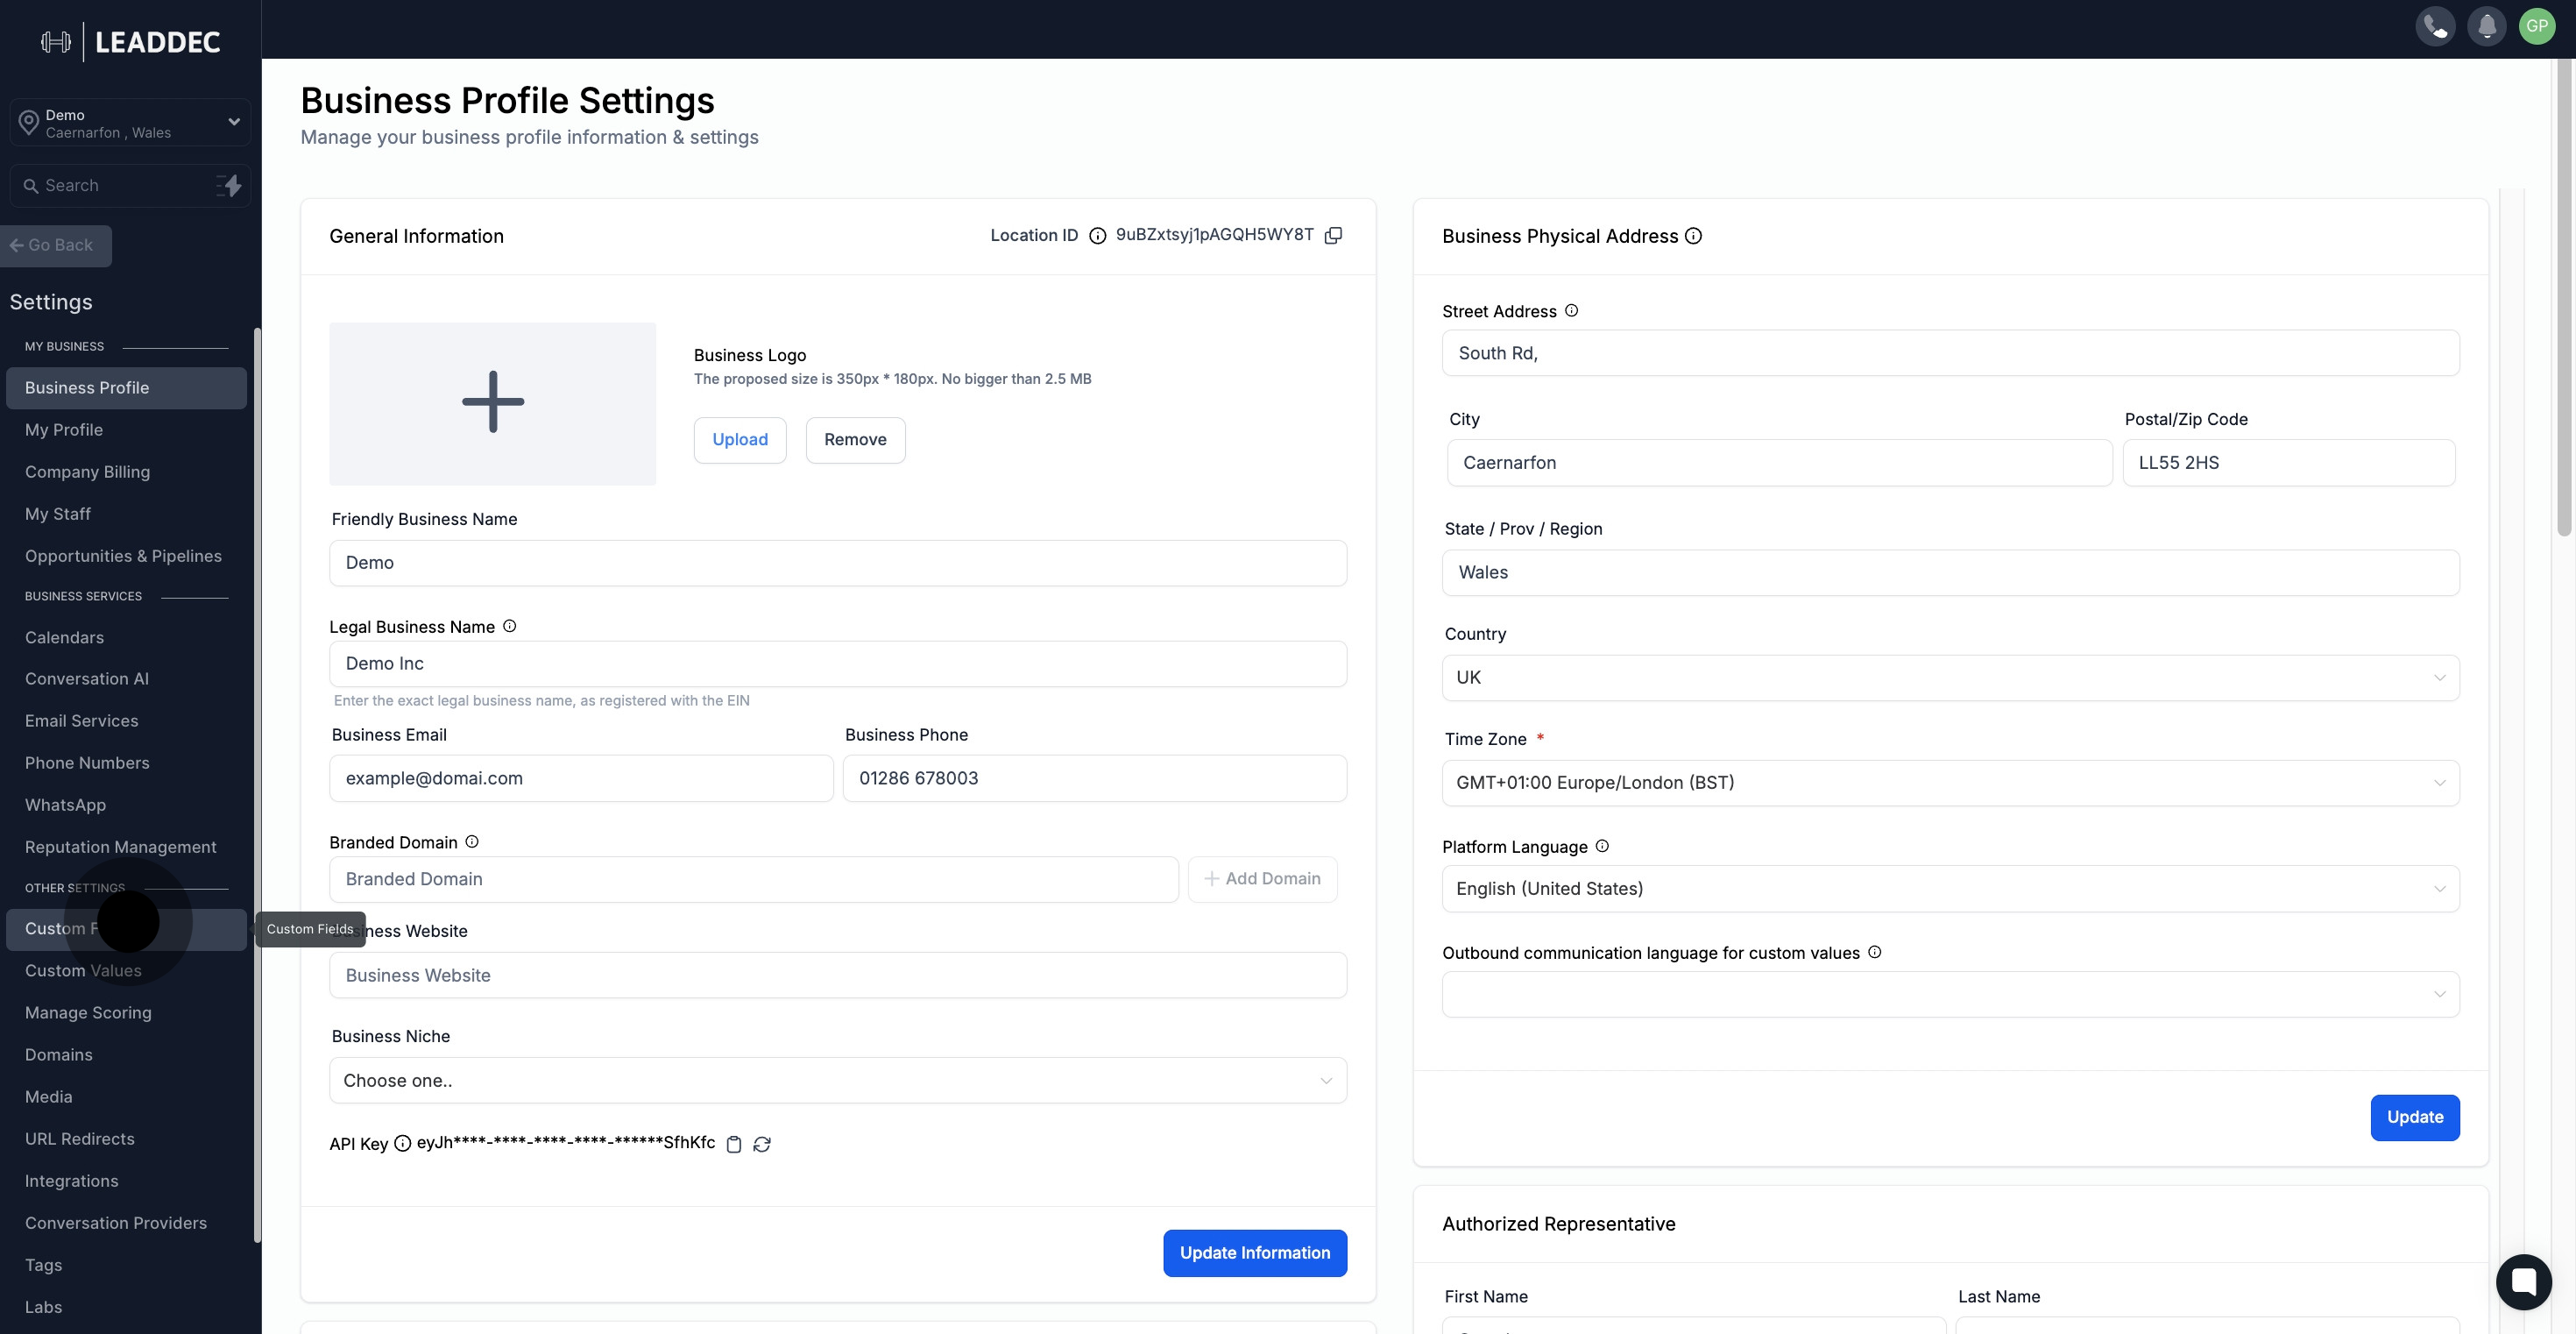
2. Now, proceed to select custom fields
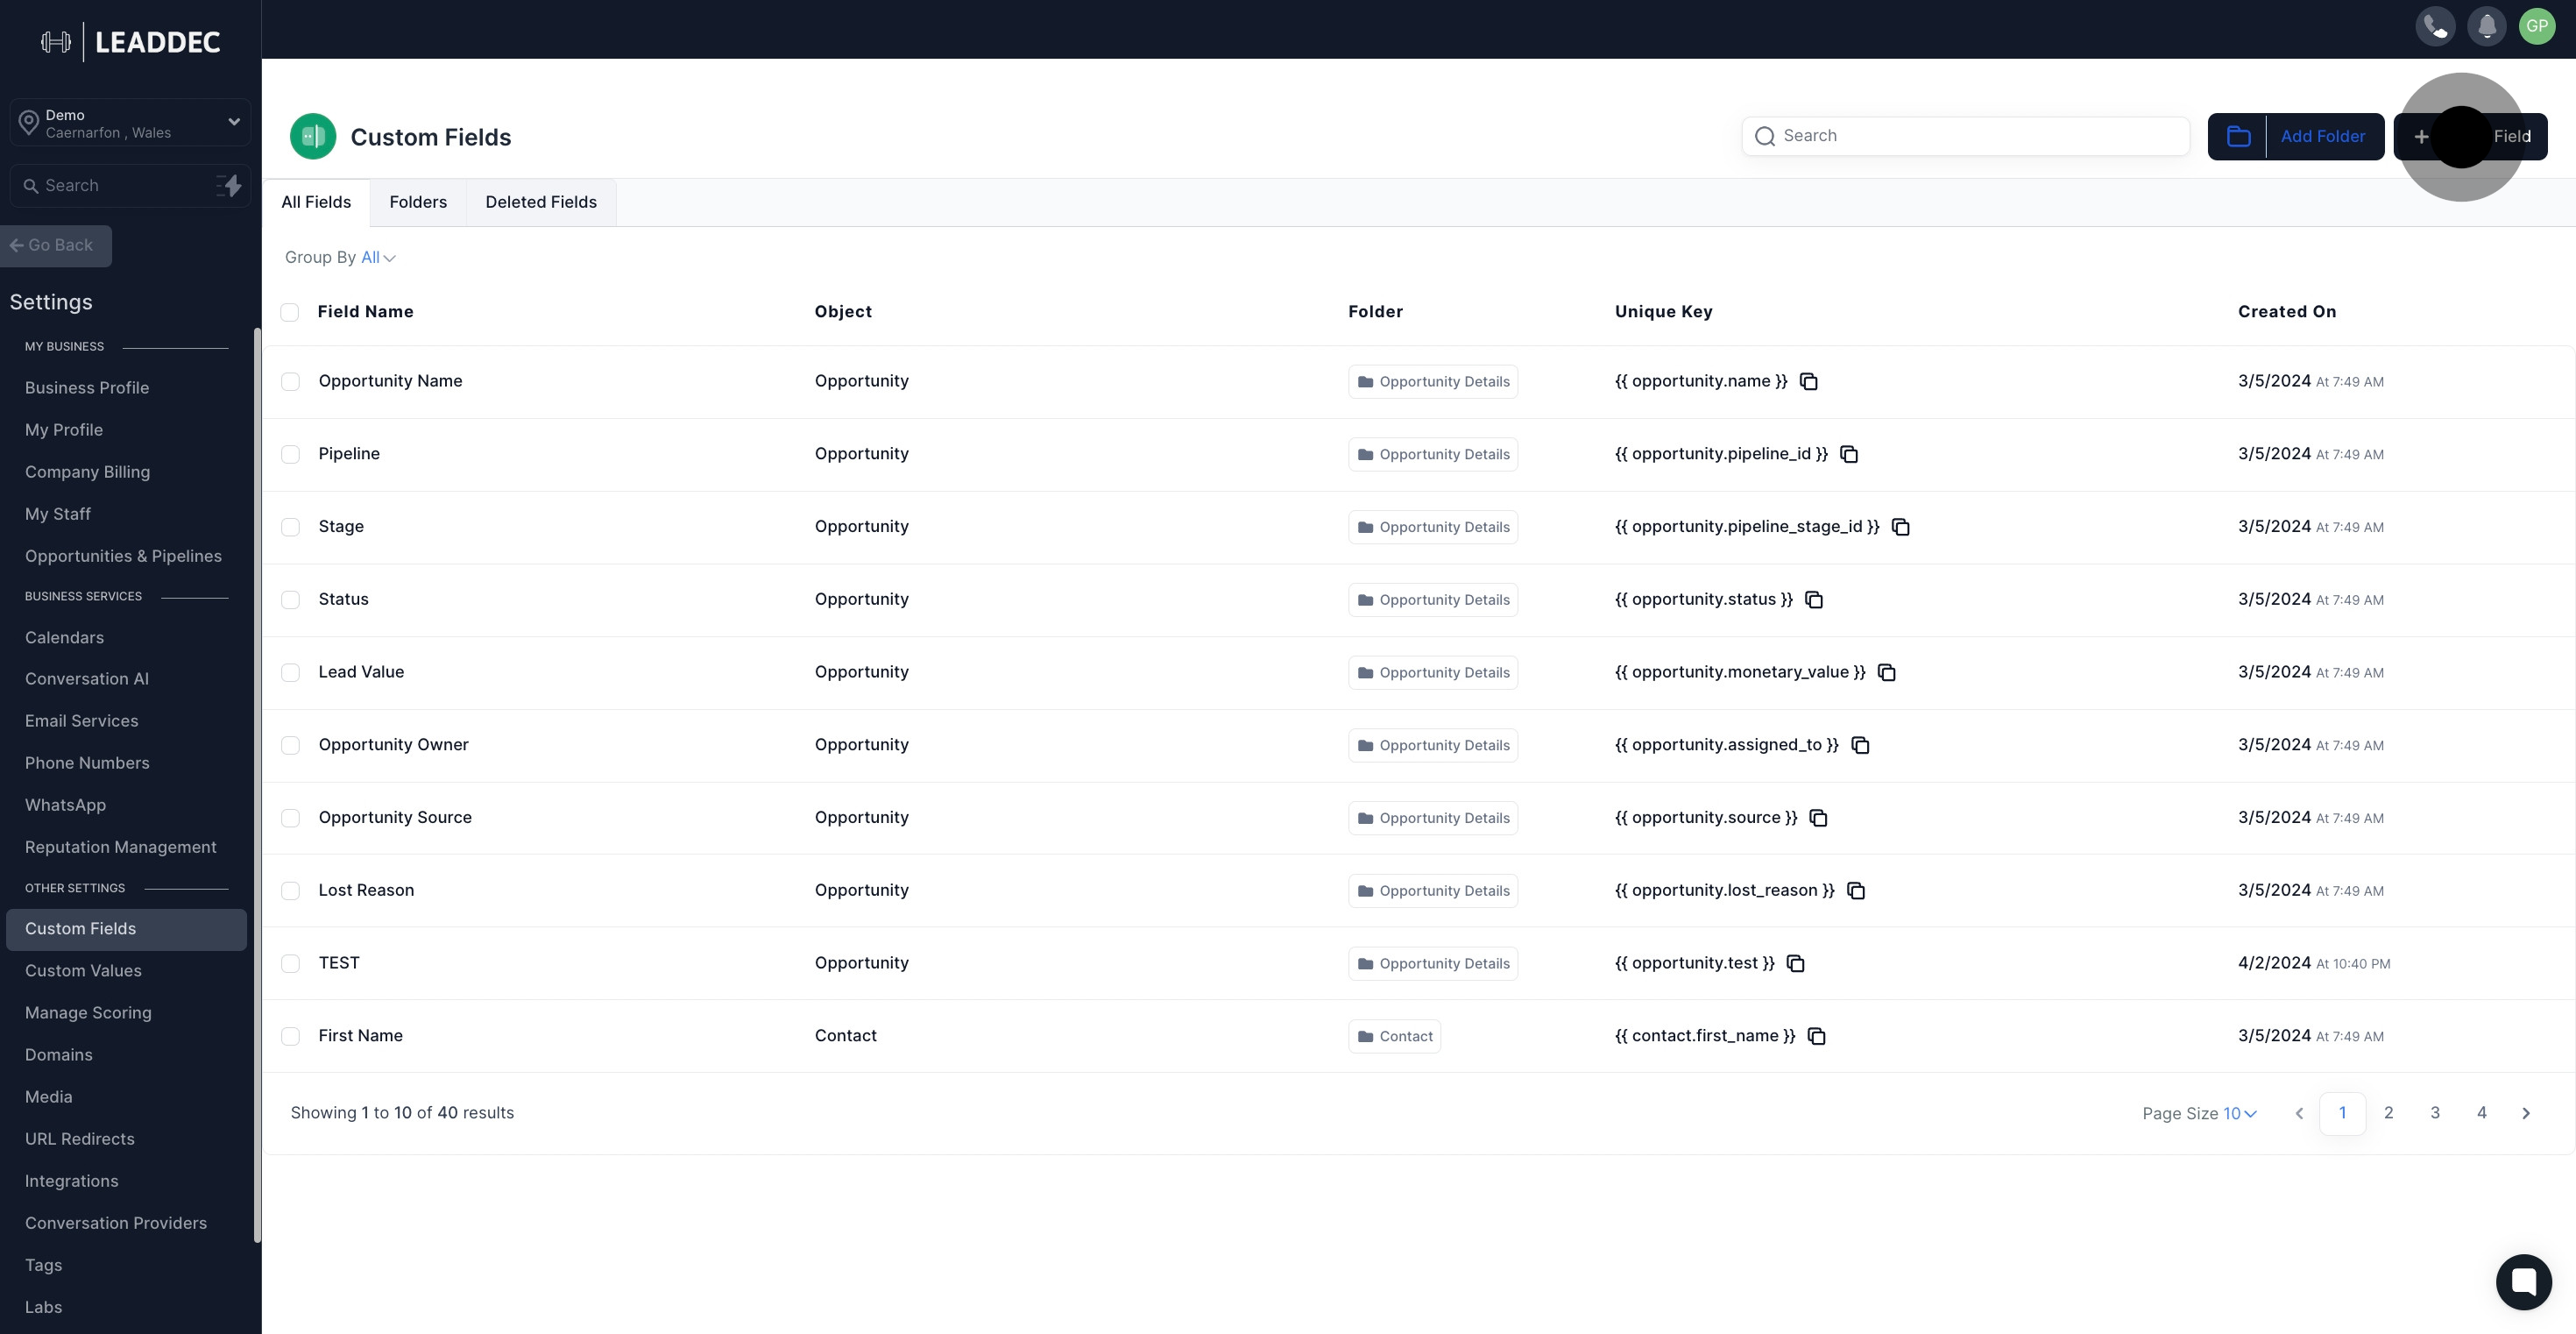
3. Then, you can create a new custom field by hitting the Add Field button.
4. Choose the Date Picker option for the type of custom field you want.
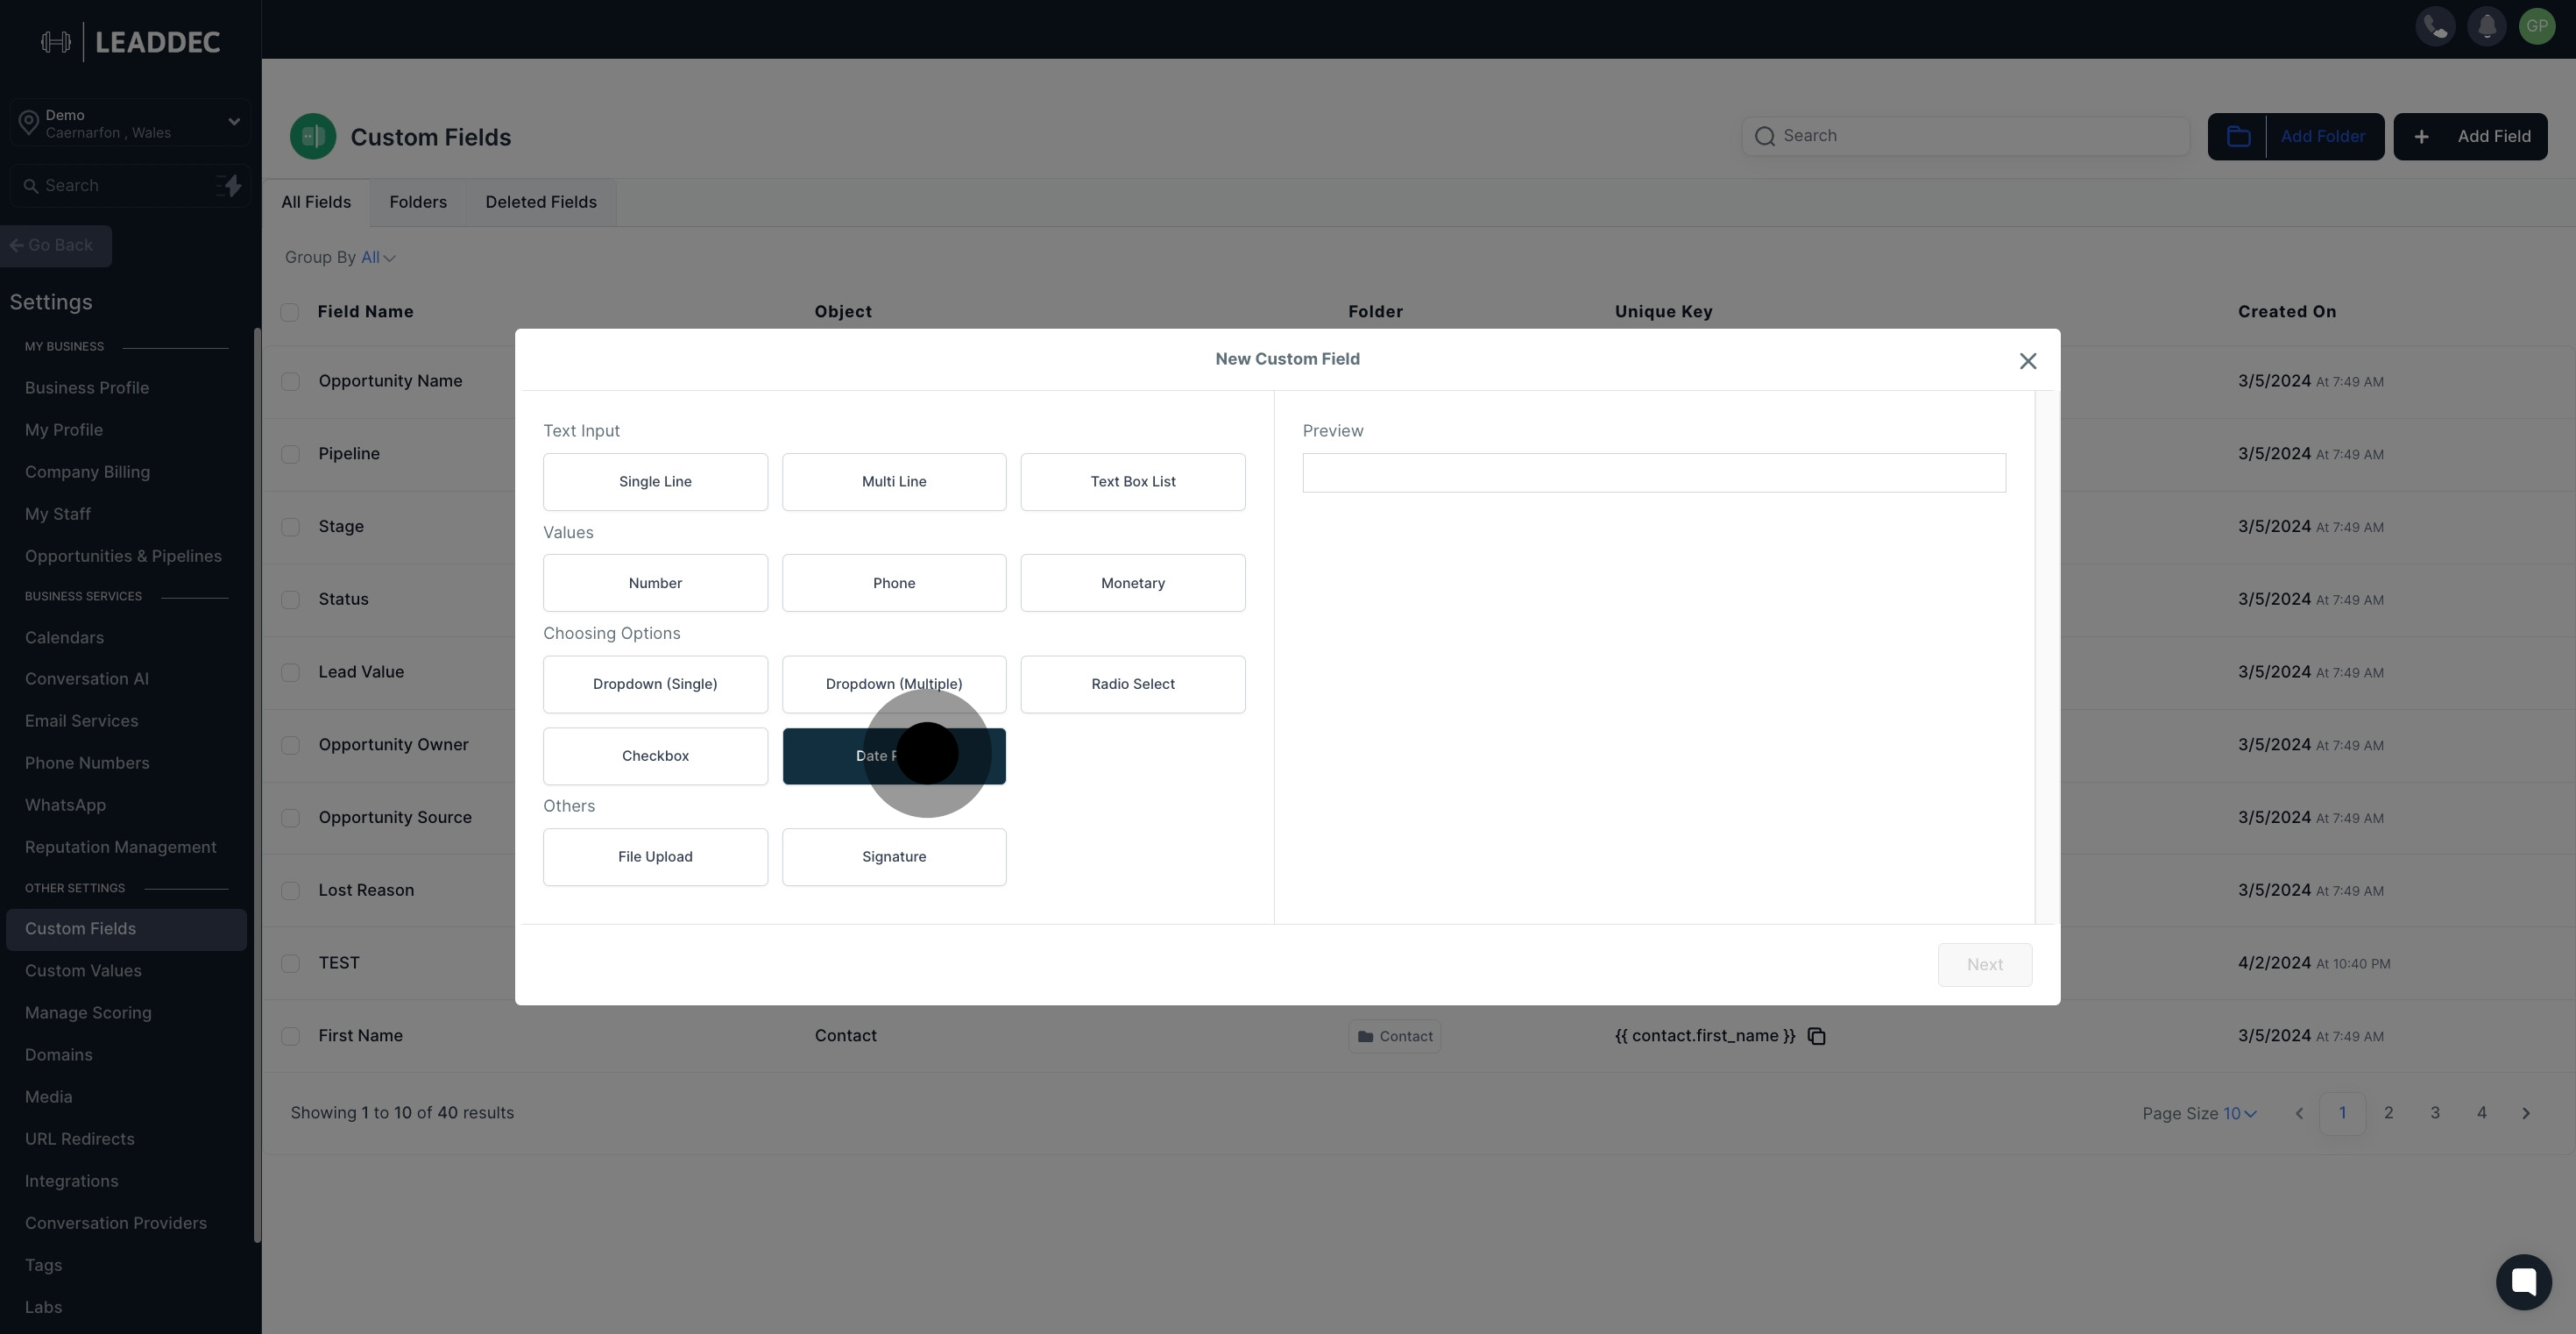
5. Get a sneak peek of your chosen custom field on the preview area.
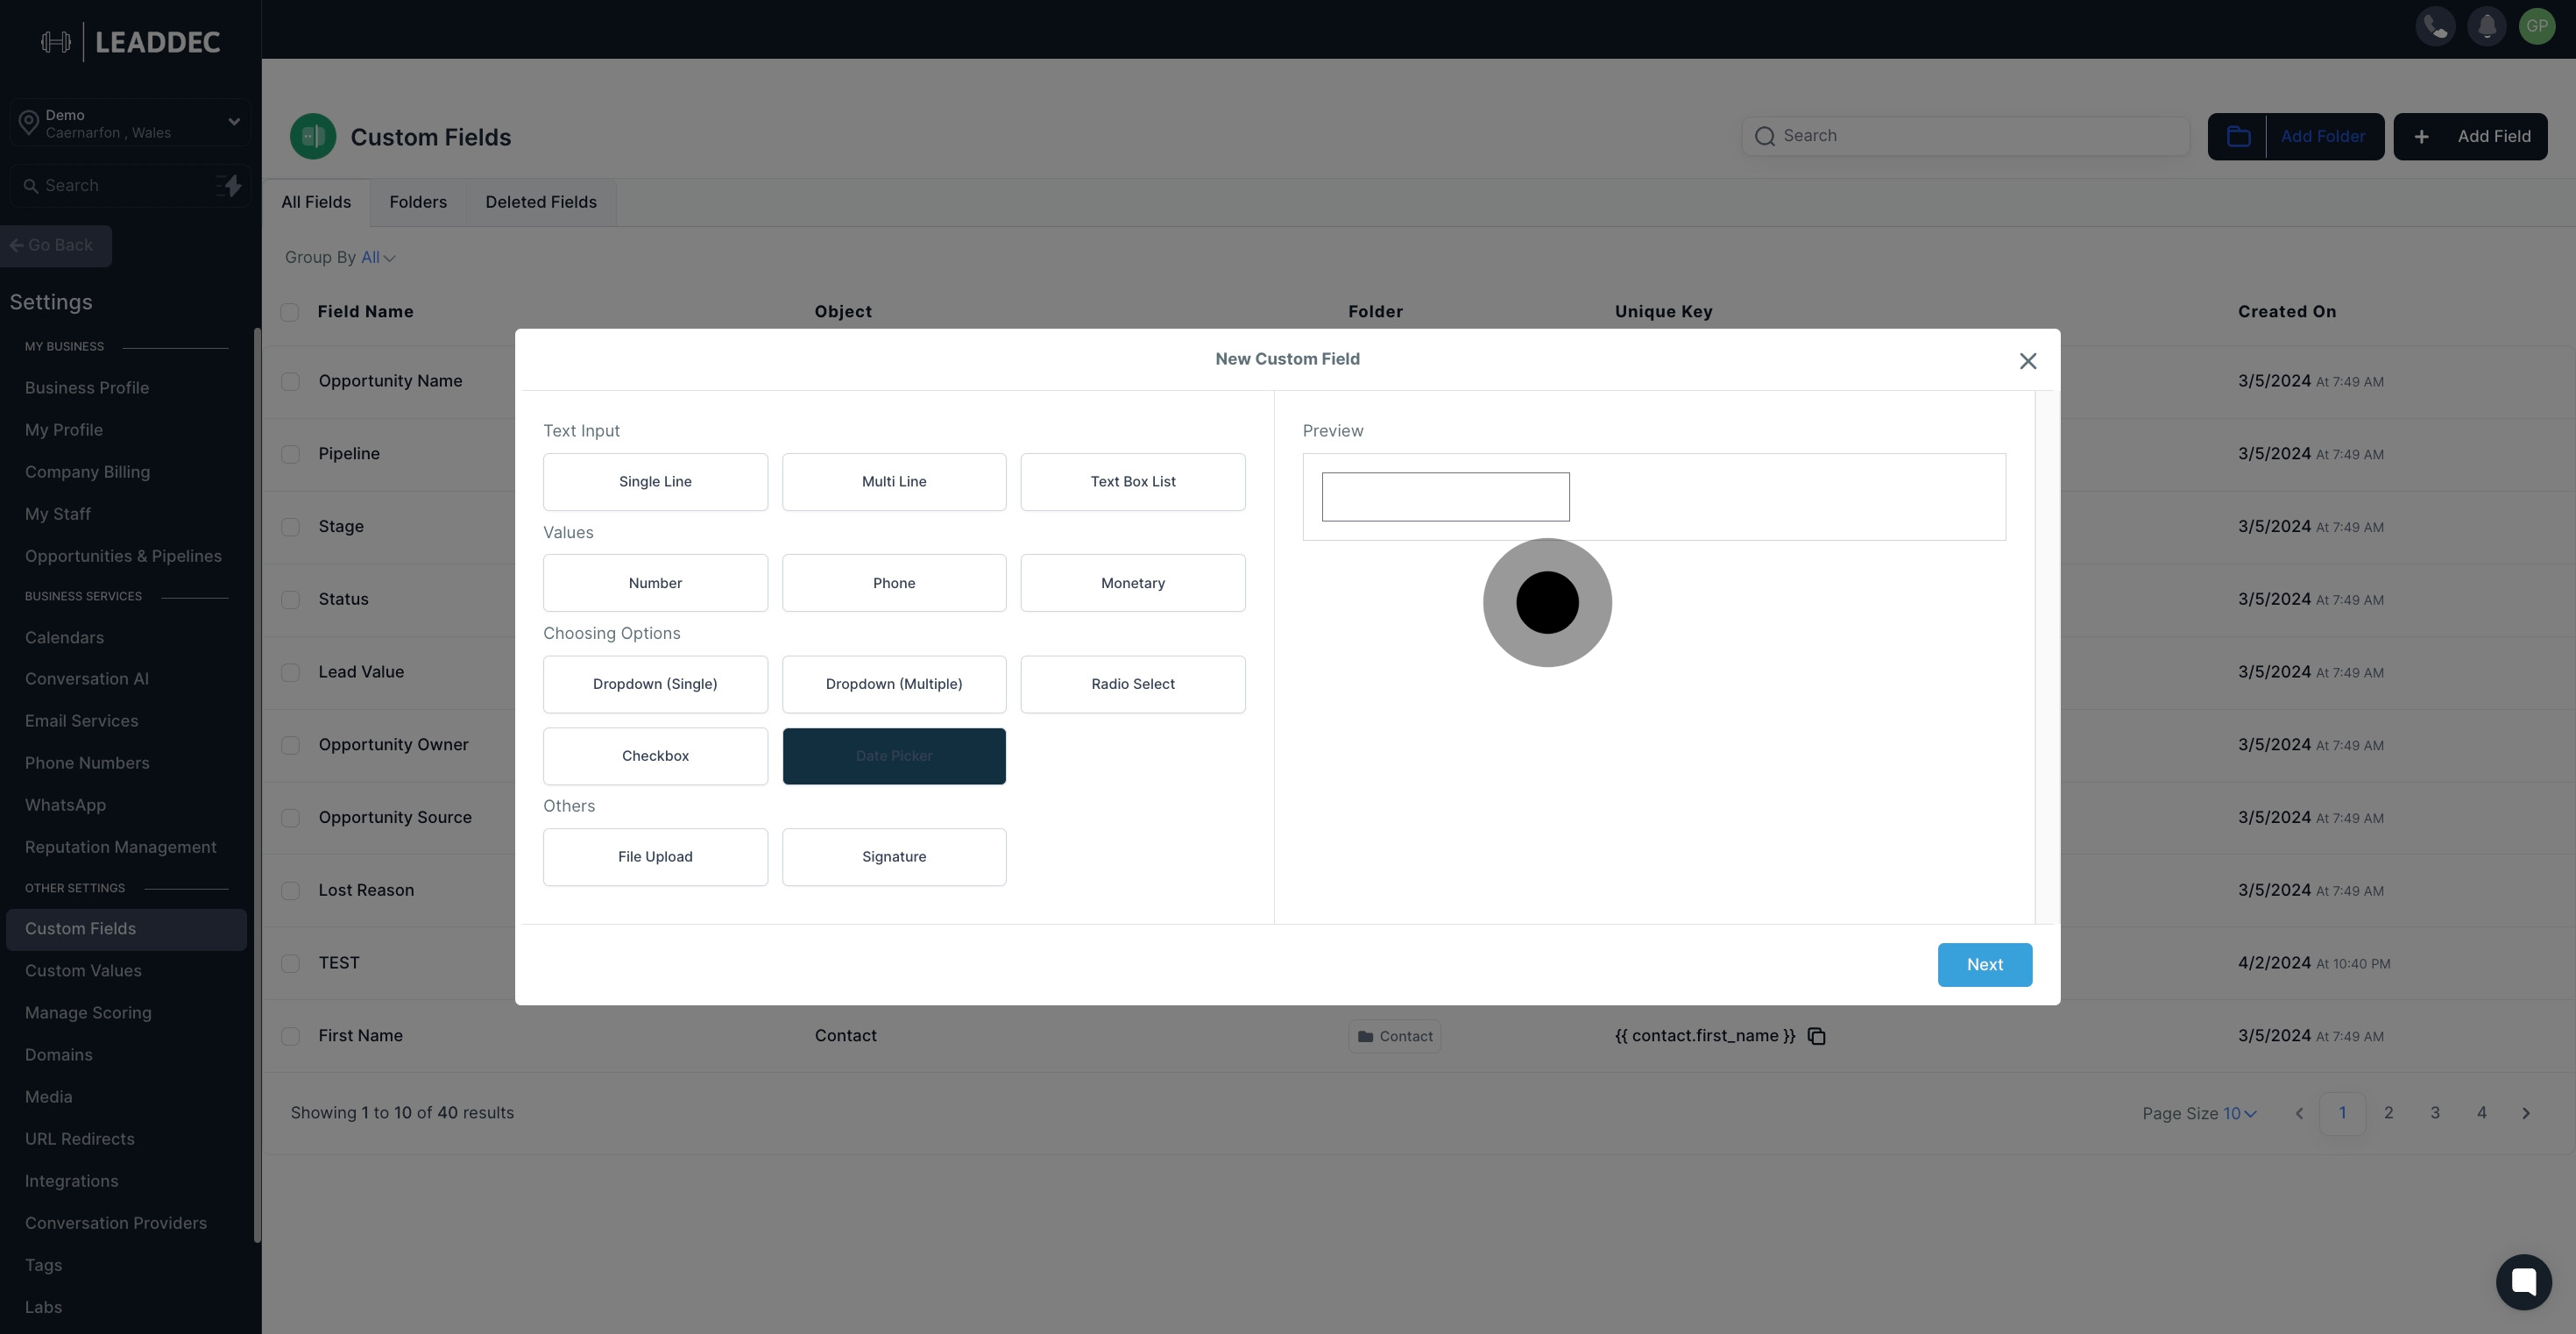
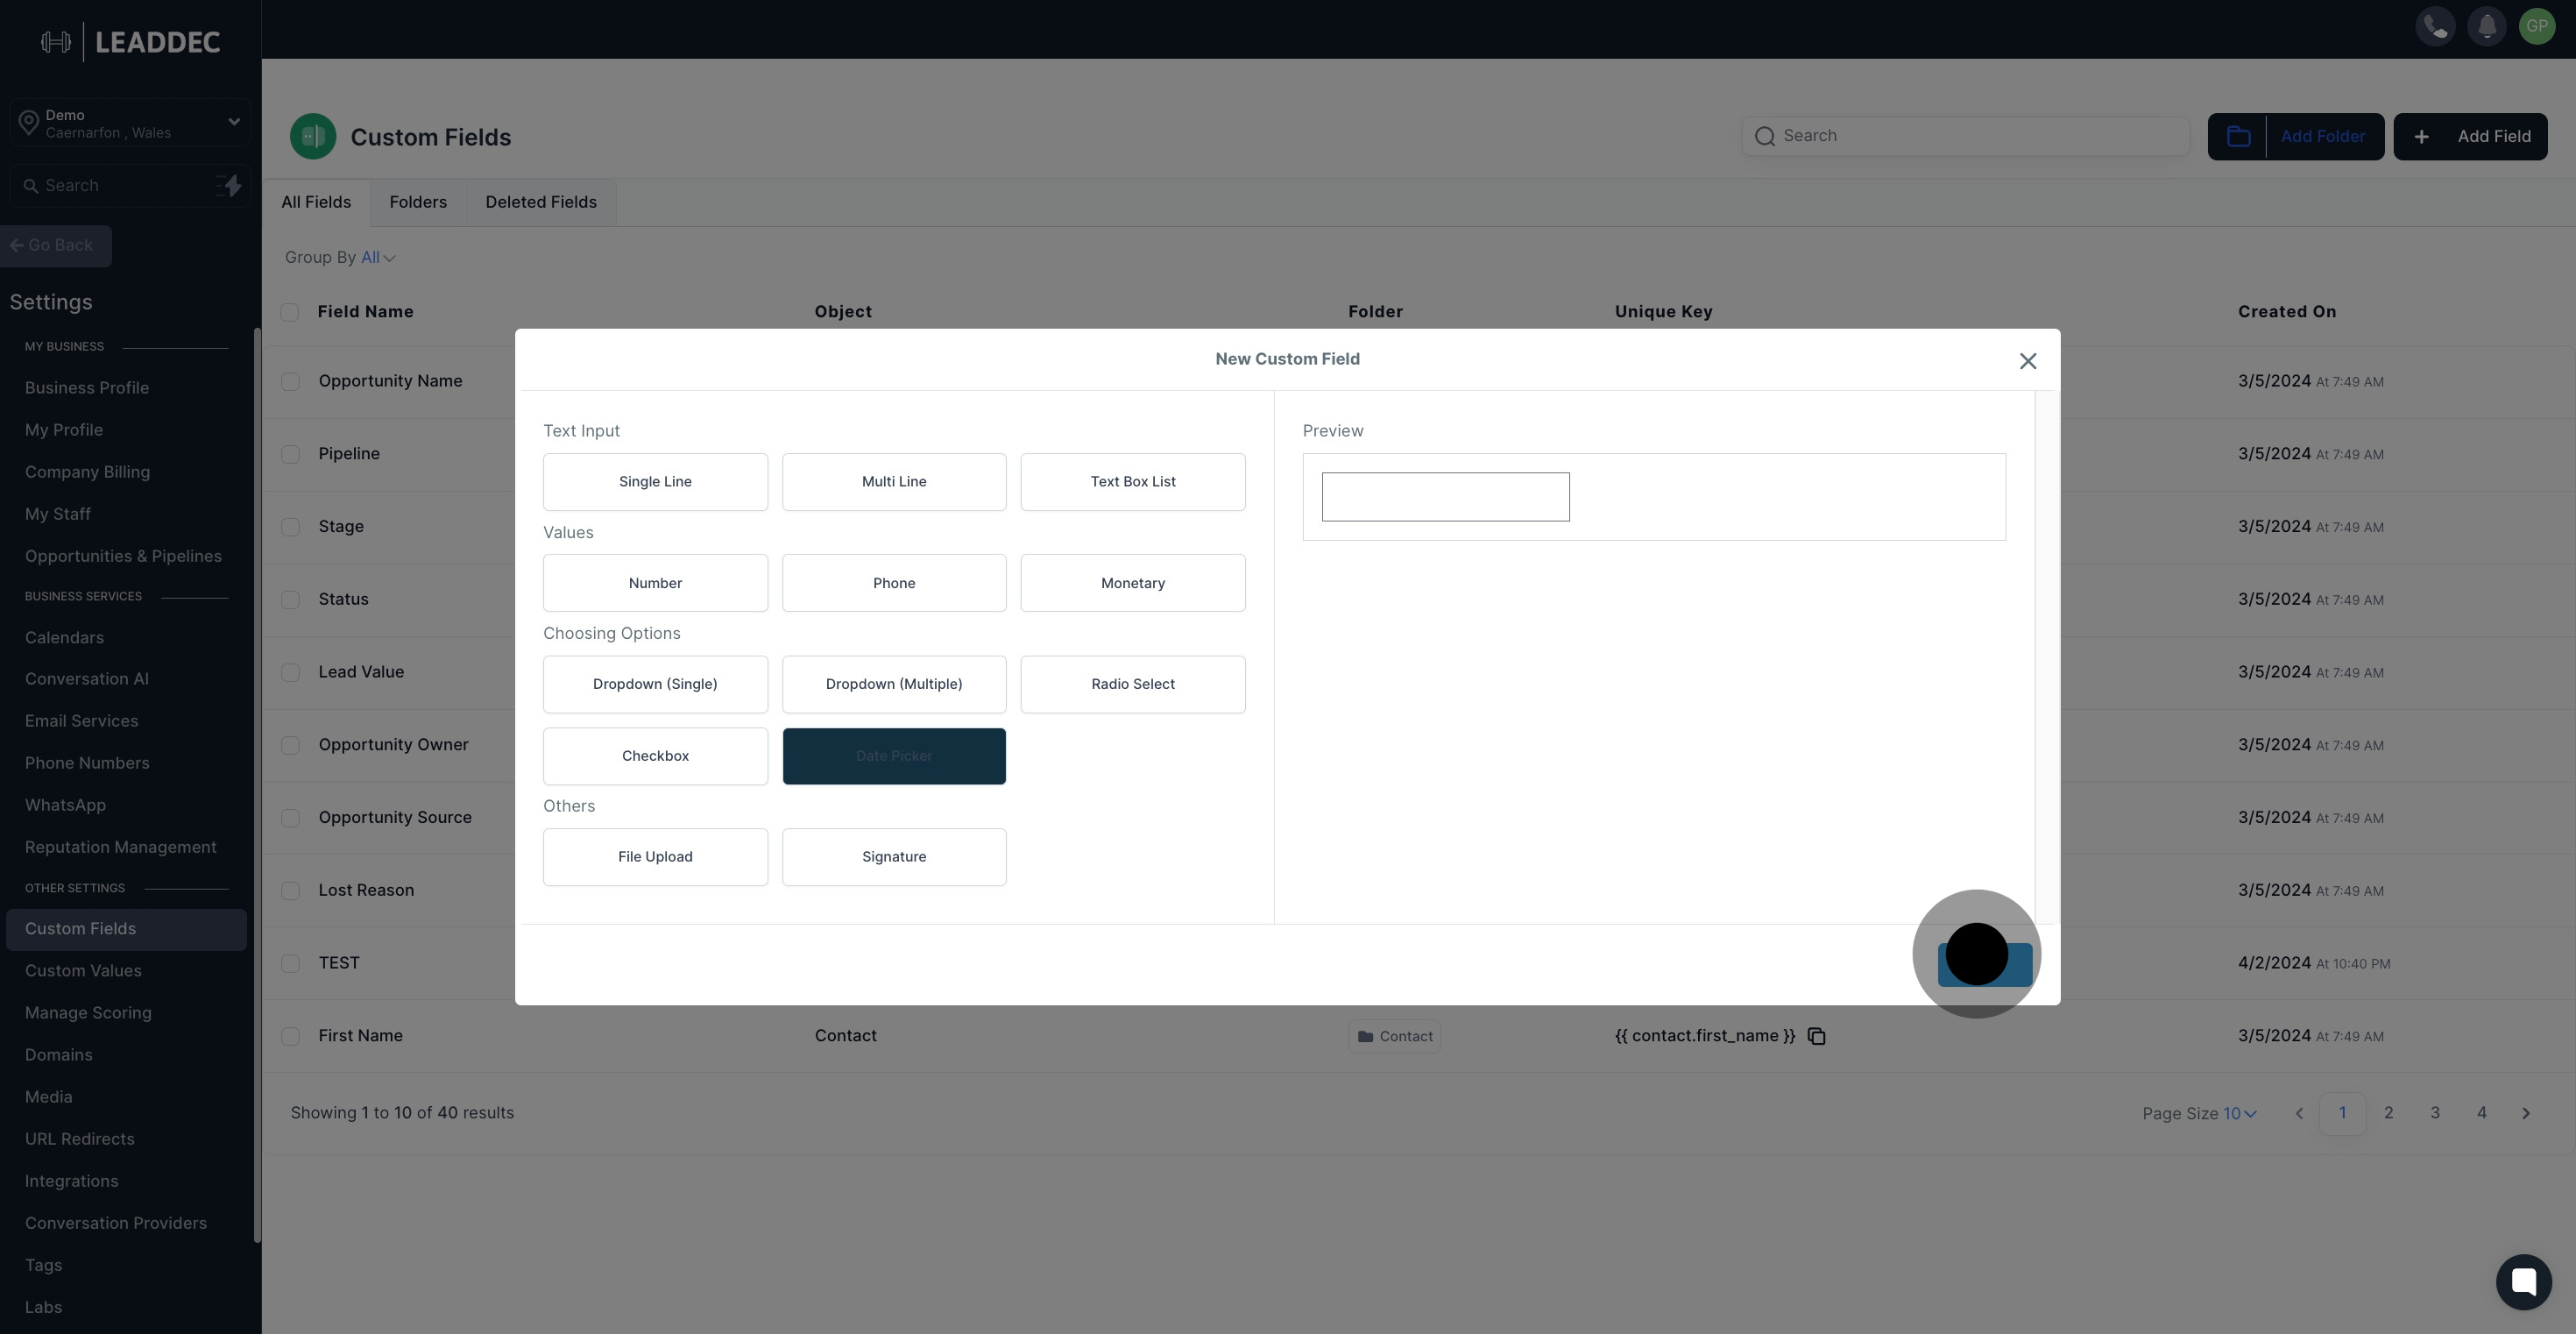
6. After previewing, hit the Next button to proceed.
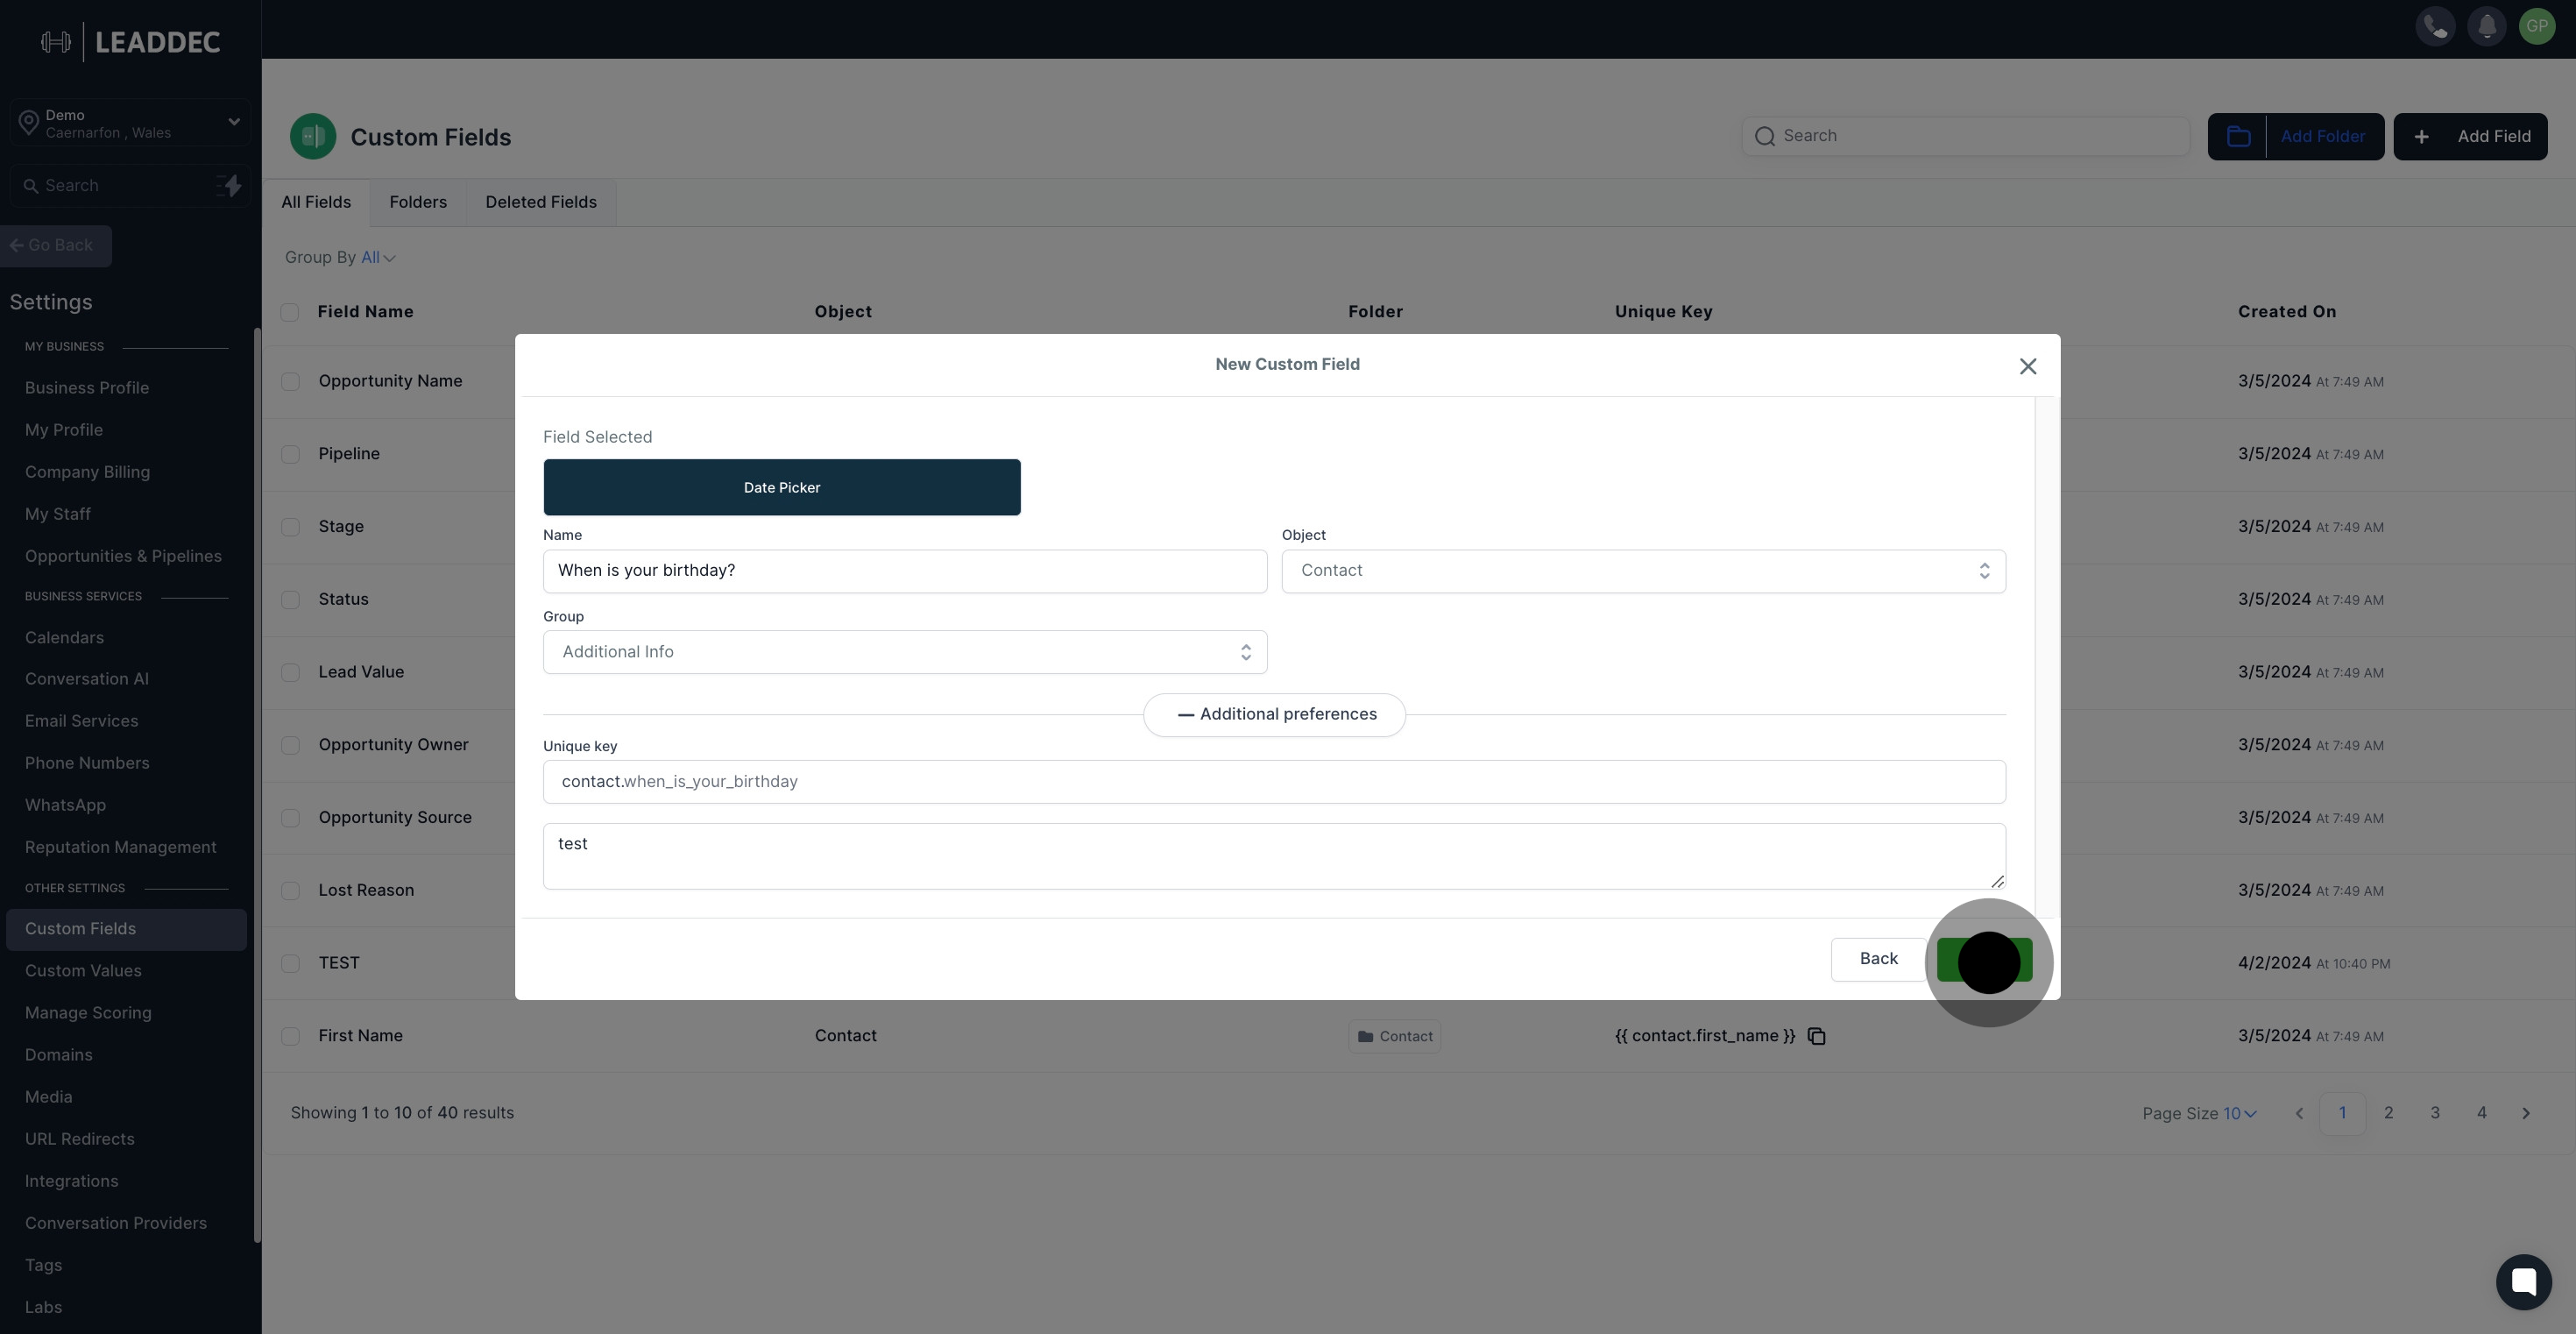
7. Time to name your custom field, just click on the field box and enter a name.

8. Next, choose a group for the custom field by selecting from the drop-down list.
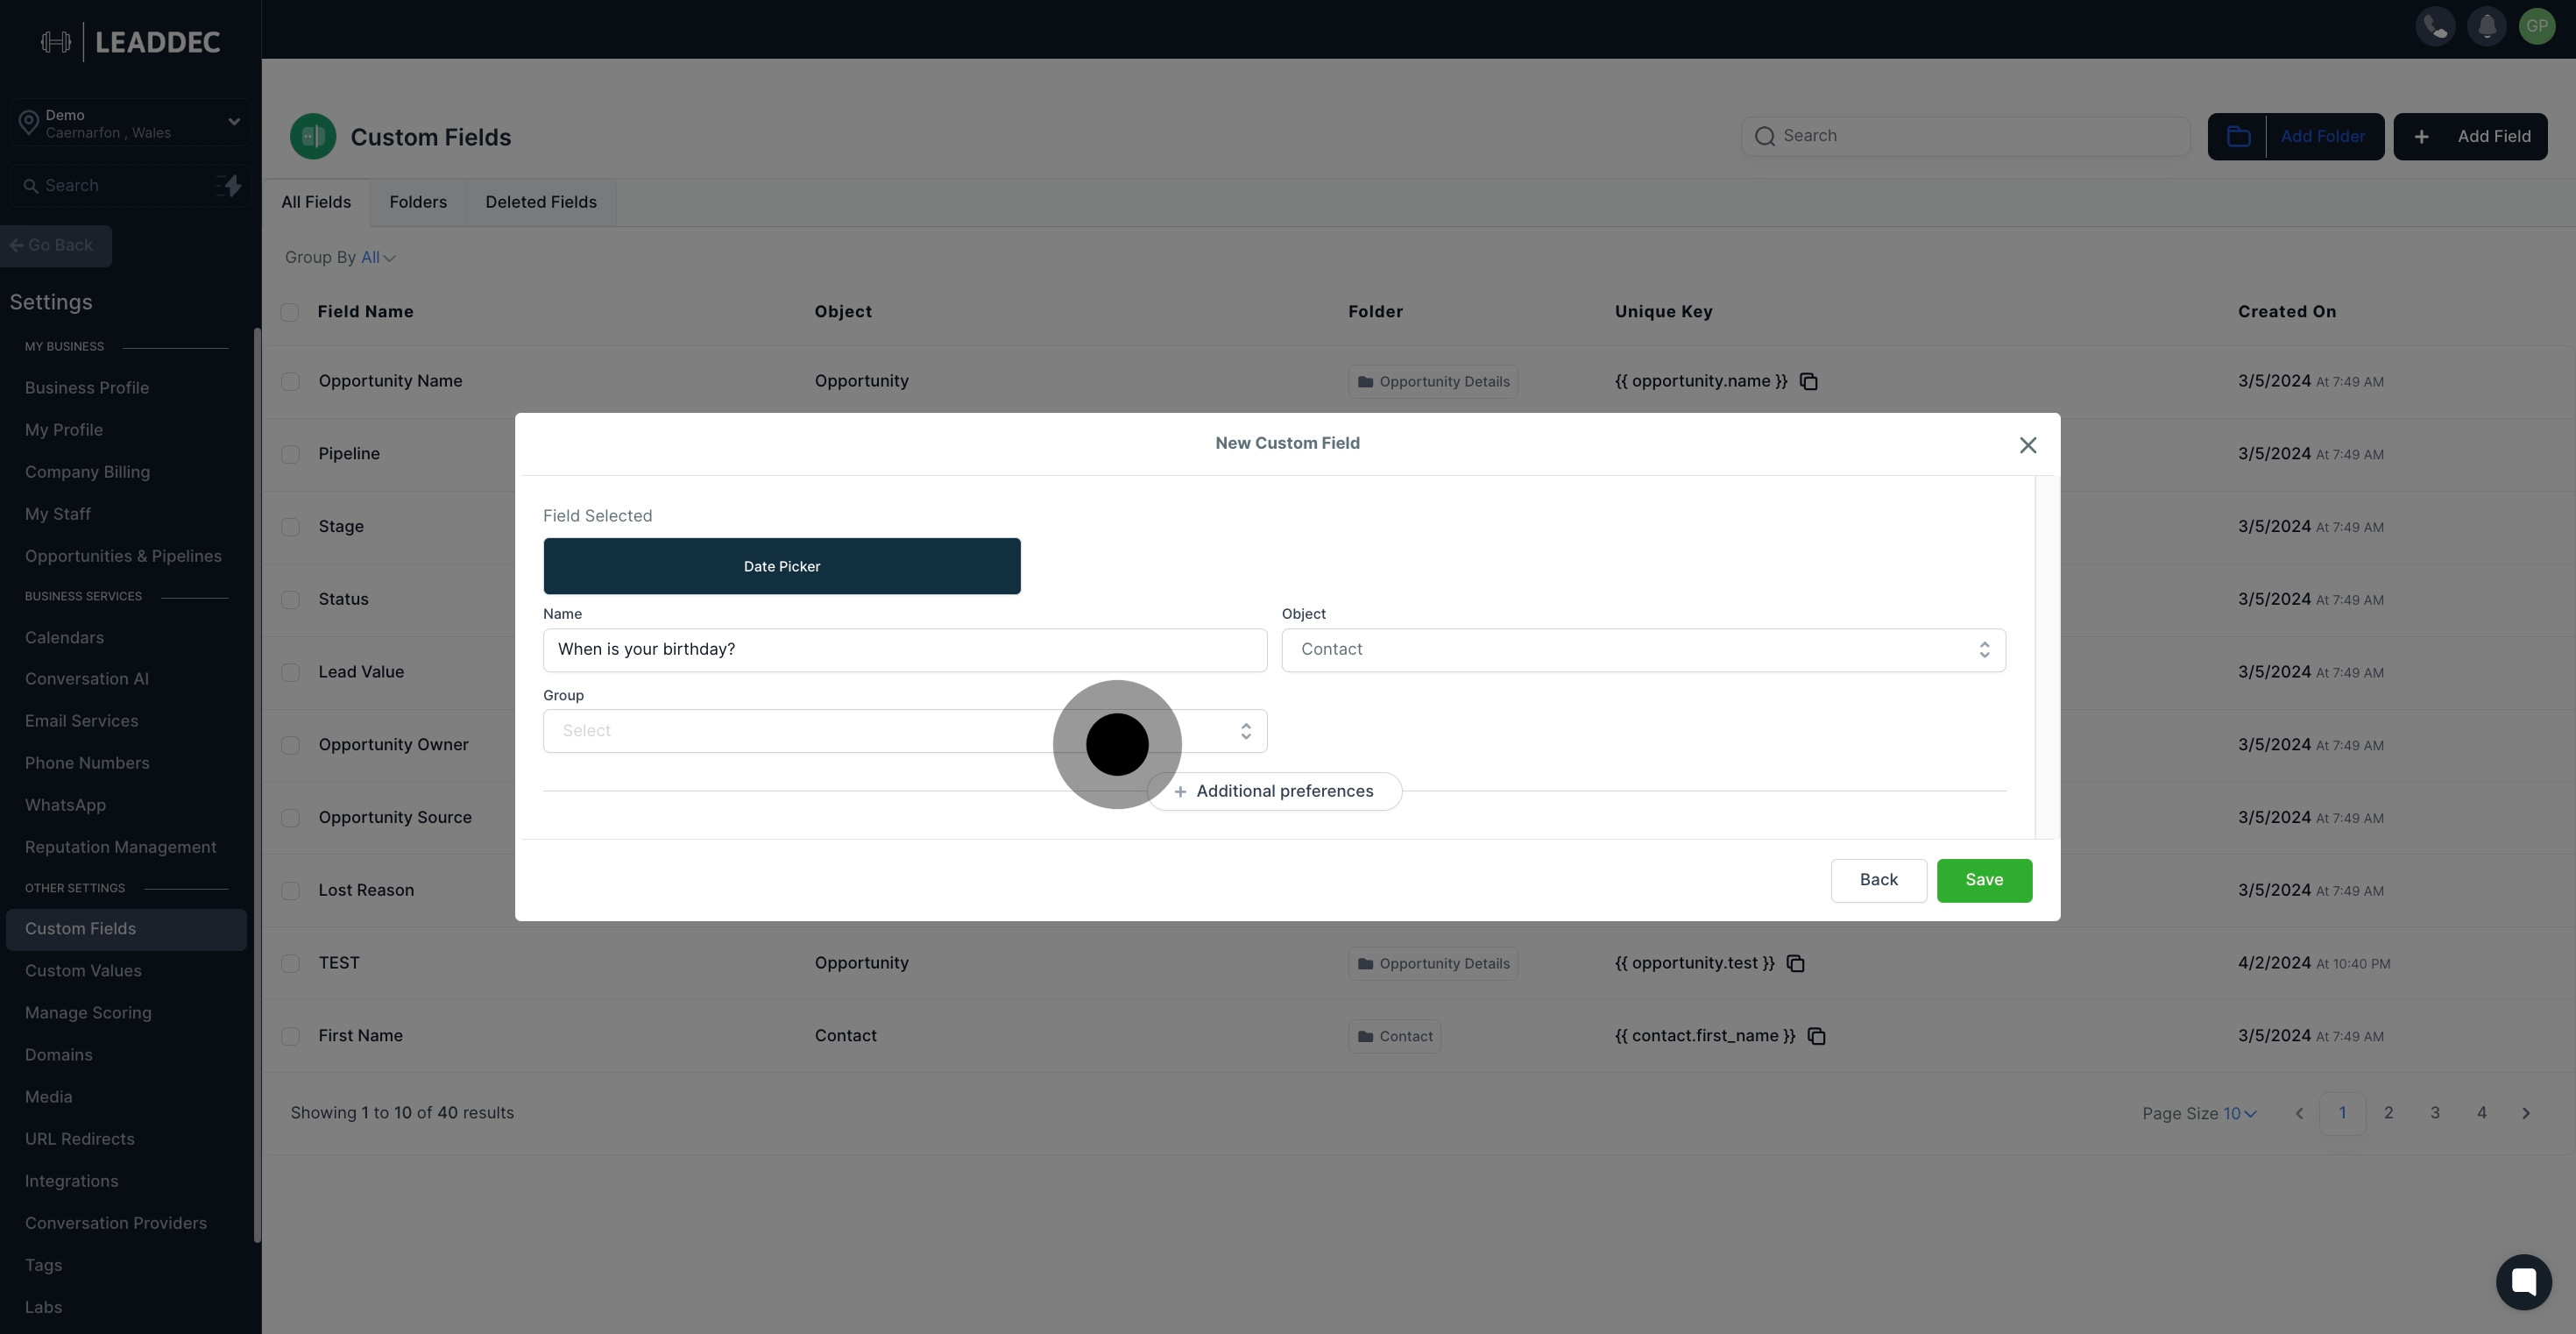
9. Then, you can assign the custom field to an object.

10. Moving forward, let's set additional preferences by clicking the relevant button.

11. For a more unique identifier, you have the option to customize the key.
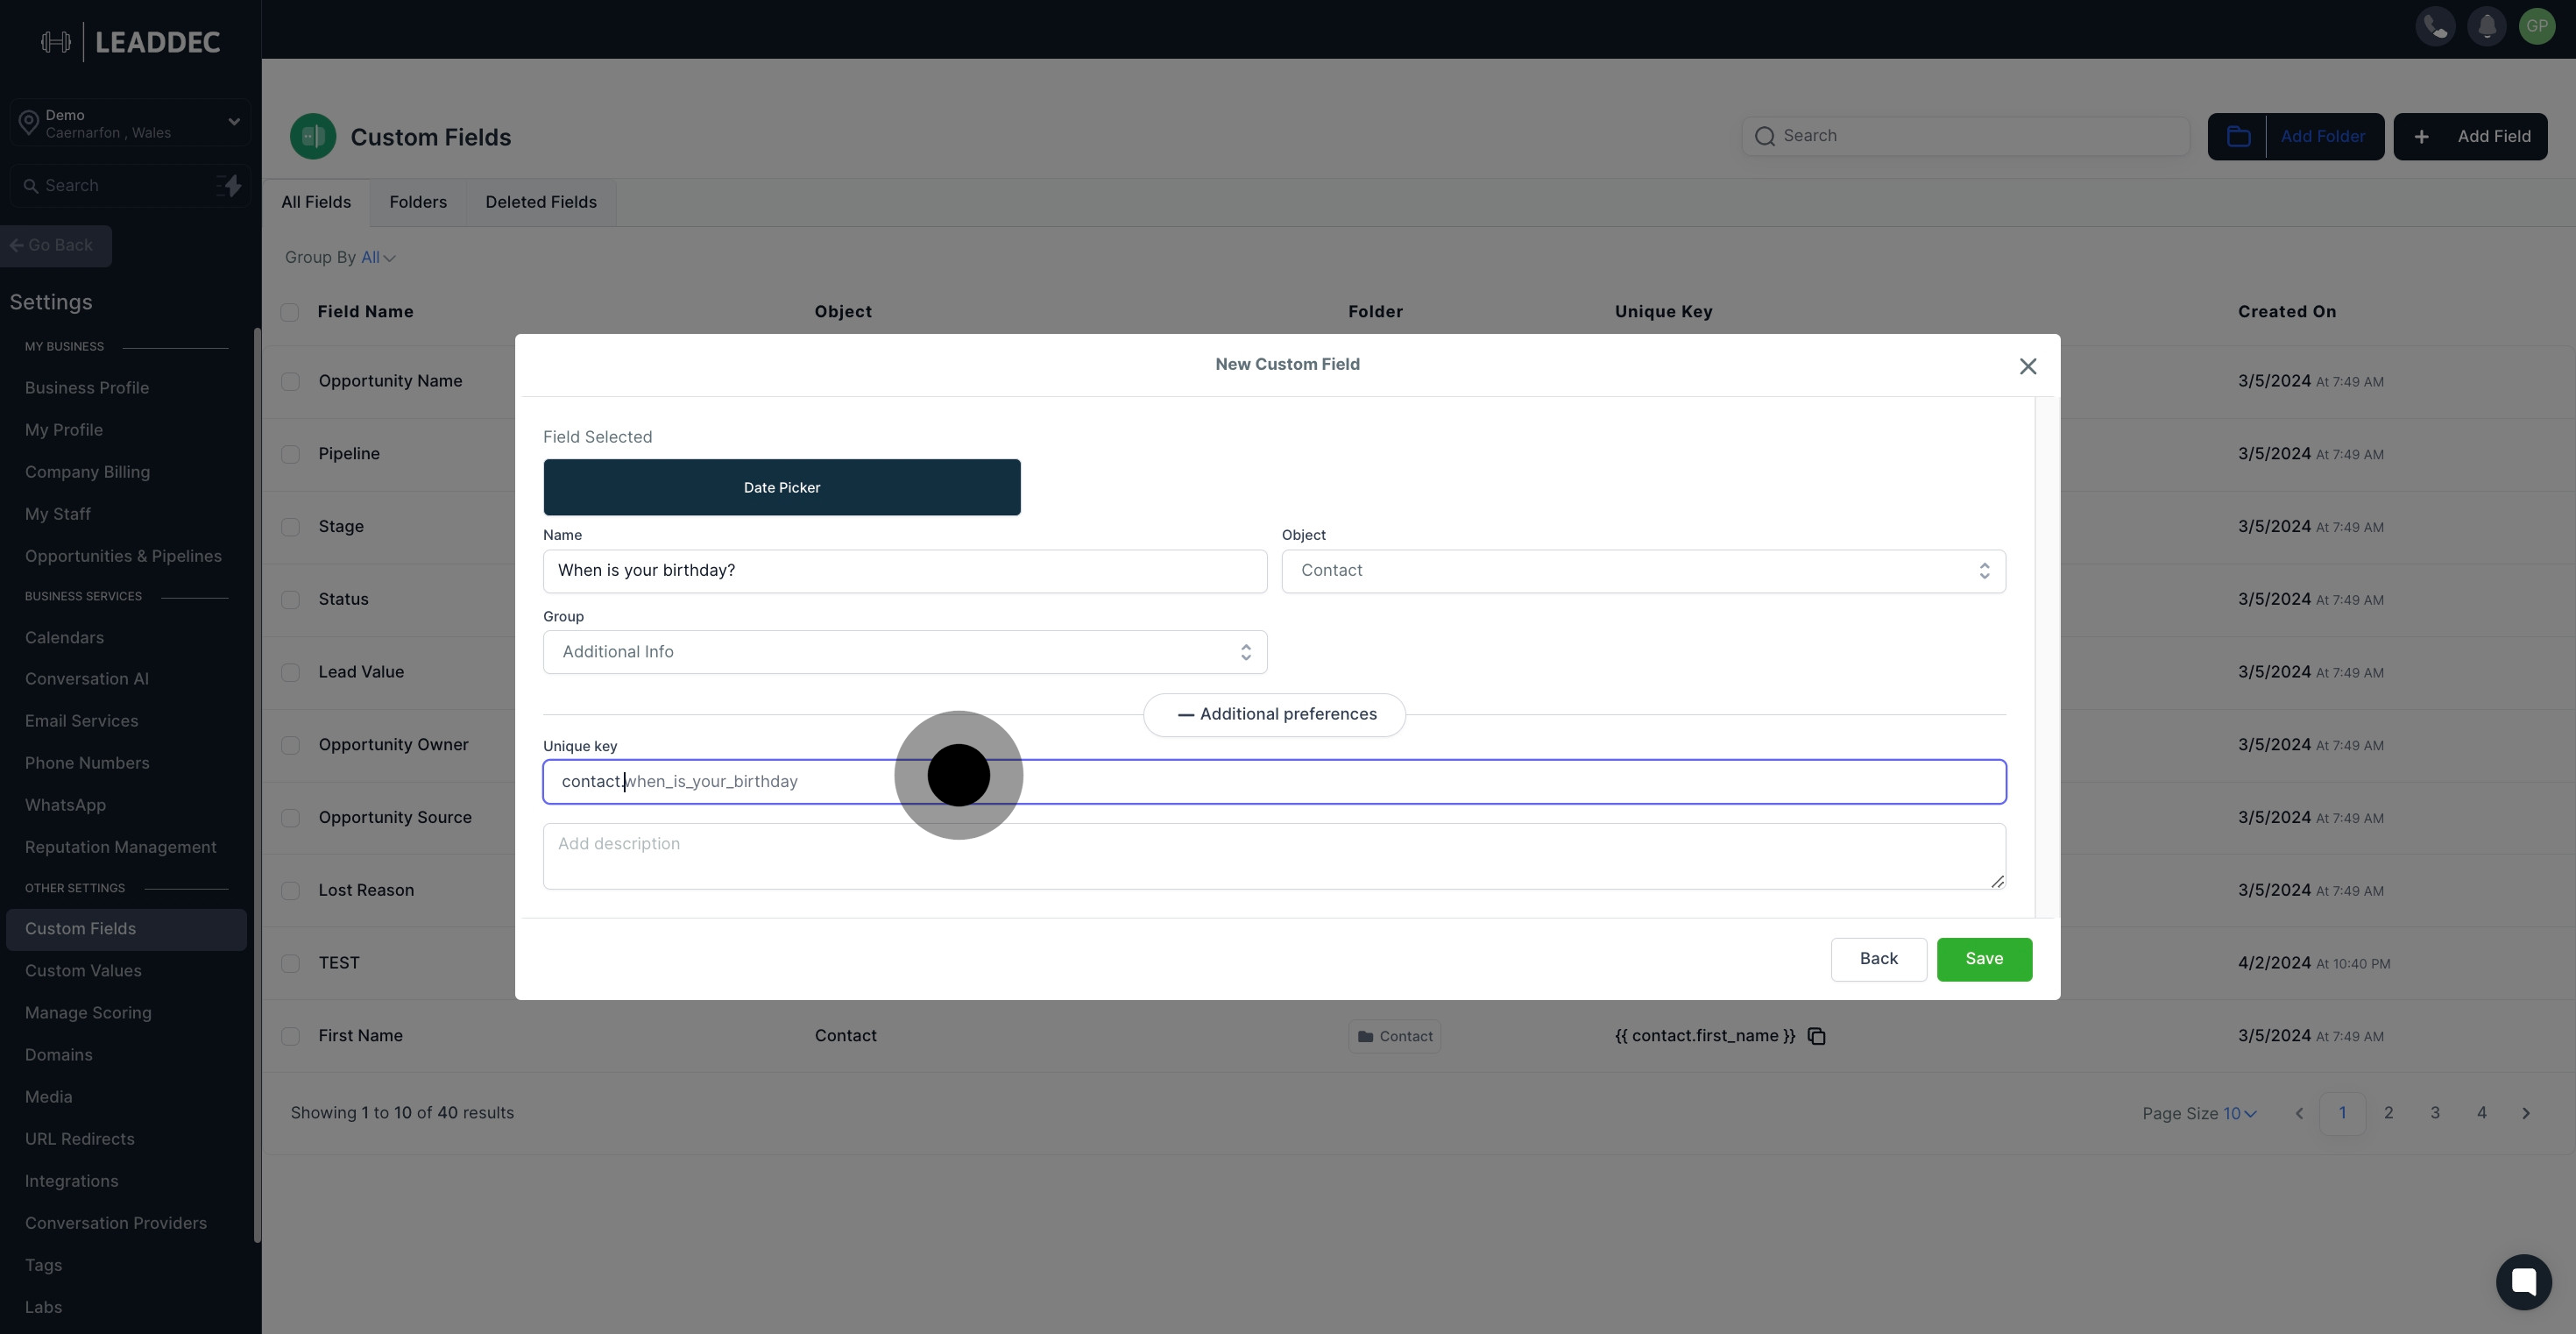
12. You might want to describe your custom field, click the space provided to write a description.
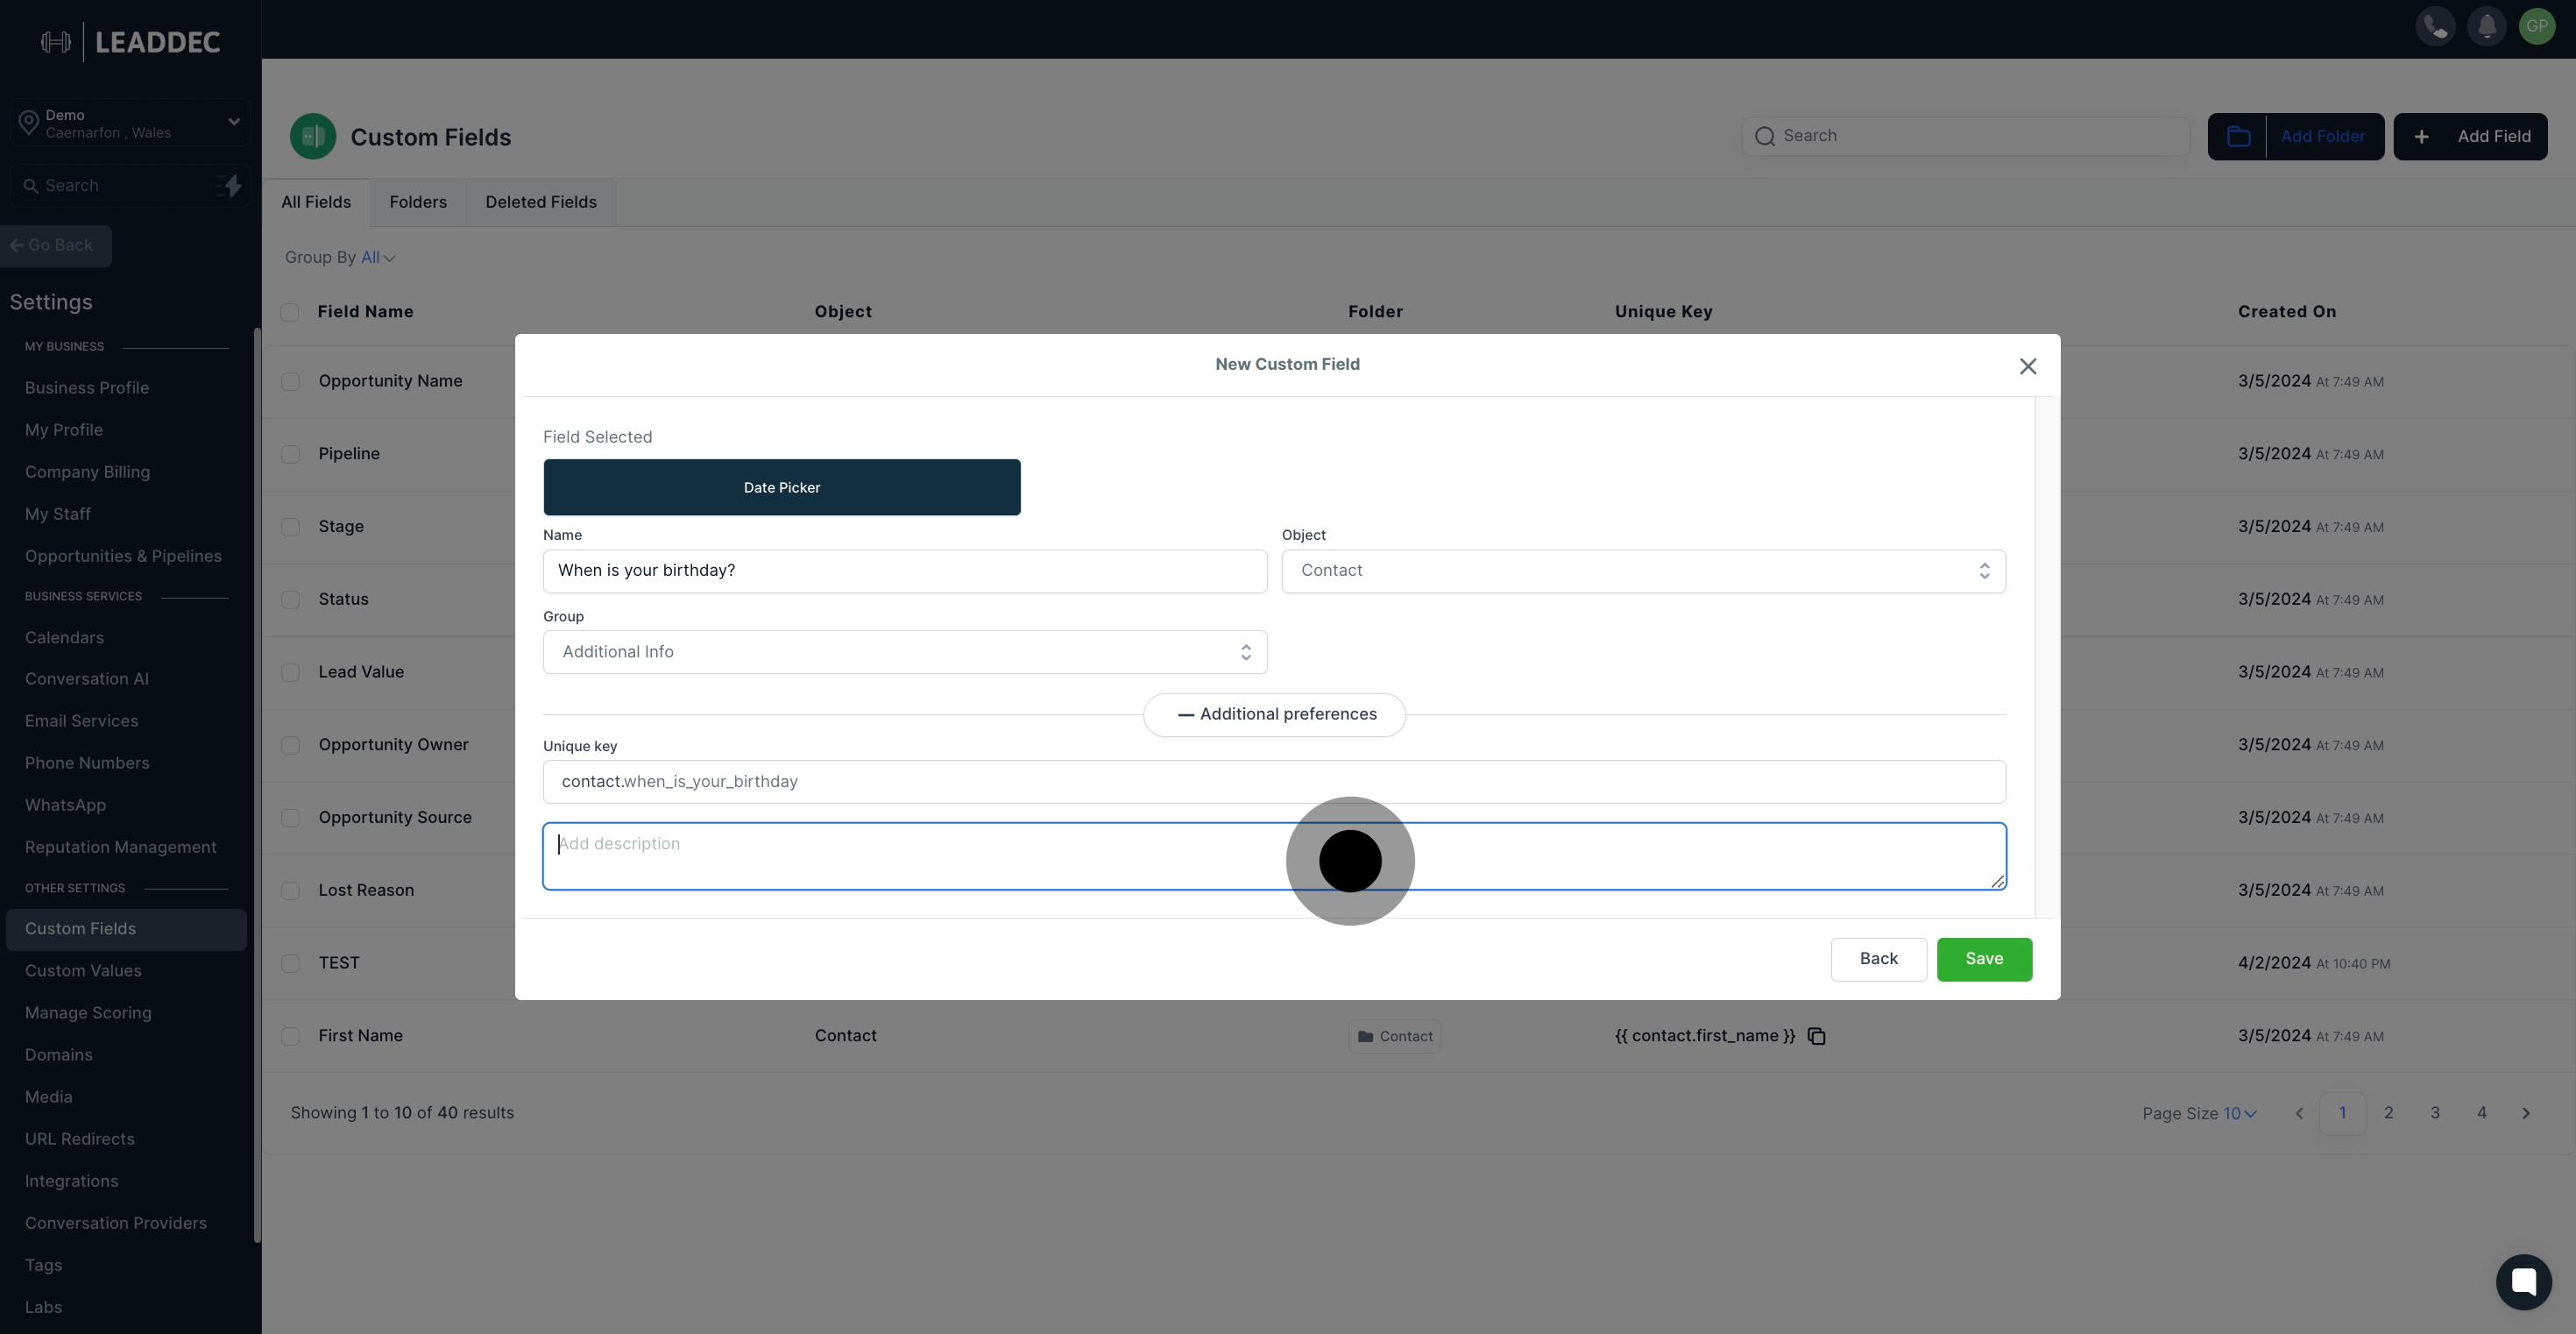
13. Lastly, when you're satisfied with the custom field, save your creation.
