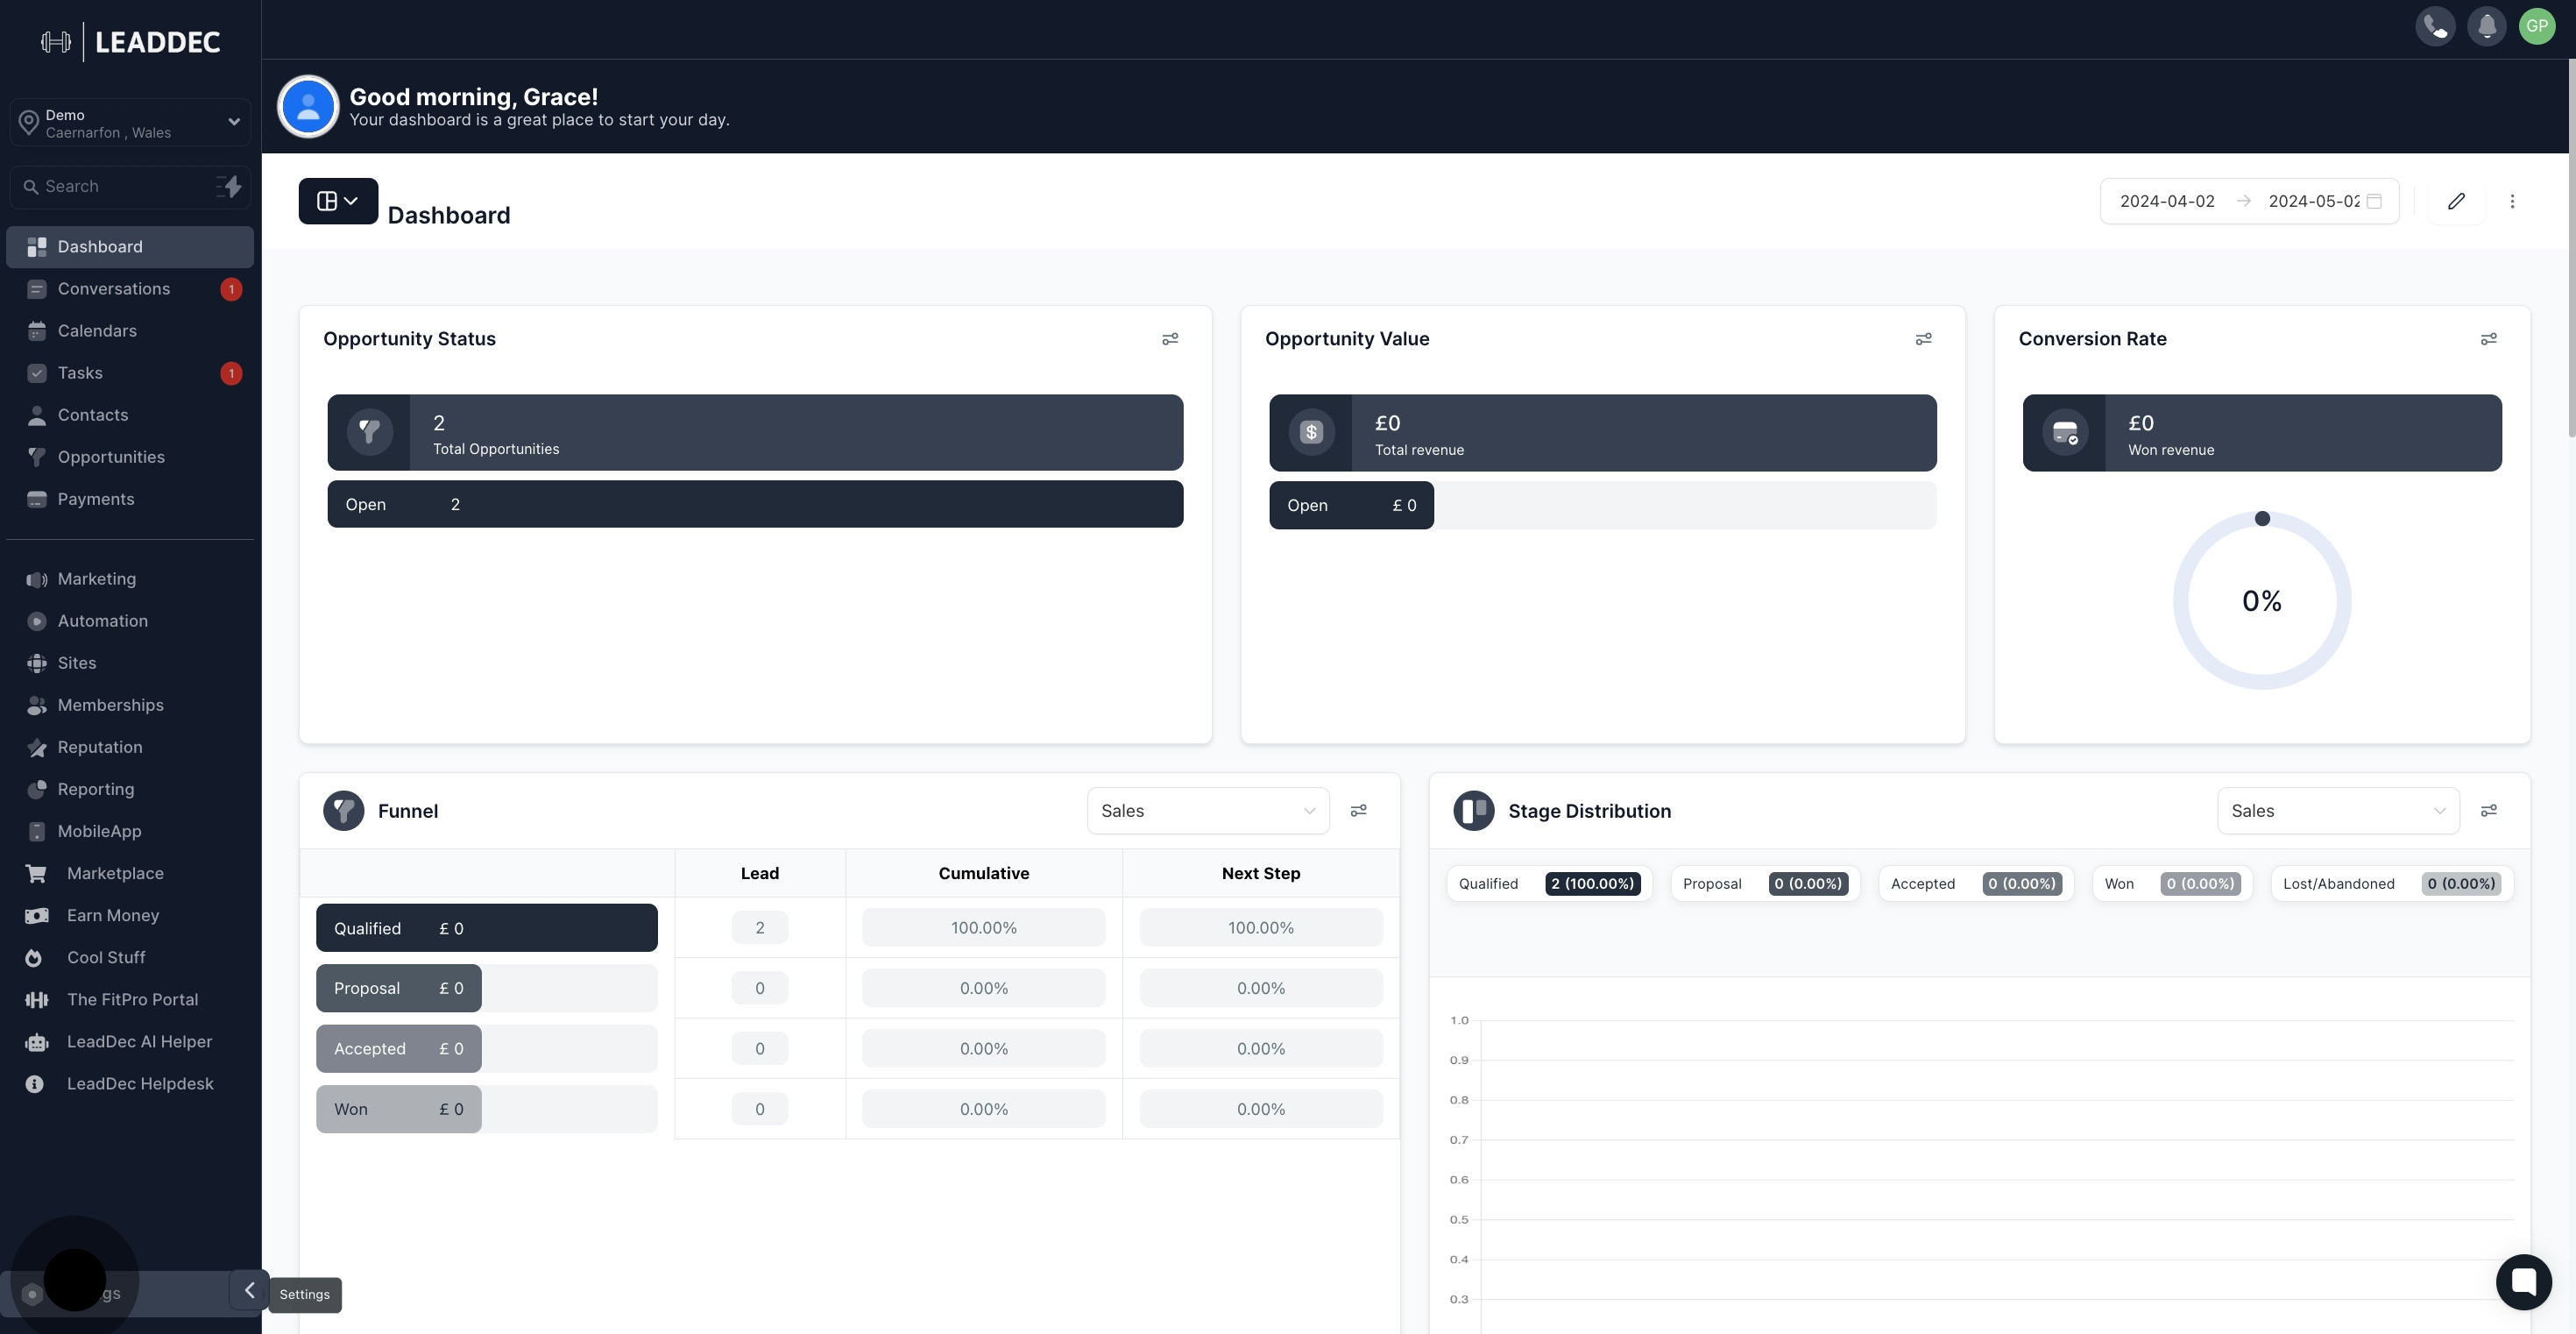
1. Let's get started! Move to the settings tab.
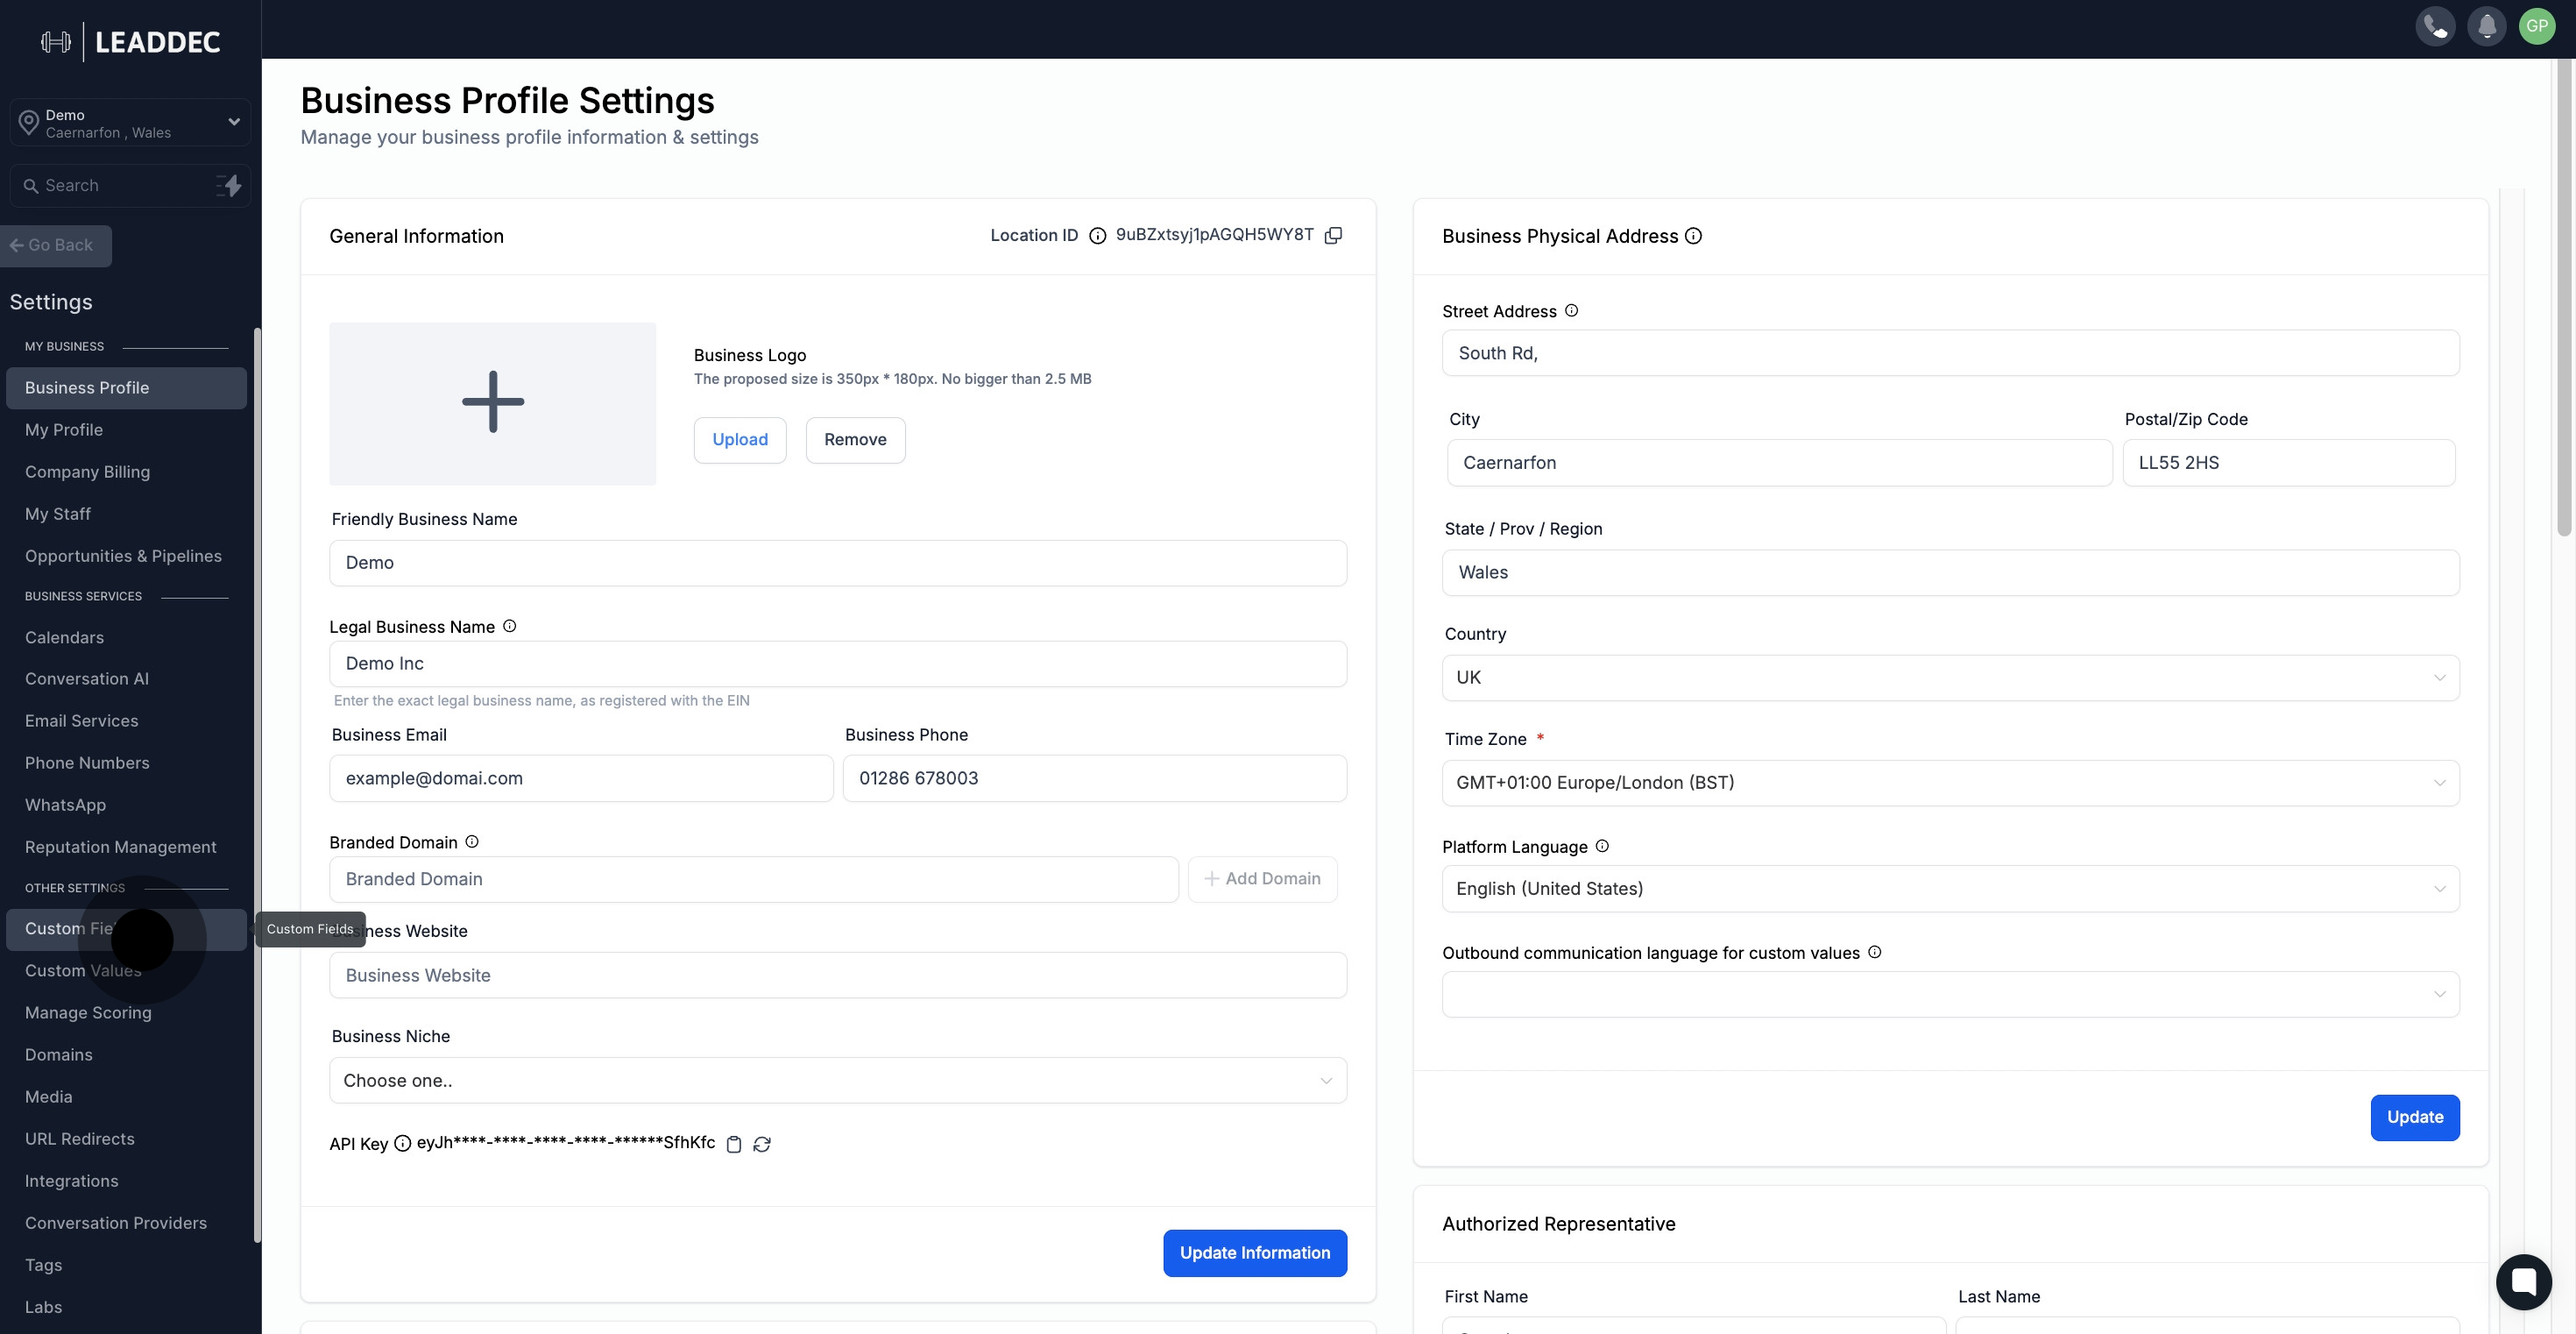
2. Once there, locate and select 'Custom Fields' in the options.
3. Doing well! Now, you'll see an 'Add Field' button, go ahead and click it.

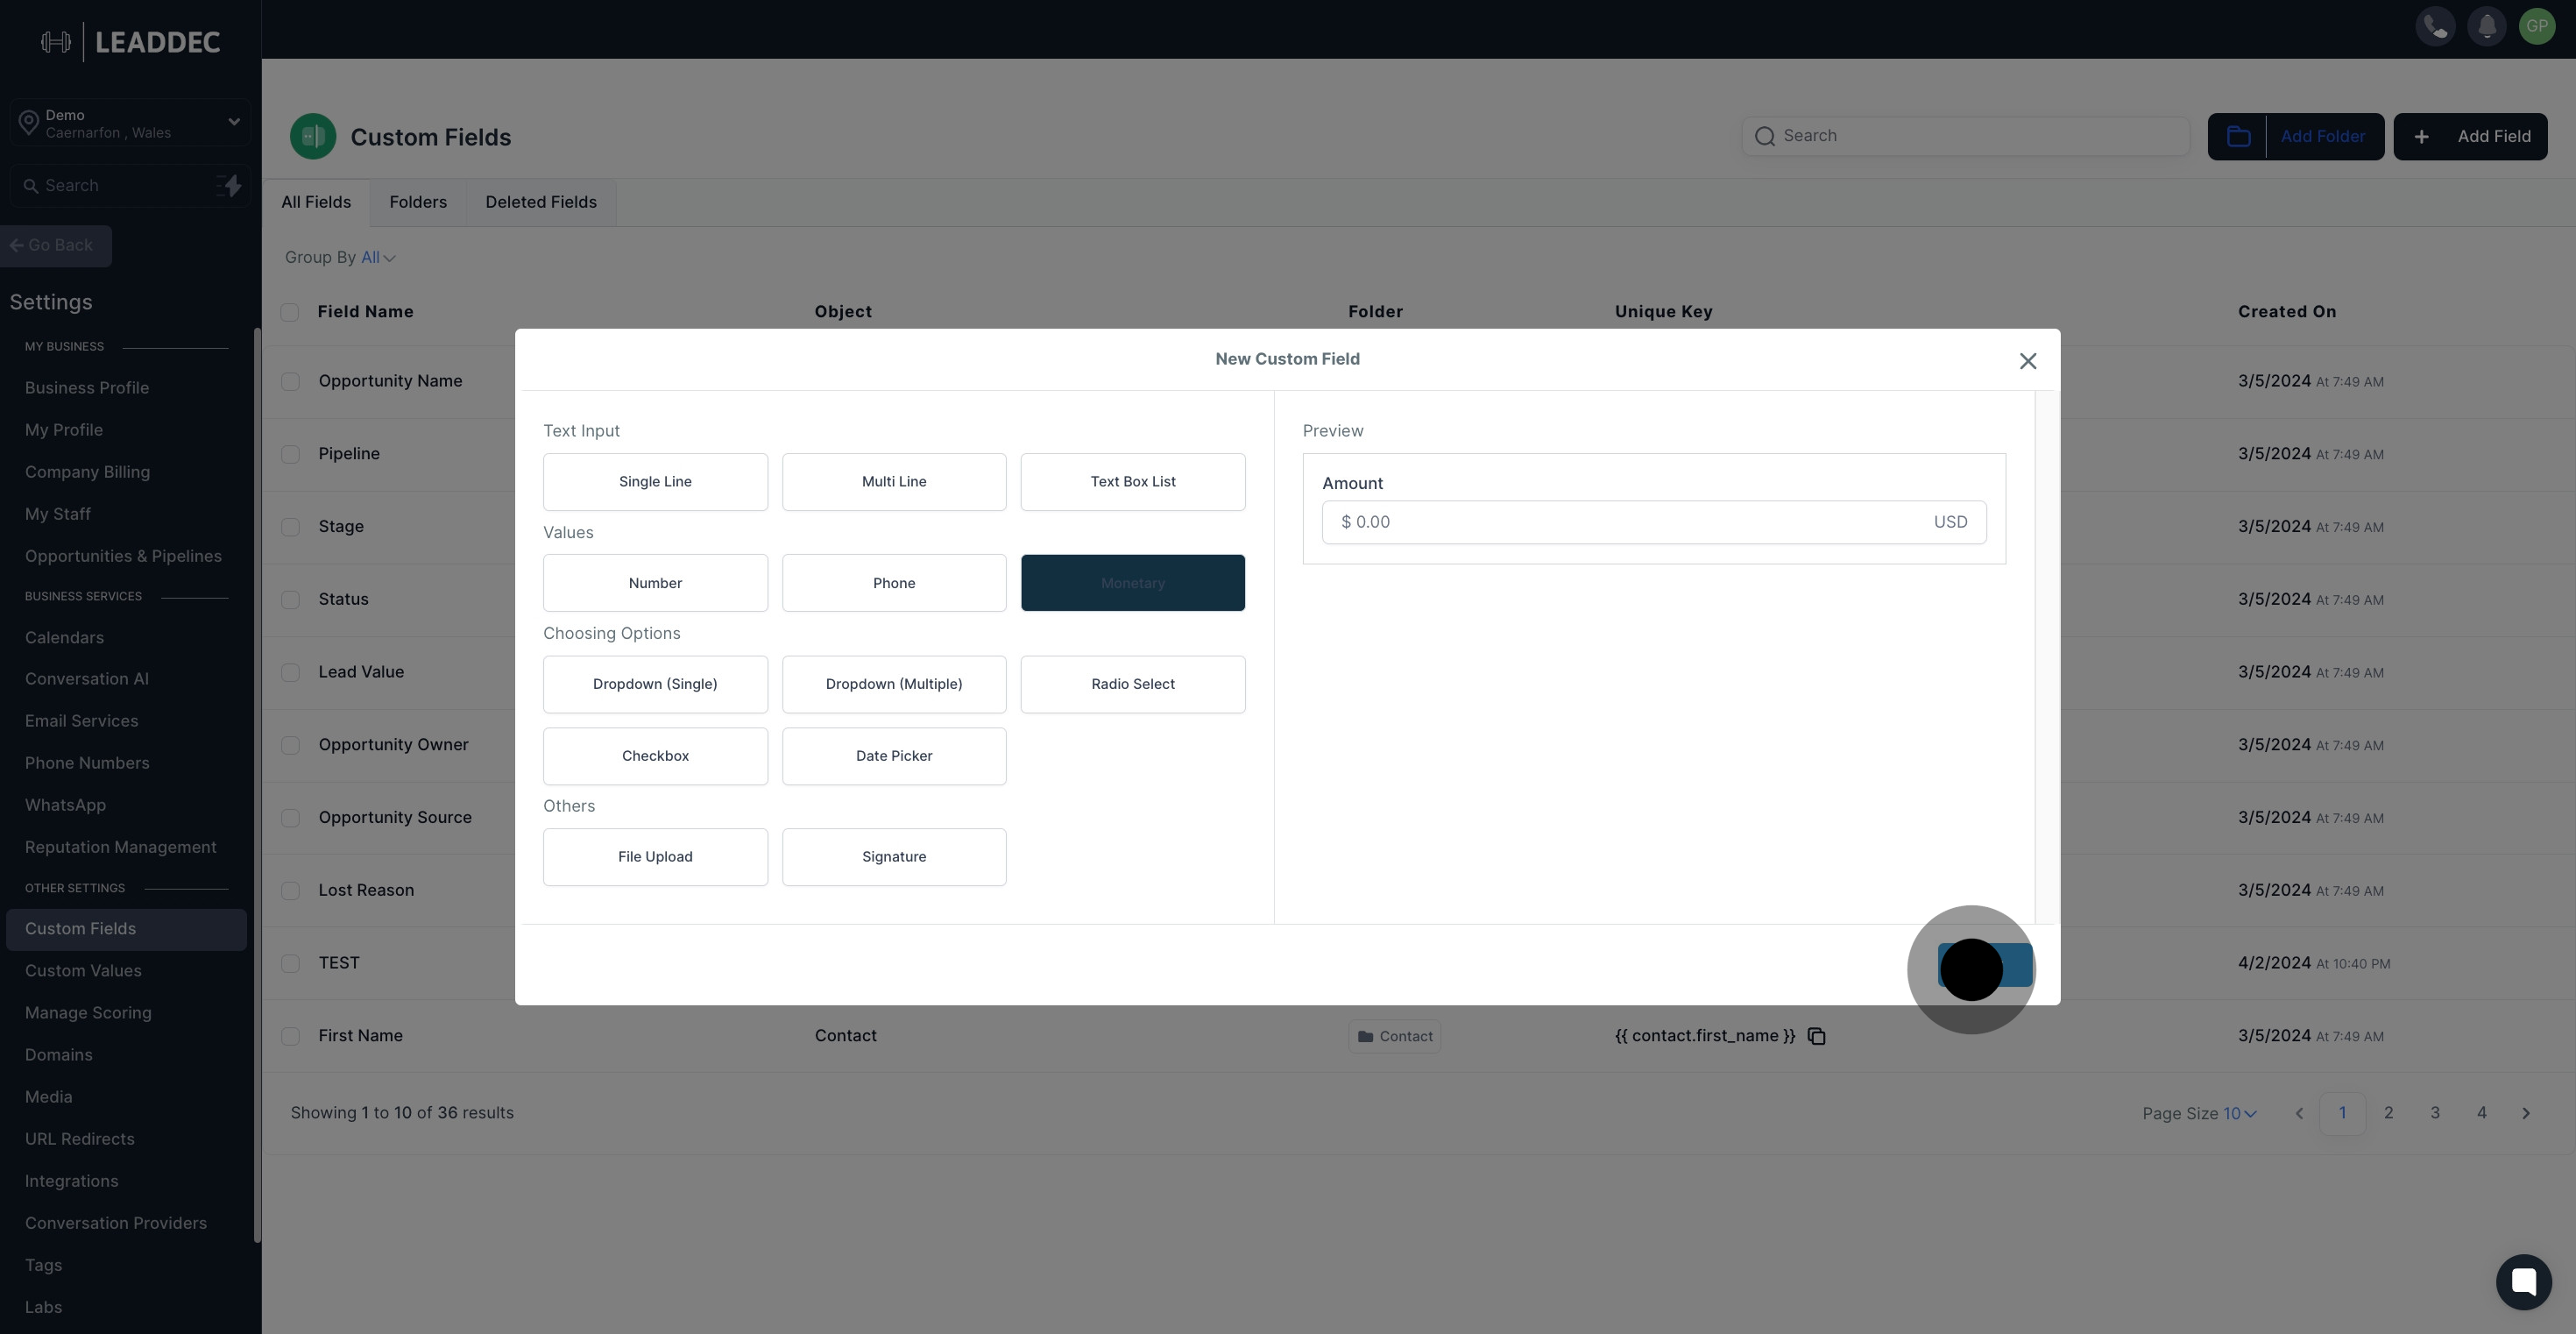
4. Next, you'll see various options, select the 'Monetary' one.
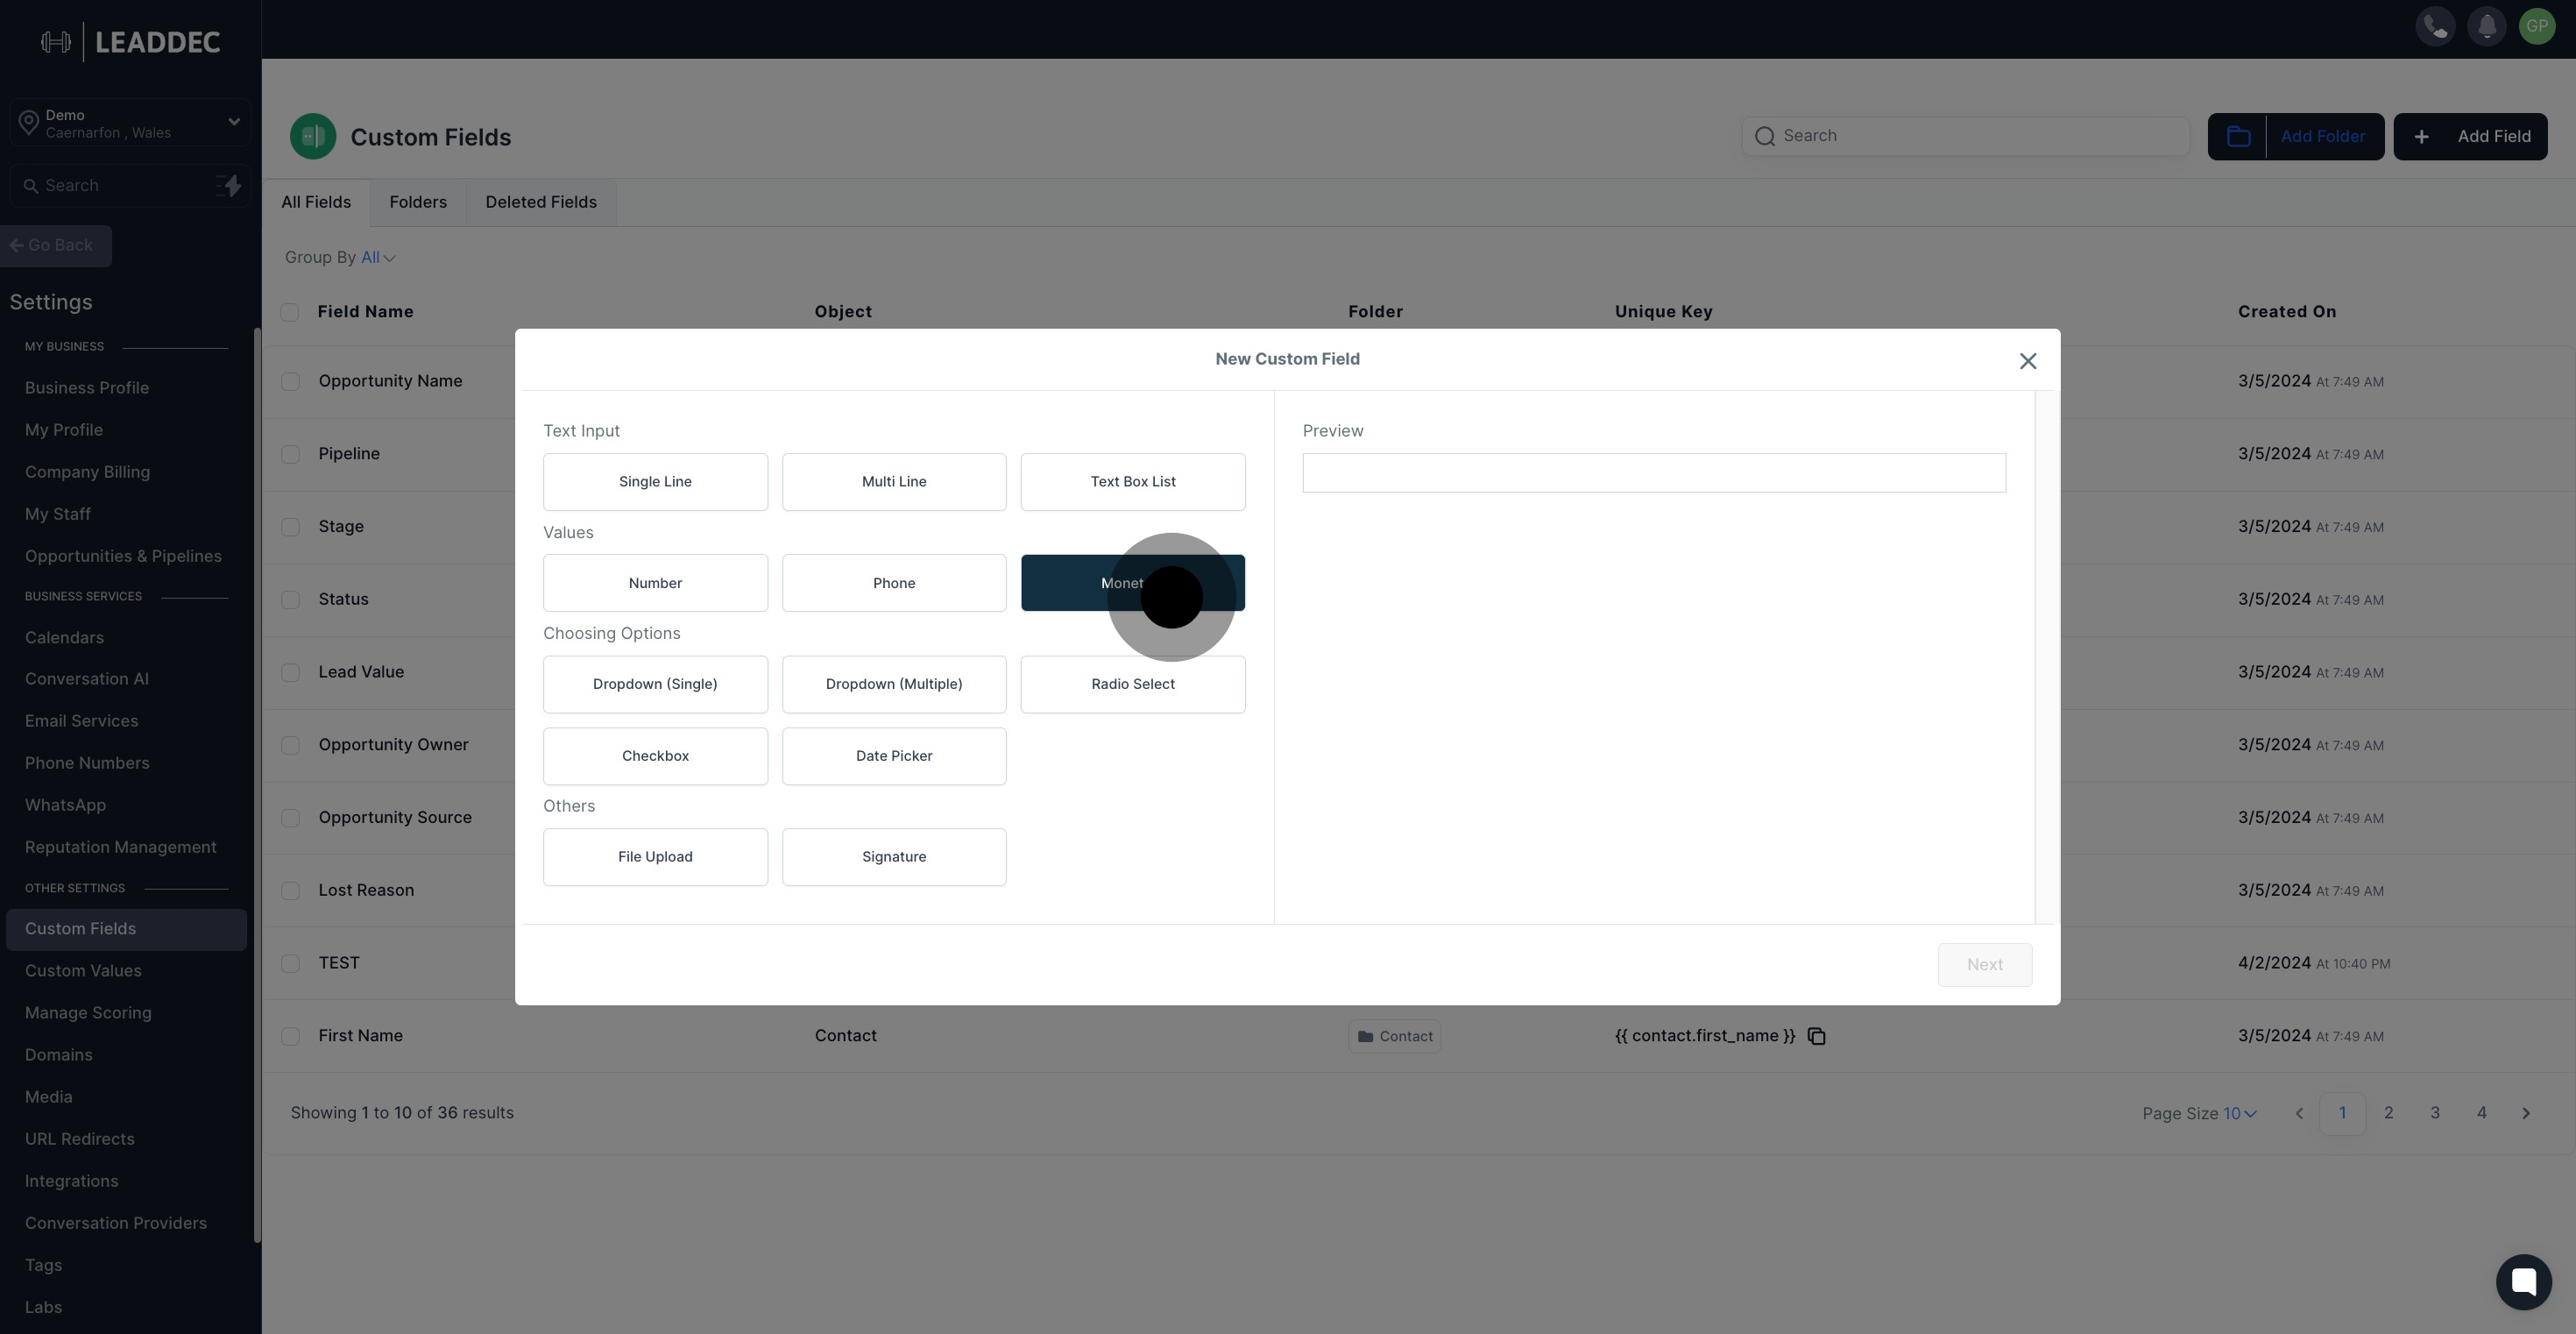
5. Once selected, there will be a preview section for you to check.

6. Like what you see? Move forward by clicking on the 'Next' button.
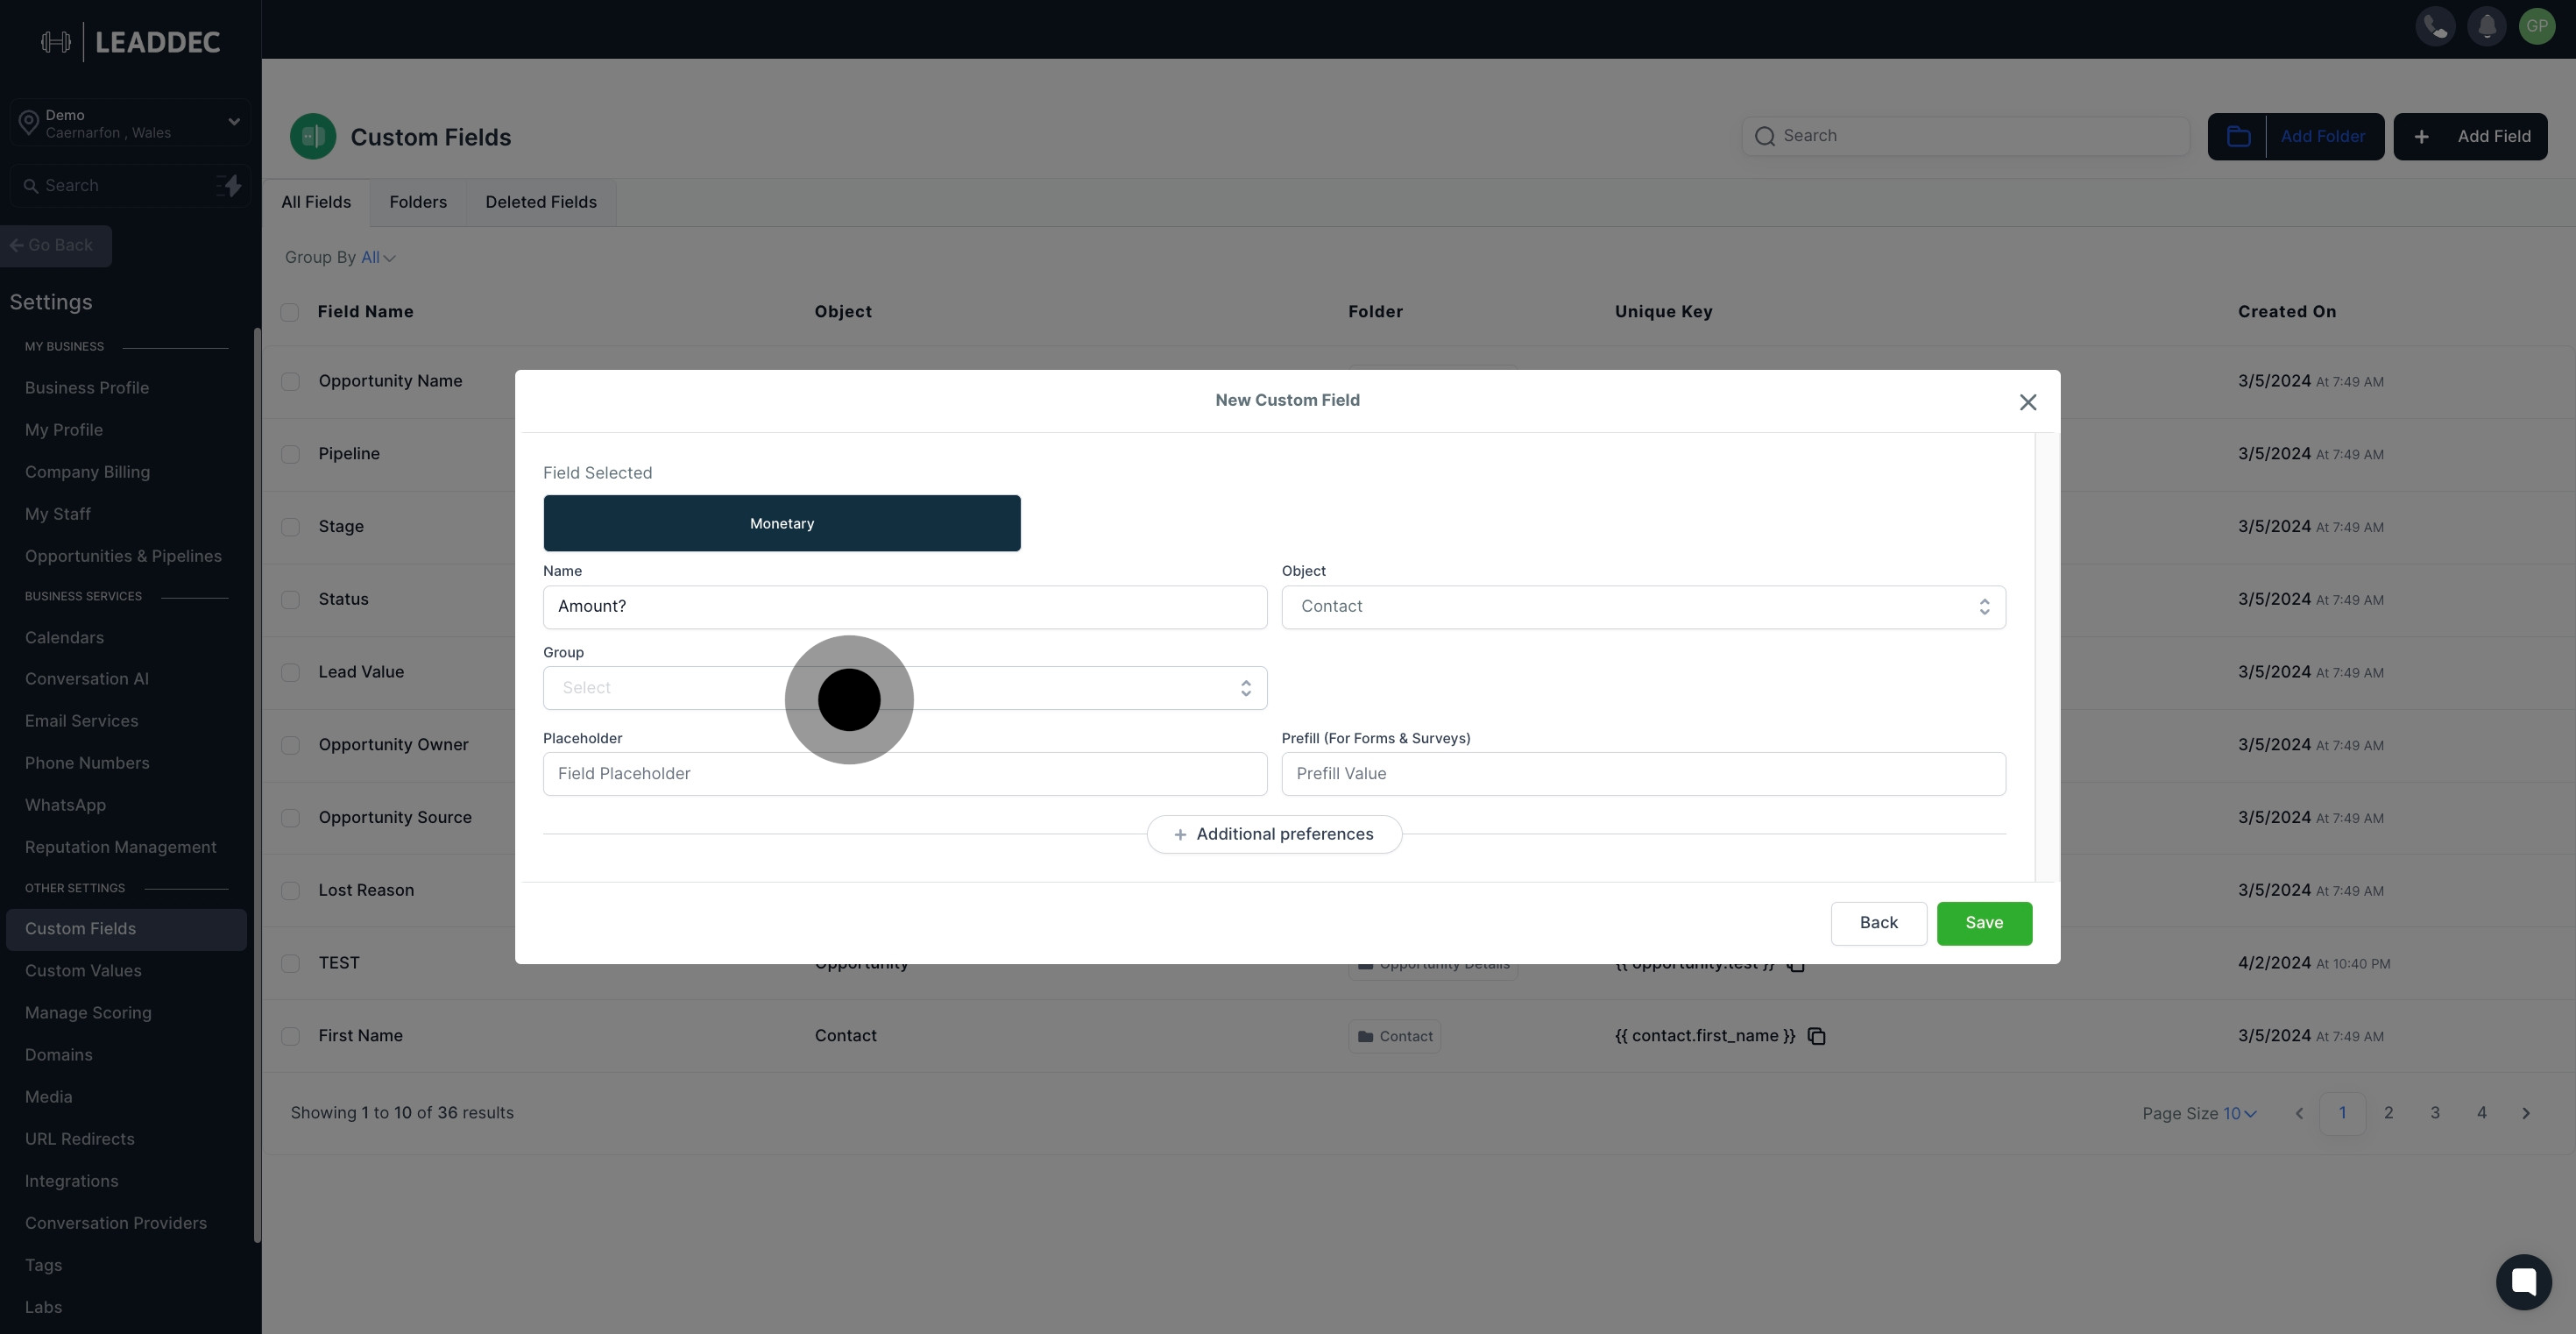
7. You're doing great! Now add a name in the 'Field Name' section.

8. Now you will see a drop-down menu, click here to select 'group'
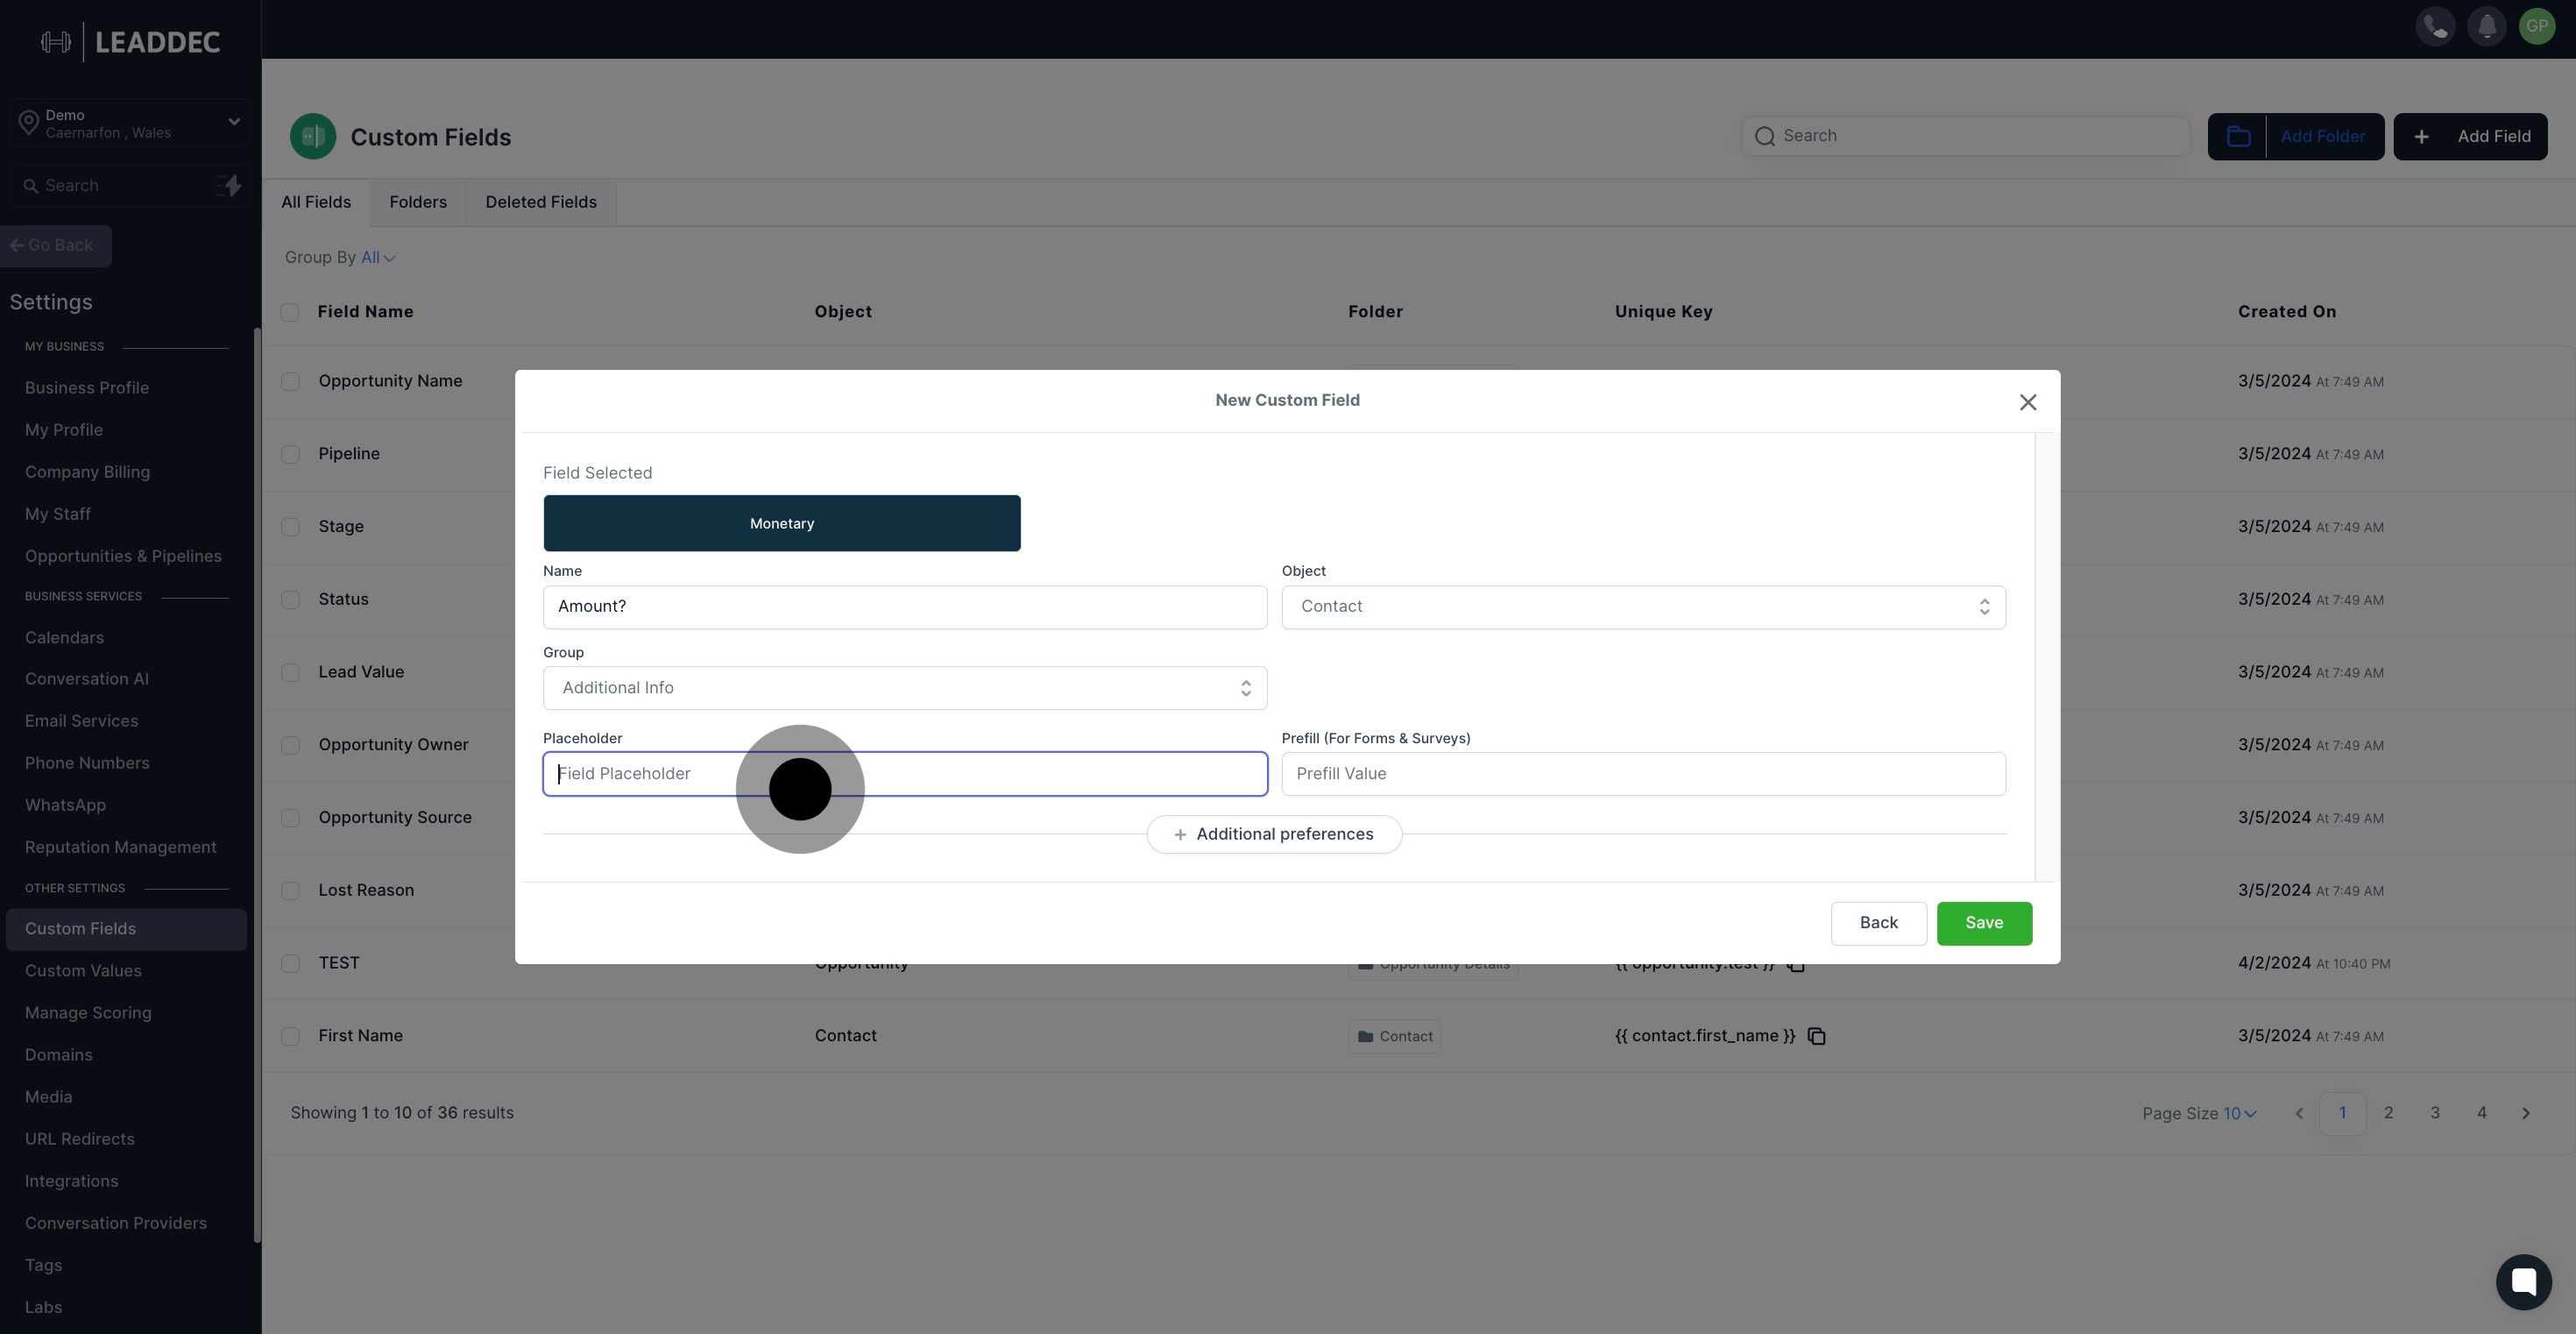
9. You may also add a placeholder by clicking here.
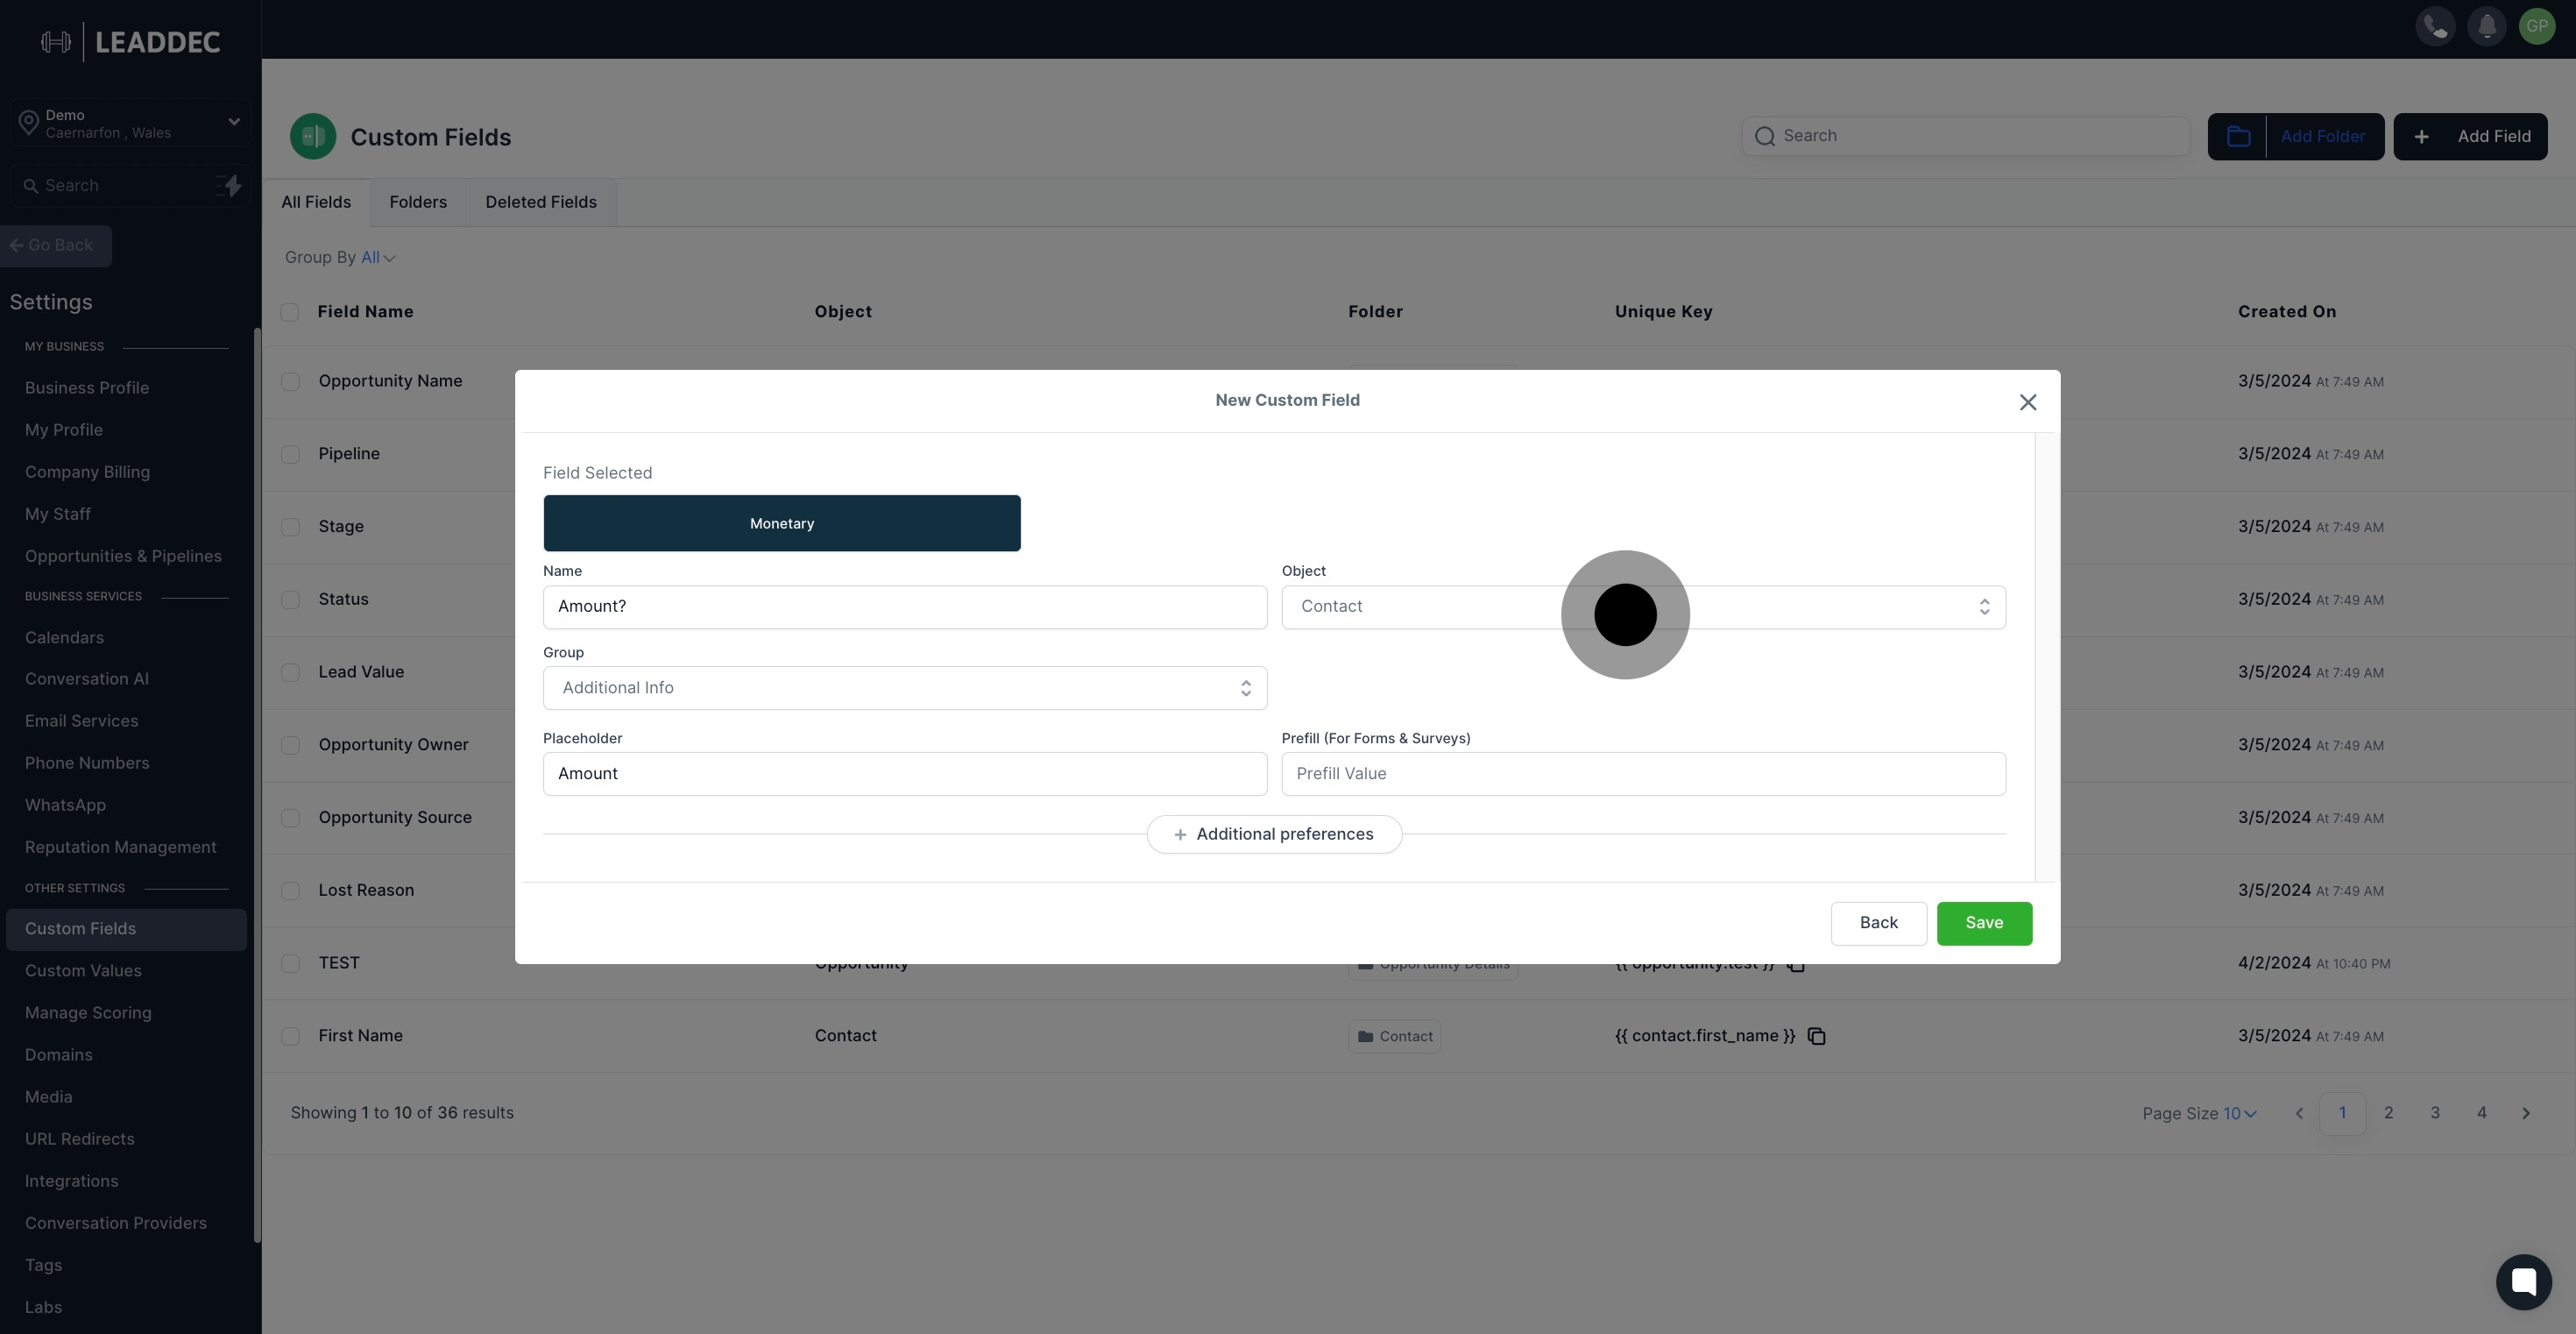
10. Next, another drop-down menu will appear for object selection.
11. If you're making a form or survey, add a prefill value here.
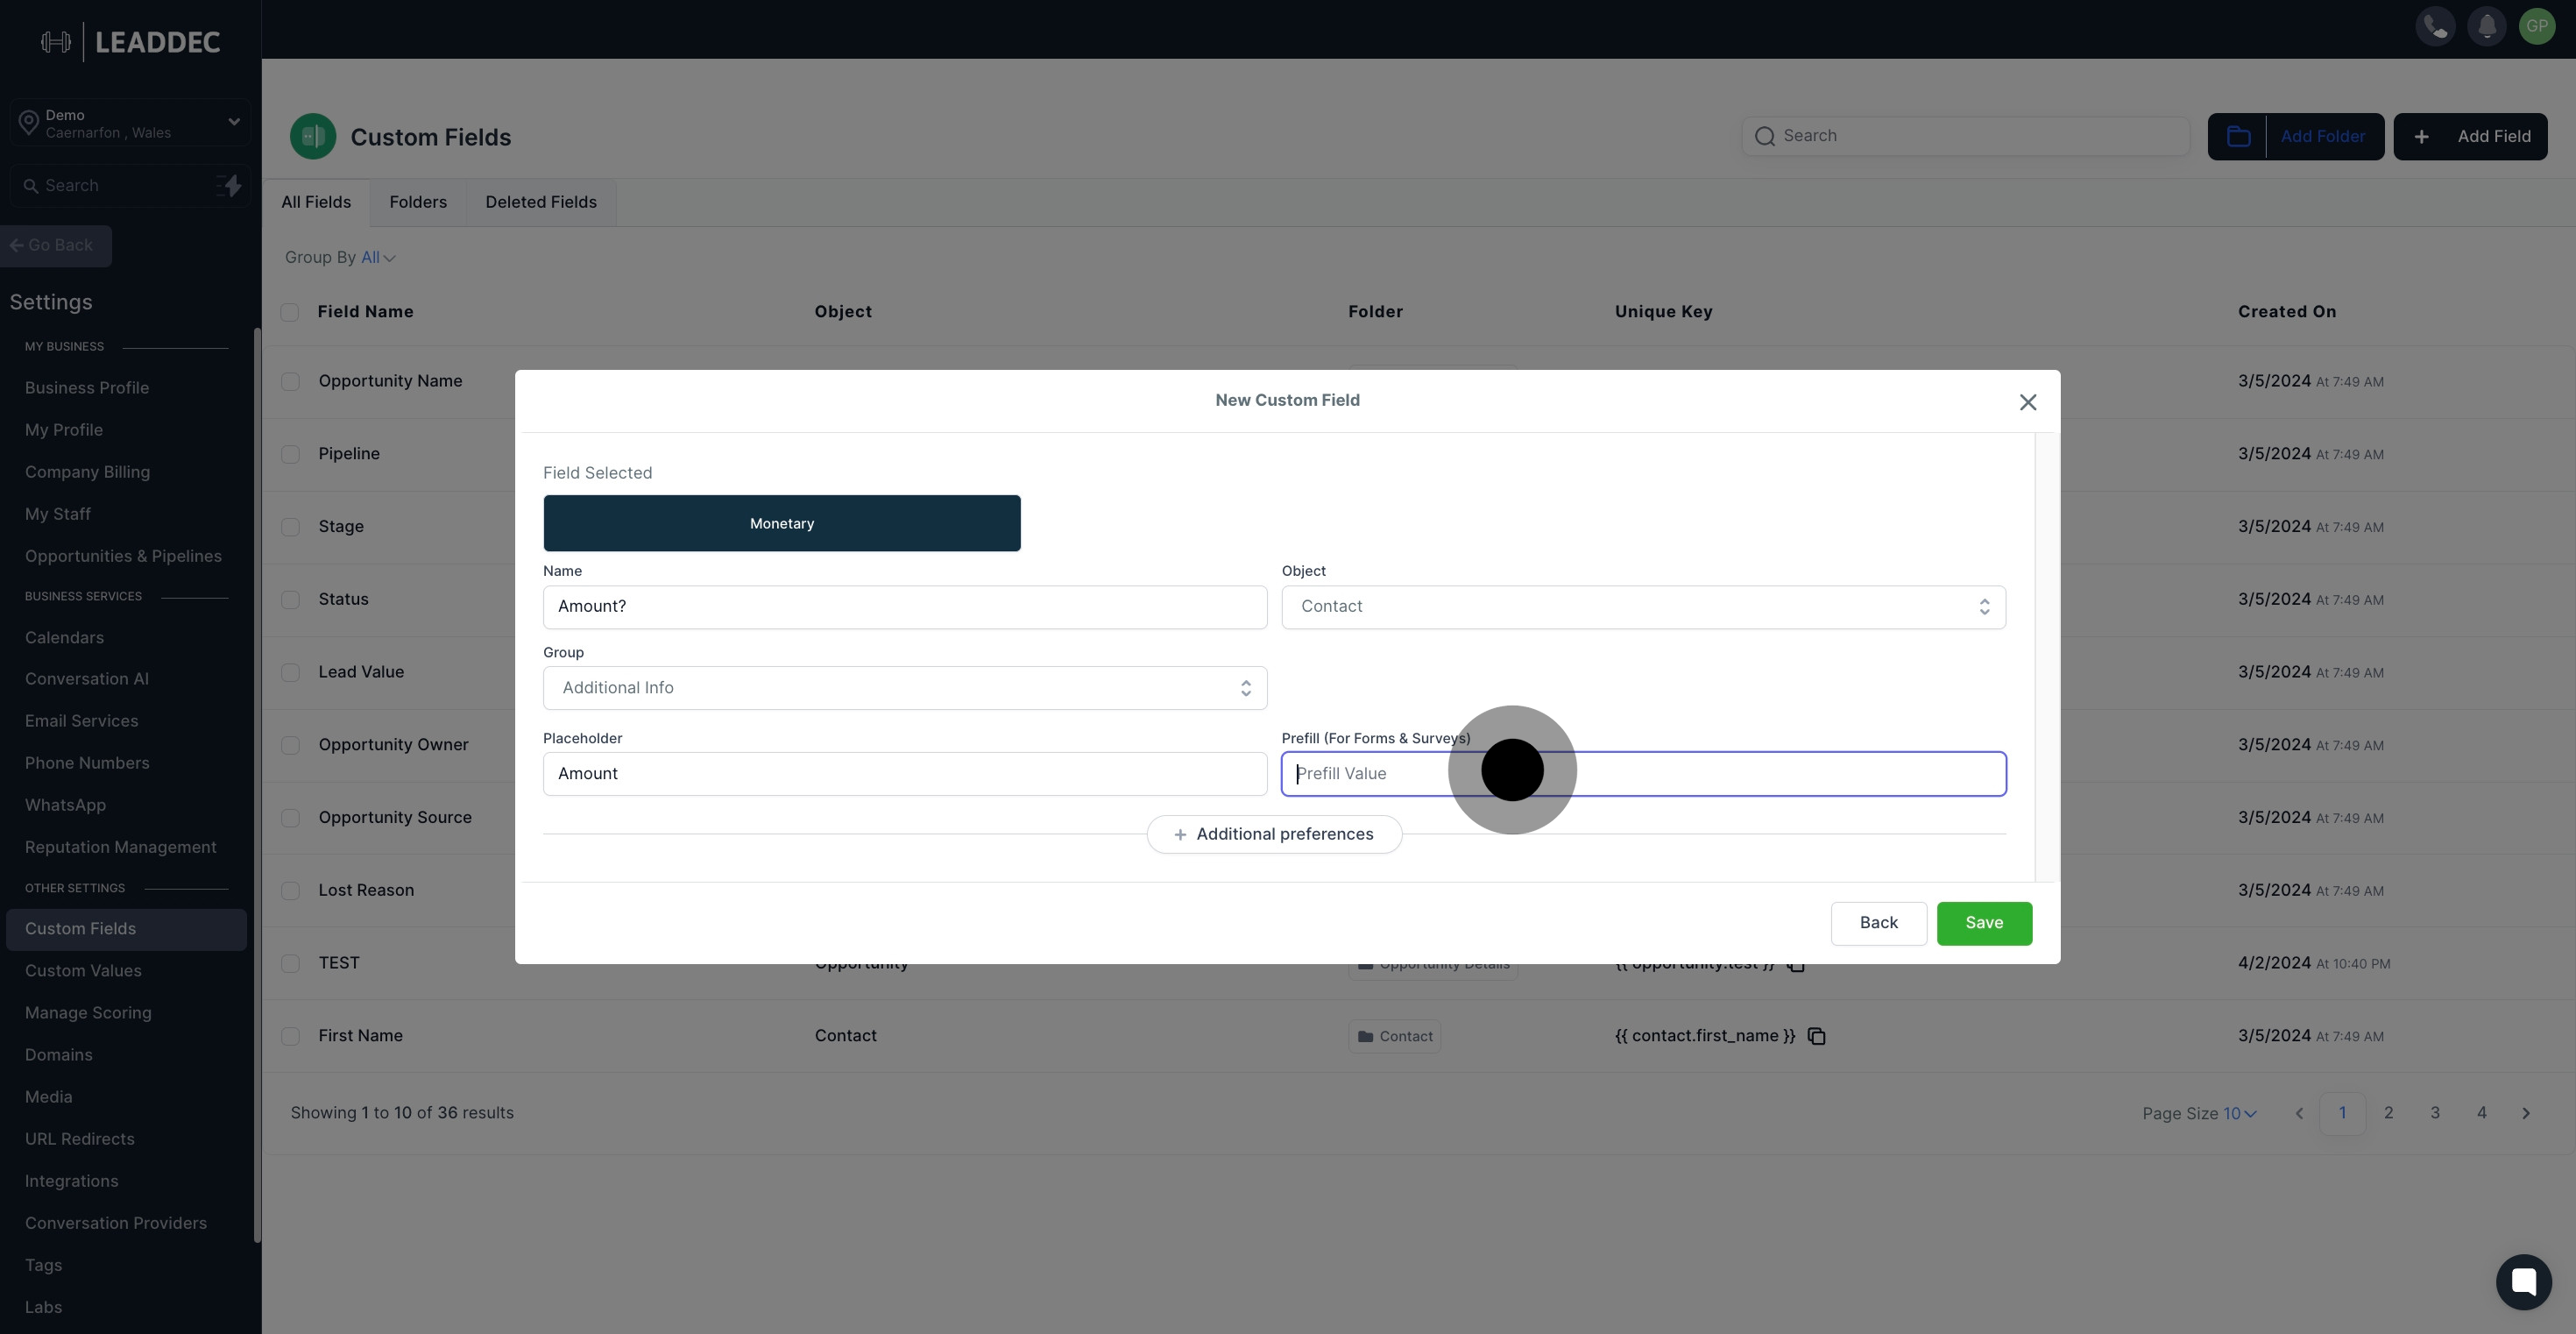
12. Also, you can customize additional preferences by clicking here.
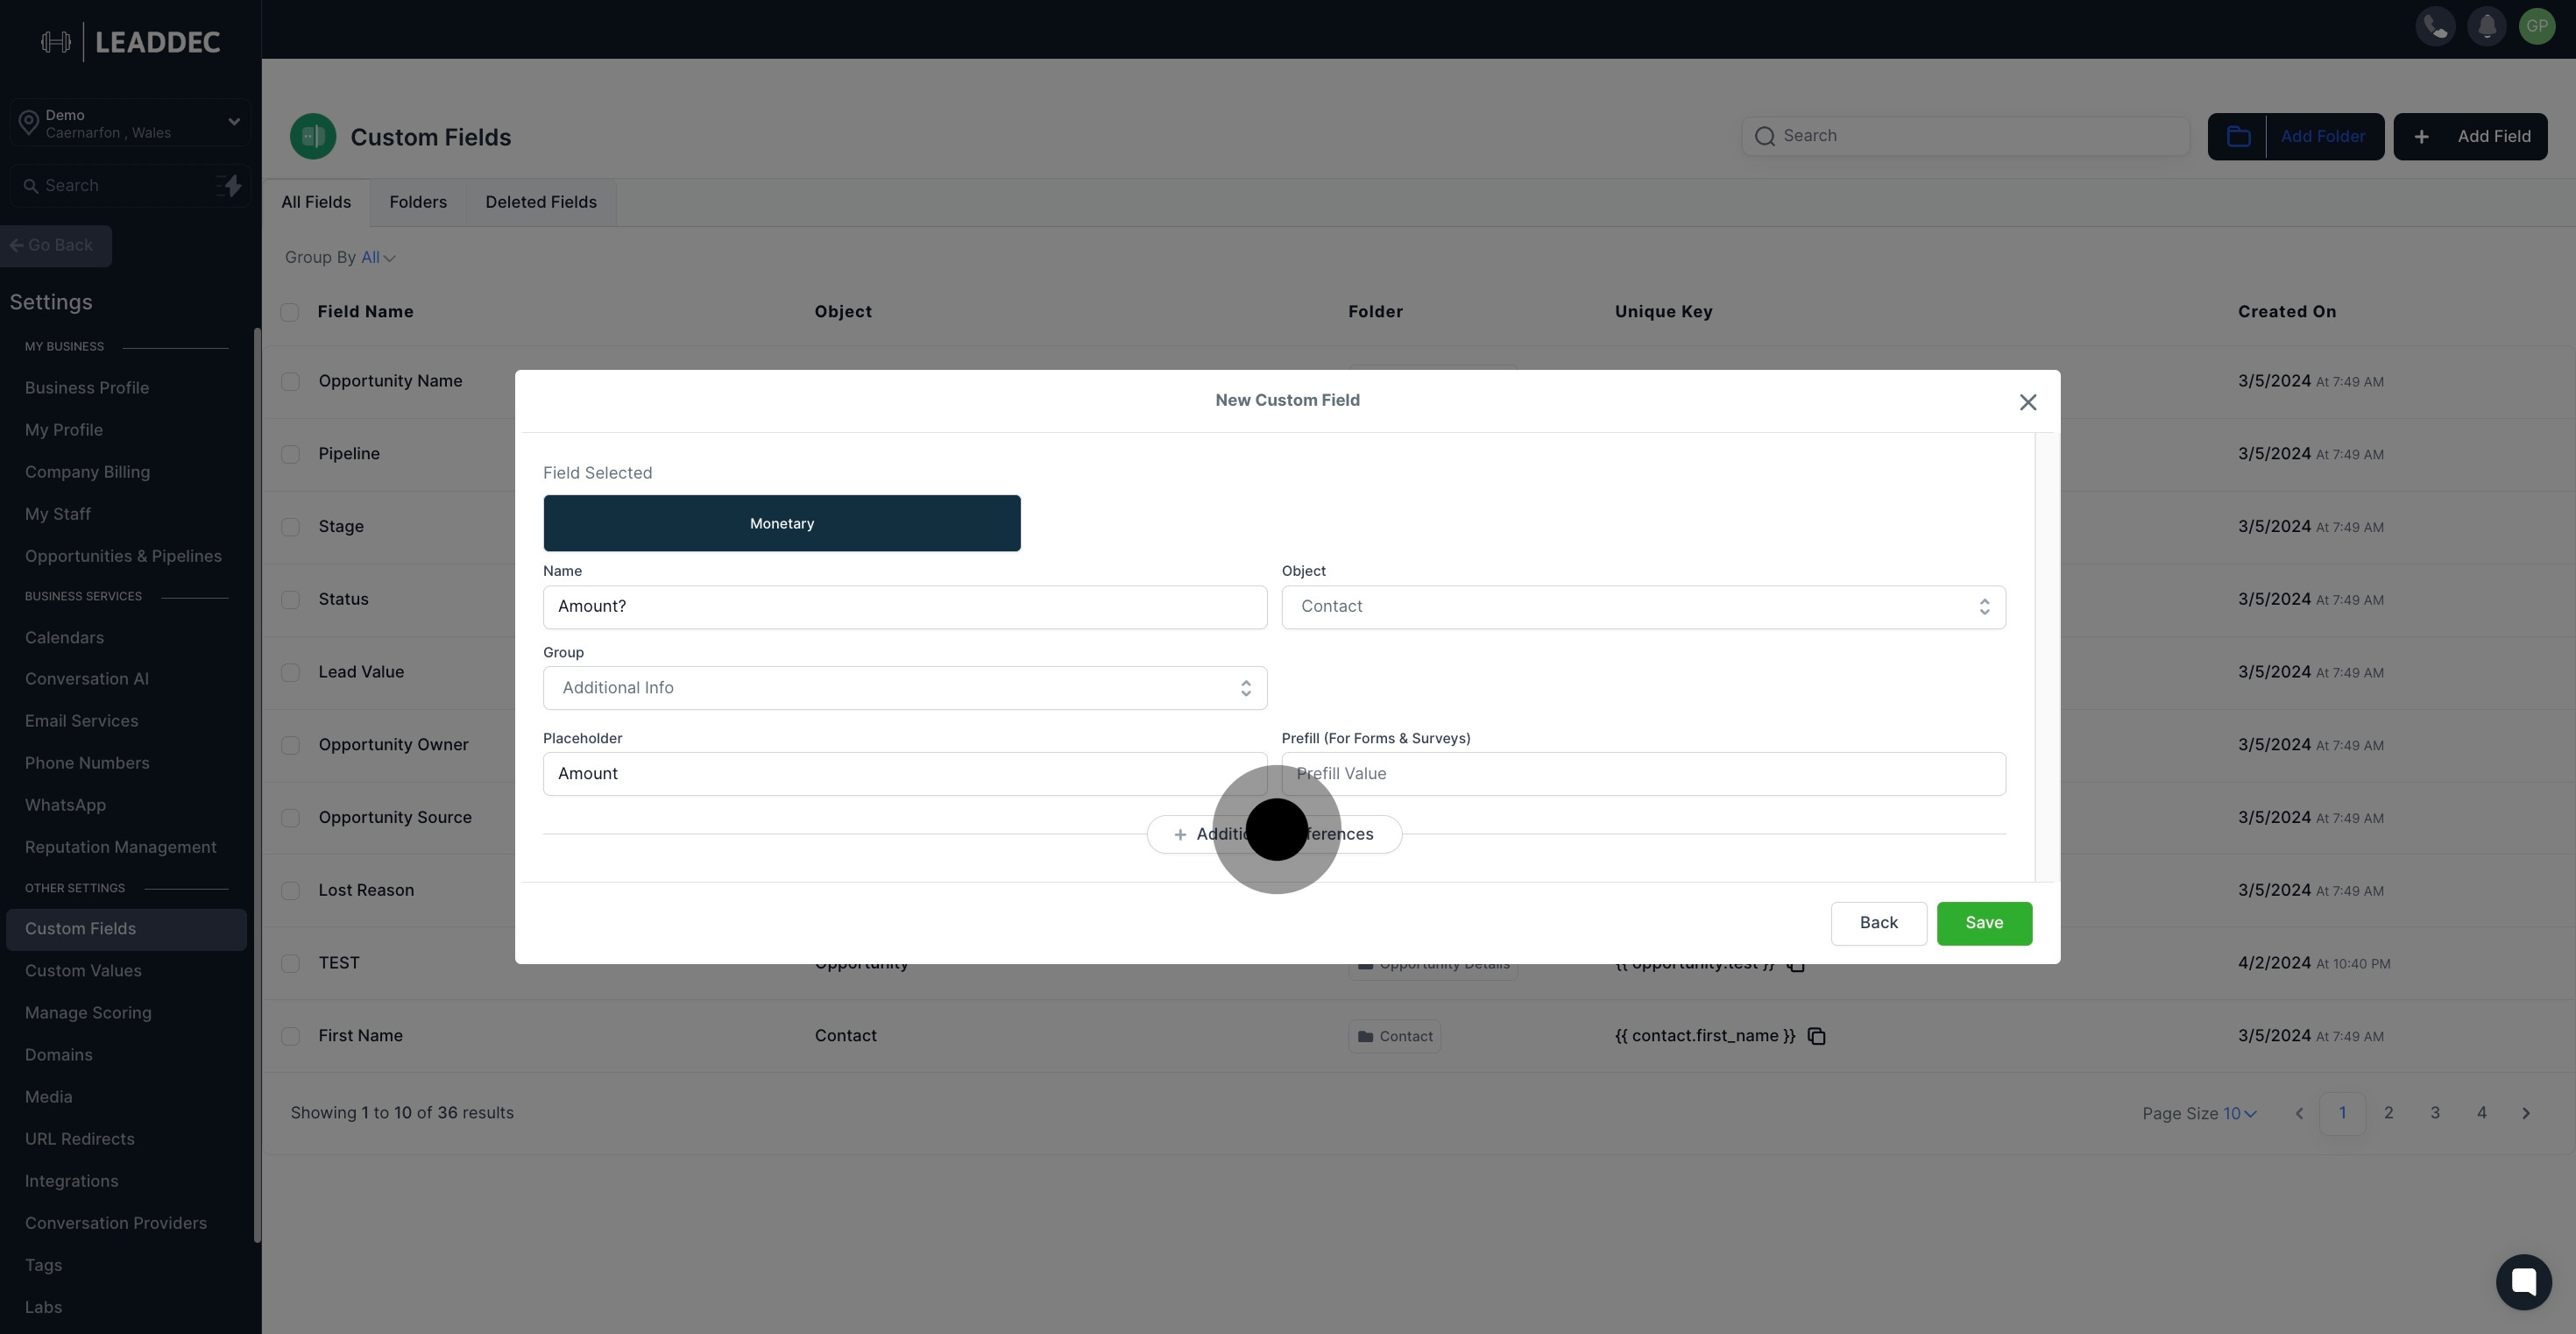
13. Want a unique key? Customize it by clicking here.

14. Give your new custom field a description in the provided space.

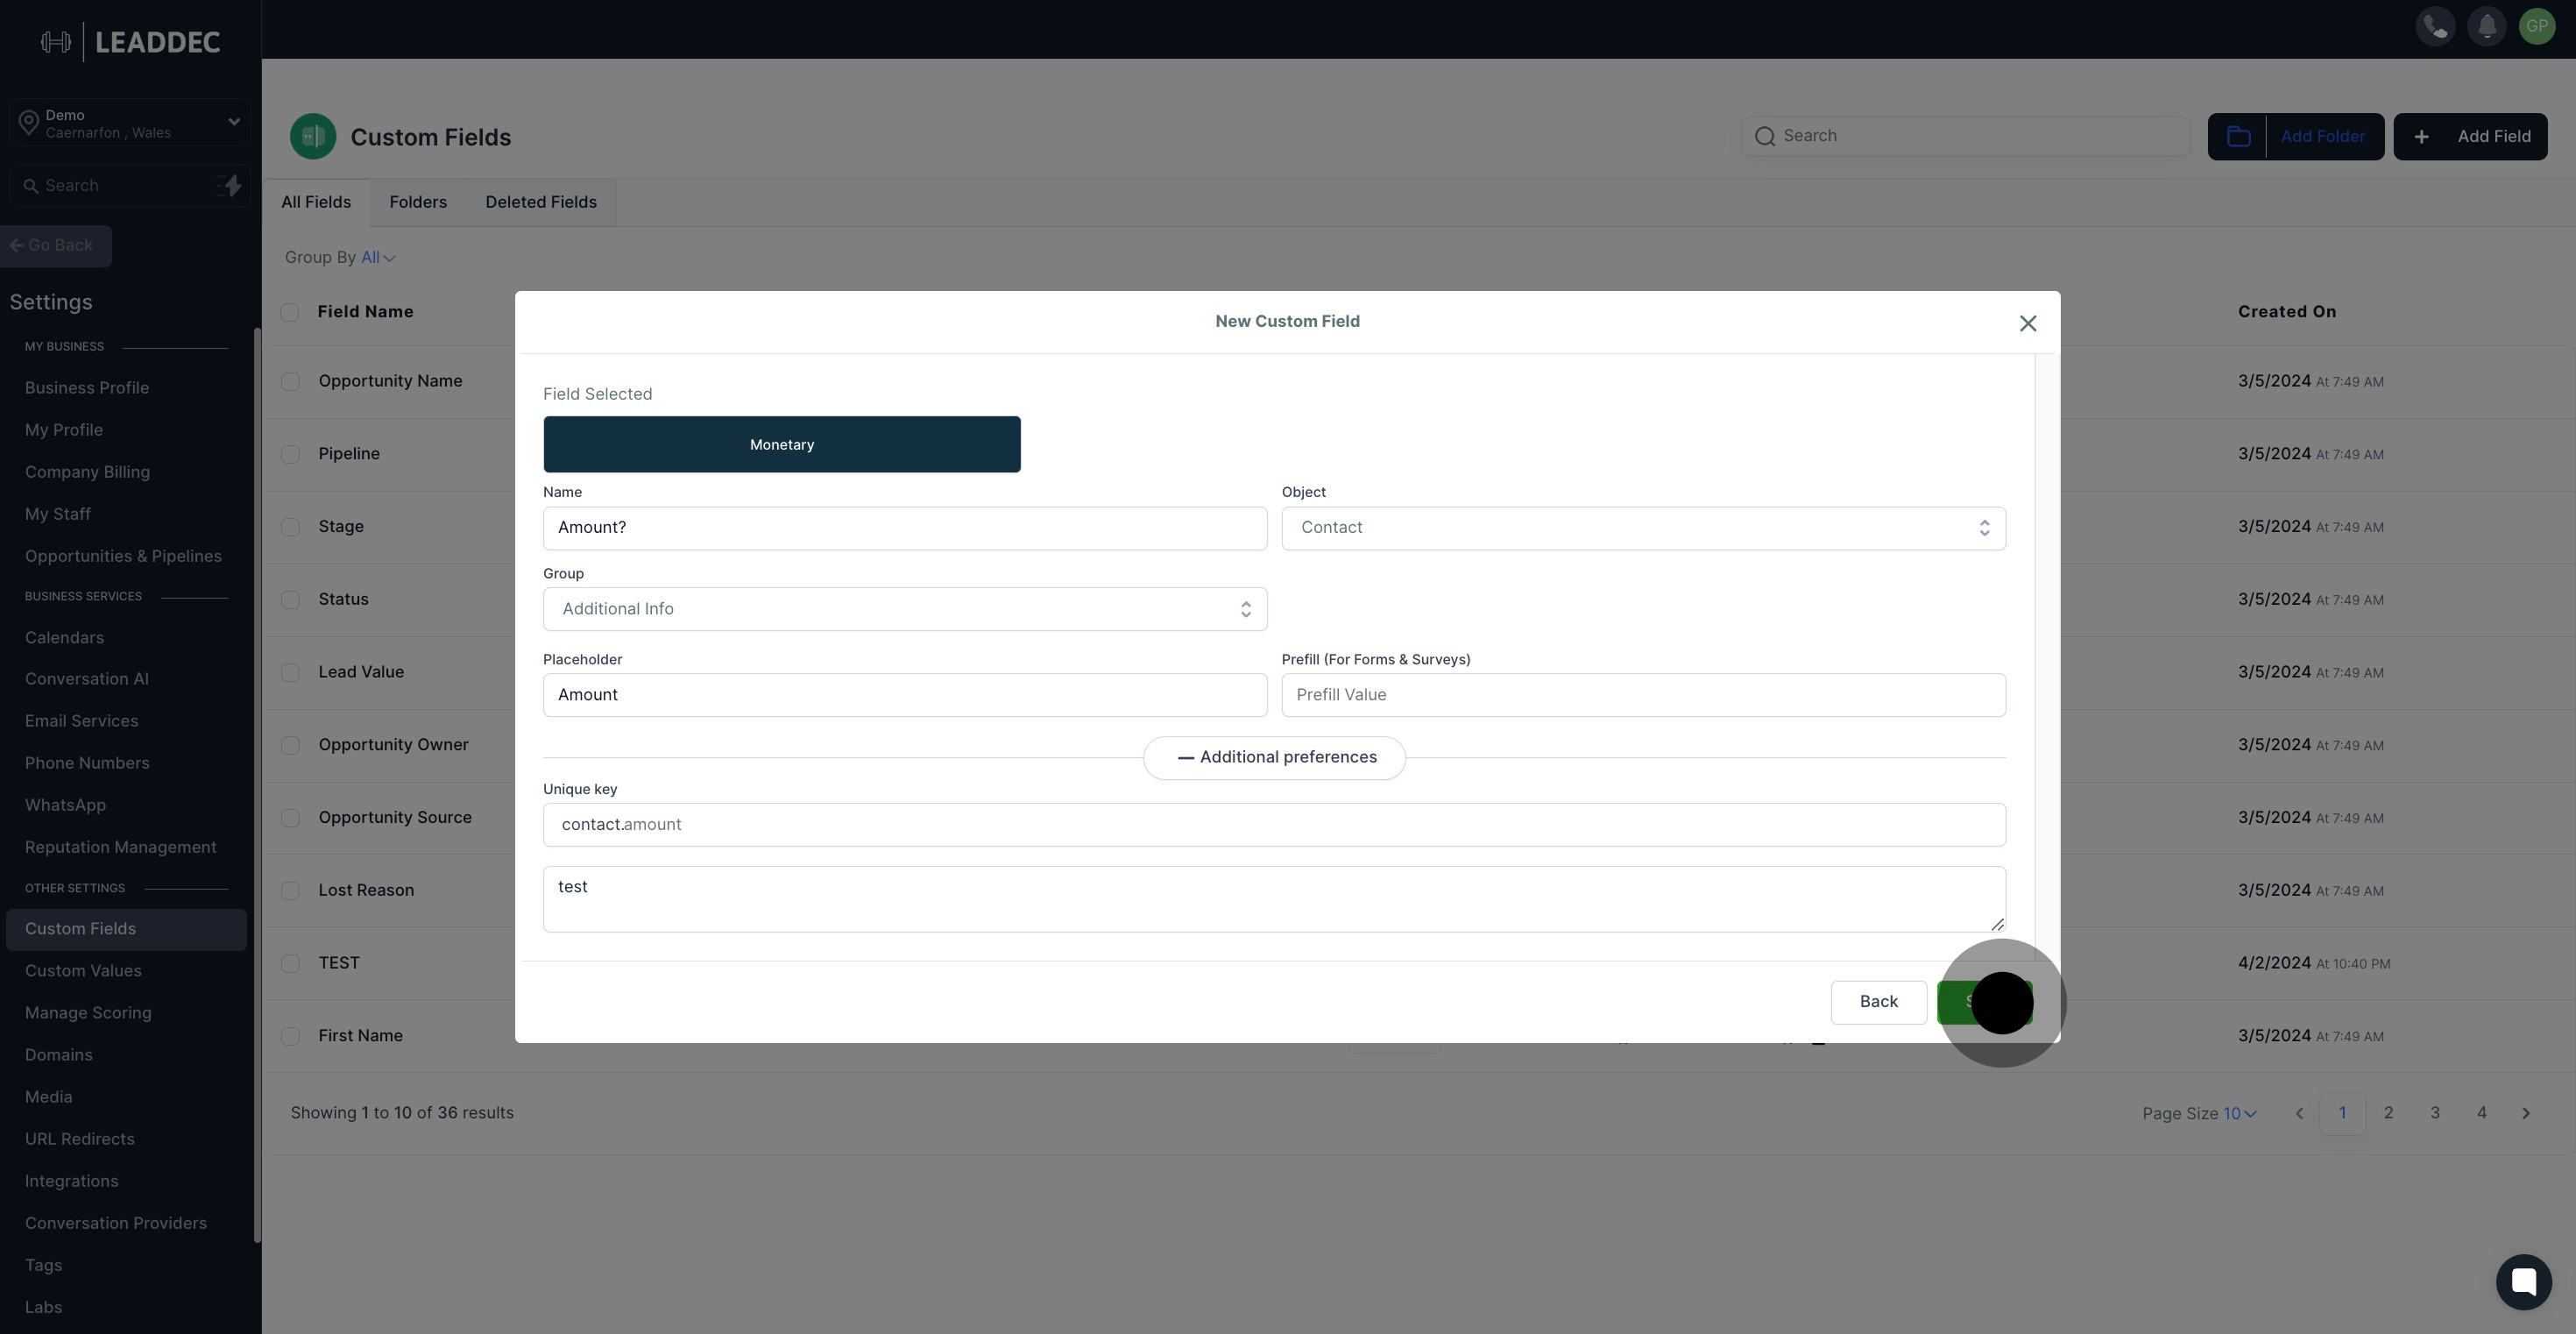
15. Great job! Final step, just hit 'Save' to confirm your settings.
