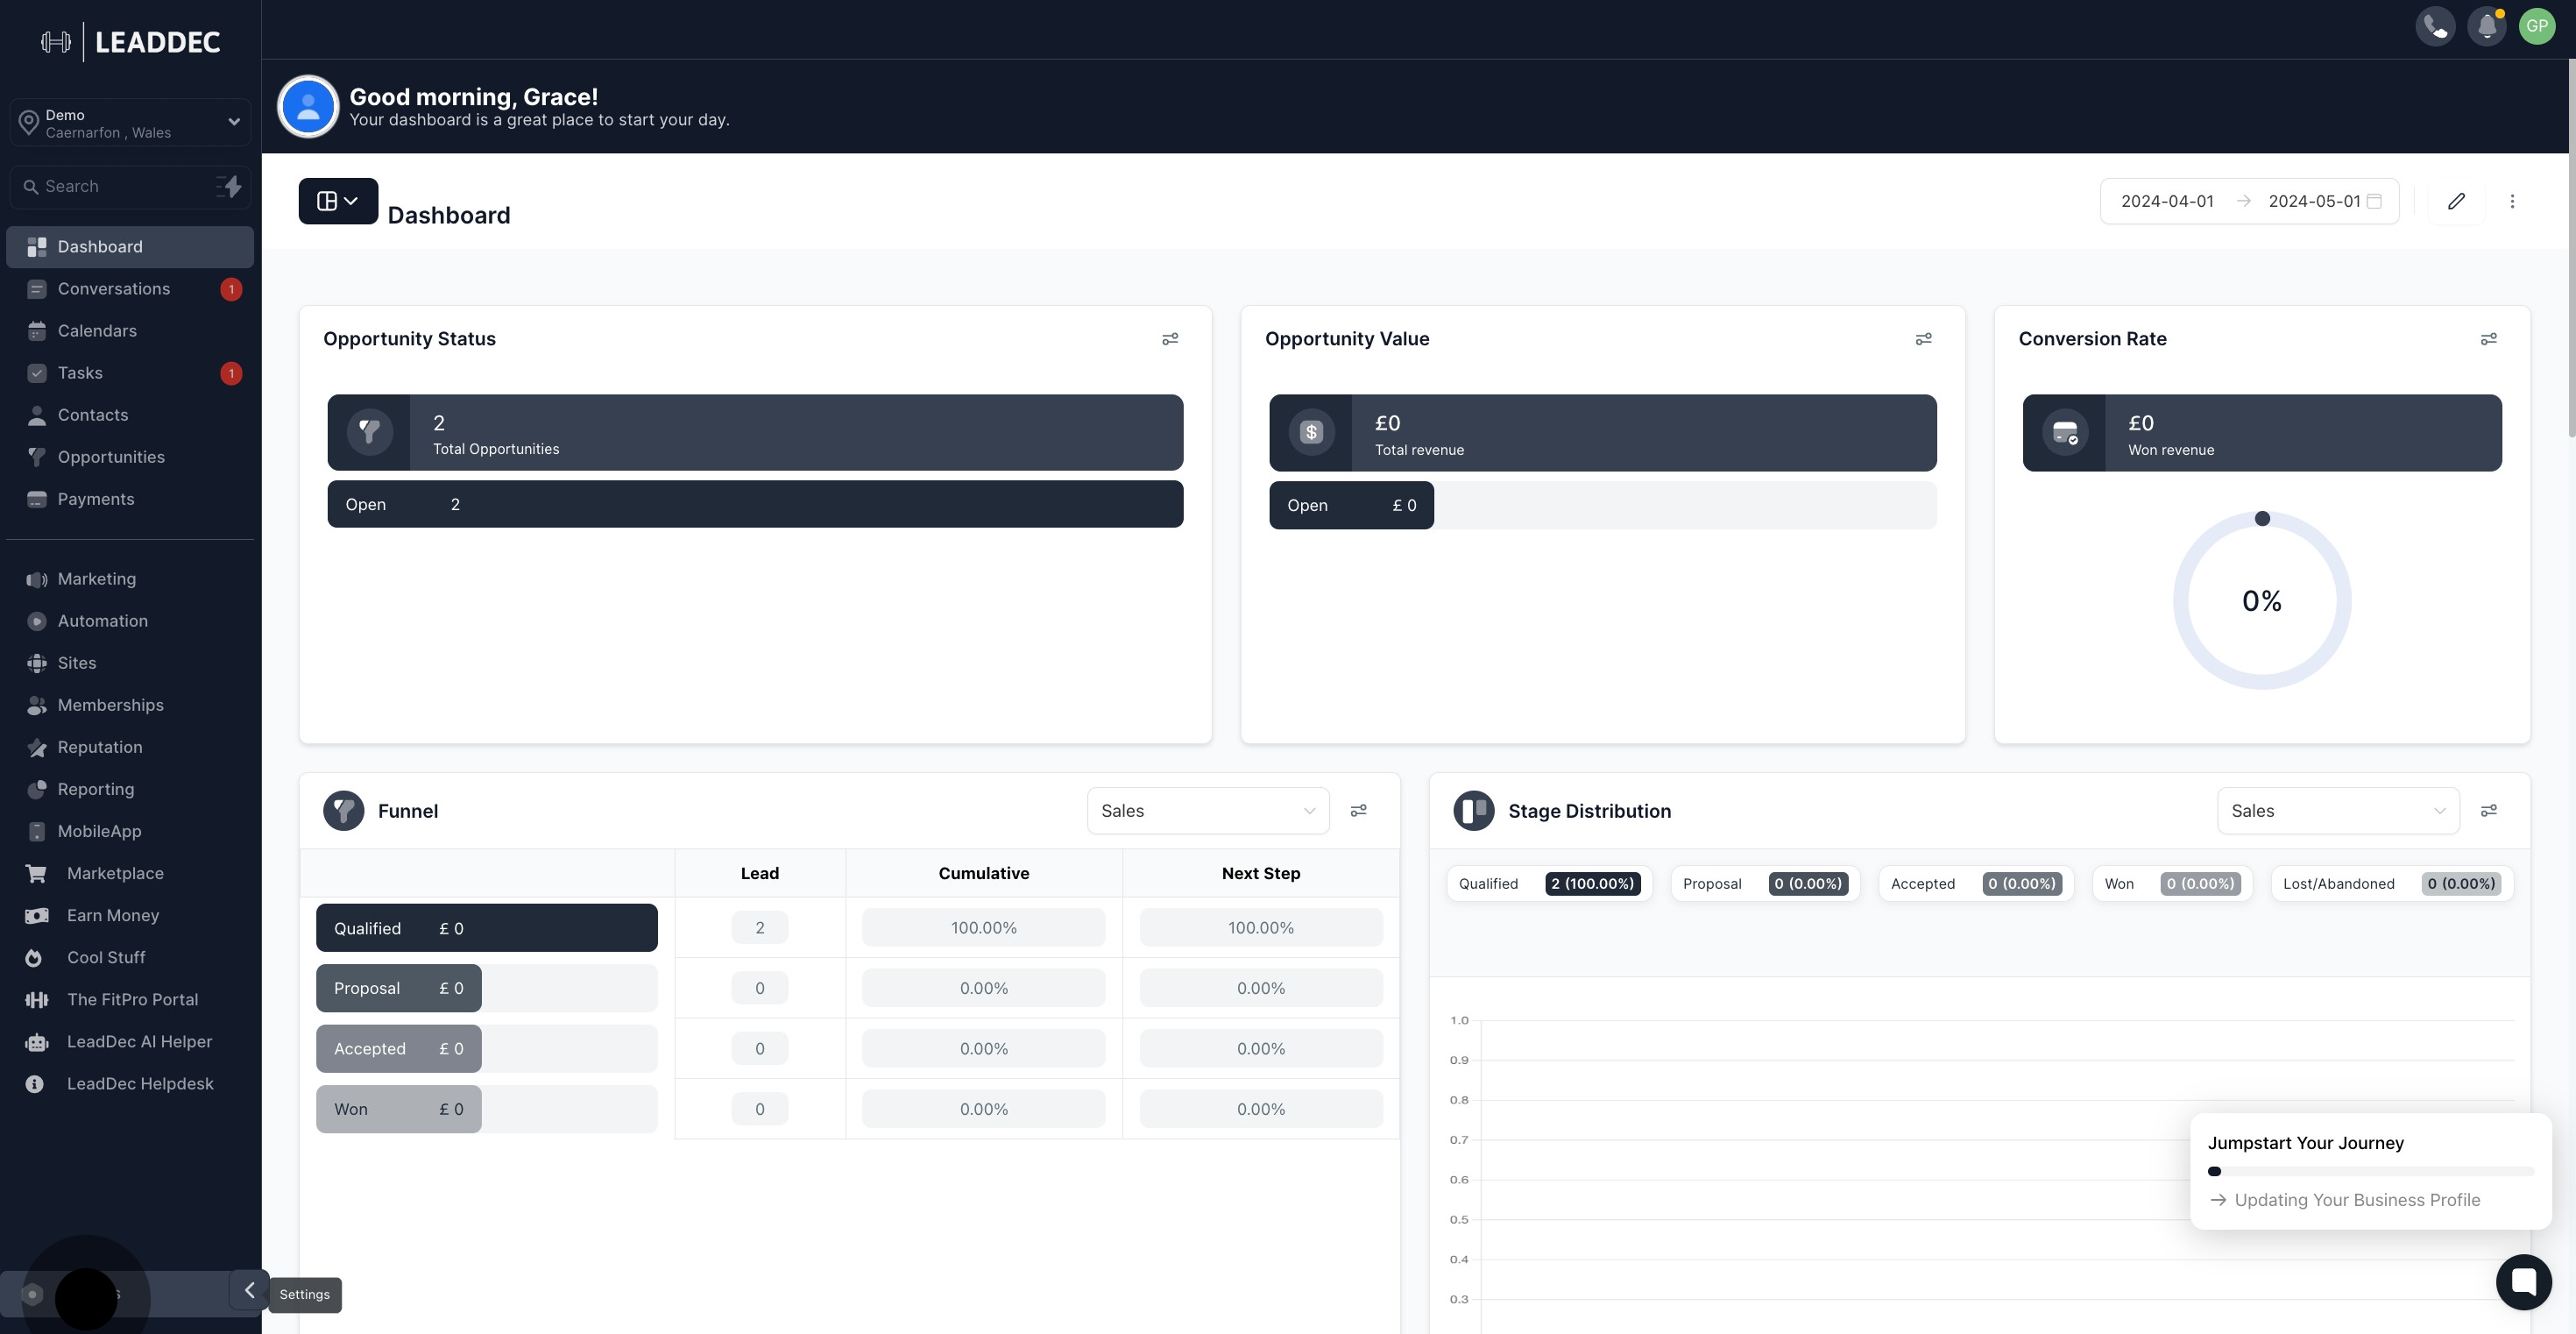
1. To start, navigate to the Settings area.
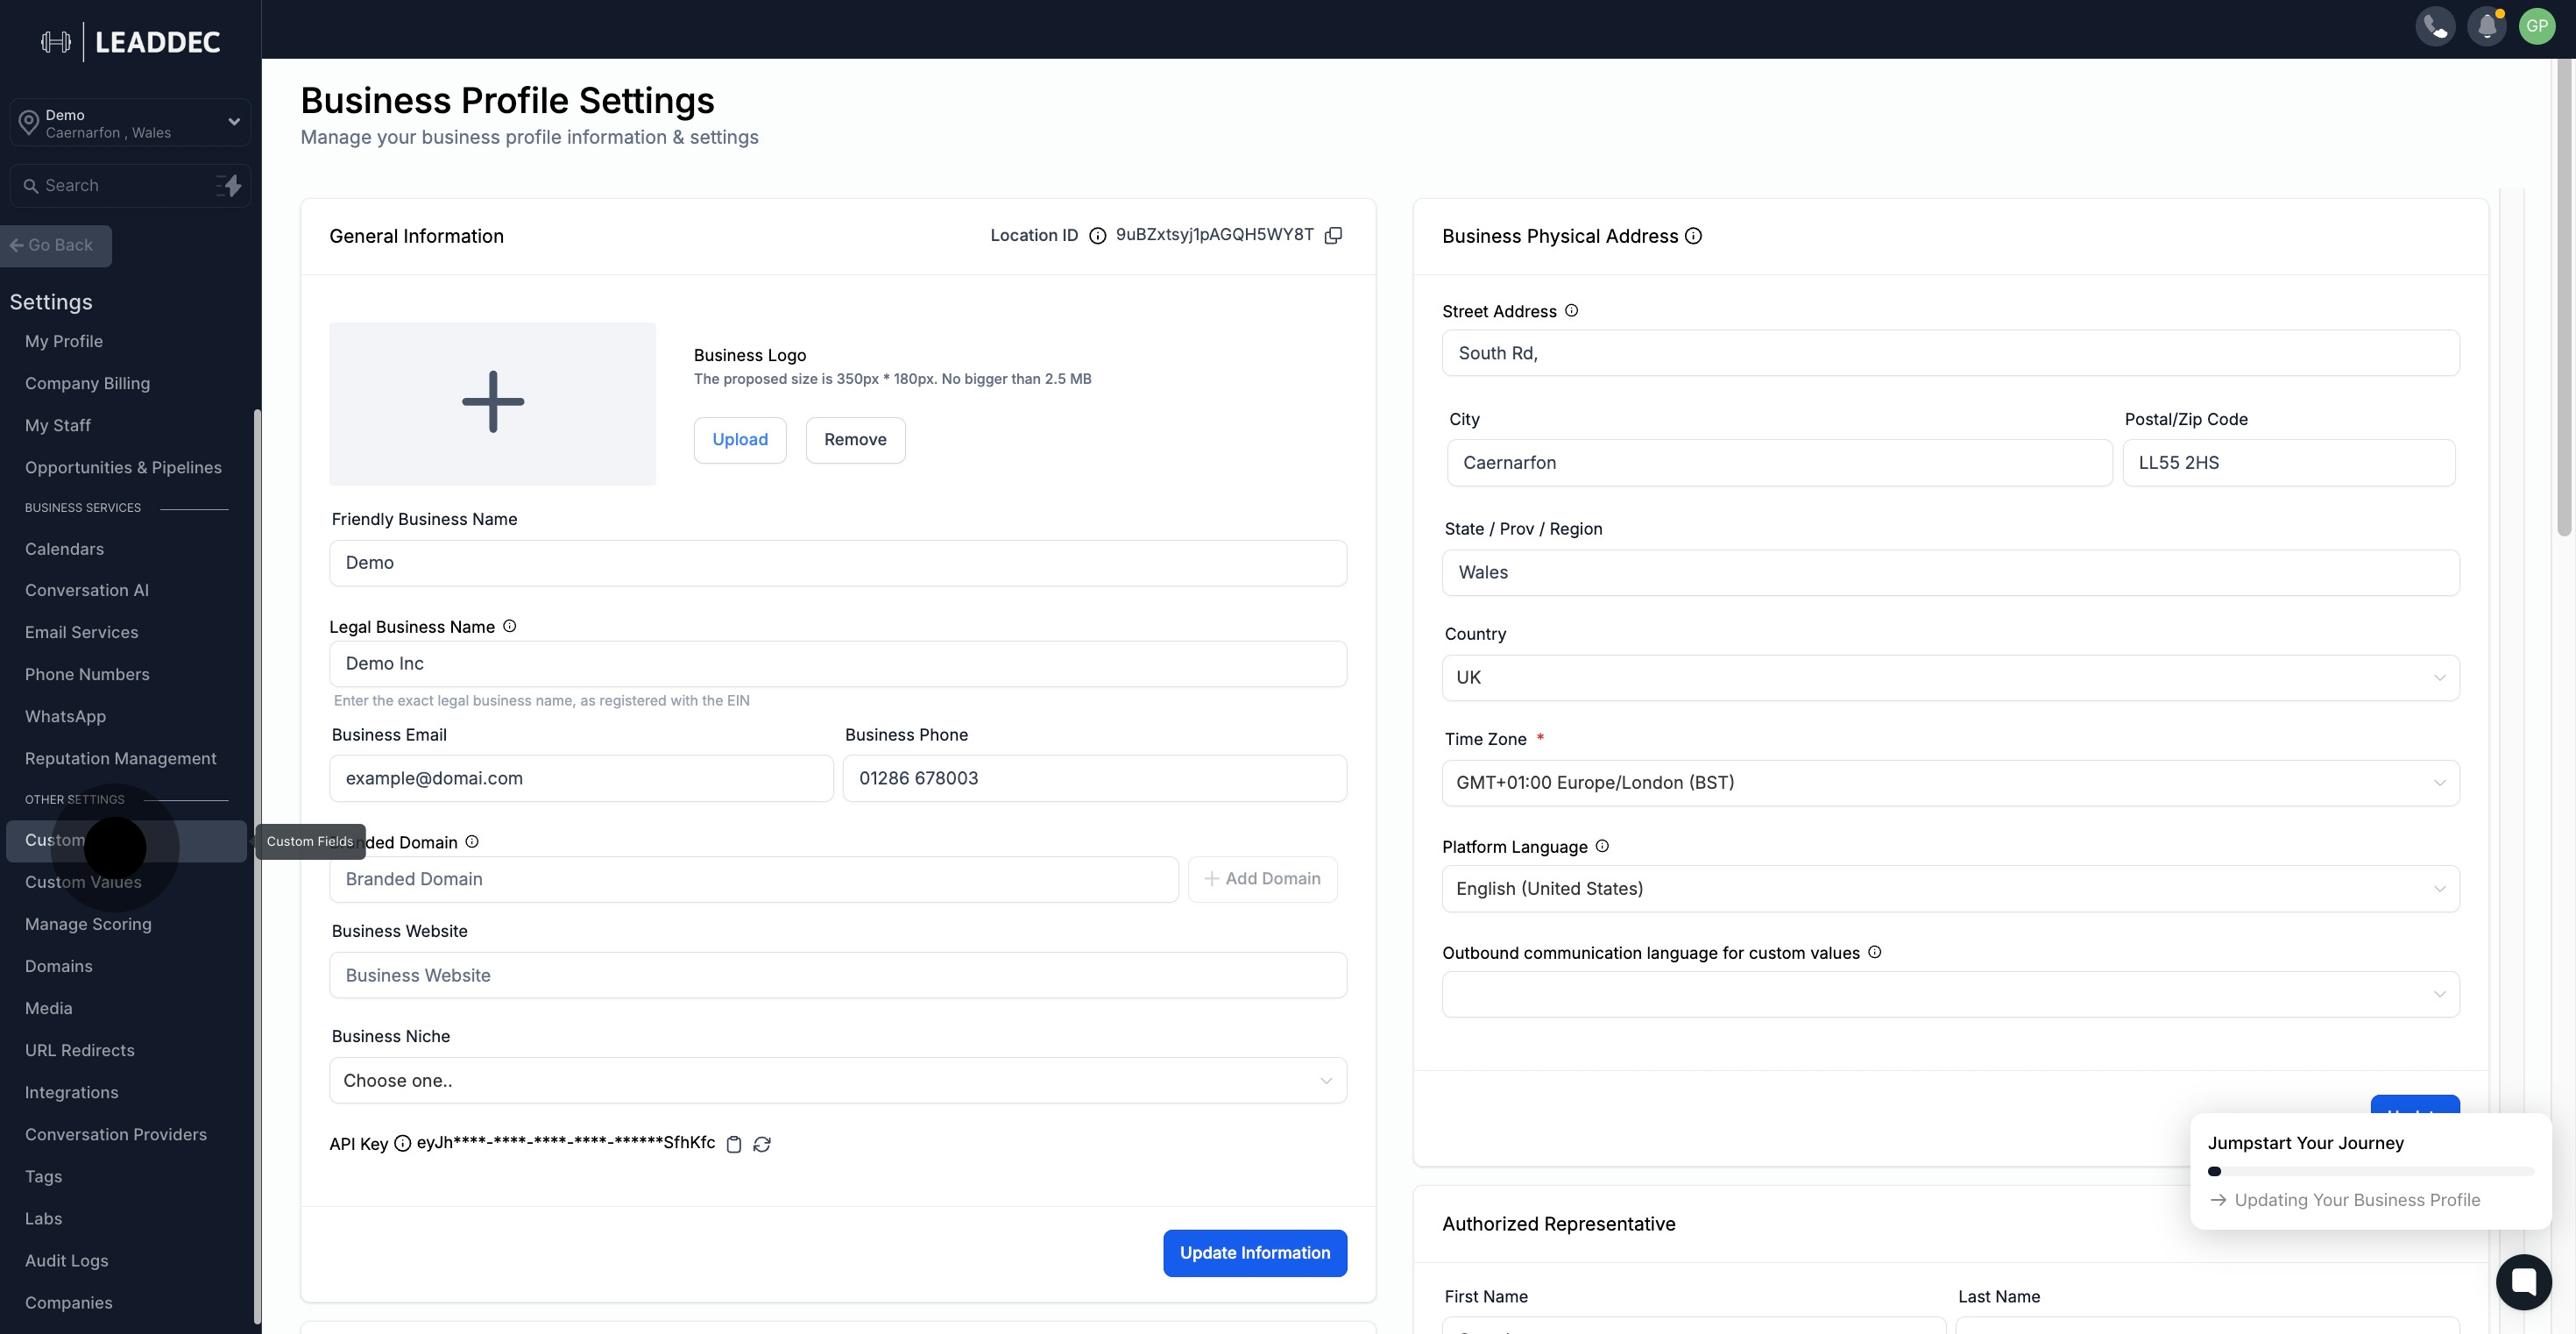
2. Next, enter the Custom Fields section.
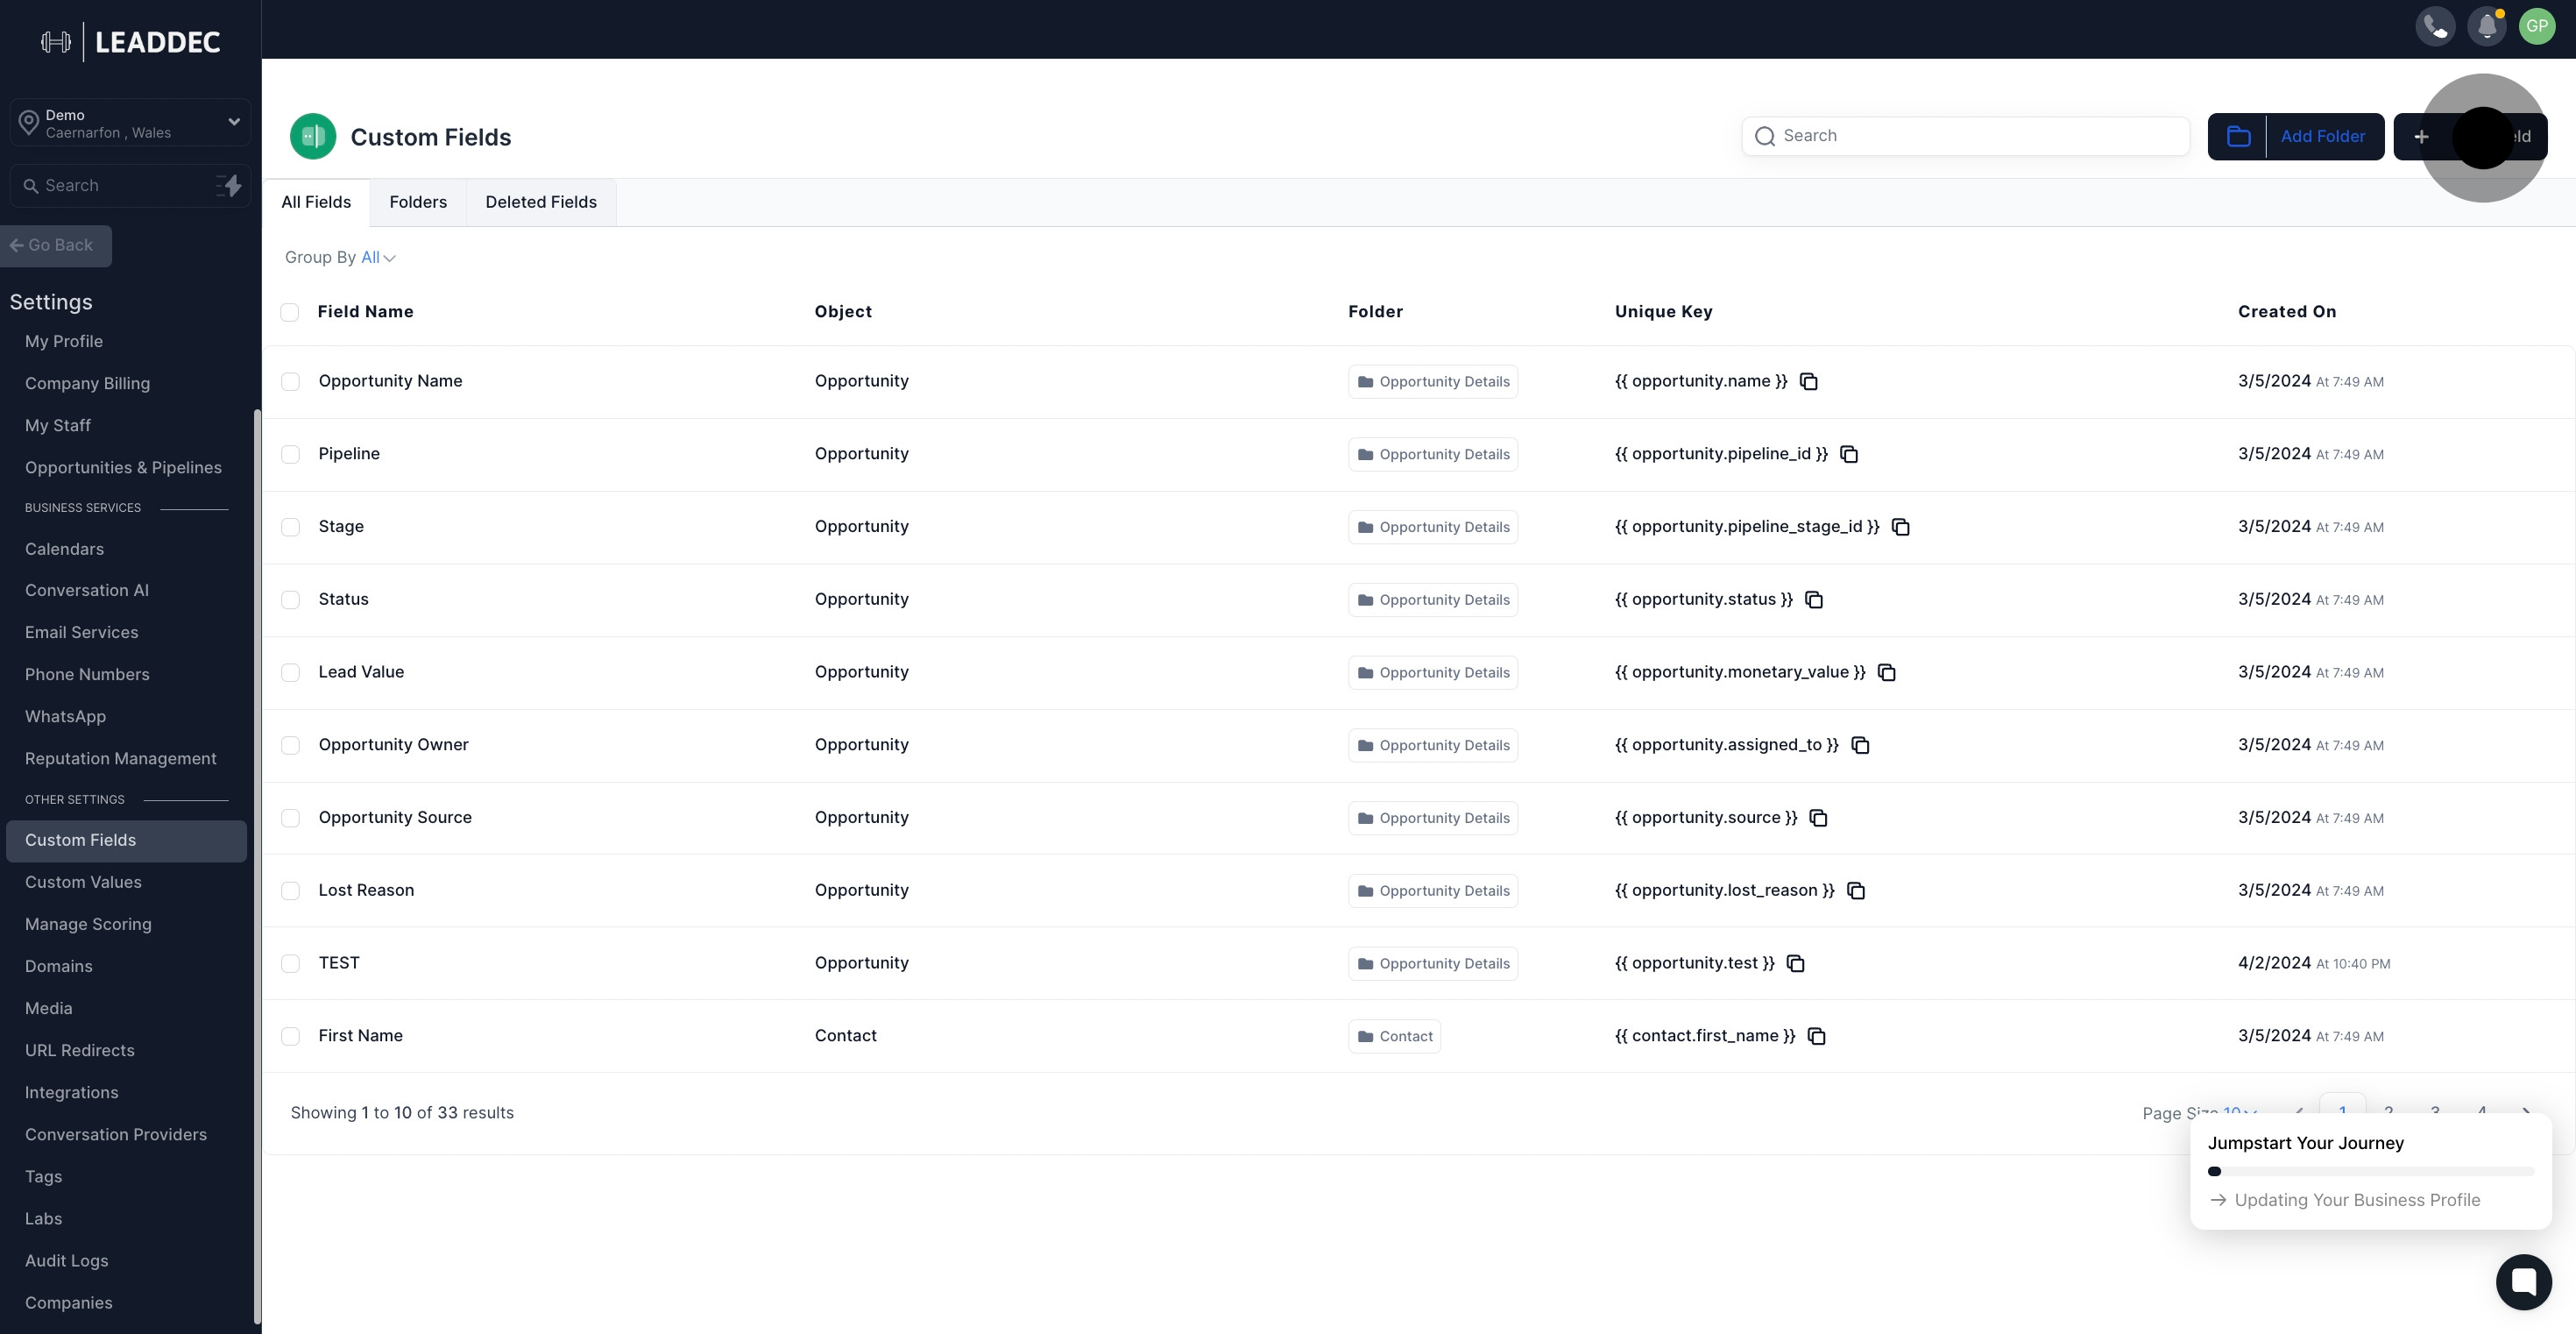
3. Now, initiate the Add Field process.
4. Then, choose the Text Box List option.
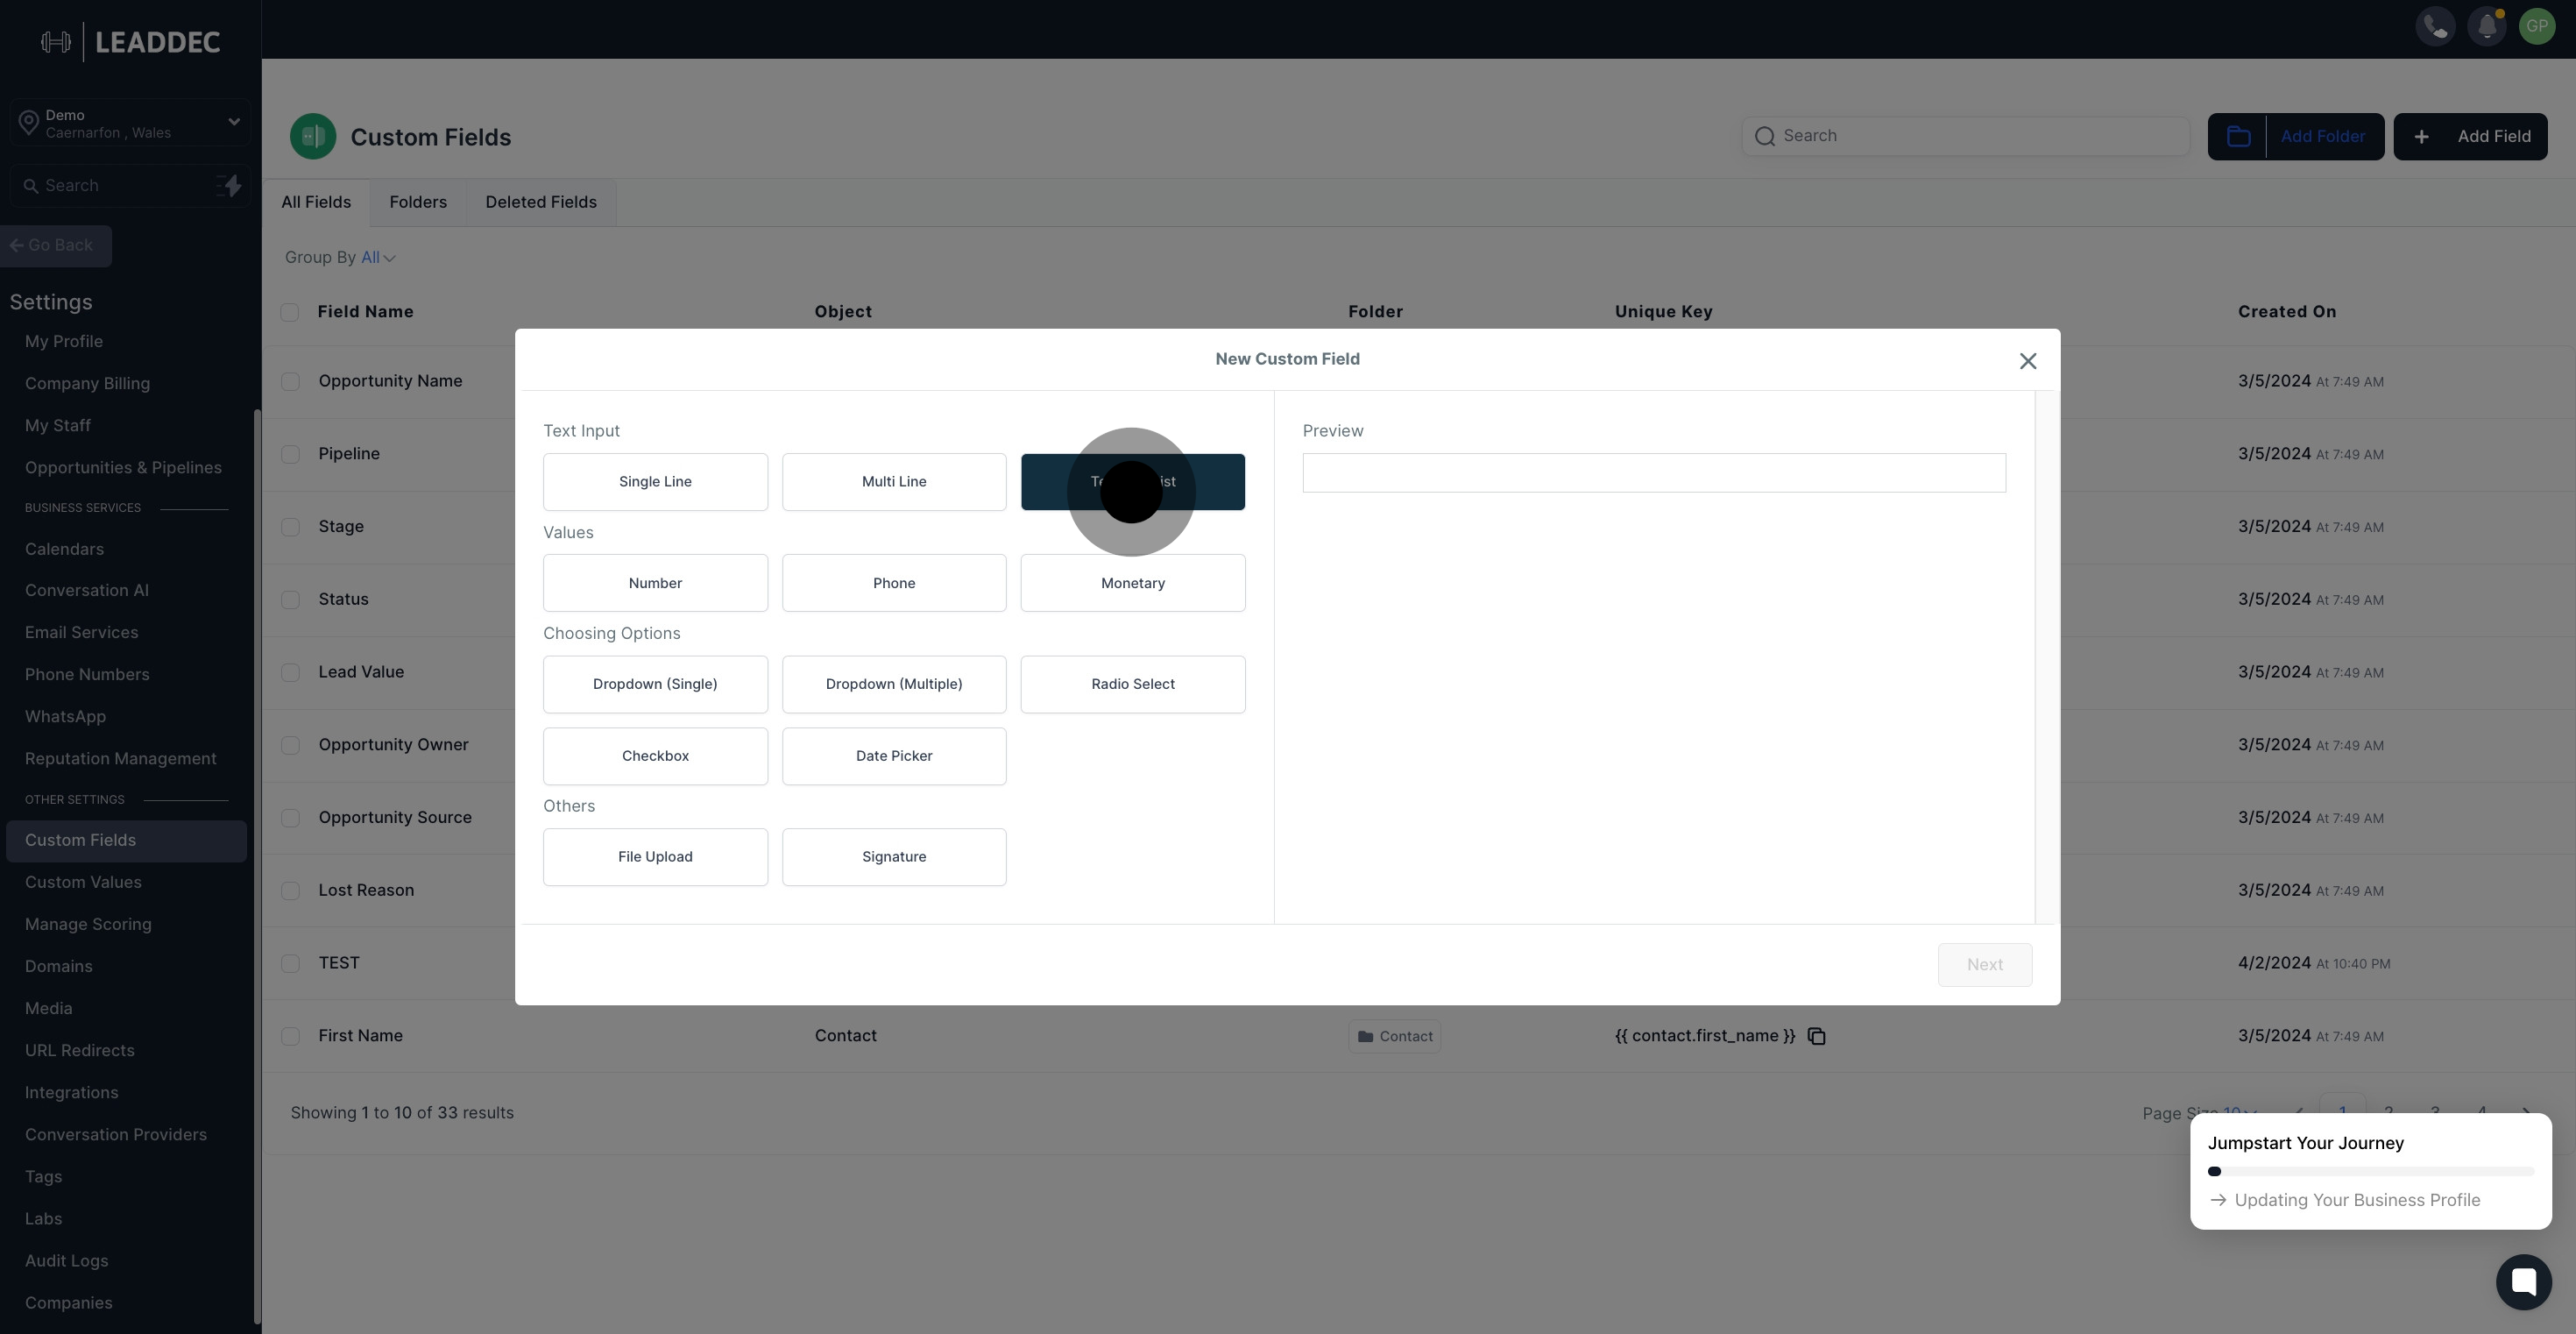
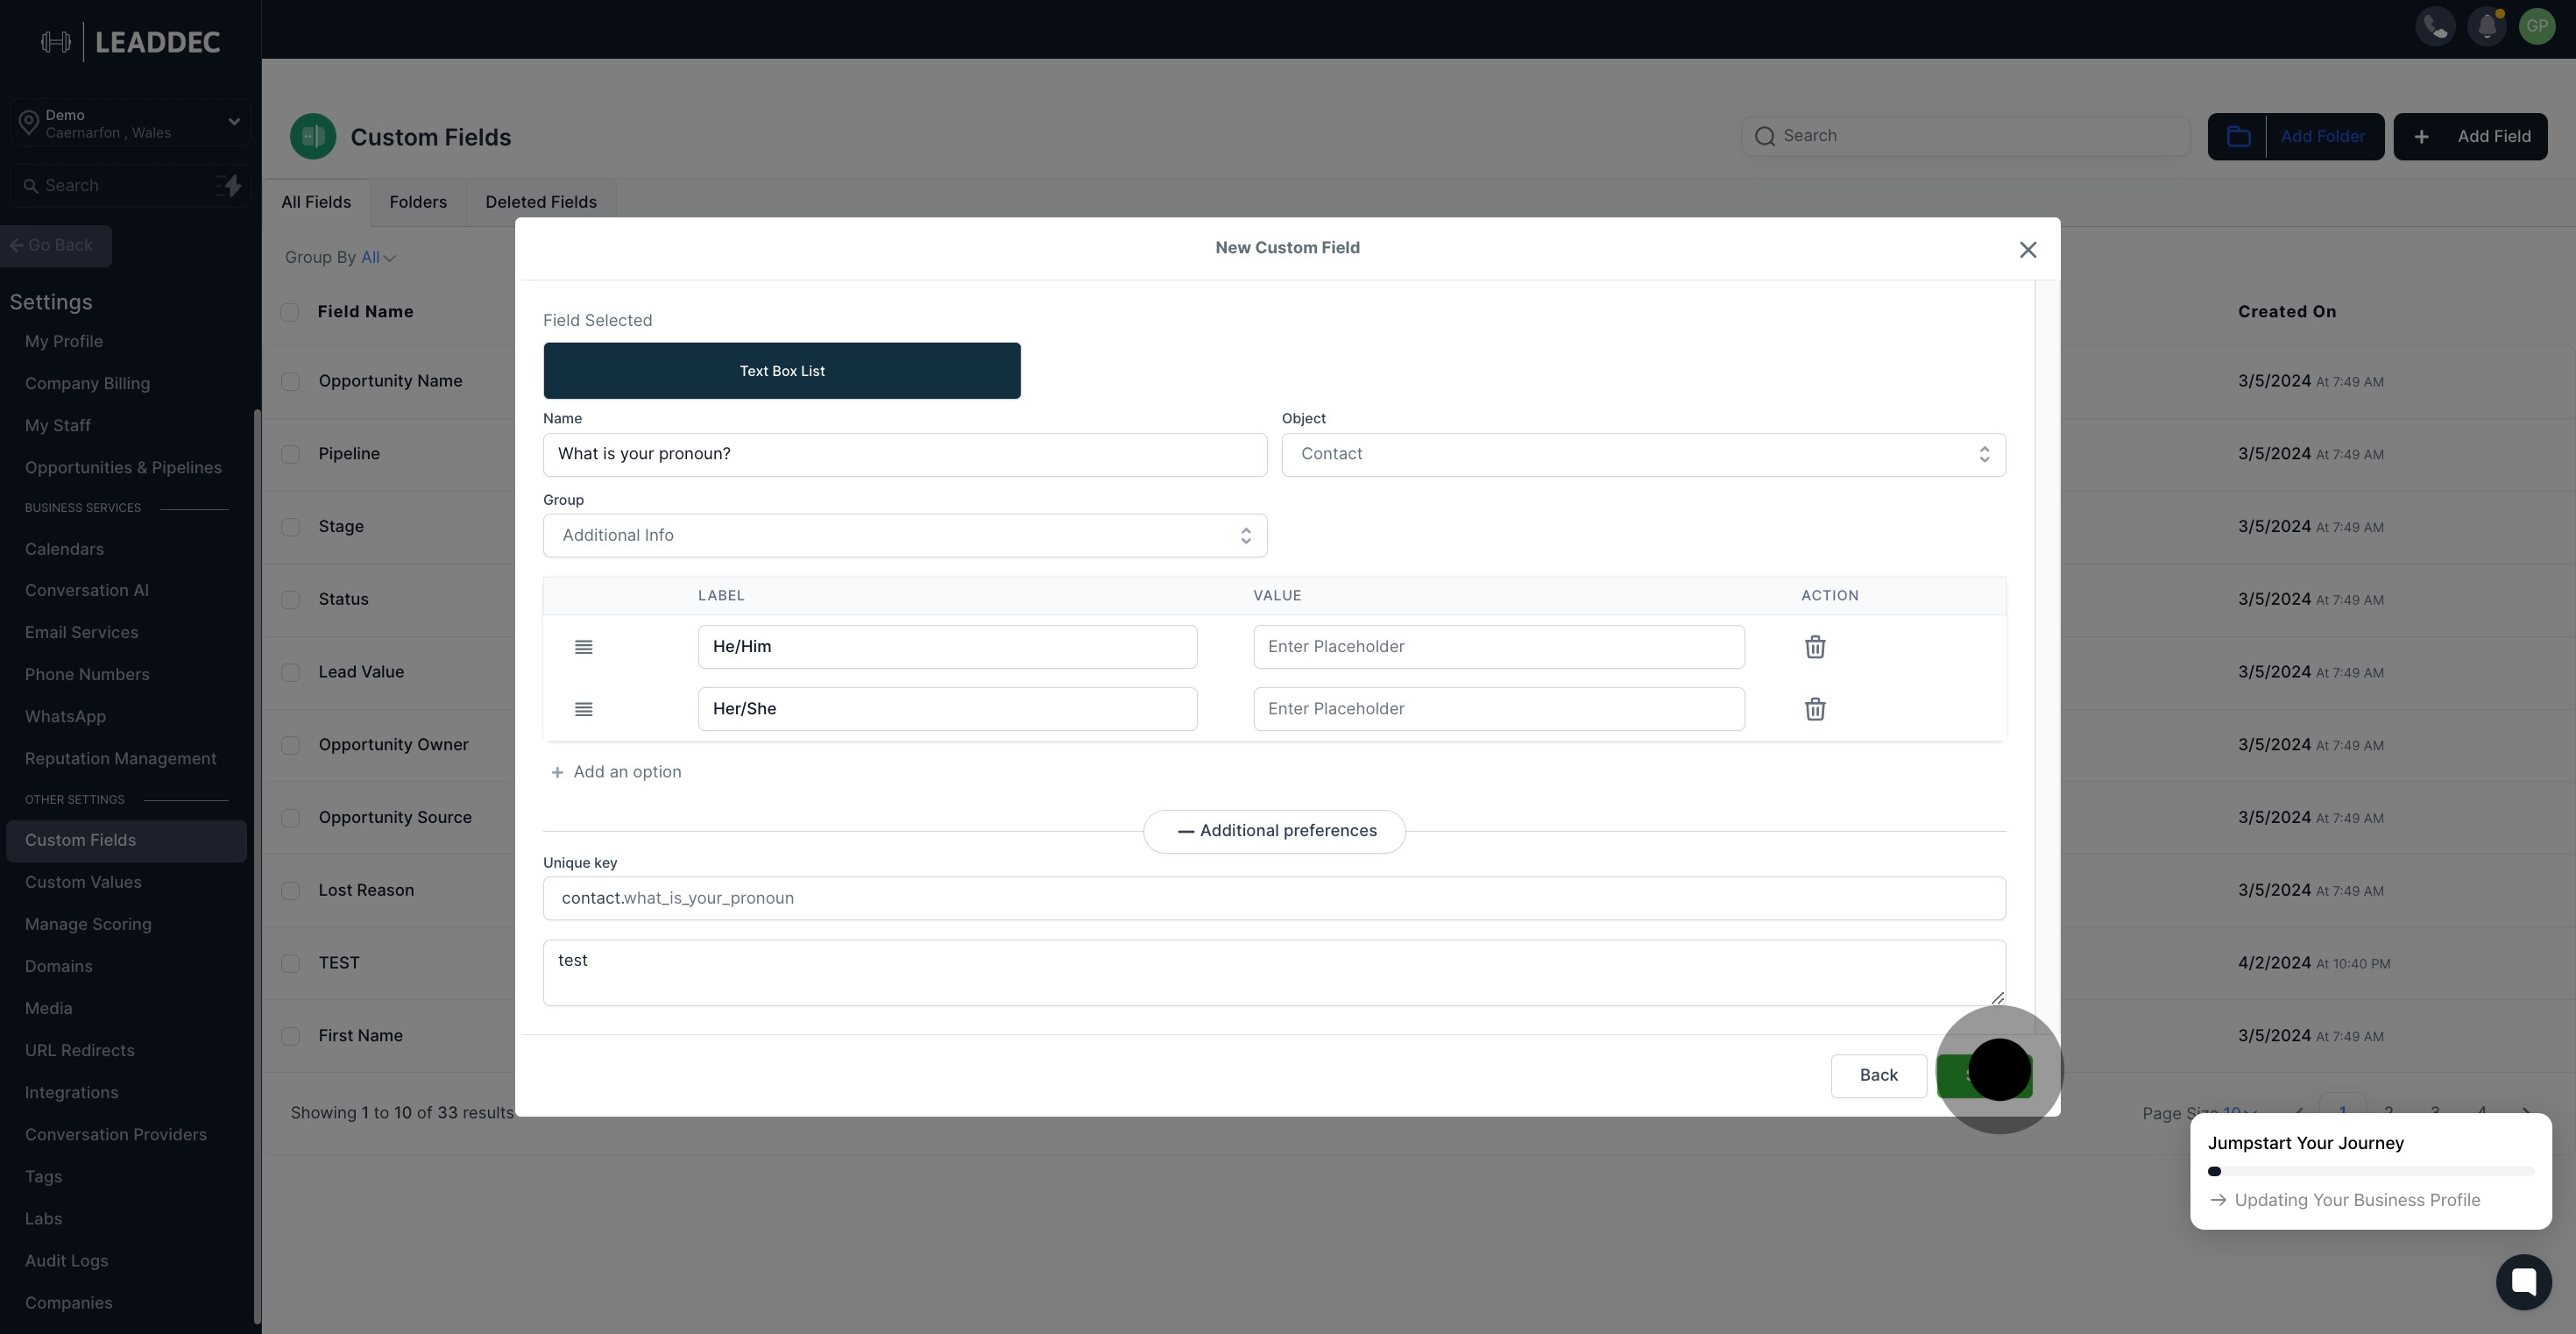
5. Here's a preview of what your 'text box list' will look like.
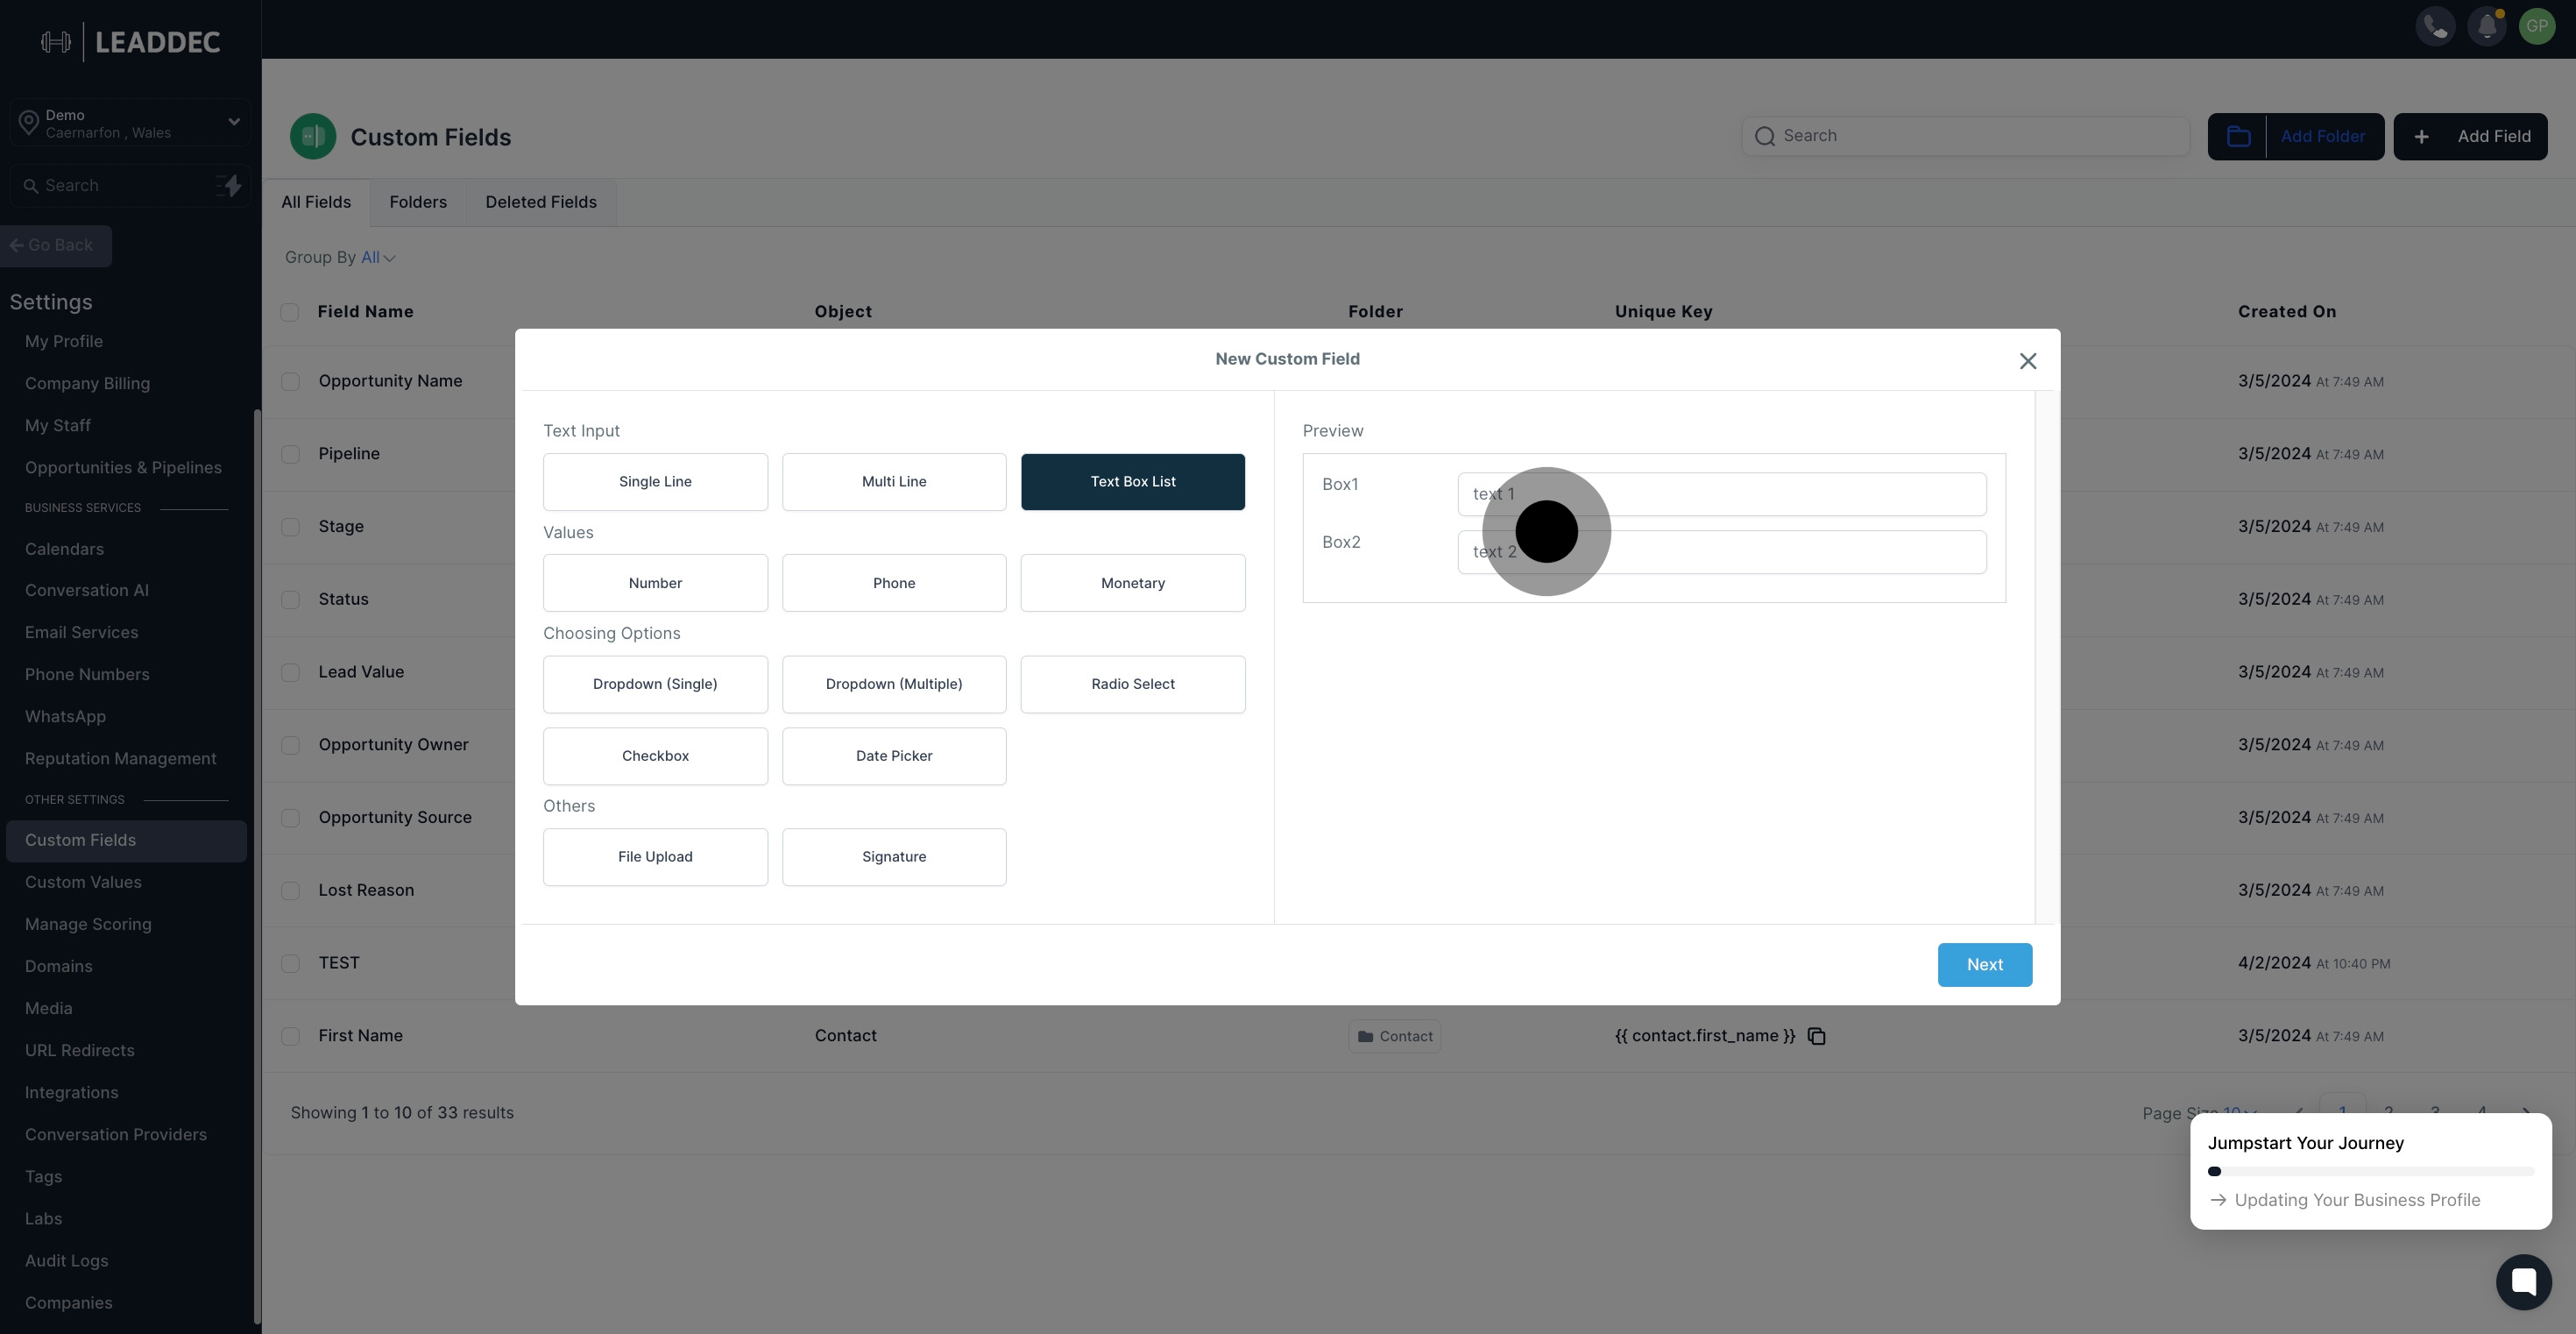
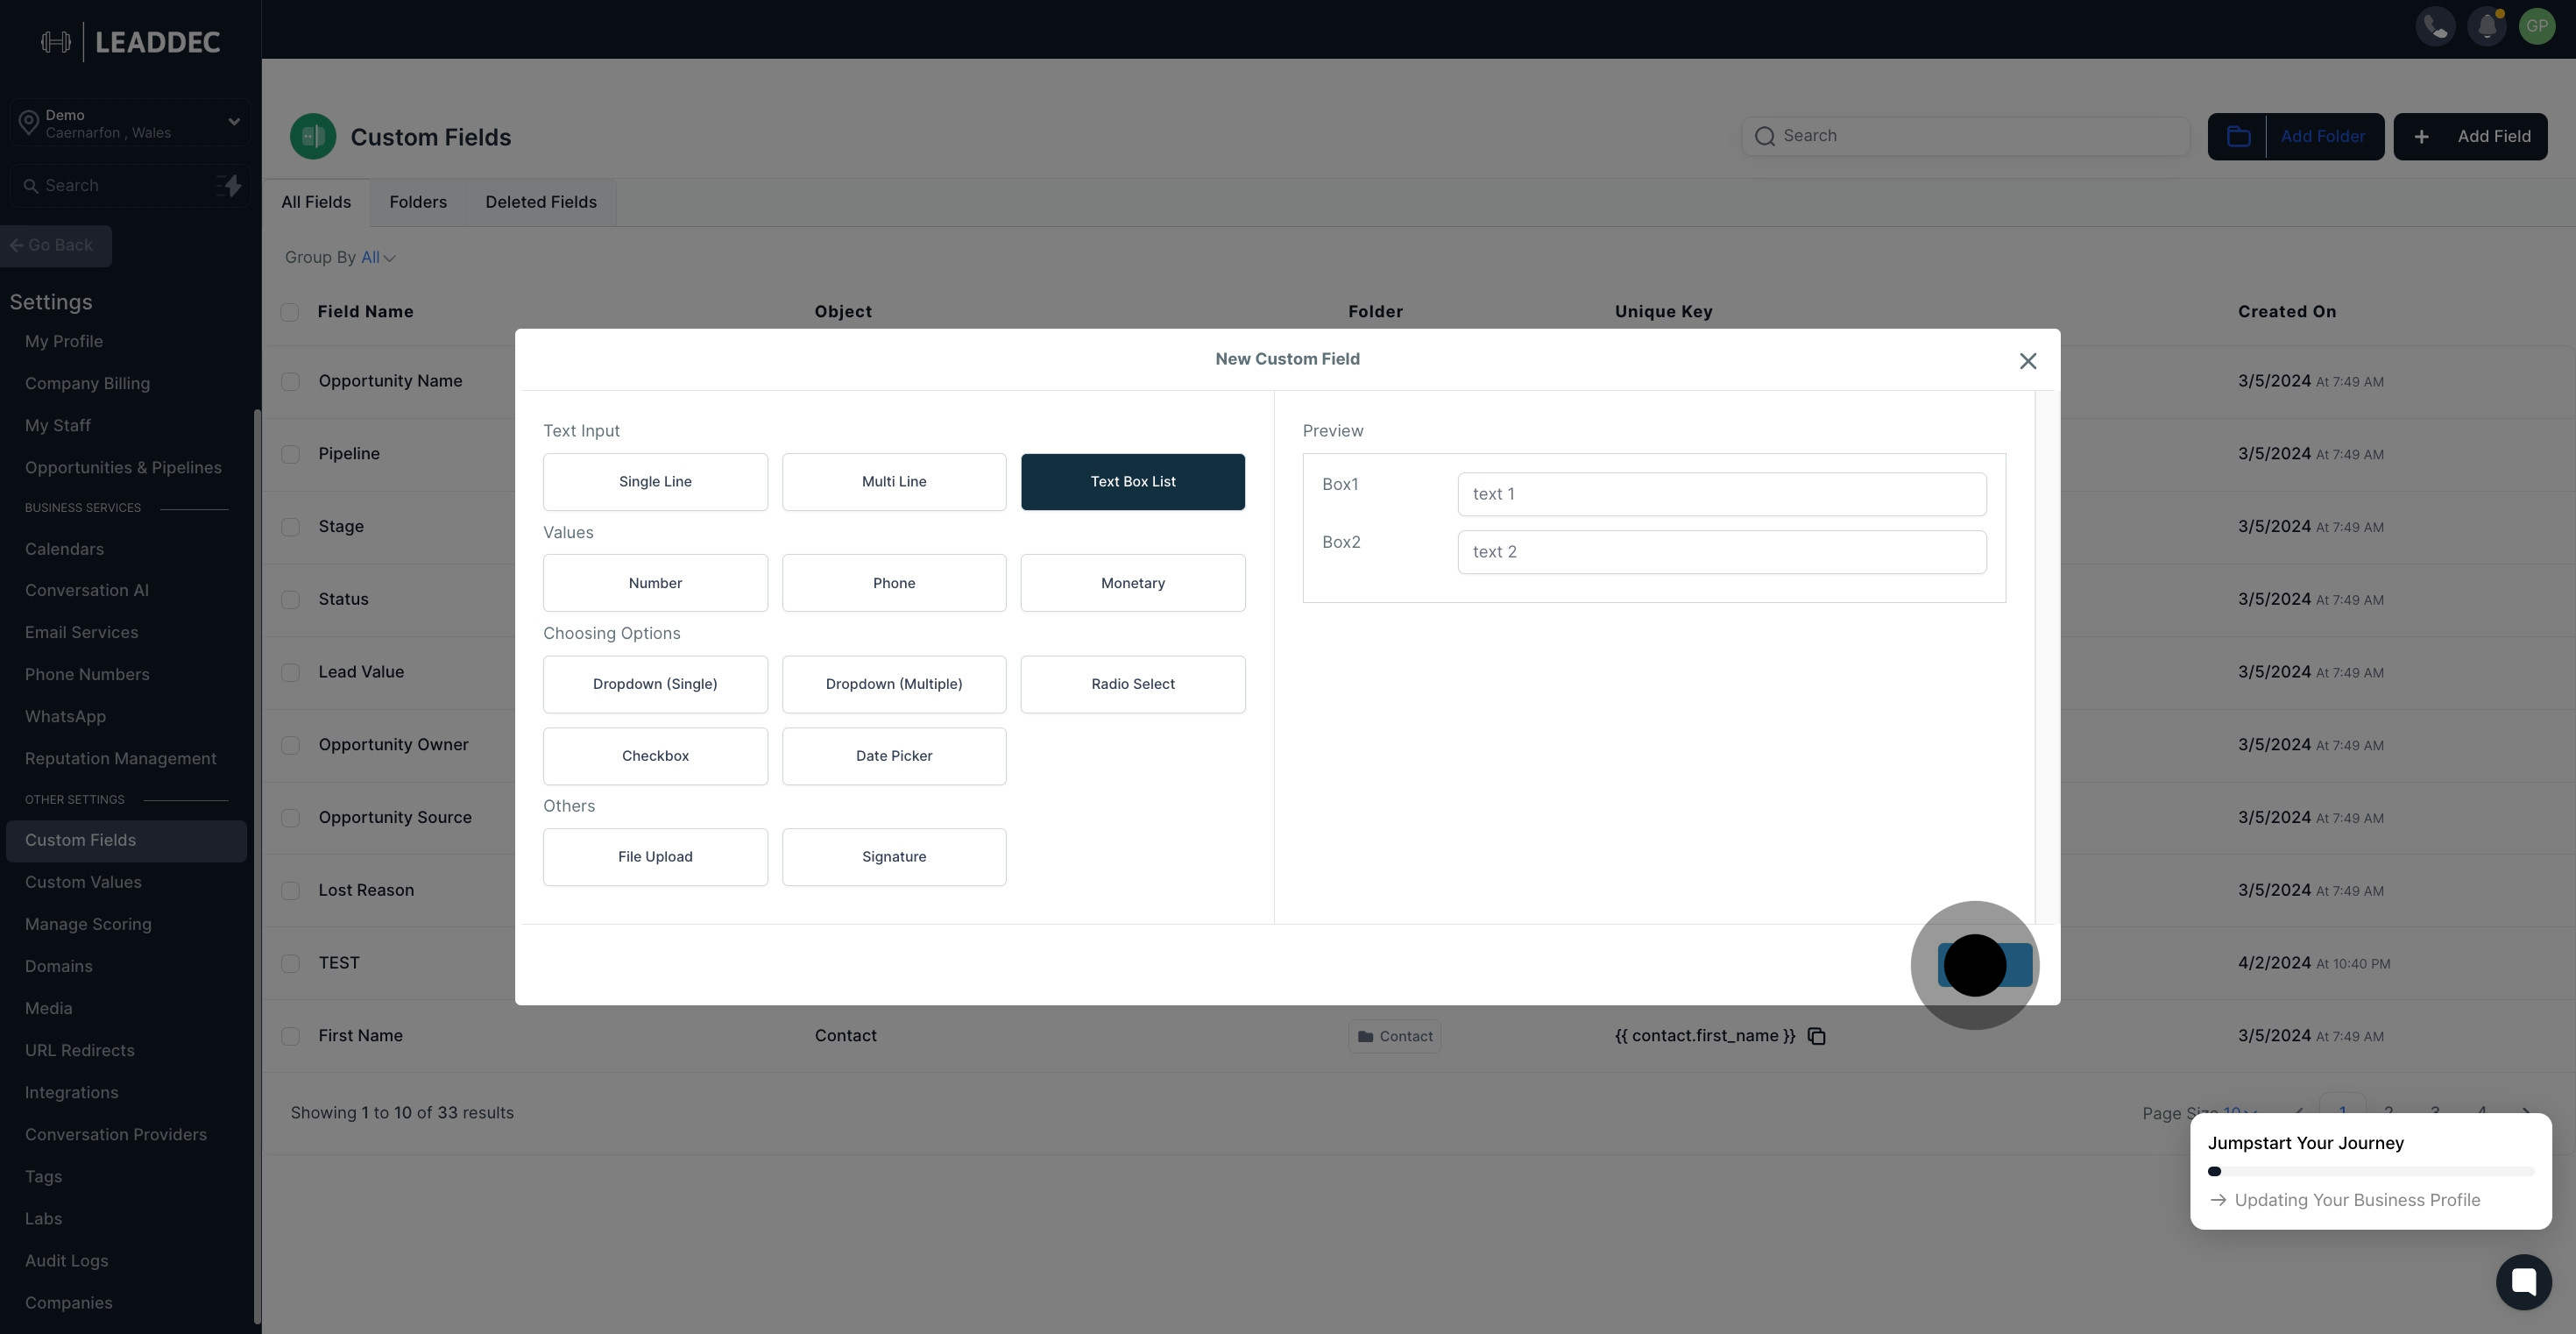
6. Ready? Select Next to proceed.
7. Now, it's time to name your field.
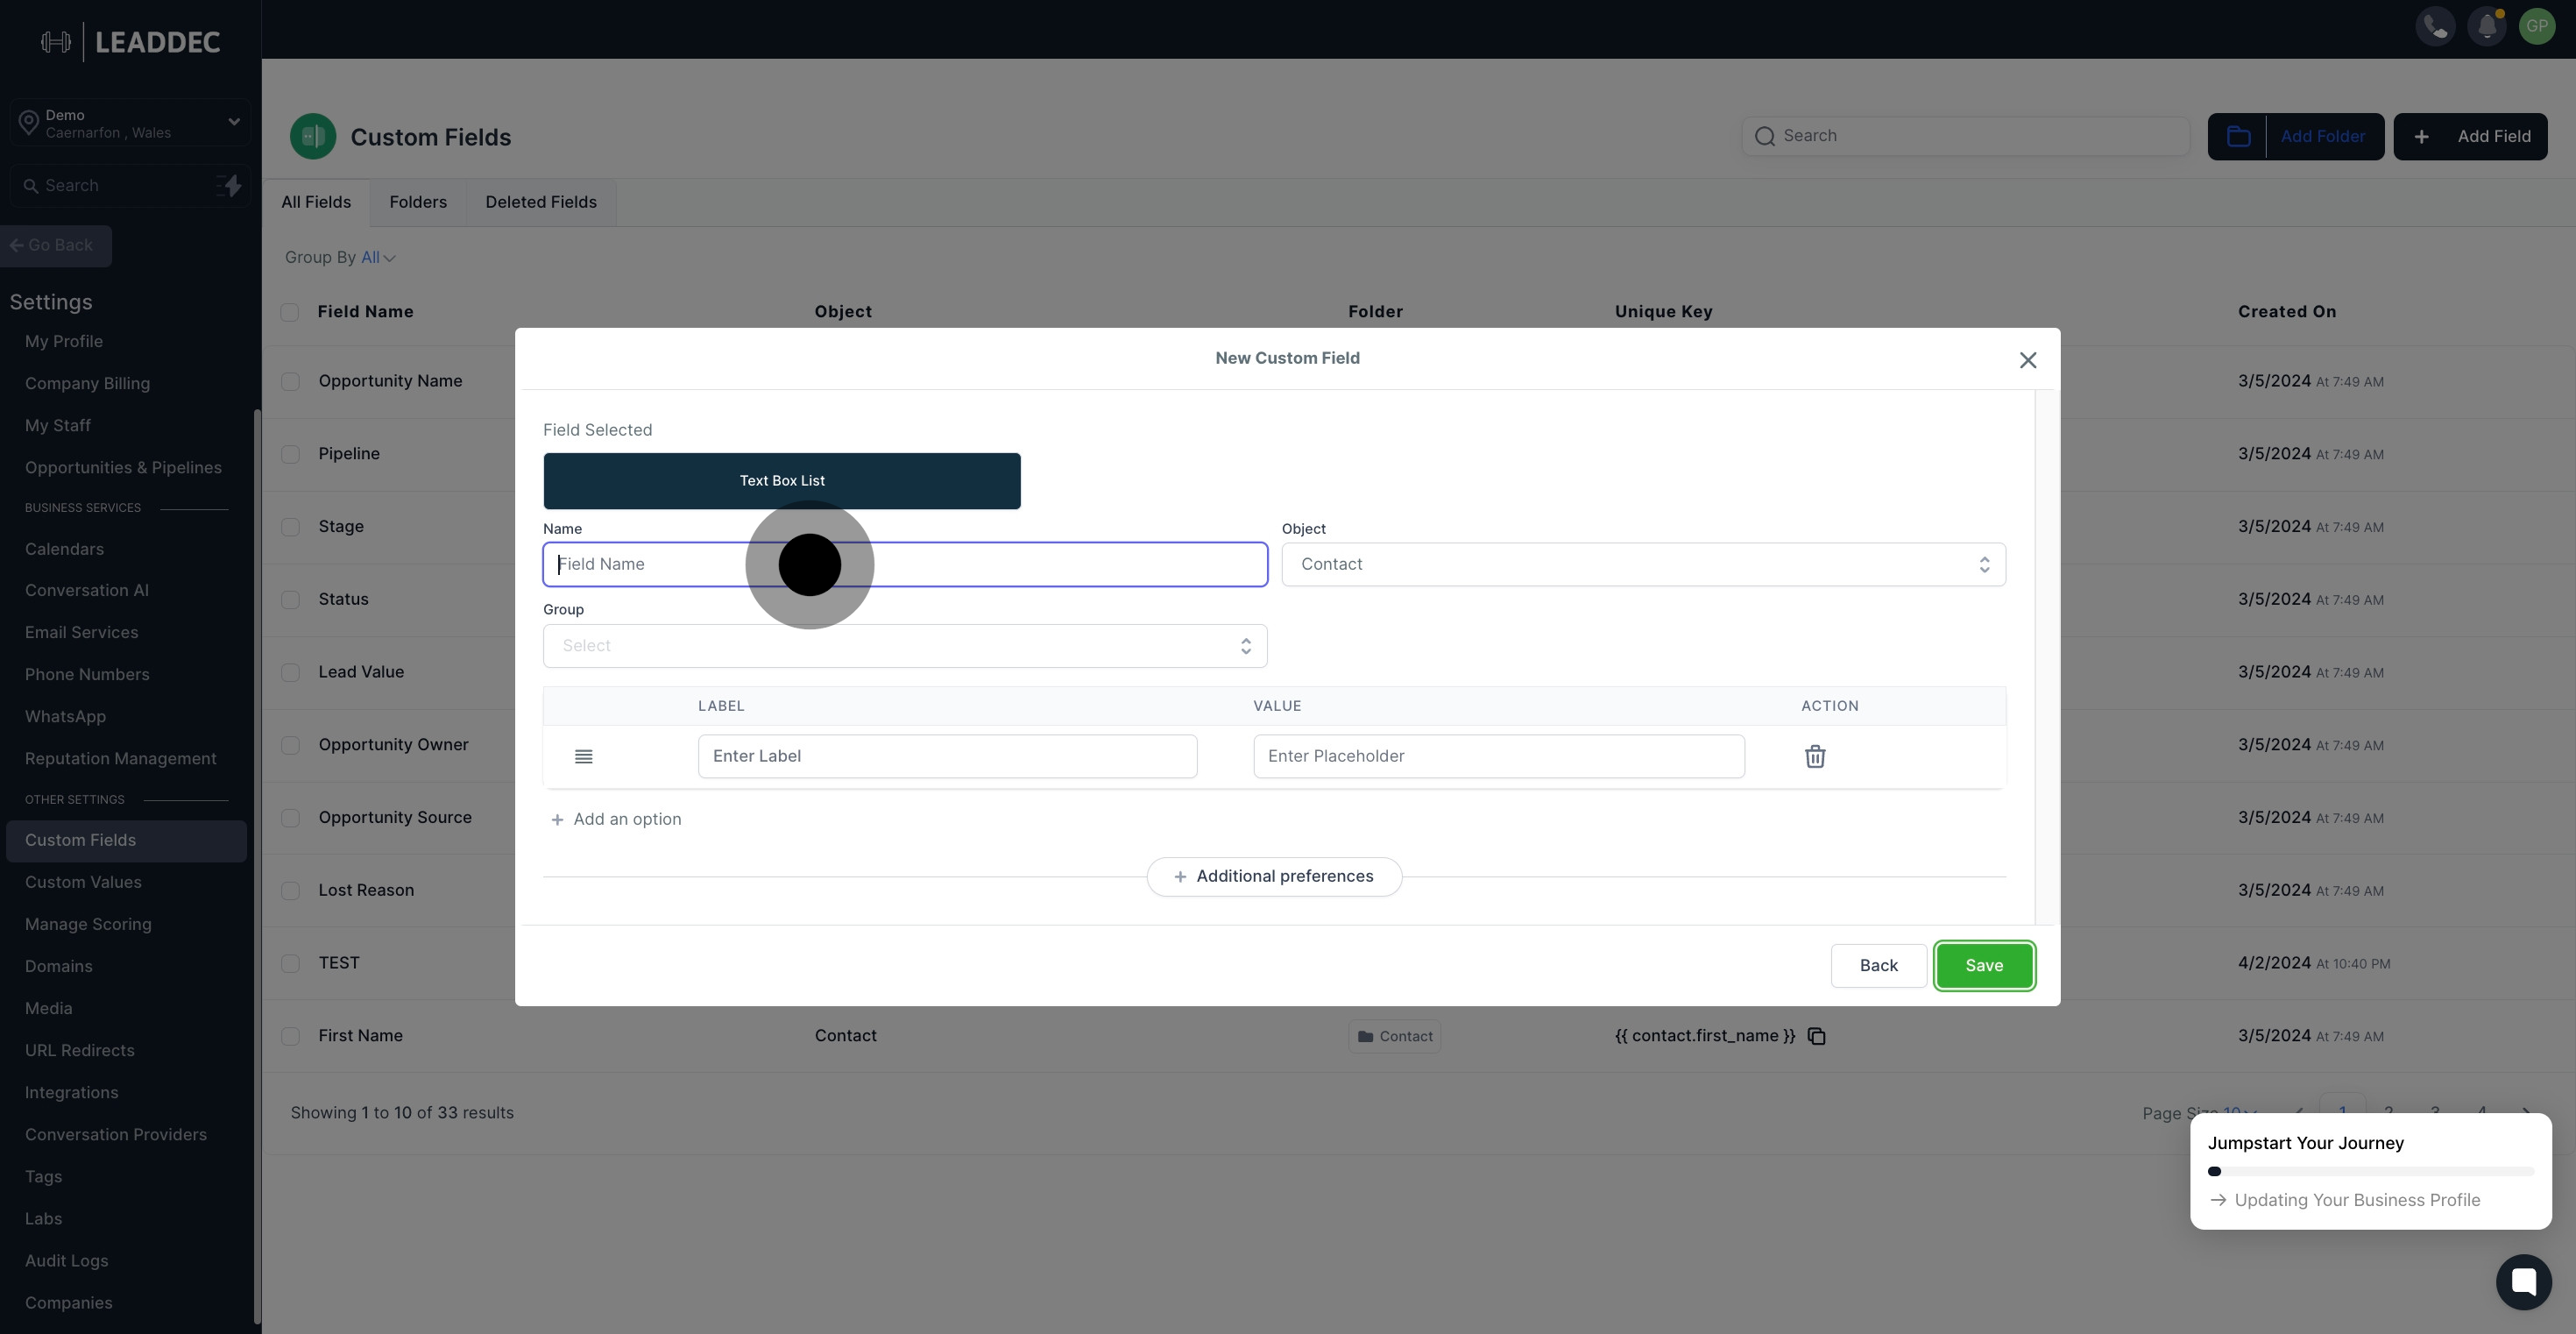
8. Next, choose the desired group for this field.
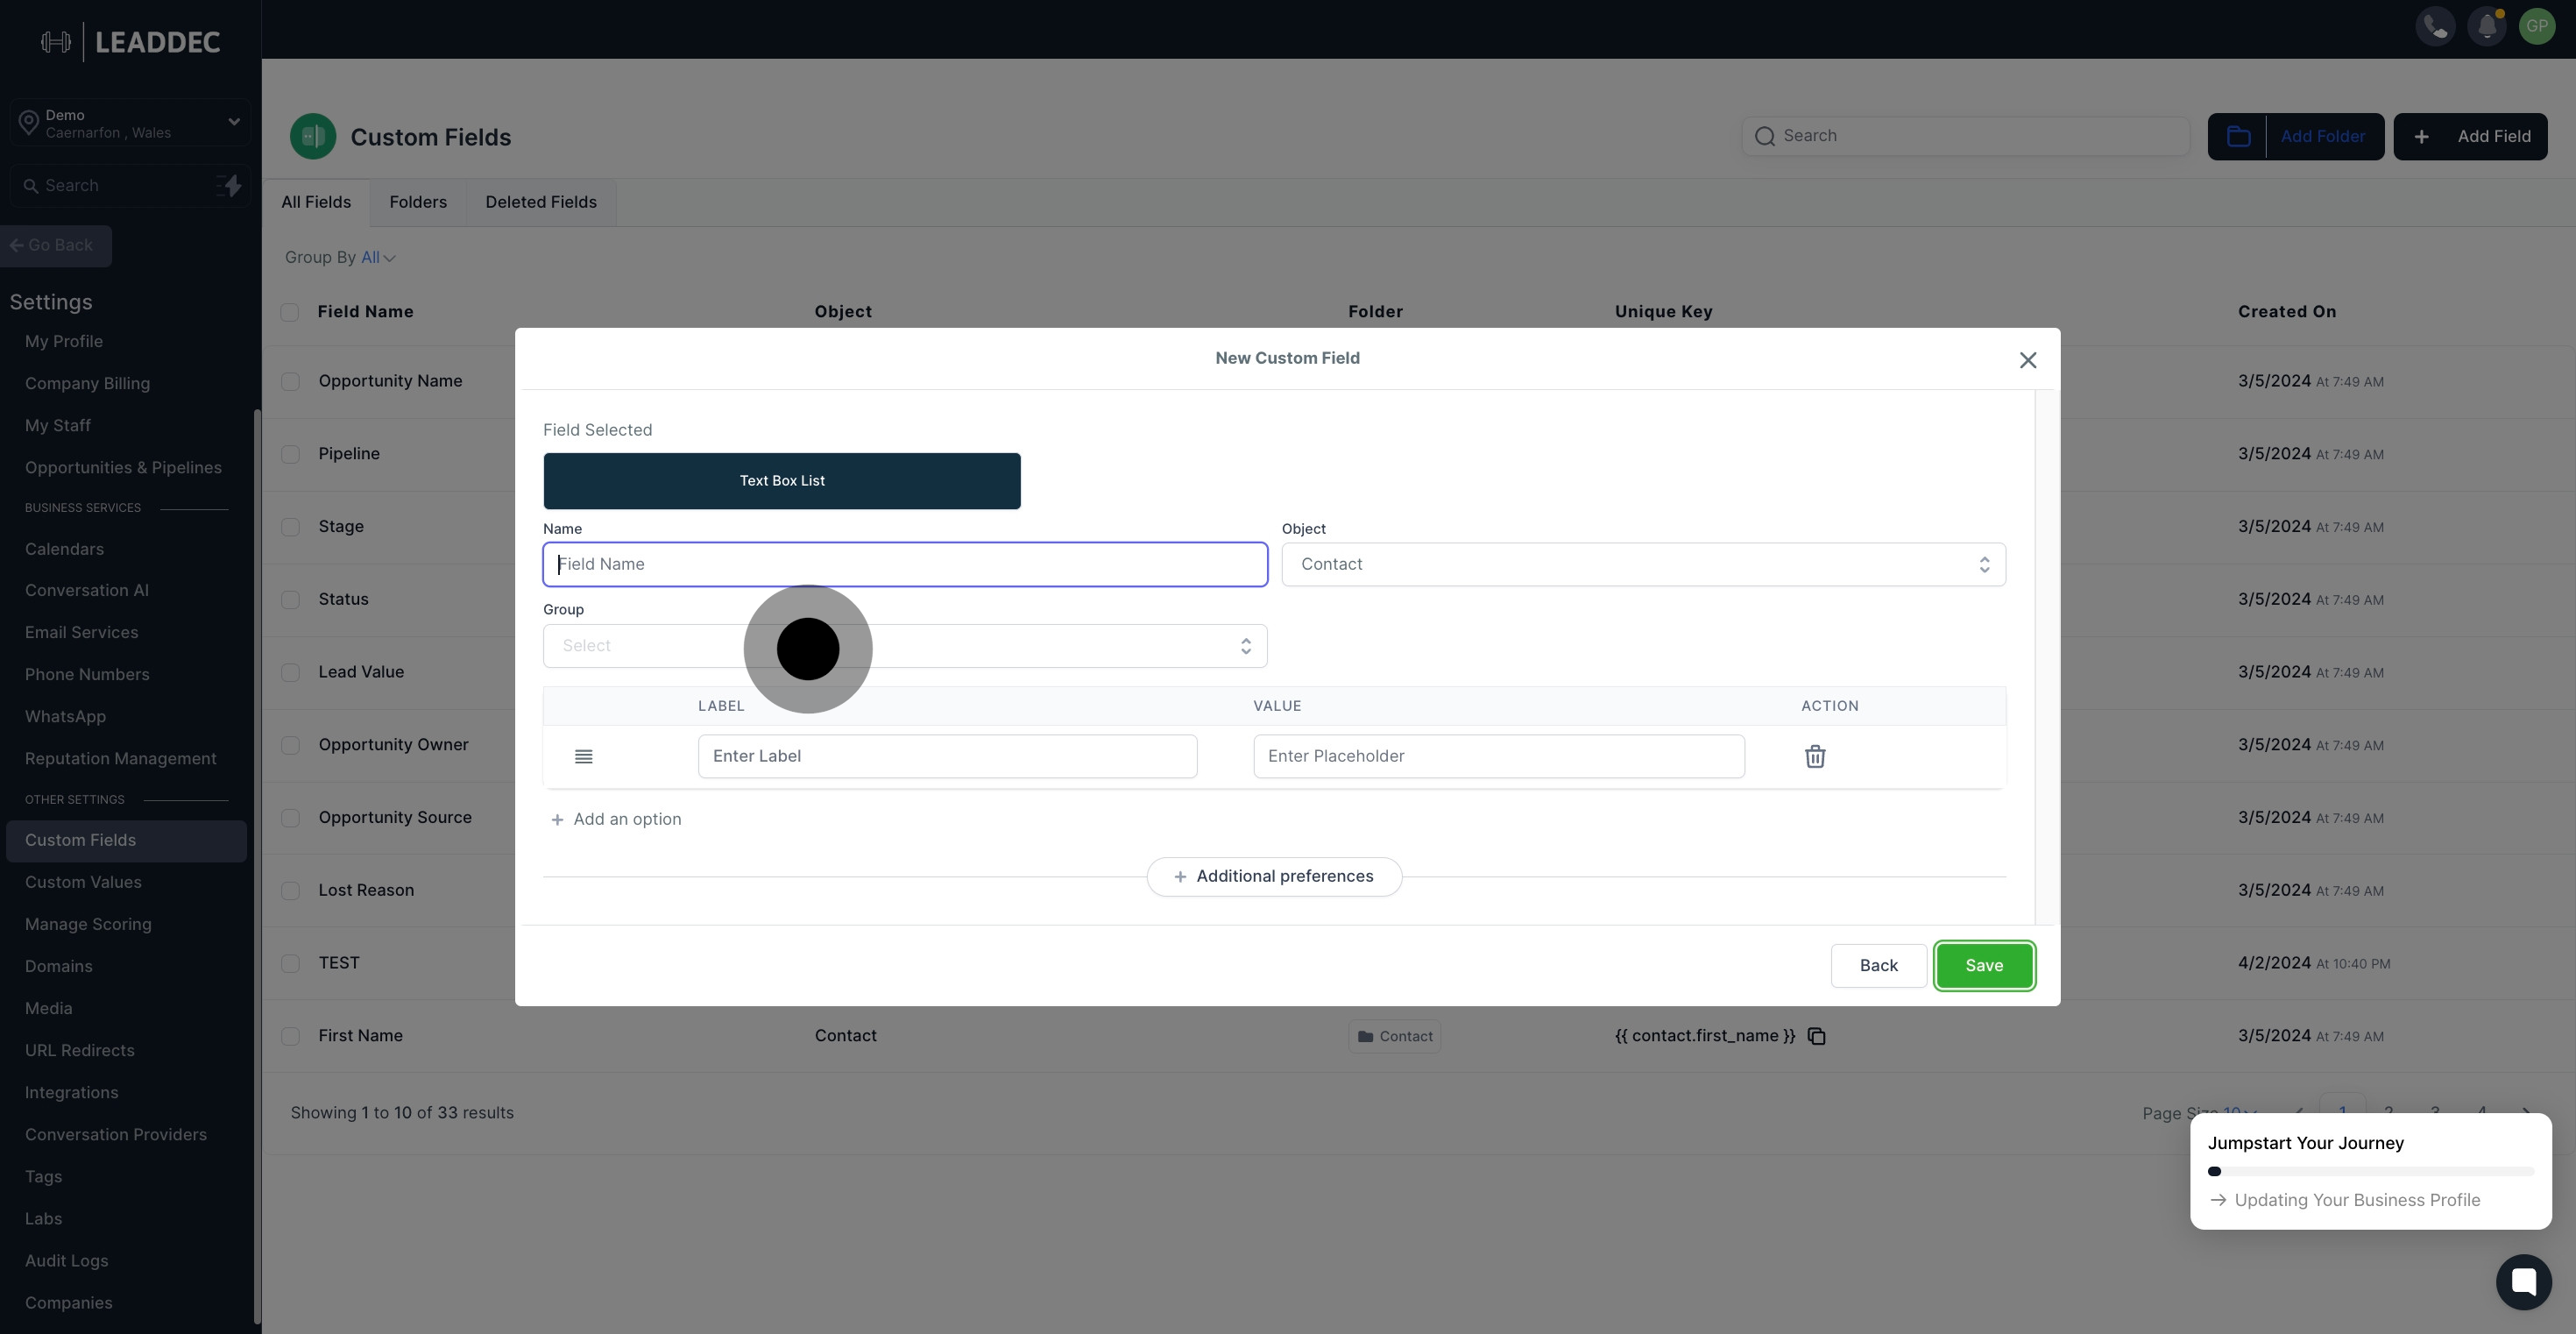
9. Following that, select the object this field belongs to.
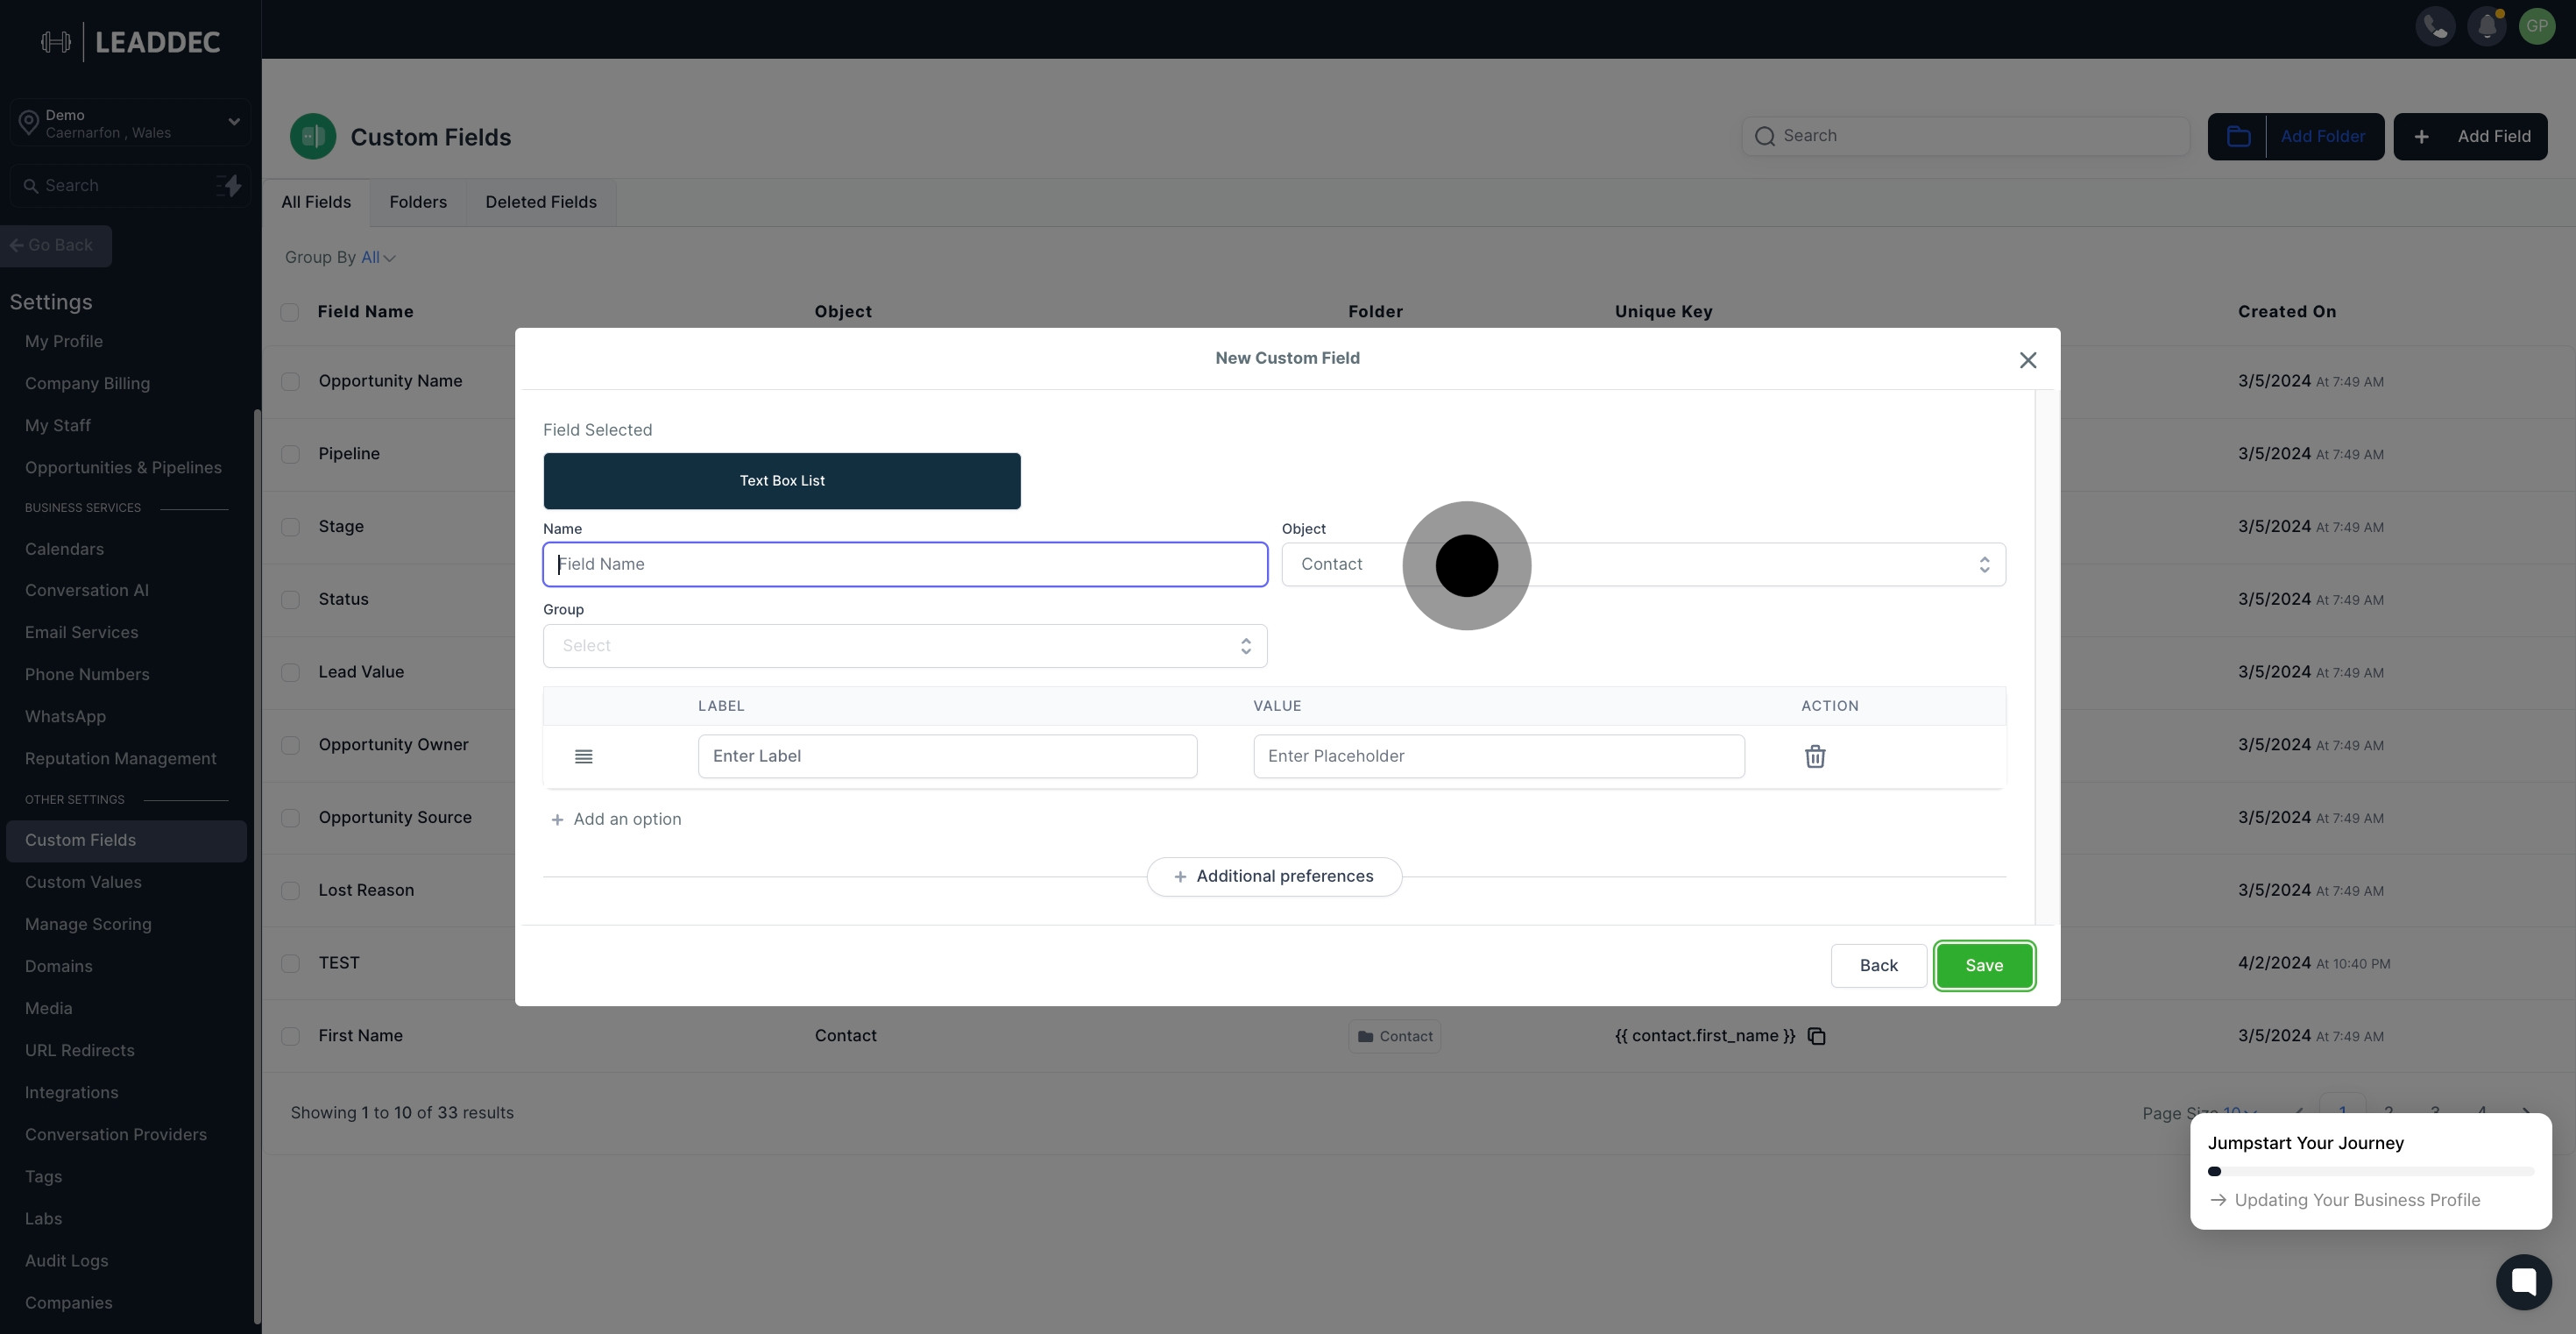
10. Now, add a label for your options.
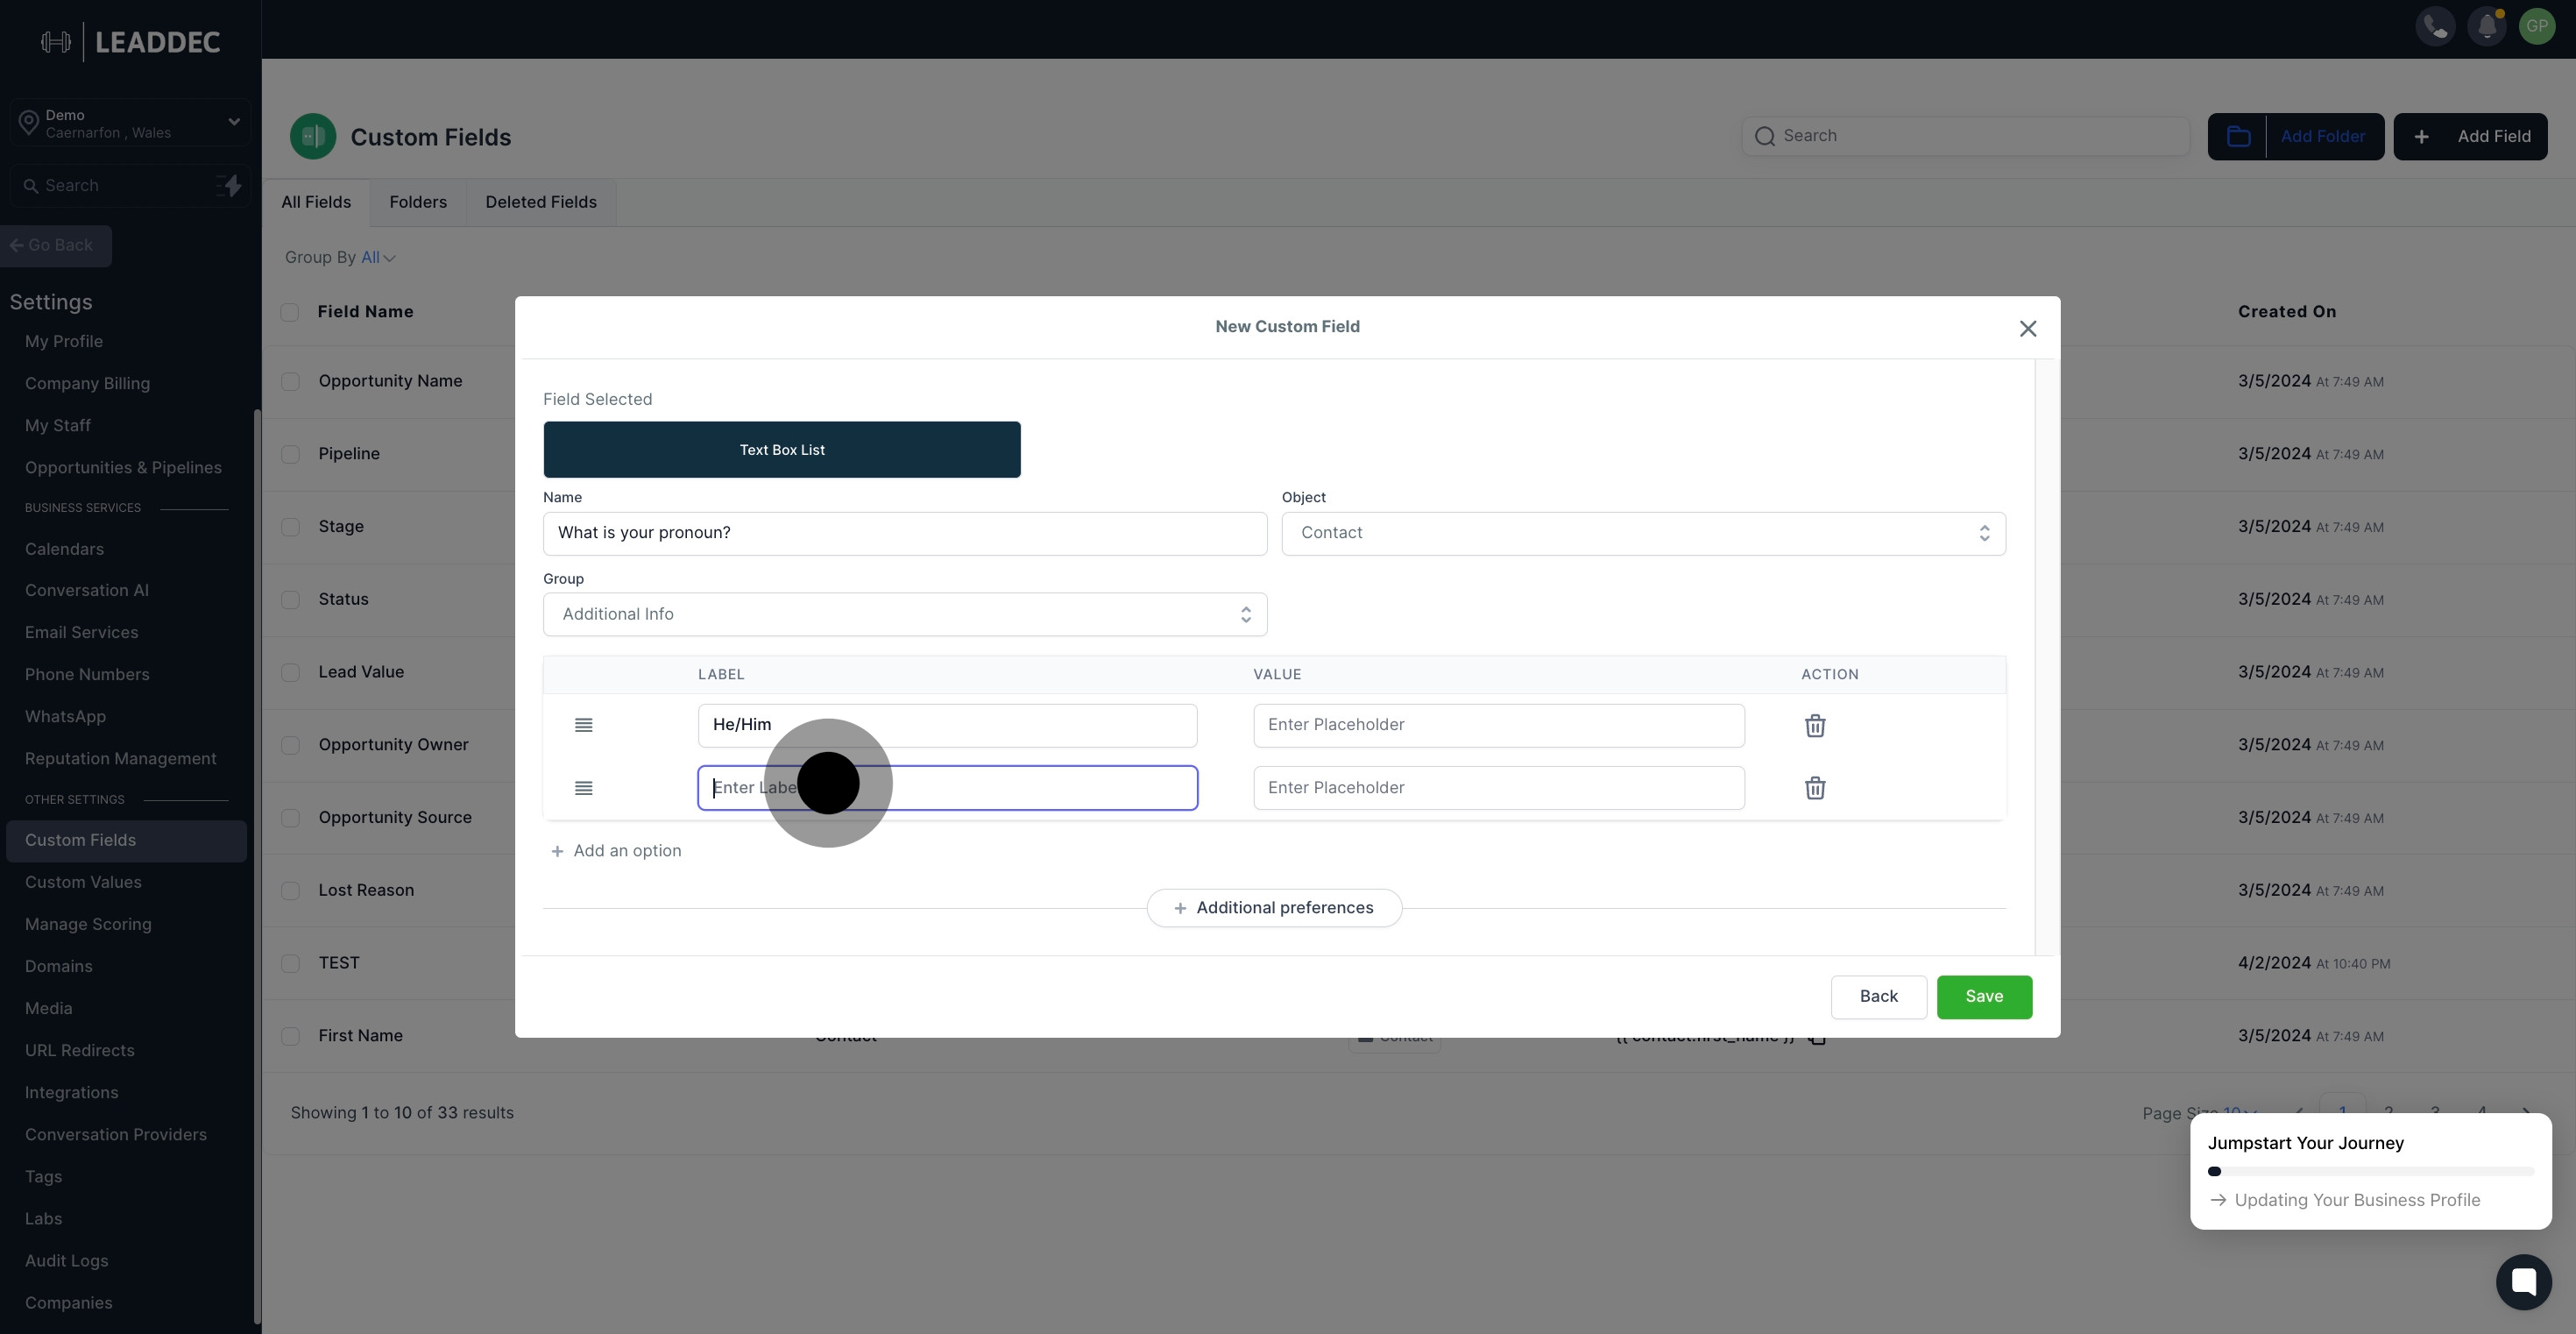
11. You can also add placeholders if necessary.
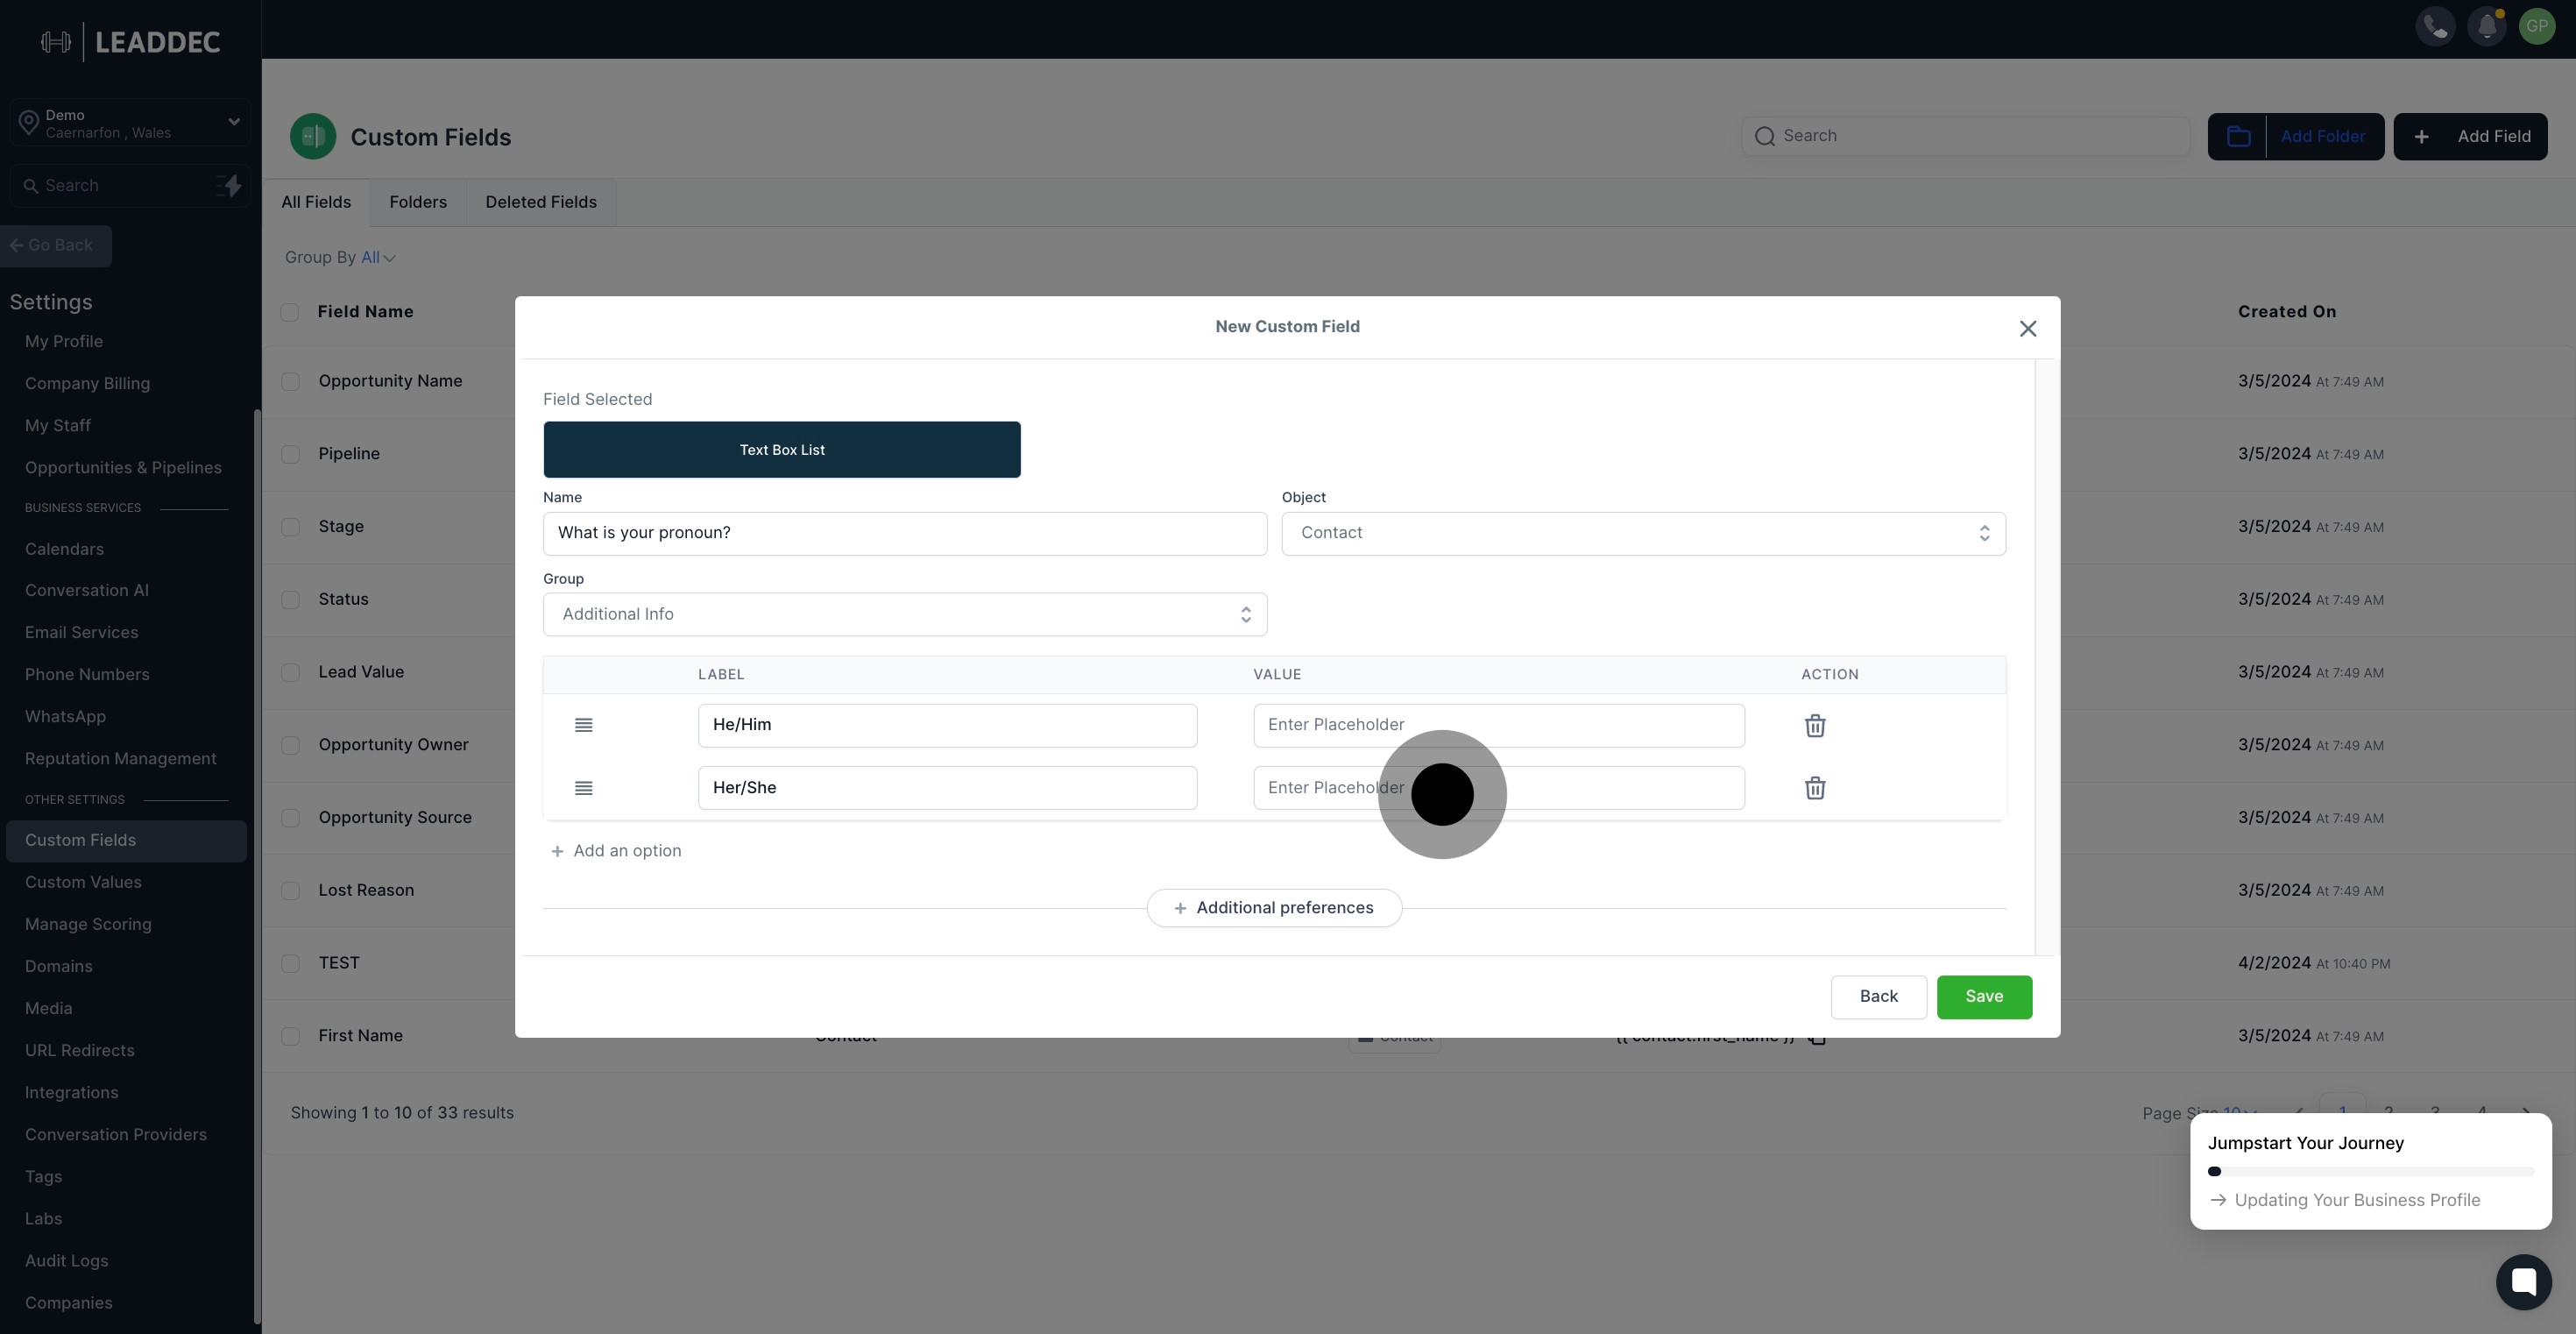
12. Feel free to delete any unneeded elements.
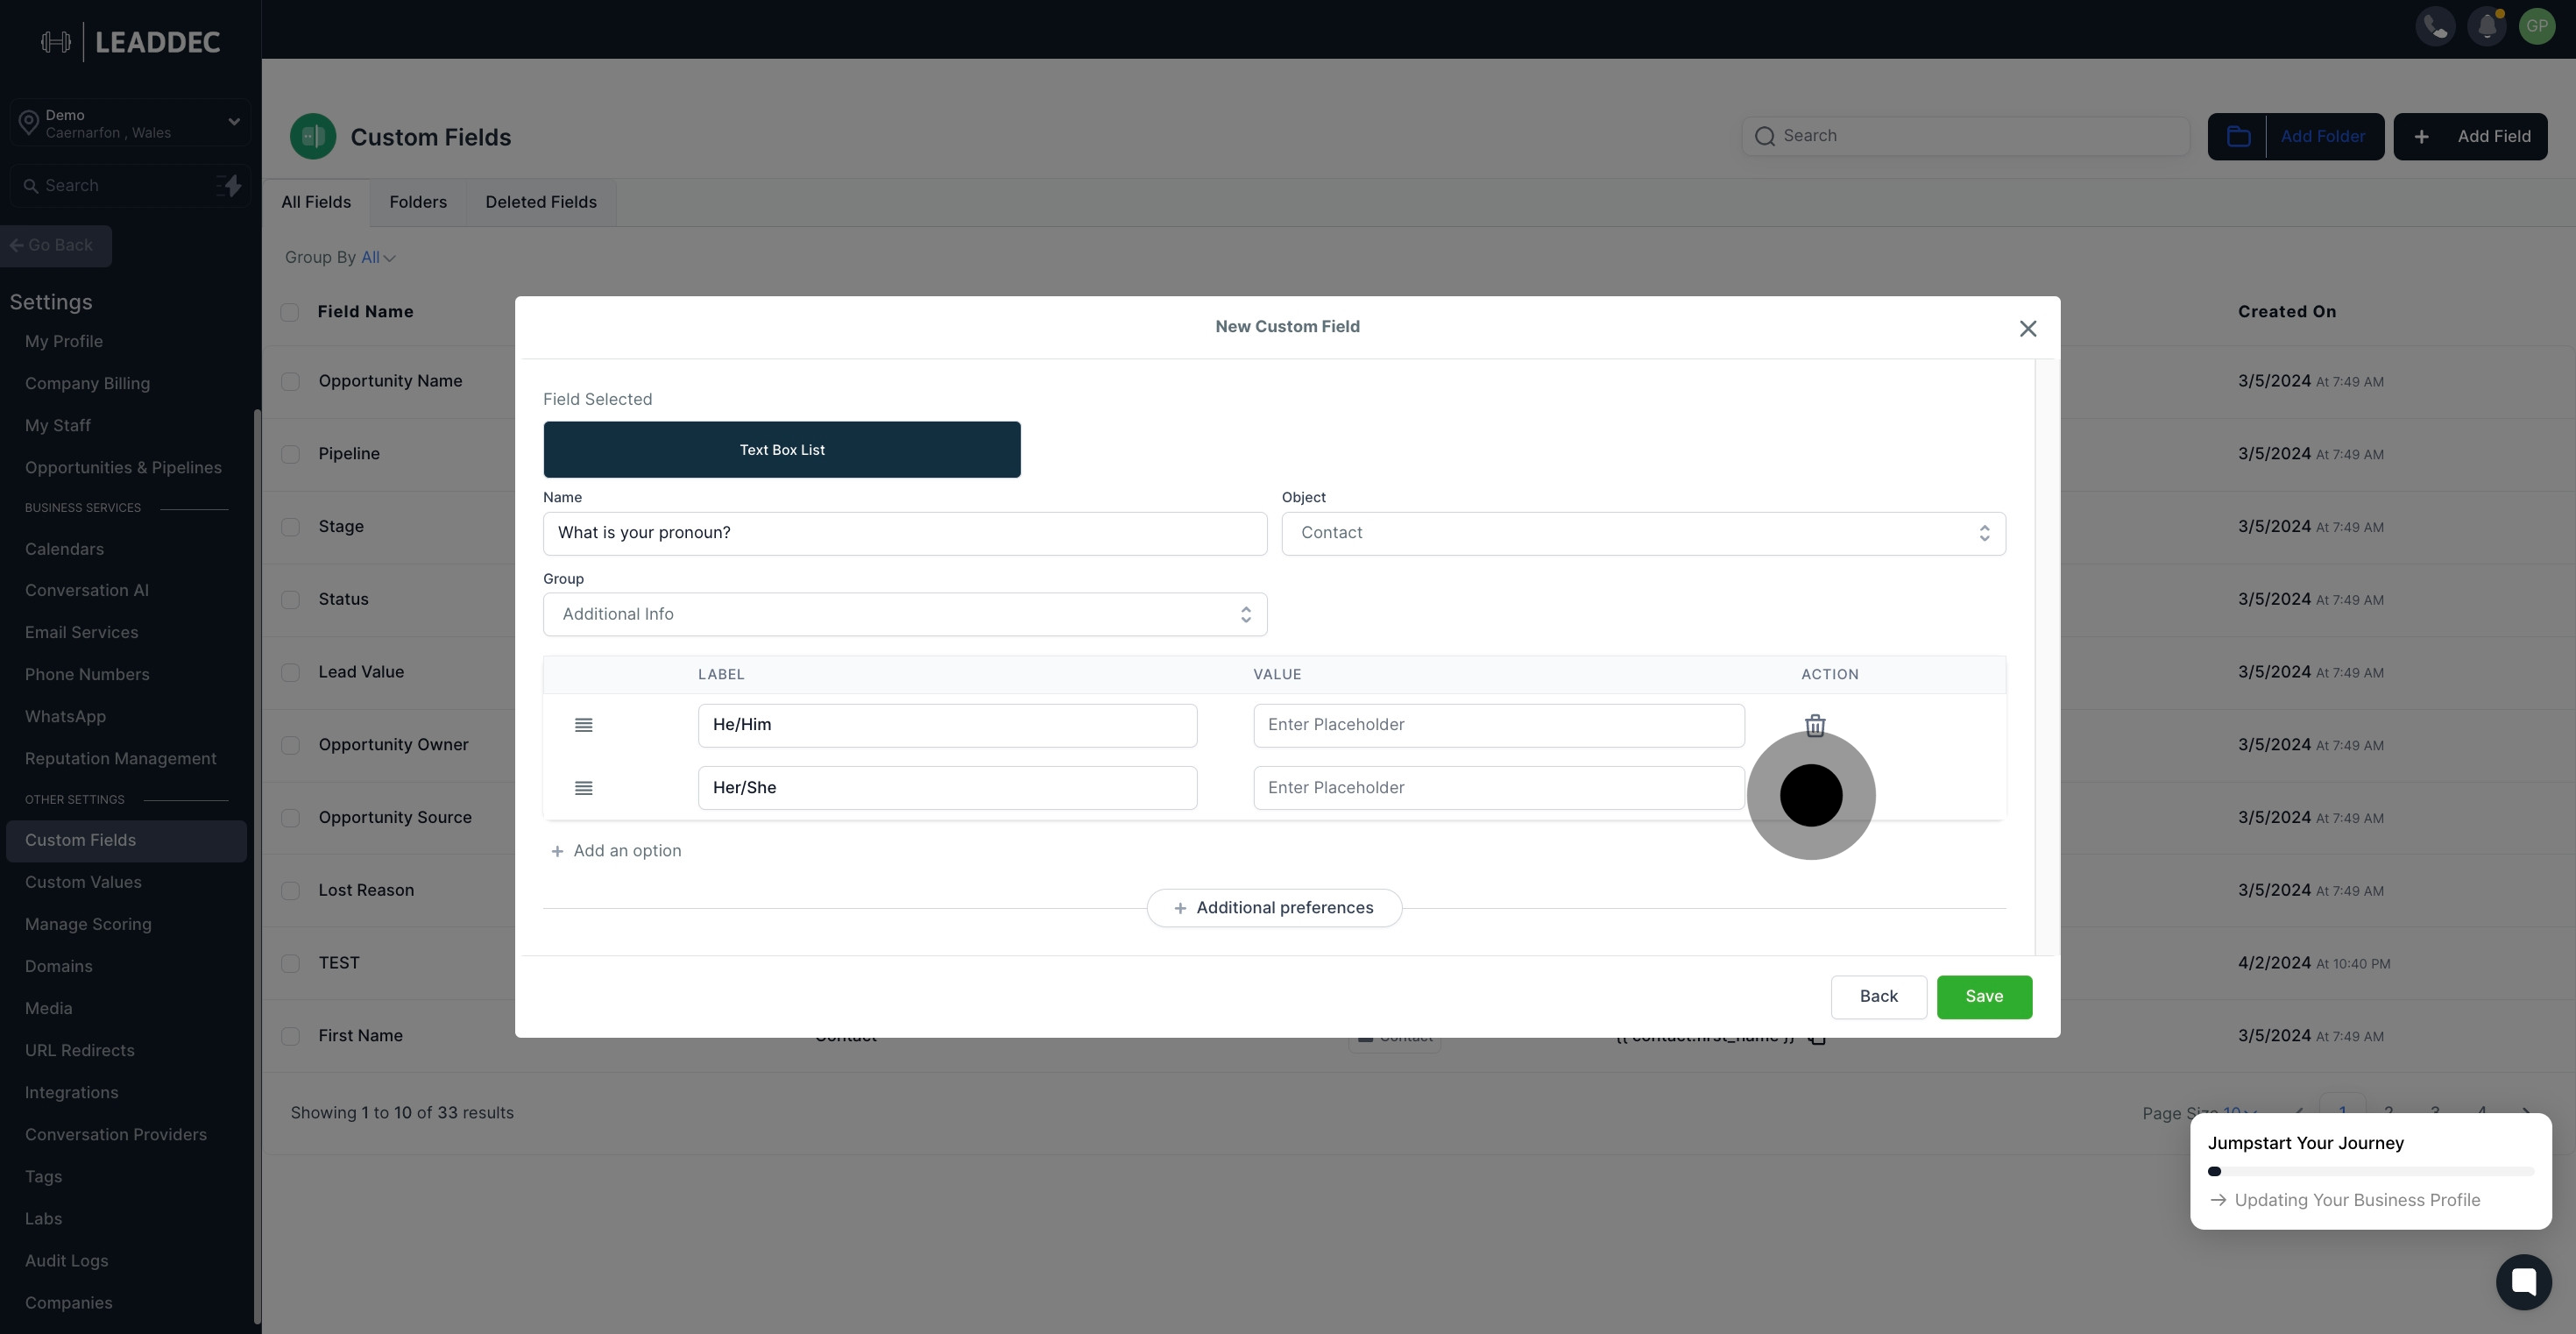
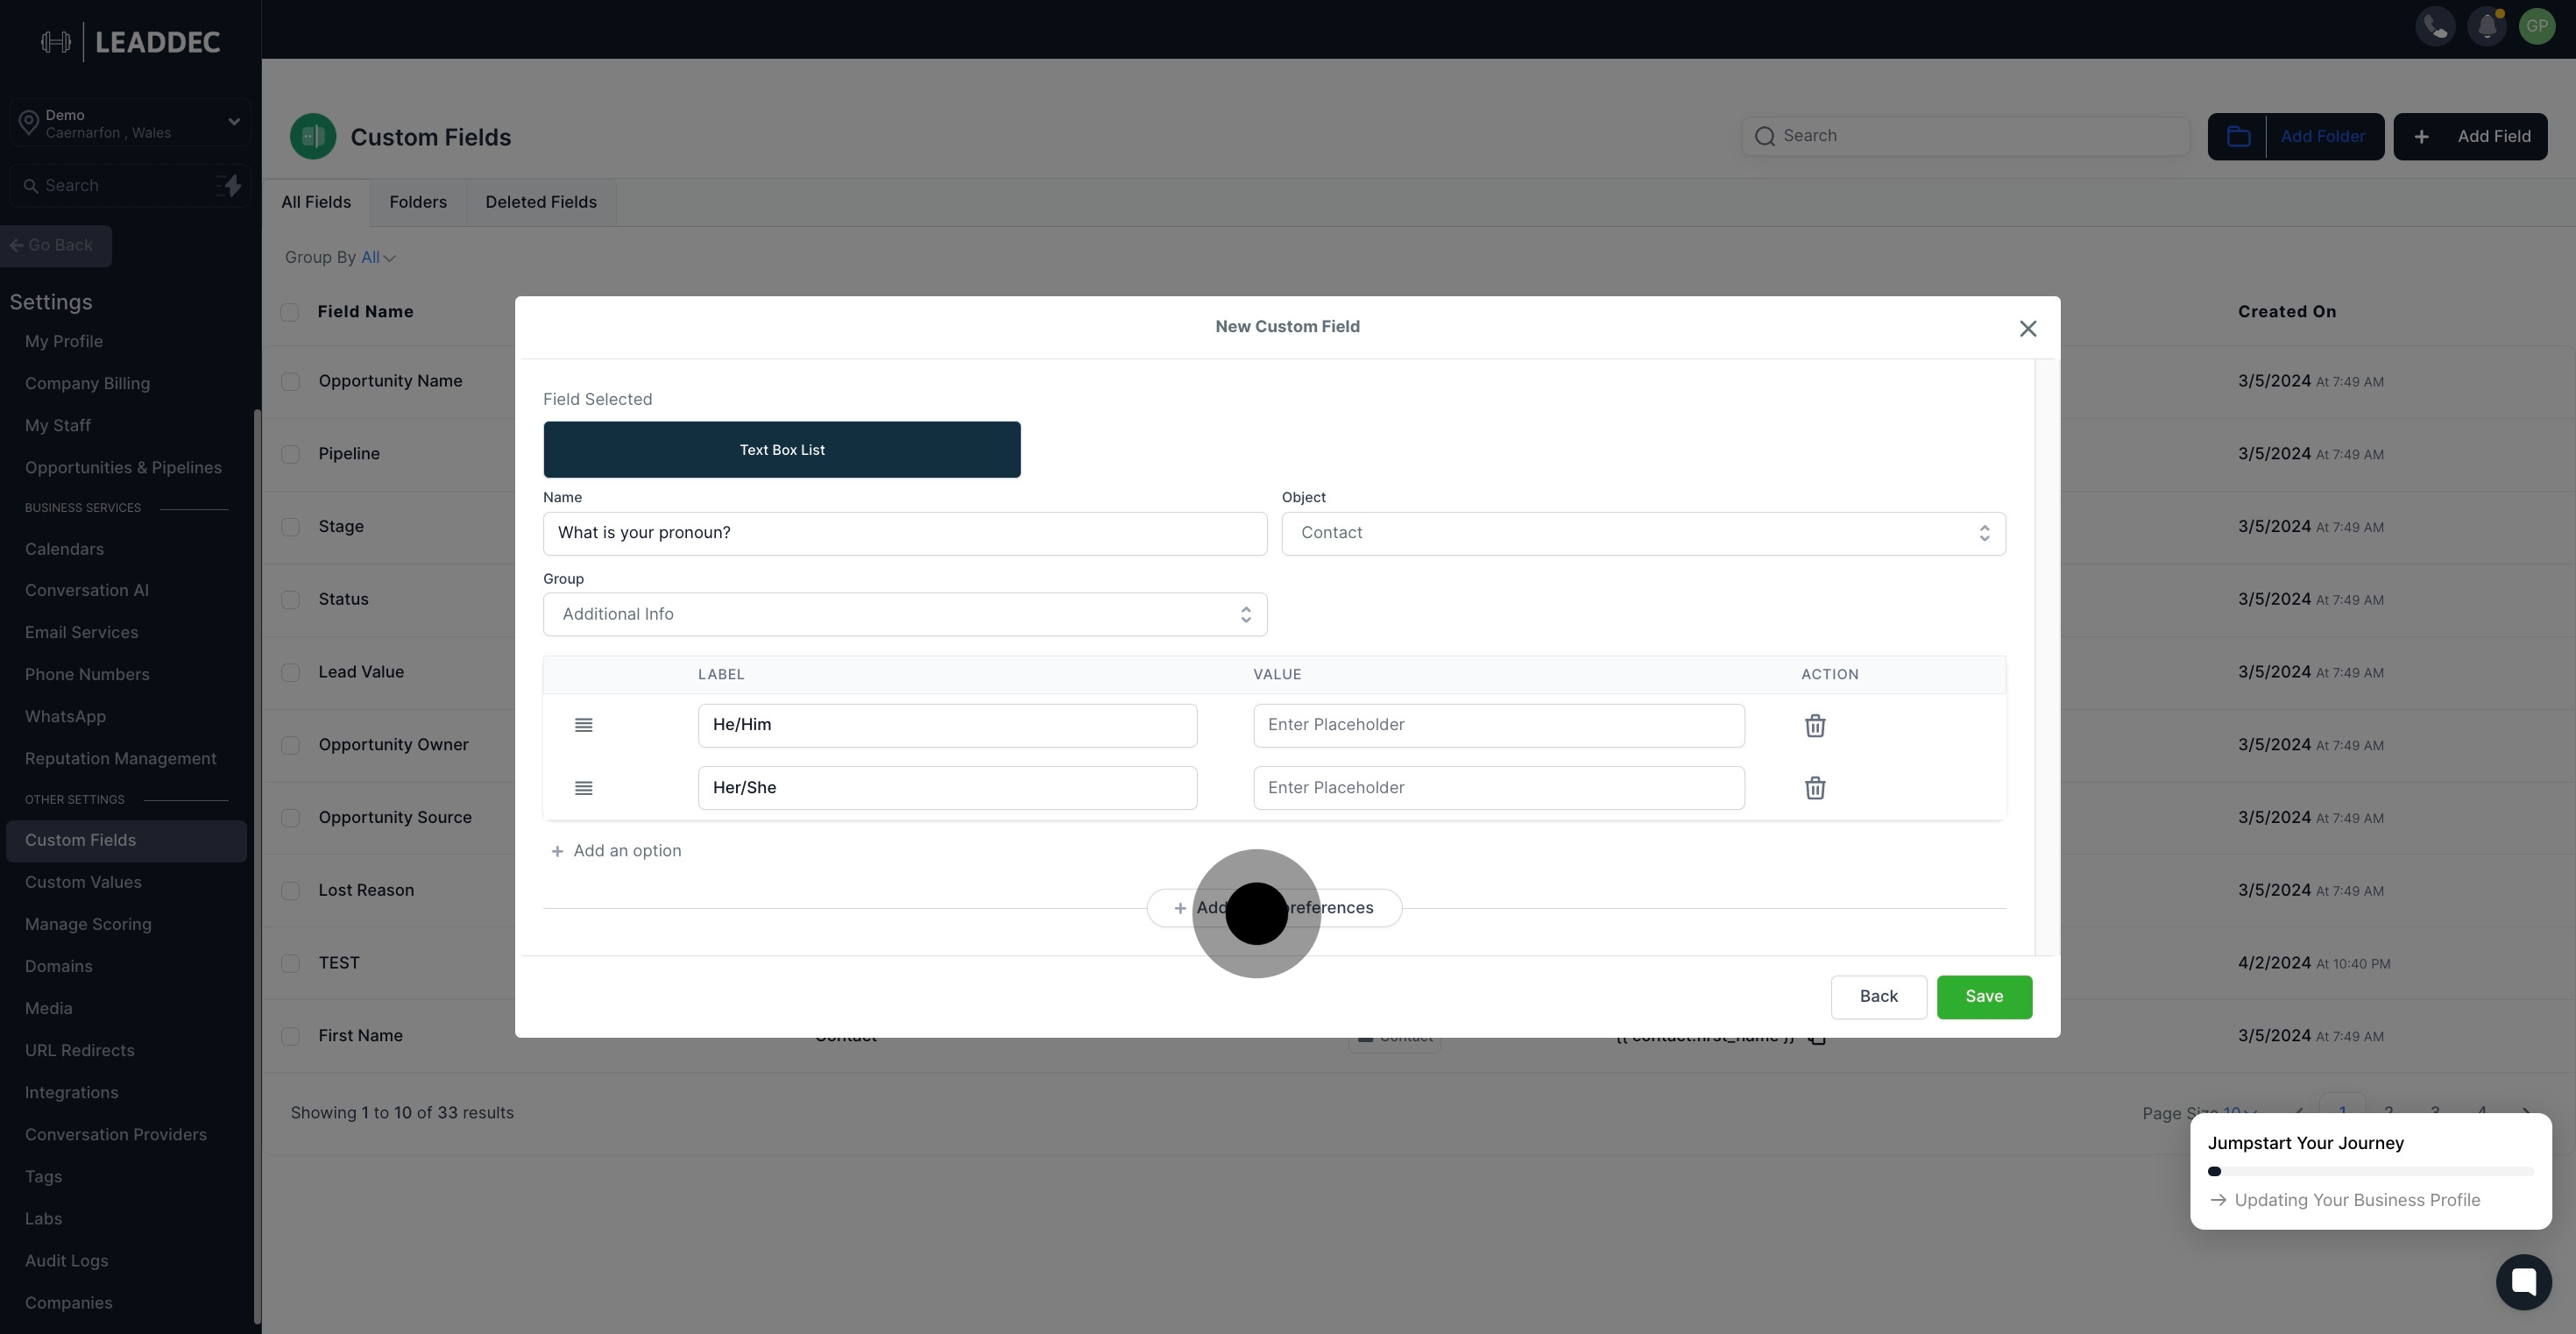
13. If you want to add 'Additional Preferences', you can do so here.
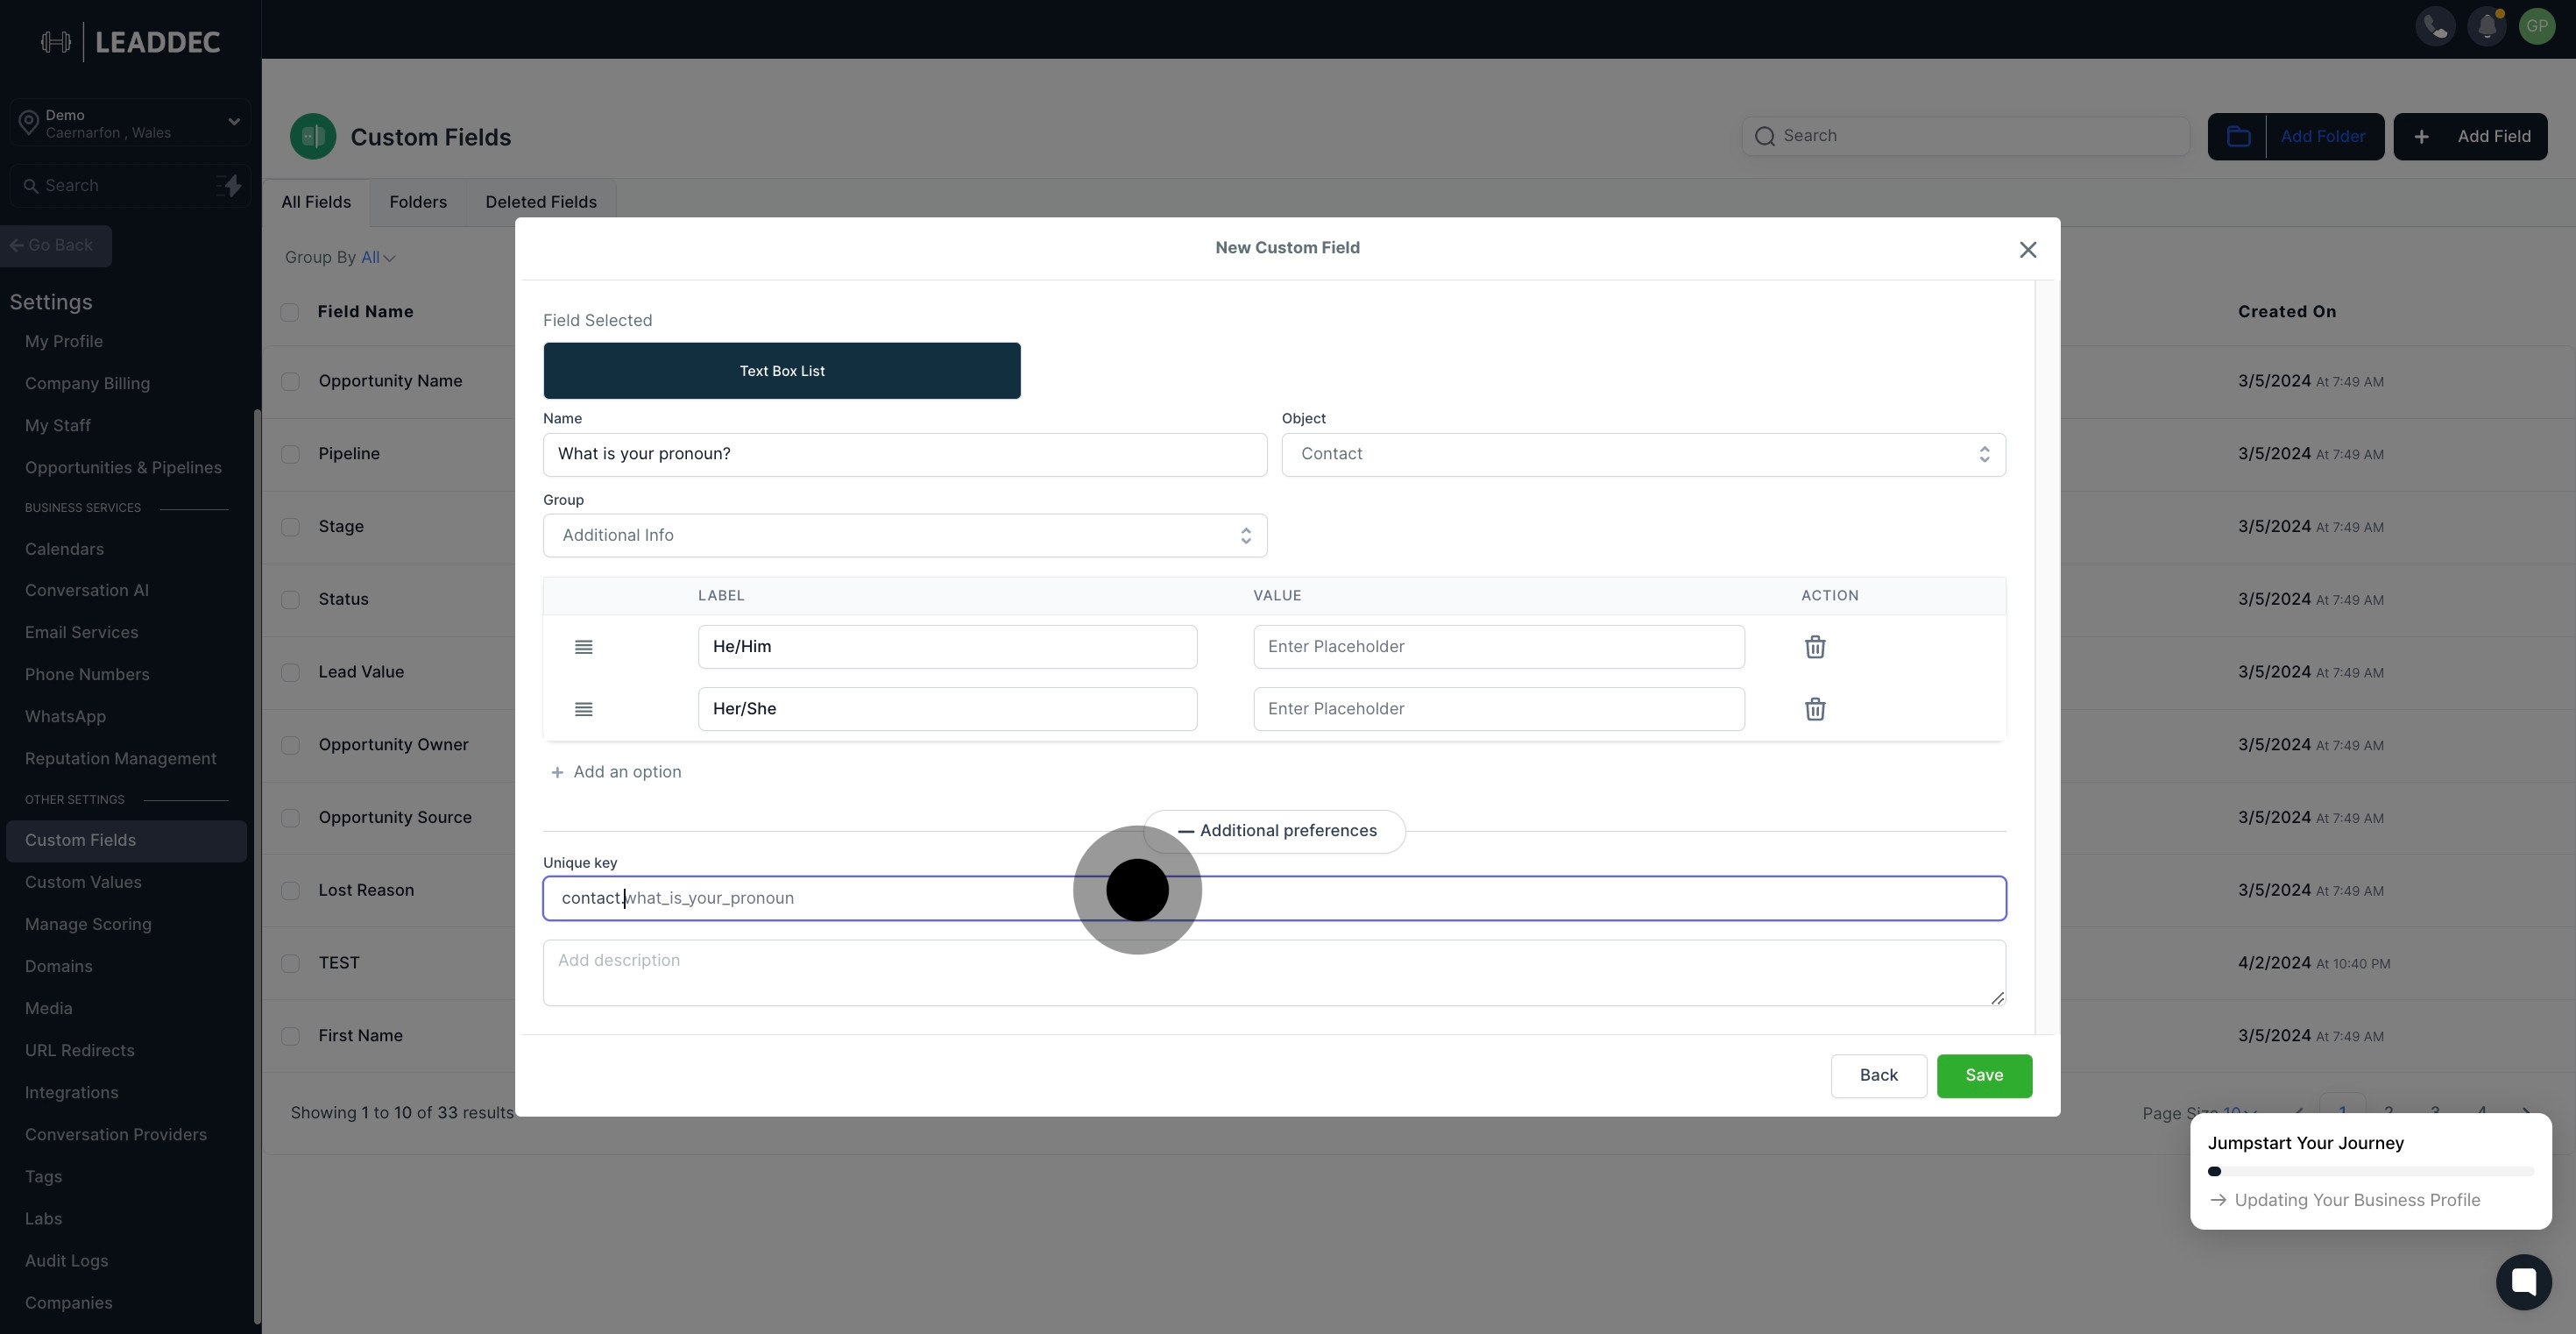
14. Customize the unique key for custom fields here if you want.
15. Don't forget to add a description for reference.
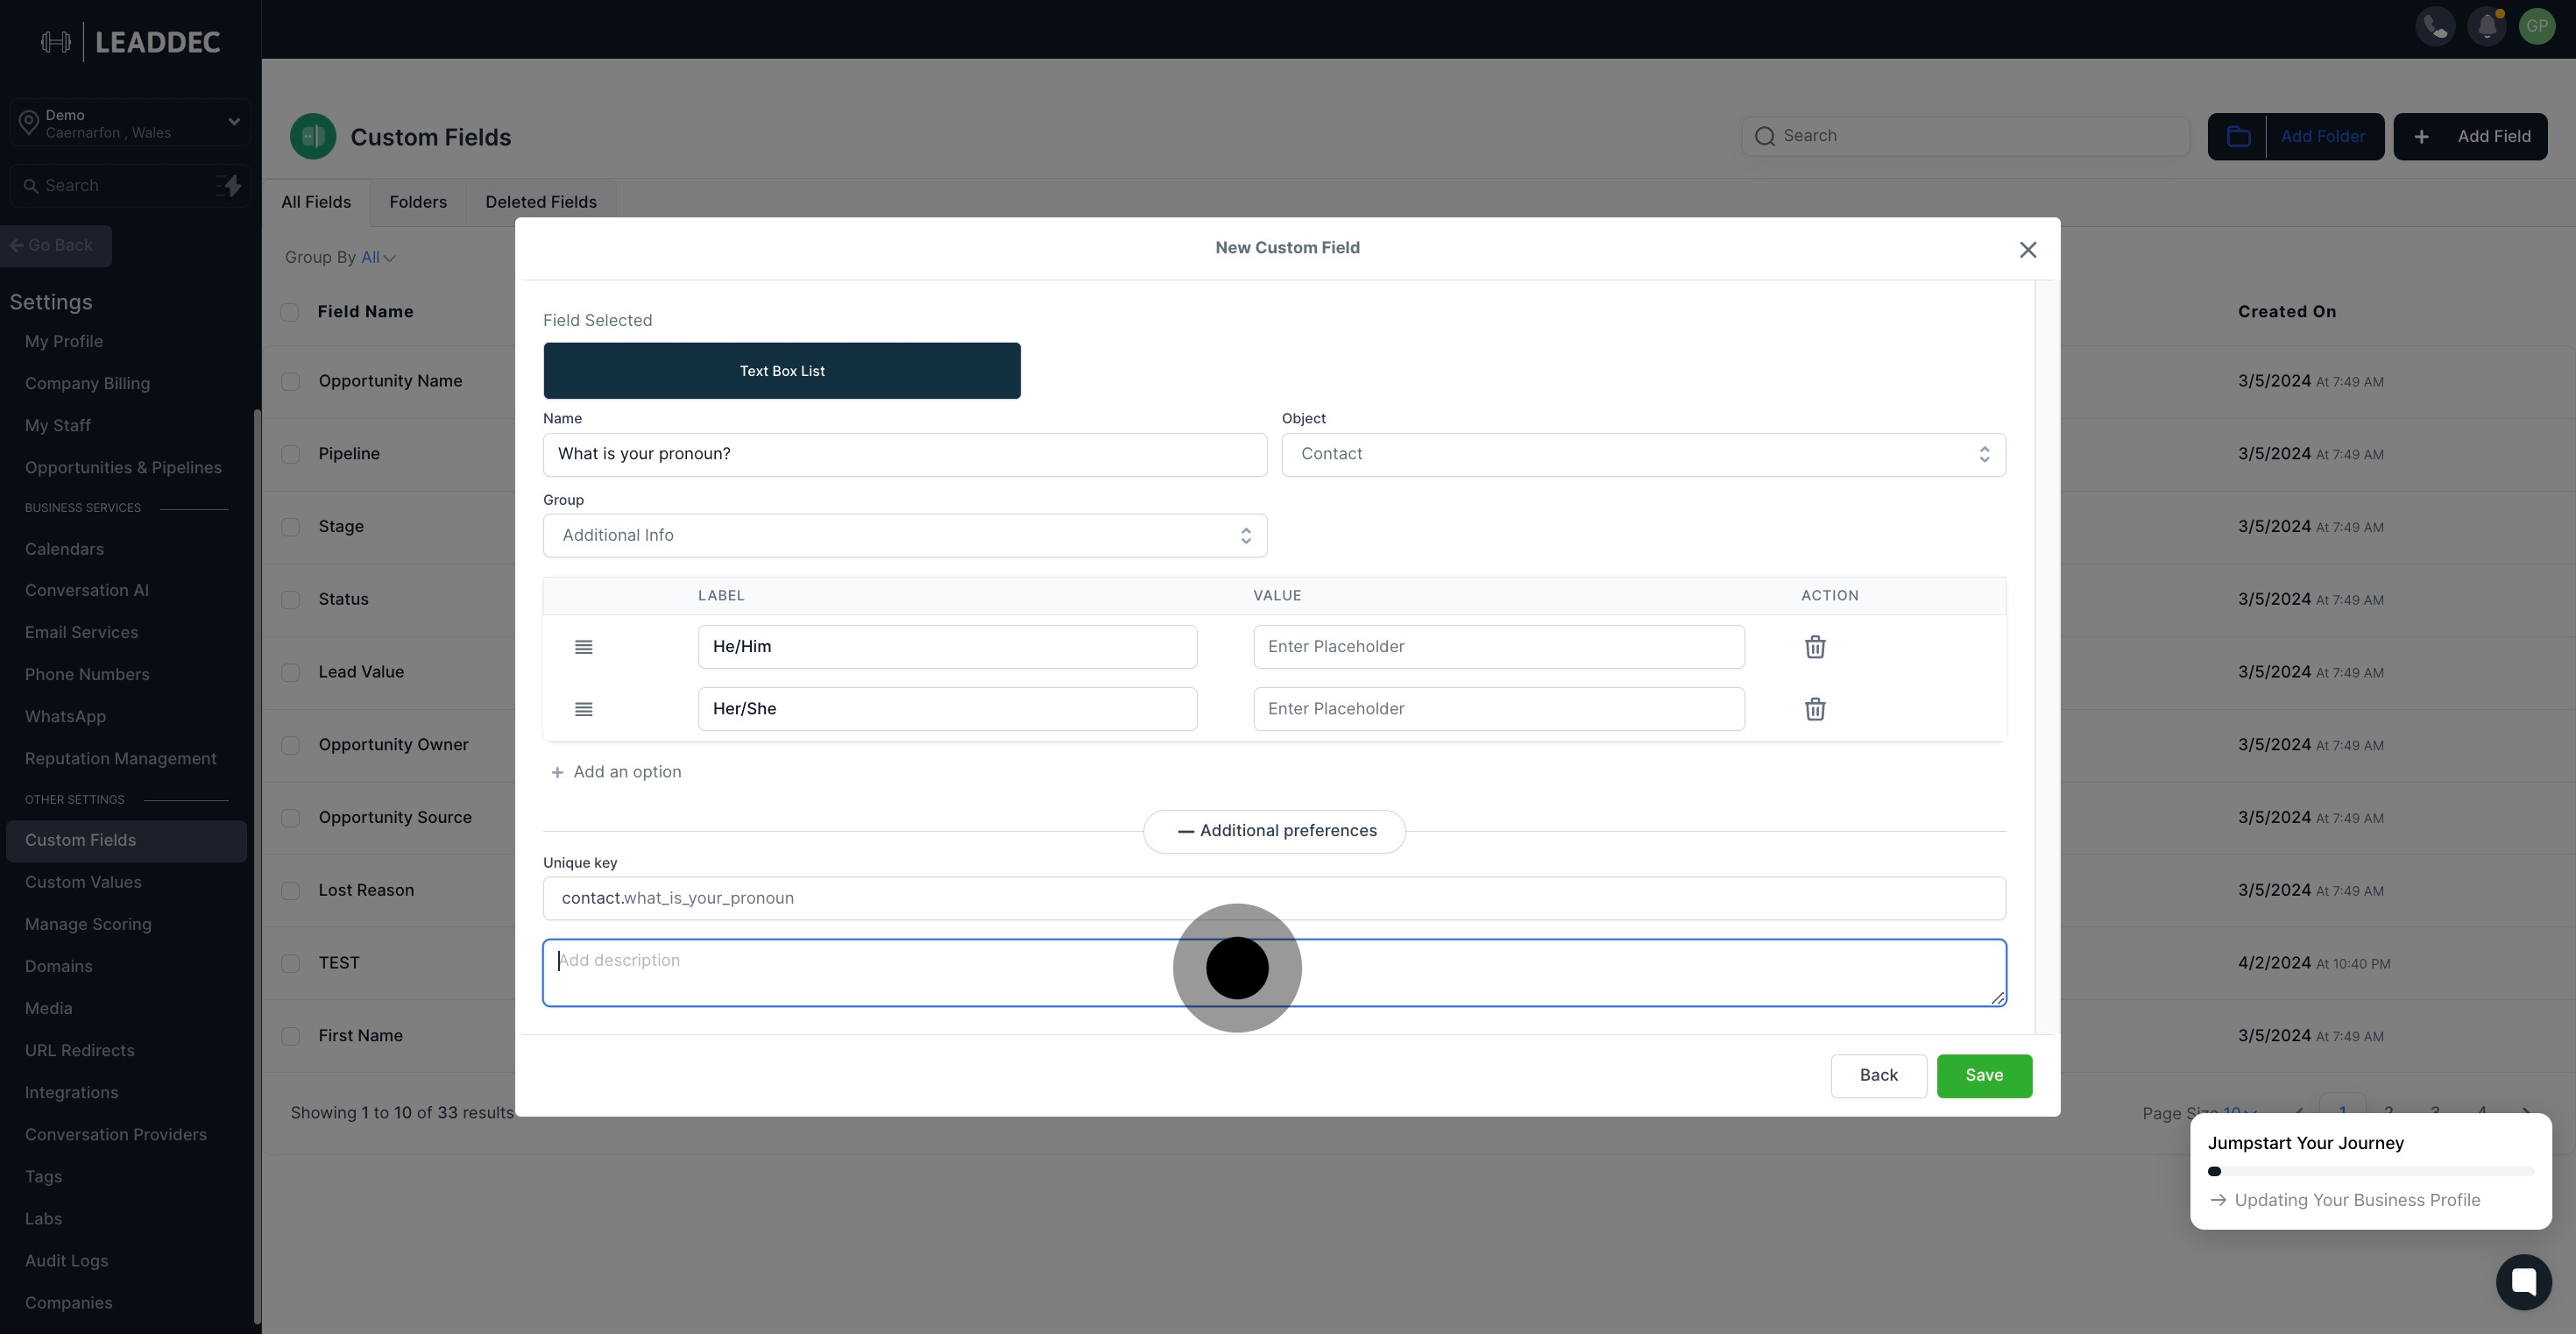
16. Finally, don't forget to save your new setup.
