A Step-by-Step Guide to Creating Folders in Custom Fields

Efficiently manage your leads by learning how to create and utilize folders within custom fields in LeadDec. This article provides a detailed, step-by-step tutorial to help you organize your data better, enhance your workflow, and increase productivity. Ideal for both new and experienced LeadDec users, this guide will ensure you make the most out of your CRM software's organizational tools.


1. Please navigate to the 'Settings' option in the menu.
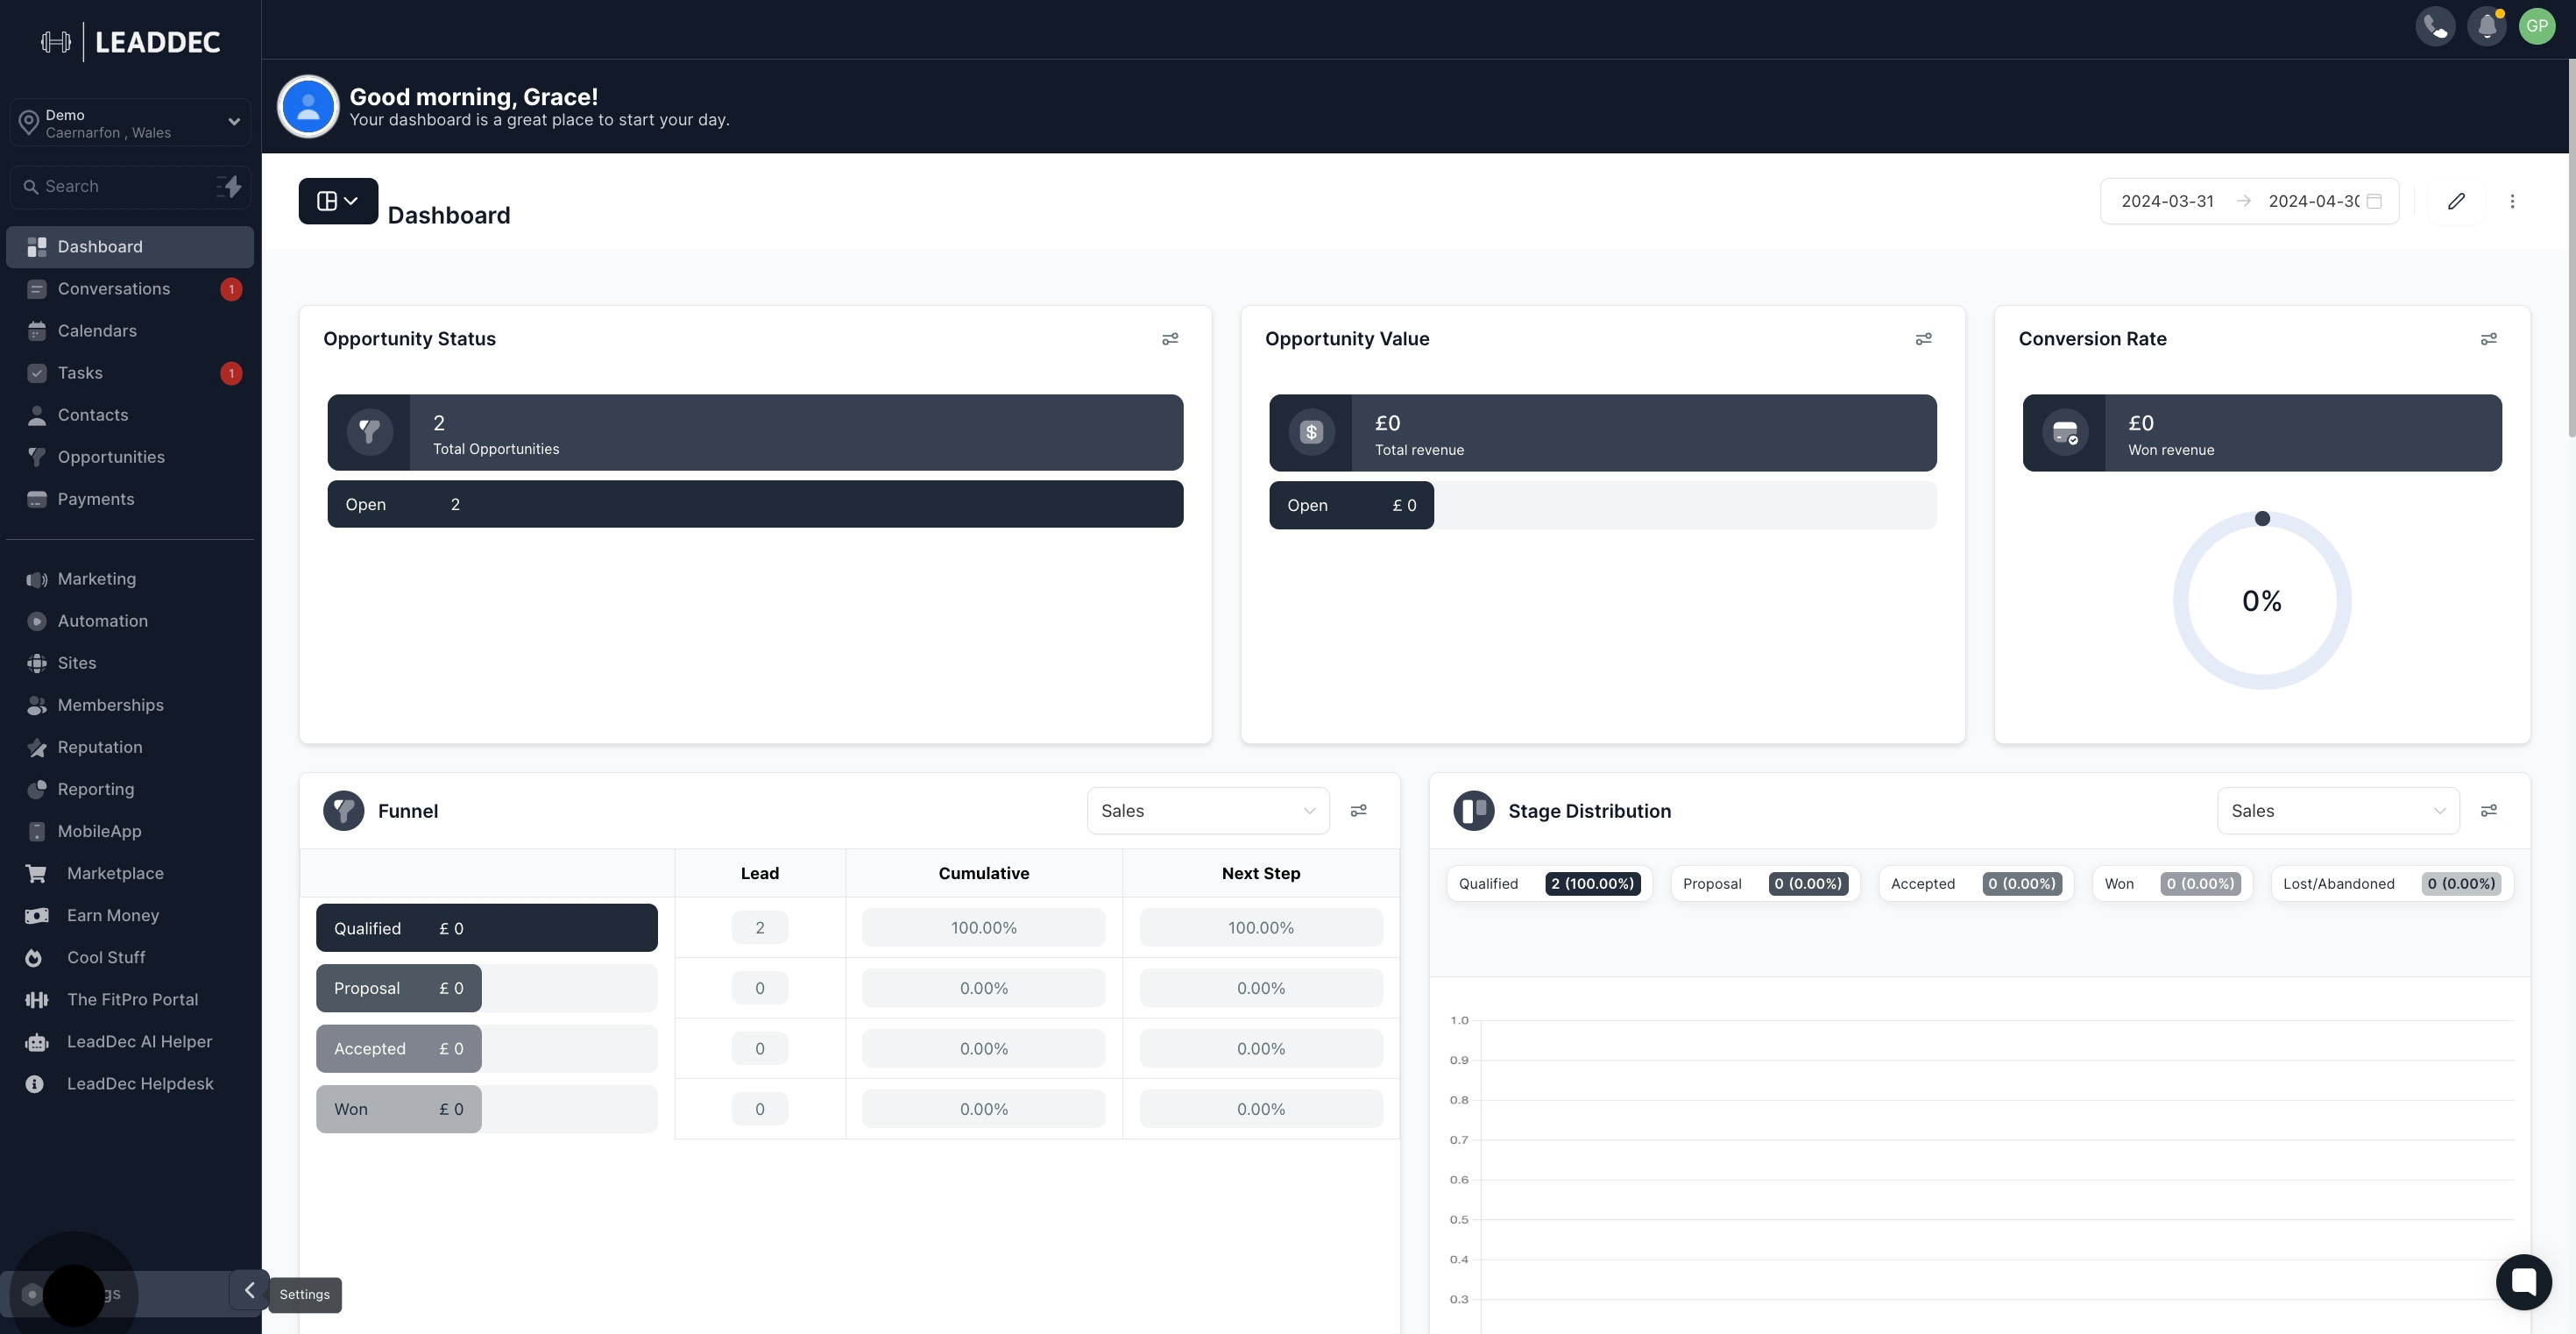
1 Click on "Settings".

2. Next, find and click the 'Custom Fields' option.

2 Following that, click on "Custom Fields".

3. Proceed to 'Add Folder' by clicking it.

3 Following that, click on "Add Folder".

4. Now, type a name for this folder.
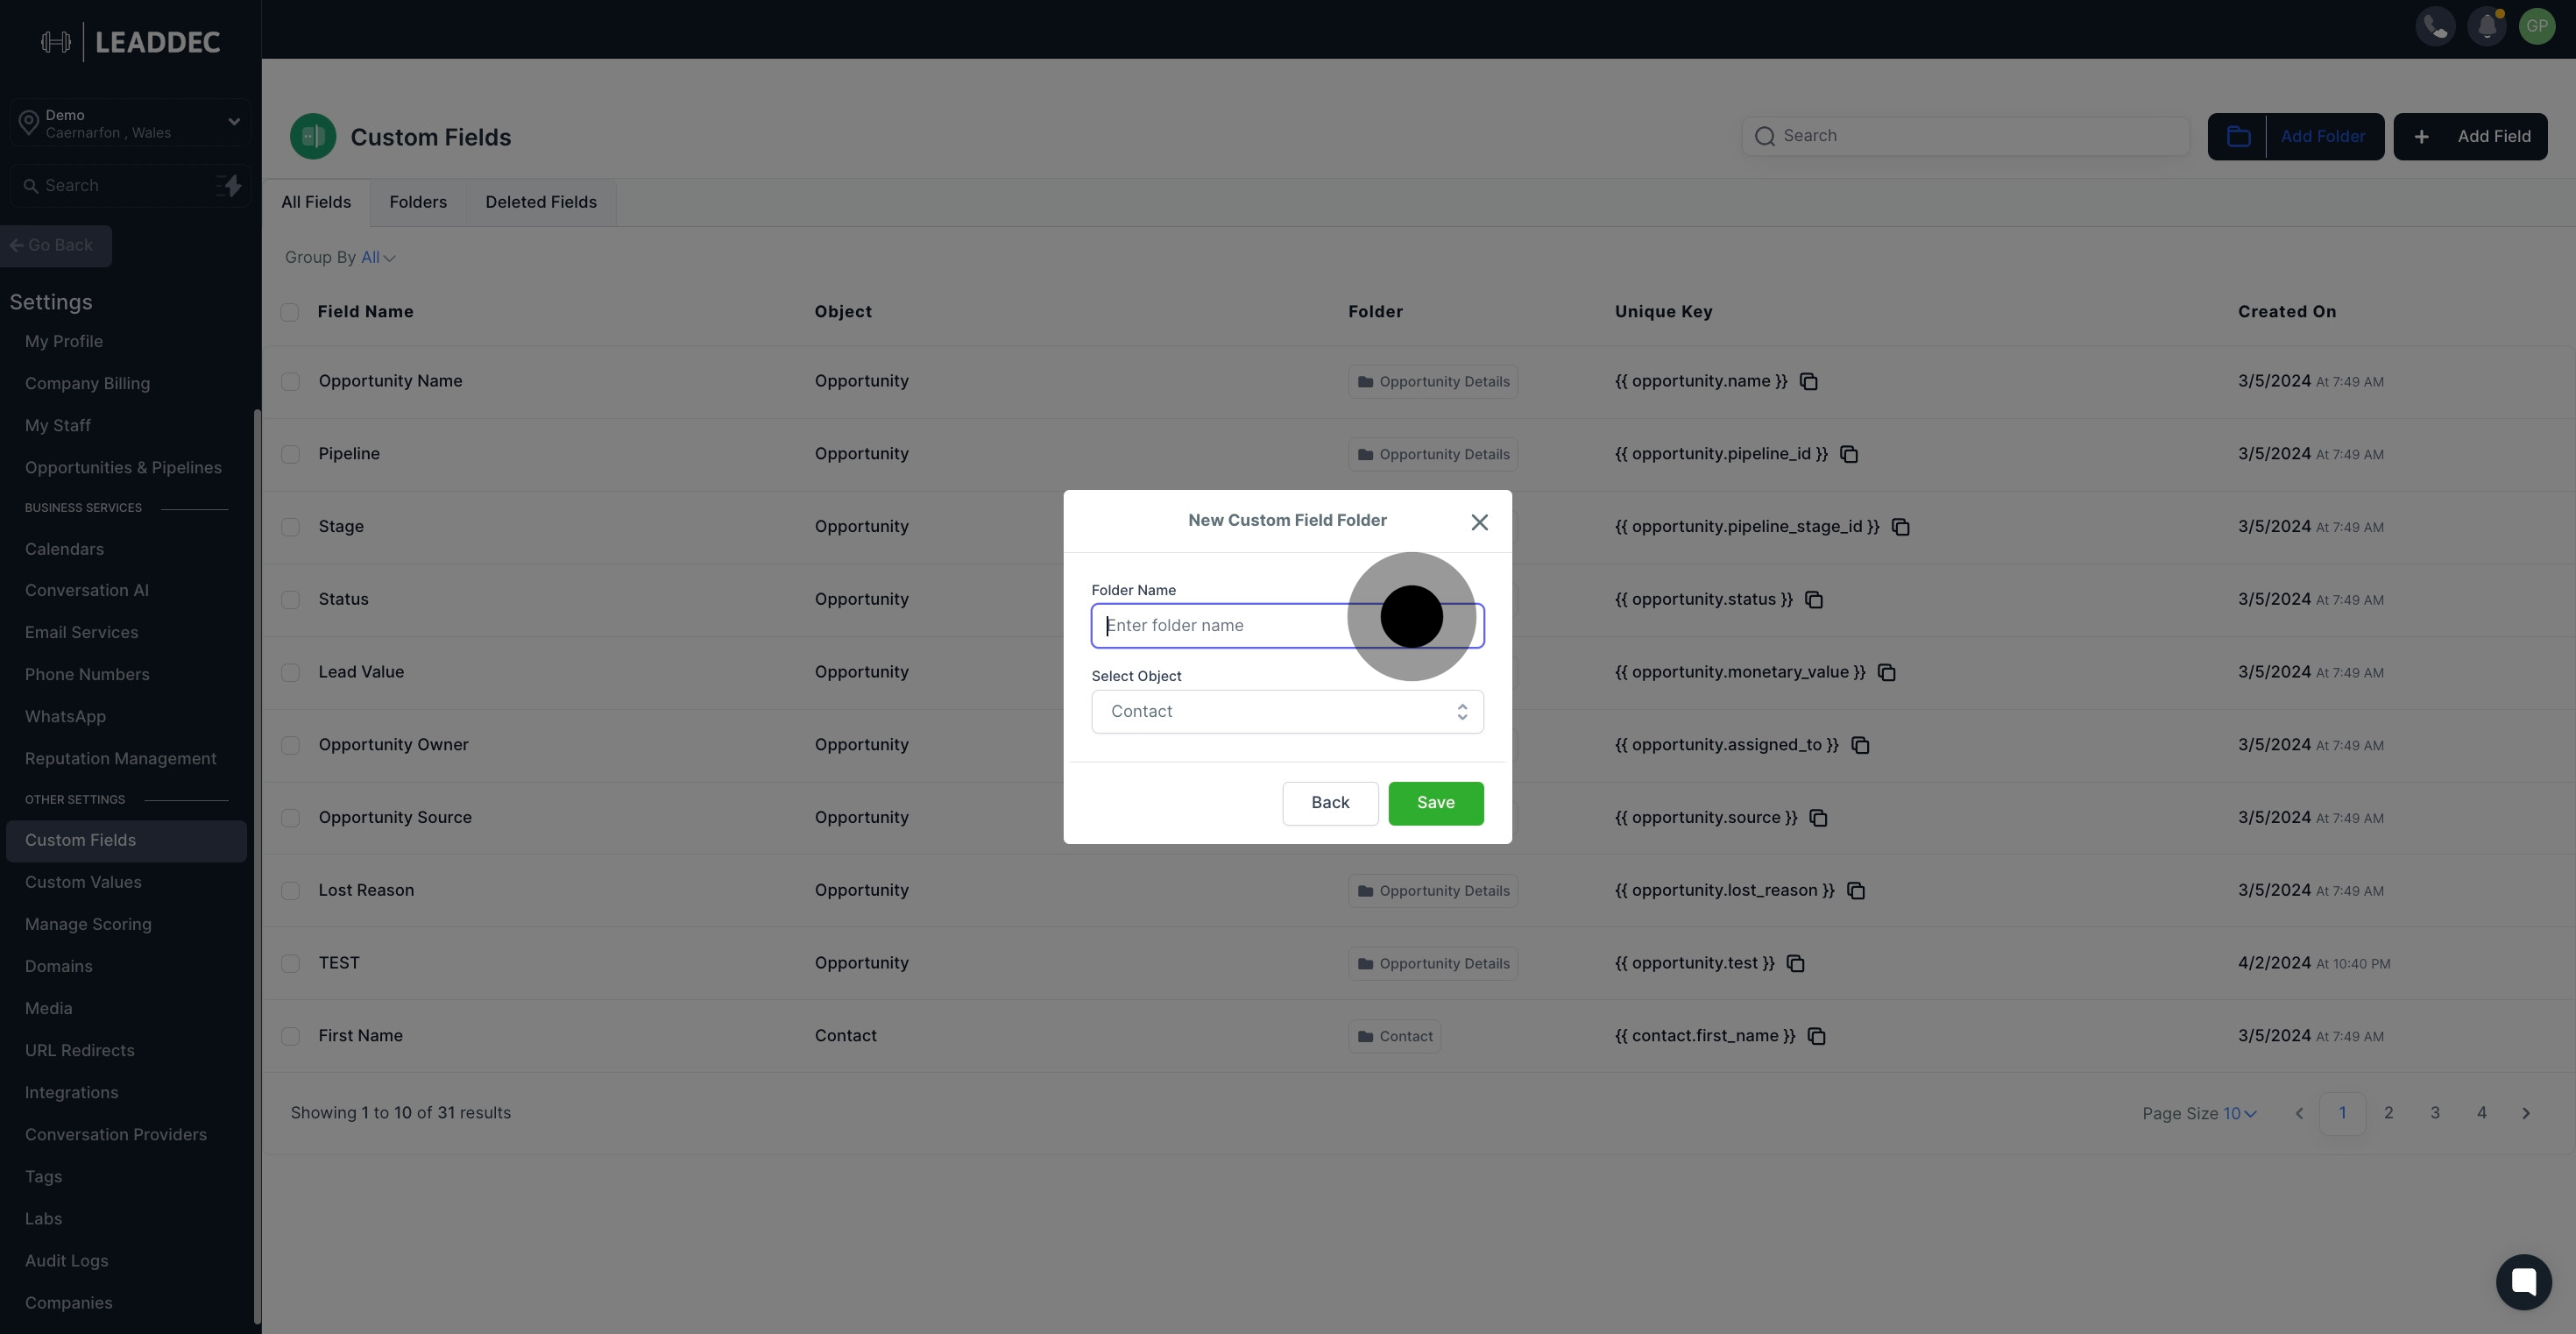
4 Click on the element.

5. Once named, select the desired object.
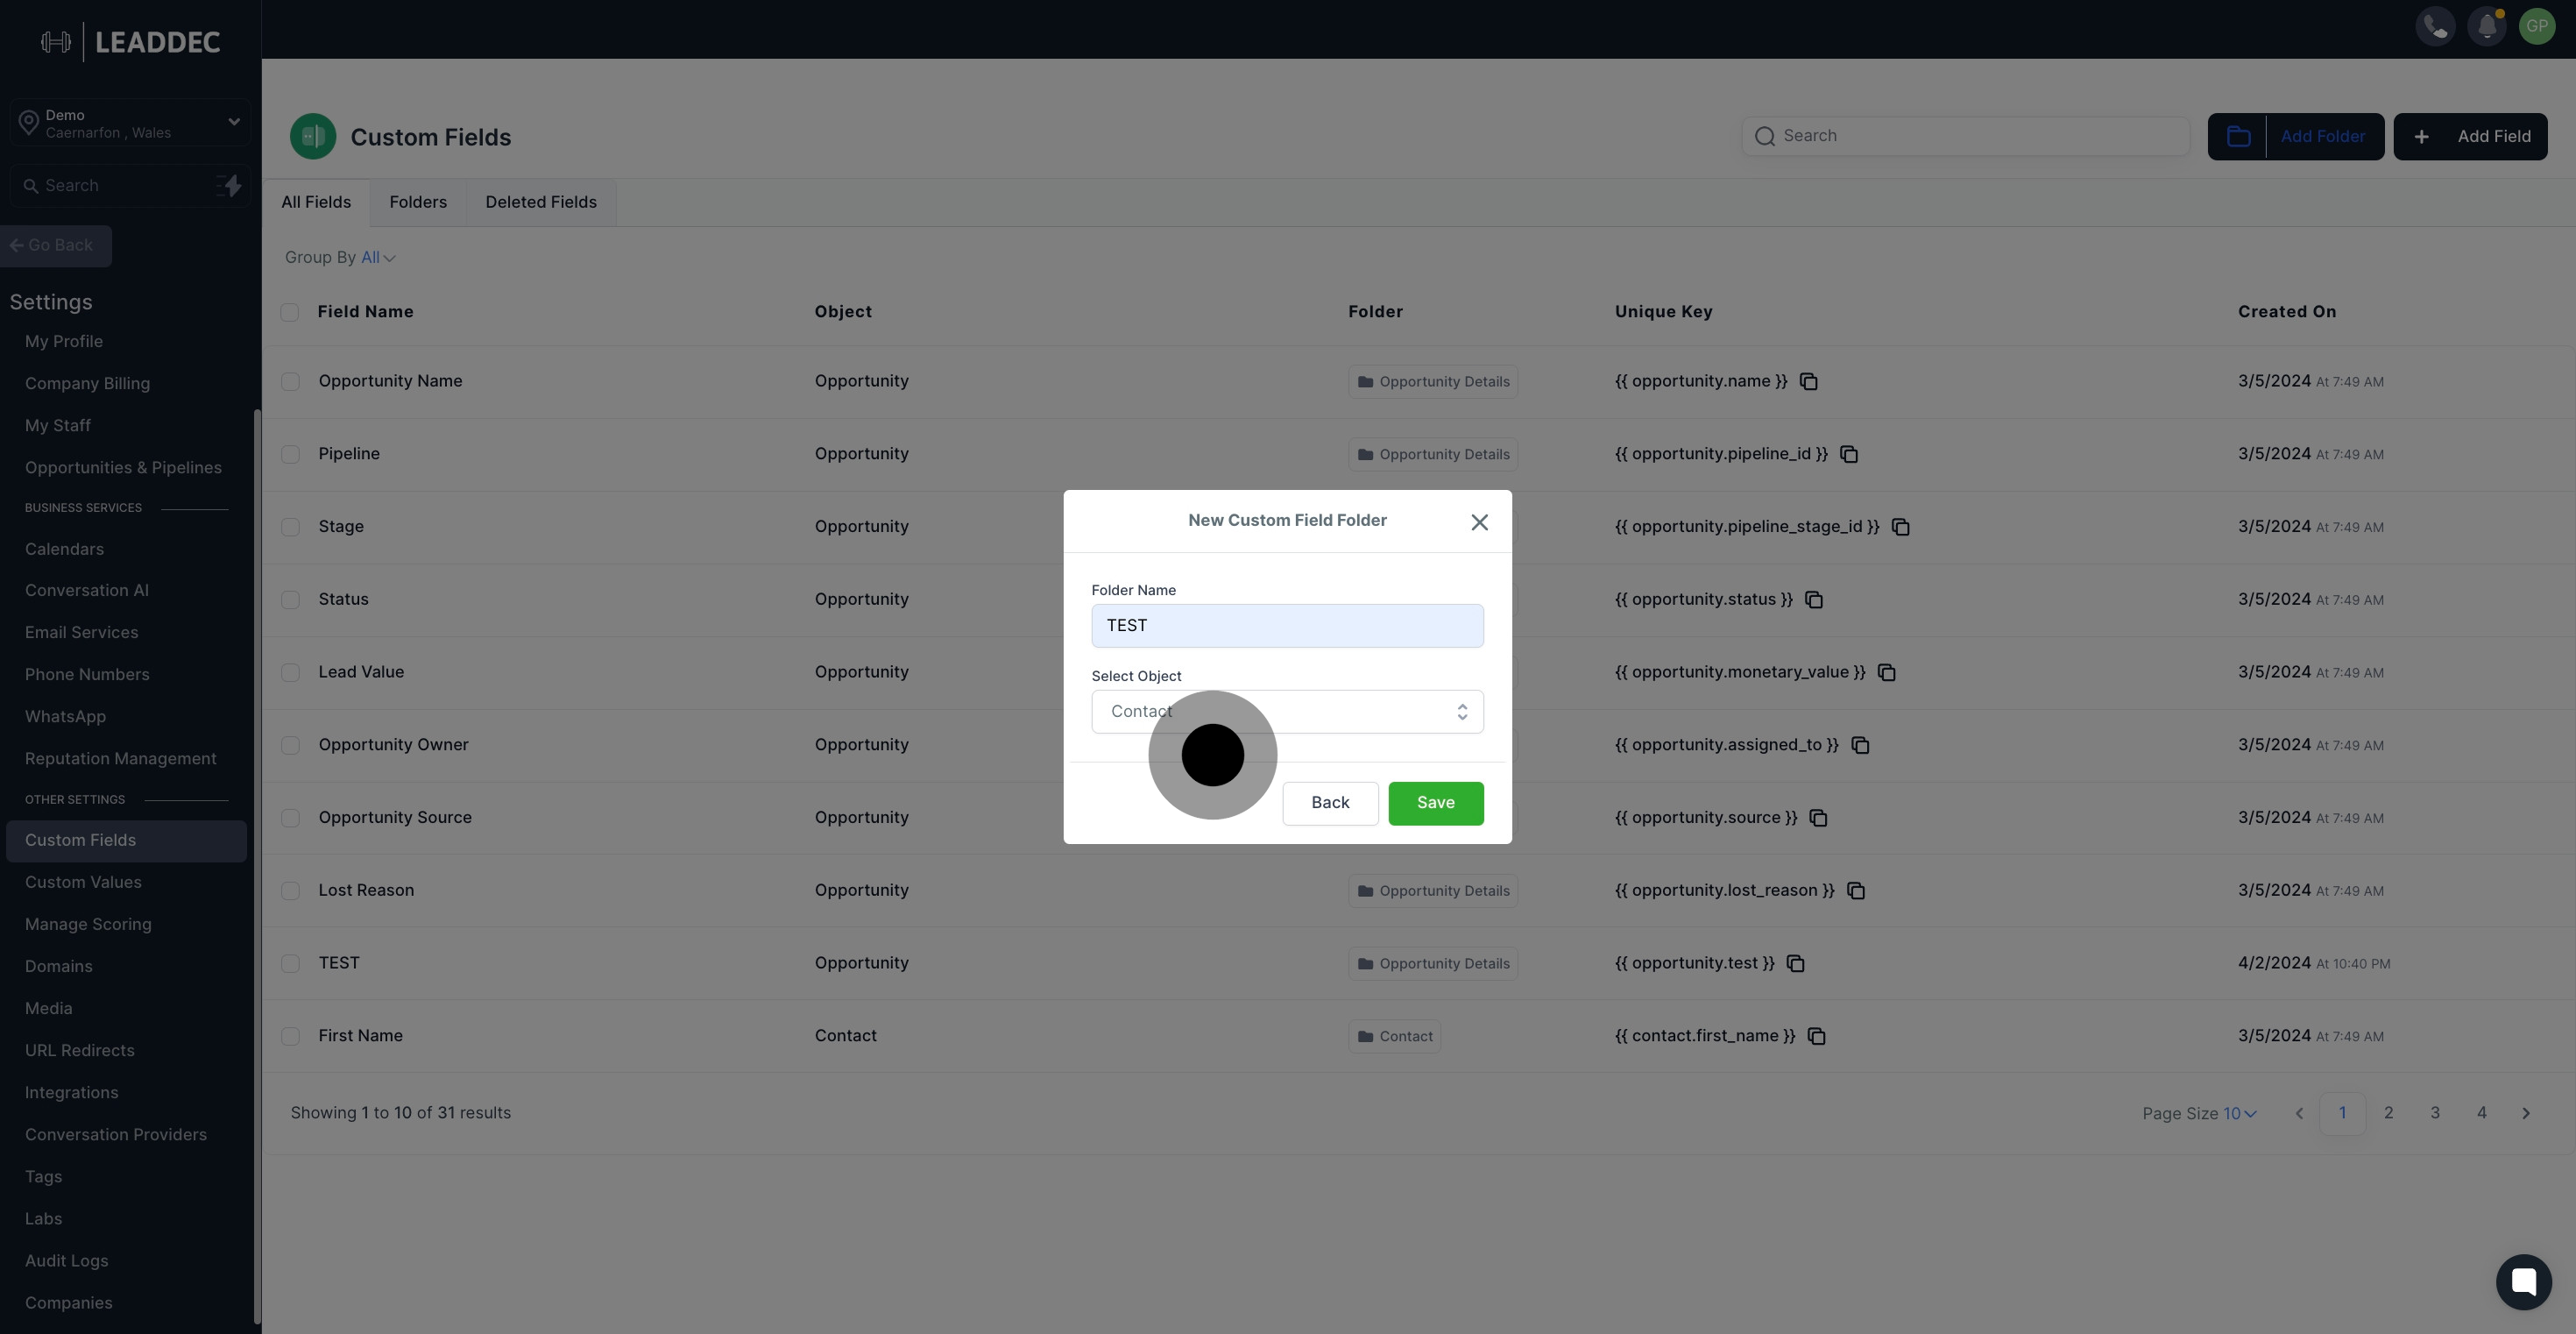
5 Afterwards, click on "Folder Name".

6. Finally, hit ‘Save’ to store your settings.

6 Next up, click on "Save".

Did this answer your question?
😞
😐
😁