How to Add Files to Your Media Library in LeadDec:

Discover the simple process of uploading and managing files in the media library of LeadDec. This comprehensive guide provides you with detailed, easy-to-follow instructions to help you efficiently incorporate various media files into your LeadDec projects, enhancing your digital content creation and management capabilities.


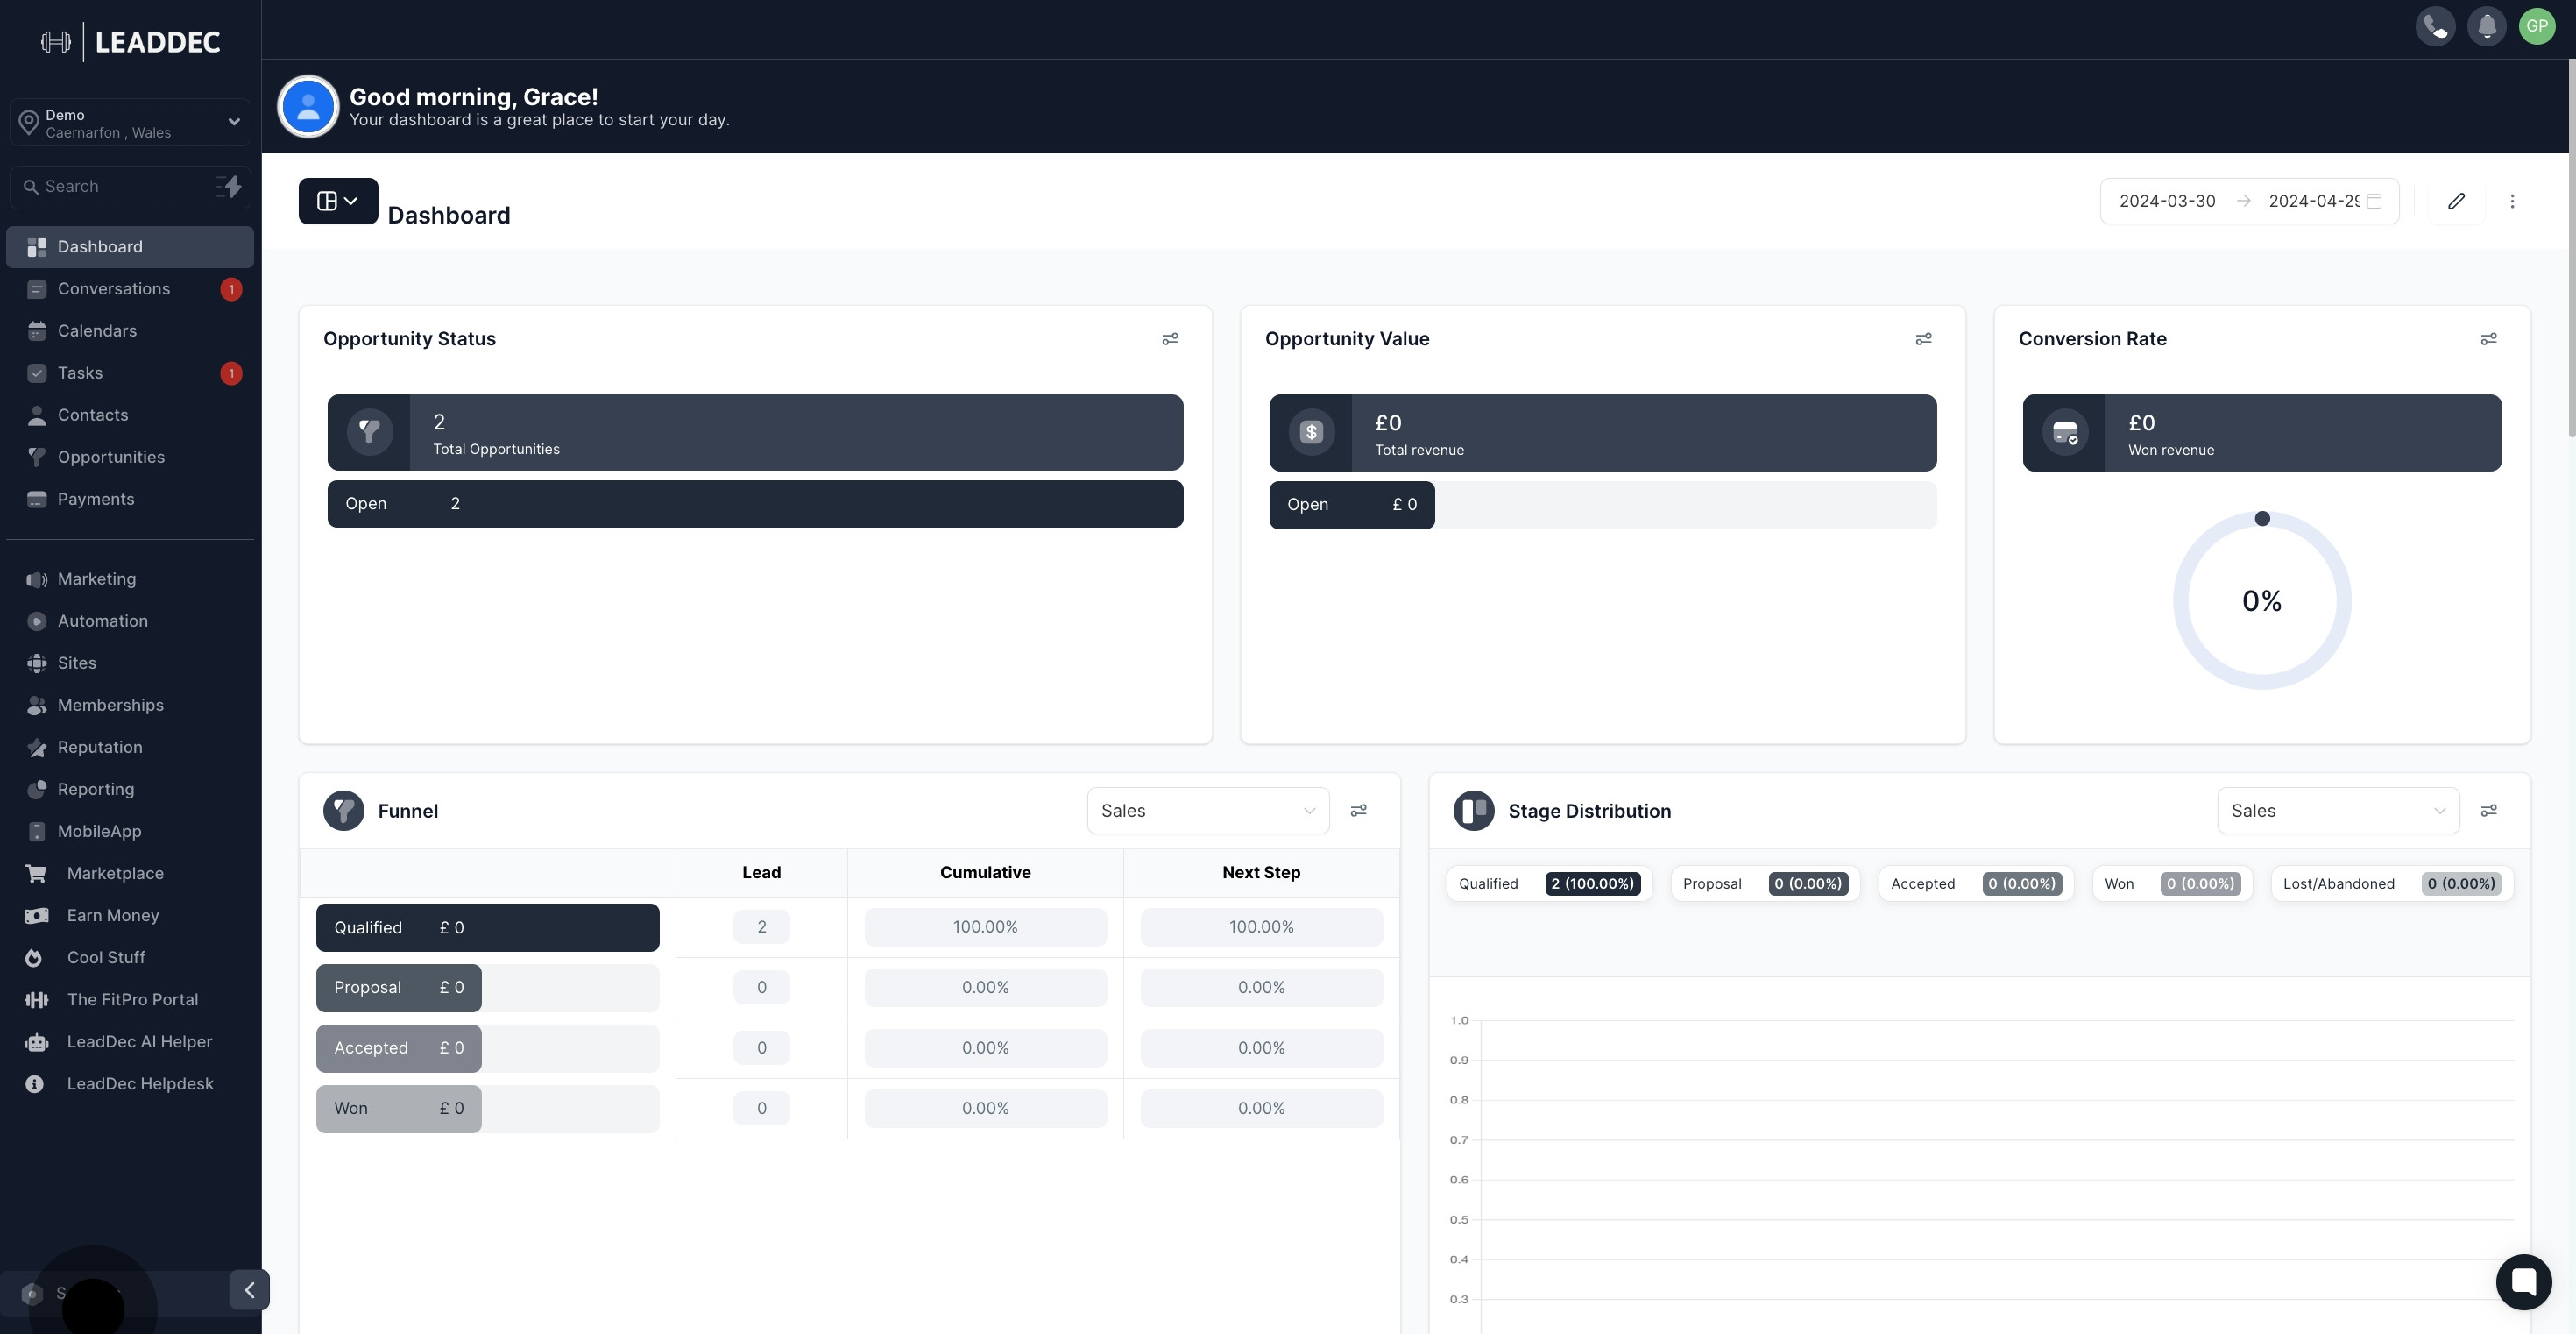
1. Start by heading to your account settings.

1 Firstly, click here.

2. Transition to the 'Media' section within the settings.

2 Next up, click on "Media".

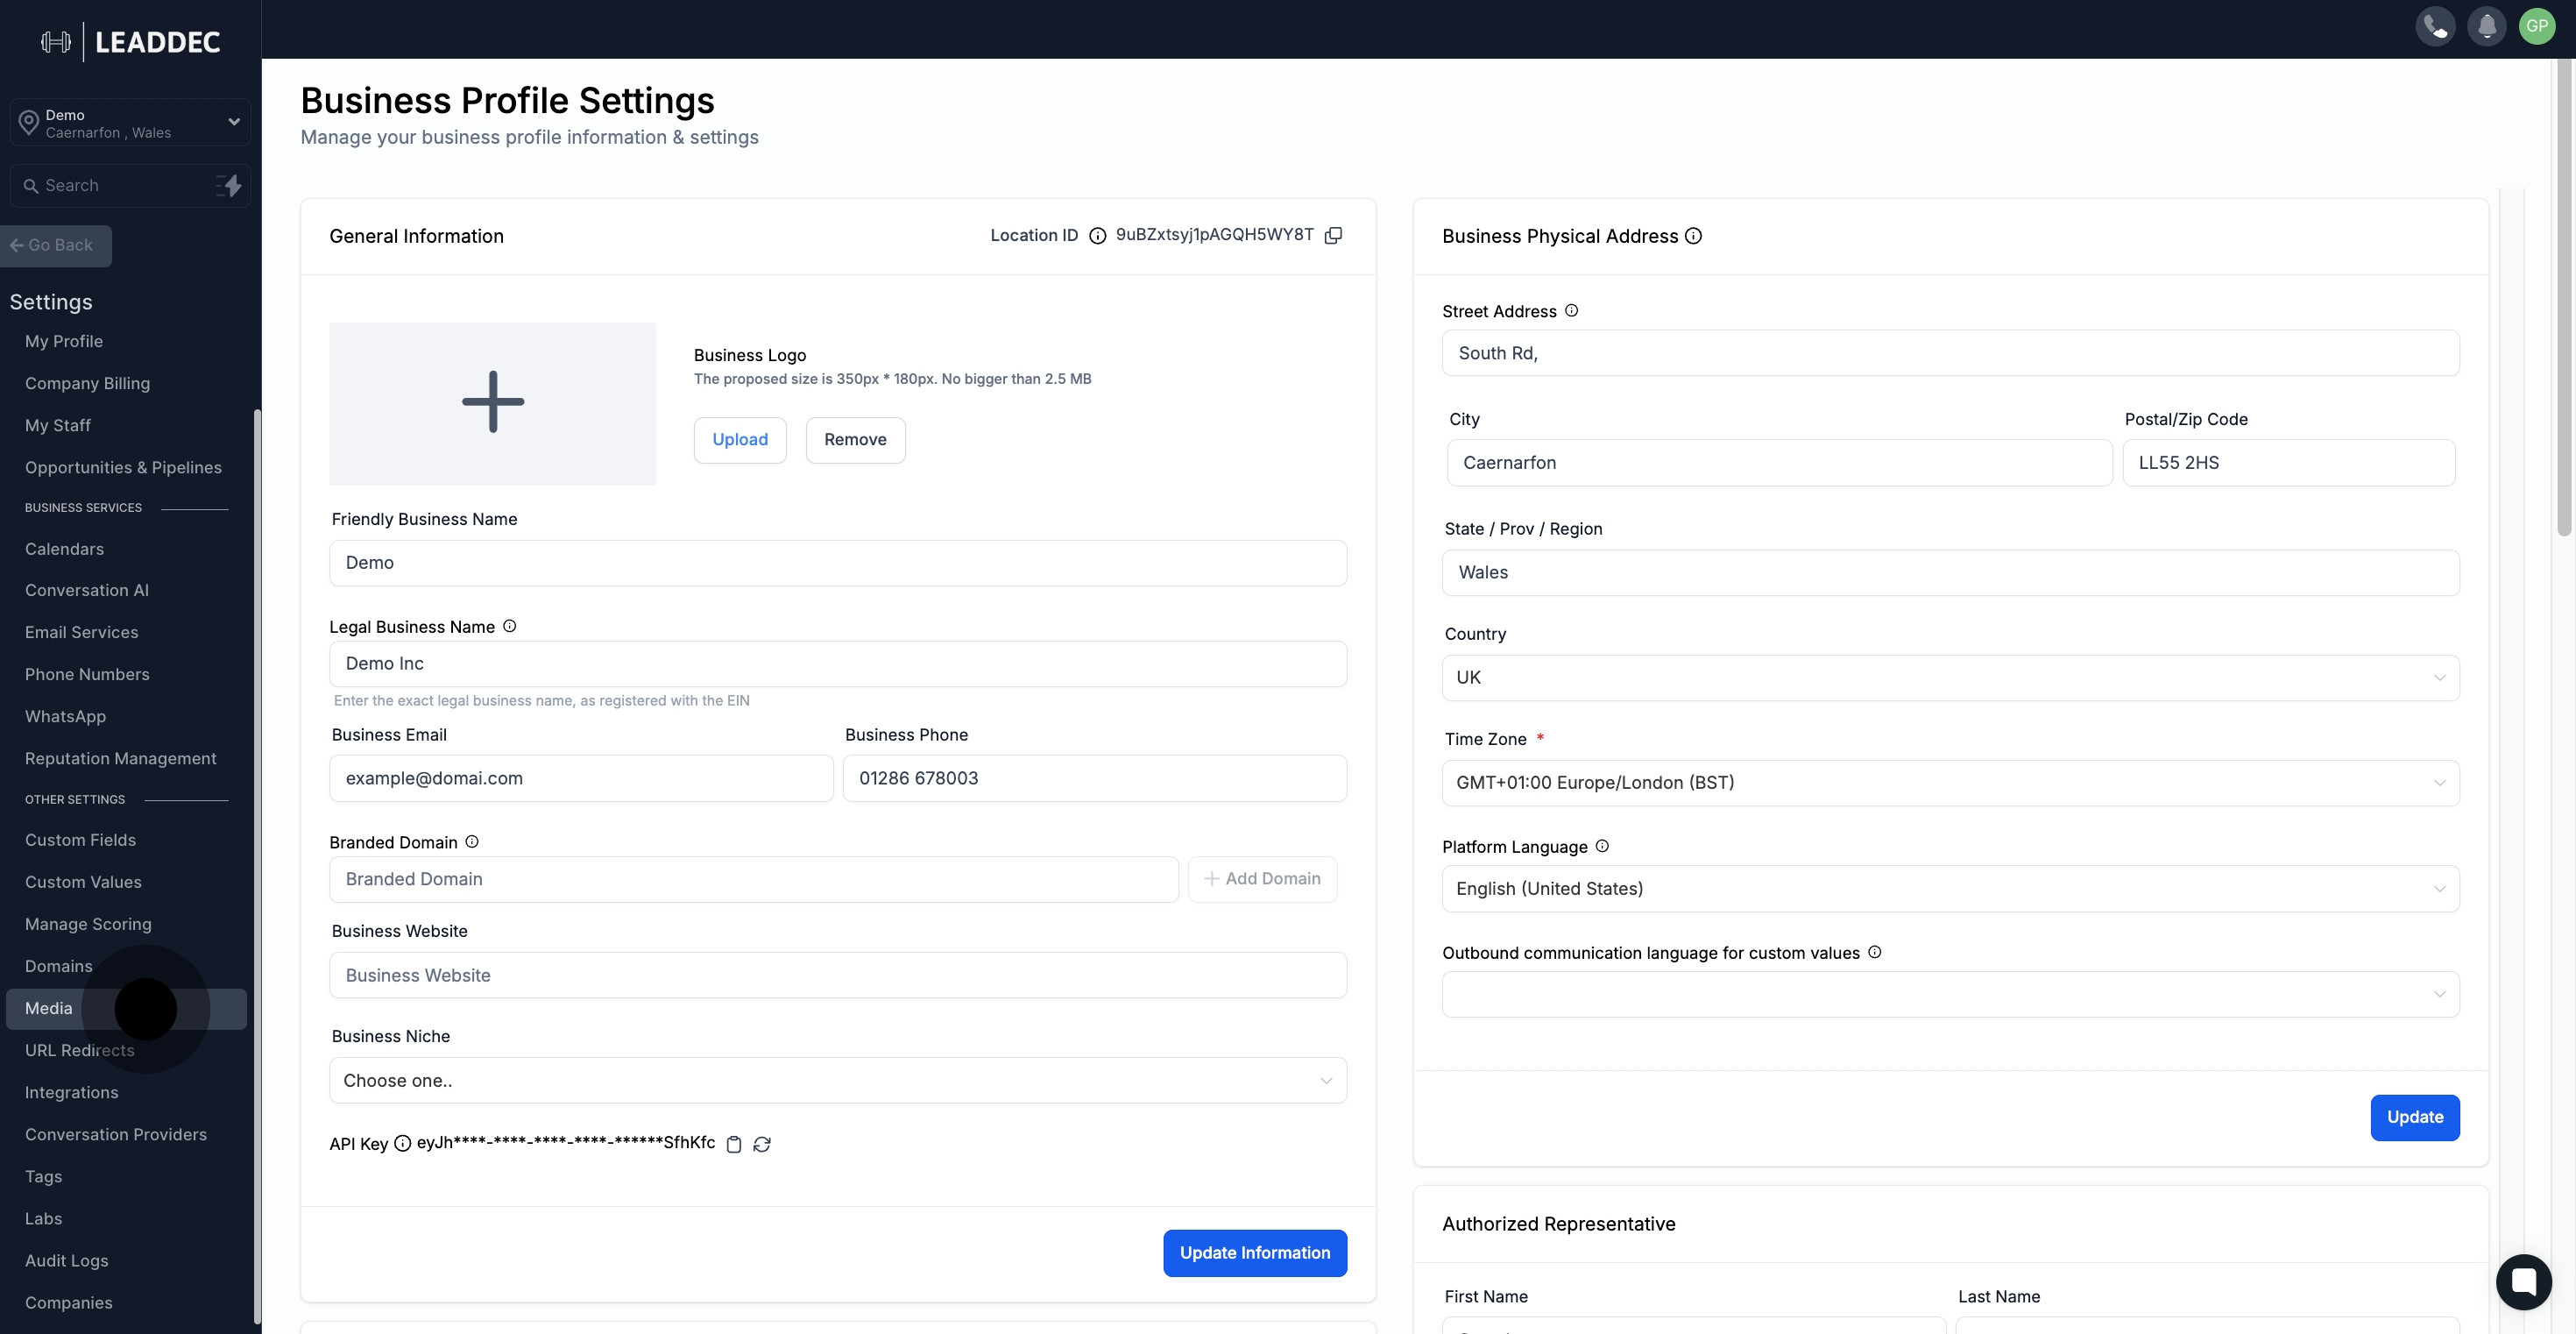
3. Access your media library by selecting the suggested option.

3 Click on "Open media library".

4. Choose 'Upload File' to insert your desired media.

4 Click on "Upload File".

5. Grab your uploaded file's link by clicking here

5 Afterwards, click on "Get Link".

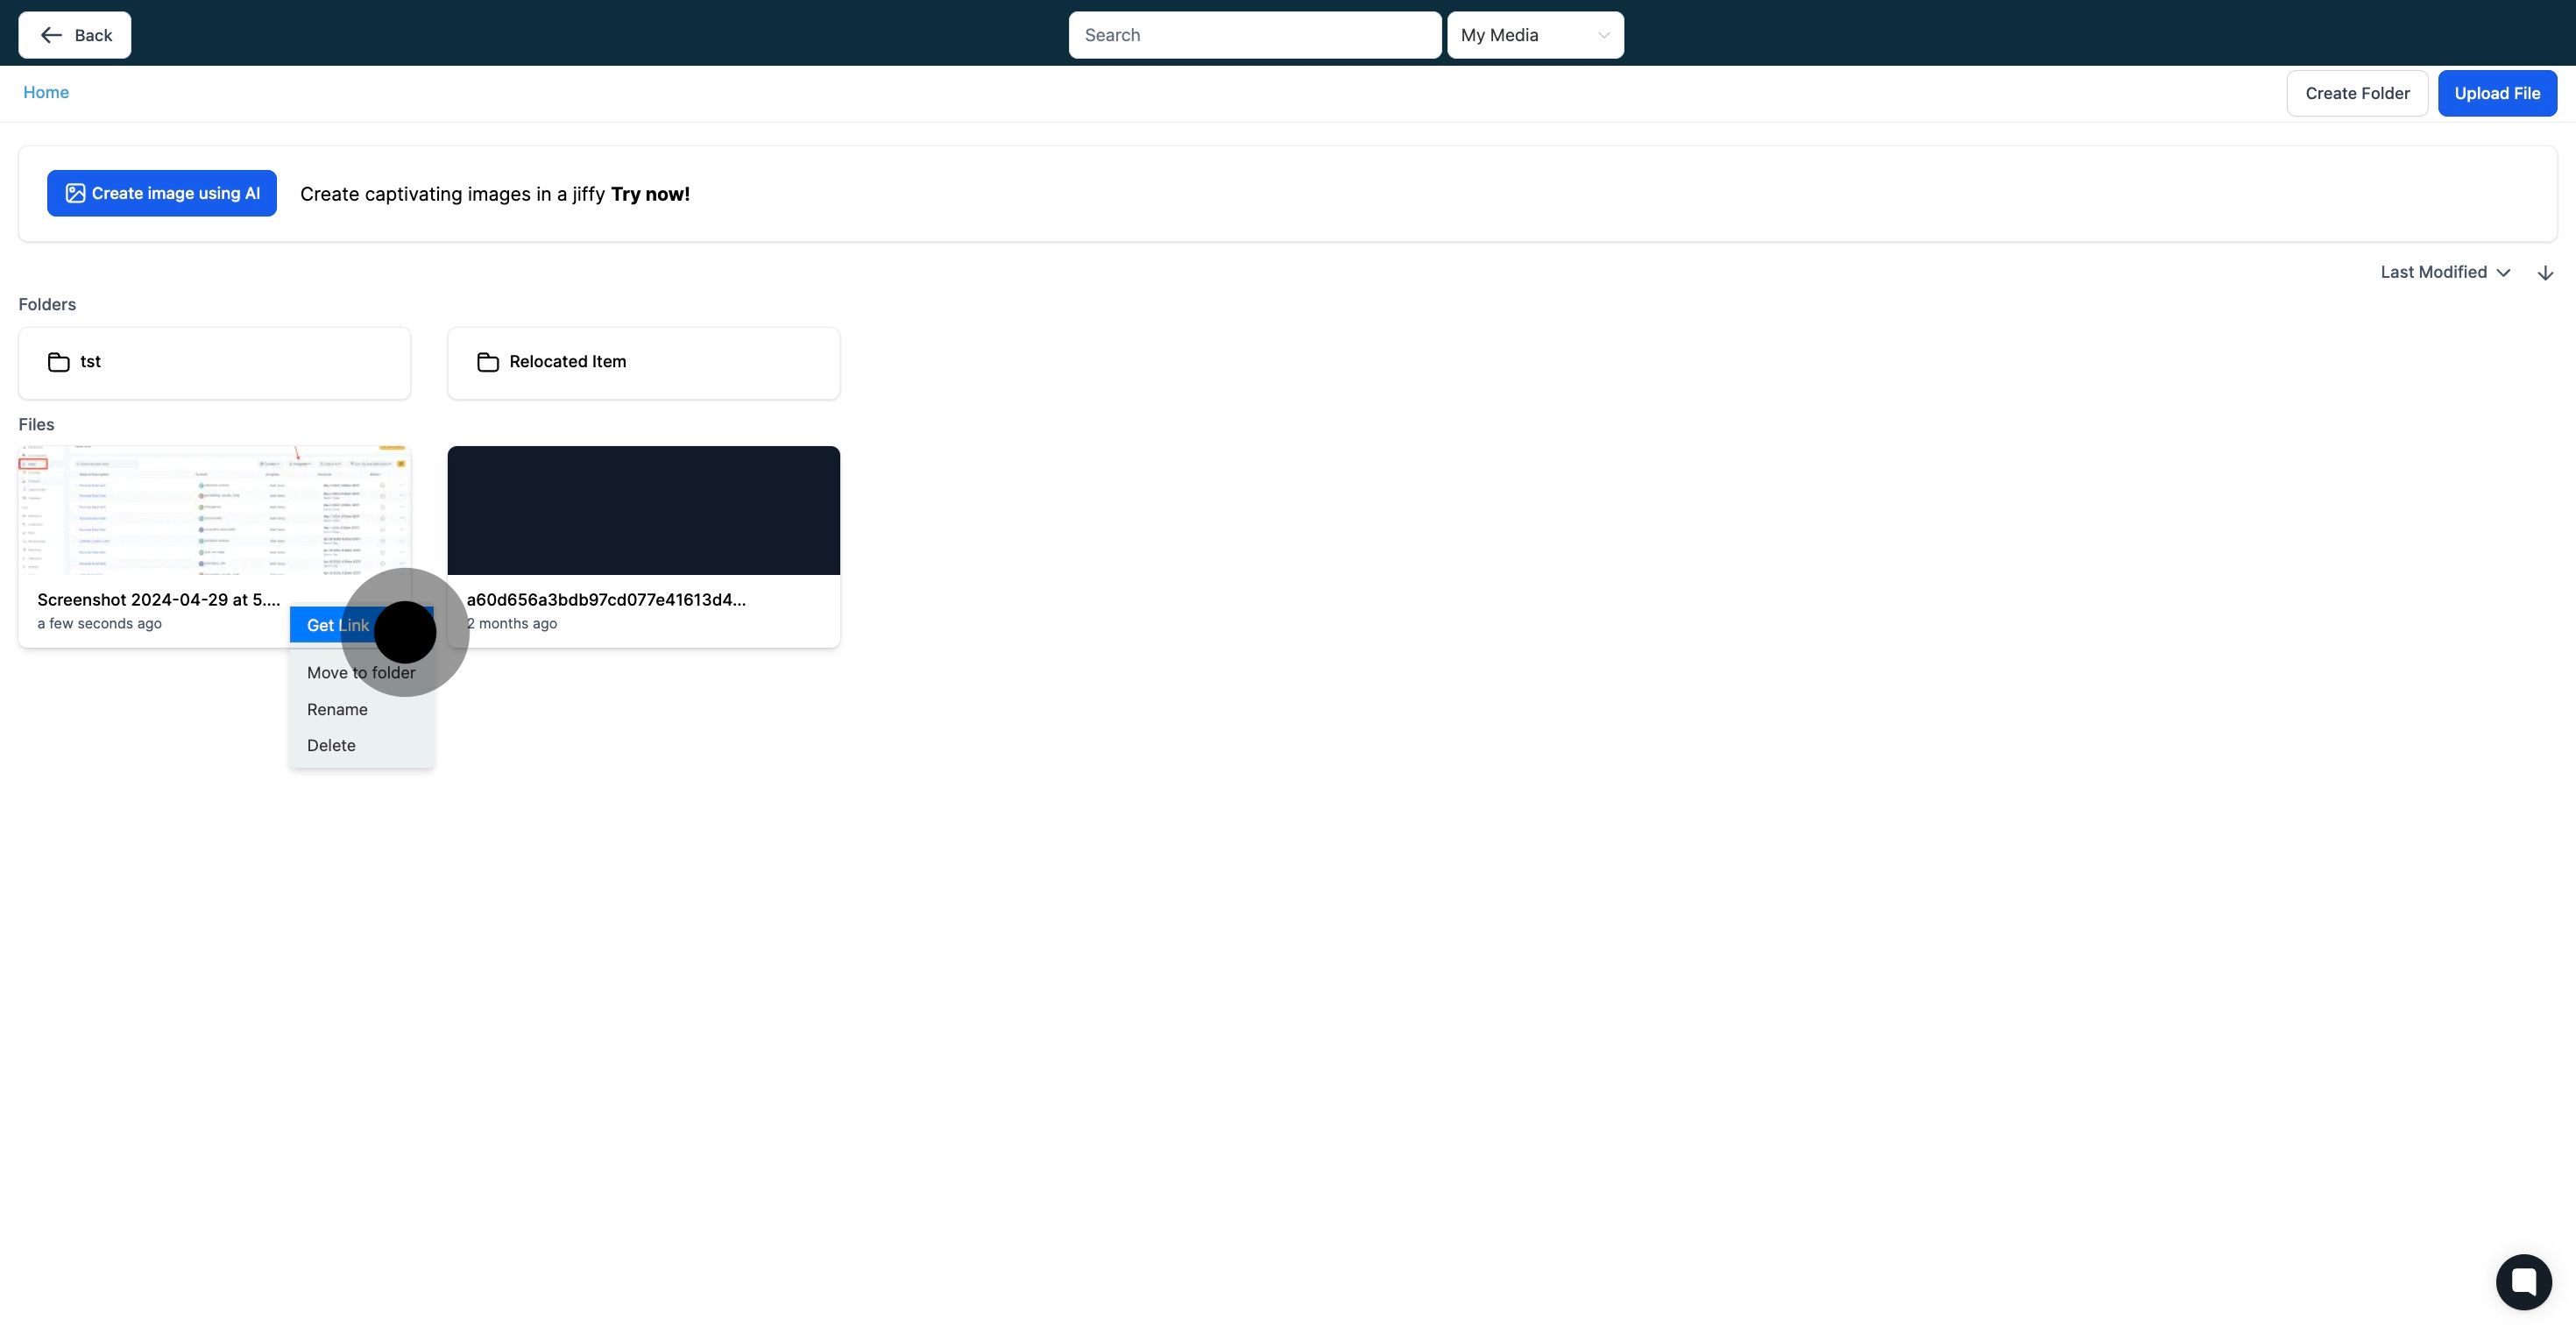
6. Try moving your file by selecting 'Move to folder'.

6 Afterwards, click on "Move to folder".

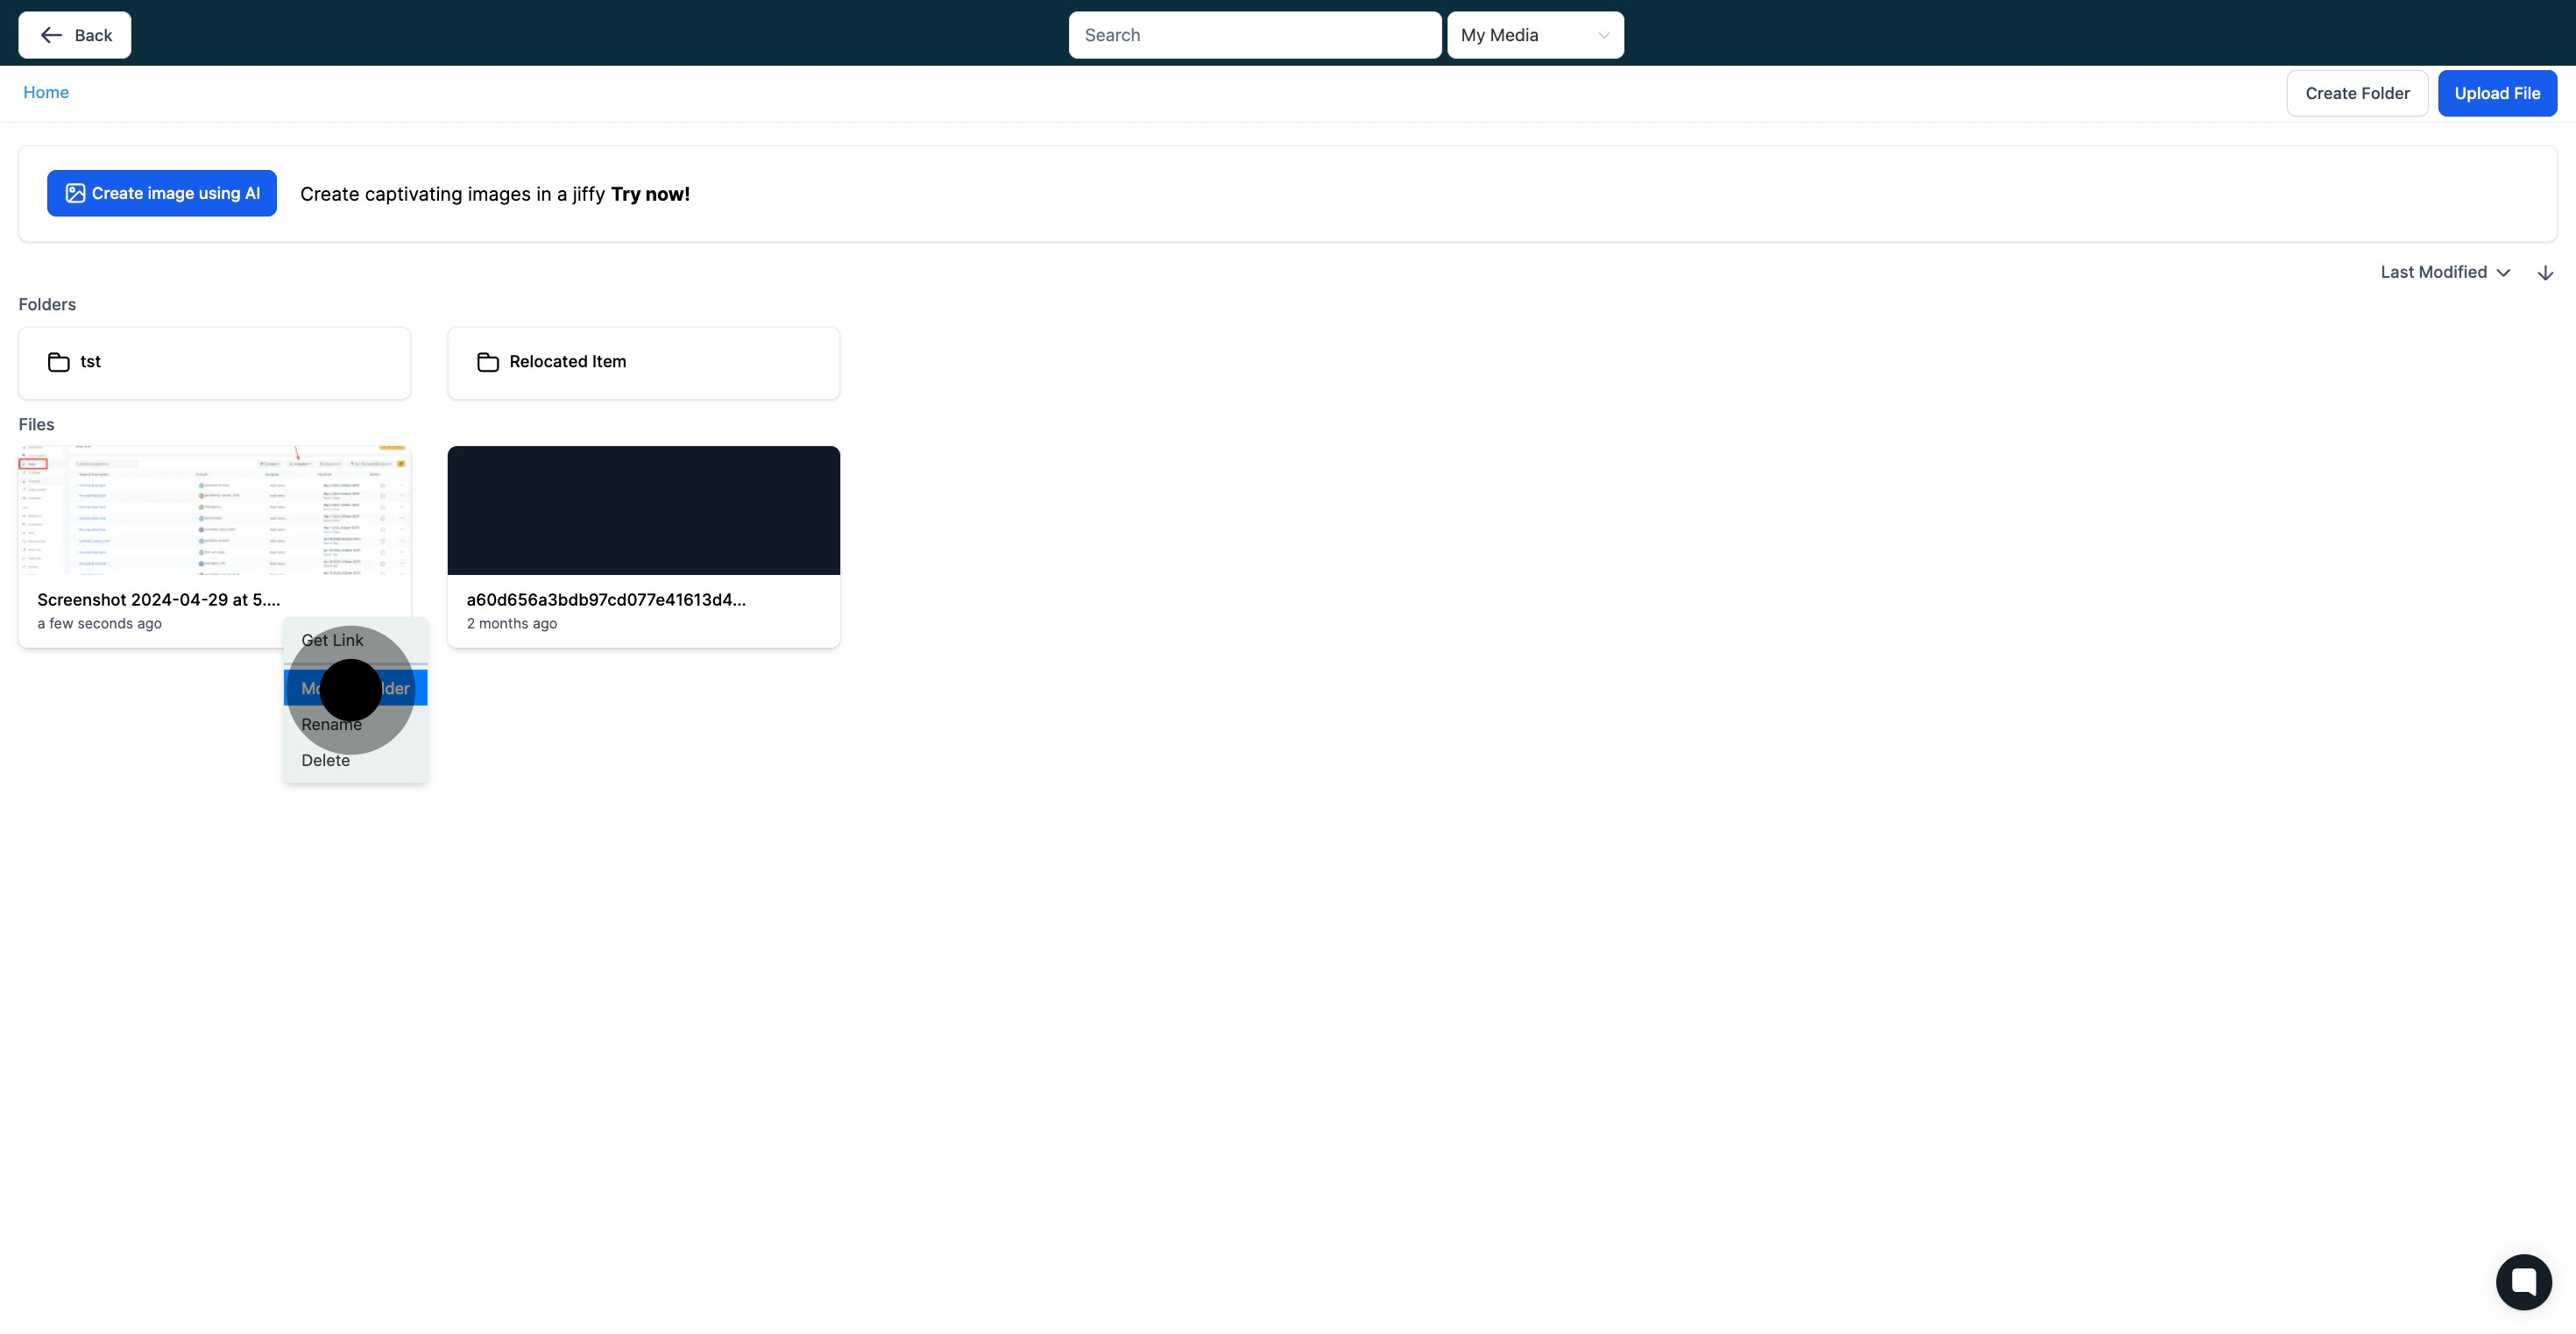
7. For a specific file name, click 'Rename' to make modifications.

7 Click on "Rename".

8. Input your chosen file name in the provided space.

8 Click on the element.

9. Confirm your actions by hitting the 'Save' button.

9 Click on "Save".

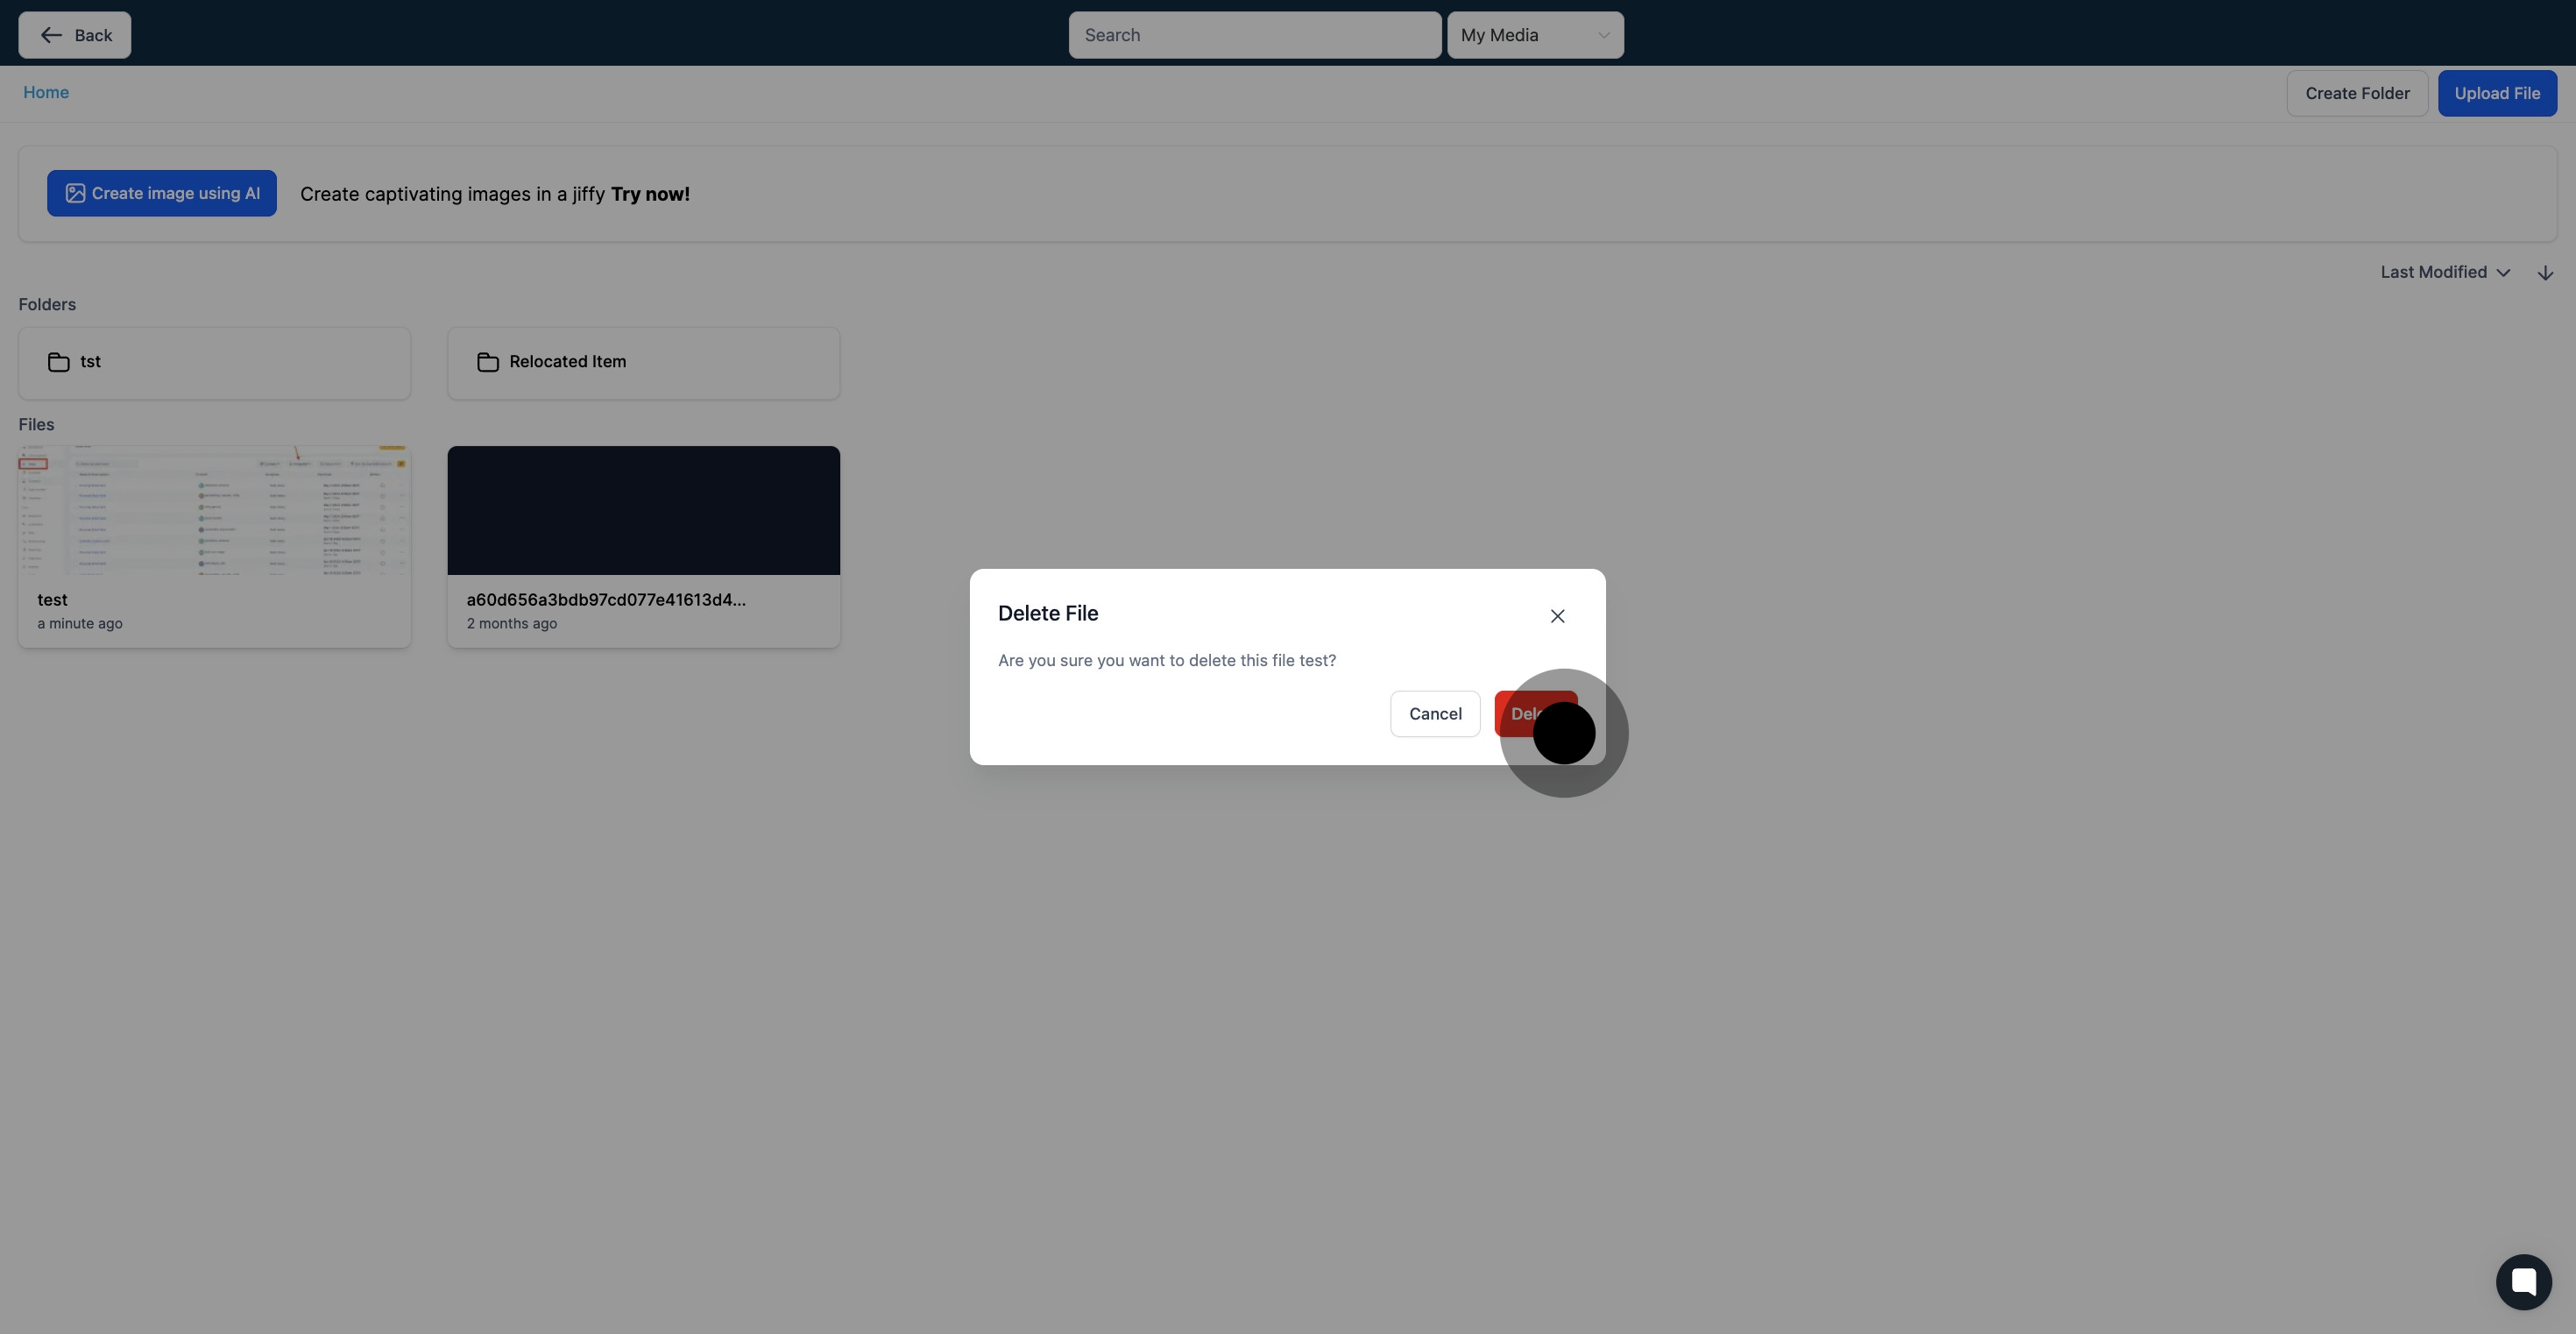
10. Removal of a file can be achieved by selecting 'Delete'.

10 Next, click on "Delete".

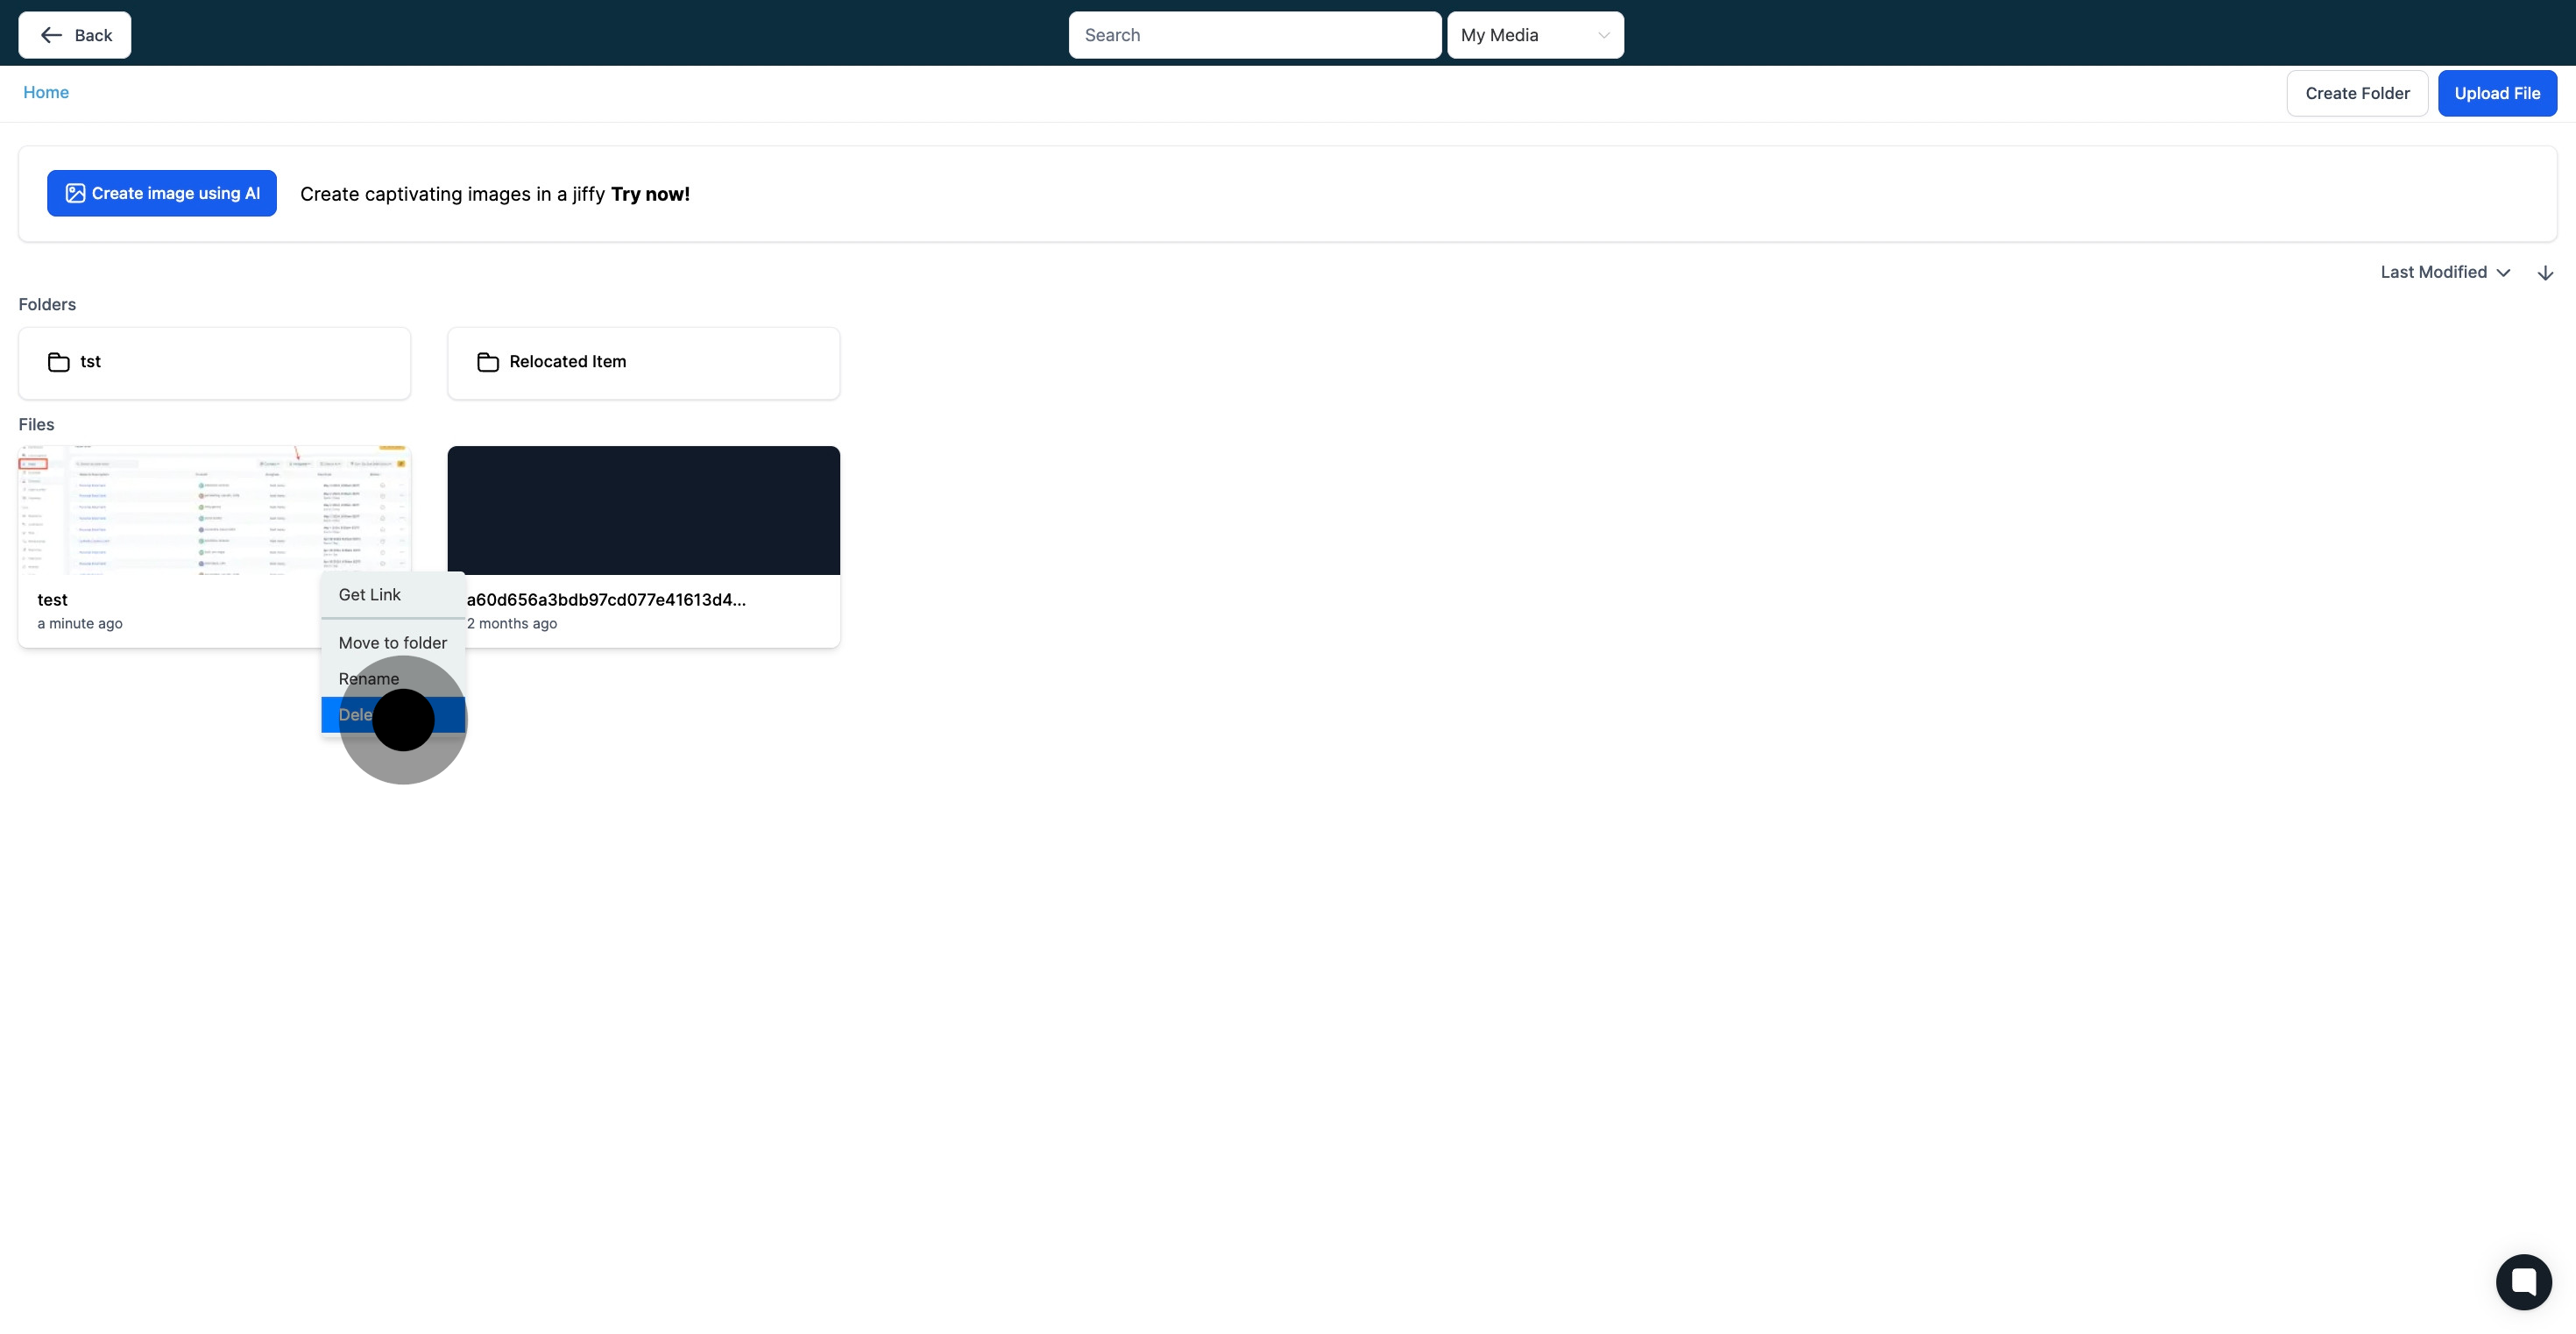
11. Finalize your deletion by clicking the closing icon shown.

11 Click on the element.

Did this answer your question?
😞
😐
😁
How to Add Files to Your Media Library in LeadDec: | LeadDec