Setting Up Your Business Profile - General Information in LeadDec

Create a solid foundation for your business's digital presence by setting up your business profile in LeadDec. This guide will walk you through the essential steps of entering general information such as your business name, contact details, logo, and operational hours. Learn how to effectively use LeadDec to convey your business identity, making it easier for clients to recognize, interact with, and trust your brand.


1. Go towards the settings tab.
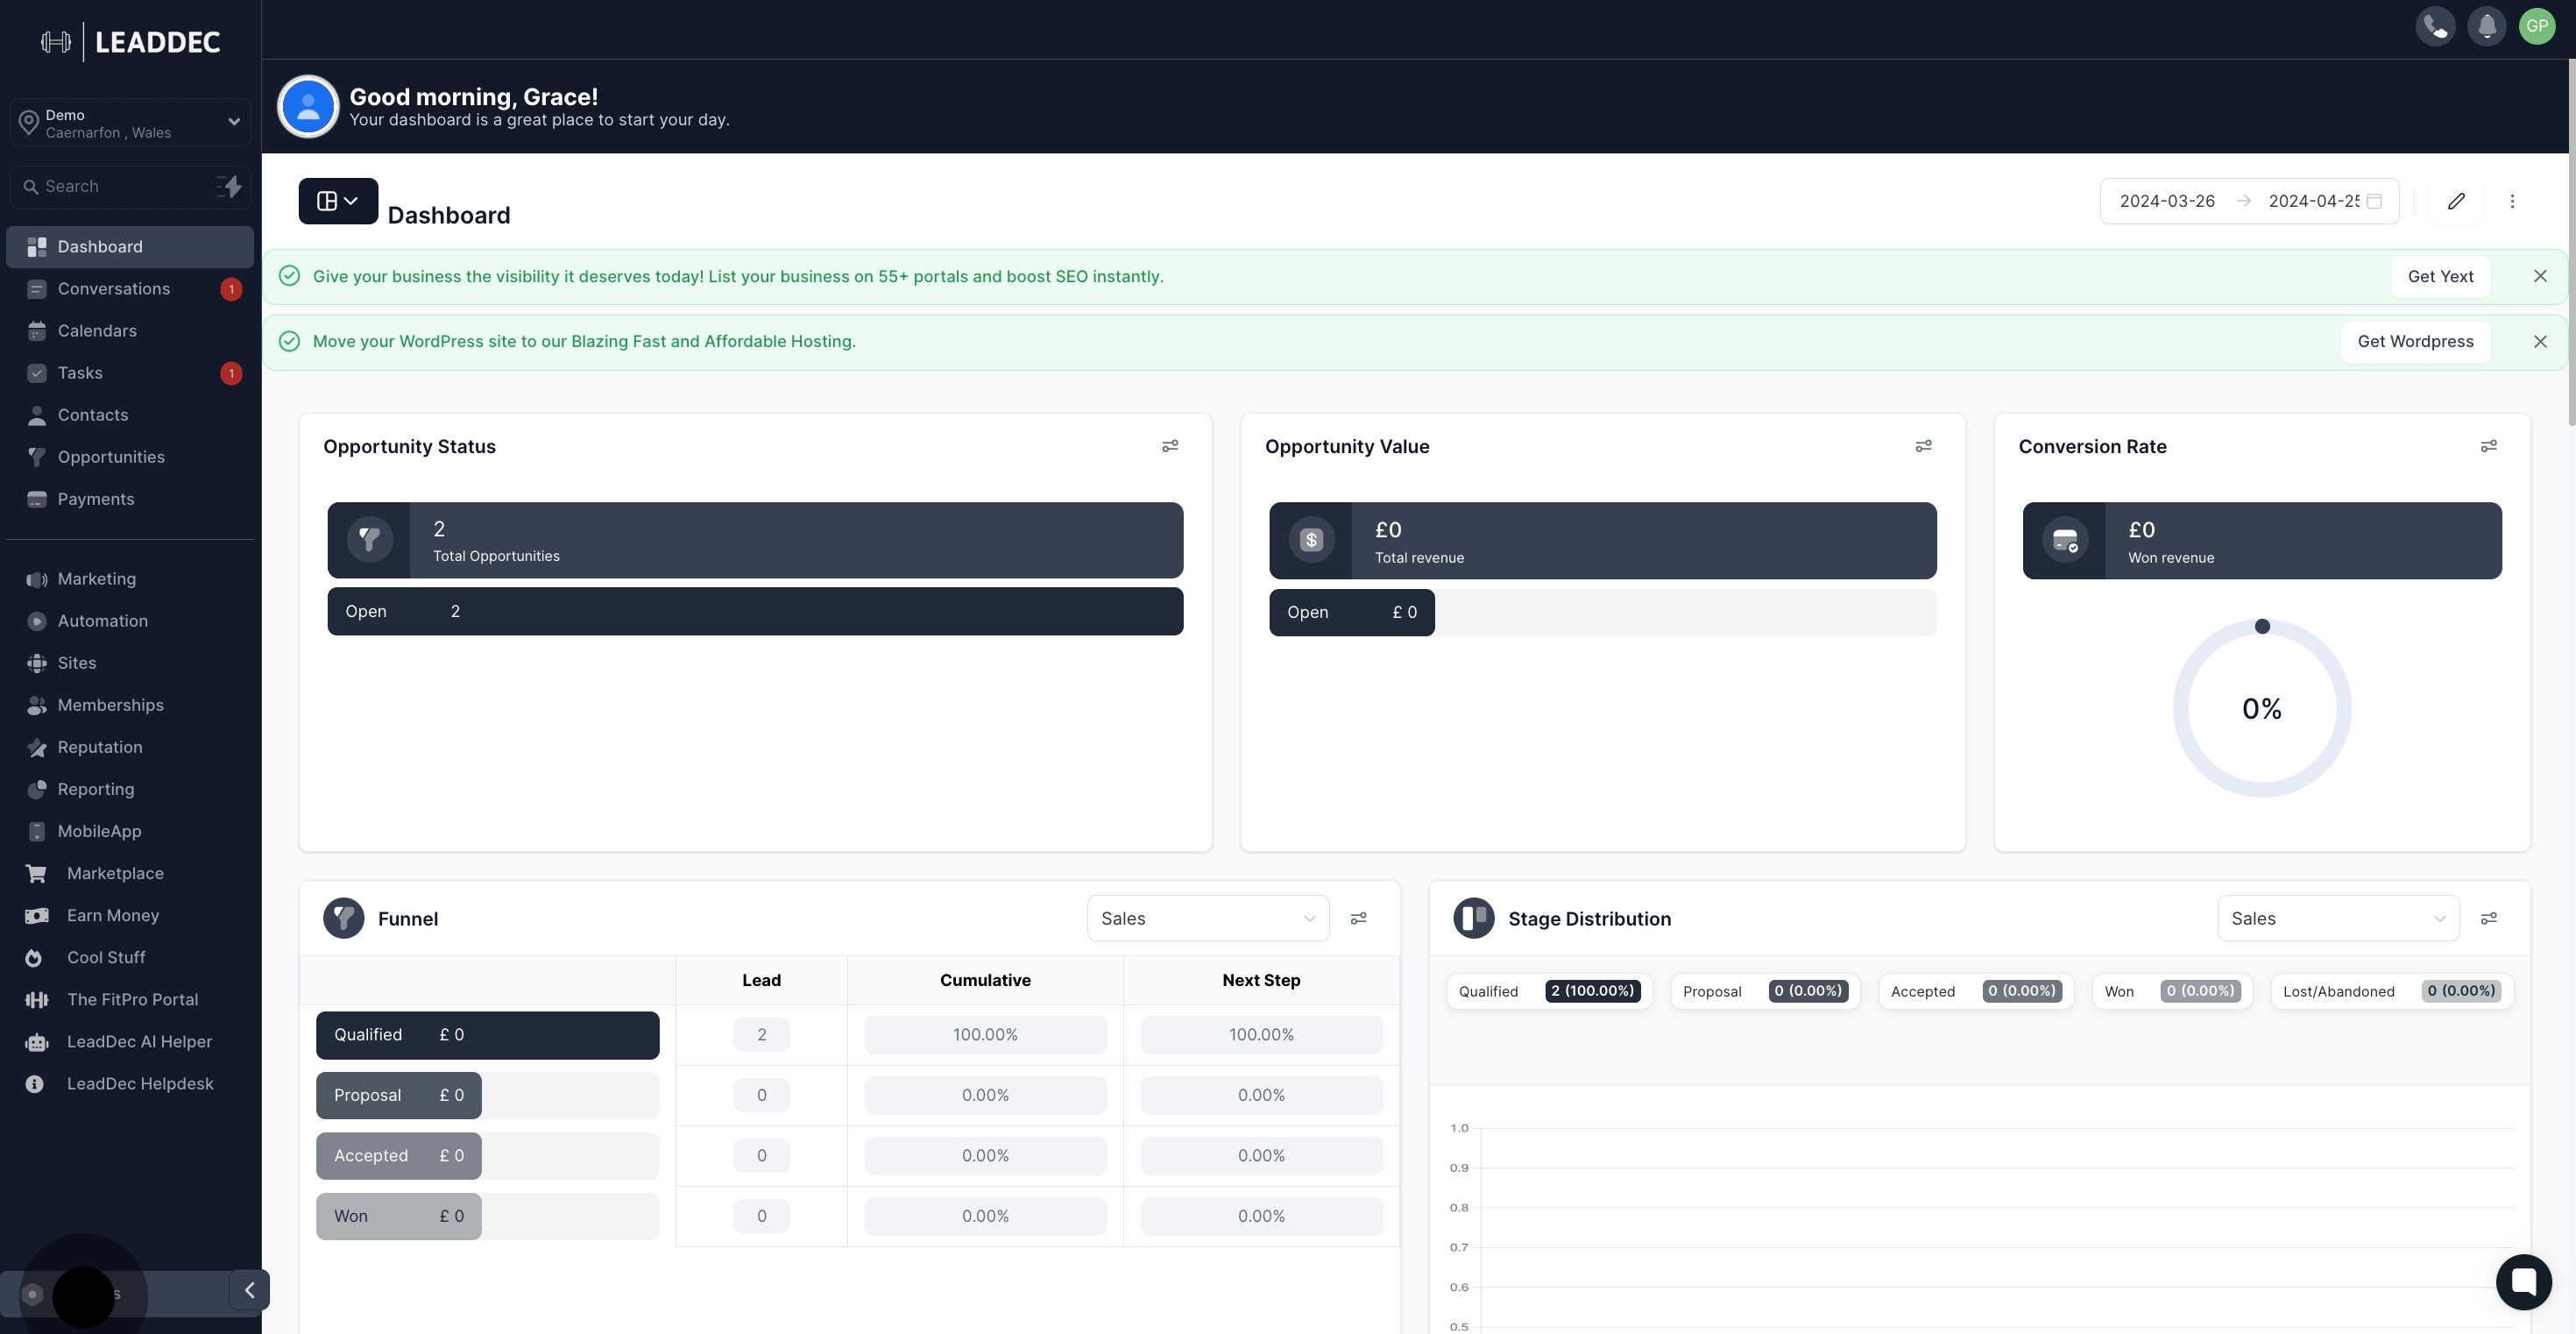
1 Click on "Settings".

2. Proceed to the 'General Information' area.
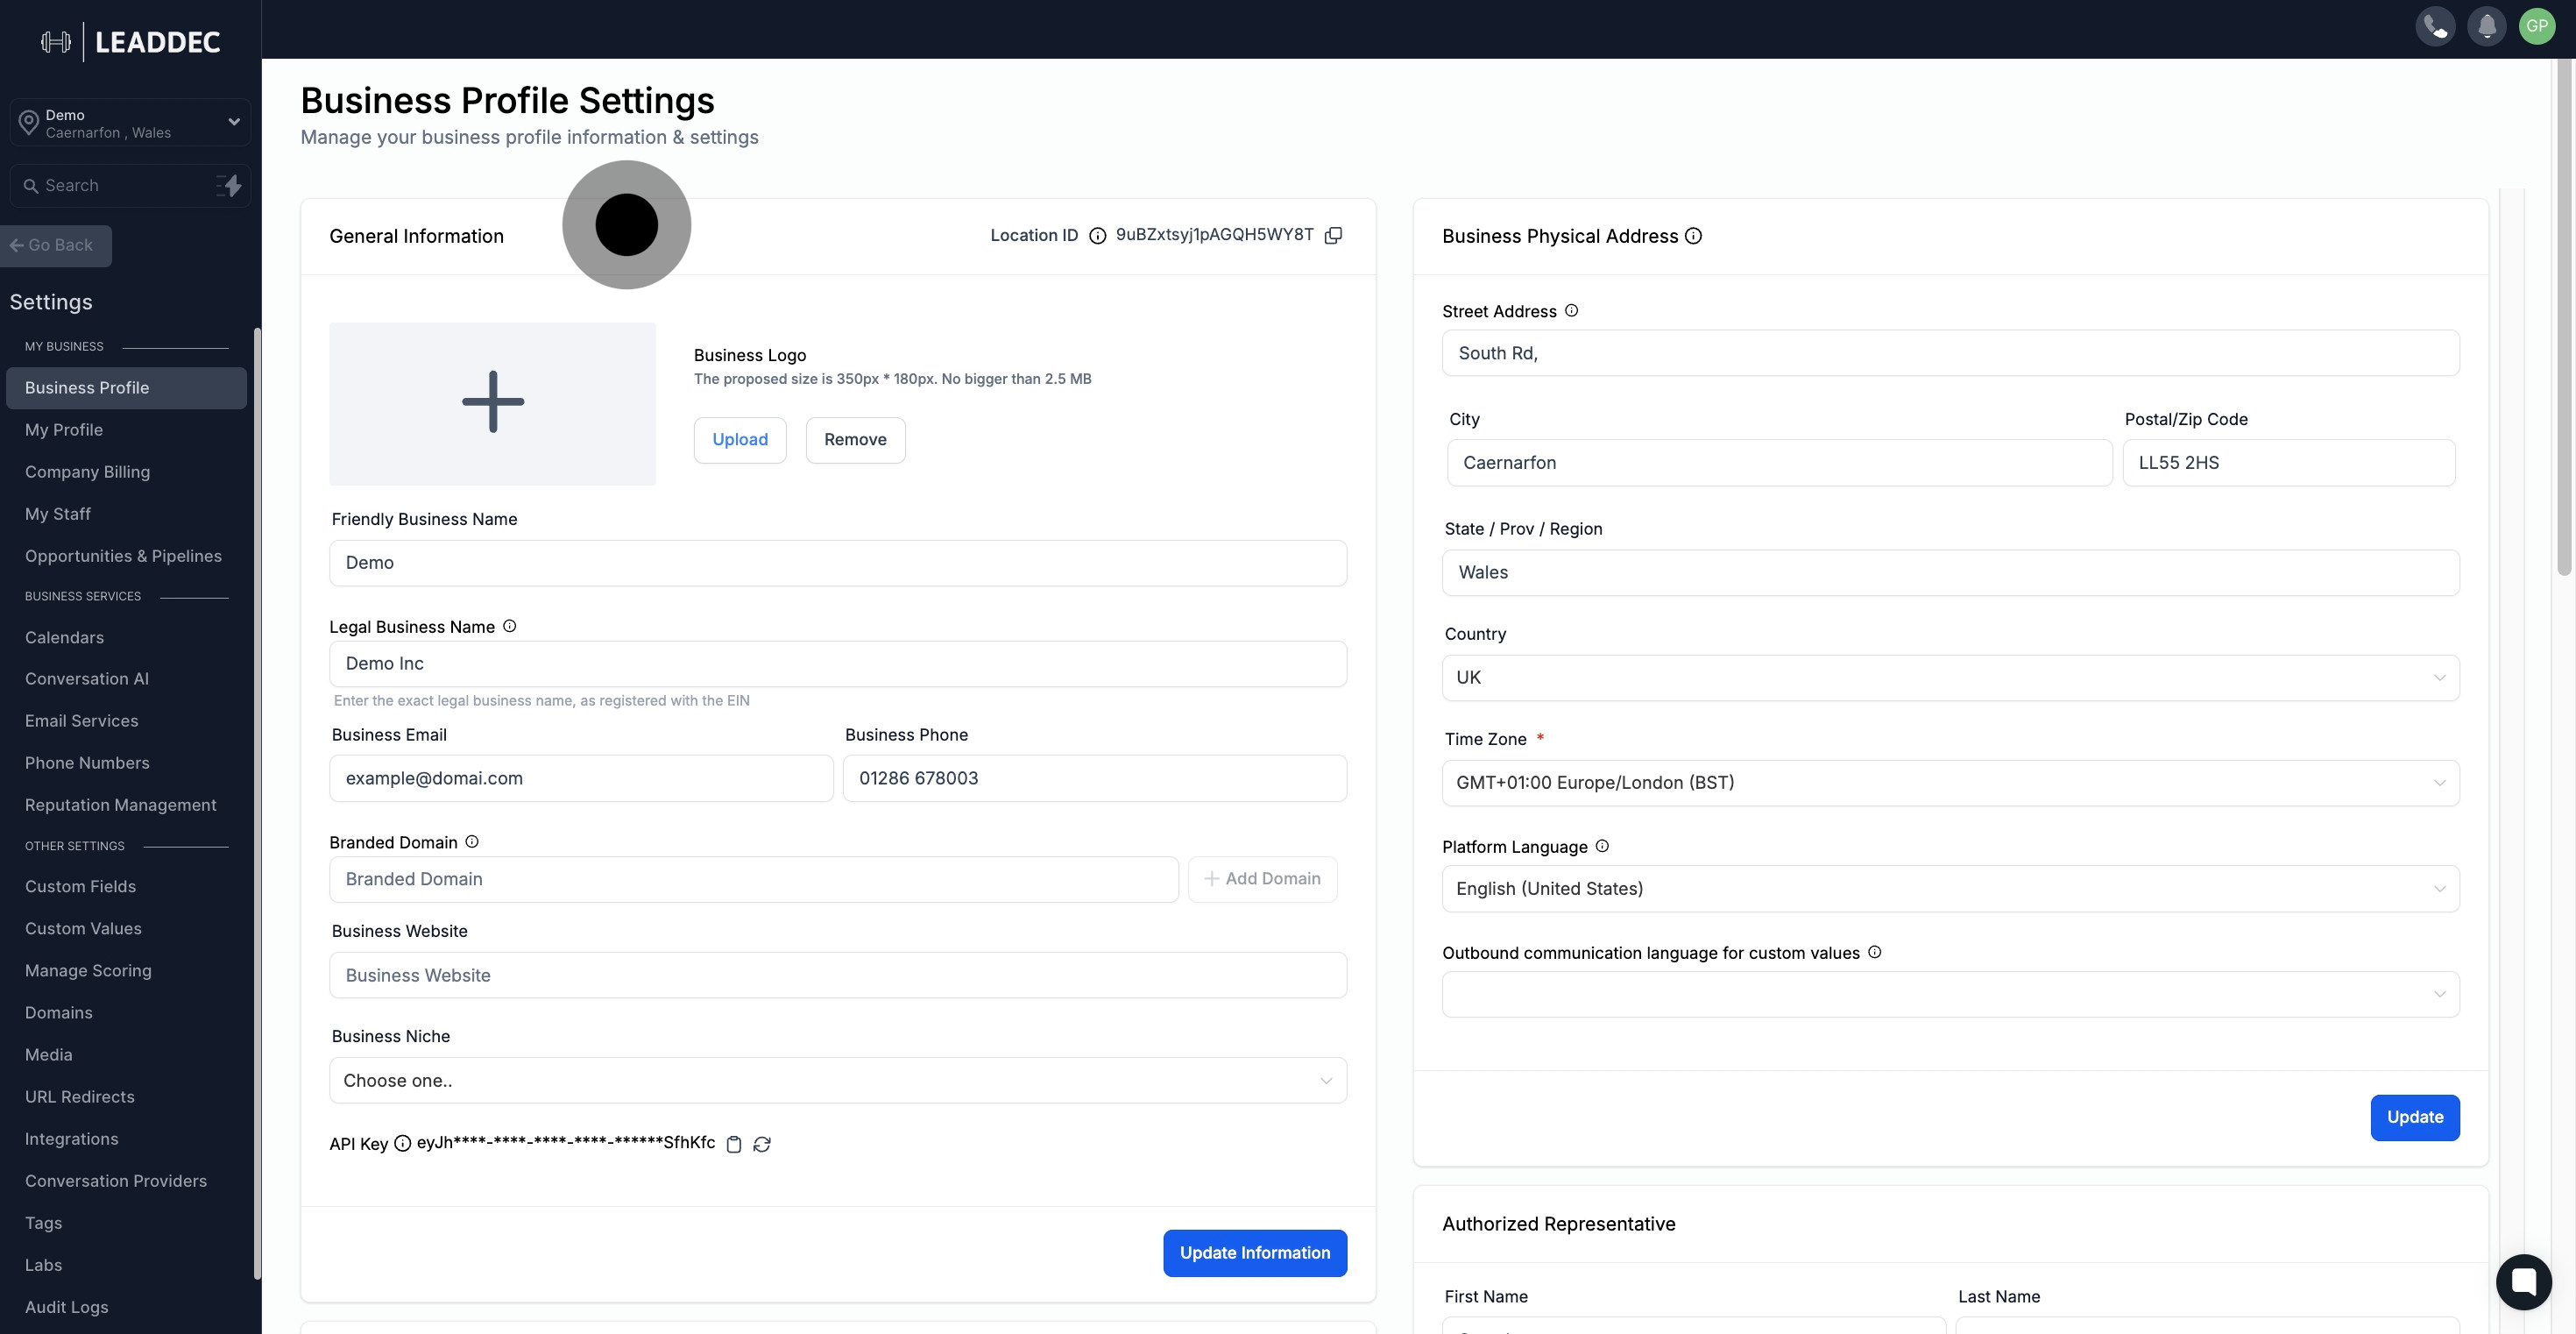
2 Following that, click on the element.

3. Press here to copy the sub account location ID.
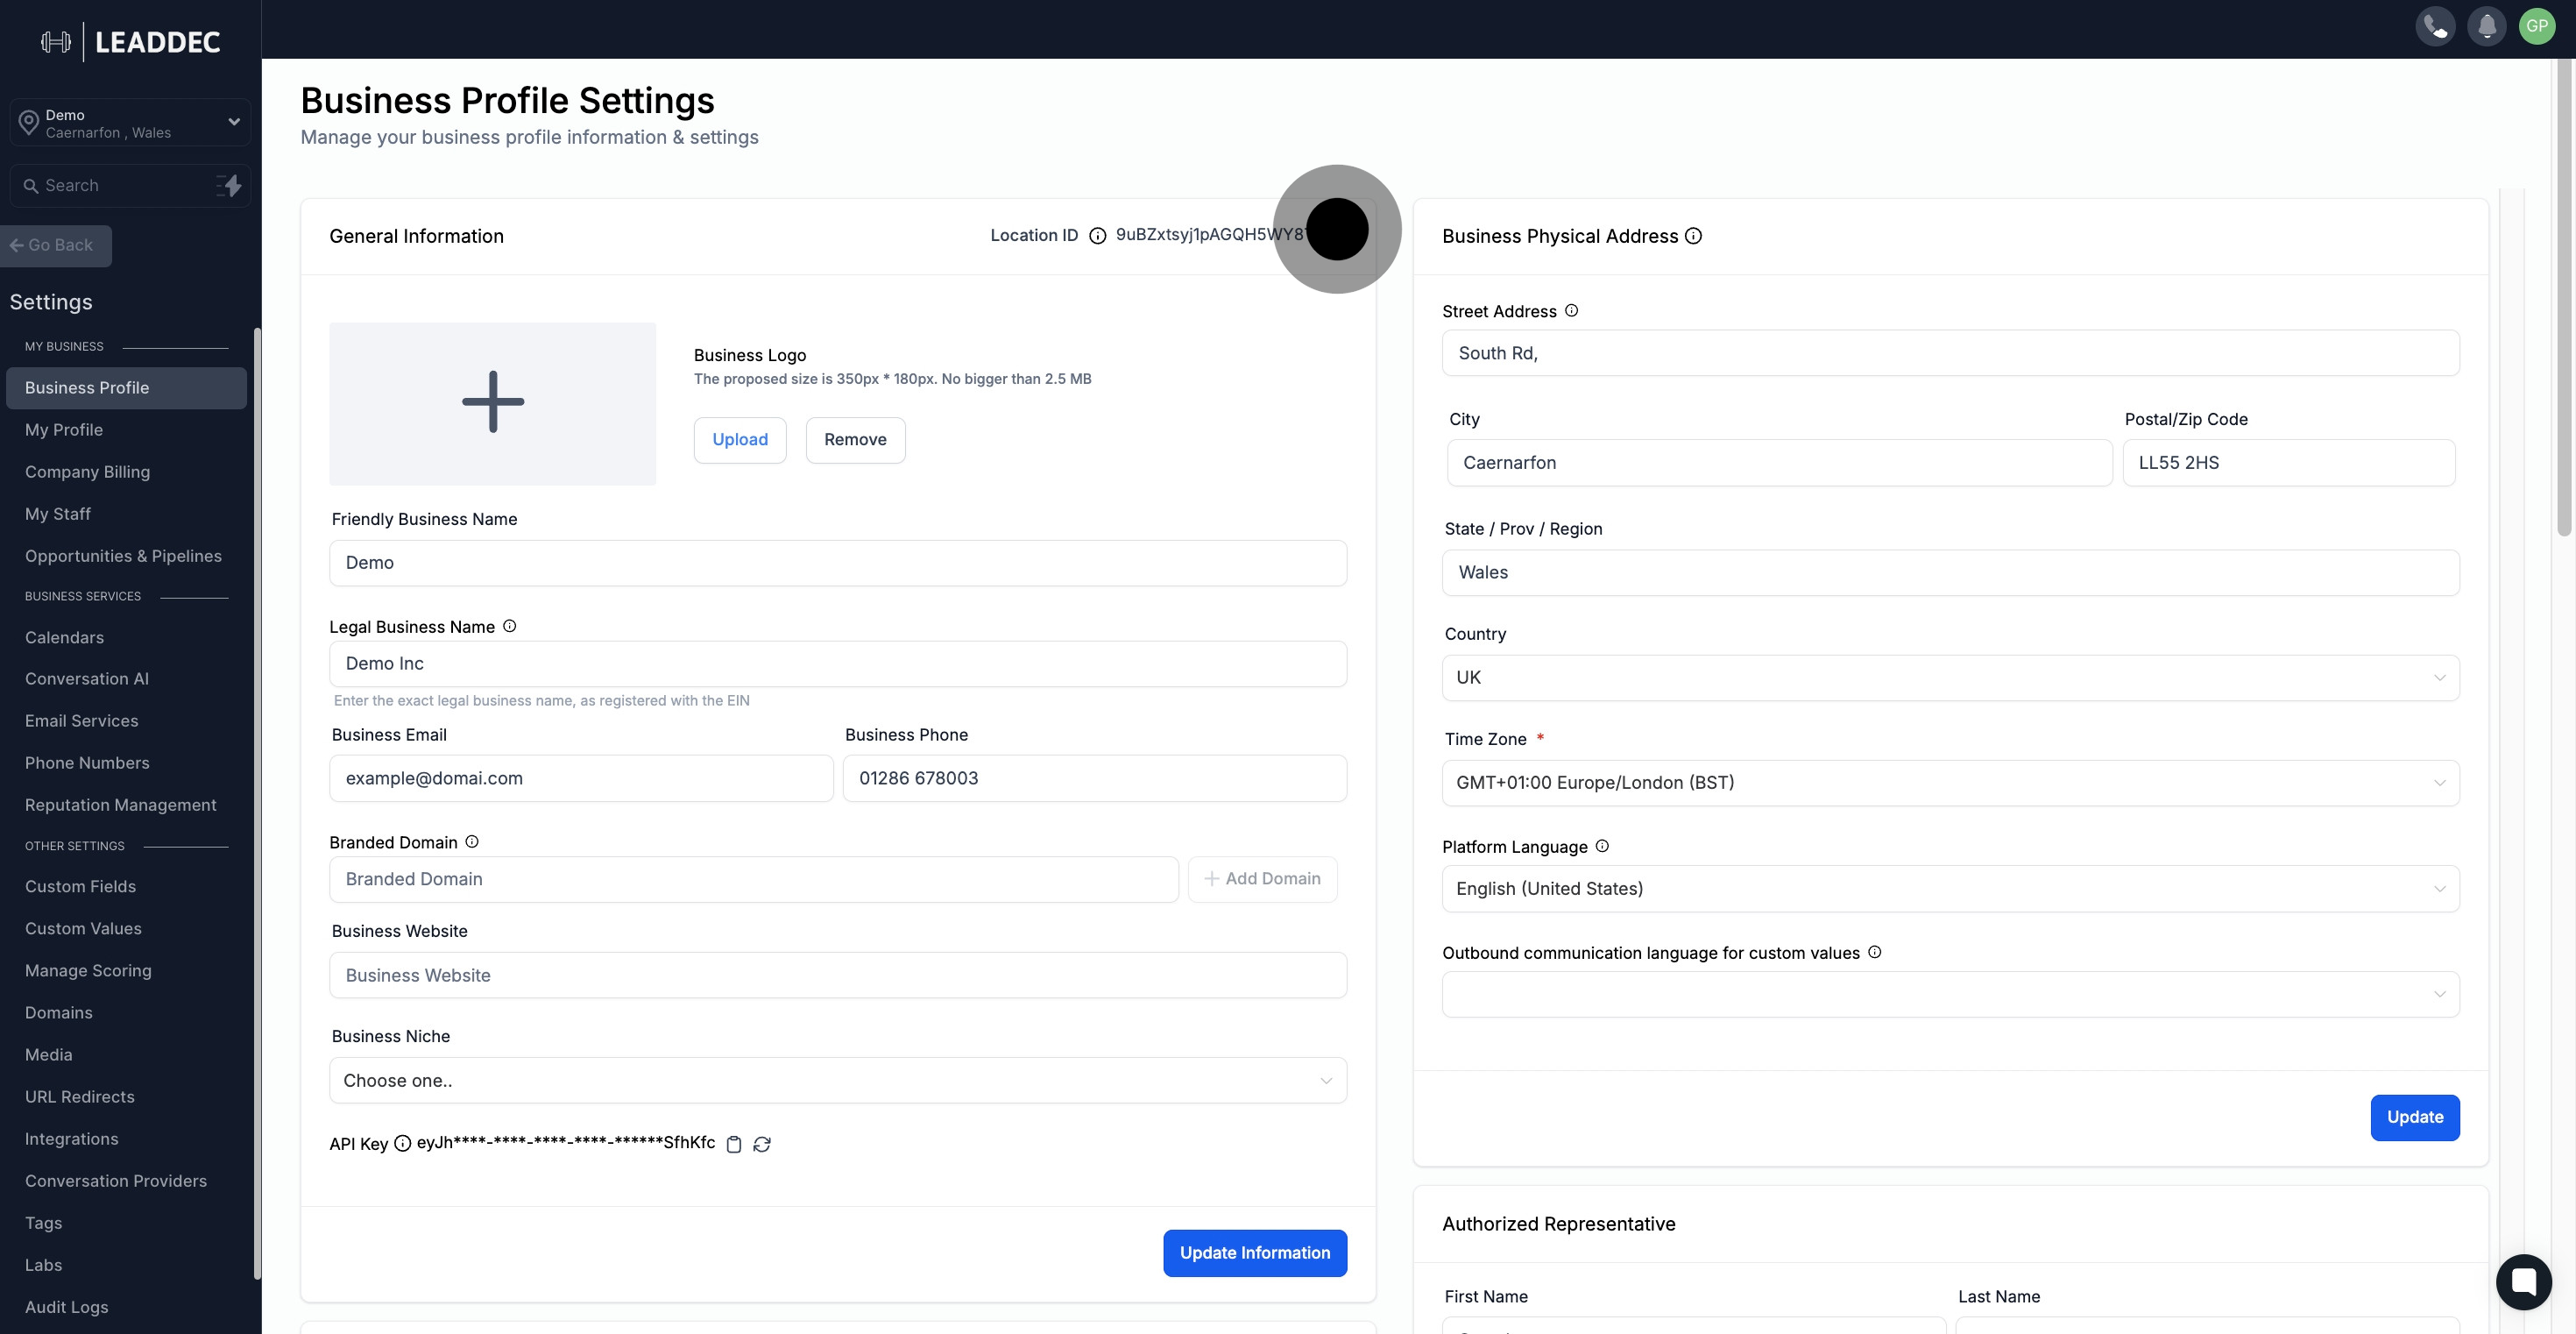
3 Now, click on the element.

4. Press here to upload your company logo.
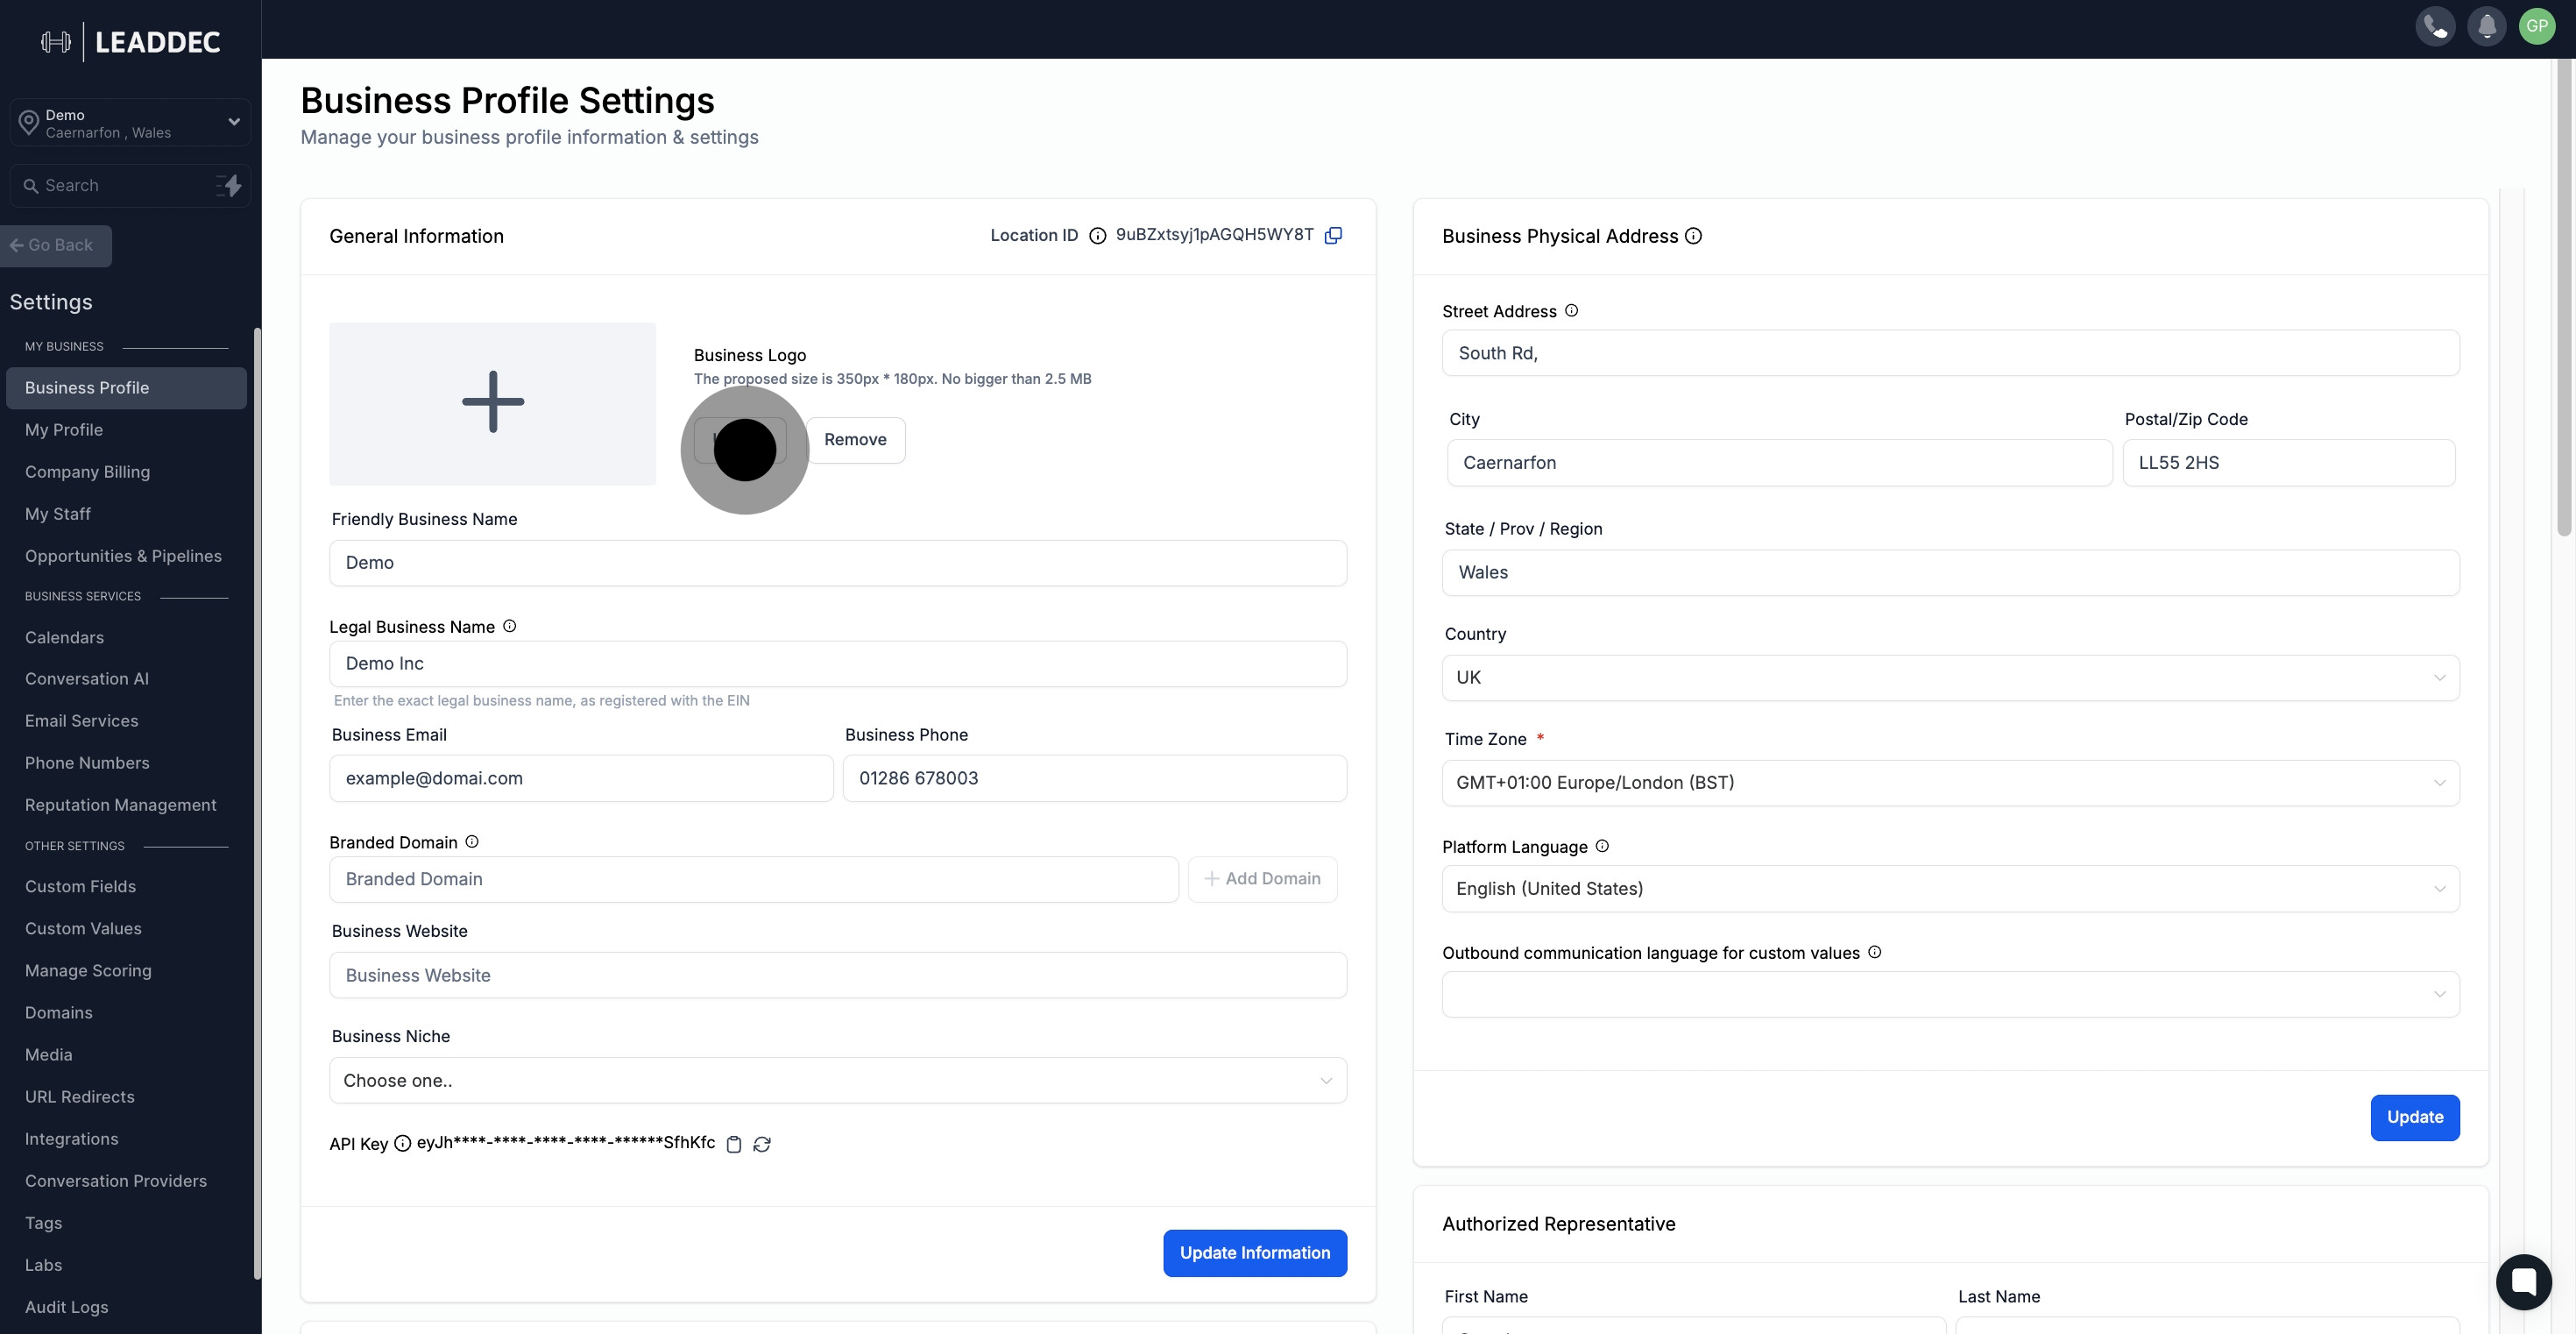
4 Click on "Upload".

5. Click here if you wish to erase the uploaded company logo.

5 Click on "Remove".

6. Input your desired 'Friendly Business Name'.
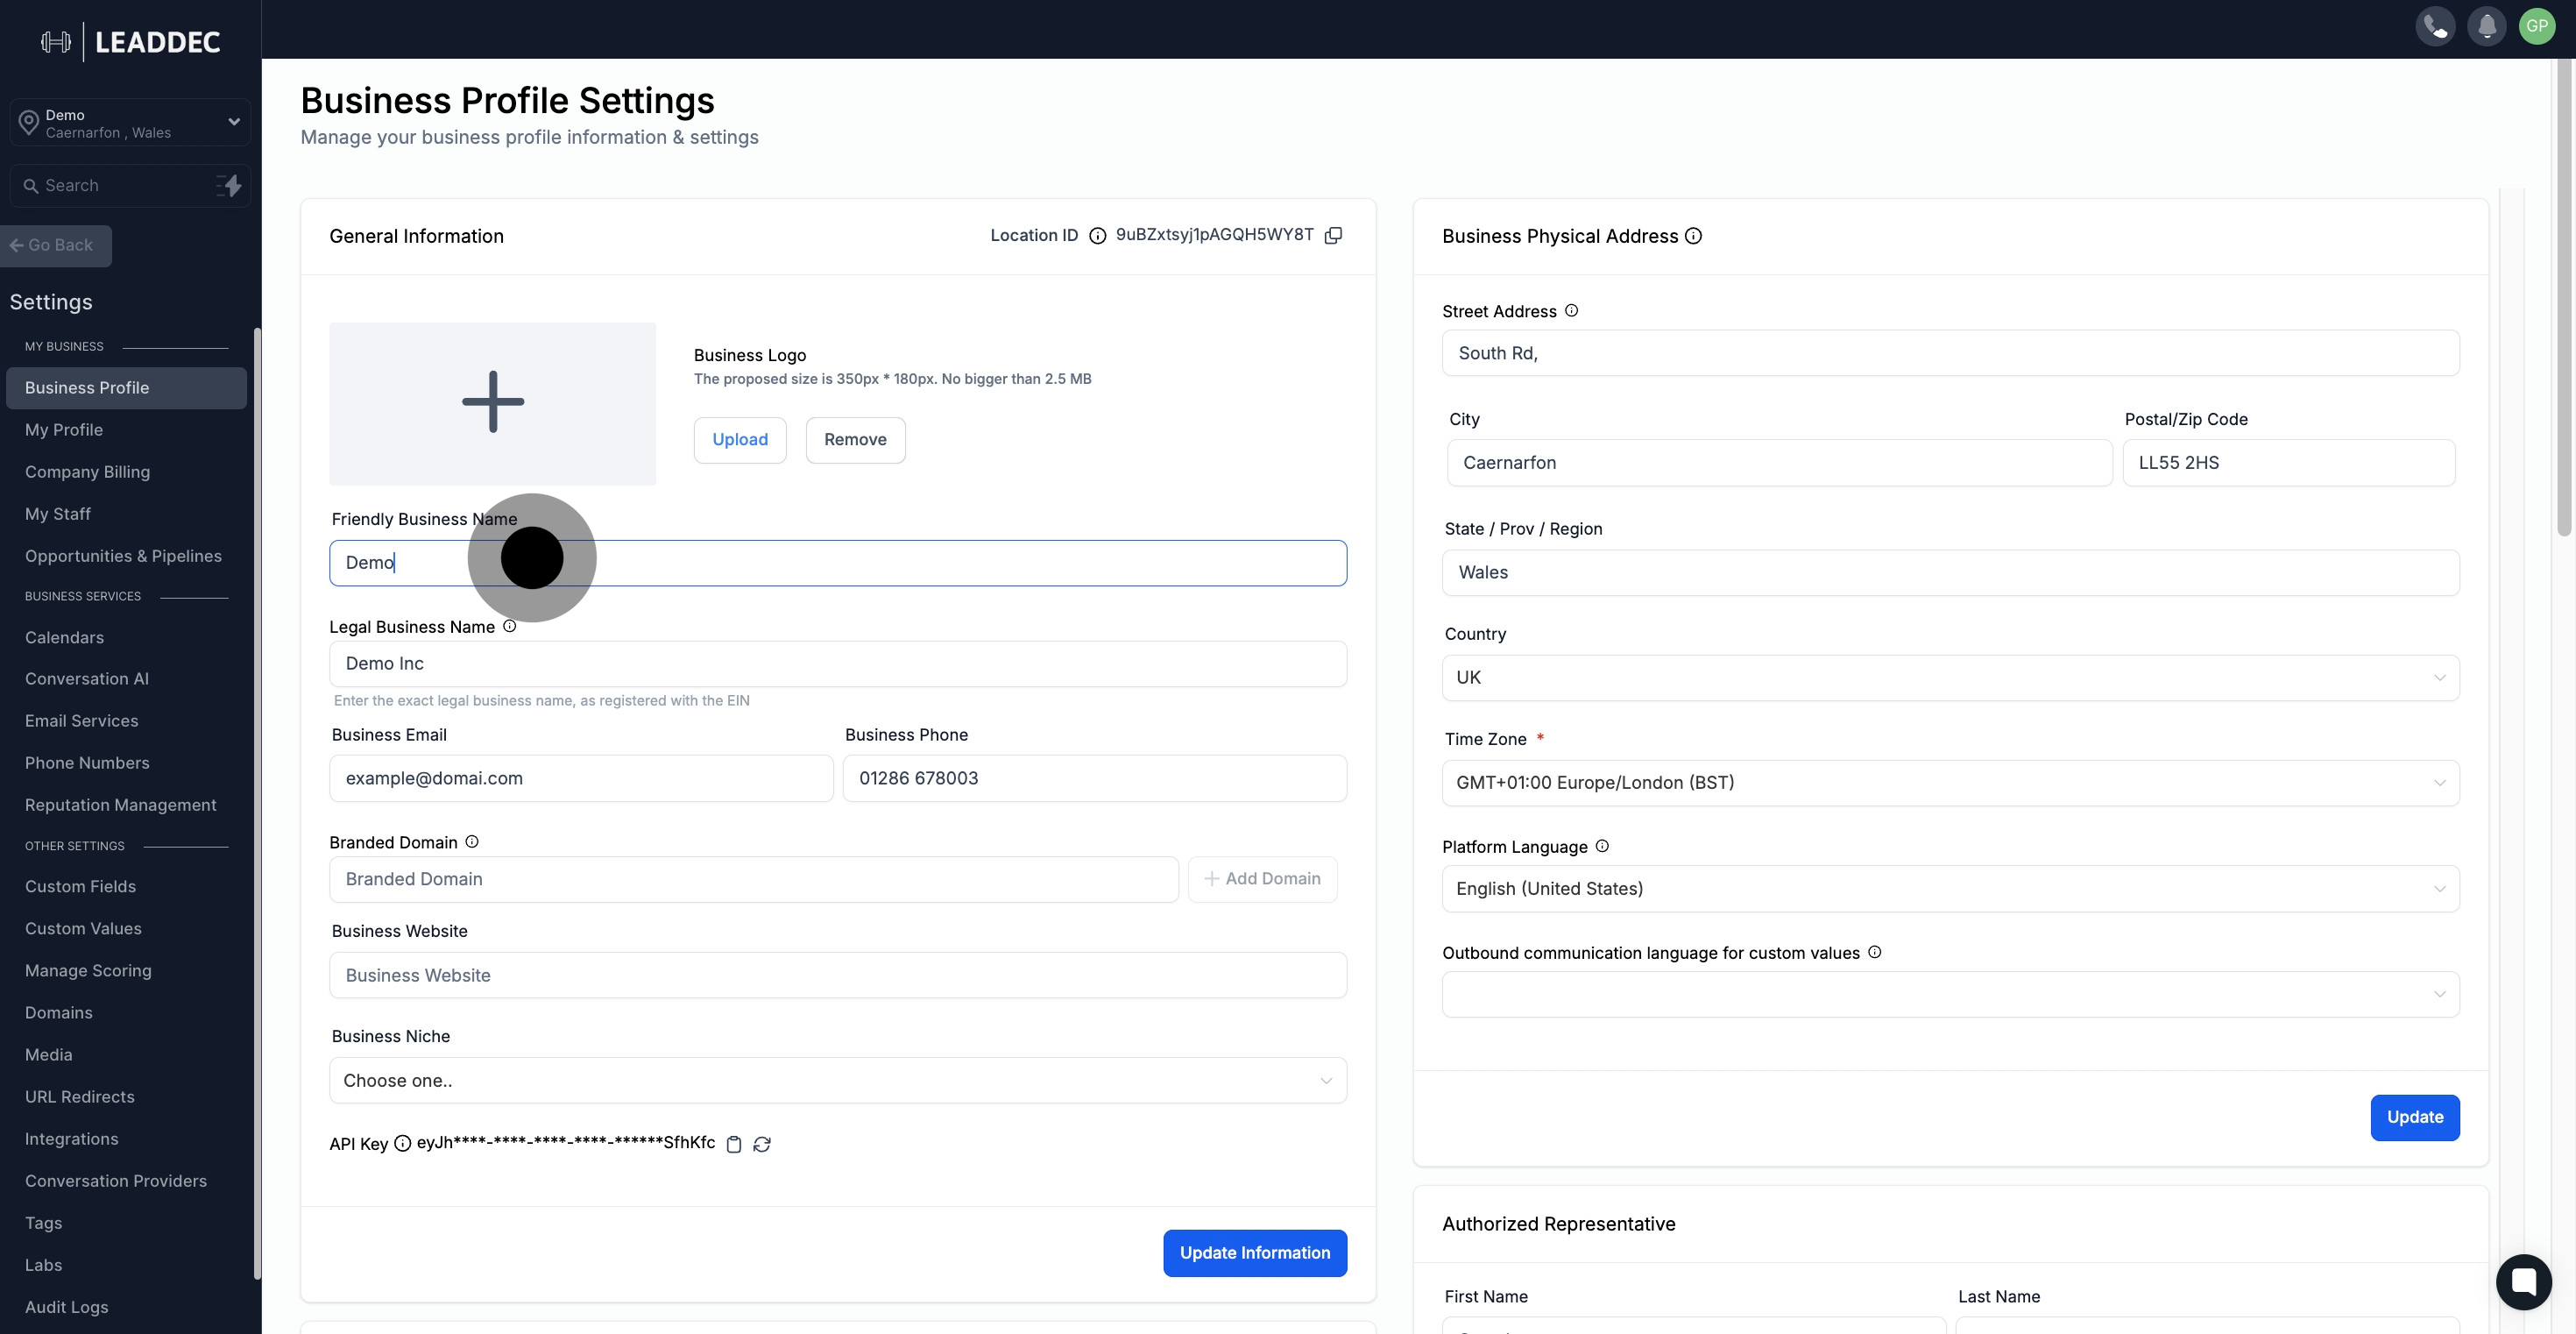
6 Click on the element.

7. Next, input the 'Legal Business Name'.

7 Click on the element.

8. Now, take a step to add on the 'Business Email'.

8 Afterwards, click here.

9. Let's move on to adding the 'Business Phone'.
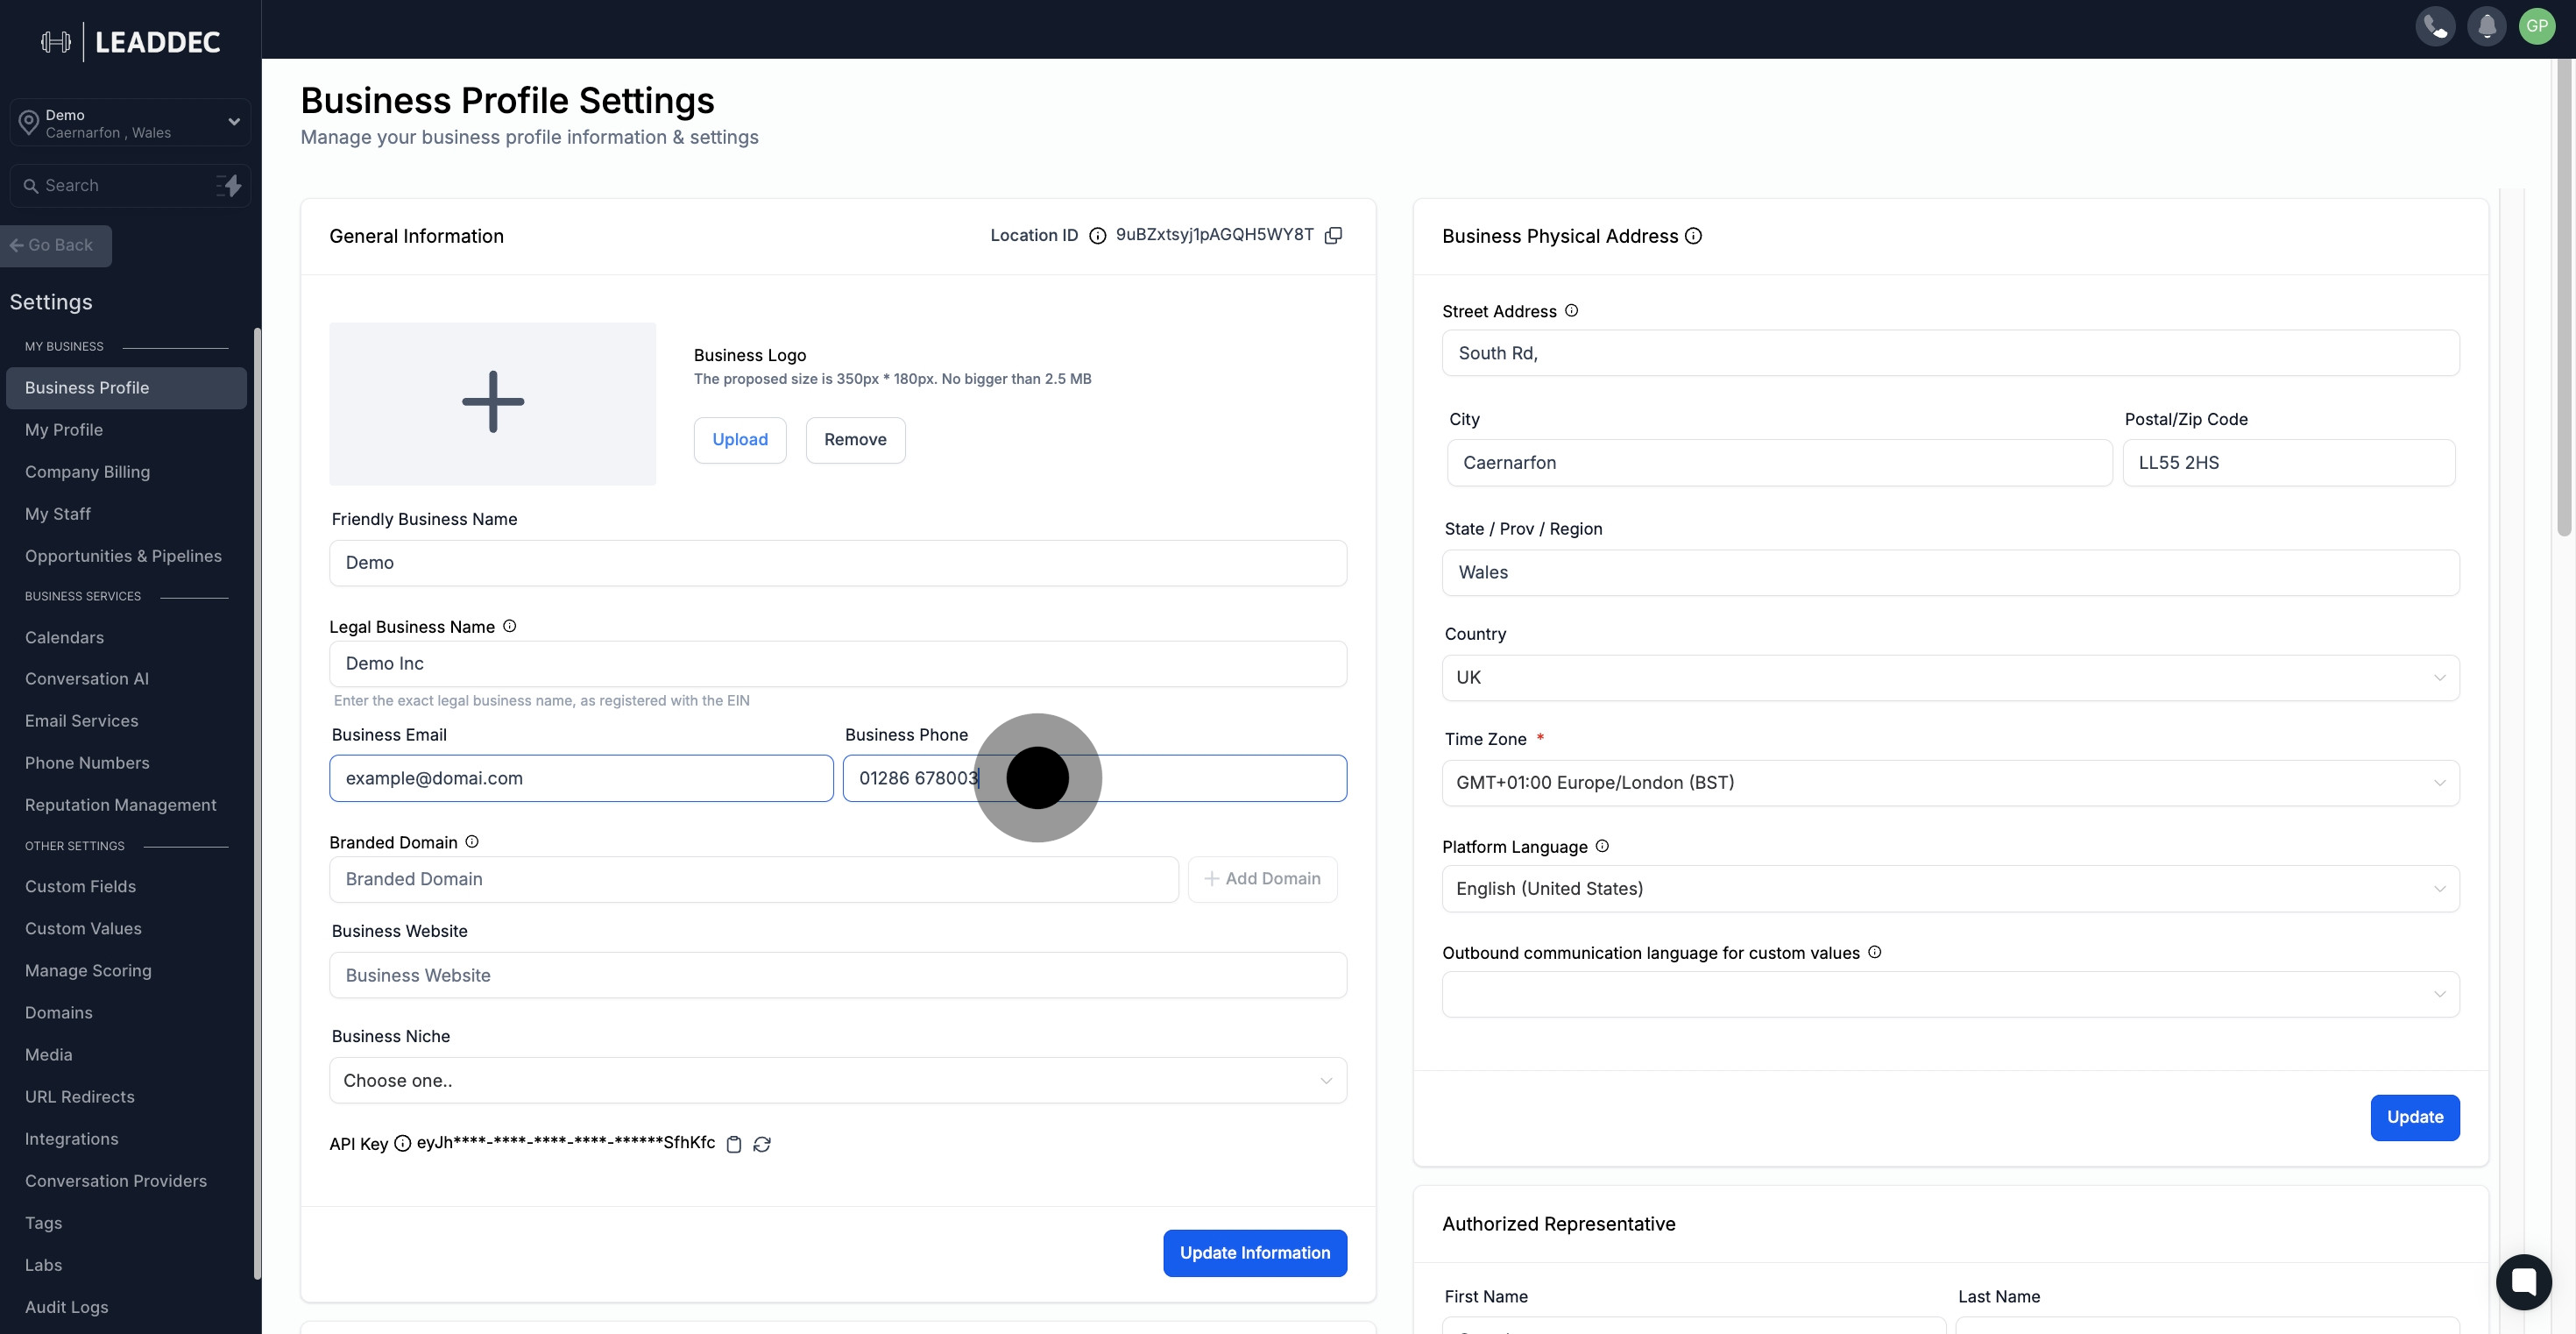
9 Click on the element.

10. Proceed by plugging in your branded domain.
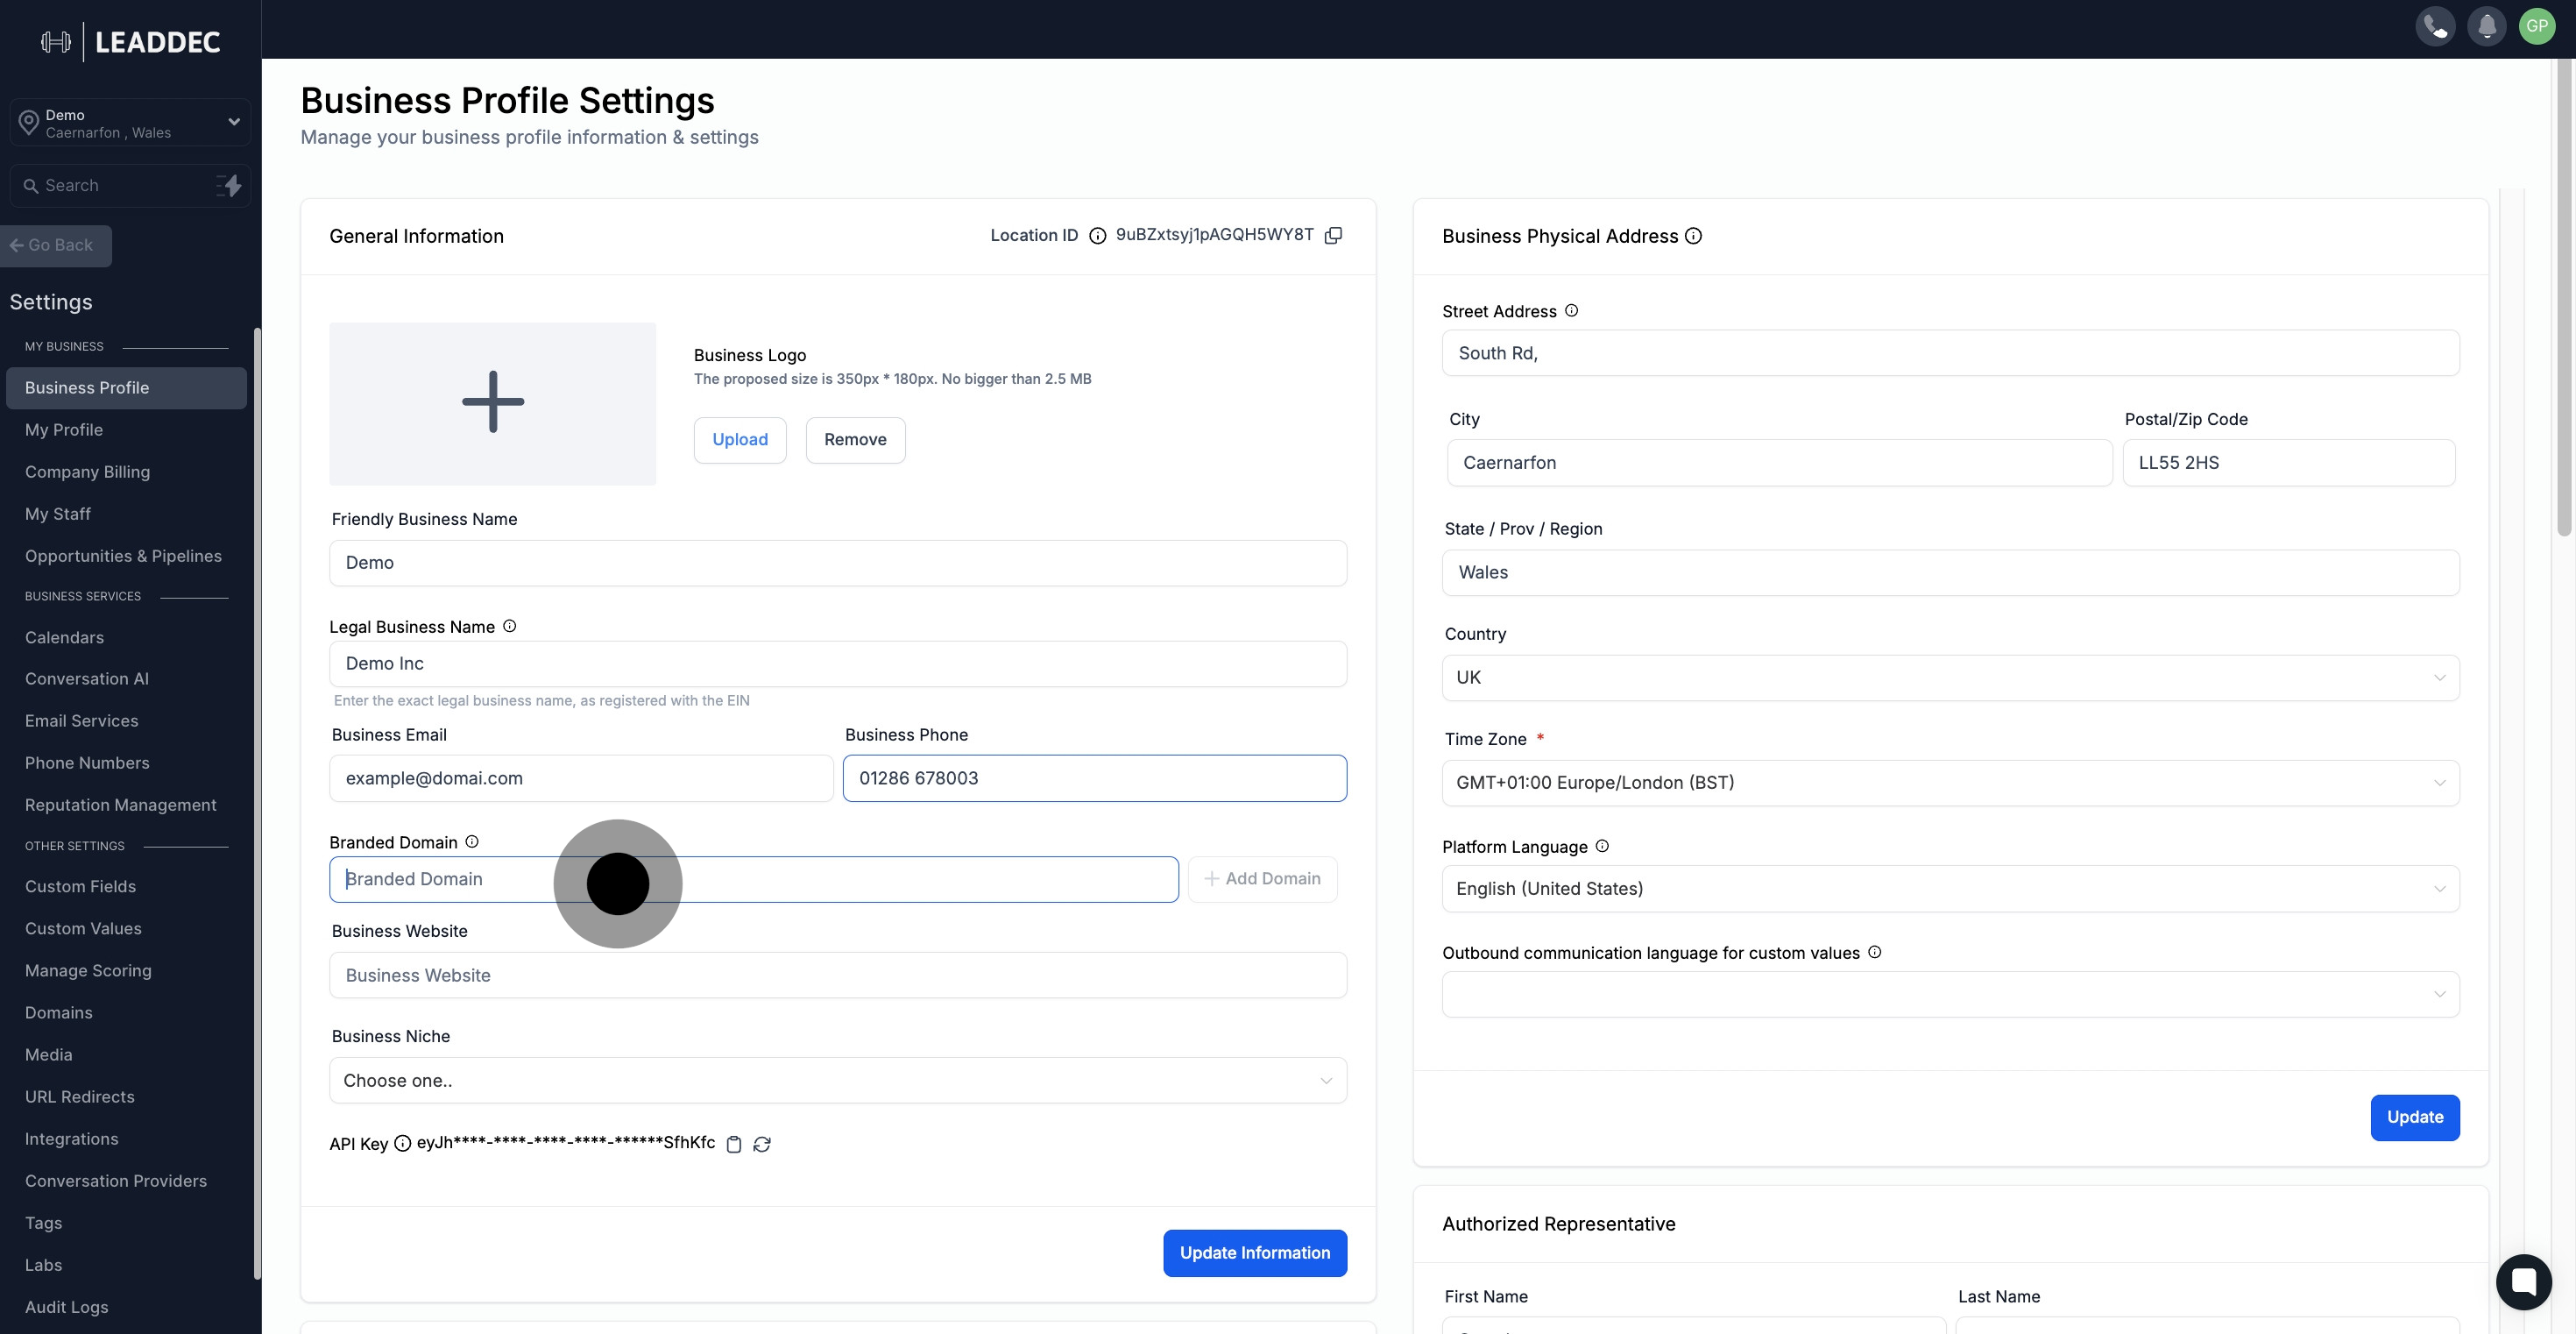
10 Click on the element.

11. Press 'Add Domain' to continue.

11 Click on "Add Domain".

12. Further, add your Business Website.

12 Next up, click here.

13. Select an option to represent your business niche.
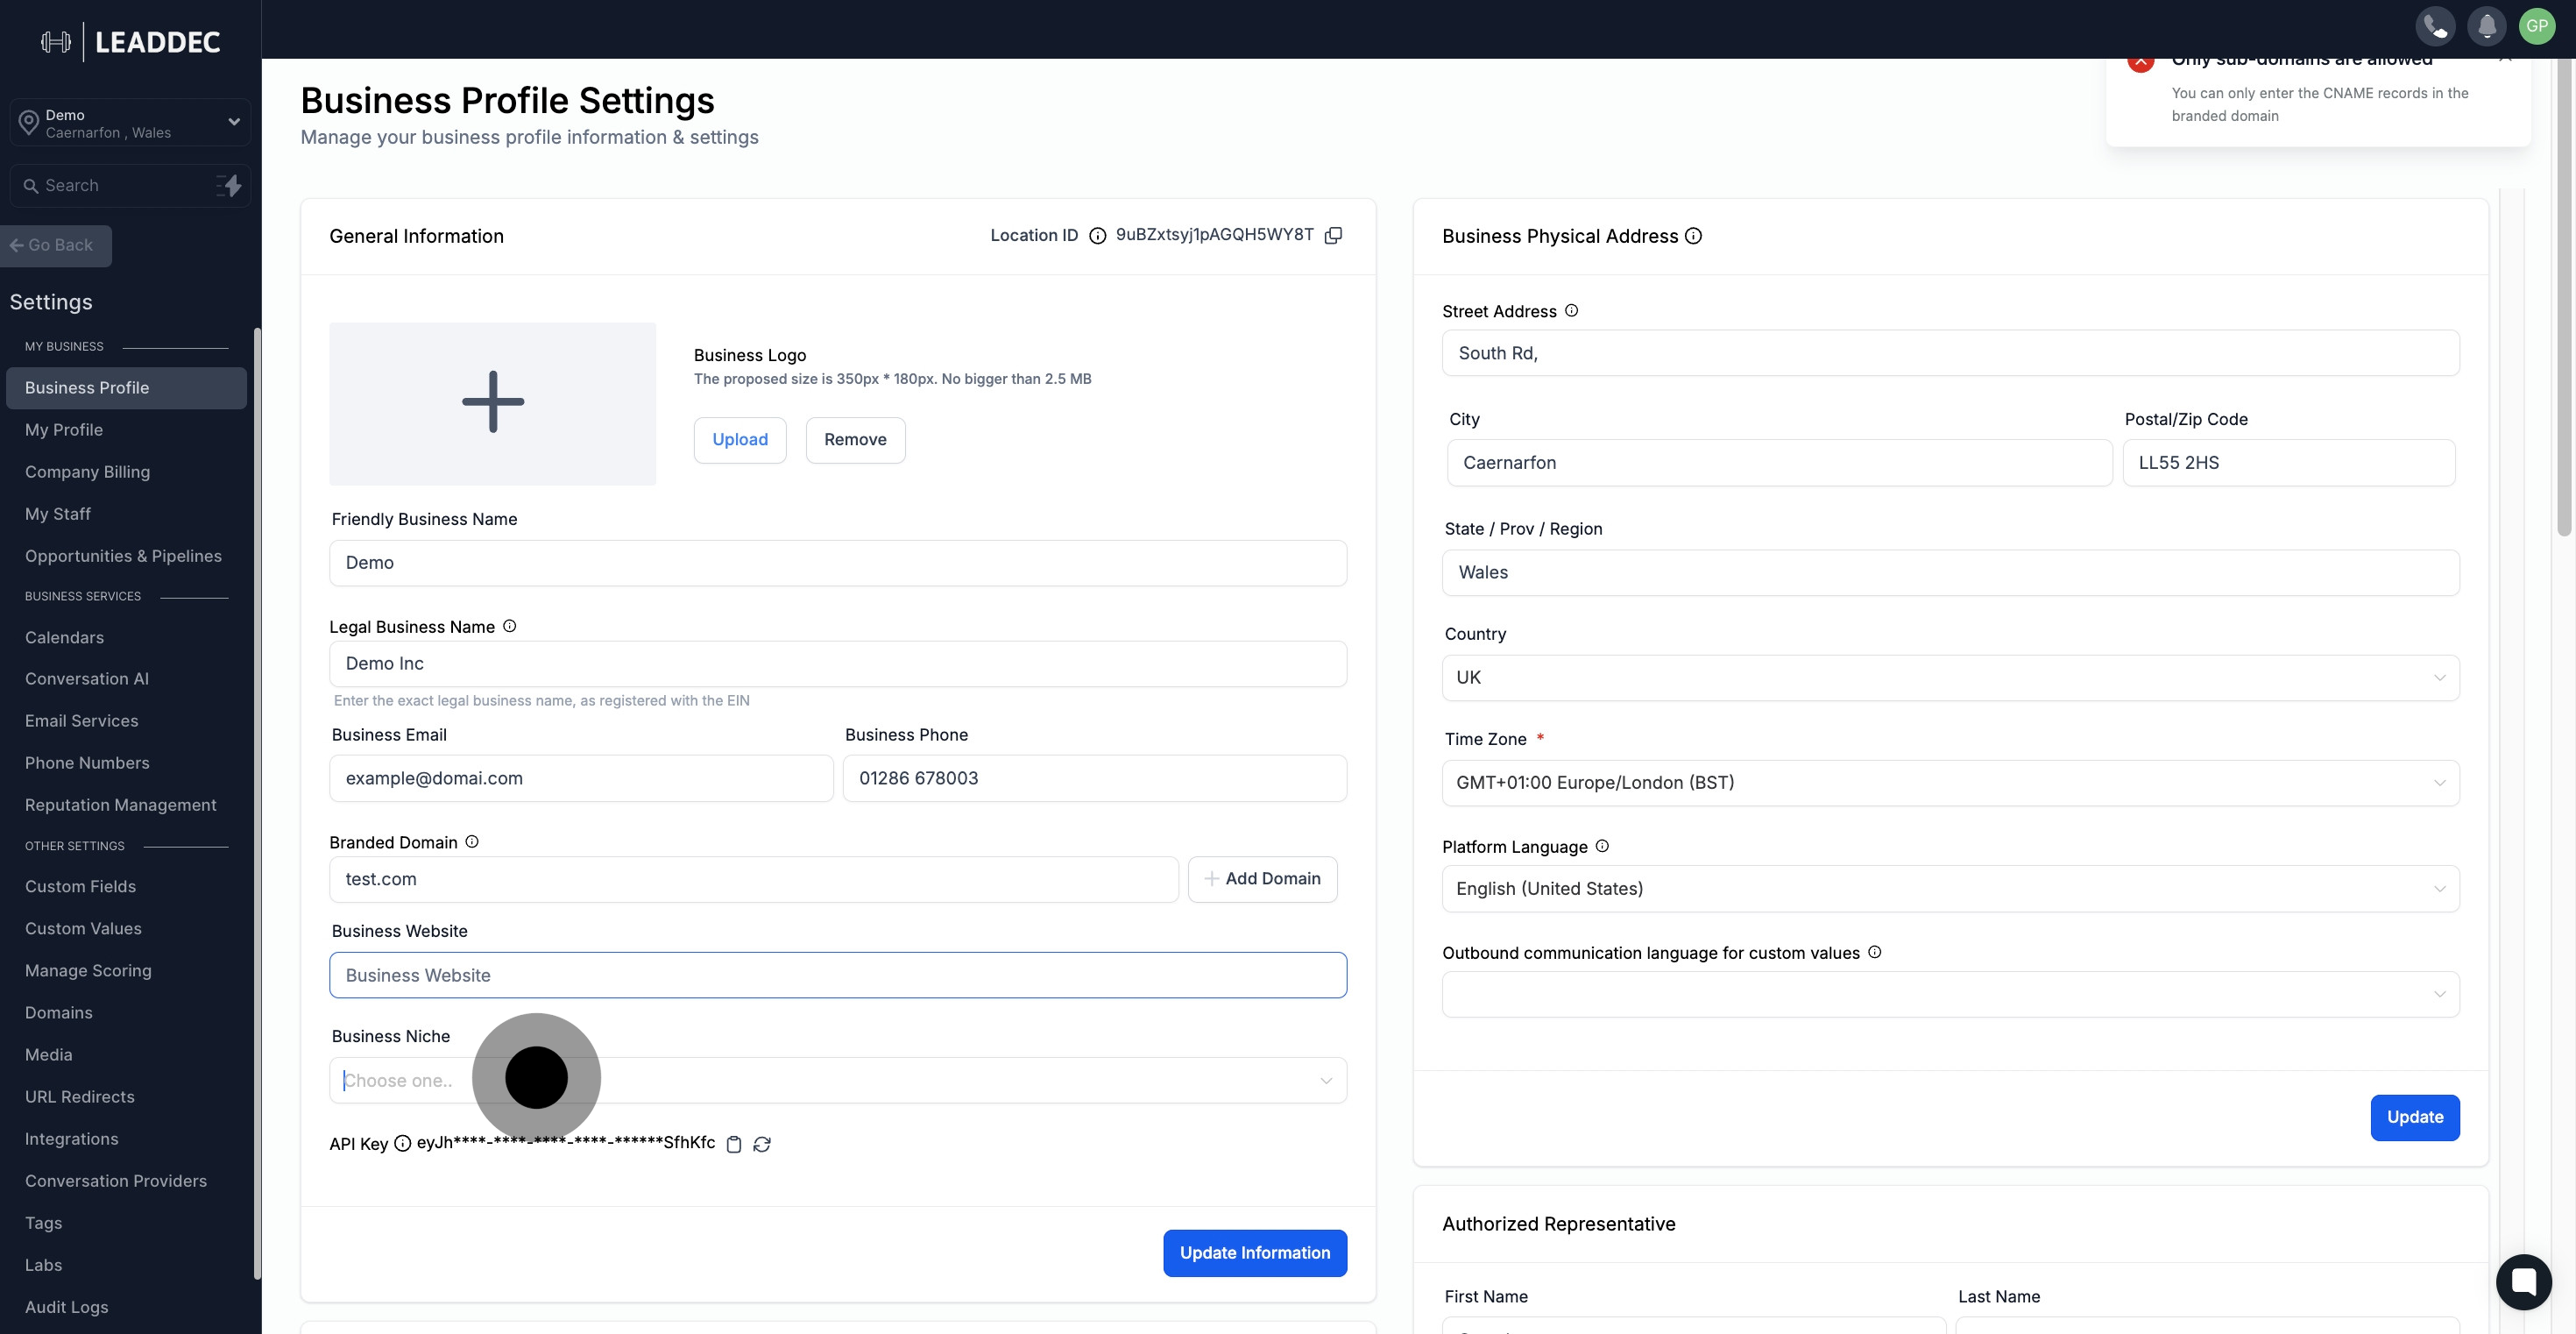
13 Click here.

14. Feel free to press if you want to copy the API key.

14 Once that's done, click here.

15. Once done, click here to update information.
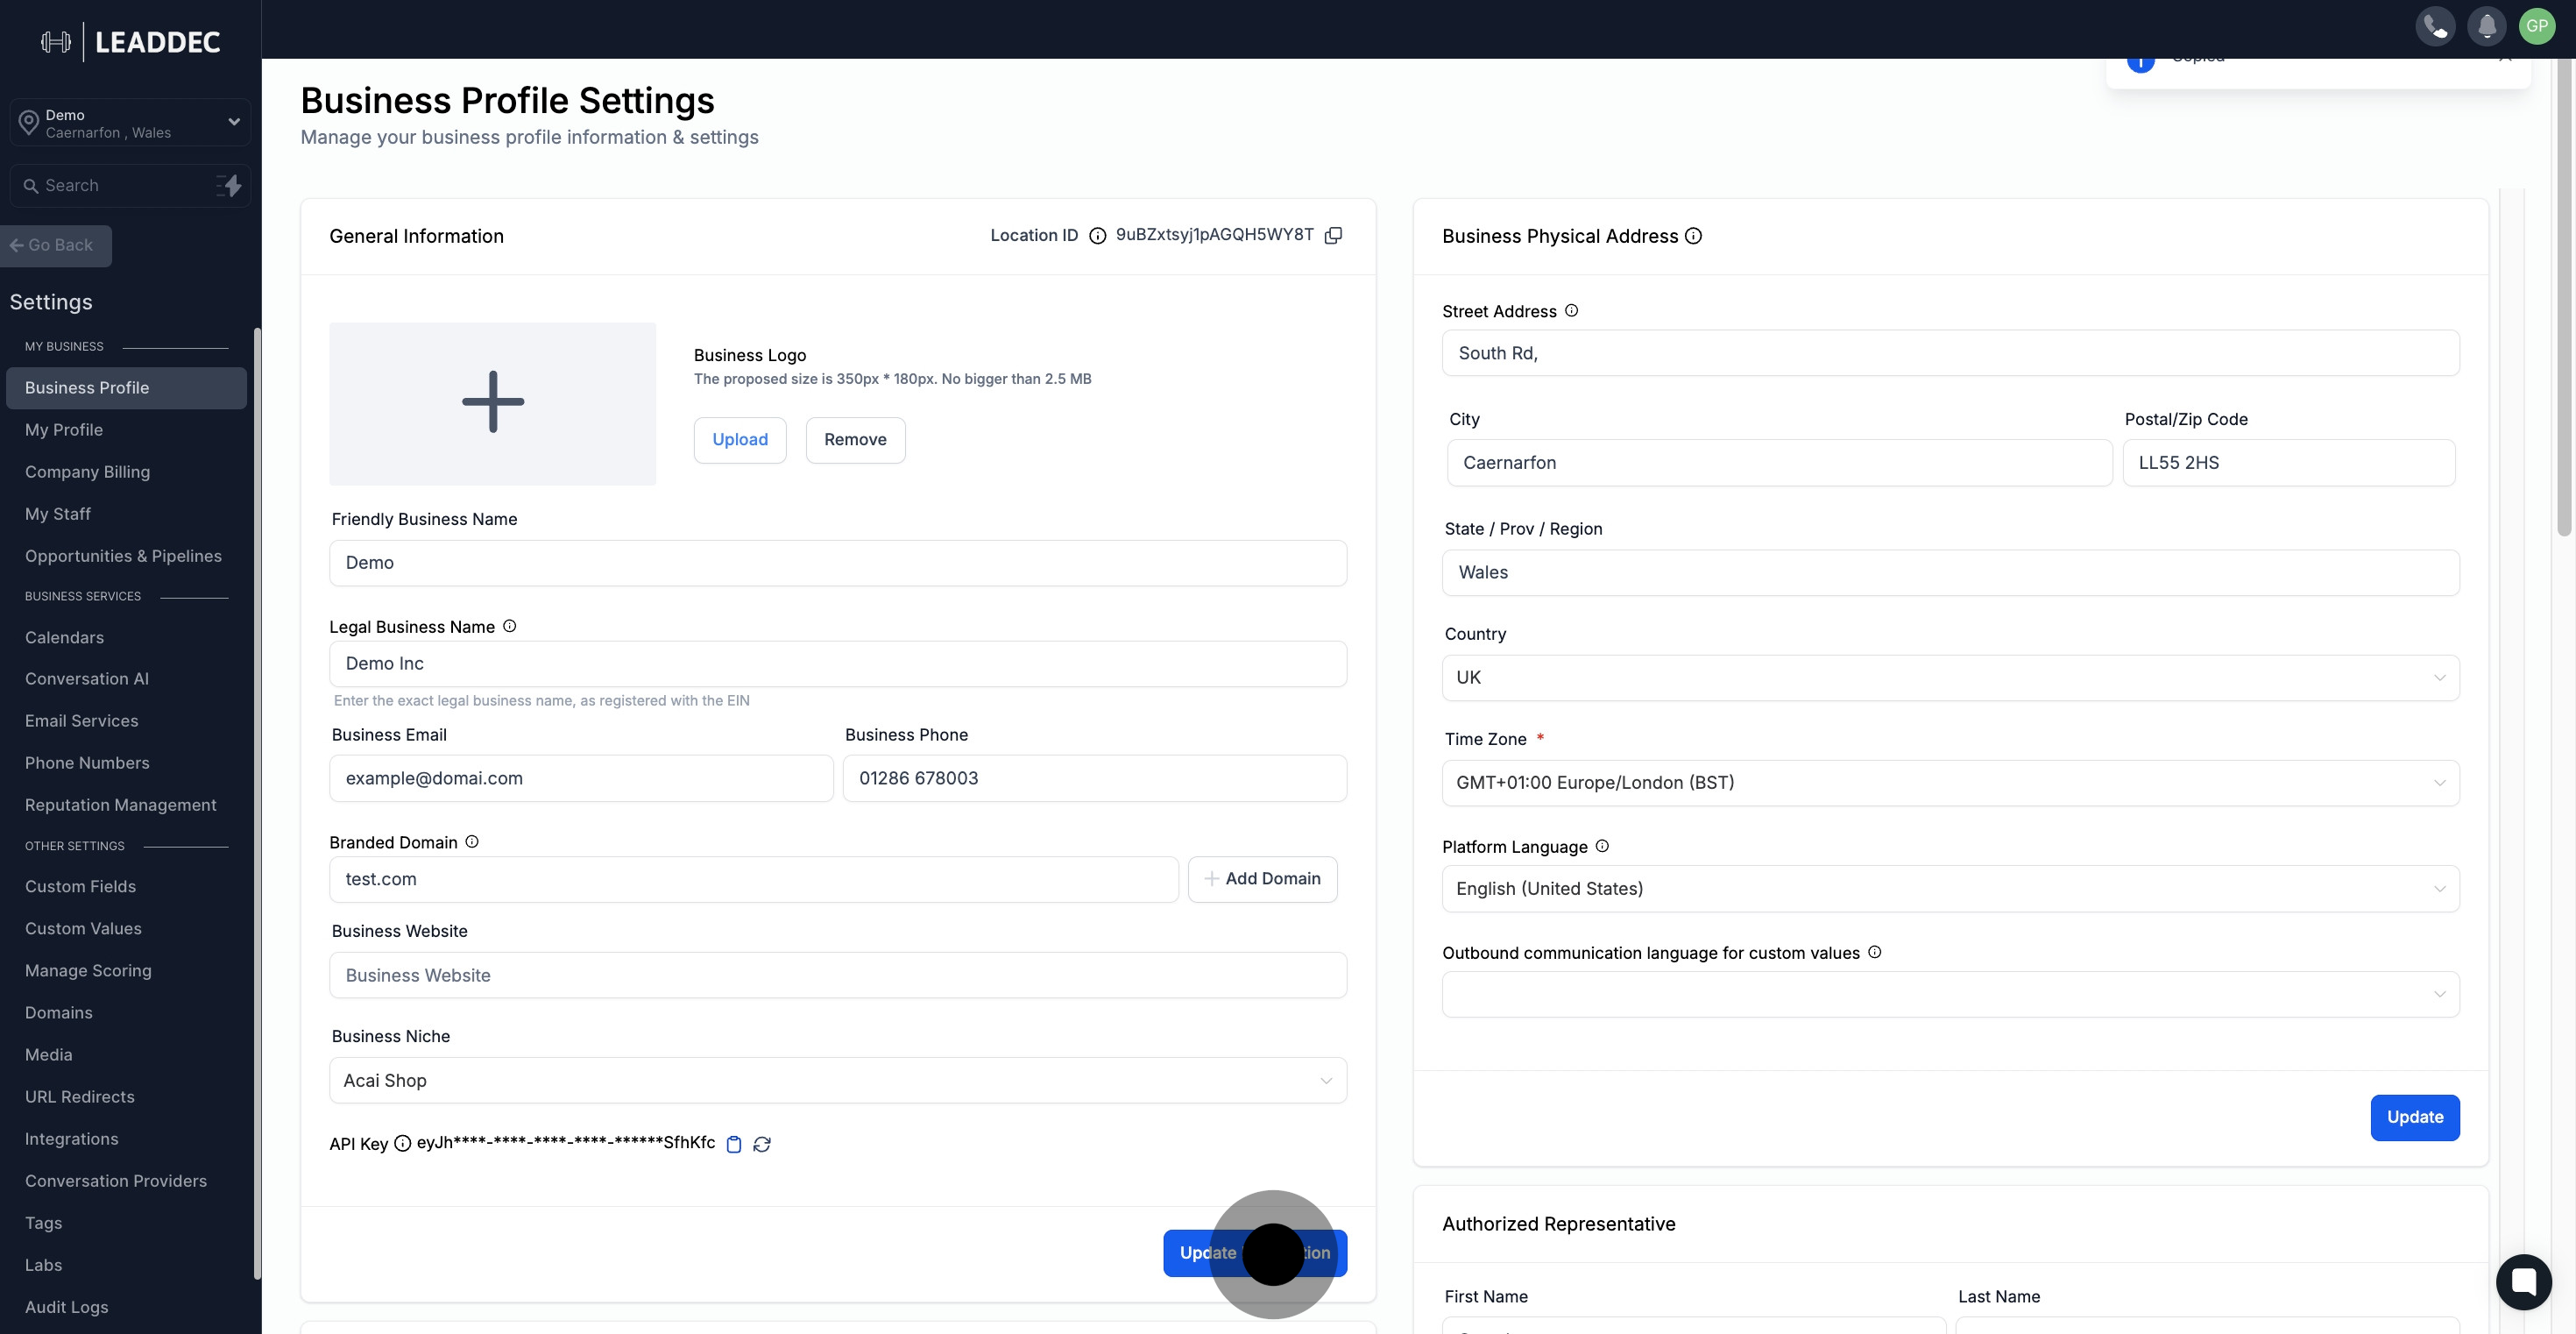
15 Click on "API Key".

Did this answer your question?
😞
😐
😁