Adding Tasks Through Contacts in LeadDec

Boost your productivity and enhance client follow-up by learning how to add tasks directly through contact profiles in LeadDec. This guide shows you the simple steps to seamlessly integrate task creation with your contact management, ensuring you stay organized and on top of each client's needs. Discover how to use this feature to assign specific tasks related to individual contacts, facilitating better planning, accountability, and execution of your client engagement strategies.


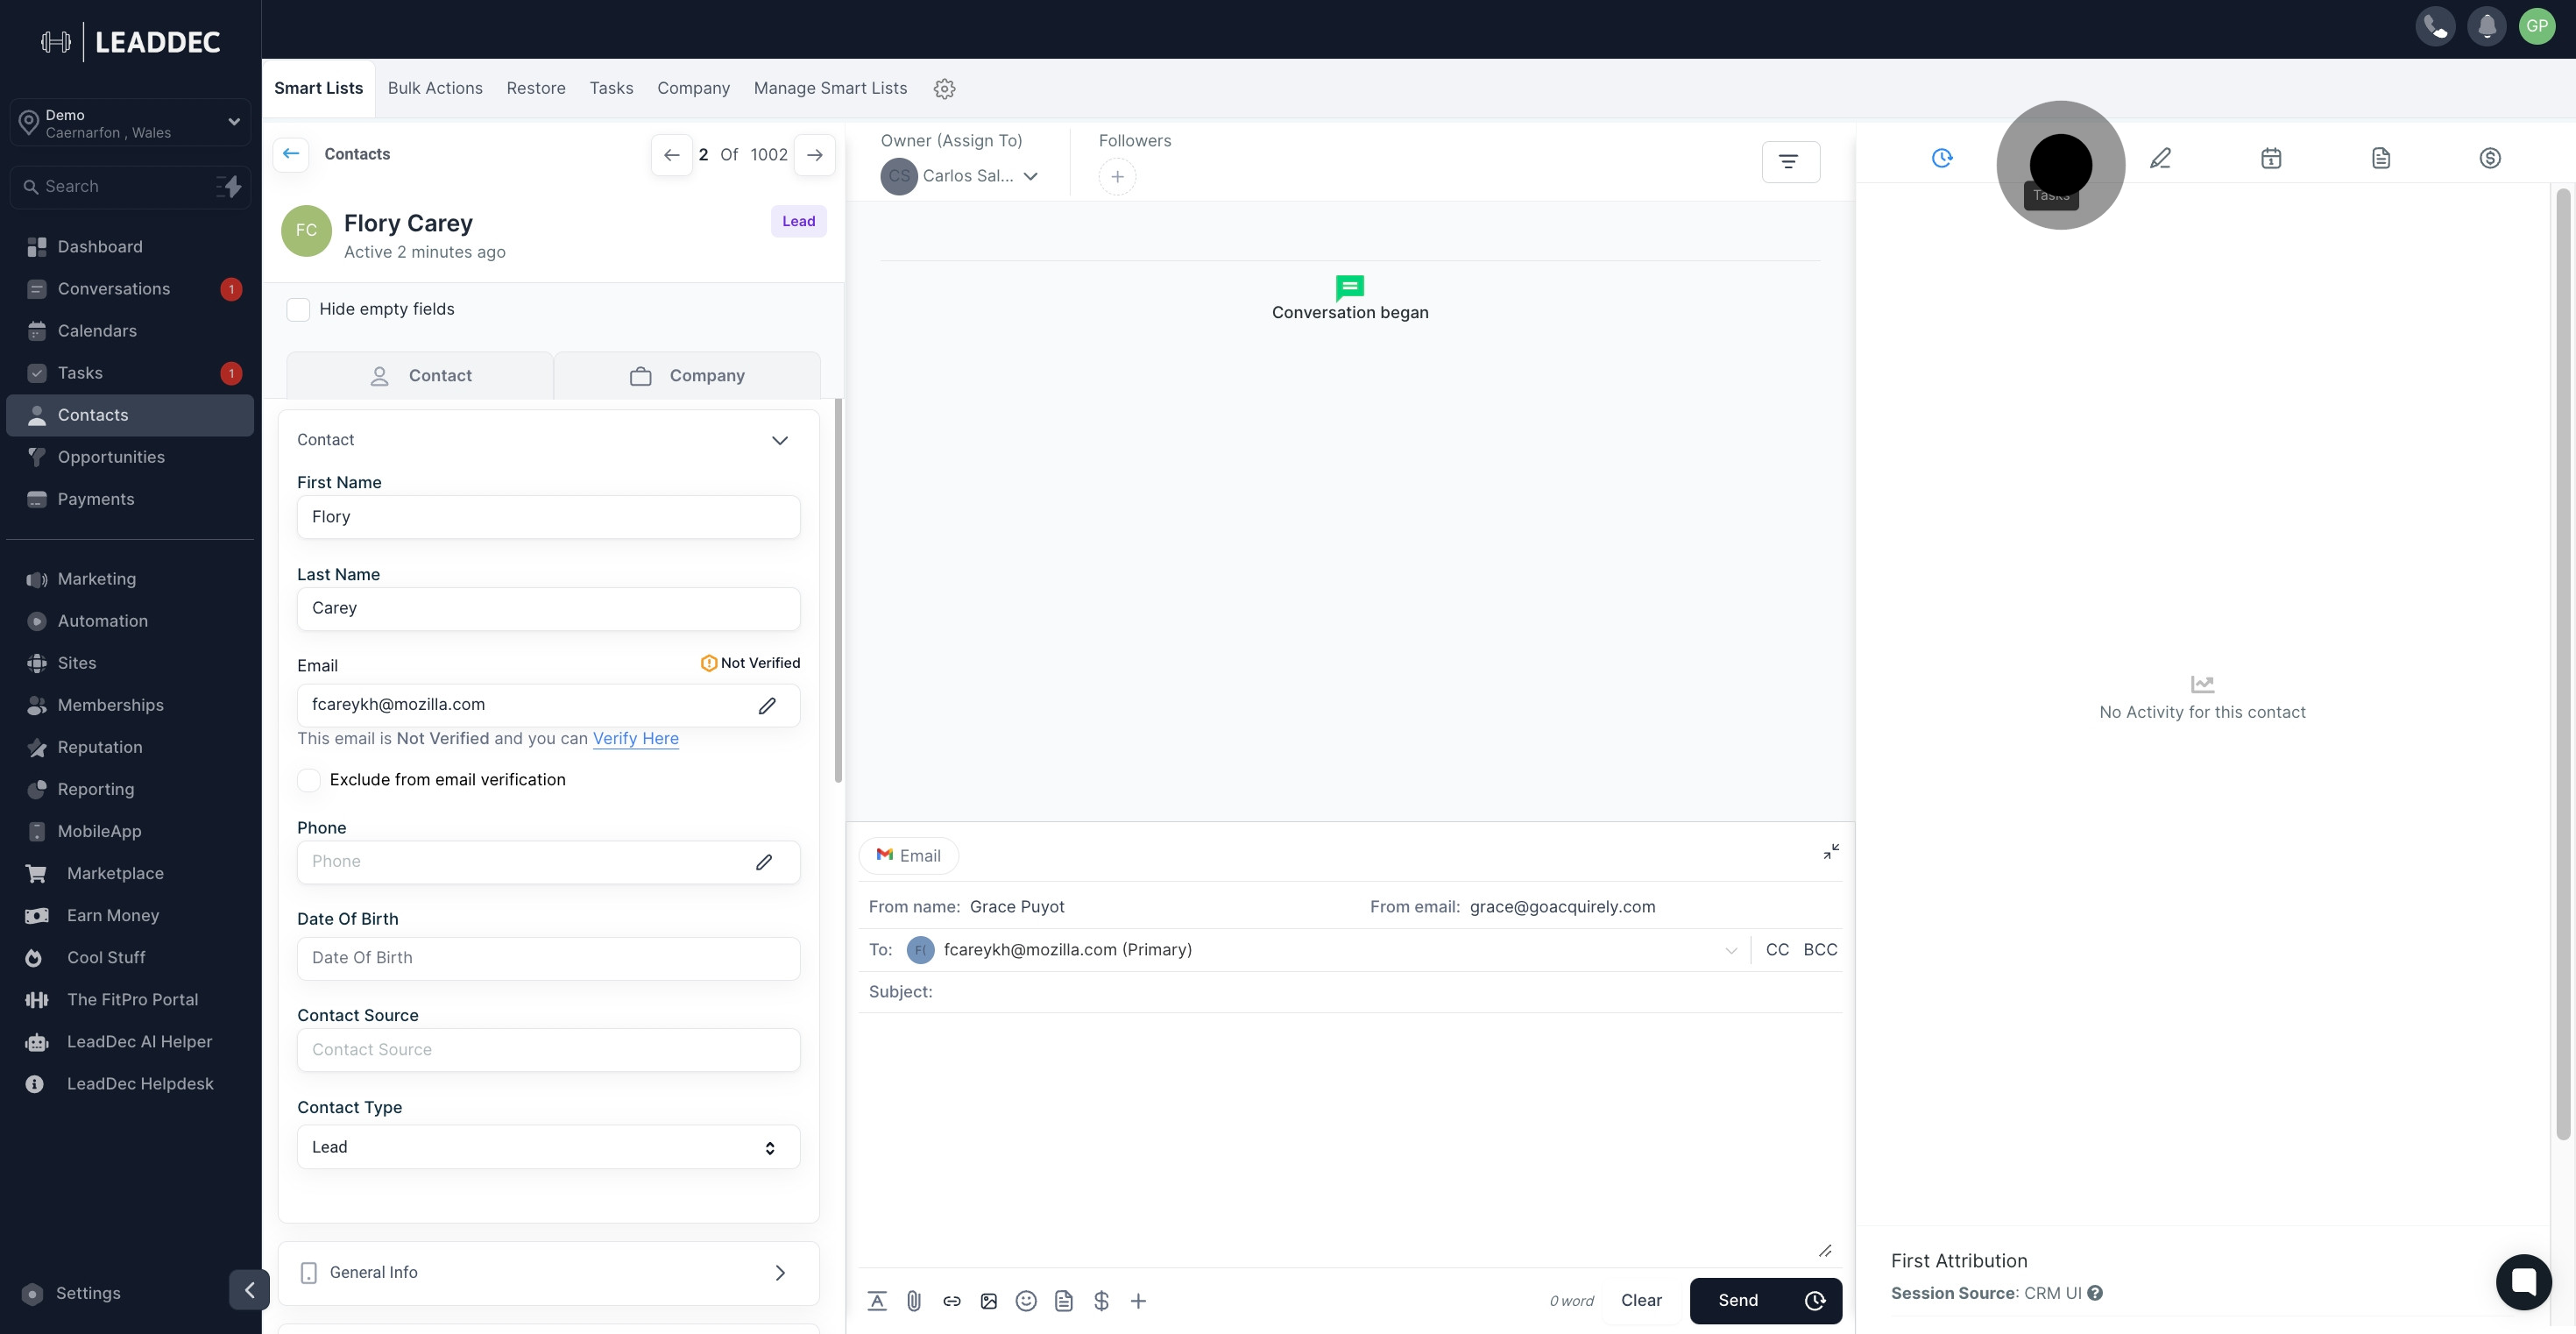
1. Kick start by clicking on the Contacts tab.

1 To commence, click on the element.

2. Then, select a contact from the given list.

2 Now, click on "Zoozzy".

3. Now, identify and click on the task icon located on the left side.

3 Click on the element.

4. Next, click on the Add button to add a new task.

4 Click on "Add".

5. Please specify the task title in the given field.

5 Following that, click on the element.

6. Providing a brief description for the task is the next step.

6 After, click here.

7. Up next, click to choose the assignee for the task.

7 Next up, click on "Not Assigned".

8. Afterwards, please select the due date for the task.

8 Afterwards, click here.

9. Once done, click Save to record your task details.

9 Click on "Save".

10. If you need to edit the task, click on the pencil icon.

10 Click on the element.

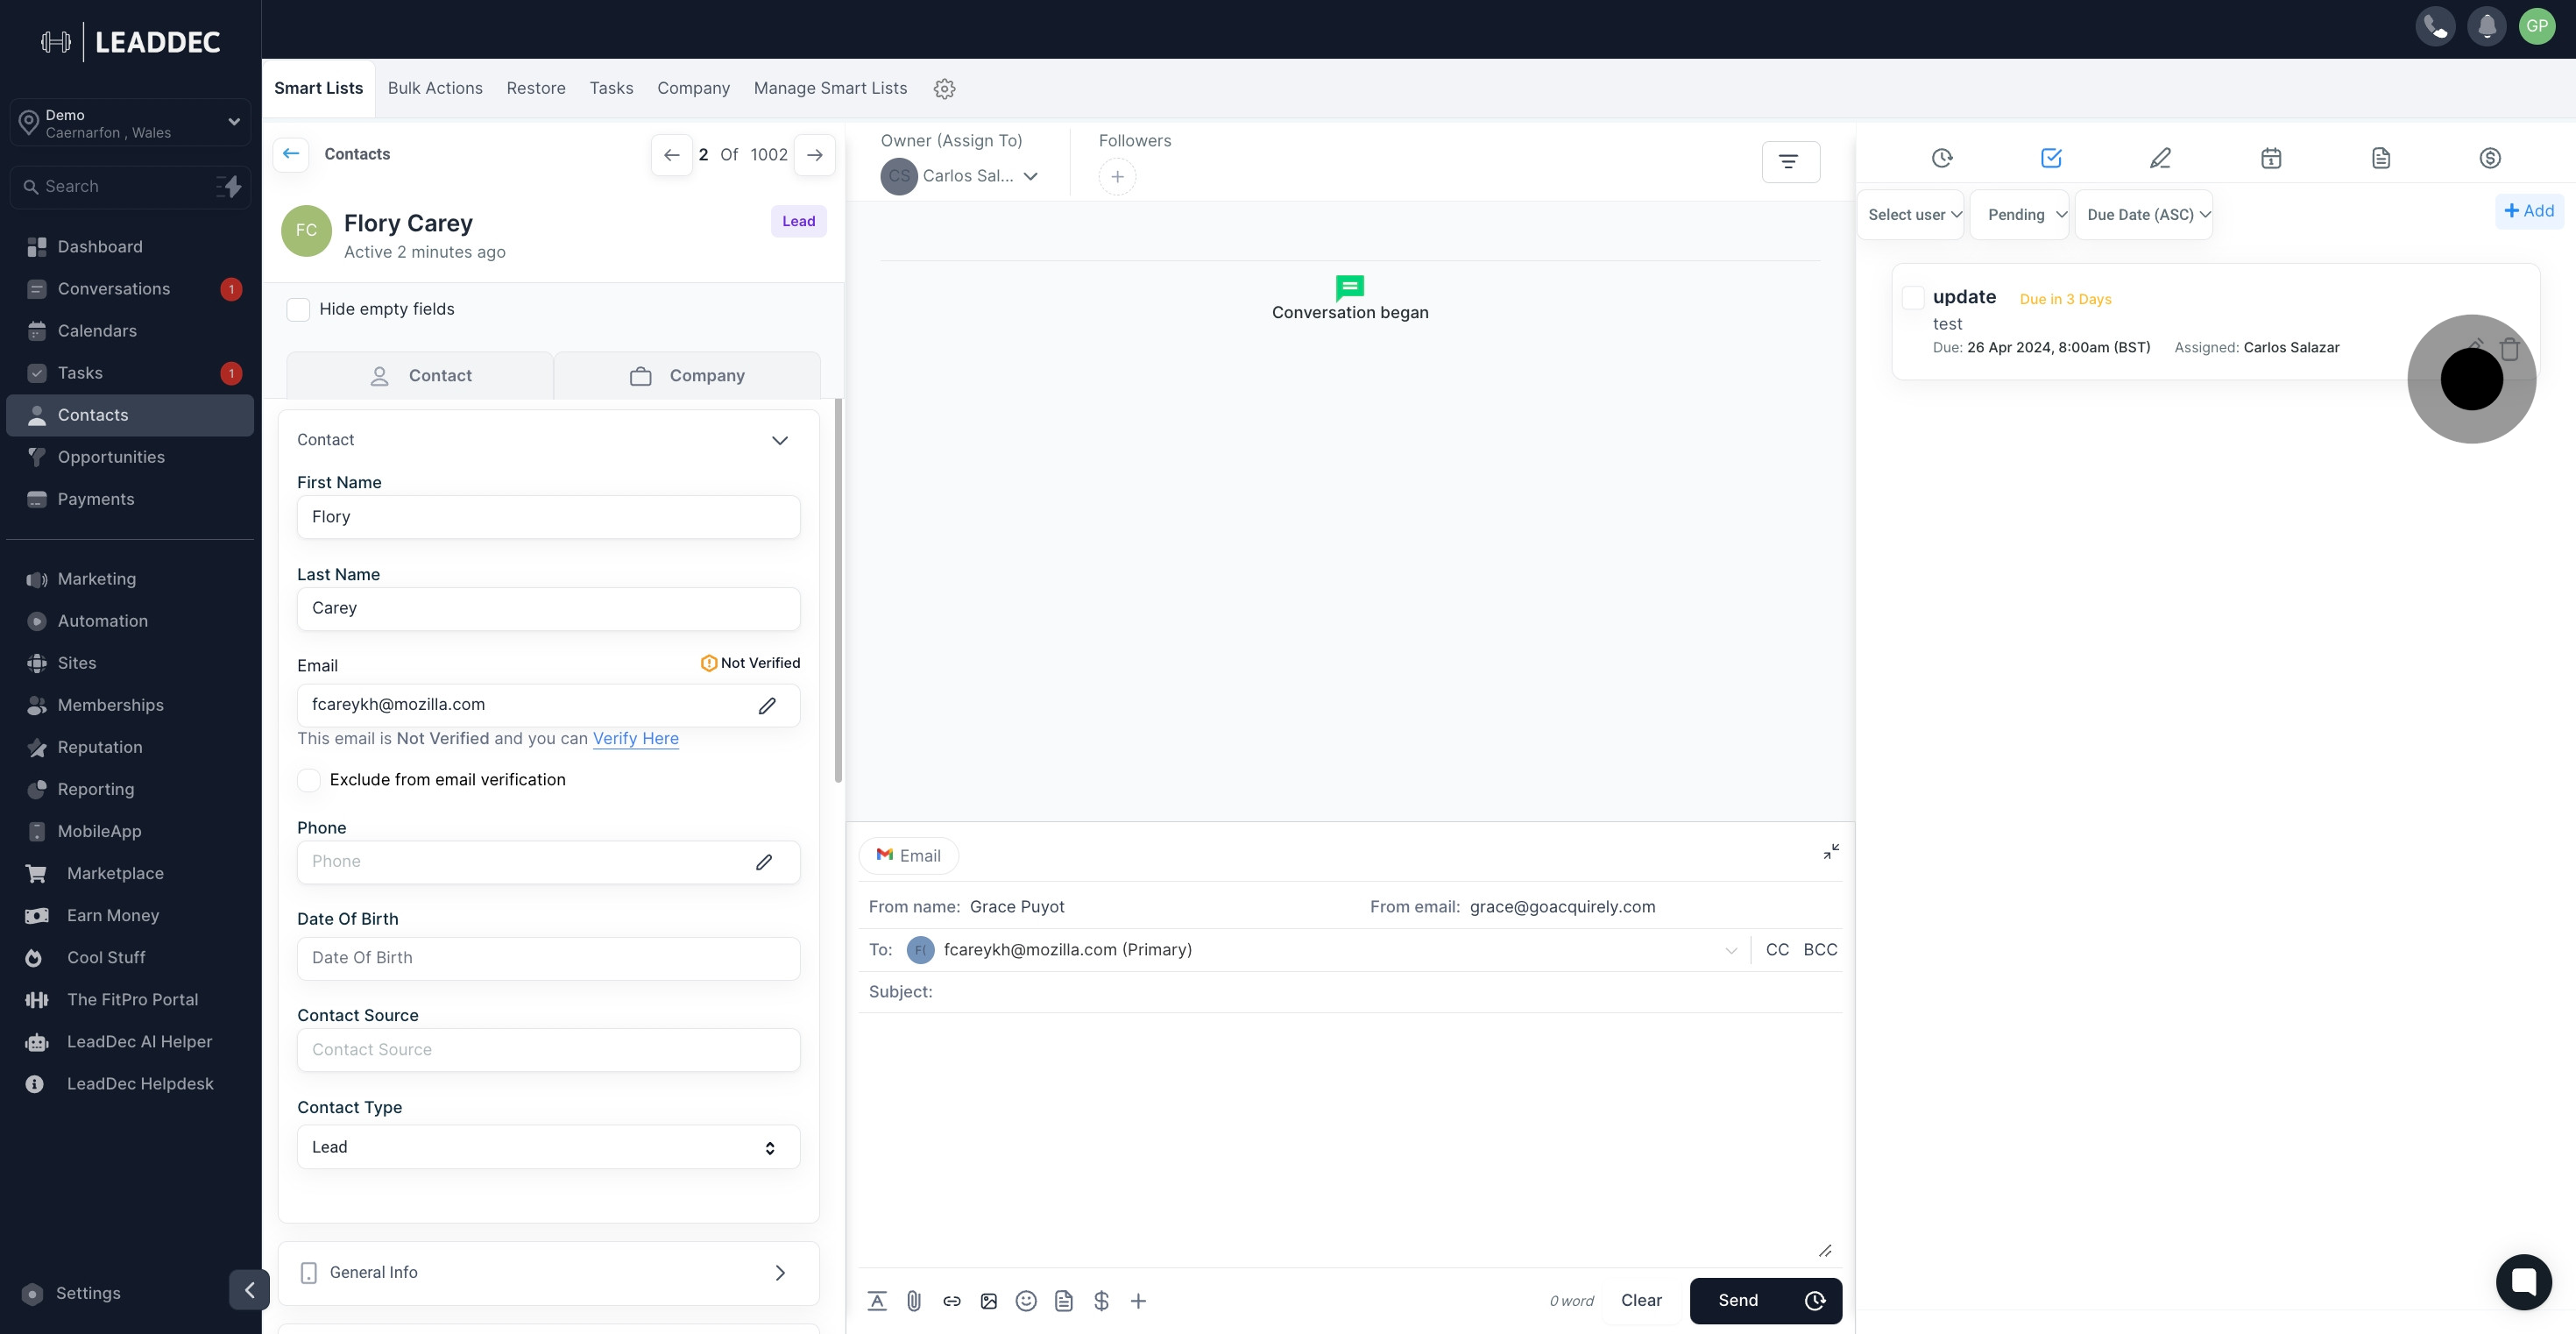
11. You can delete the task by clicking on the trash icon.

11 Following that, click on the element.

Did this answer your question?
😞
😐
😁