Creating an Email Signature in LeadDec

Add a professional touch to your communications by creating a personalized email signature in LeadDec. This guide walks you through the simple steps to design and implement a custom email signature, including tips on what to include for maximum impact. Learn how to effortlessly enhance your brand presence and provide essential contact information in every email you send, making every communication an opportunity to impress and engage your audience.


1. Navigate and select Settings from the main menu.
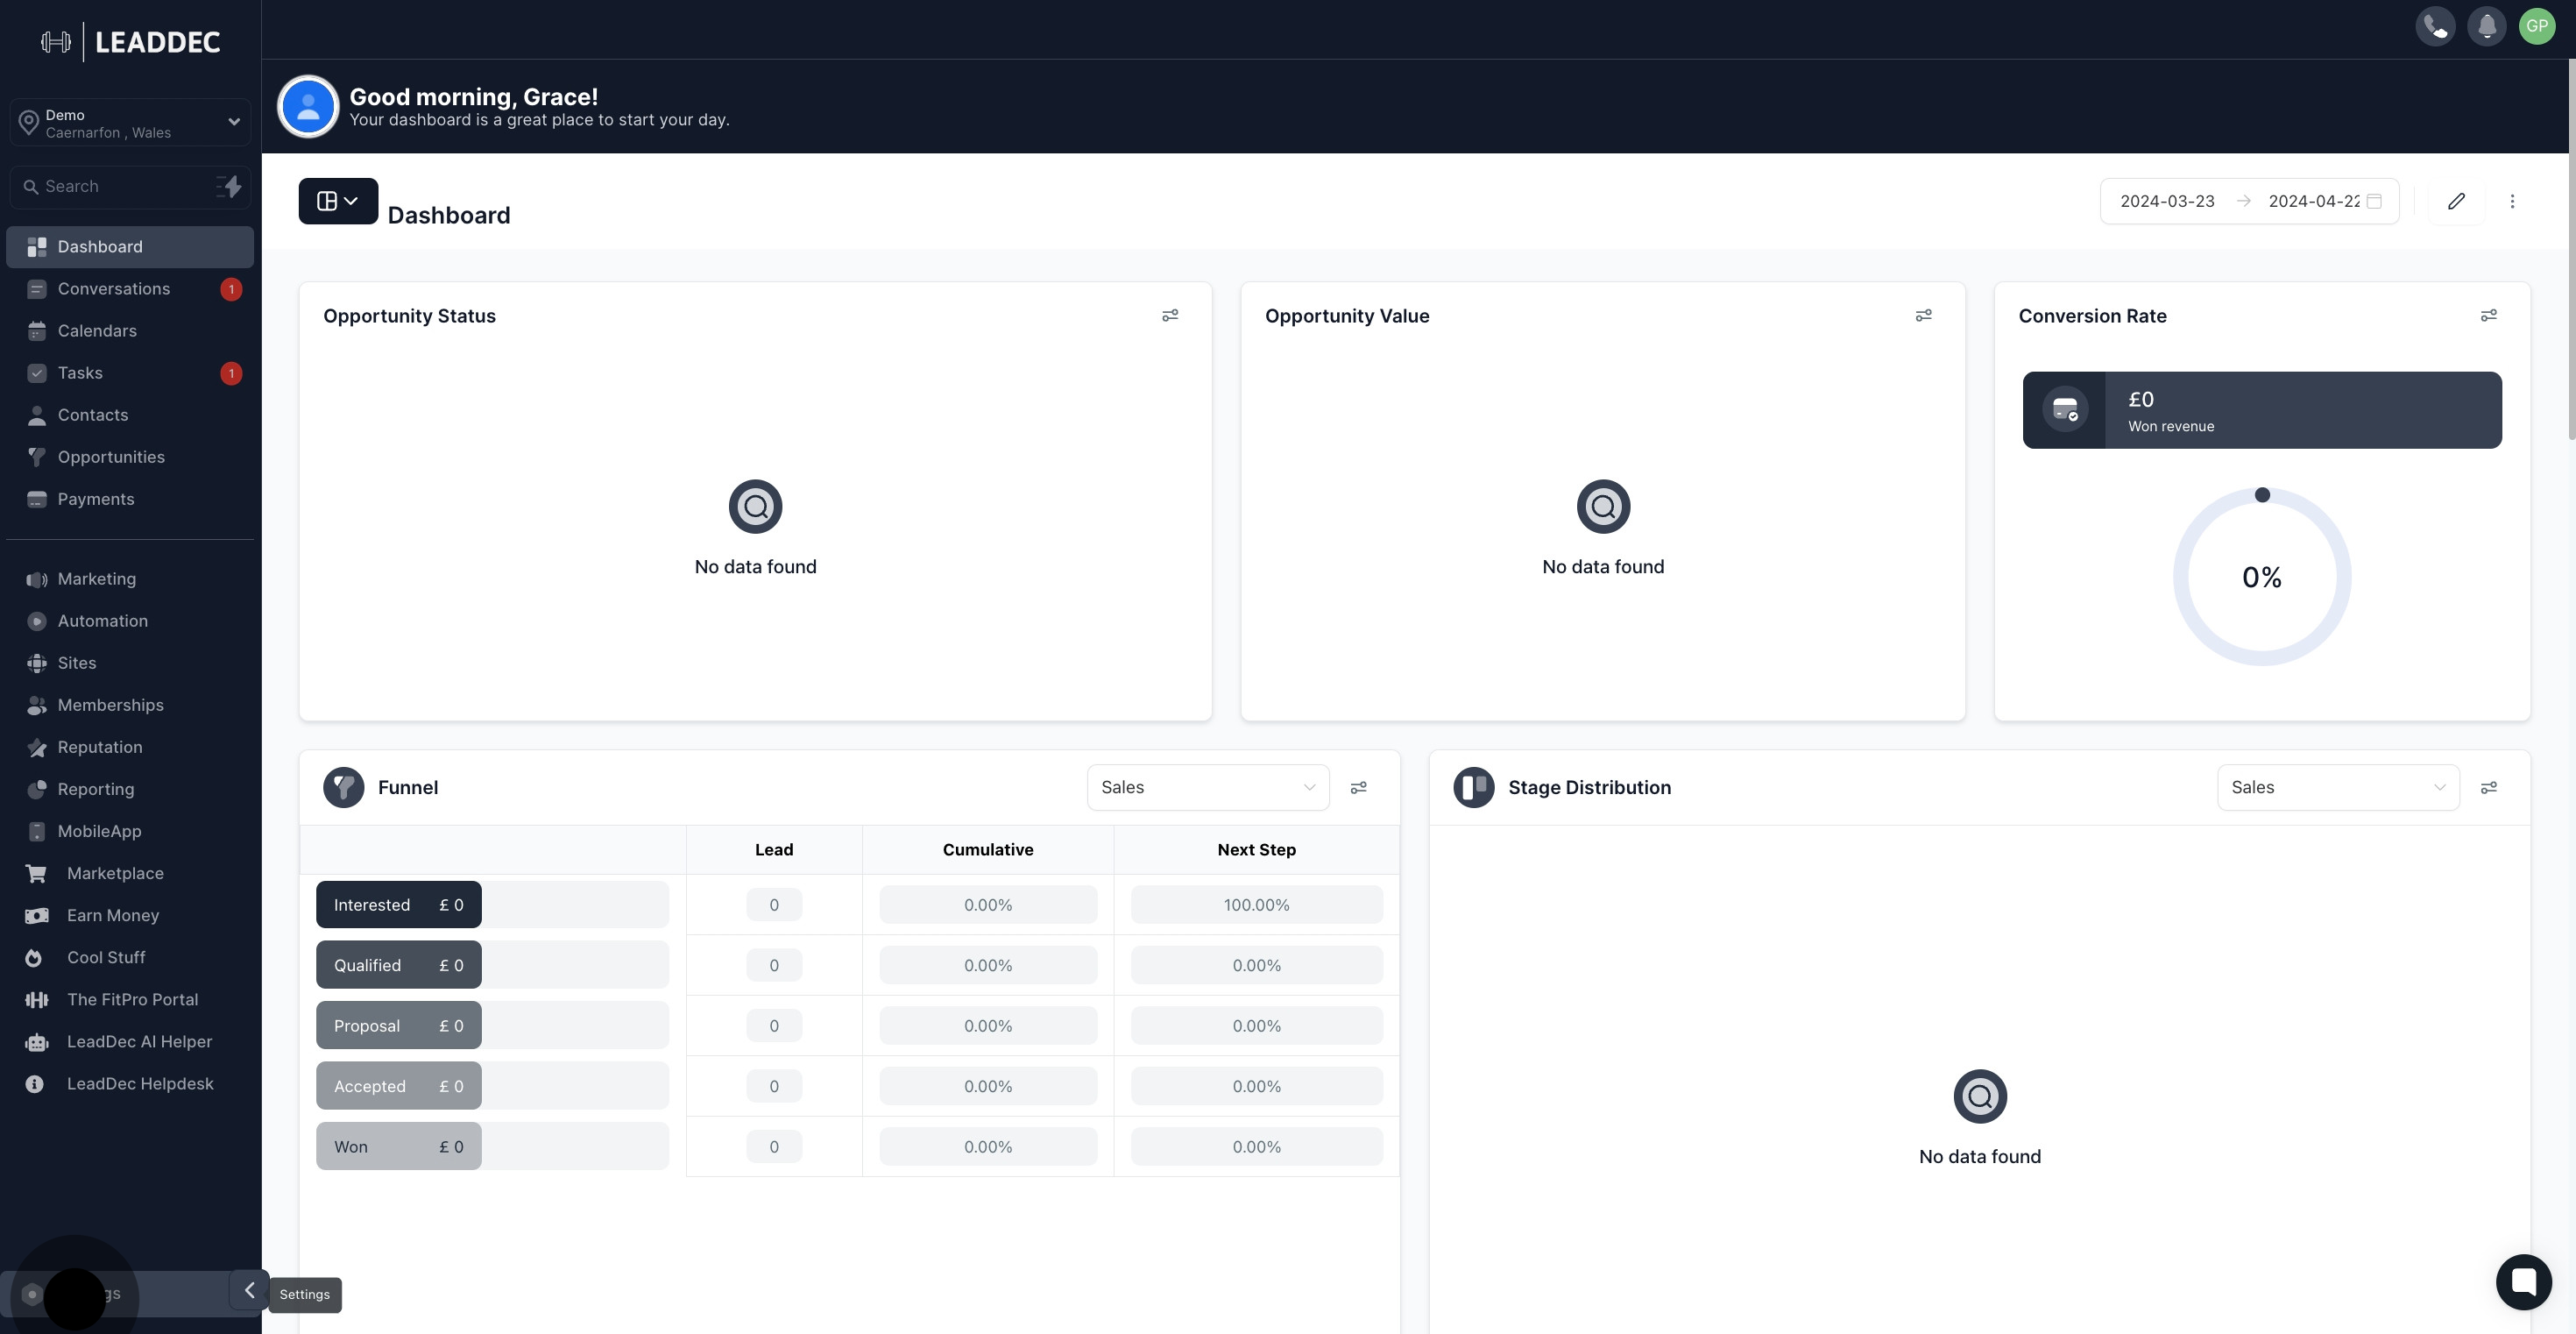
1 Click on "Settings".

2. Proceed by clicking on My Profile.

2 Upload

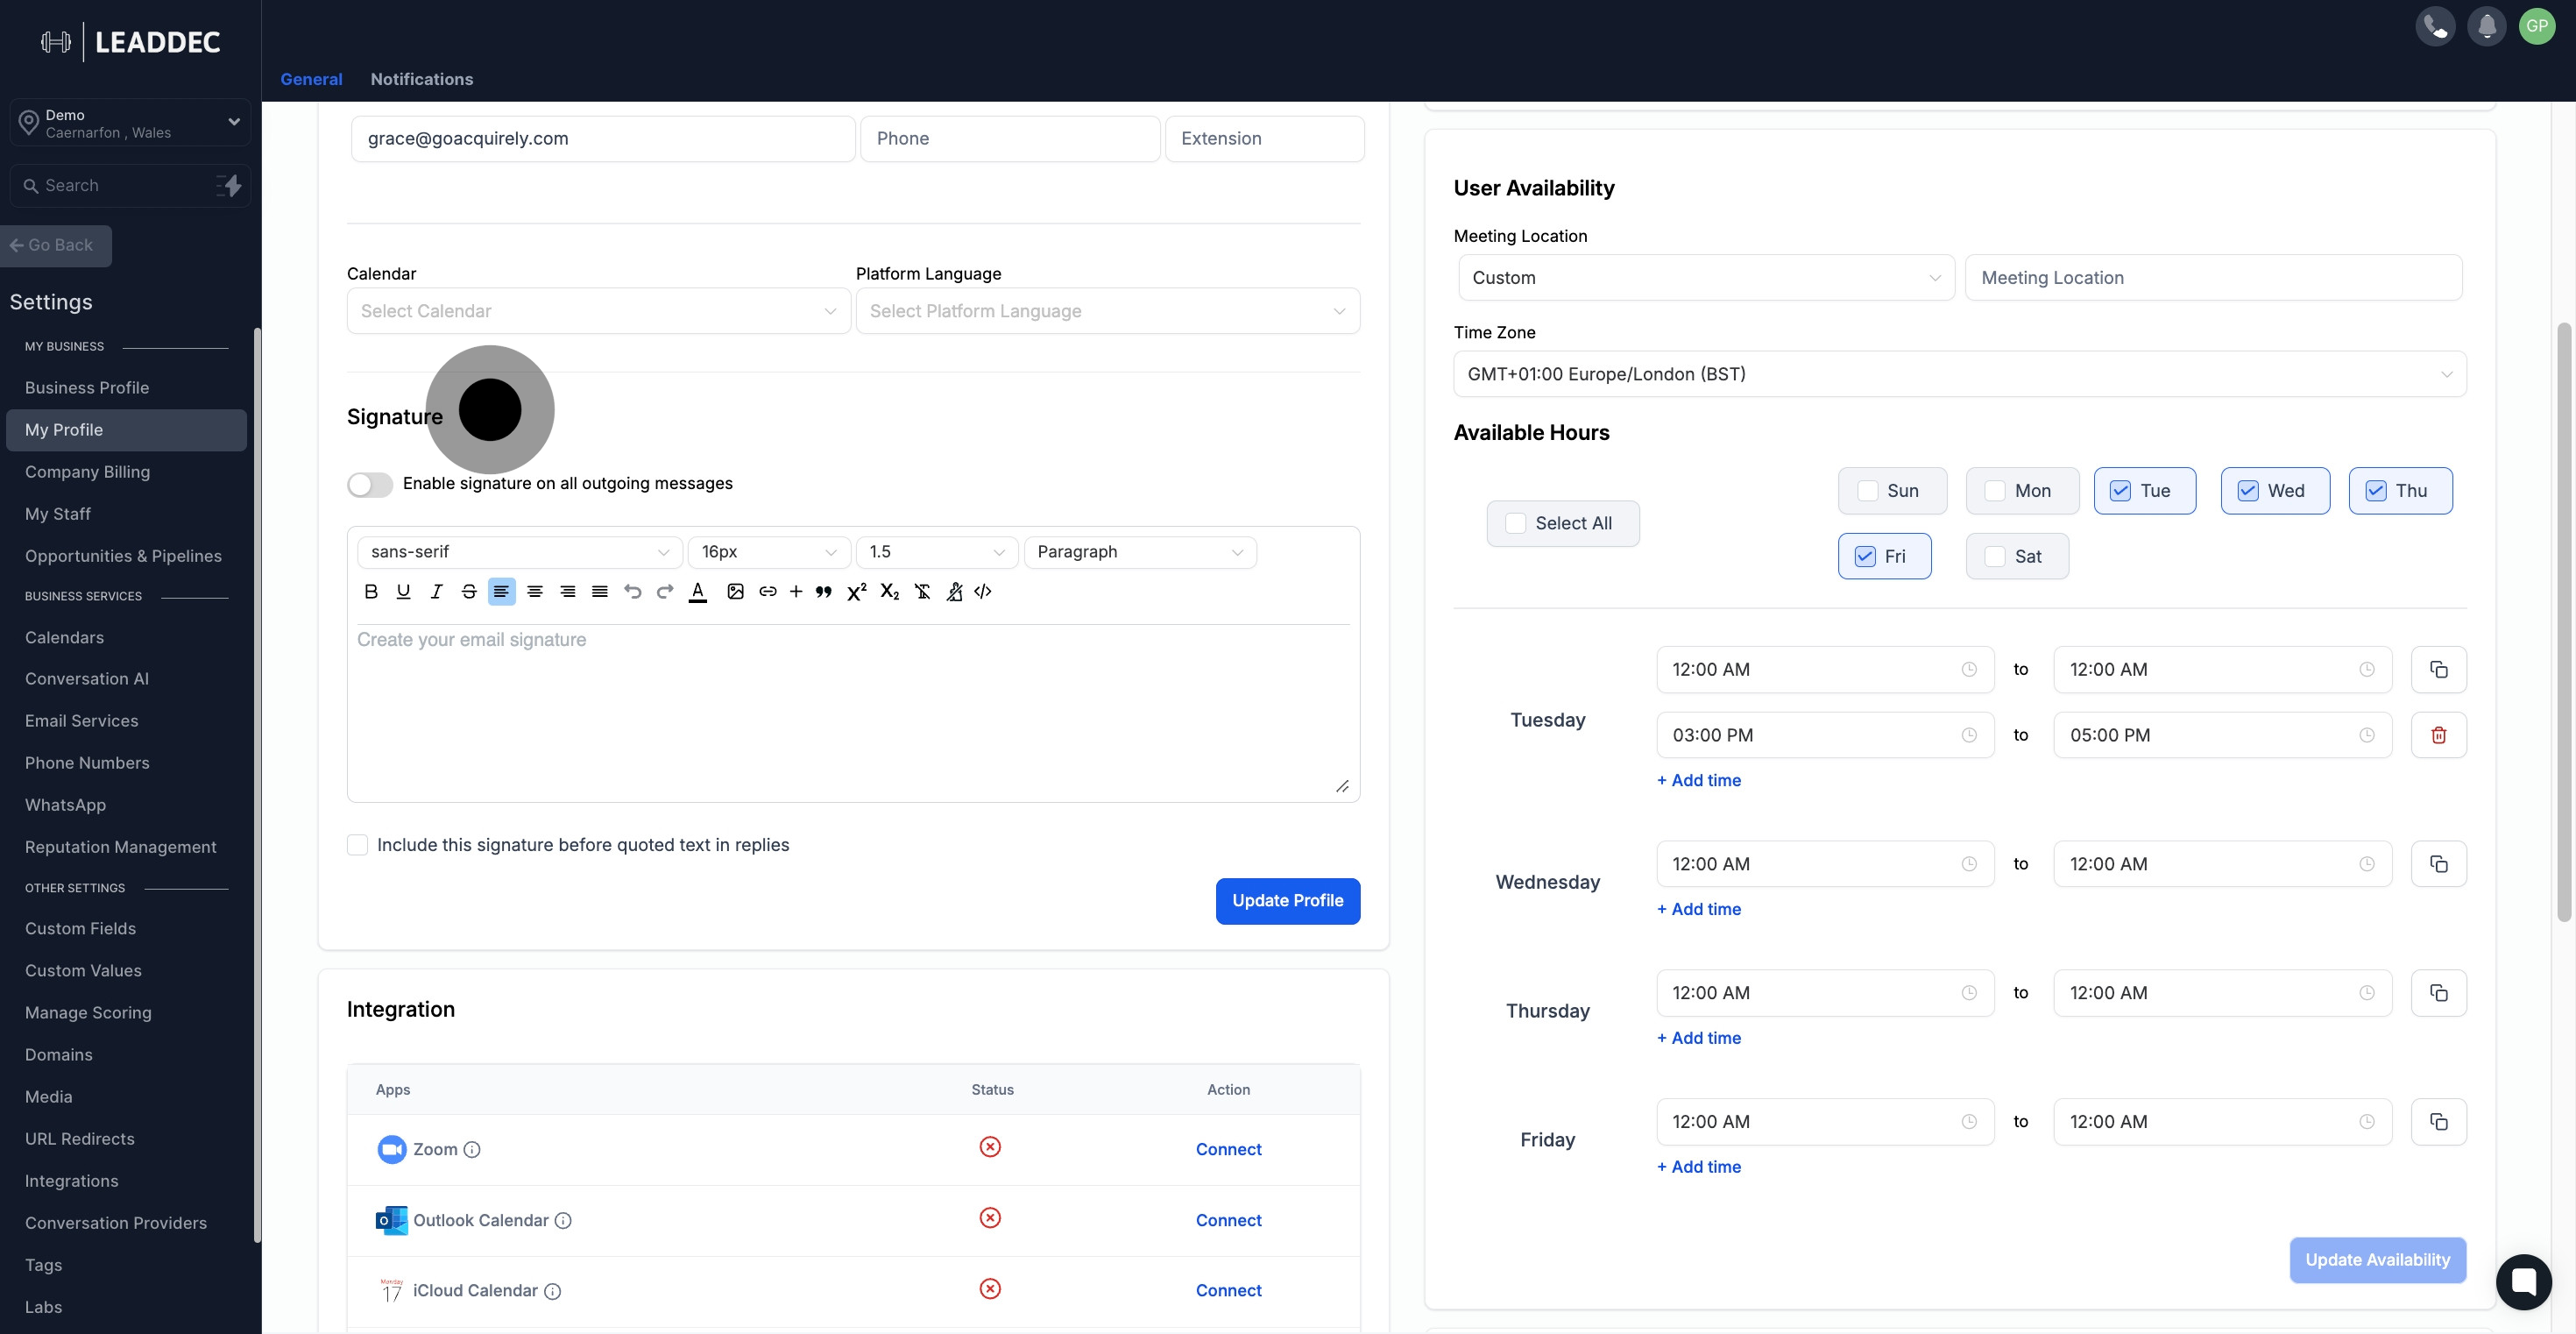
3. Navigate to 'Signature' section

3 Afterwards, click on the element.

4. Begin creating your email signature in the provided text space.
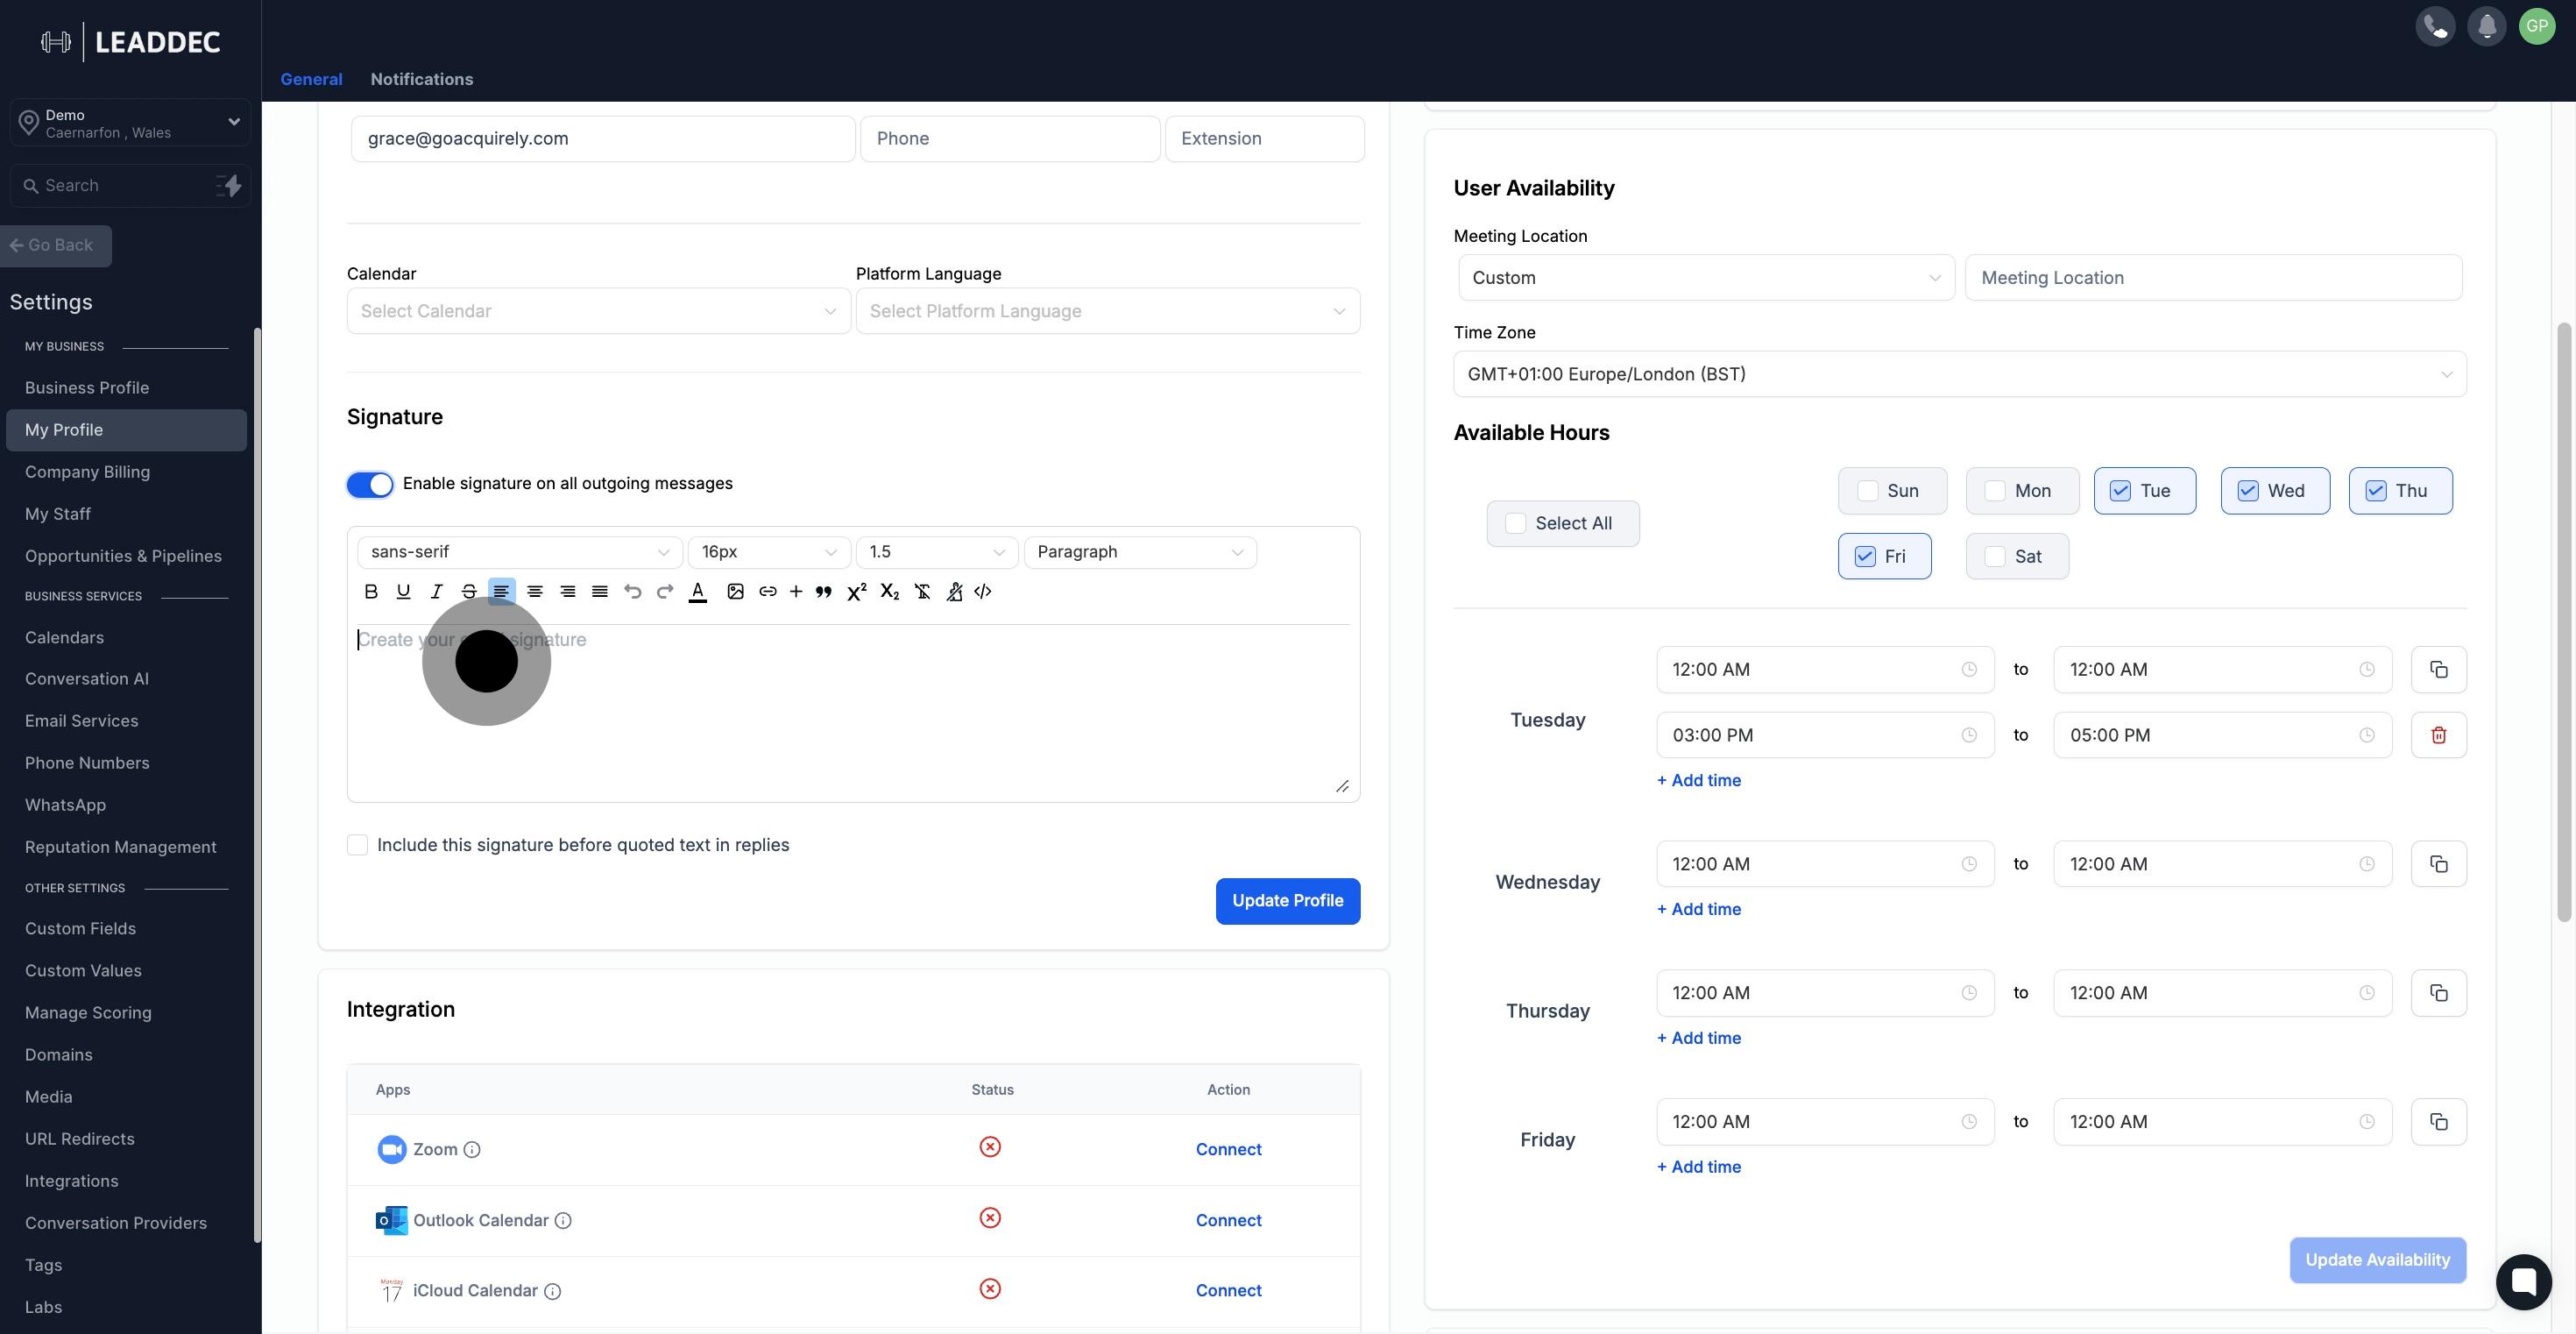
4 Click on the element.

5. Enable your signature by clicking here
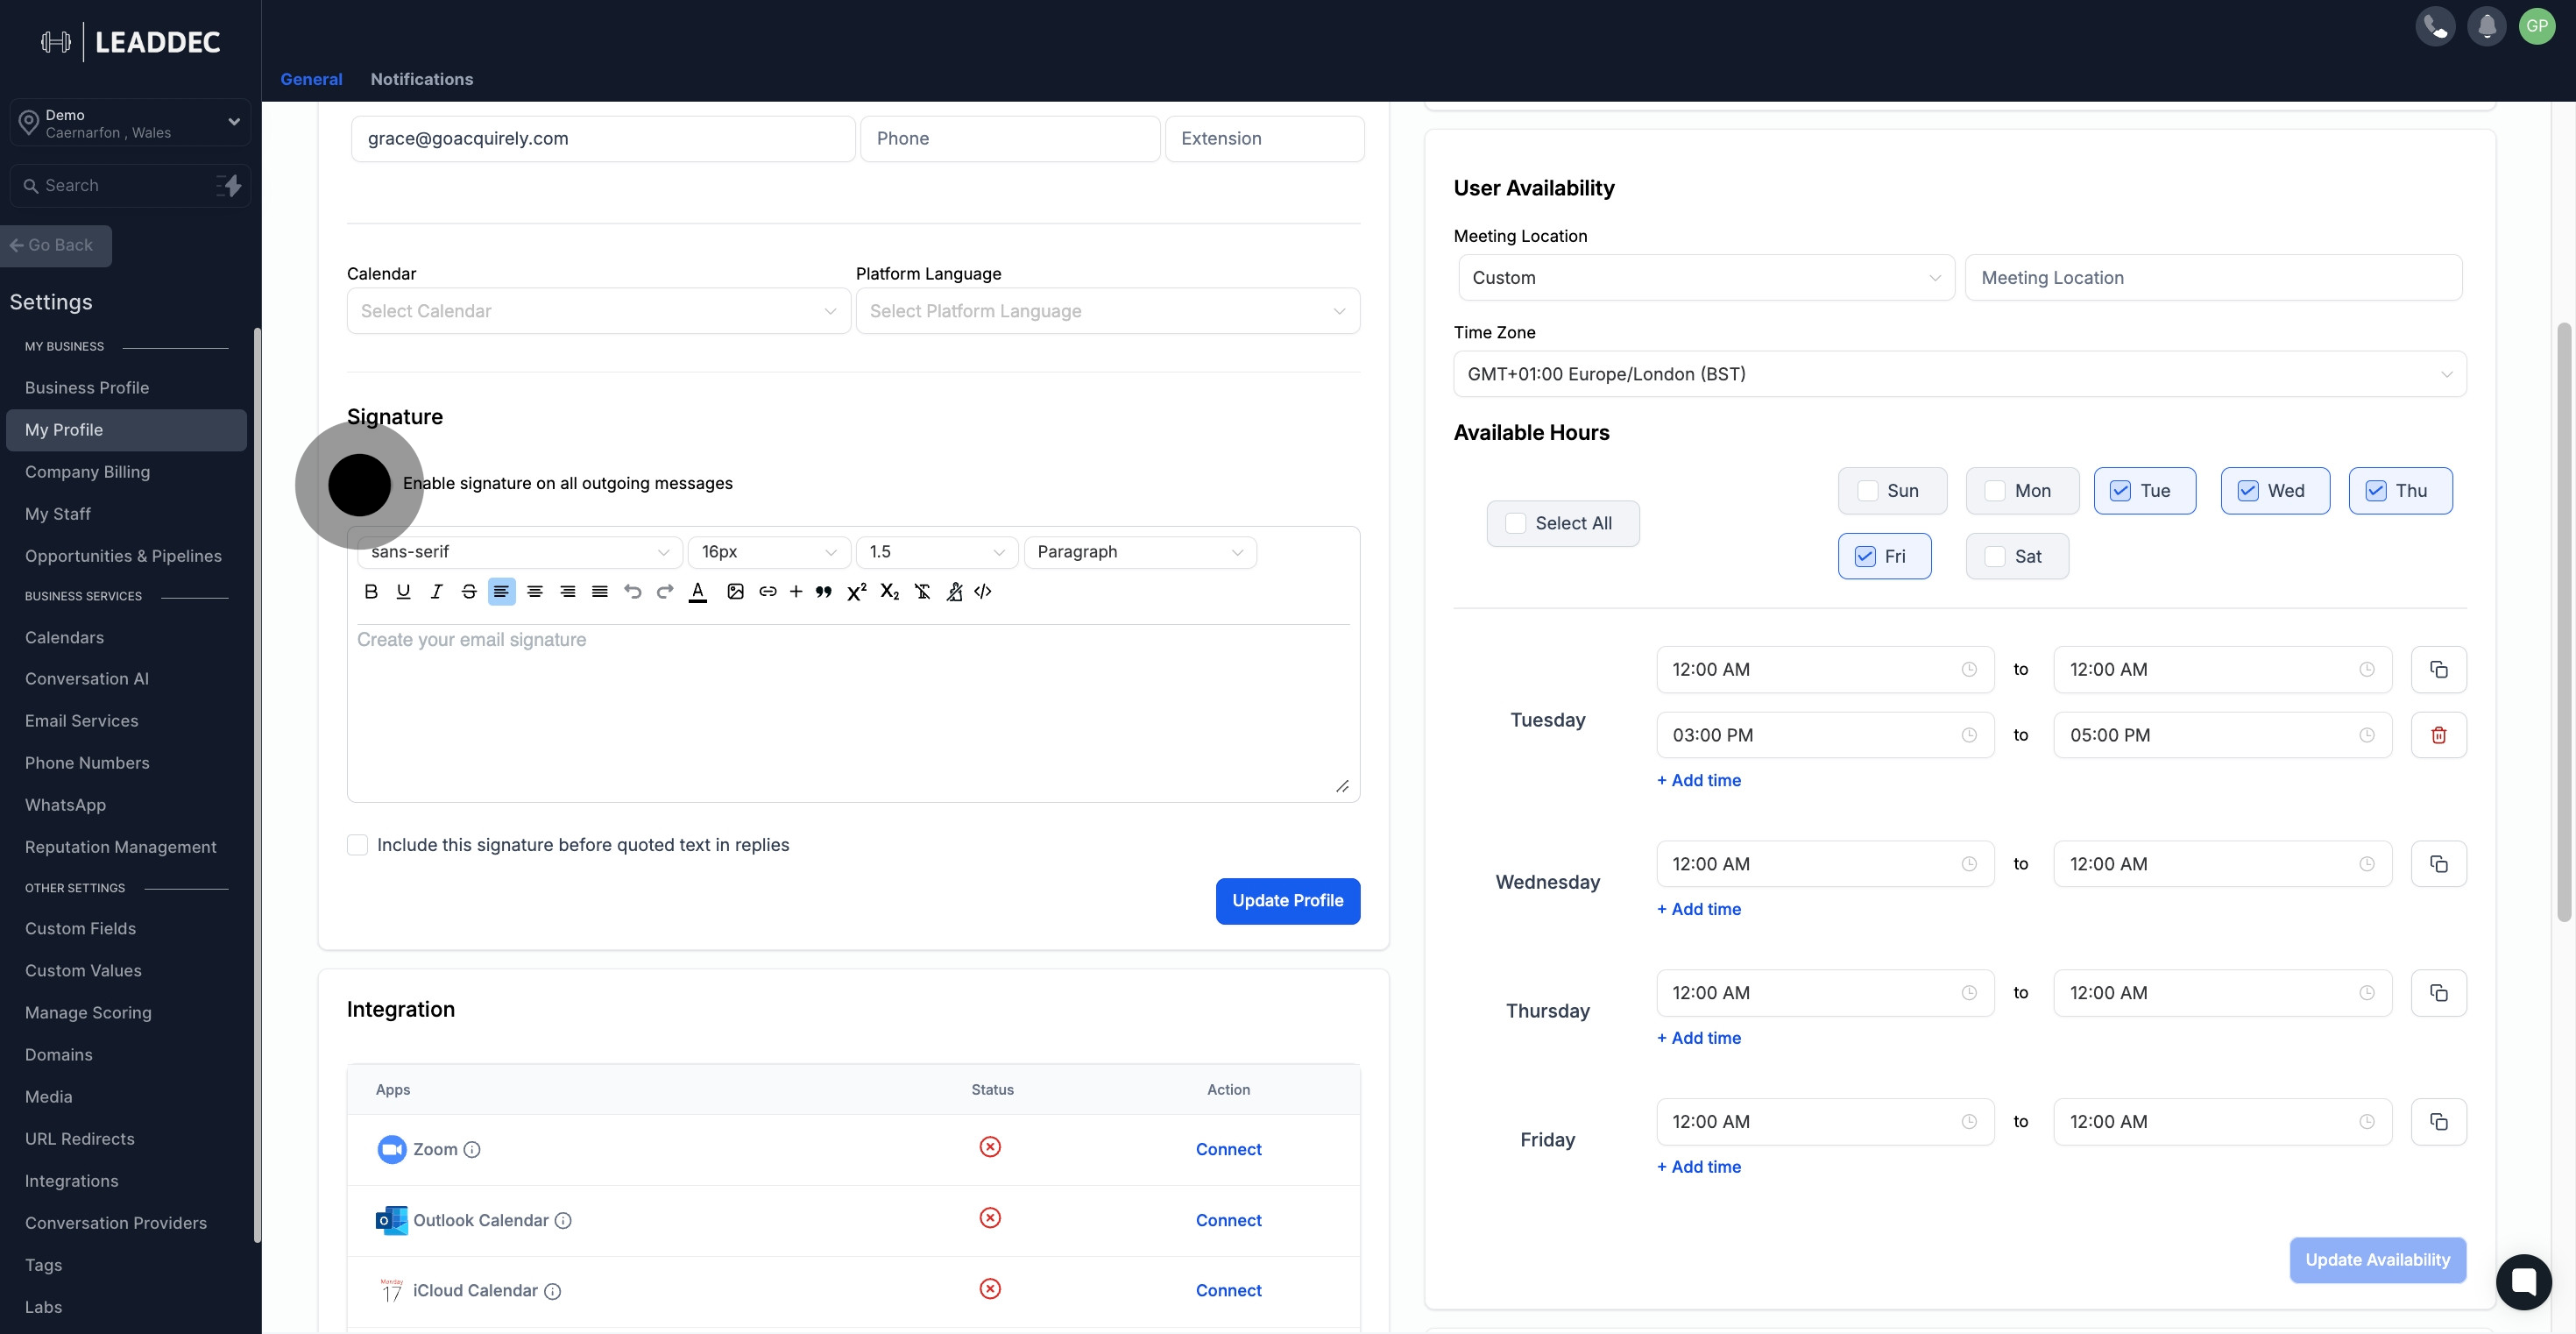
5 Upload

6. Feel free to utilize the assortment of tools for customizing your signature.
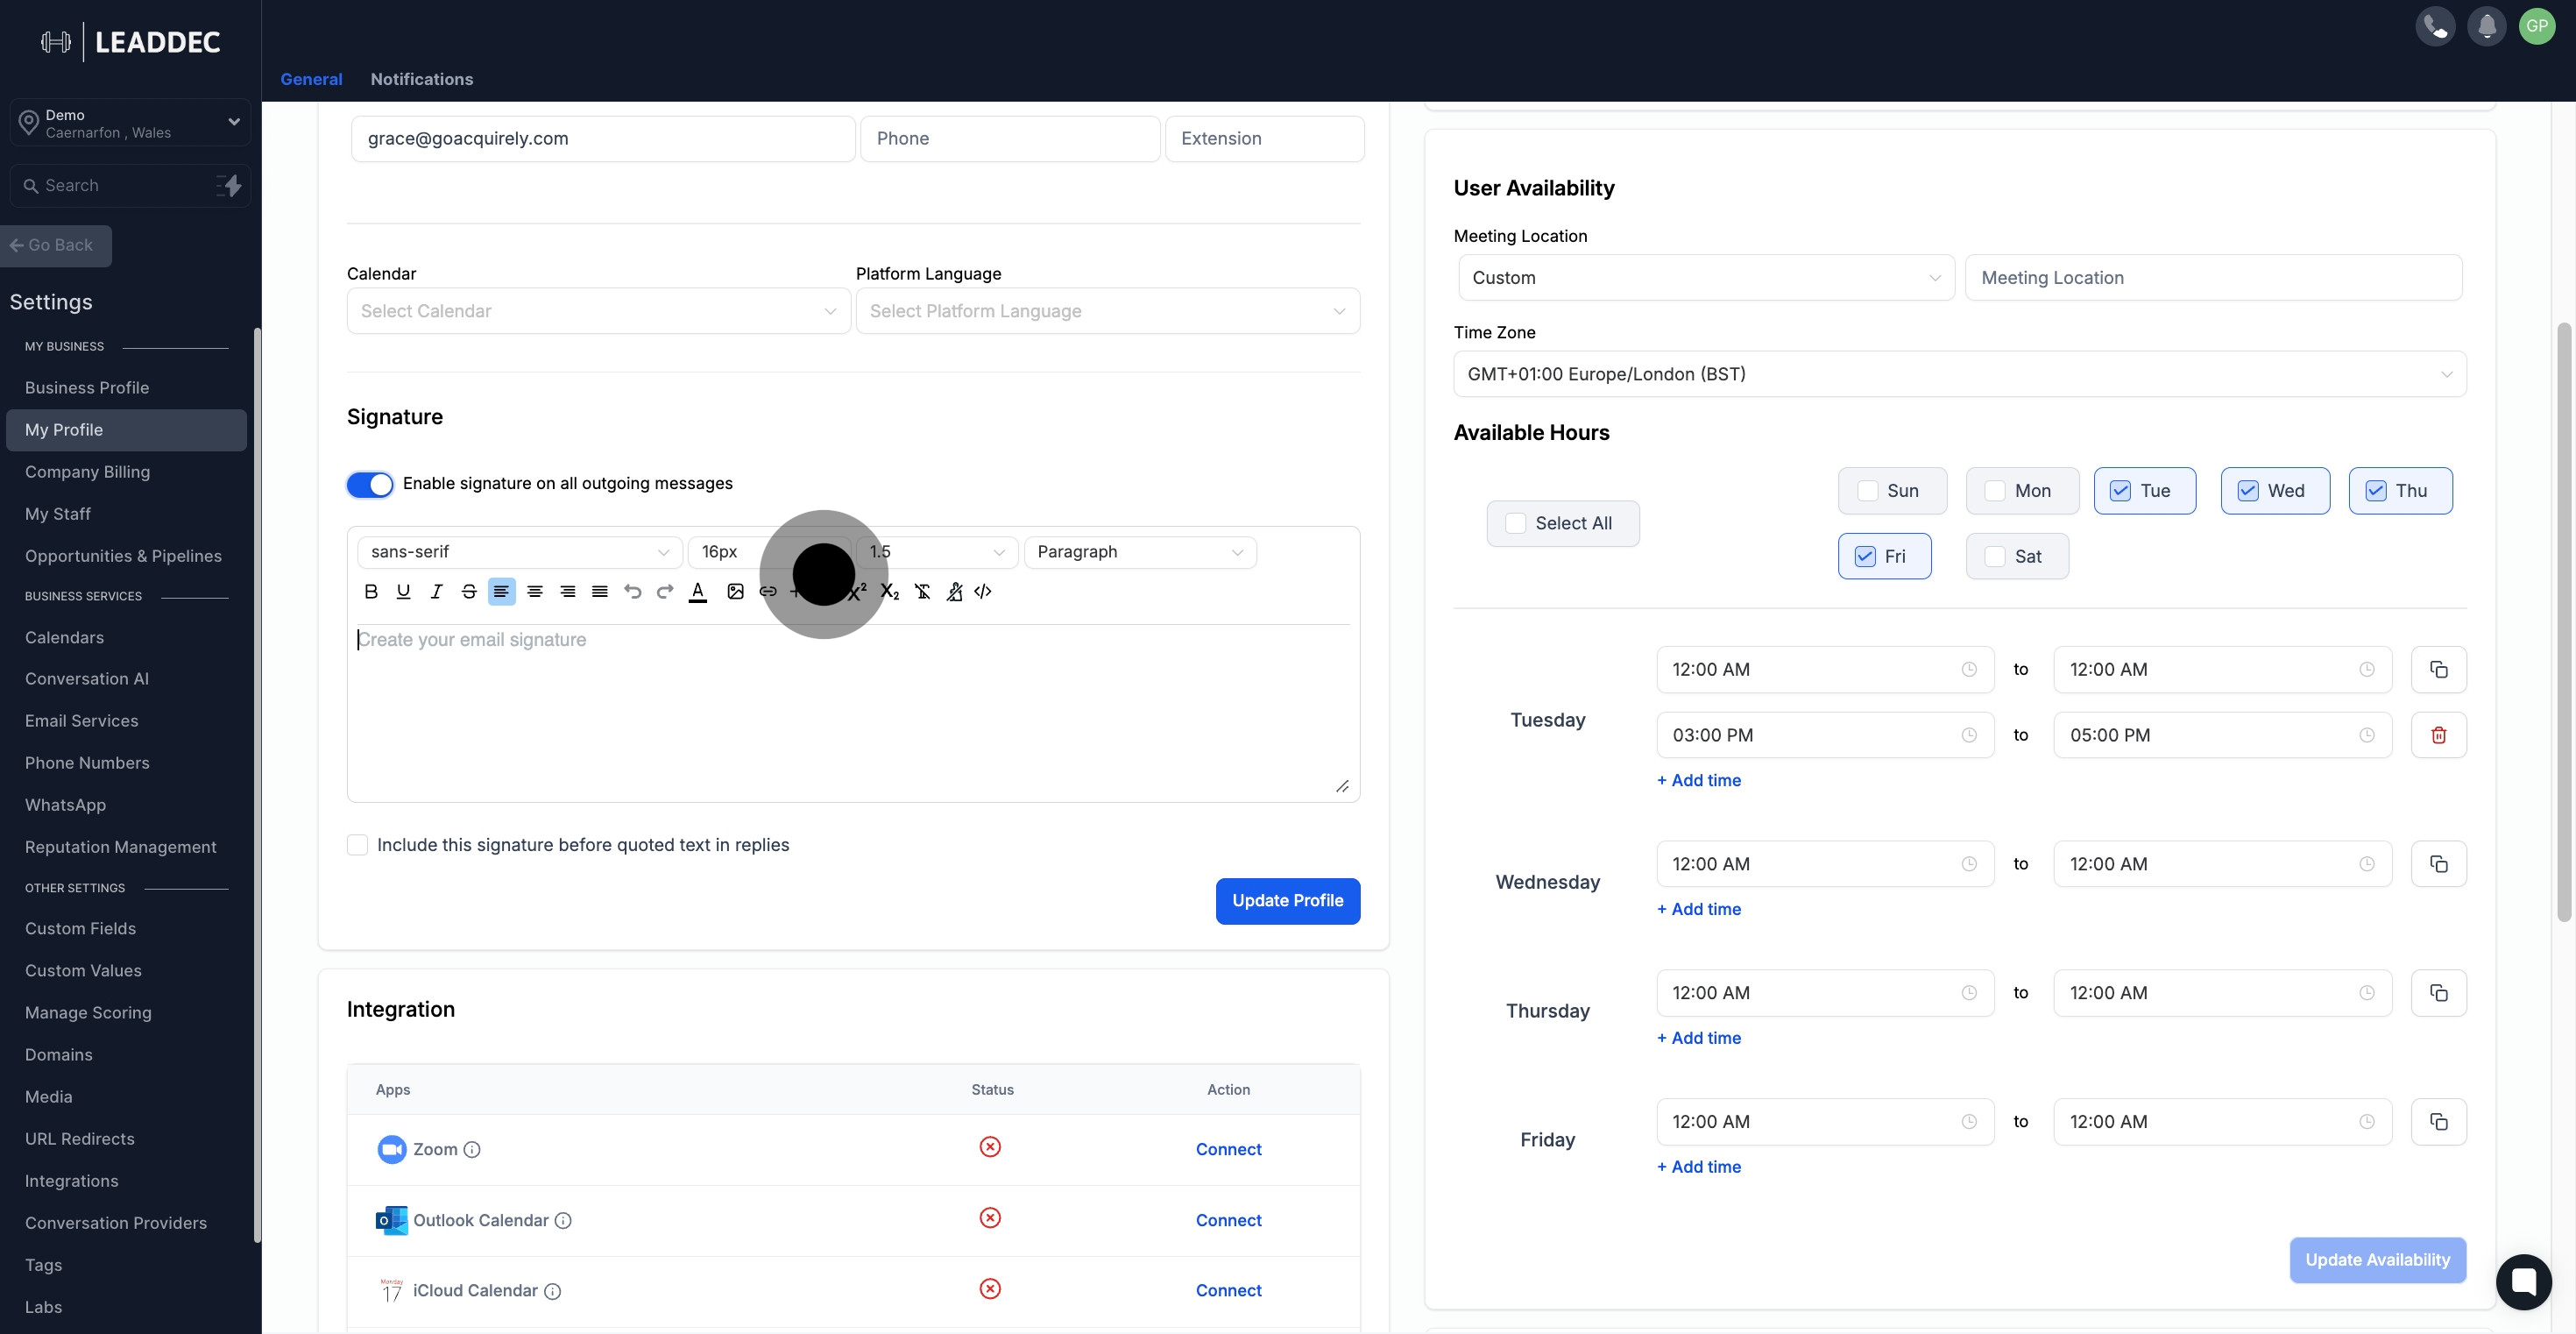
6 Upload

7. Opt to include your signature in reply messages by checking the stated box.
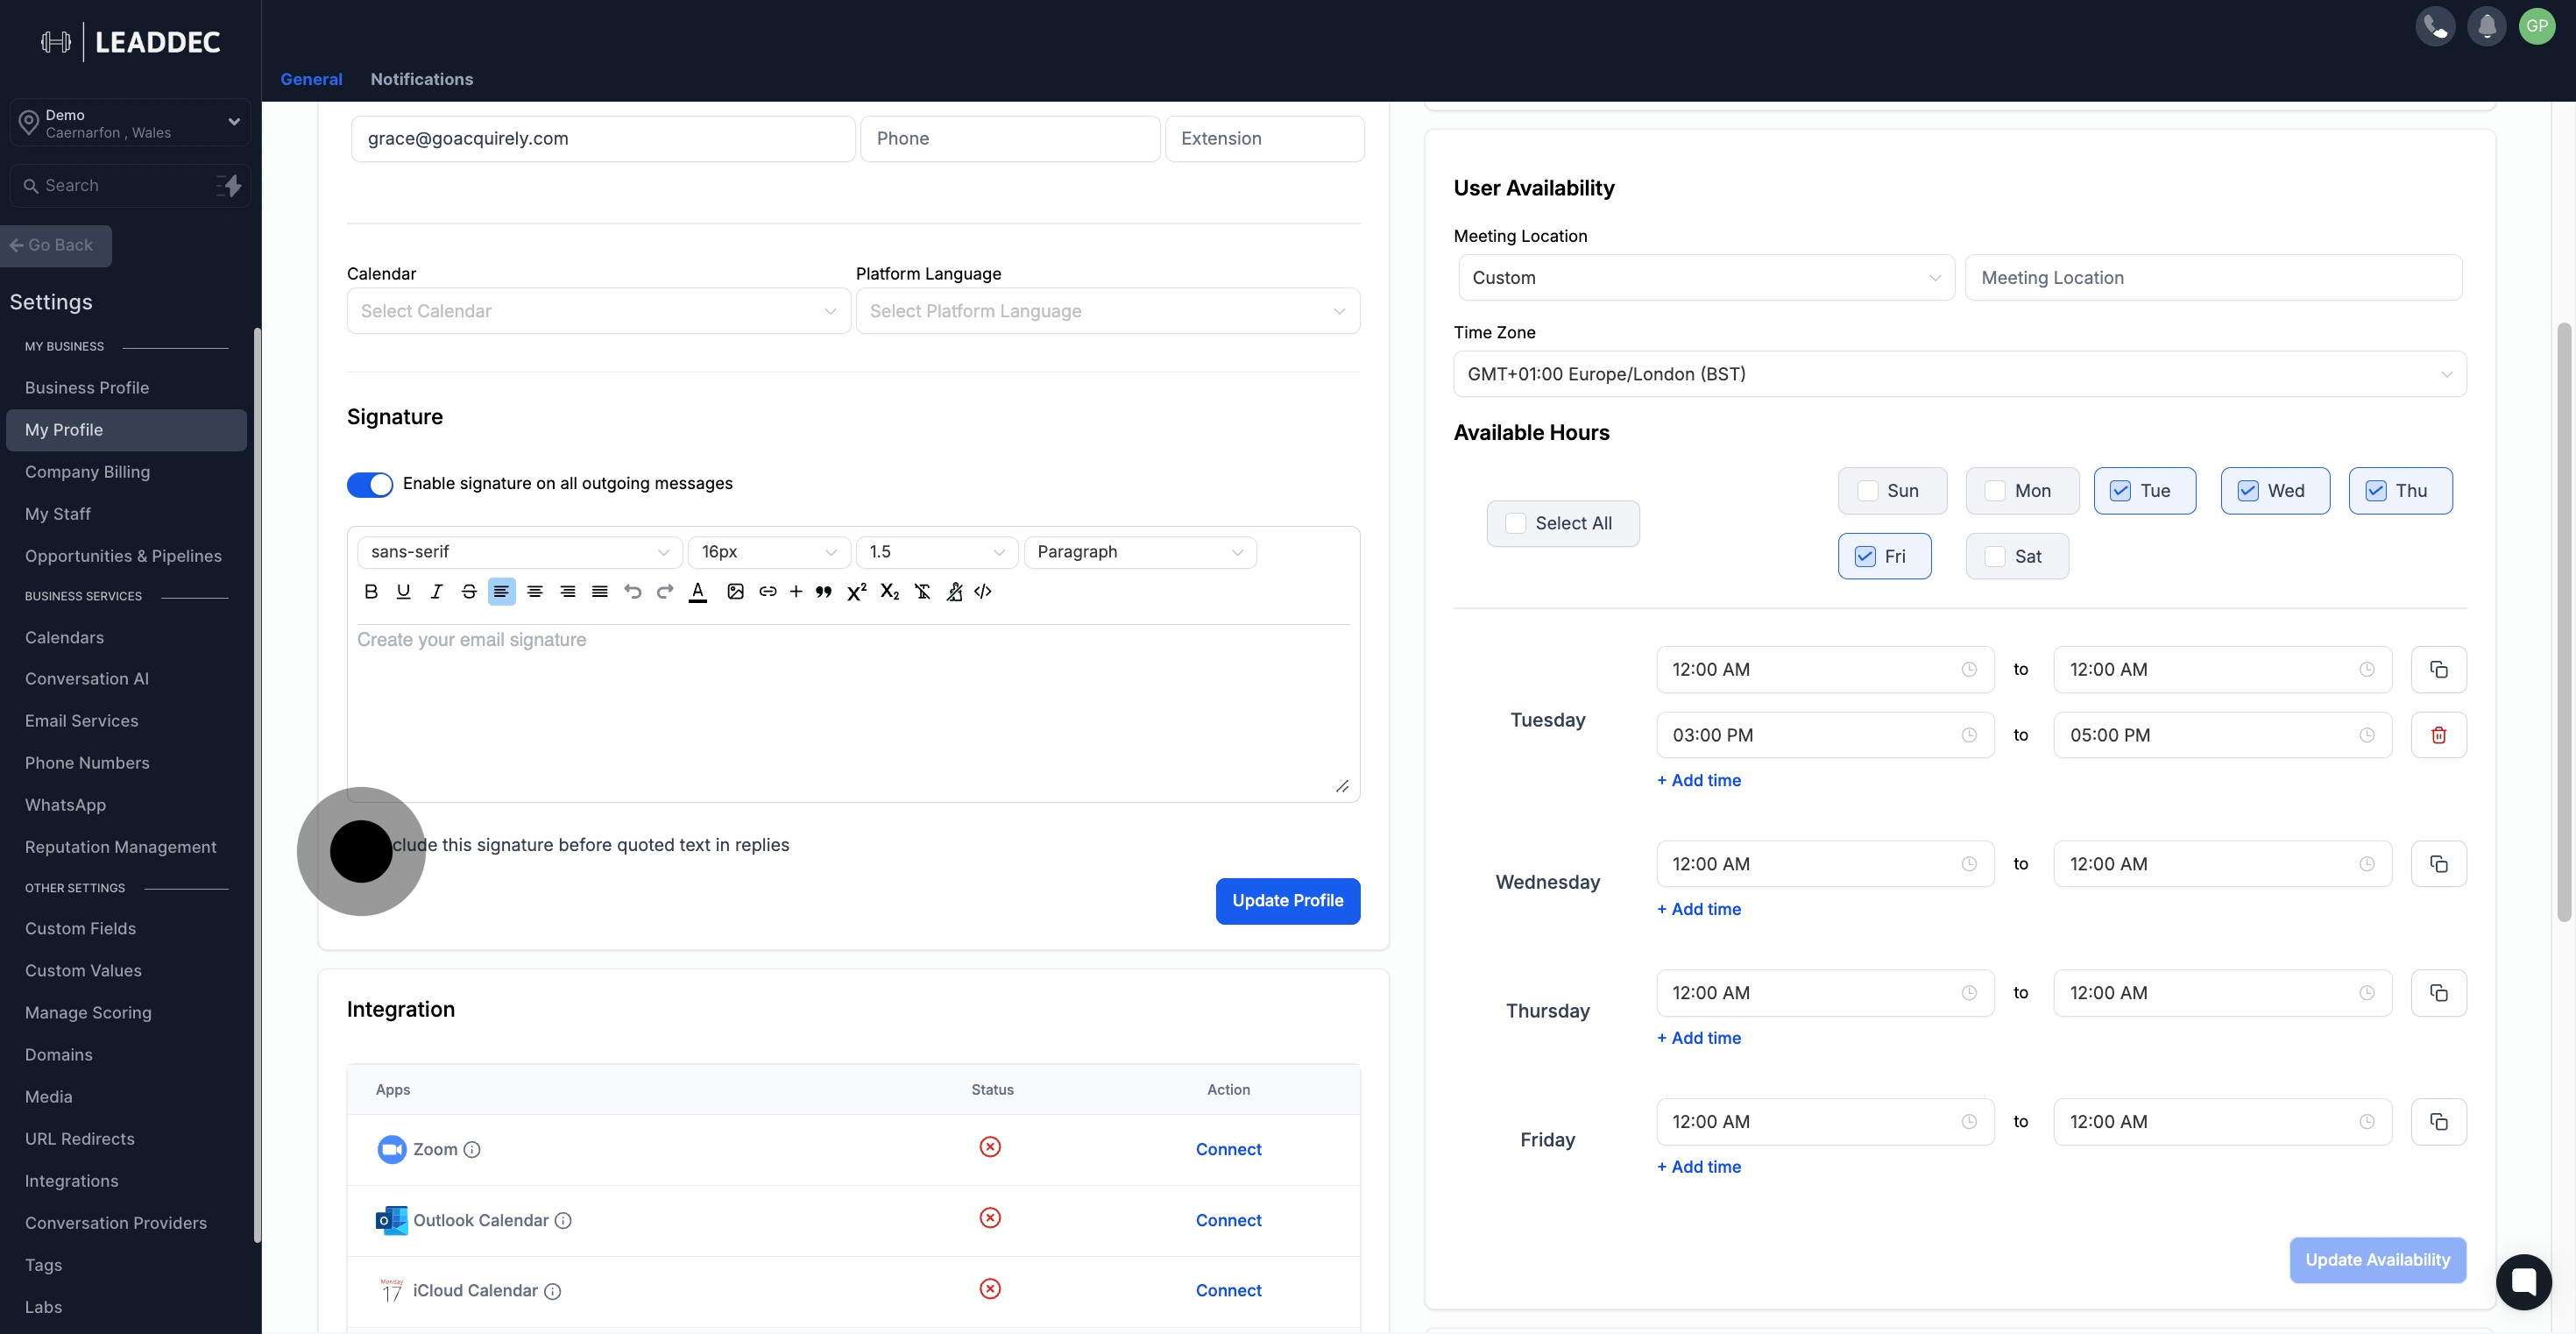
7 Click here.

8. Seal the deal by clicking on Update Profile to save any changes made.
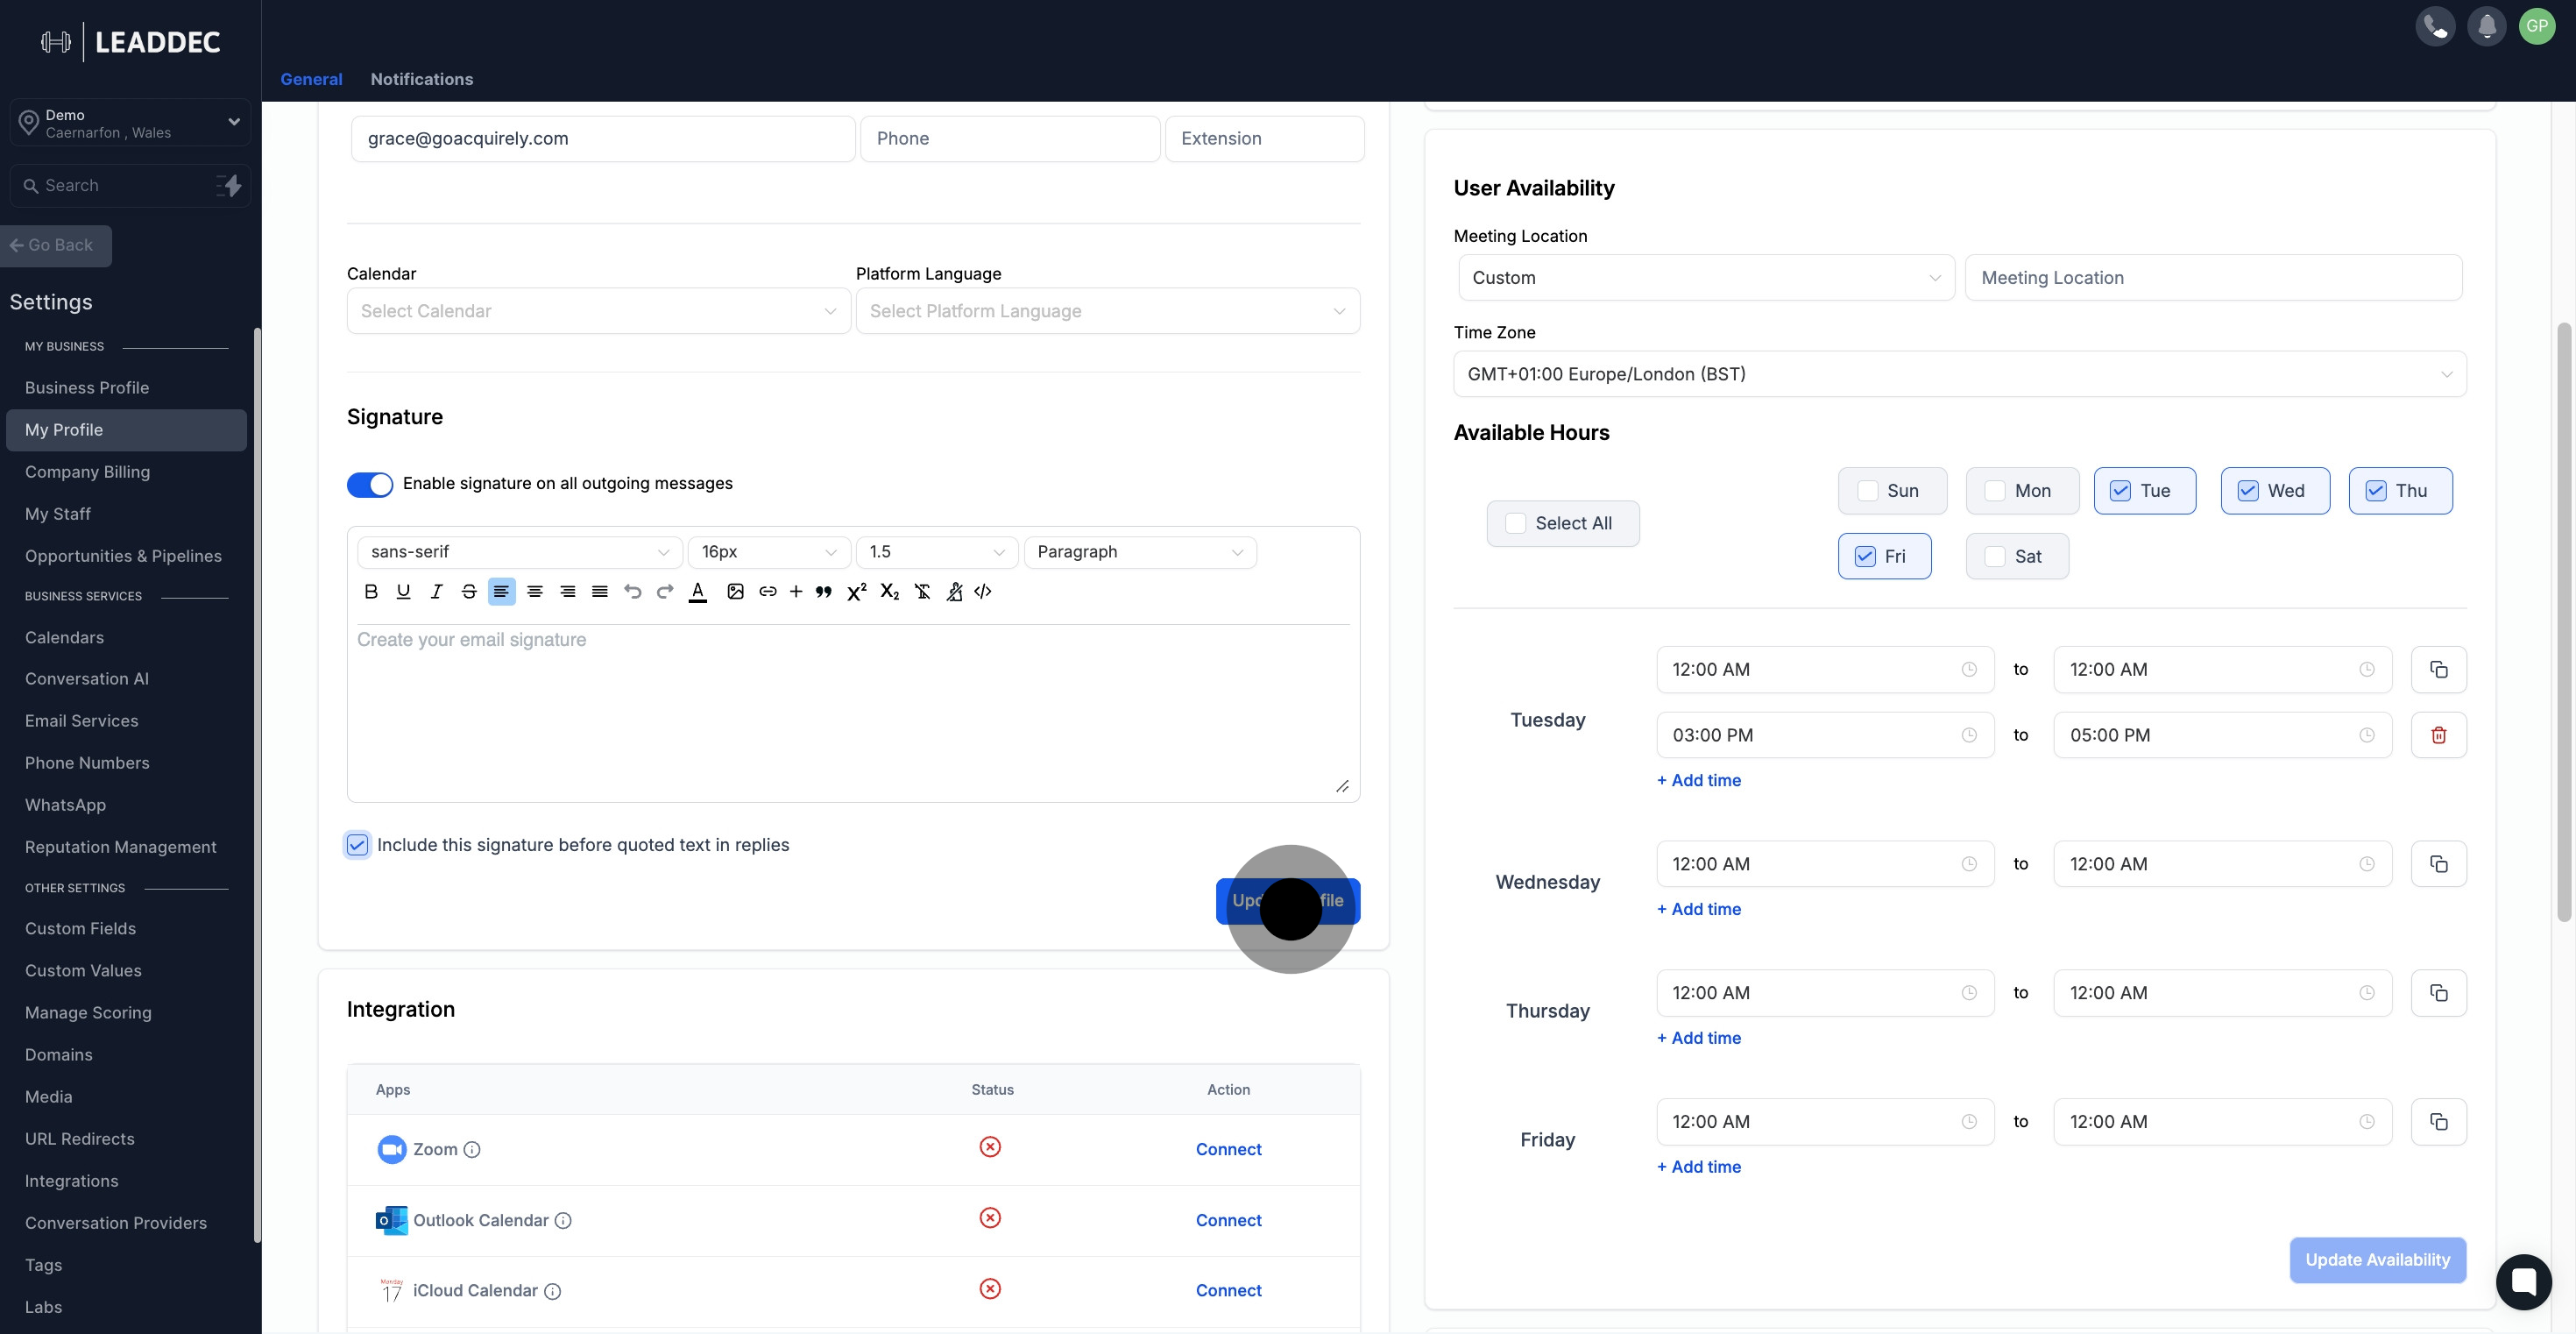
8 Click on "Update Profile".

Did this answer your question?
😞
😐
😁