Setting Available Hours in LeadDec via the Staff Module

Enhance your team's productivity and streamline client bookings by setting up available hours through the Staff Module in LeadDec. This guide takes you through the process of defining and managing the working hours for each staff member, ensuring a smooth appointment scheduling experience for clients. Discover the benefits of accurately displaying availability to reduce conflicts and maximize efficiency, making LeadDec an integral tool for managing your team's schedule.


1. Start by selecting the 'Settings' option.
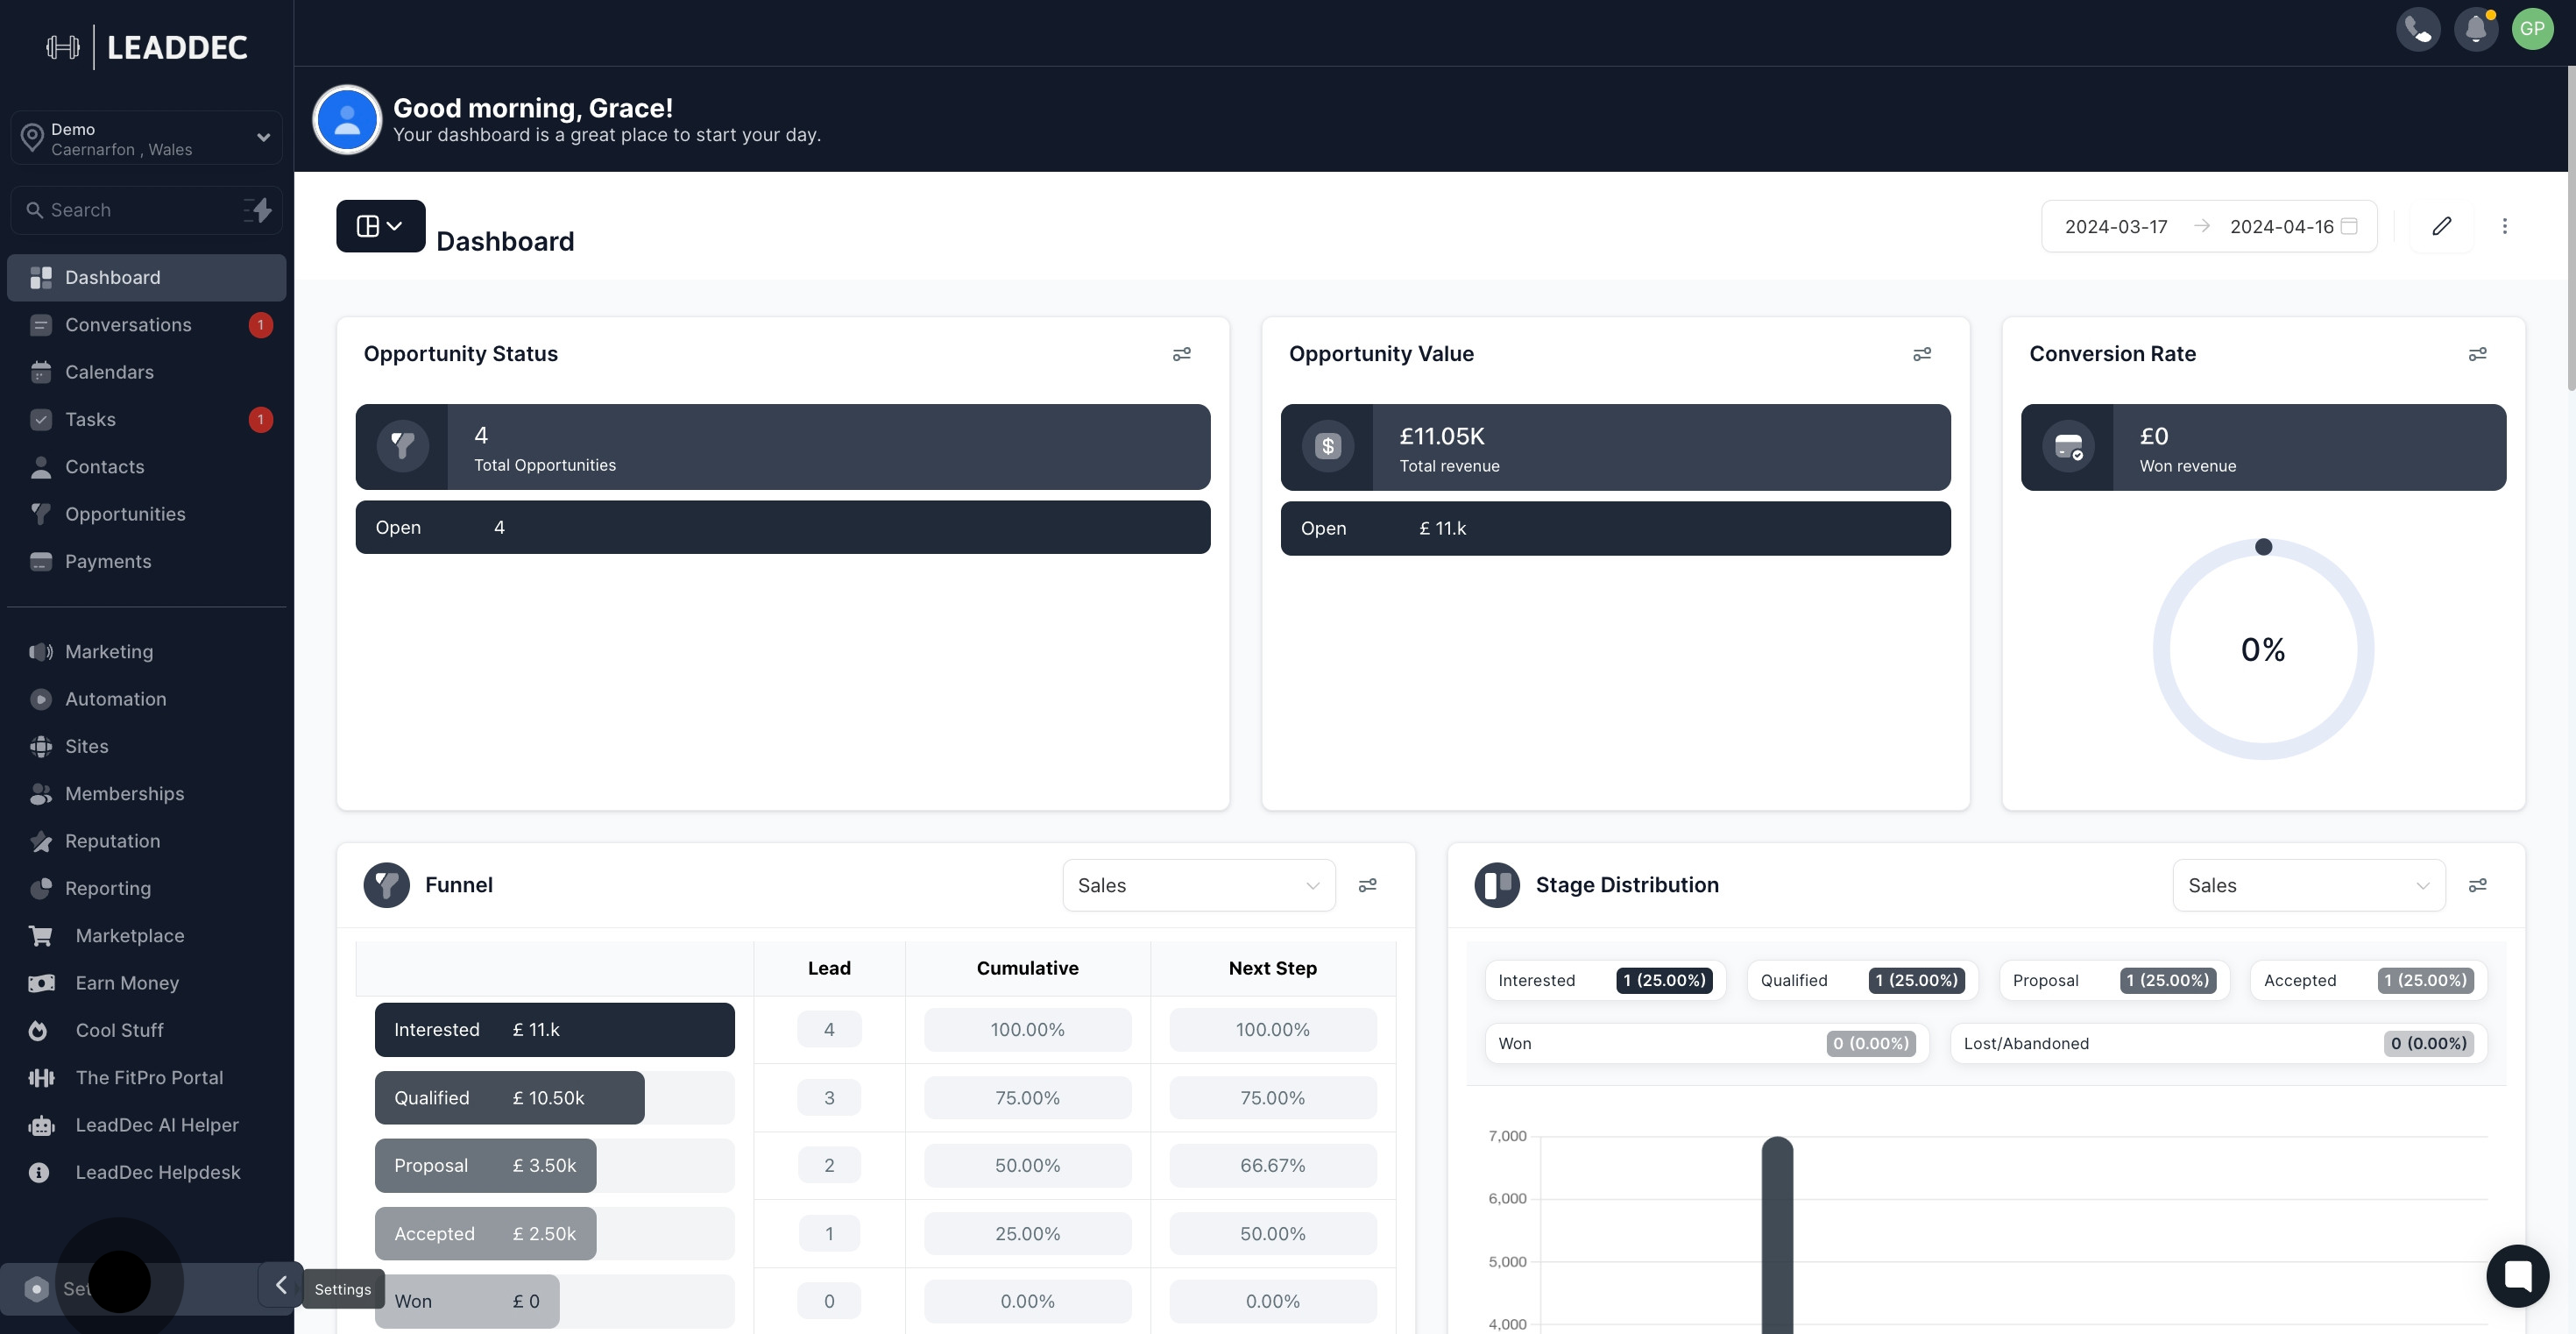
1 To commence, click on "Settings".

2. Next, find and click on the 'My Staff'

2 Then, click on "My Staff".

3. Locate and select the editing icon, which looks like a pencil.

3 Afterwards, click on the element.

4. Look for and navigate to the 'User Availability' panel.

4 Click on "User Availability".

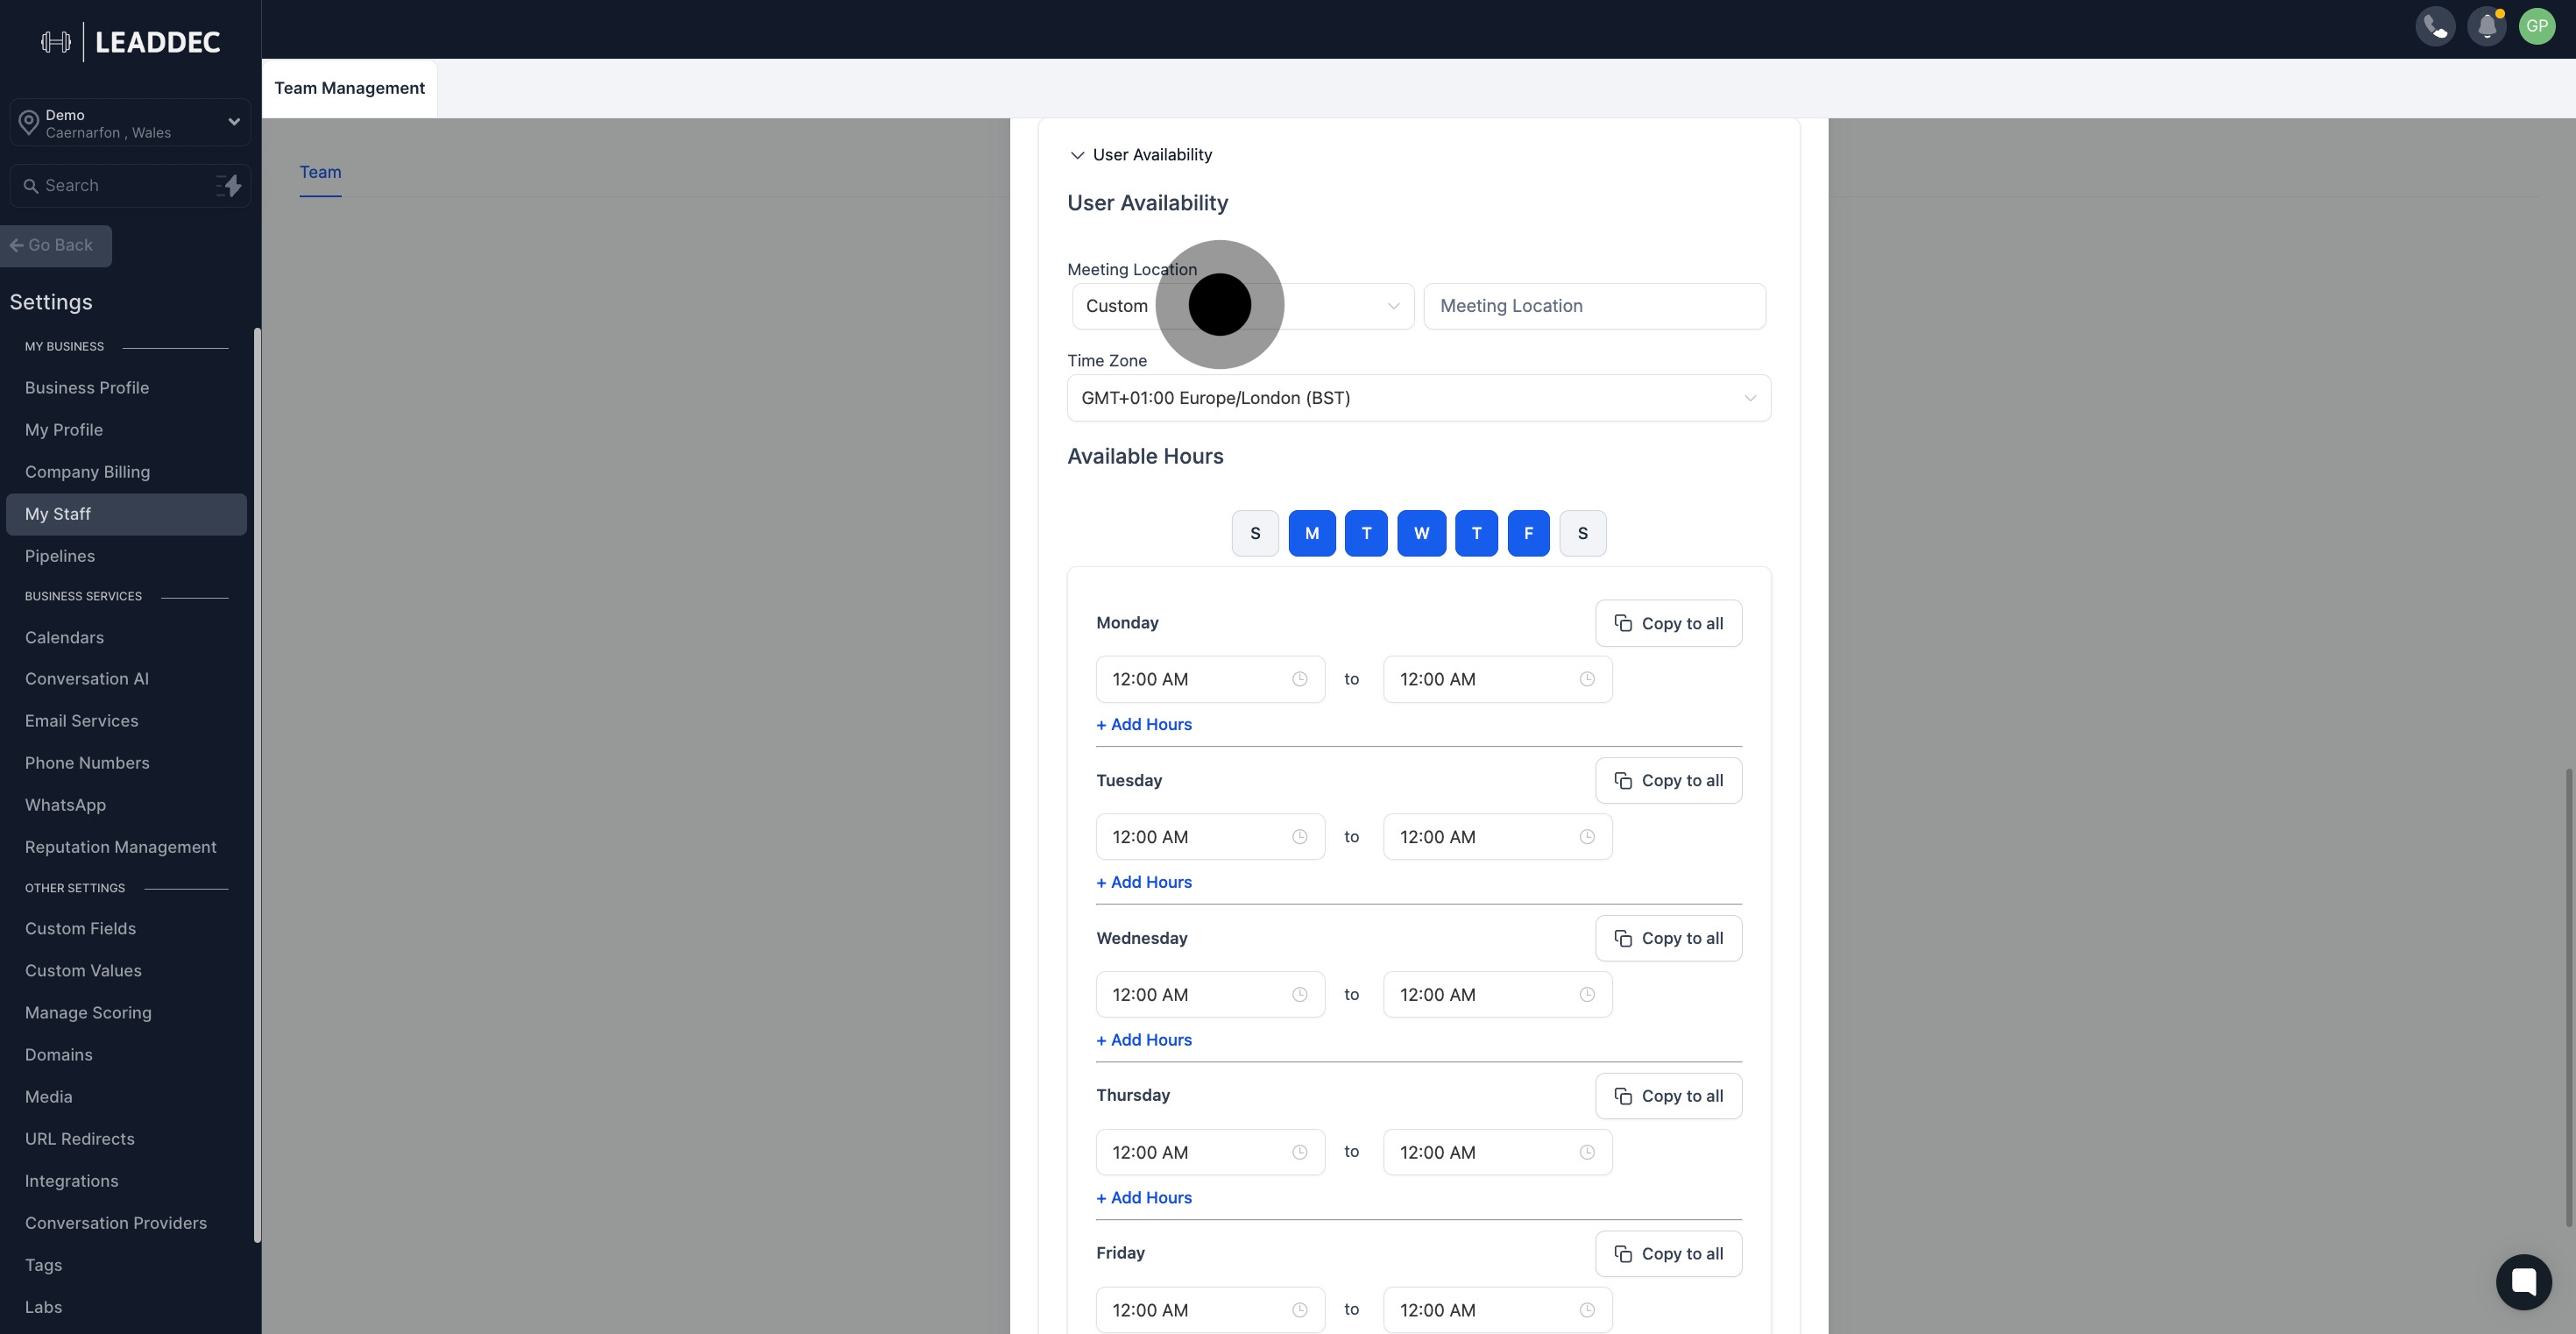
5. Choose your meeting location

5 Click on "Available Hours".

6. Specify the physical location of your meeting in the 'Custom' field.
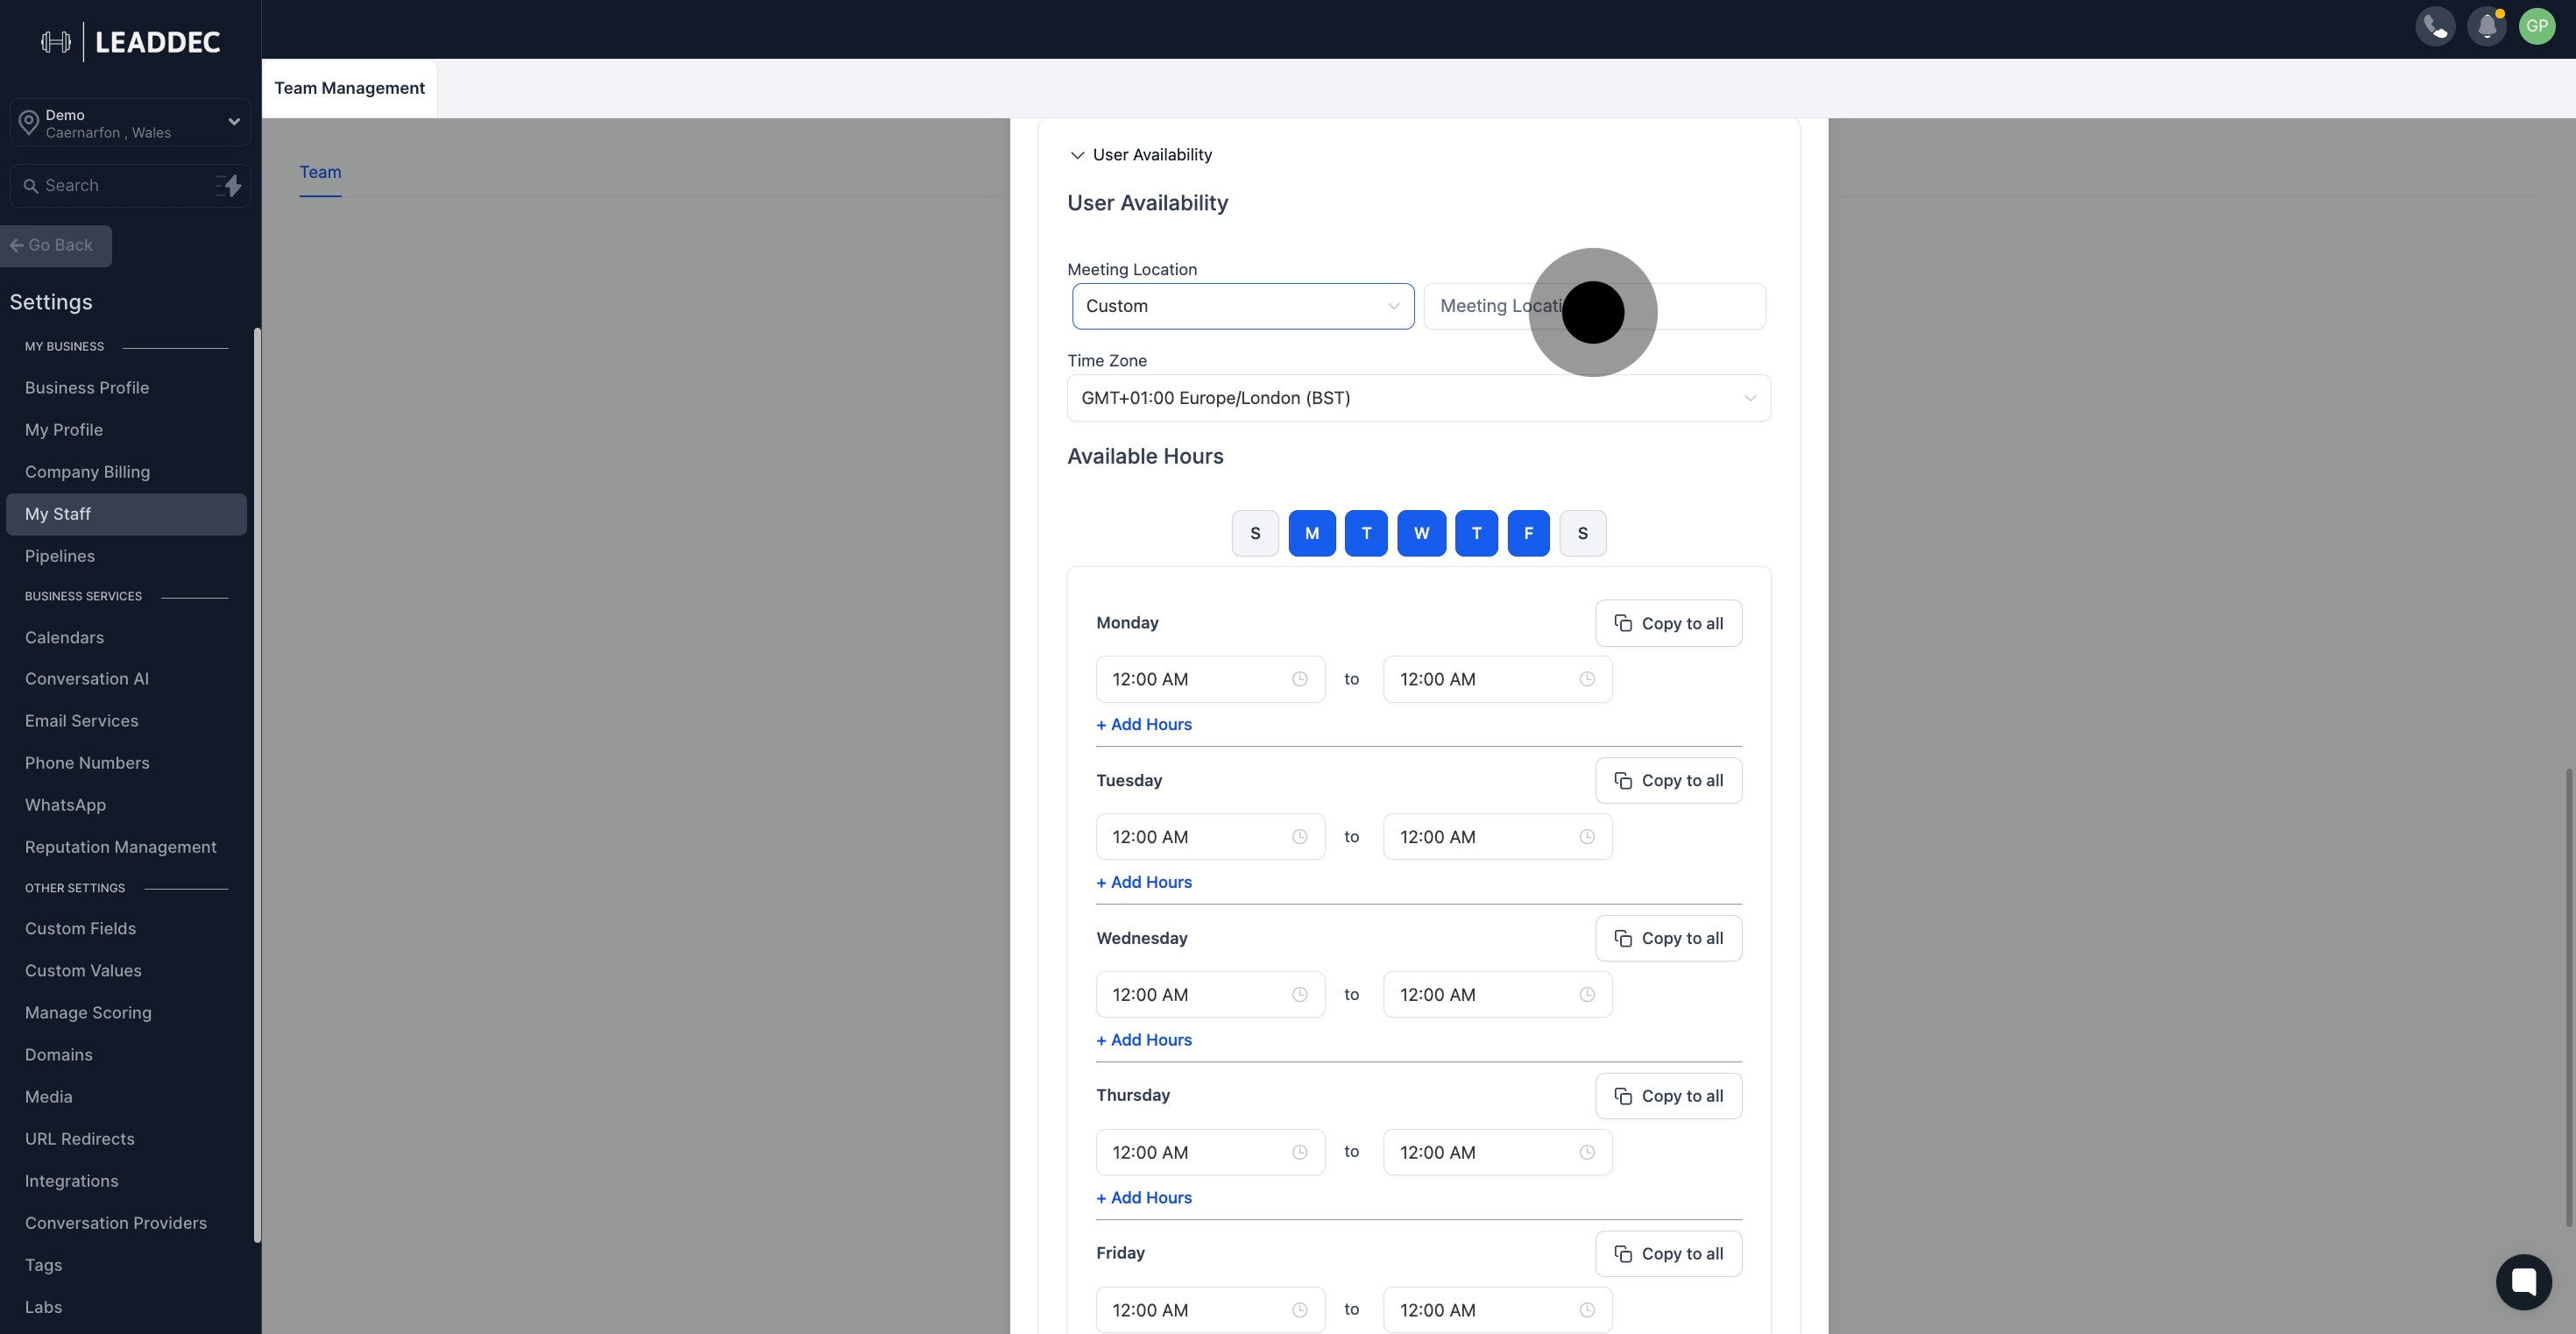
6 Click on "Custom".

7. Next, find and click on the area where you can select your timezone.

7 Click on the element.

8. Choose your available working days by clicking on the corresponding letters.

8 Next, click on "M".

9. Select the time of day you're available by clicking on the appropriate section.
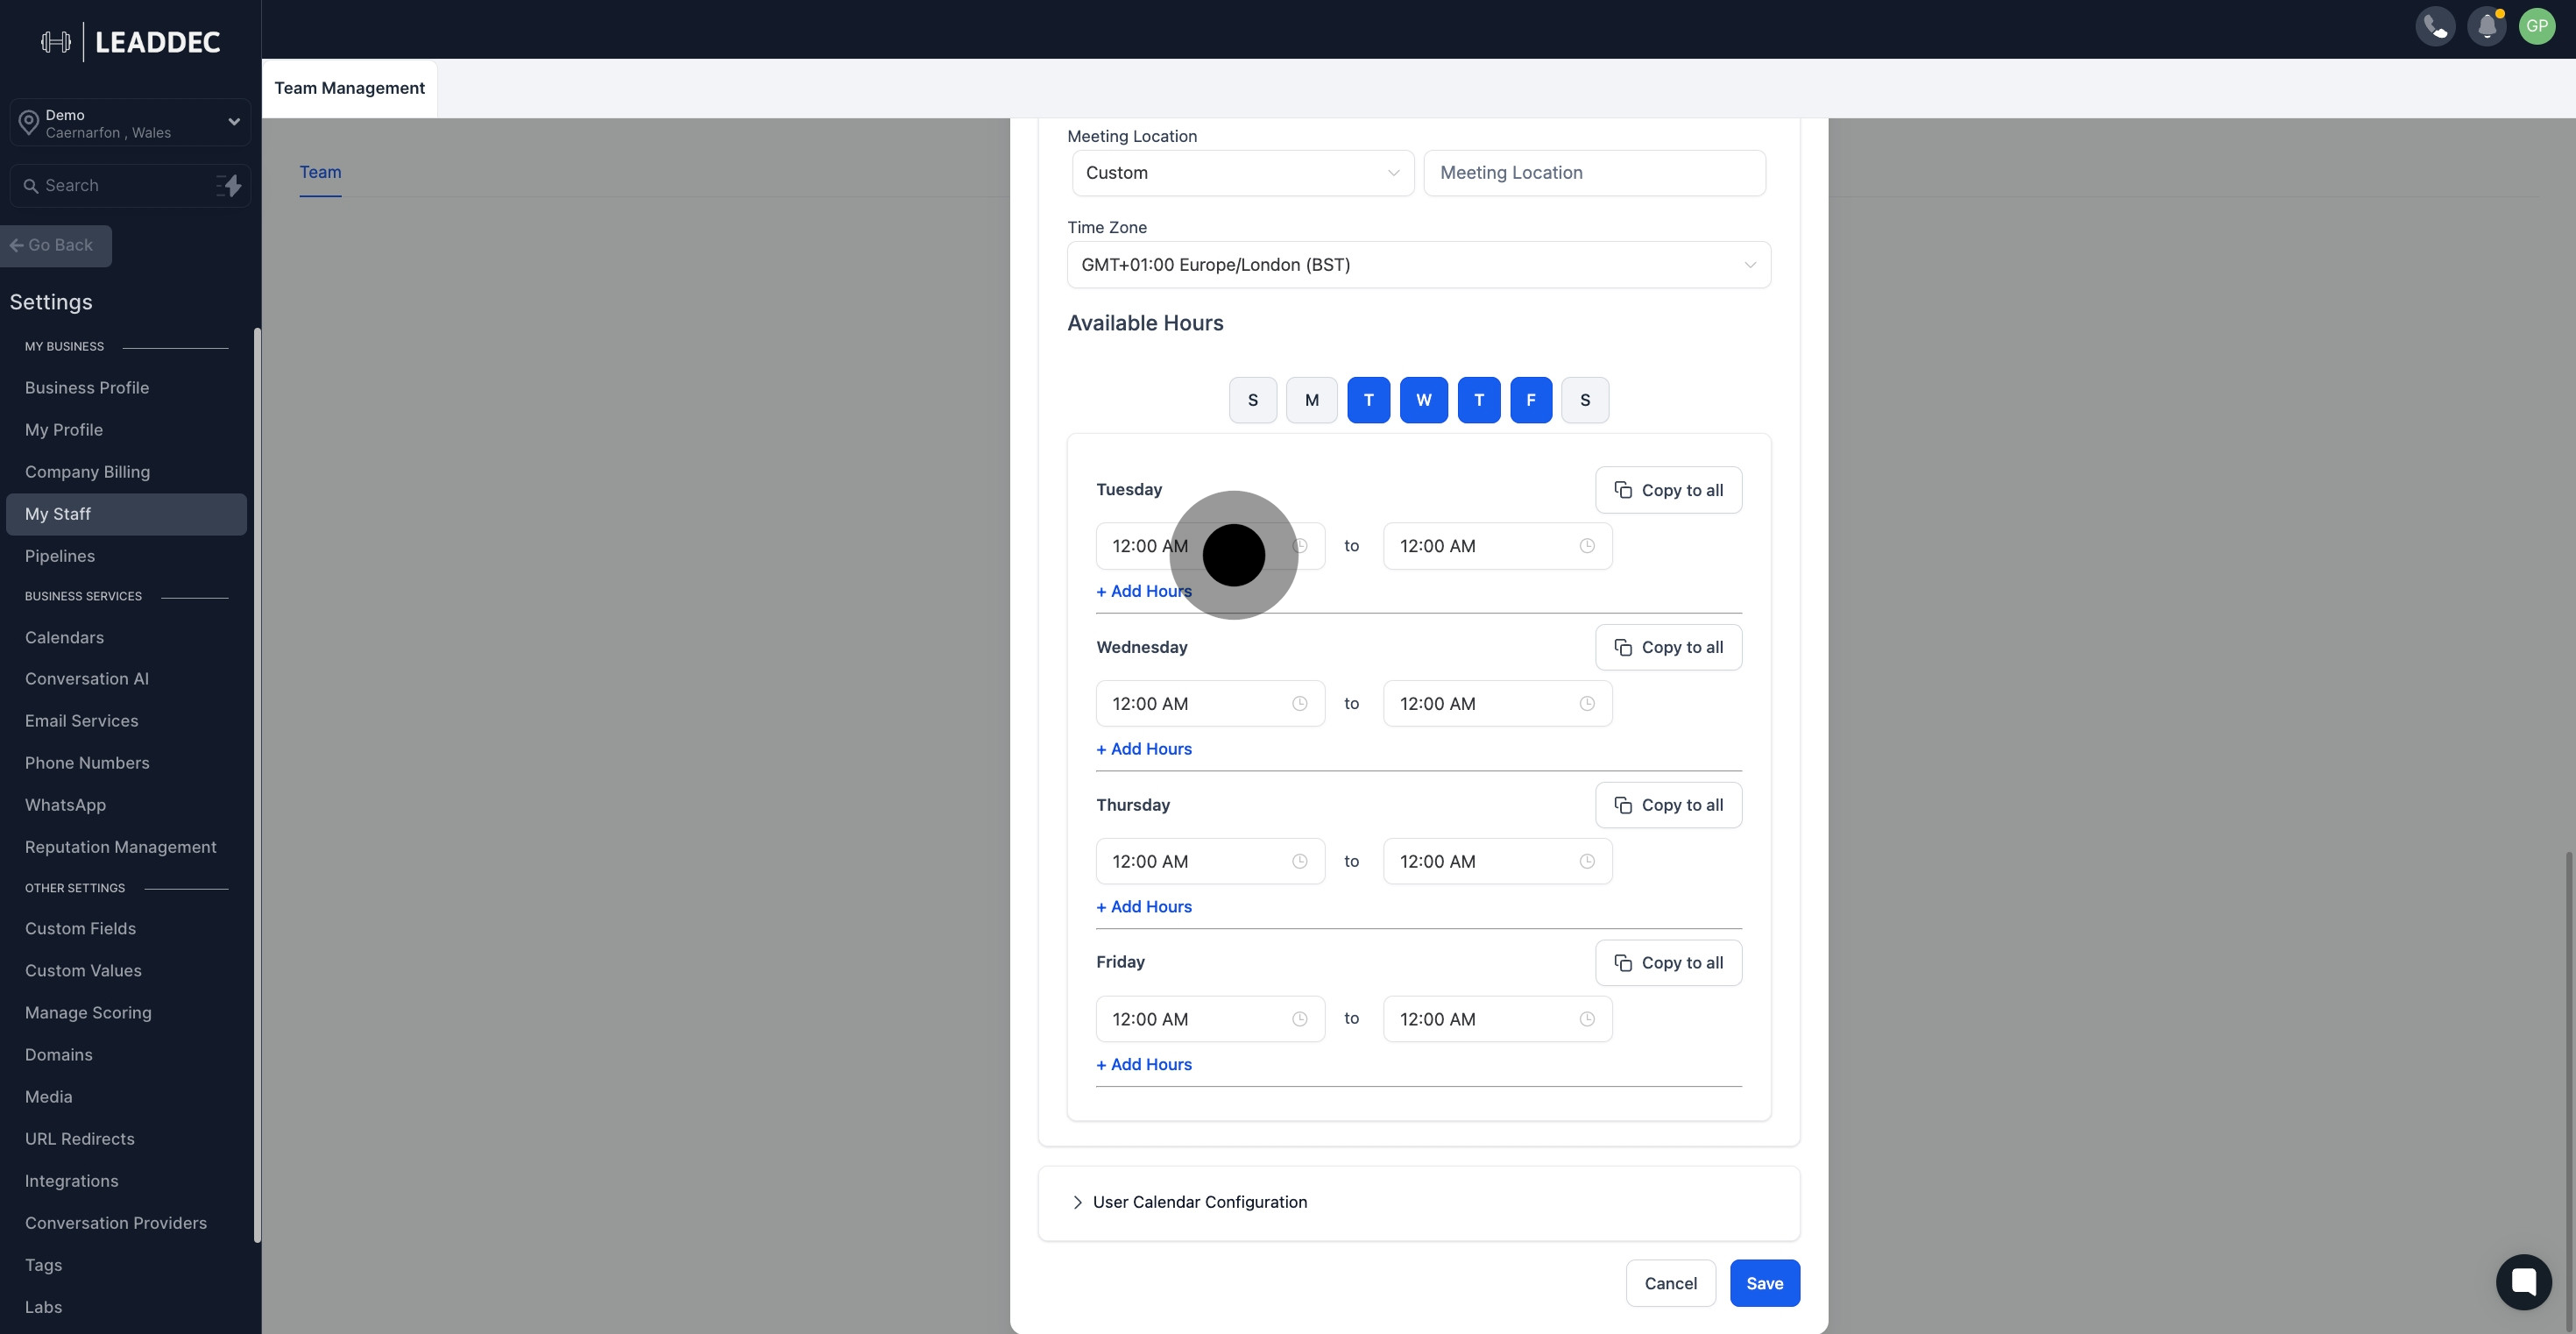
9 Click on "User Info".

10. Click '+ Add Hours' to extend your available time frame on any given day.
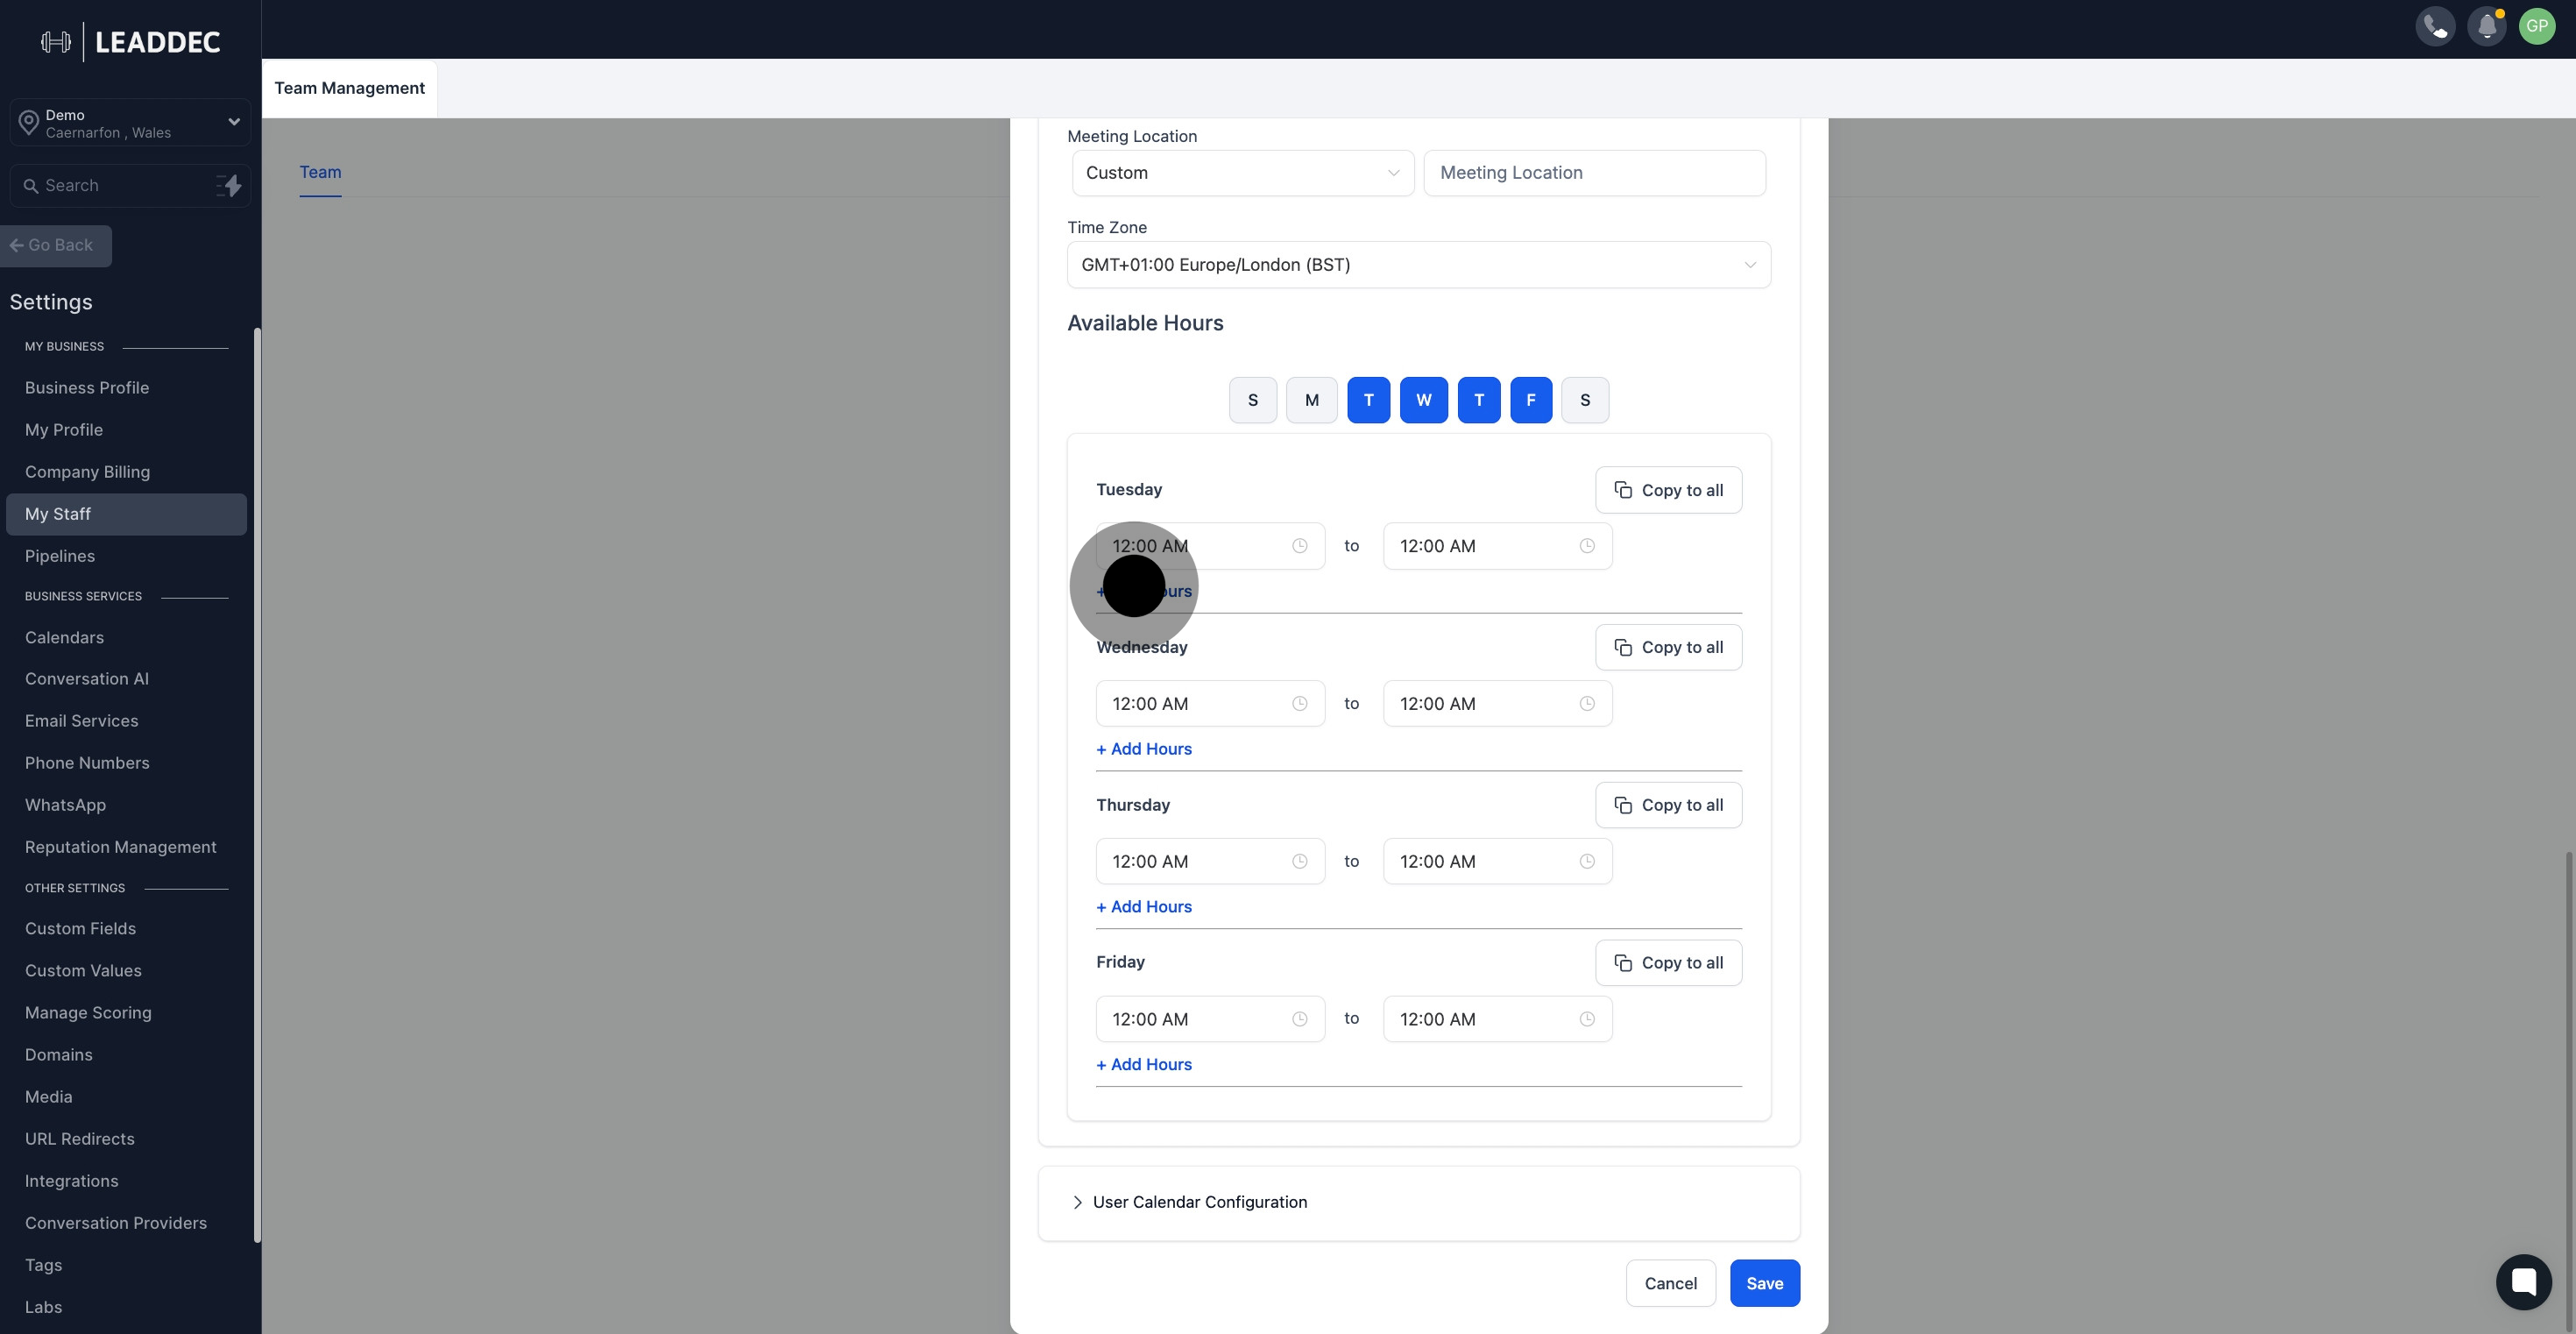
10 Click on "+ Add Hours".

11. Remember to save your changes by clicking the 'Save' button.
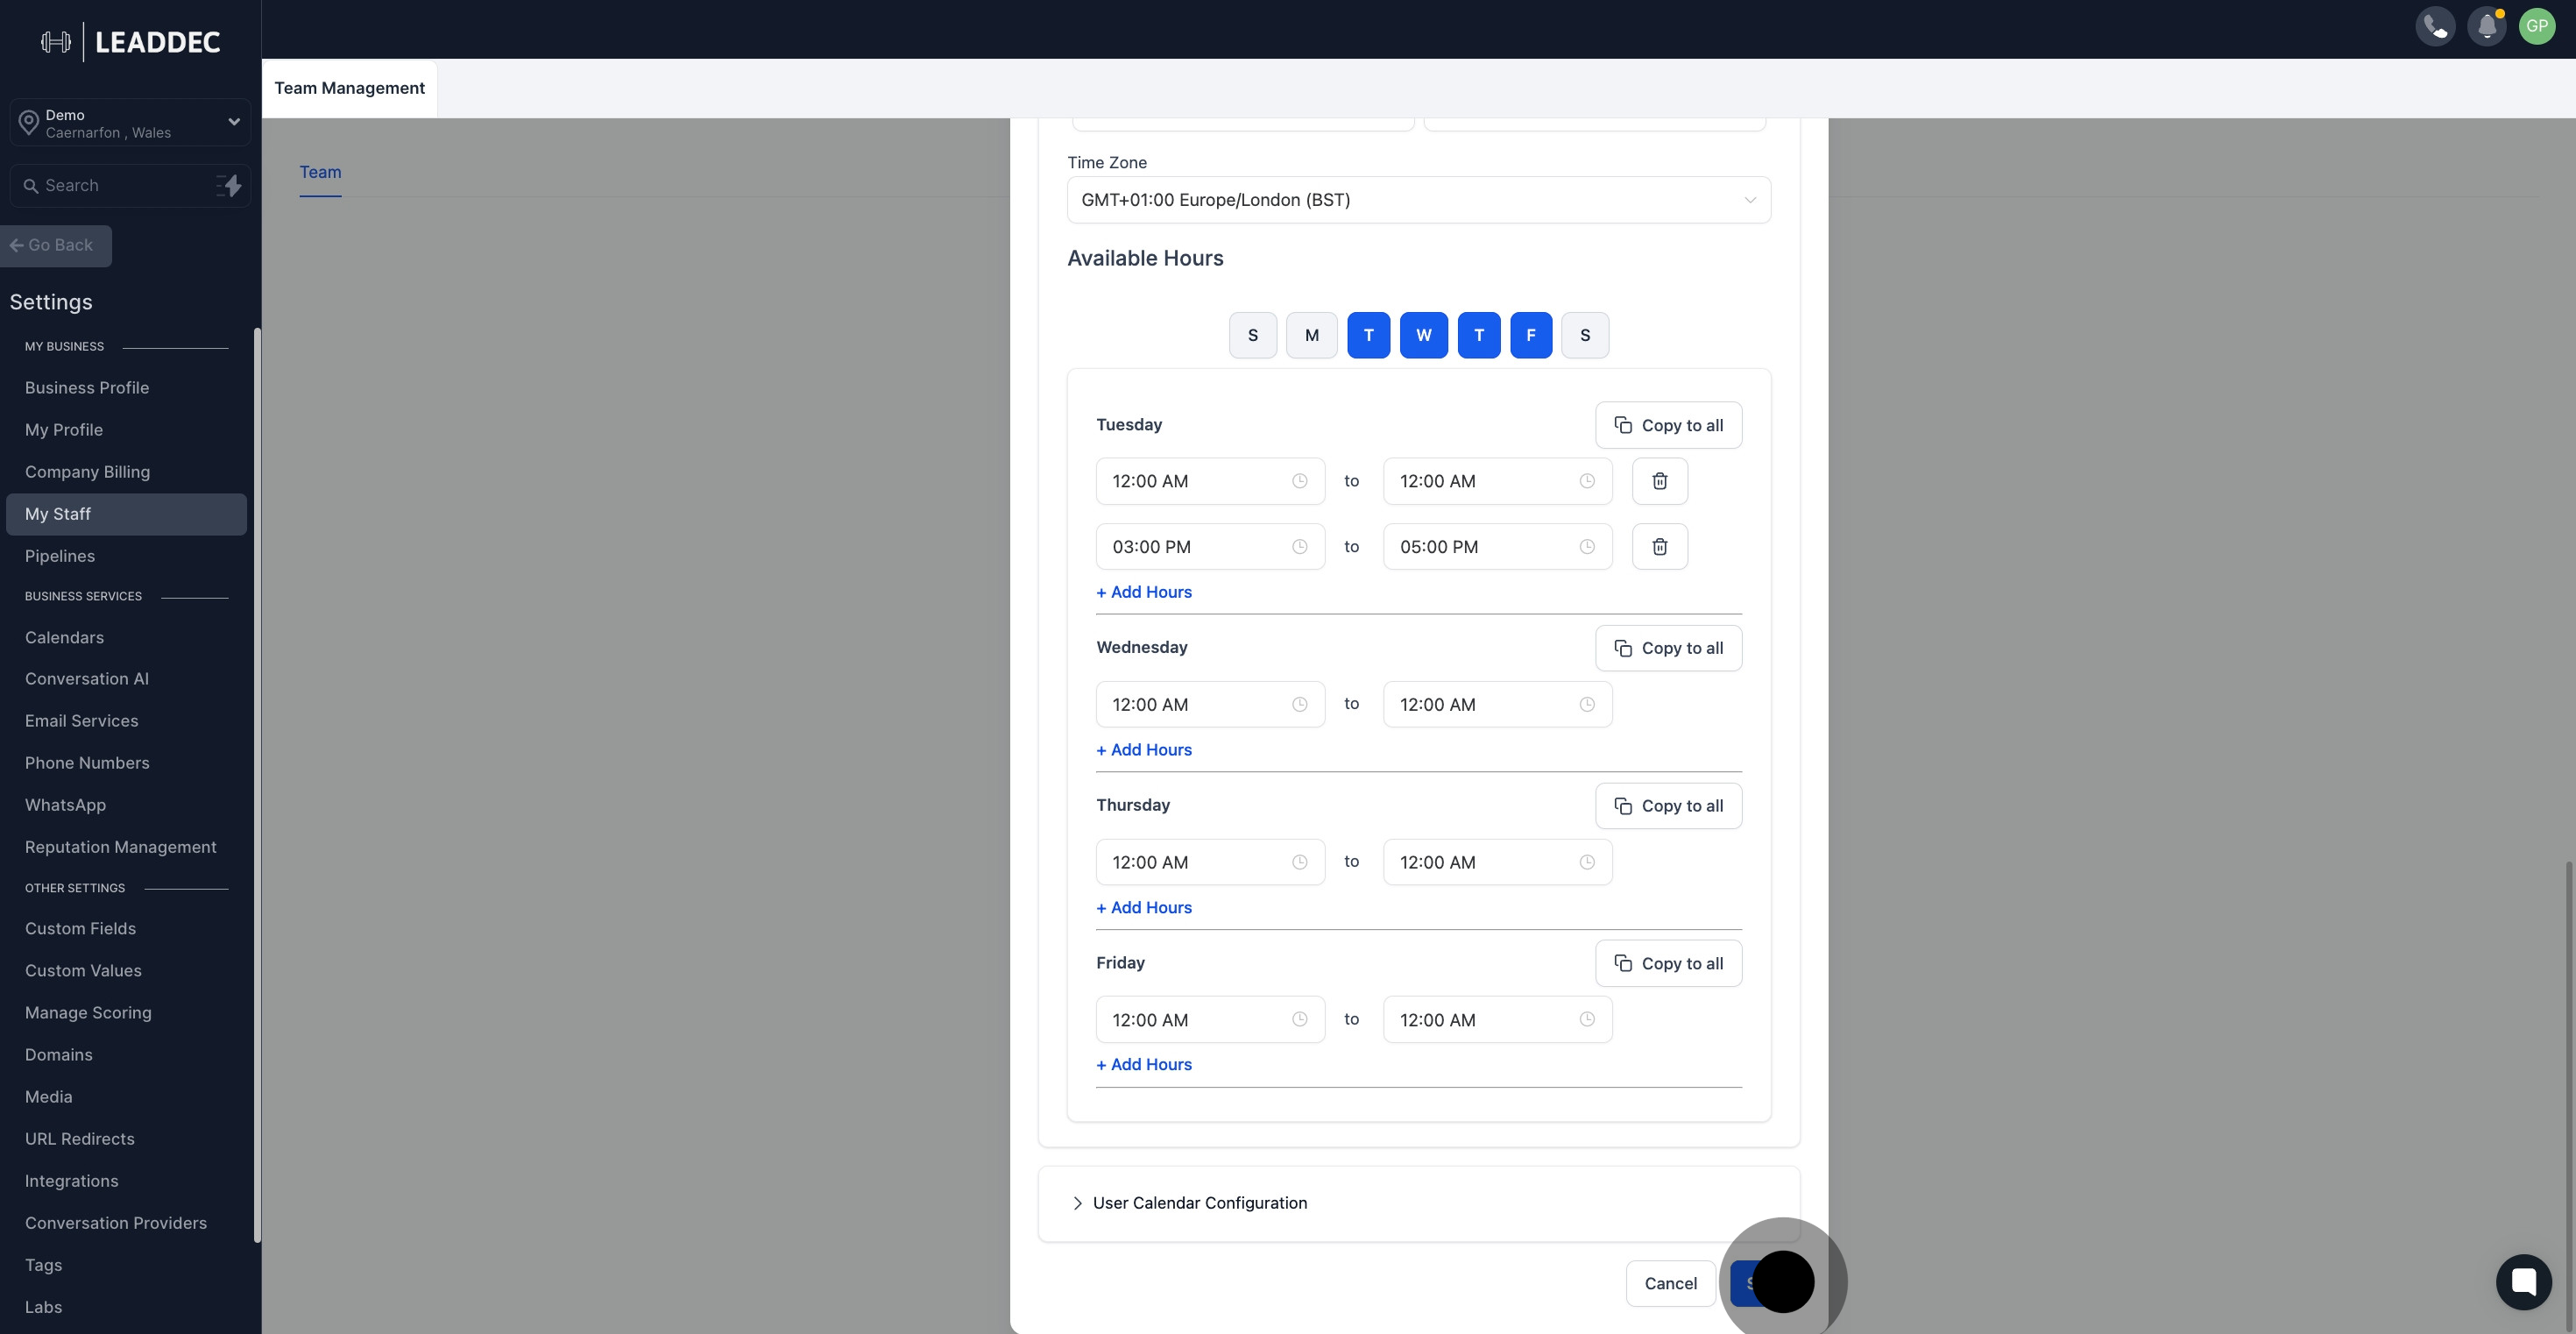
11 Click on "Save".

Did this answer your question?
😞
😐
😁