
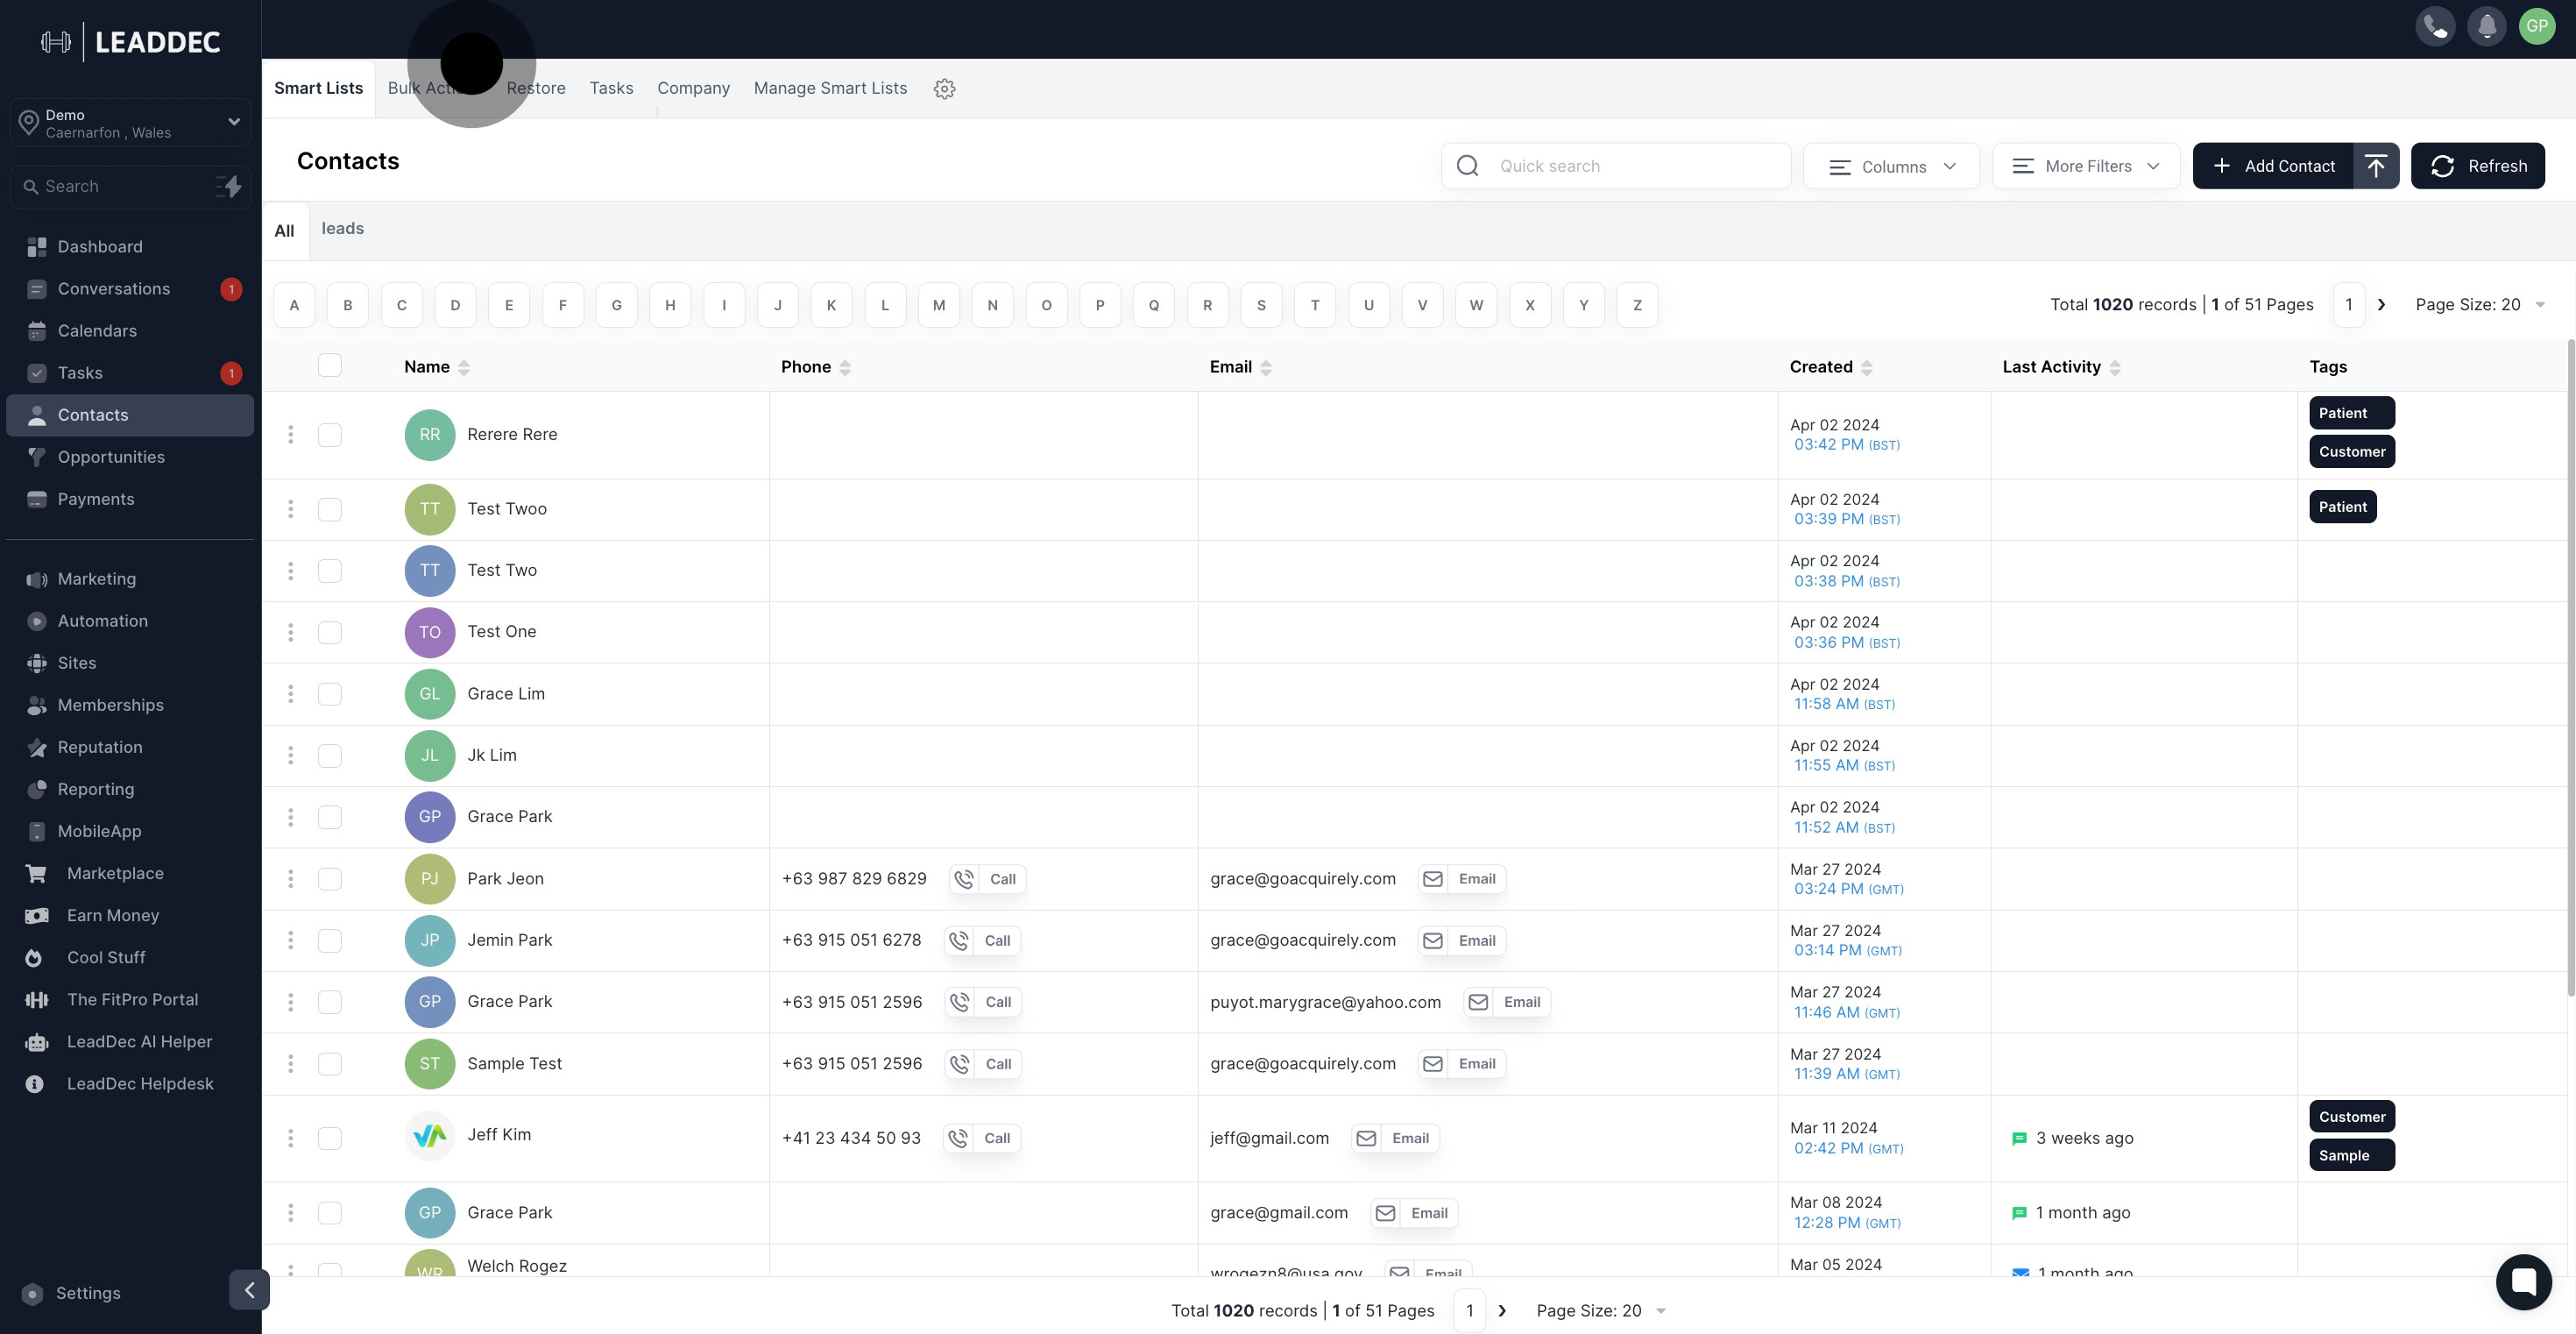
1. Click on "contacts"

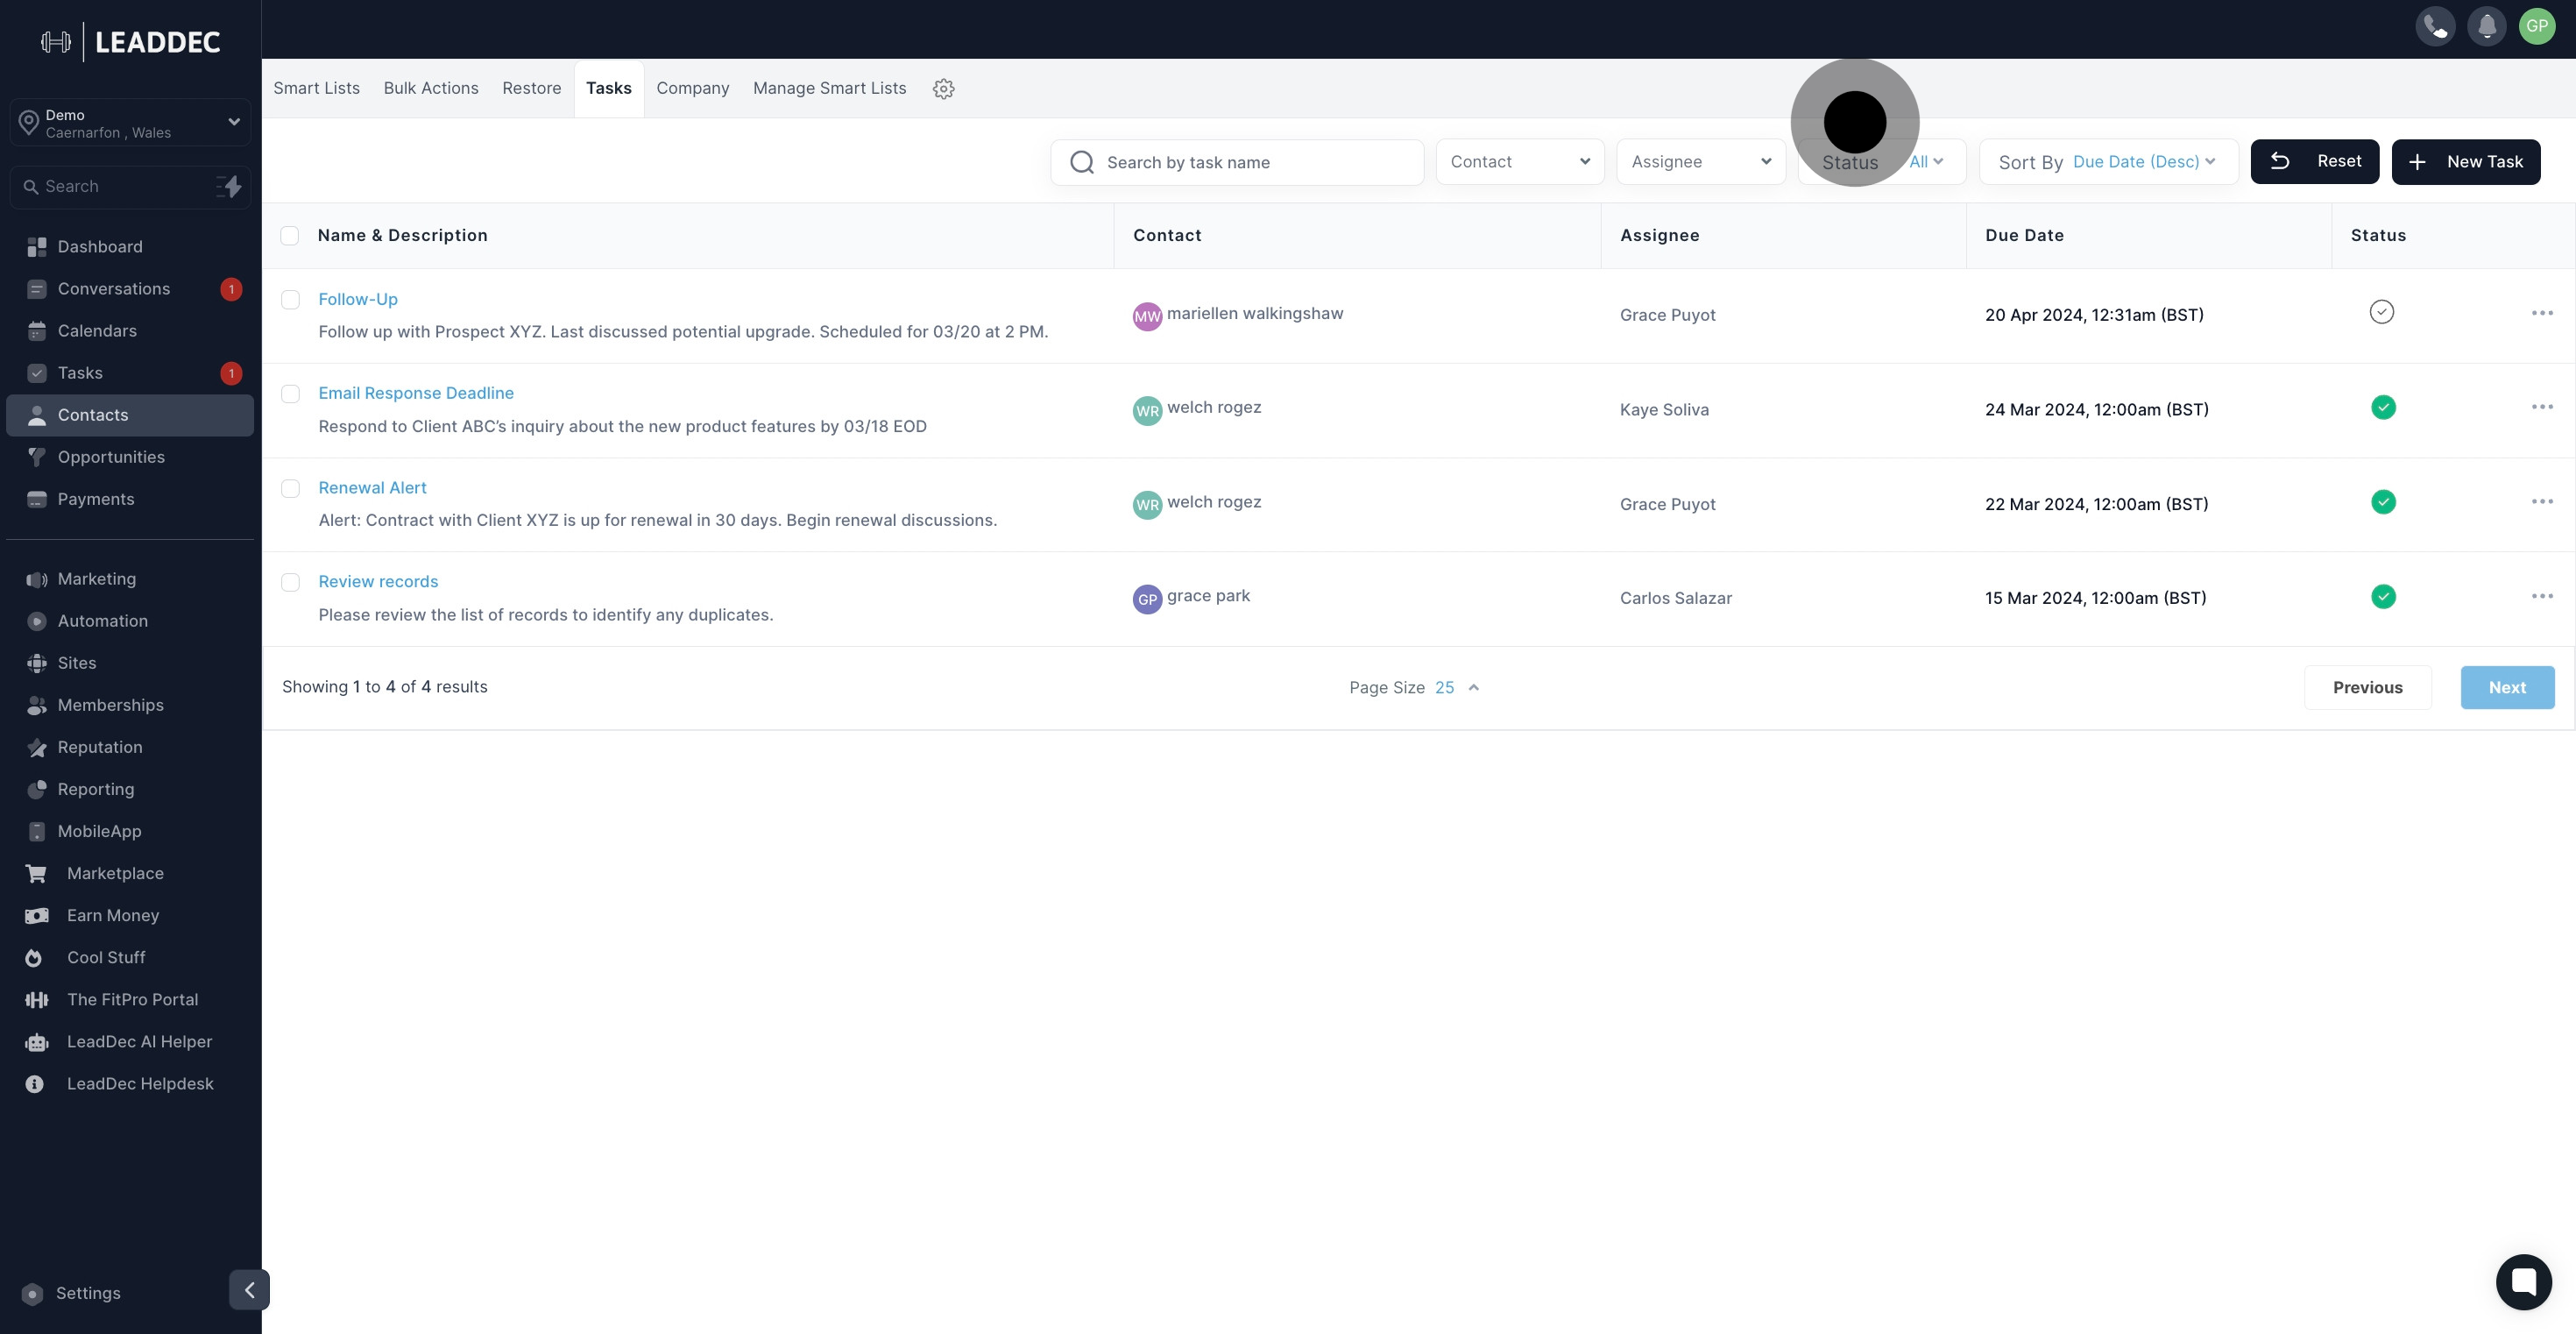
2. Click on "Tasks".
3. Click on "New Task".
4. You'll need to give your new task a title. Be sure to choose a name that's memorable and easily identifiable for future reference.

5. When creating a task description, provide your team with as much detail as possible to avoid any issues. While this is optional, it's highly recommended

6. click here to select the responsible assignee for the task

7. In order to manage your contacts effectively, every task in your CRM must be associated with a specific contact.
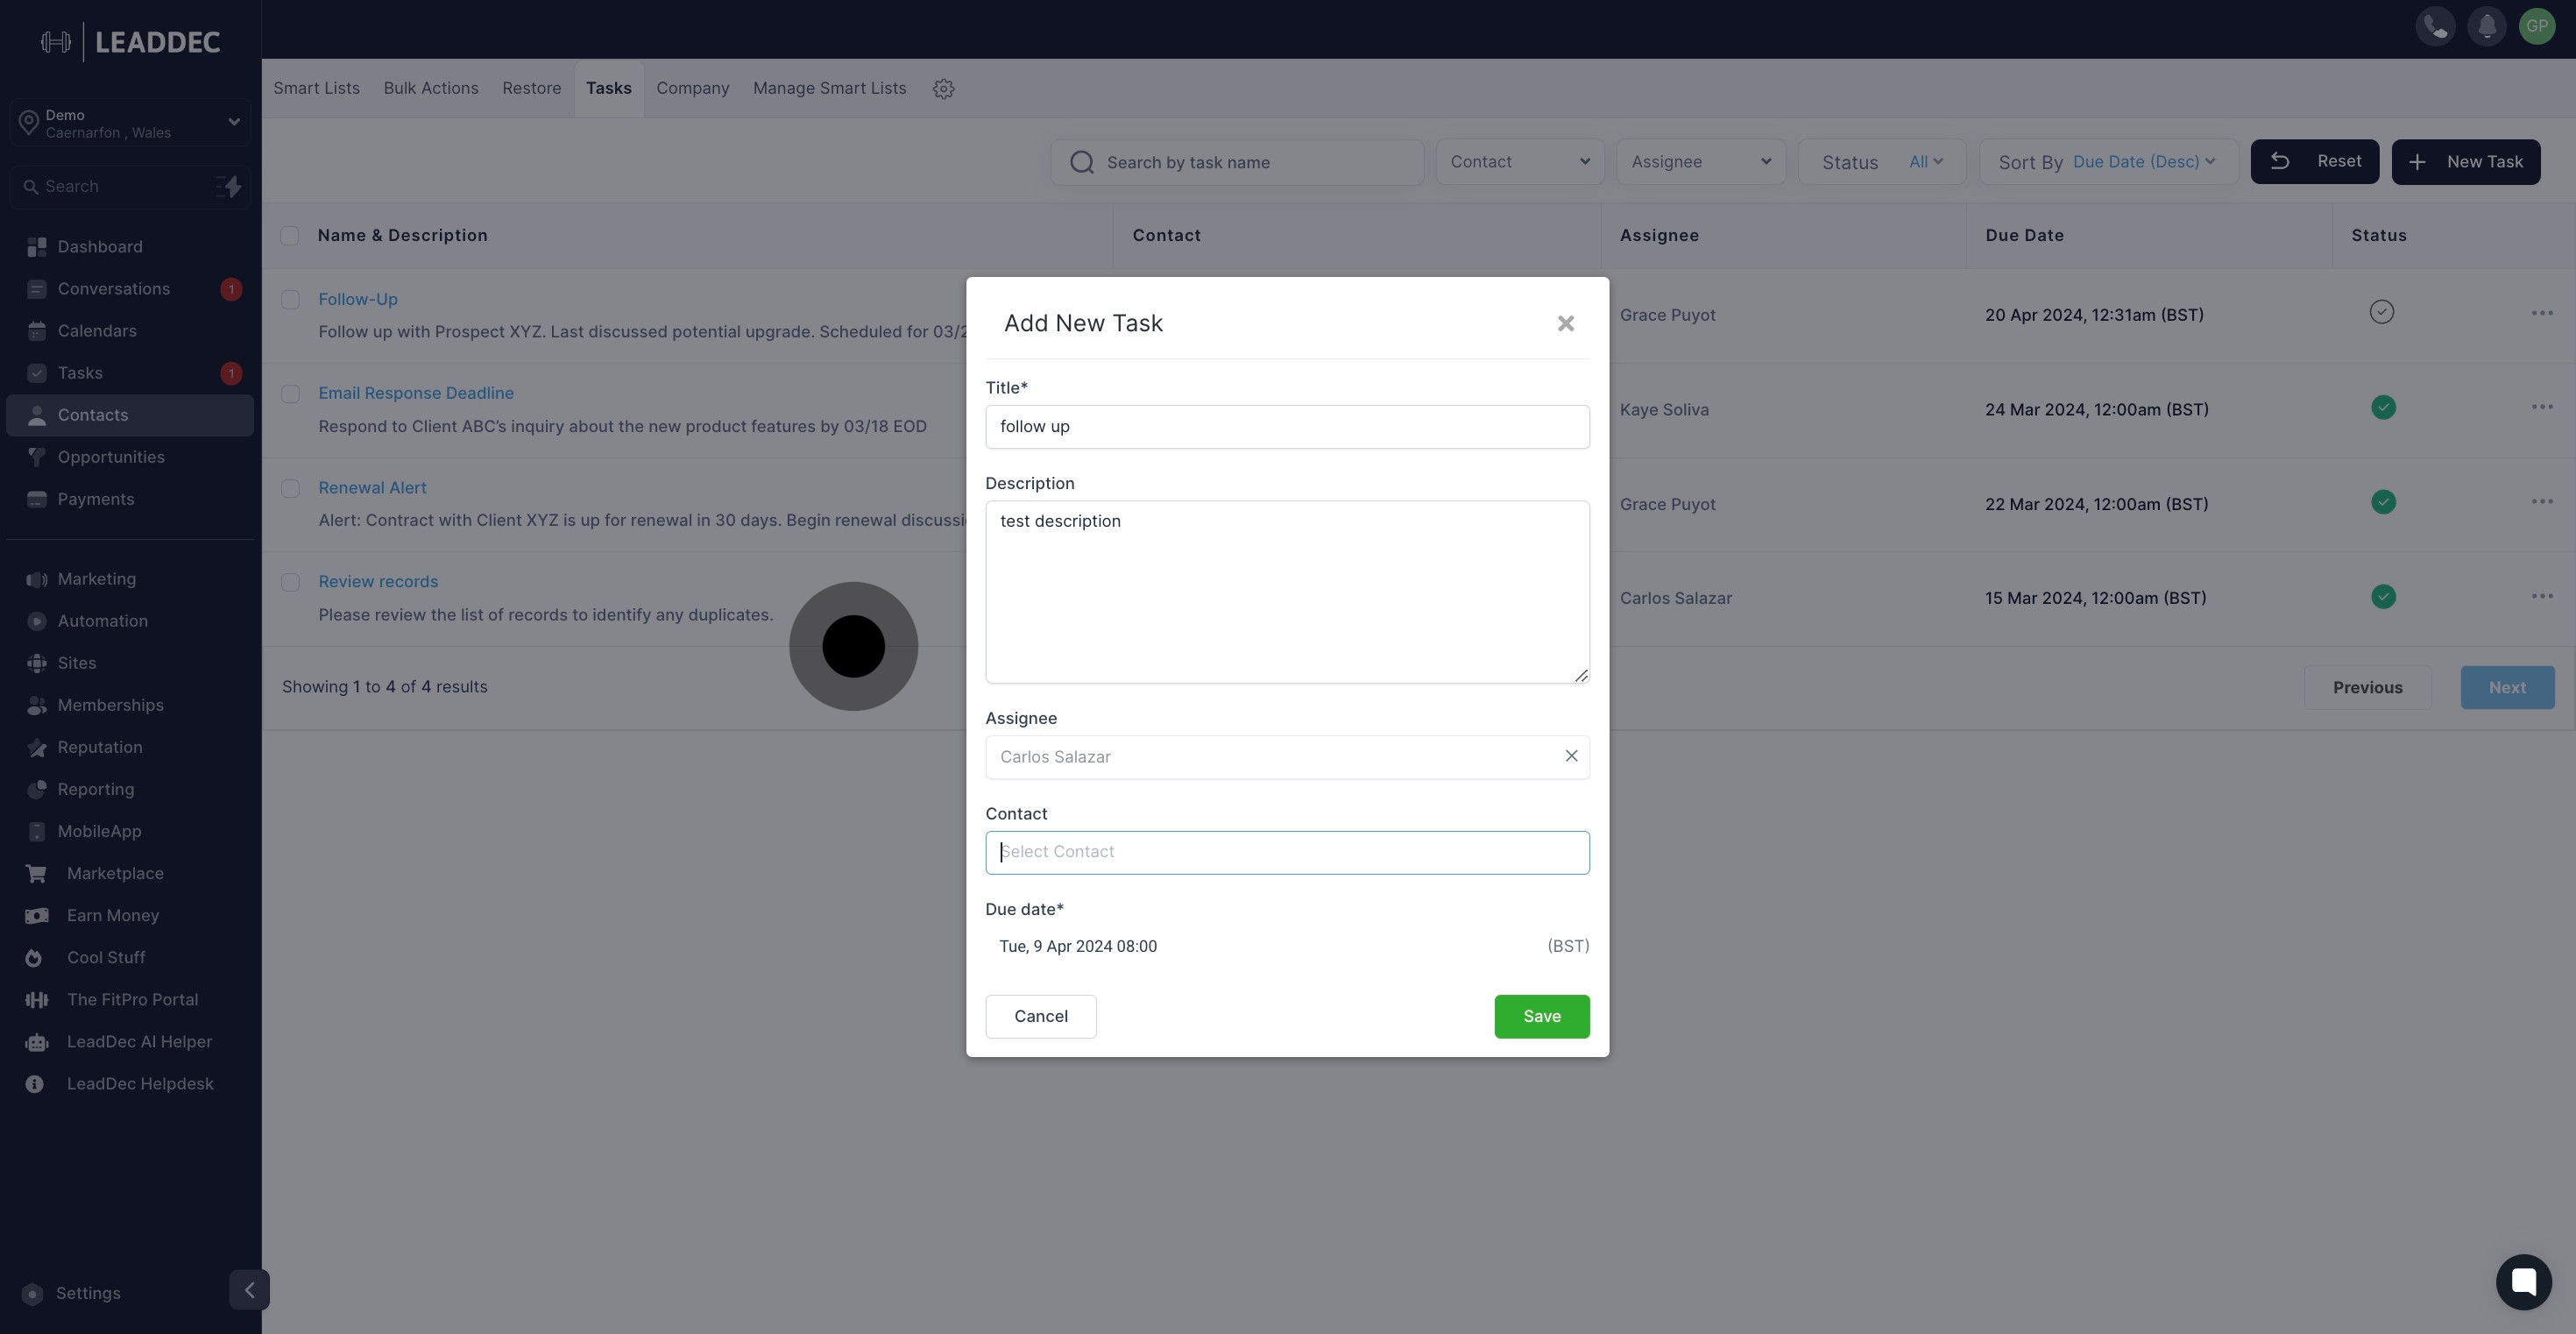
8. Your new task requires a due date. This allows your team to prioritize tasks and understand their level of importance.
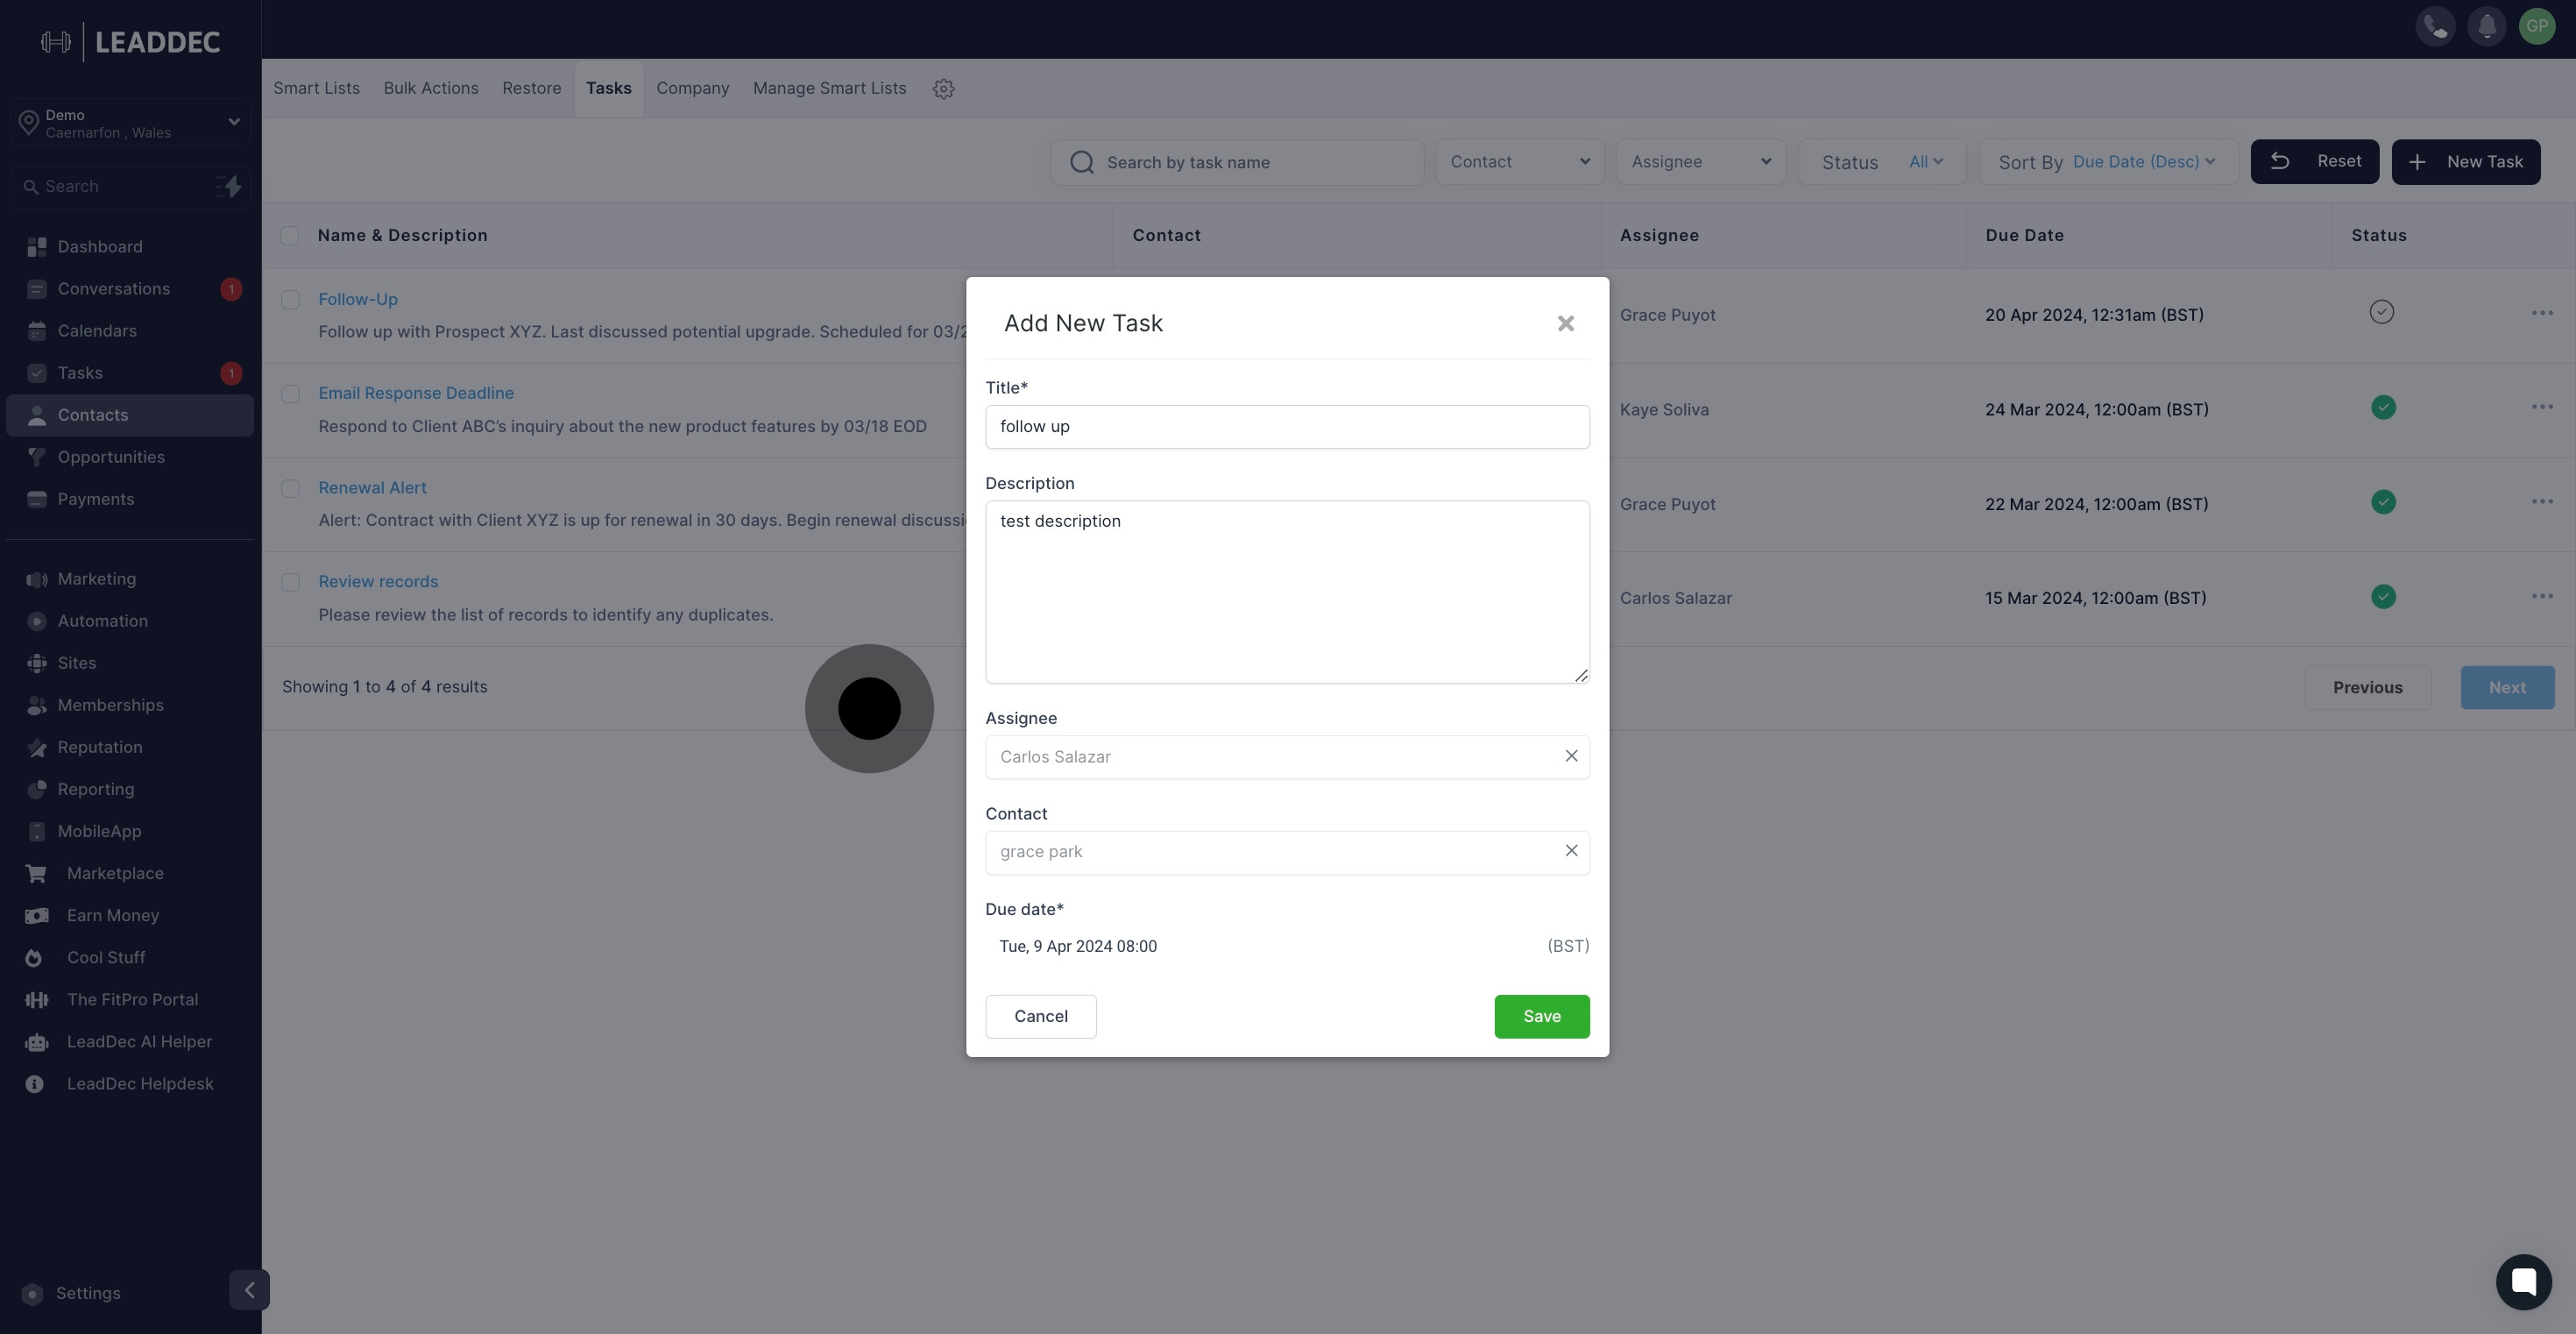
9. Once you're done, you can either save or cancel the new task. Cancelling it will remove the task, while saving will add it to your task list and the specific assigned contact.
