
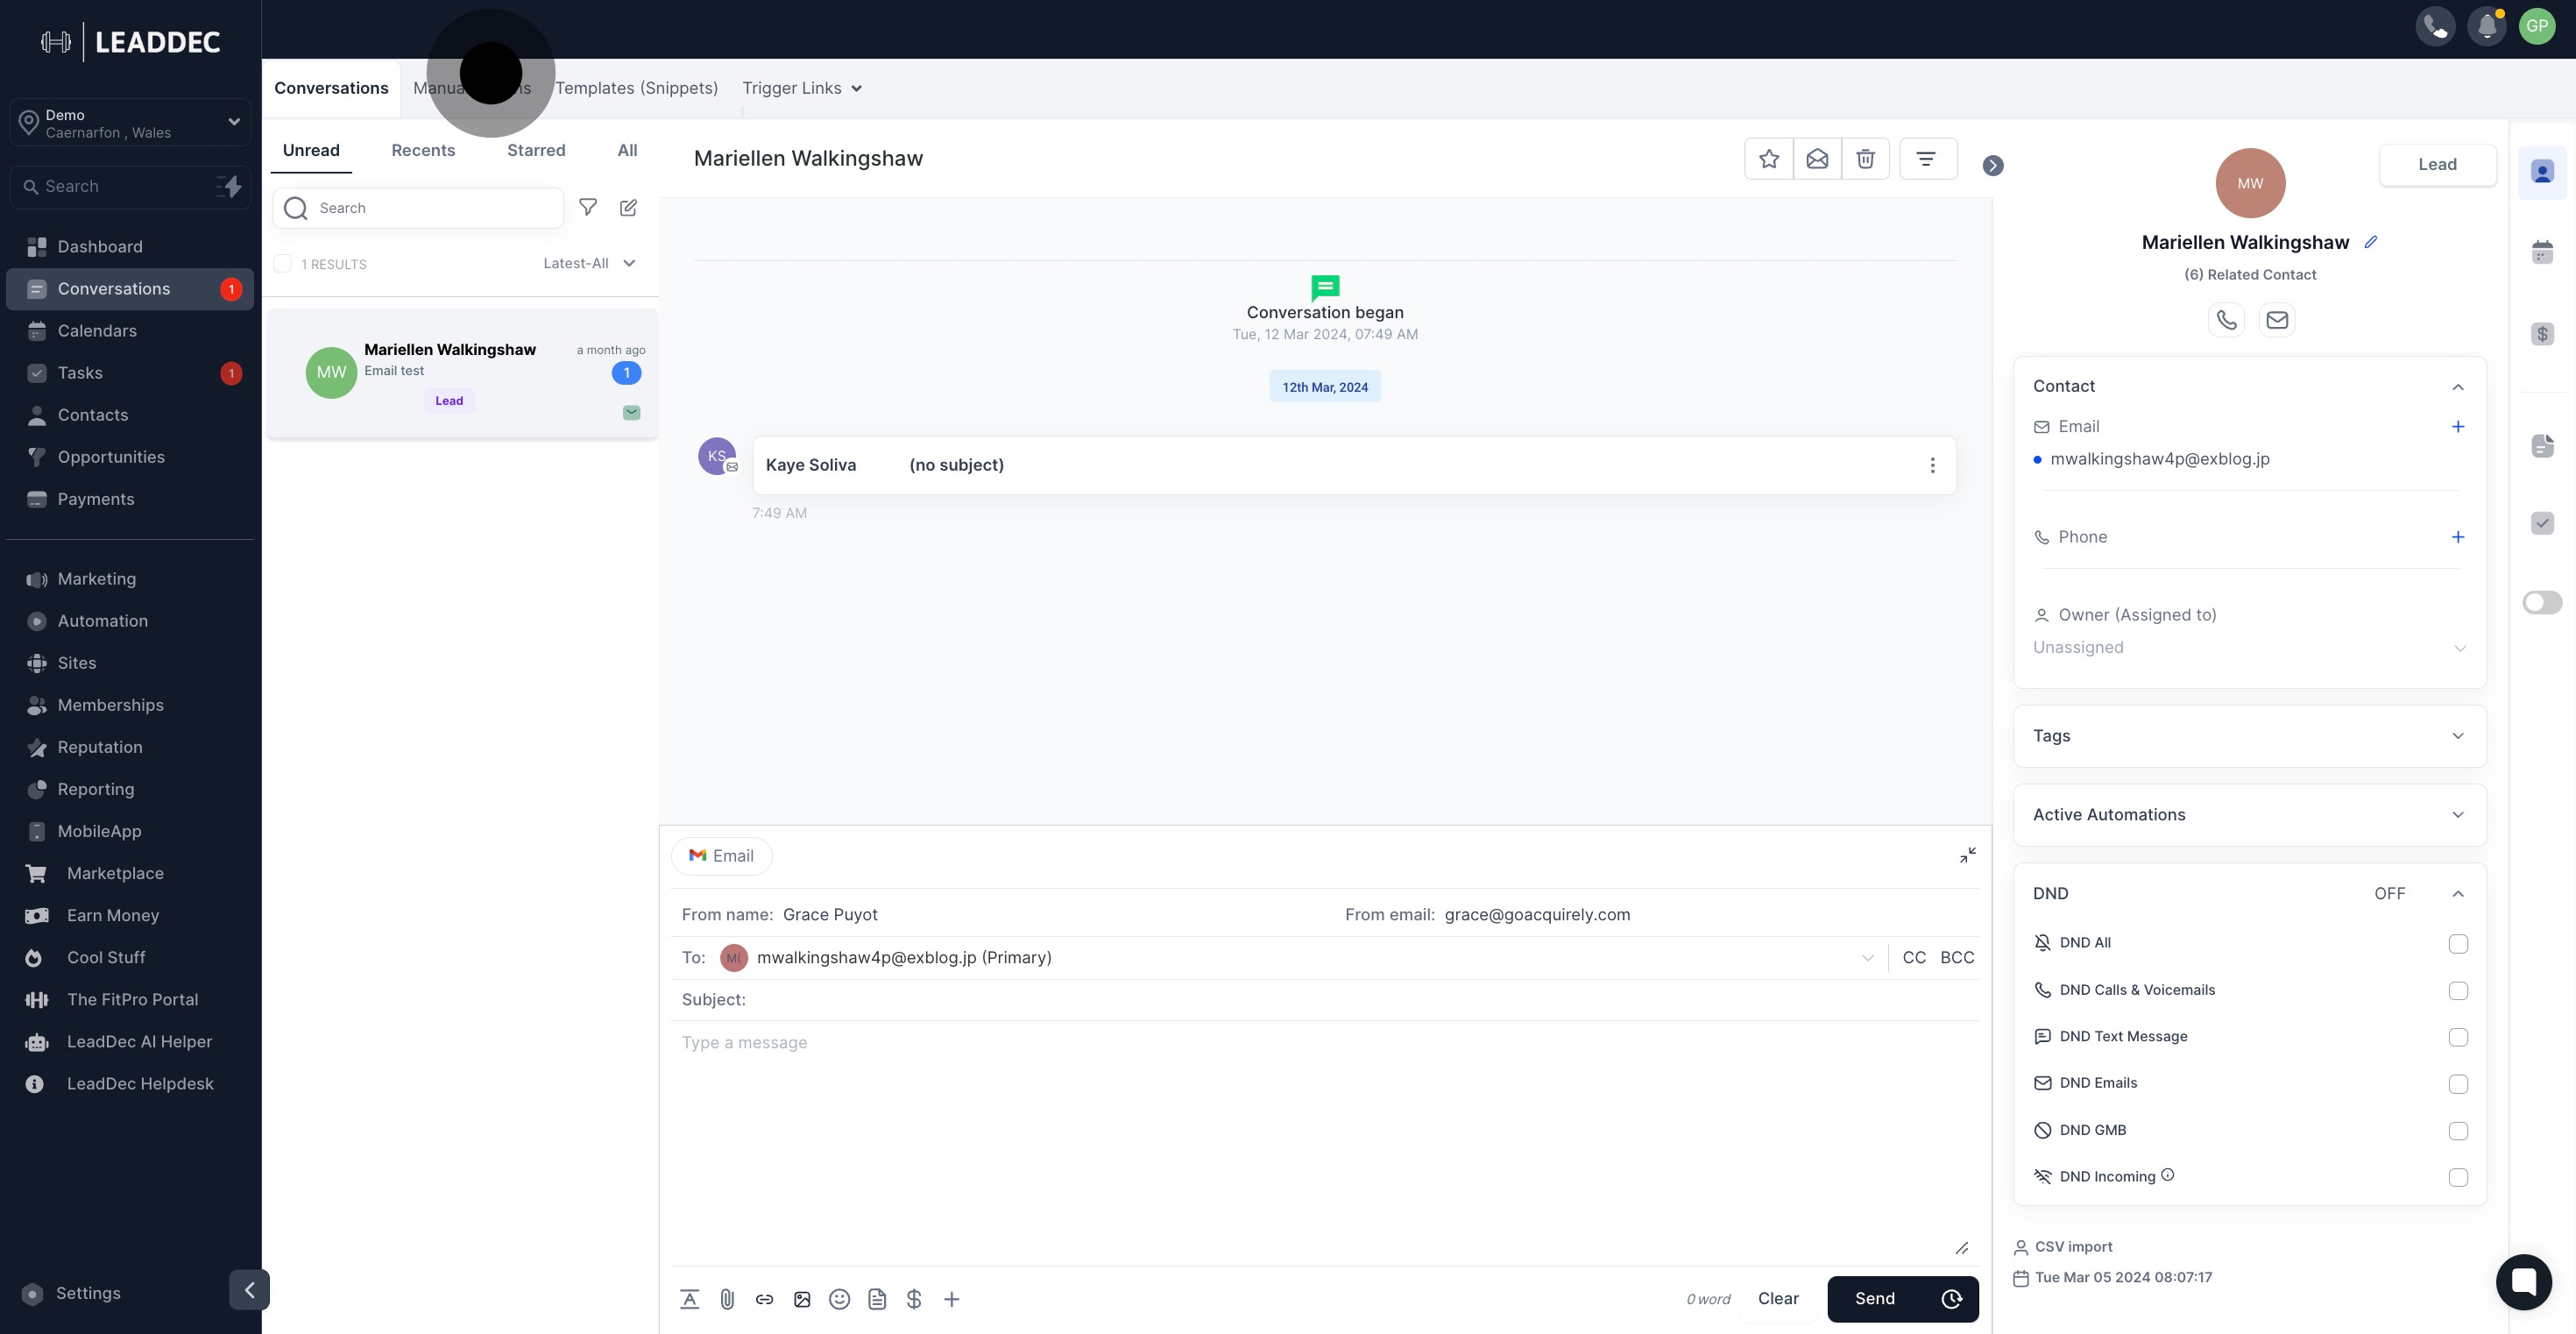
1. Begin on clicking "conversations"

2. After that, click on "Templates (Snippets)".
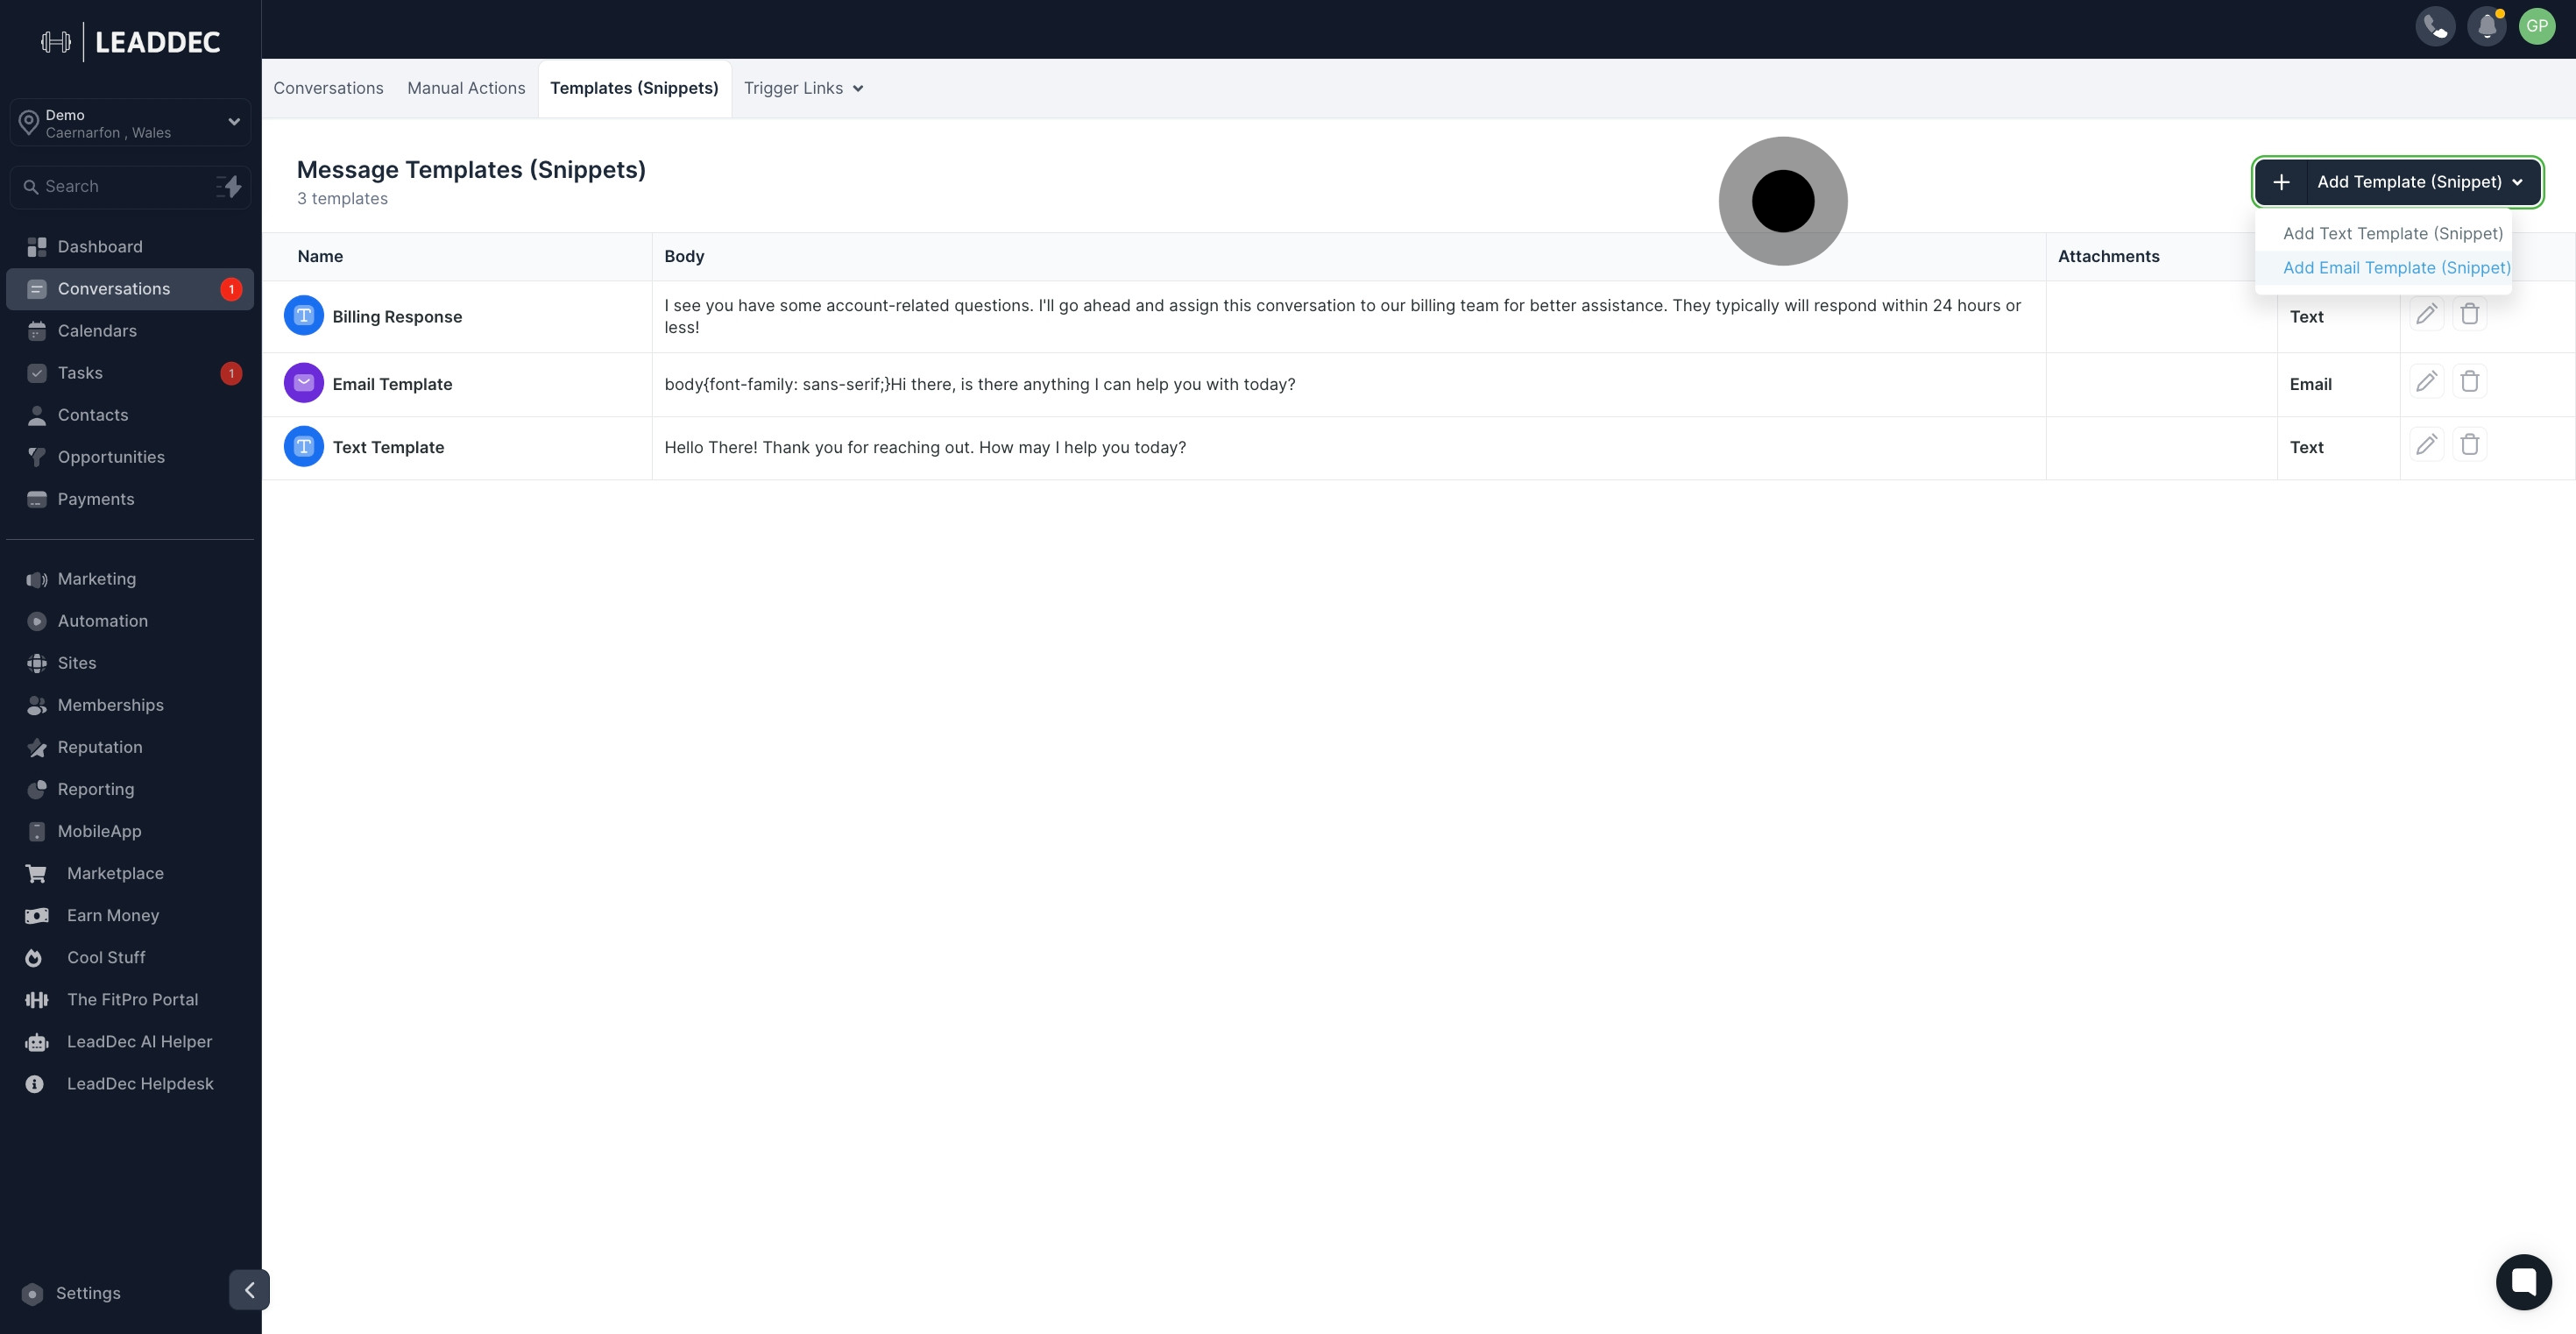
3. Click on "Add Template (Snippet)".

4. Once that's done, click on "Add Email Template (Snippet)".
5. Add Template Name, to make it easy to locate a particular template when sending it to a lead or customer, be sure to name your template. Keep in mind that adhering to naming conventions is crucial. Therefore, choose a descriptive name that accurately reflects the template's content.
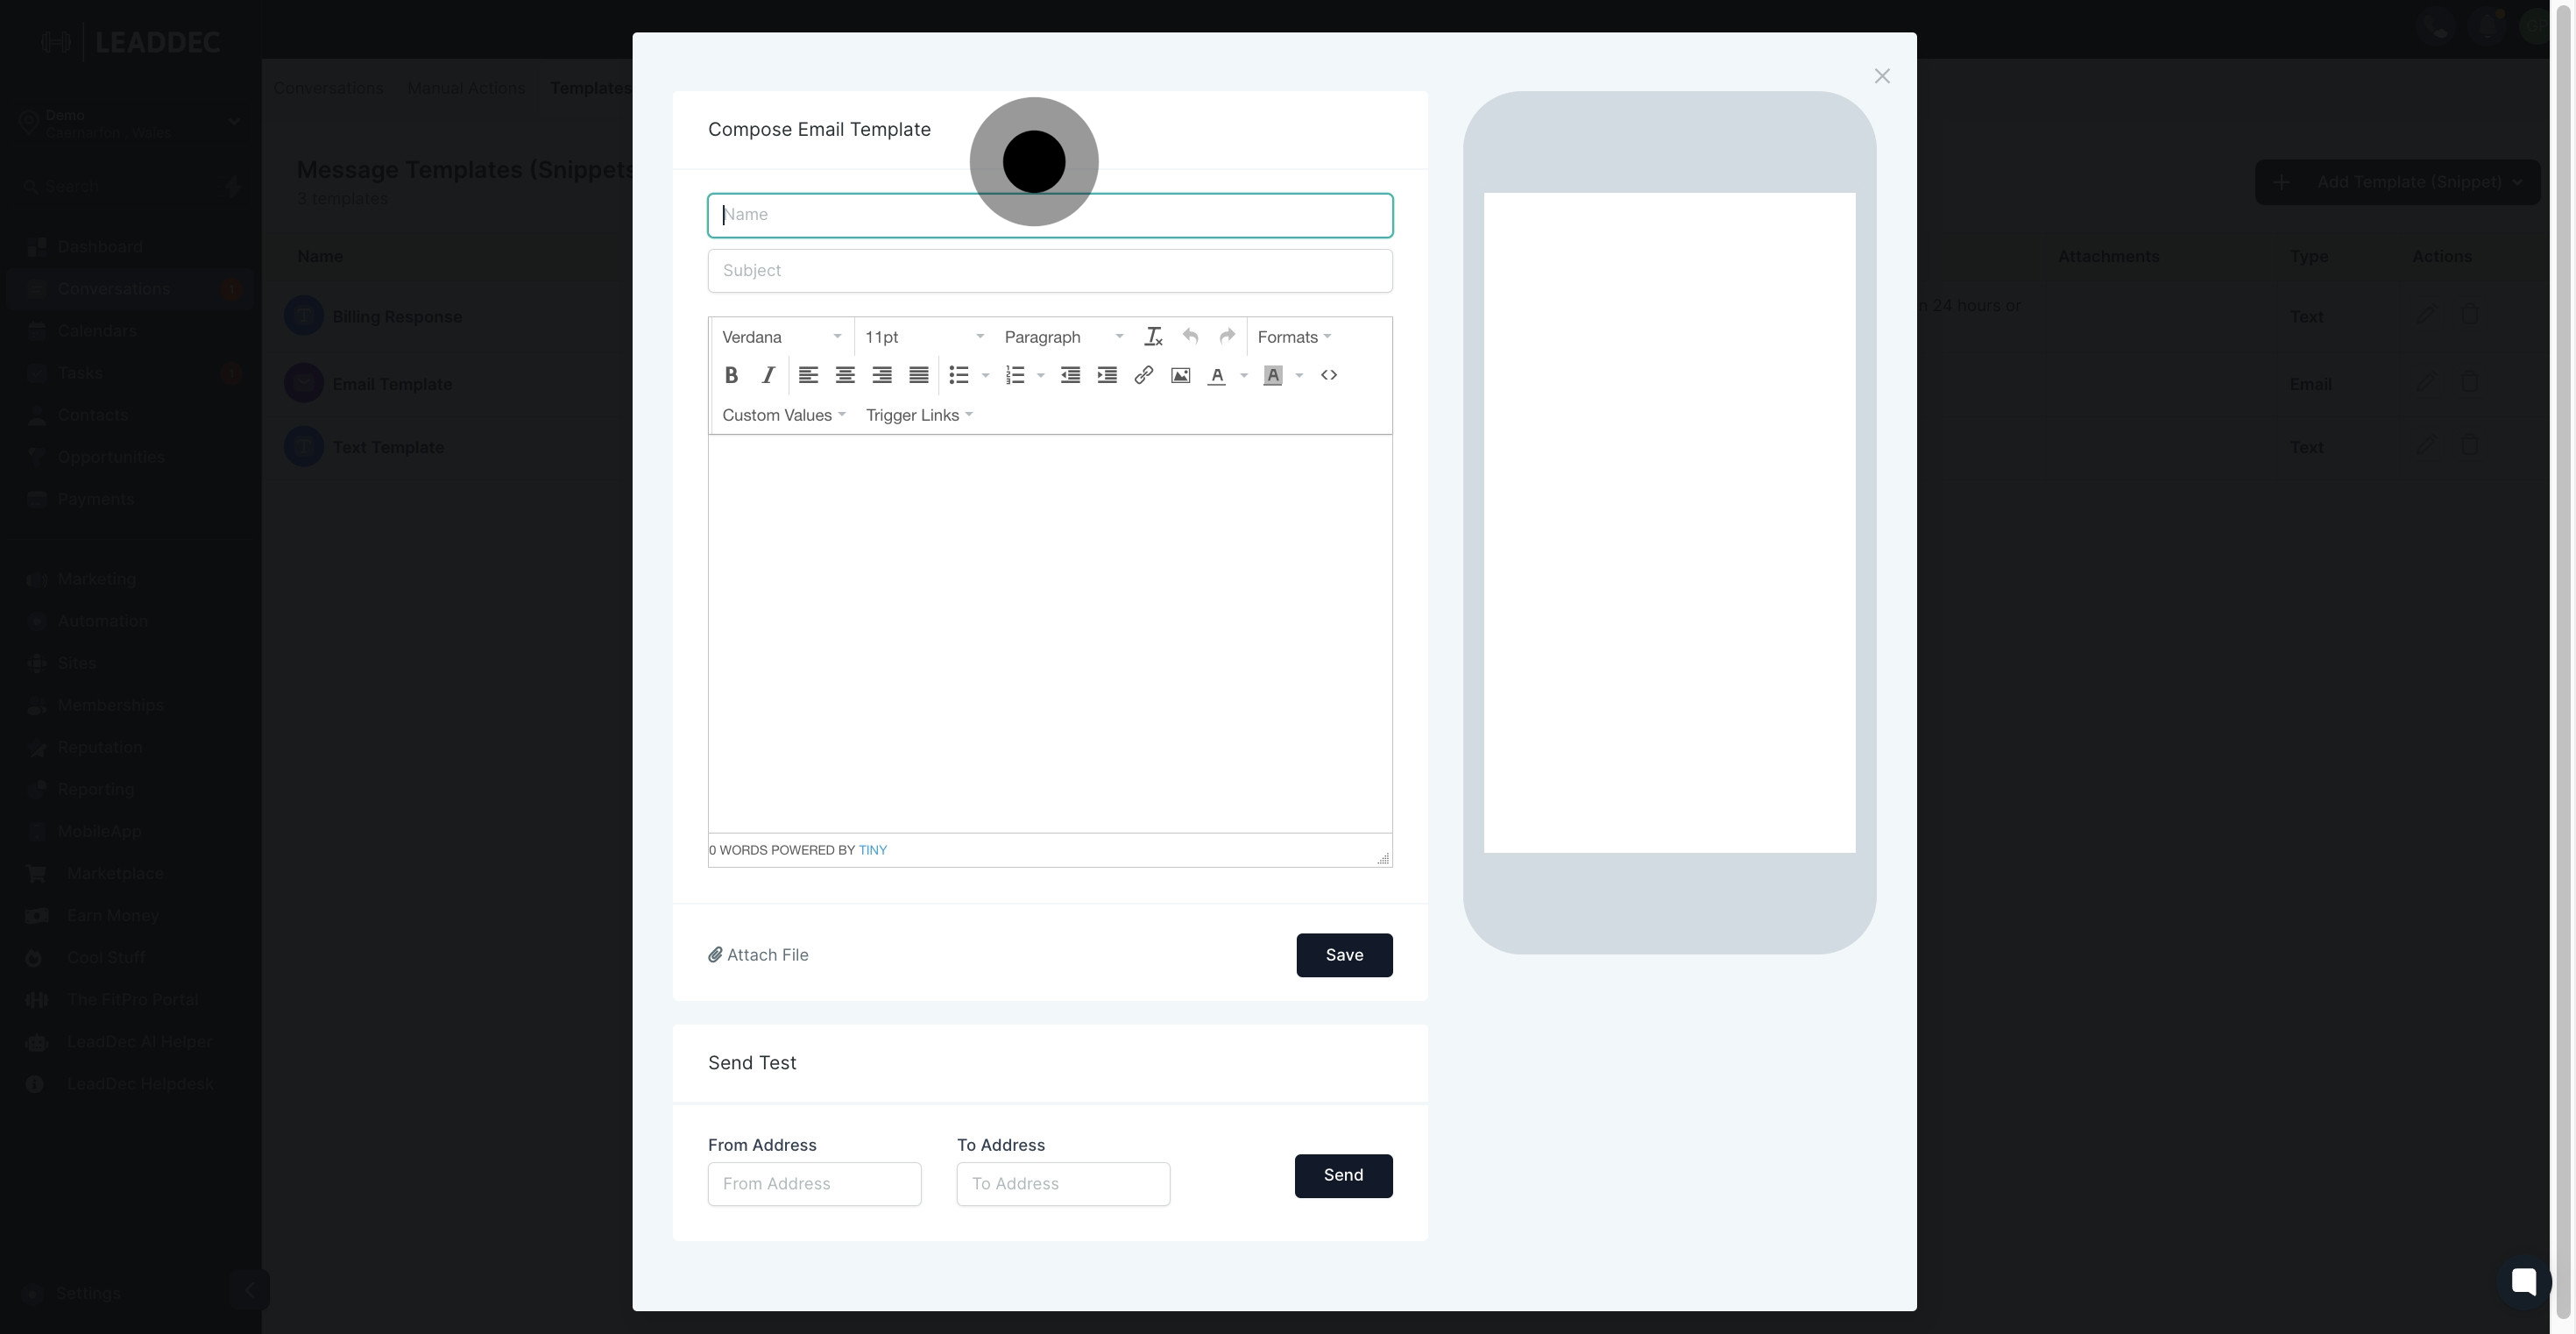
6. Please include a subject line for your email template

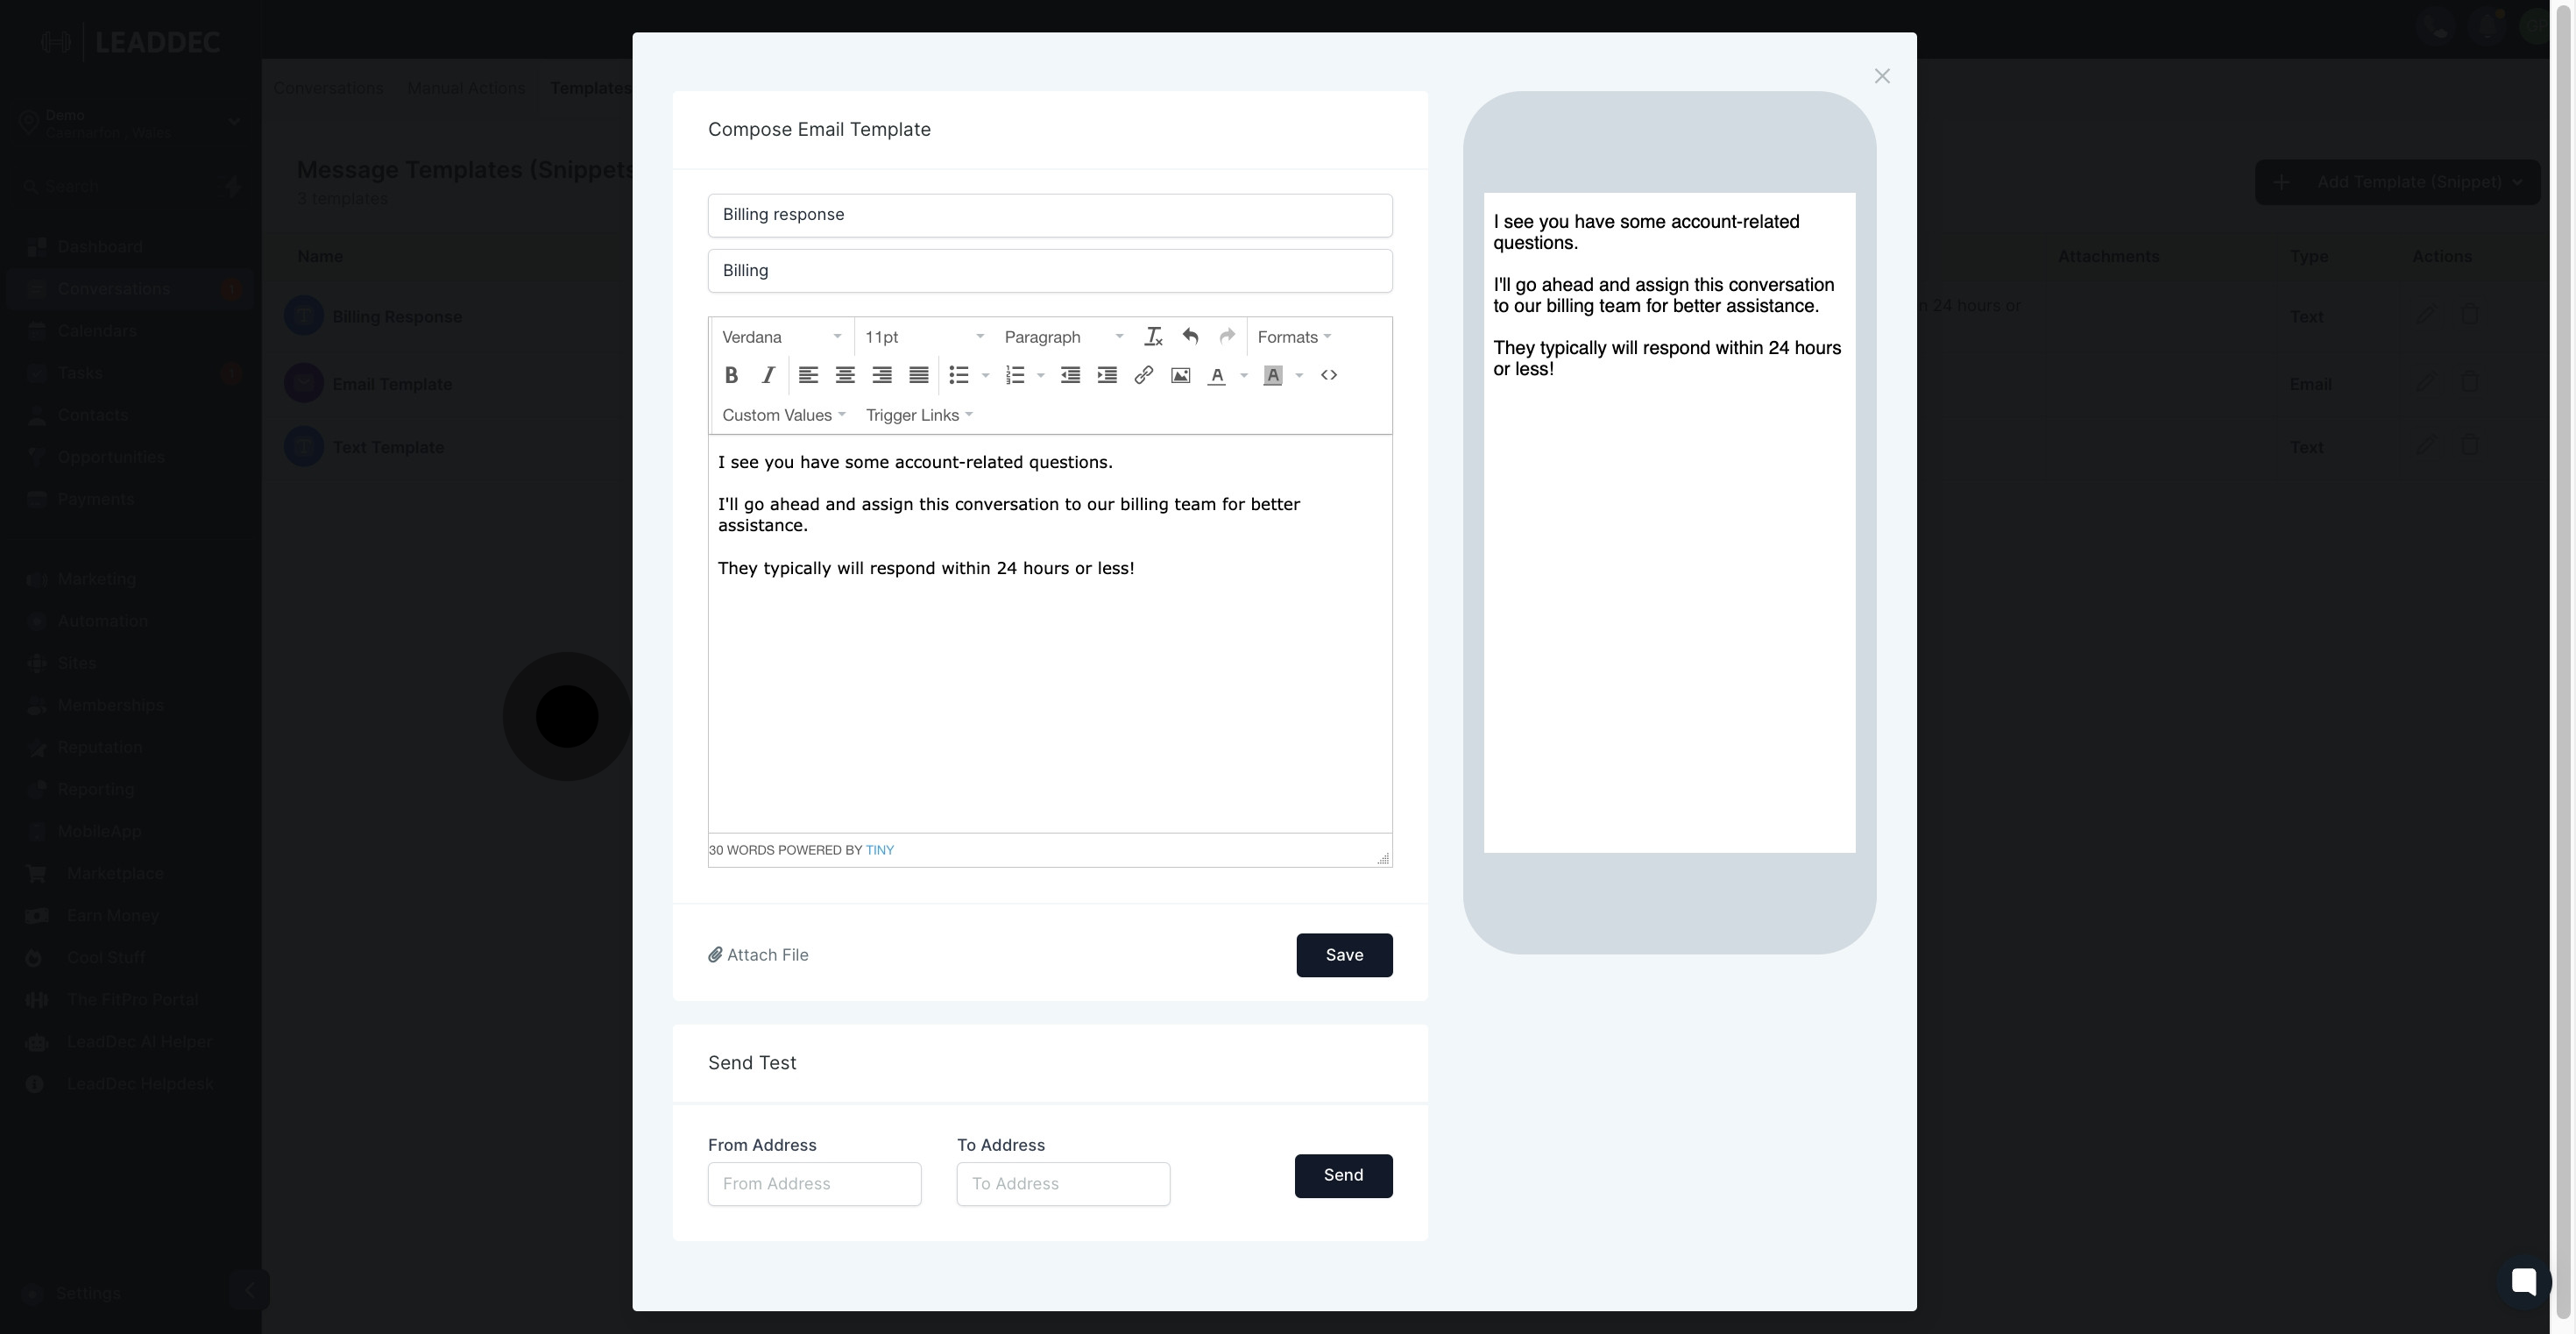
7. You can use this body section to create your email templates.
8. To attach files from your computer to your email templates, click "Attach file"
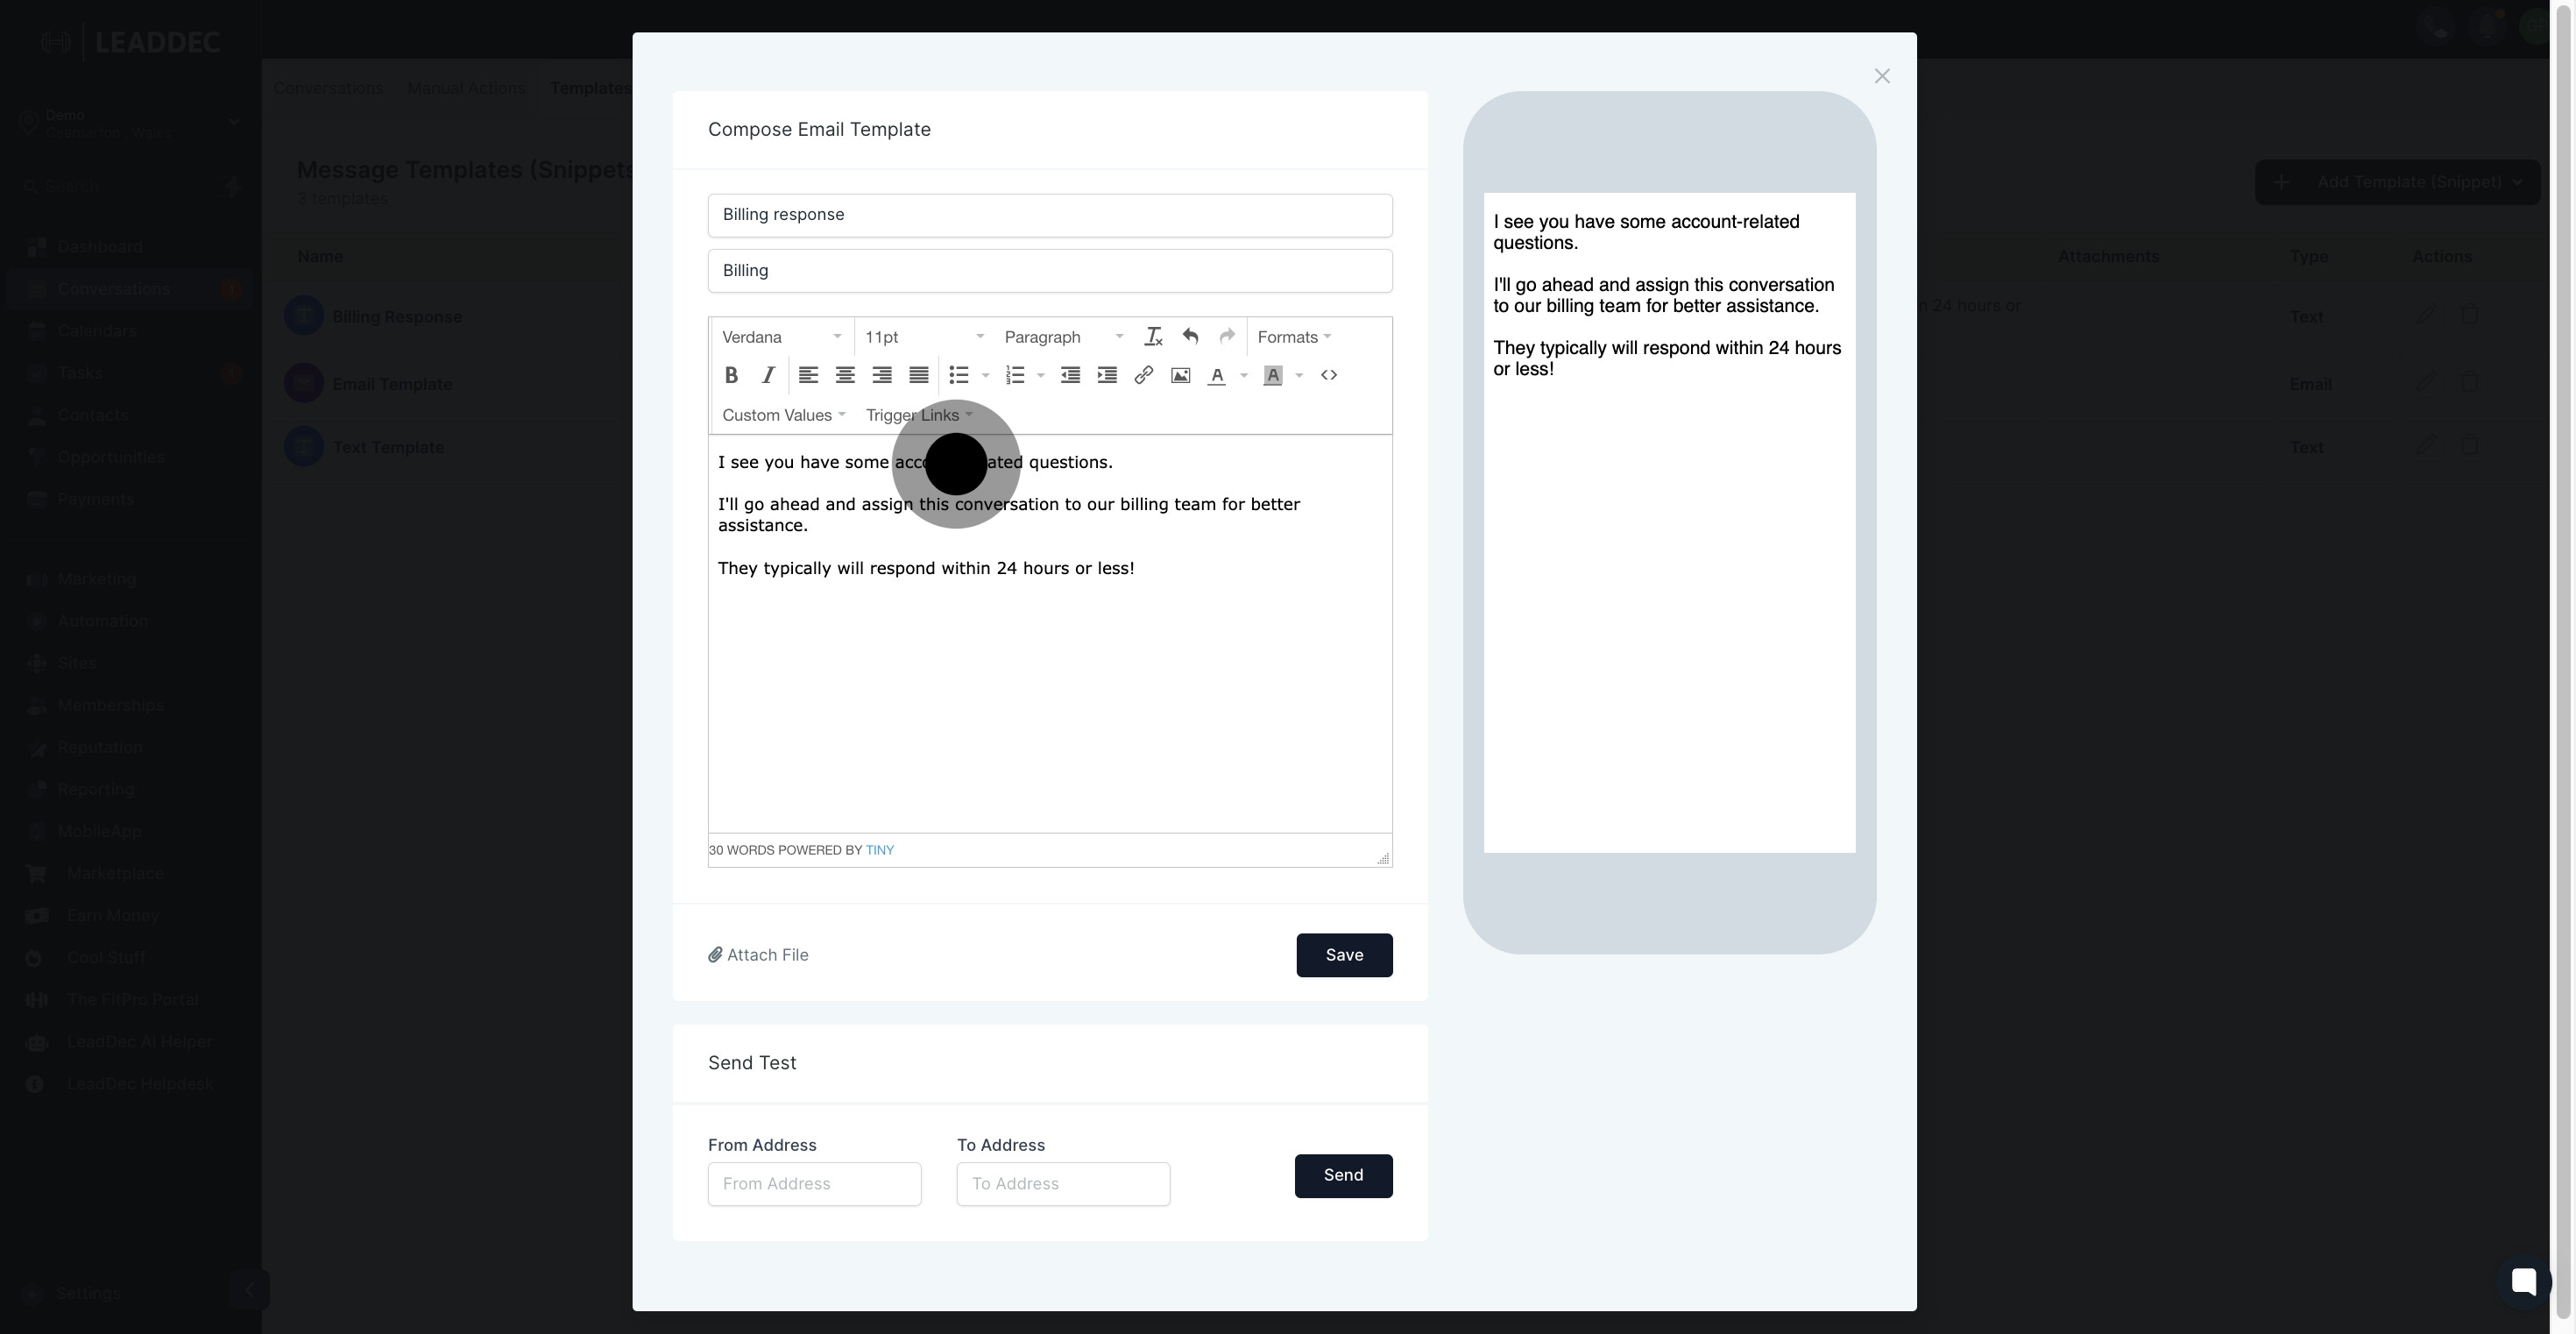
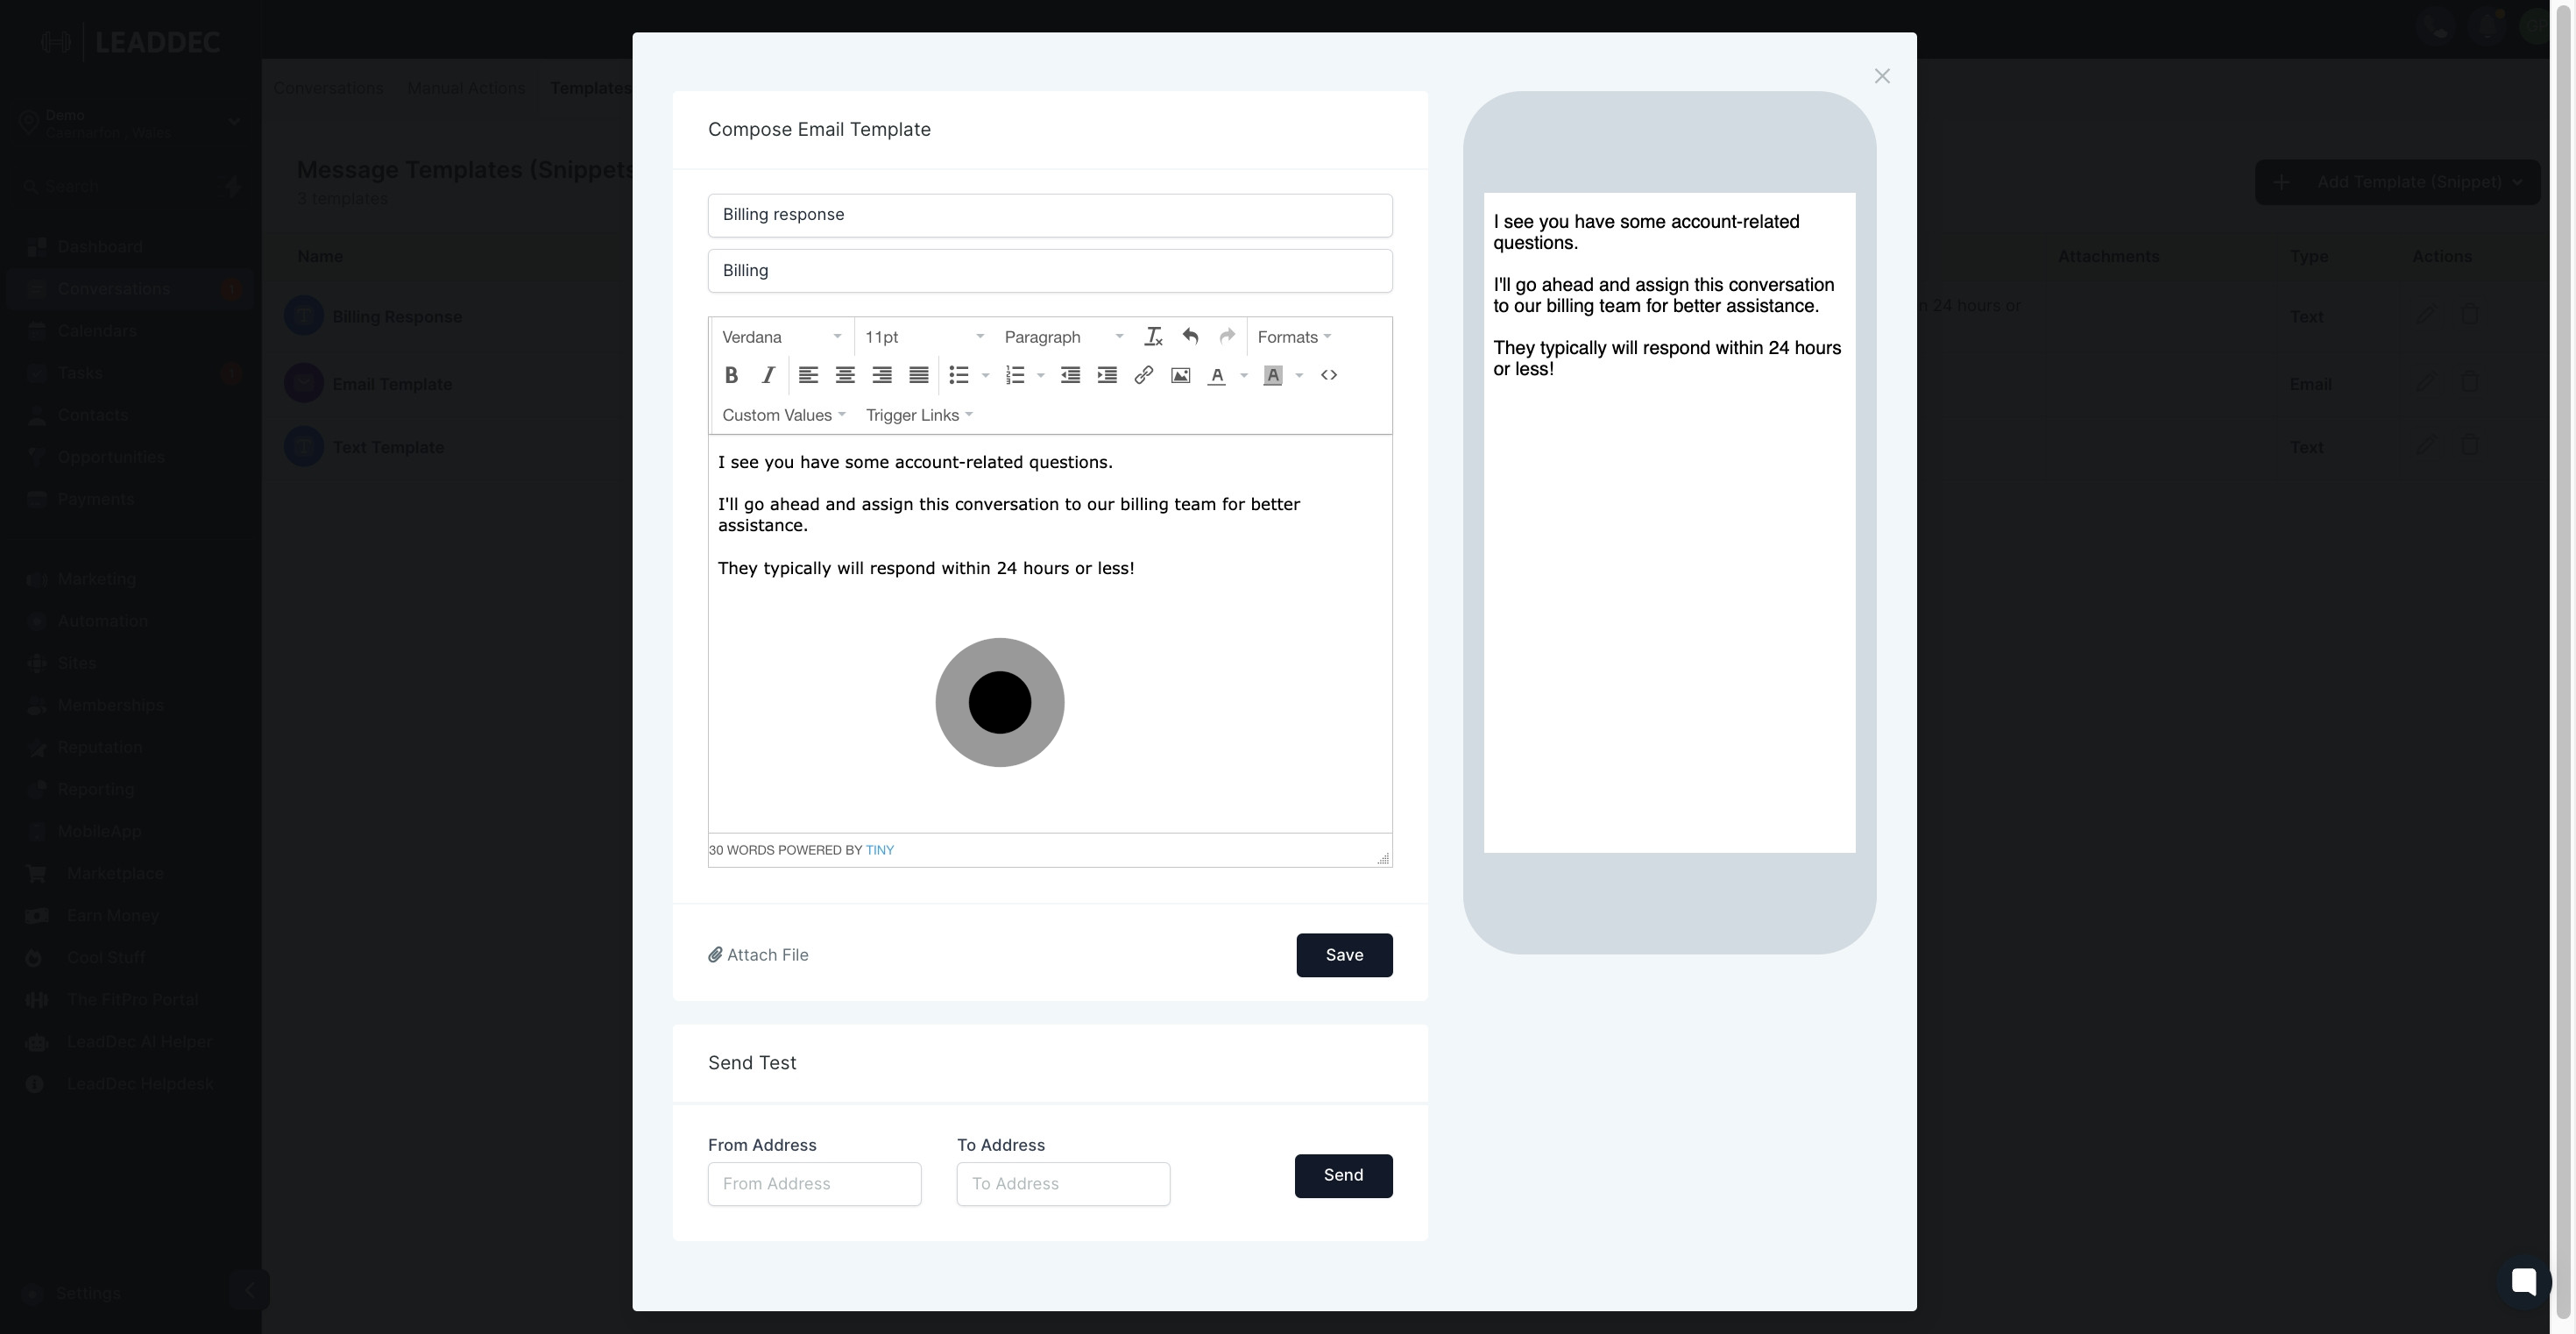
9. In the preview window, you can preview how it will appear to your leads or customers

10. Click here to save template
11. To test your new email template, you can enter a "From Address" and "To Address" and click "Send"
