1. Select the 'contacts' on the navigation menu.
2. Choose the option 'More Filters' to narrow down your contacts.
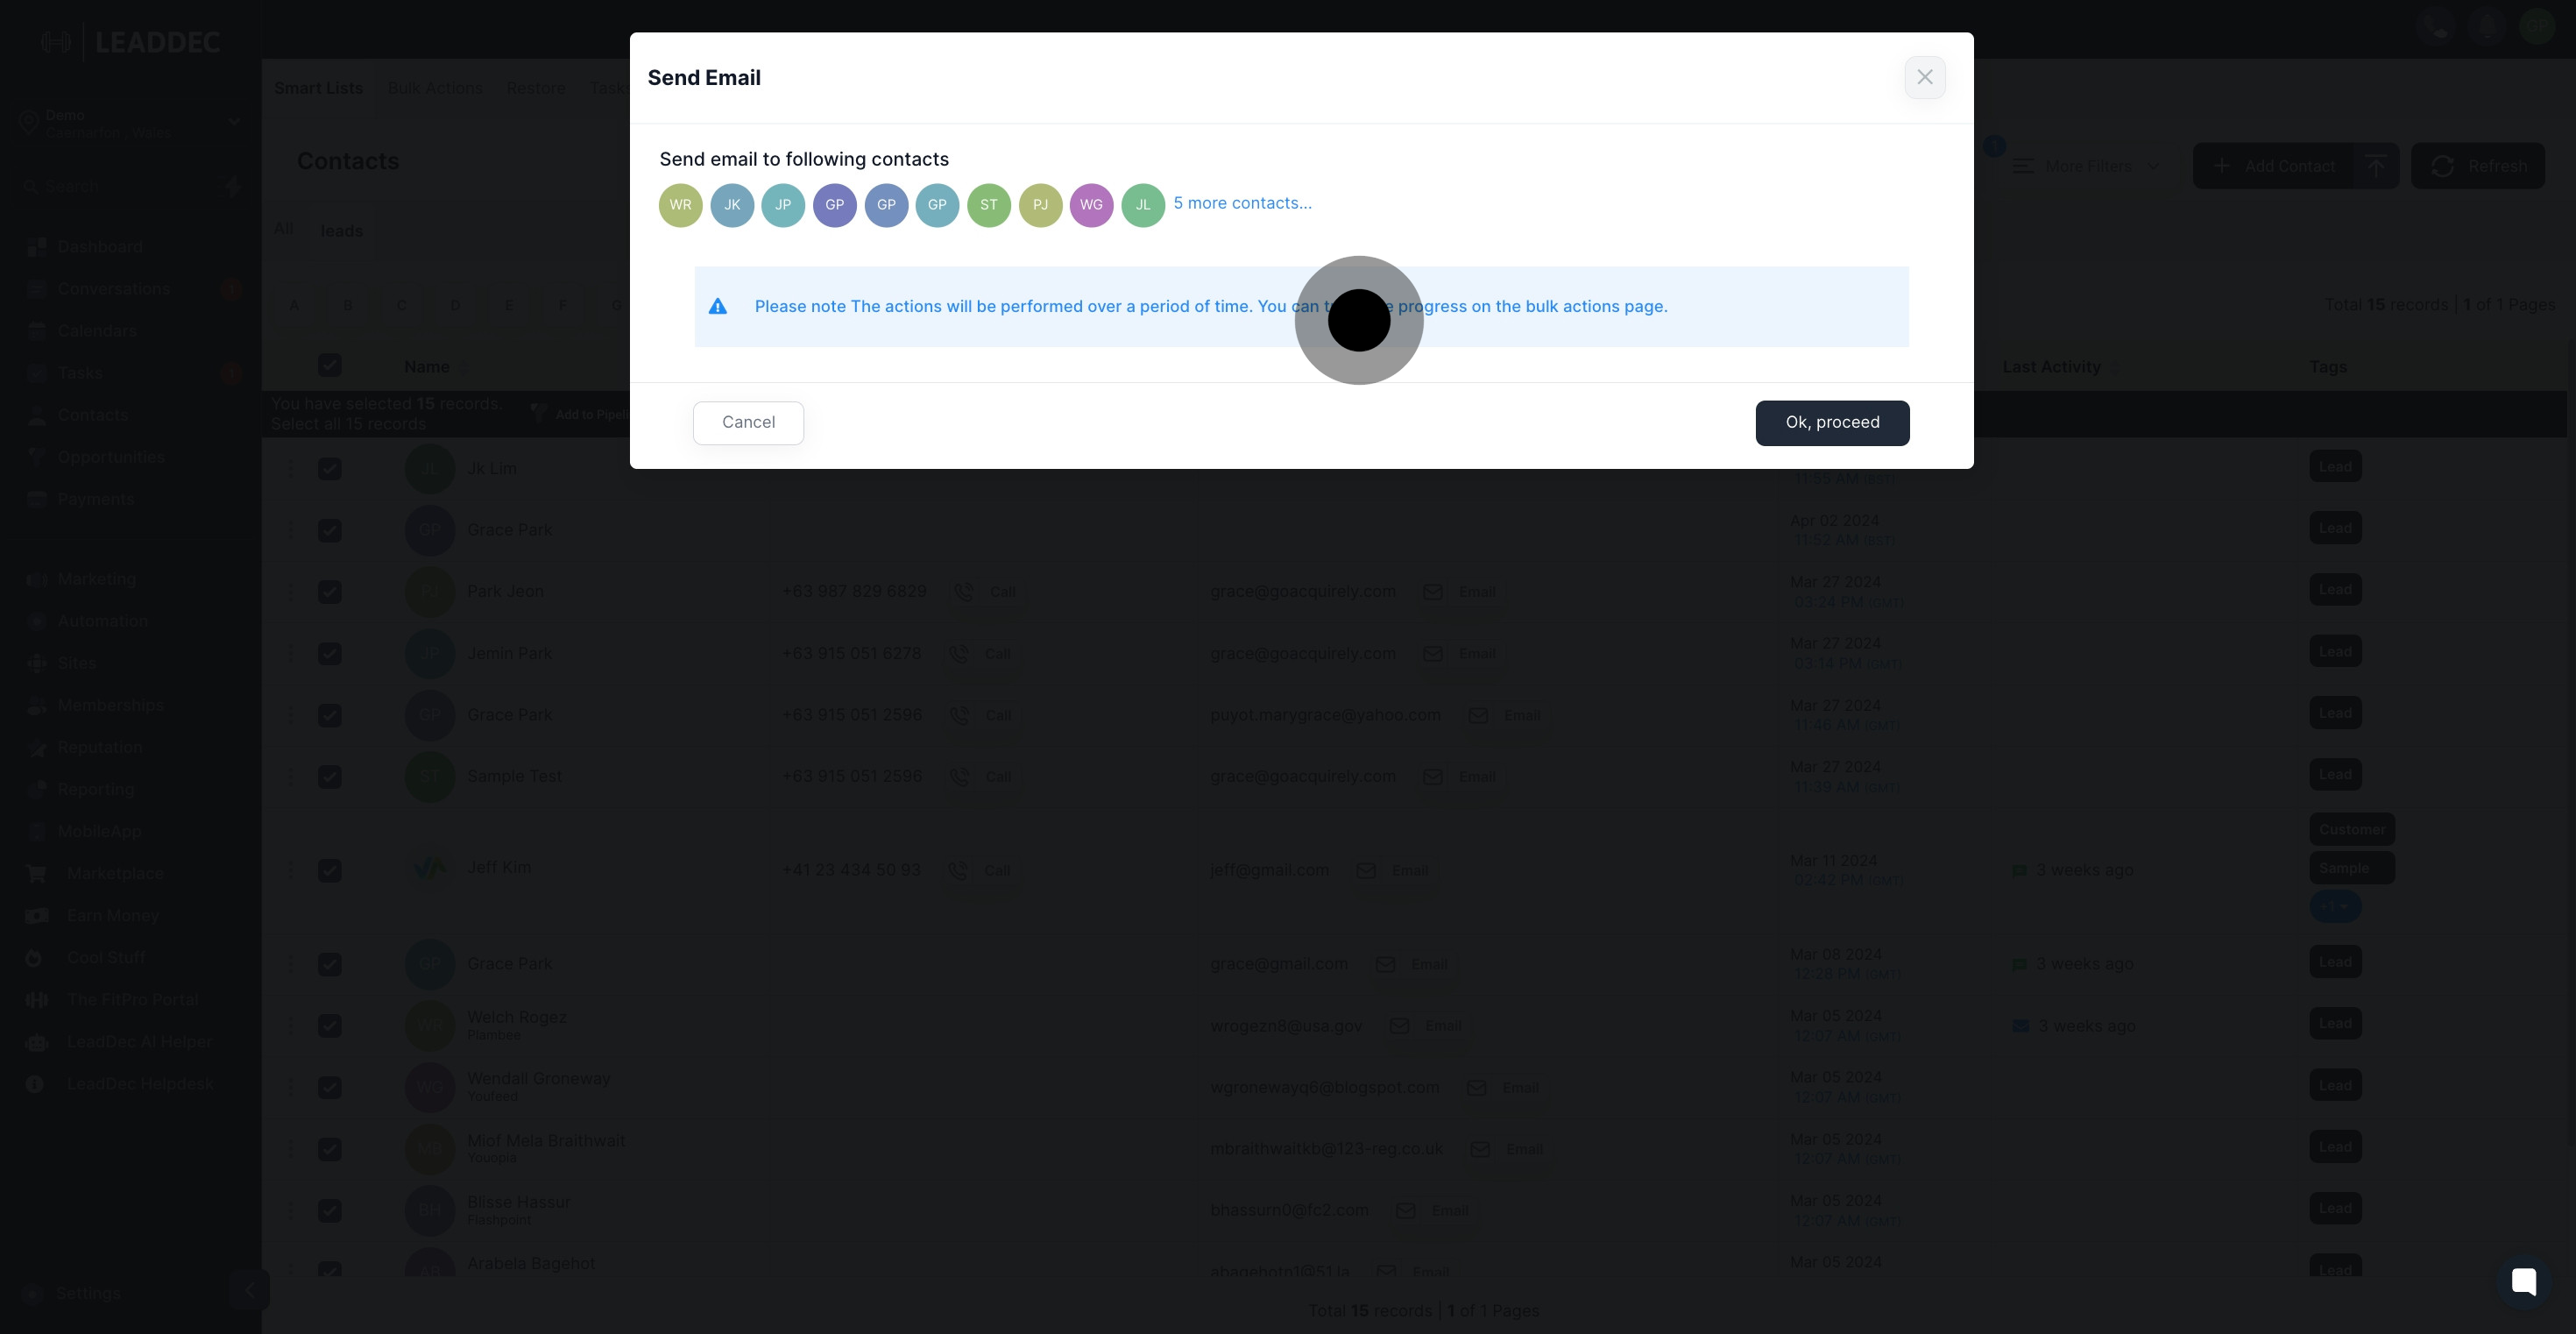
3. Pick the contacts to whom you want to send bulk emails.

4. Click on 'Ok, proceed' to continue.
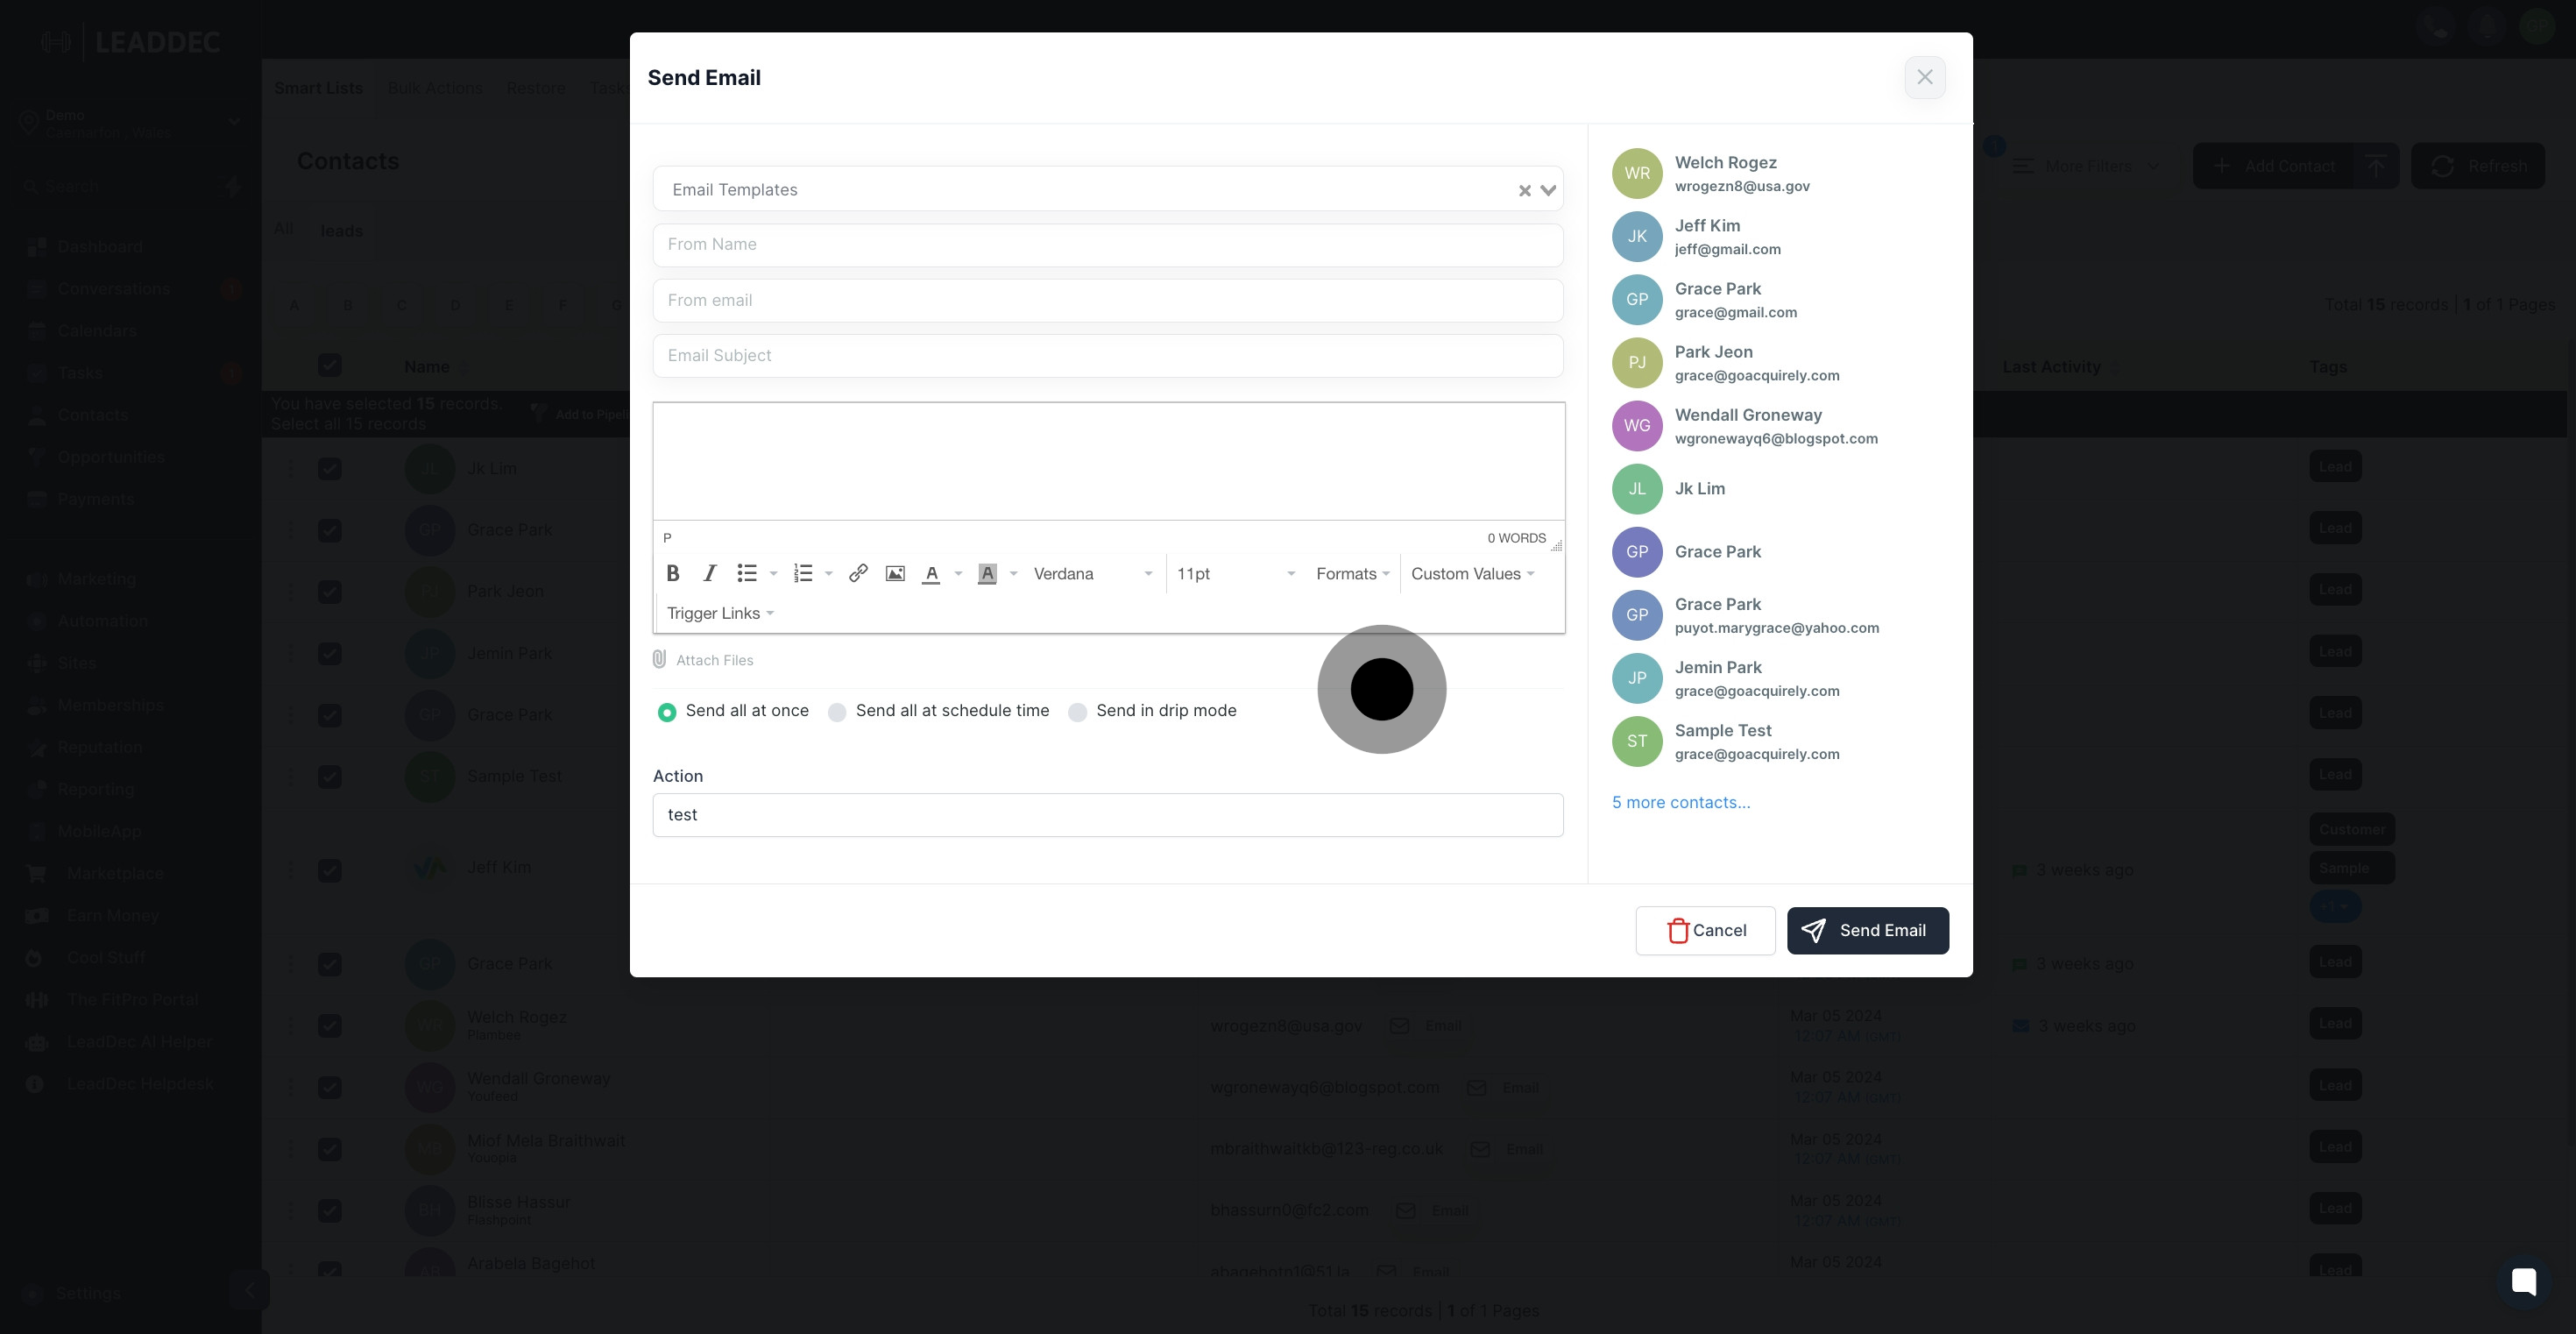
5. Select the 'Email Templates' to choose a premade email template.
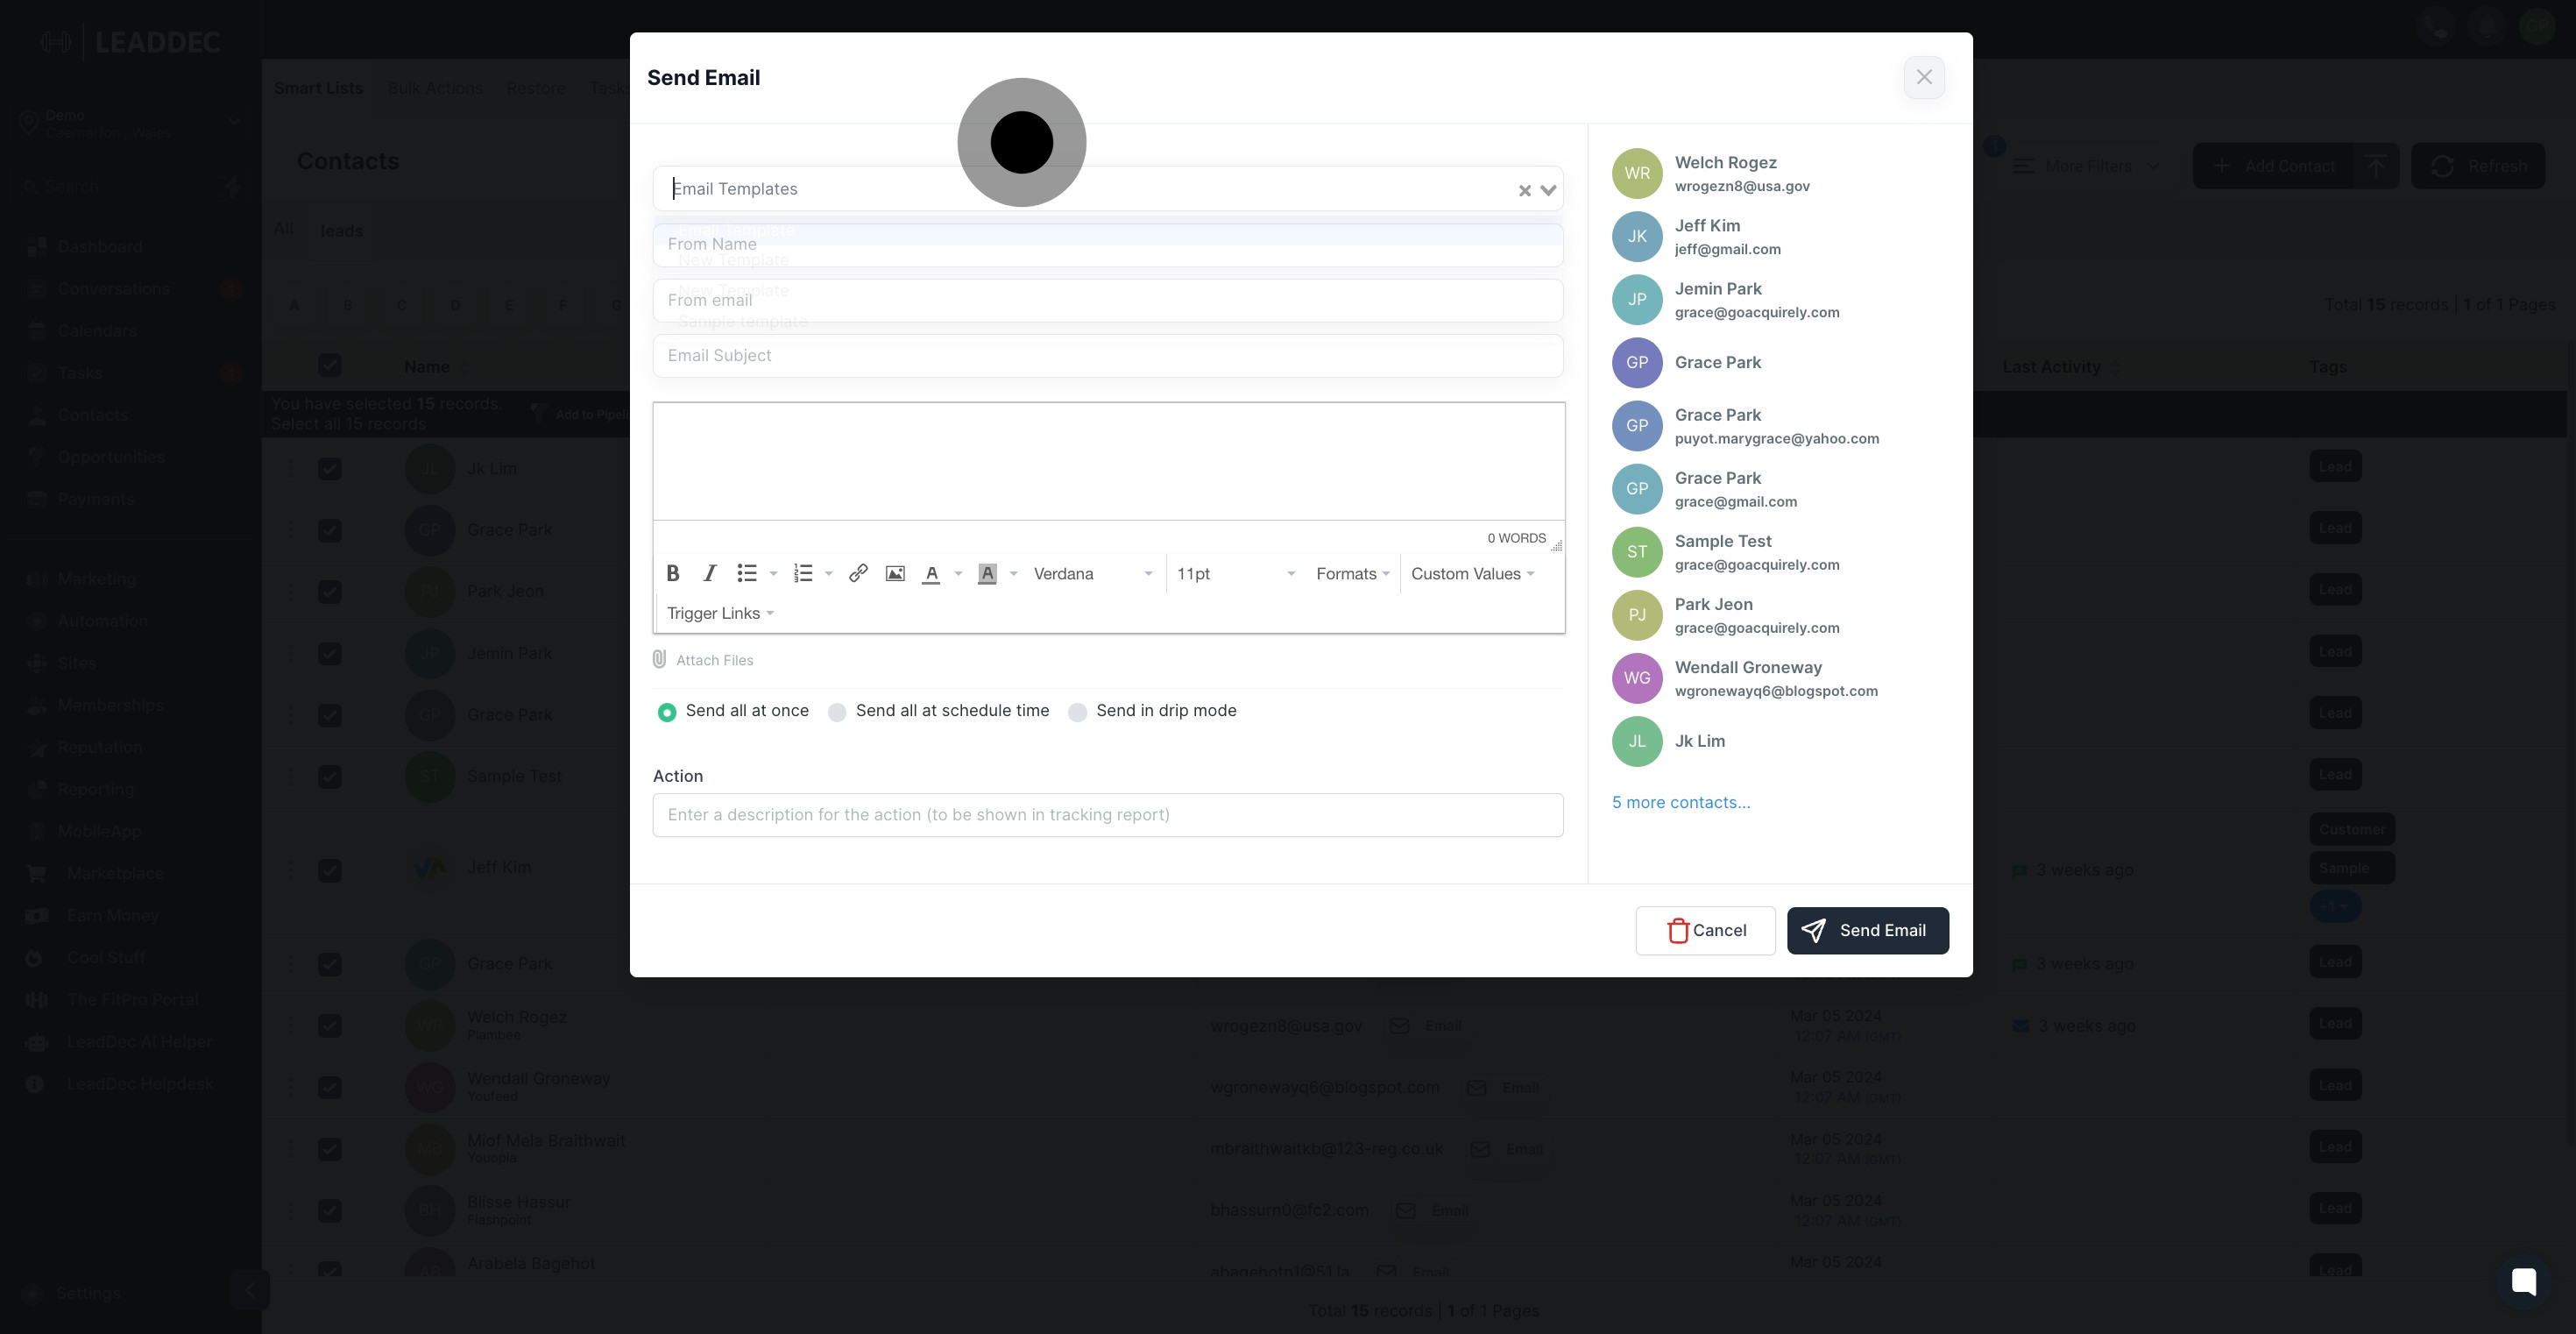
6. Put your name in the 'From Name' field.
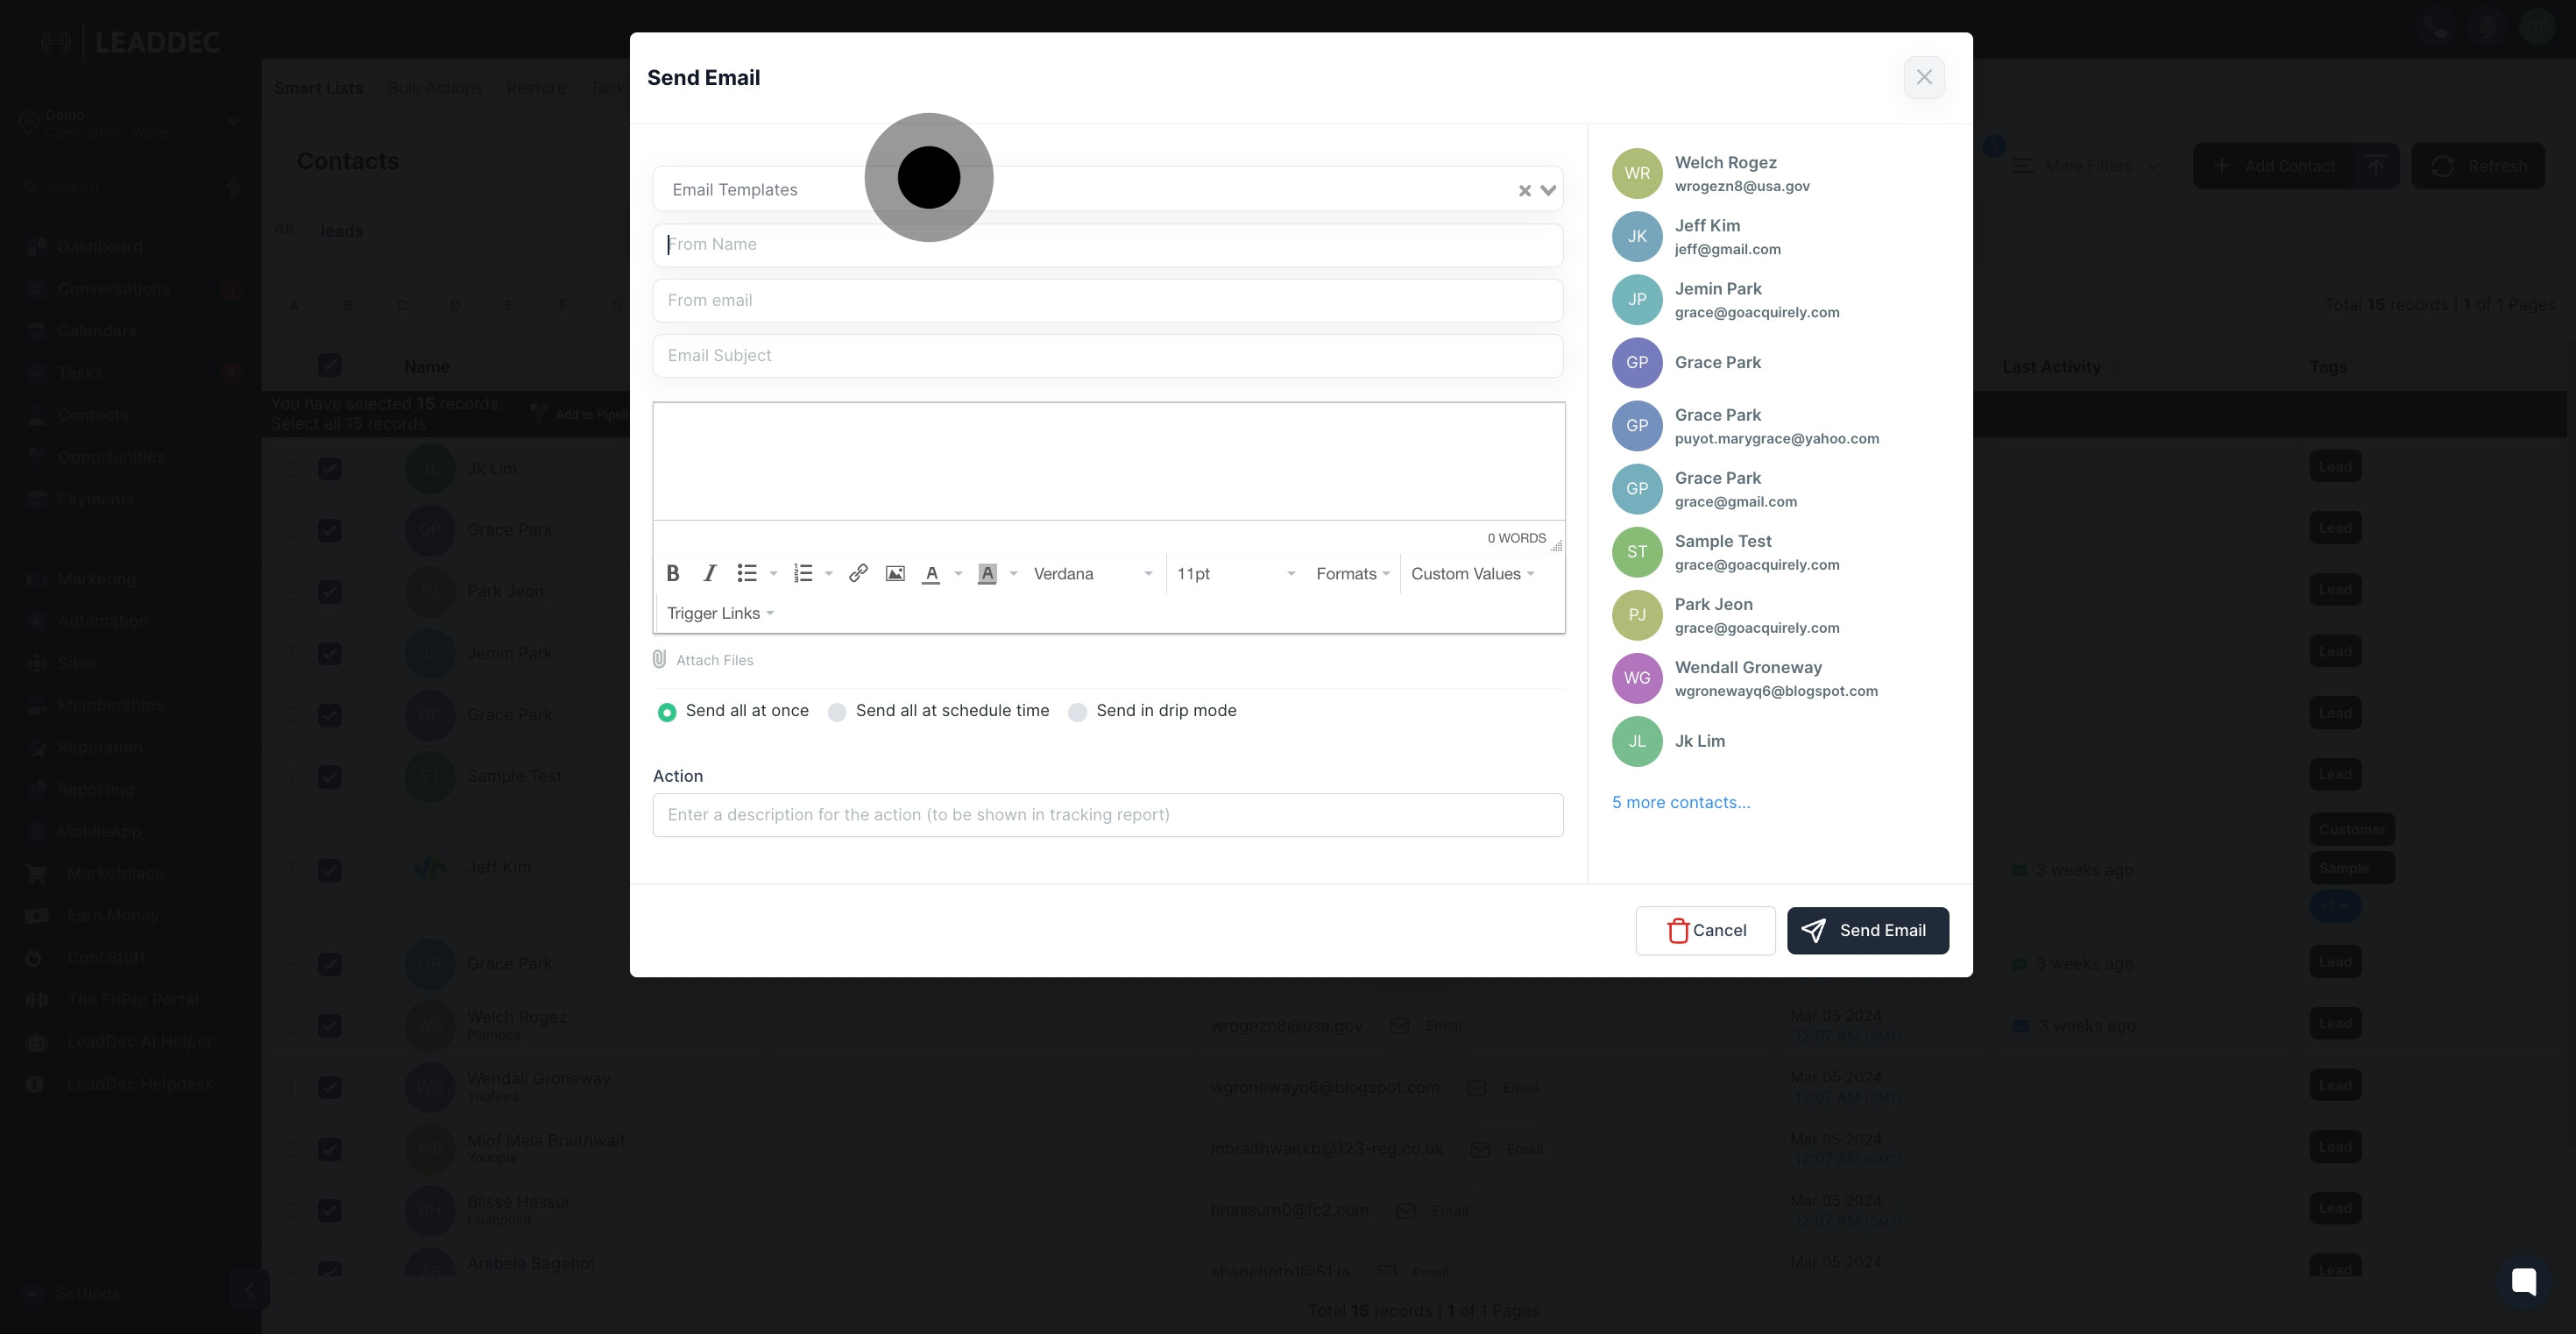
7. Enter your email address in the 'From email' section.

8. Write the email subject in the provided field.
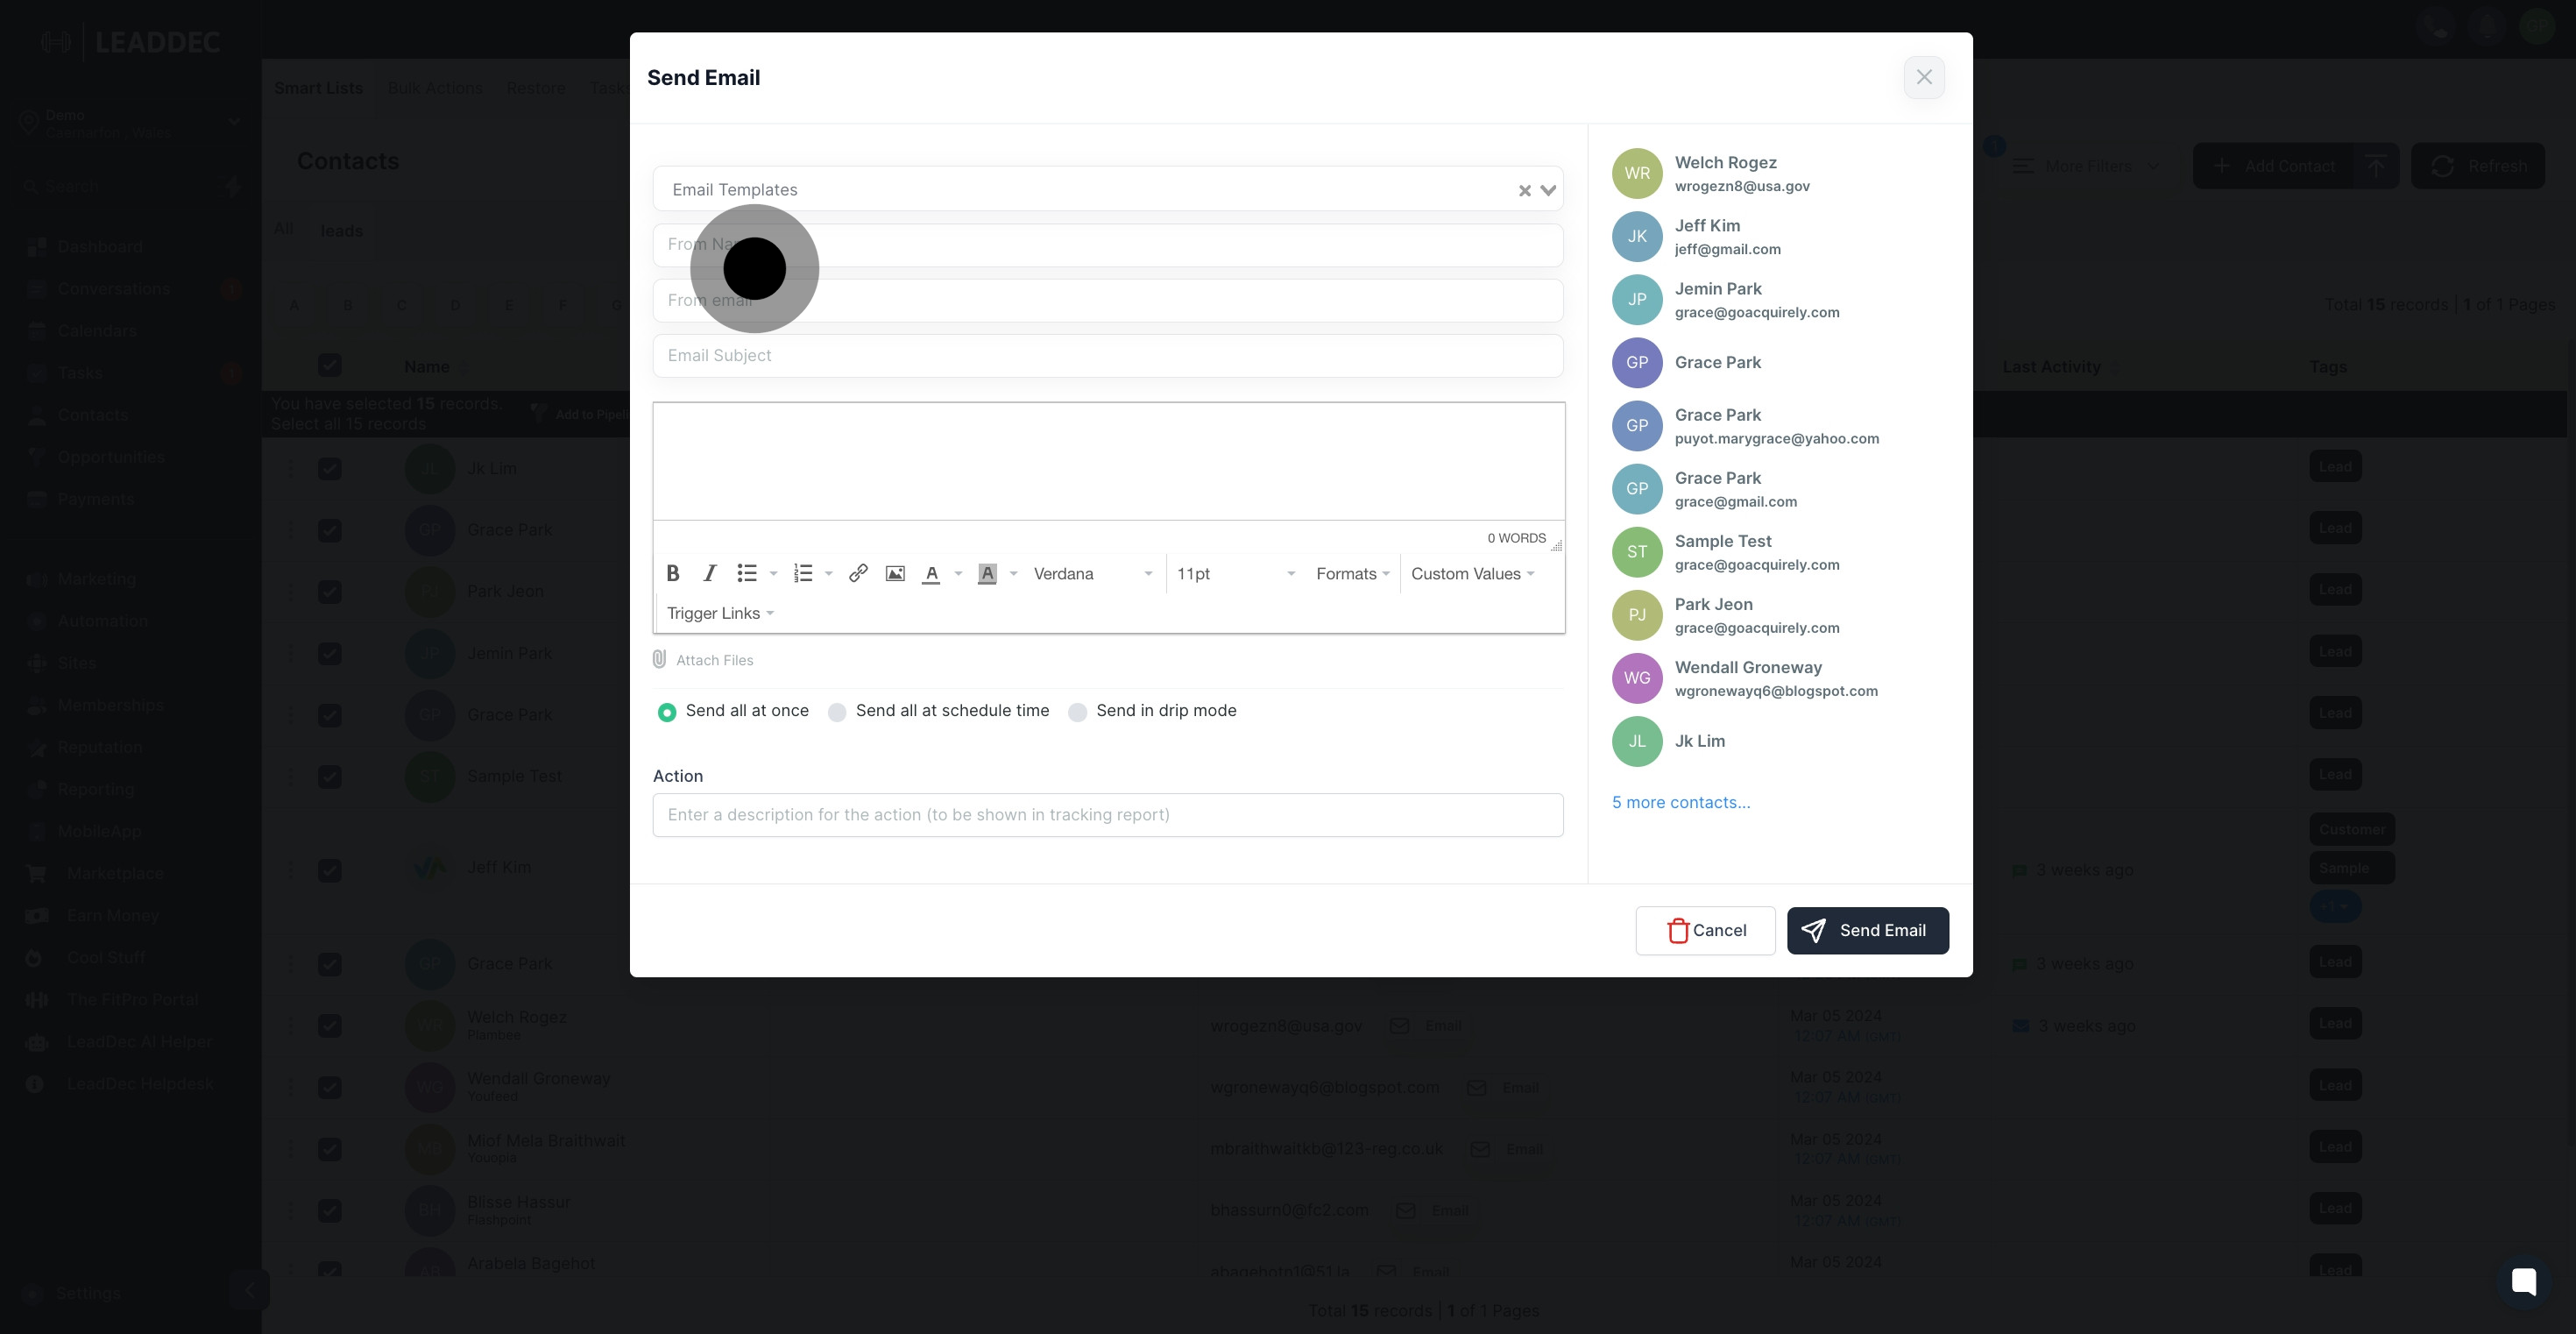
9. You have the option to either enter your desired message or utilize an existing message template. Additionally, you can include personalized fields, images, custom values, upload attachments and many more.
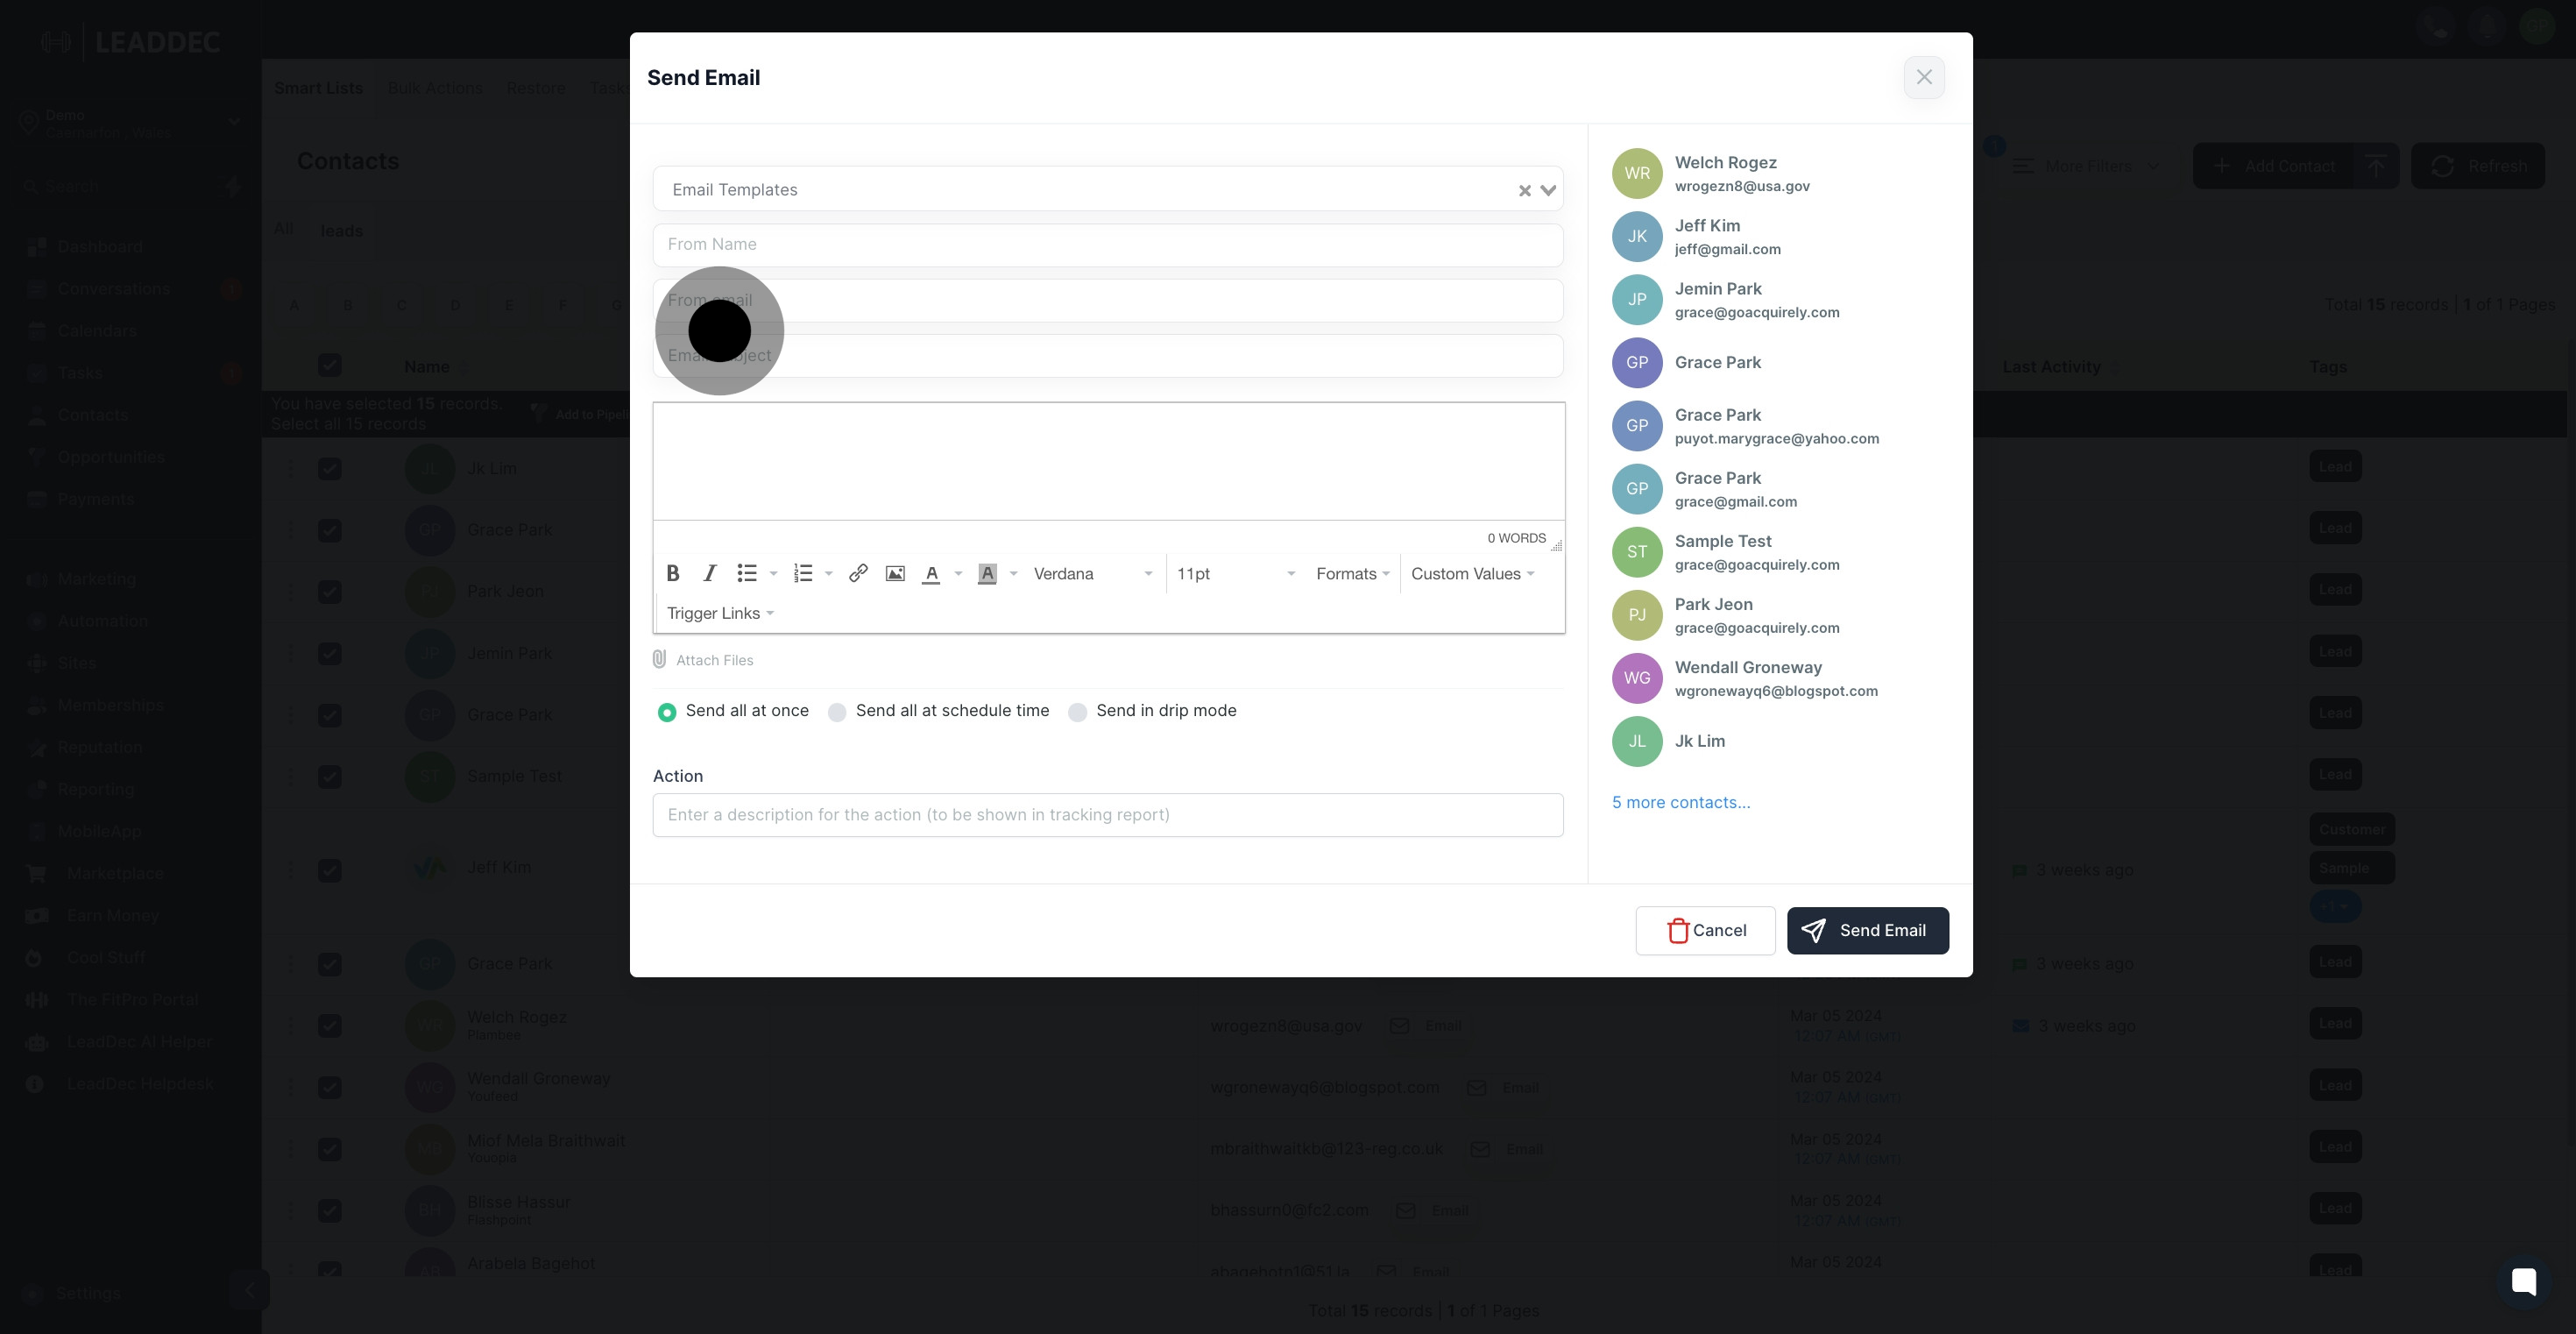
10. Attach any files you need by clicking 'Attach Files'.

11. To send emails all at once, select 'Send all at once'.
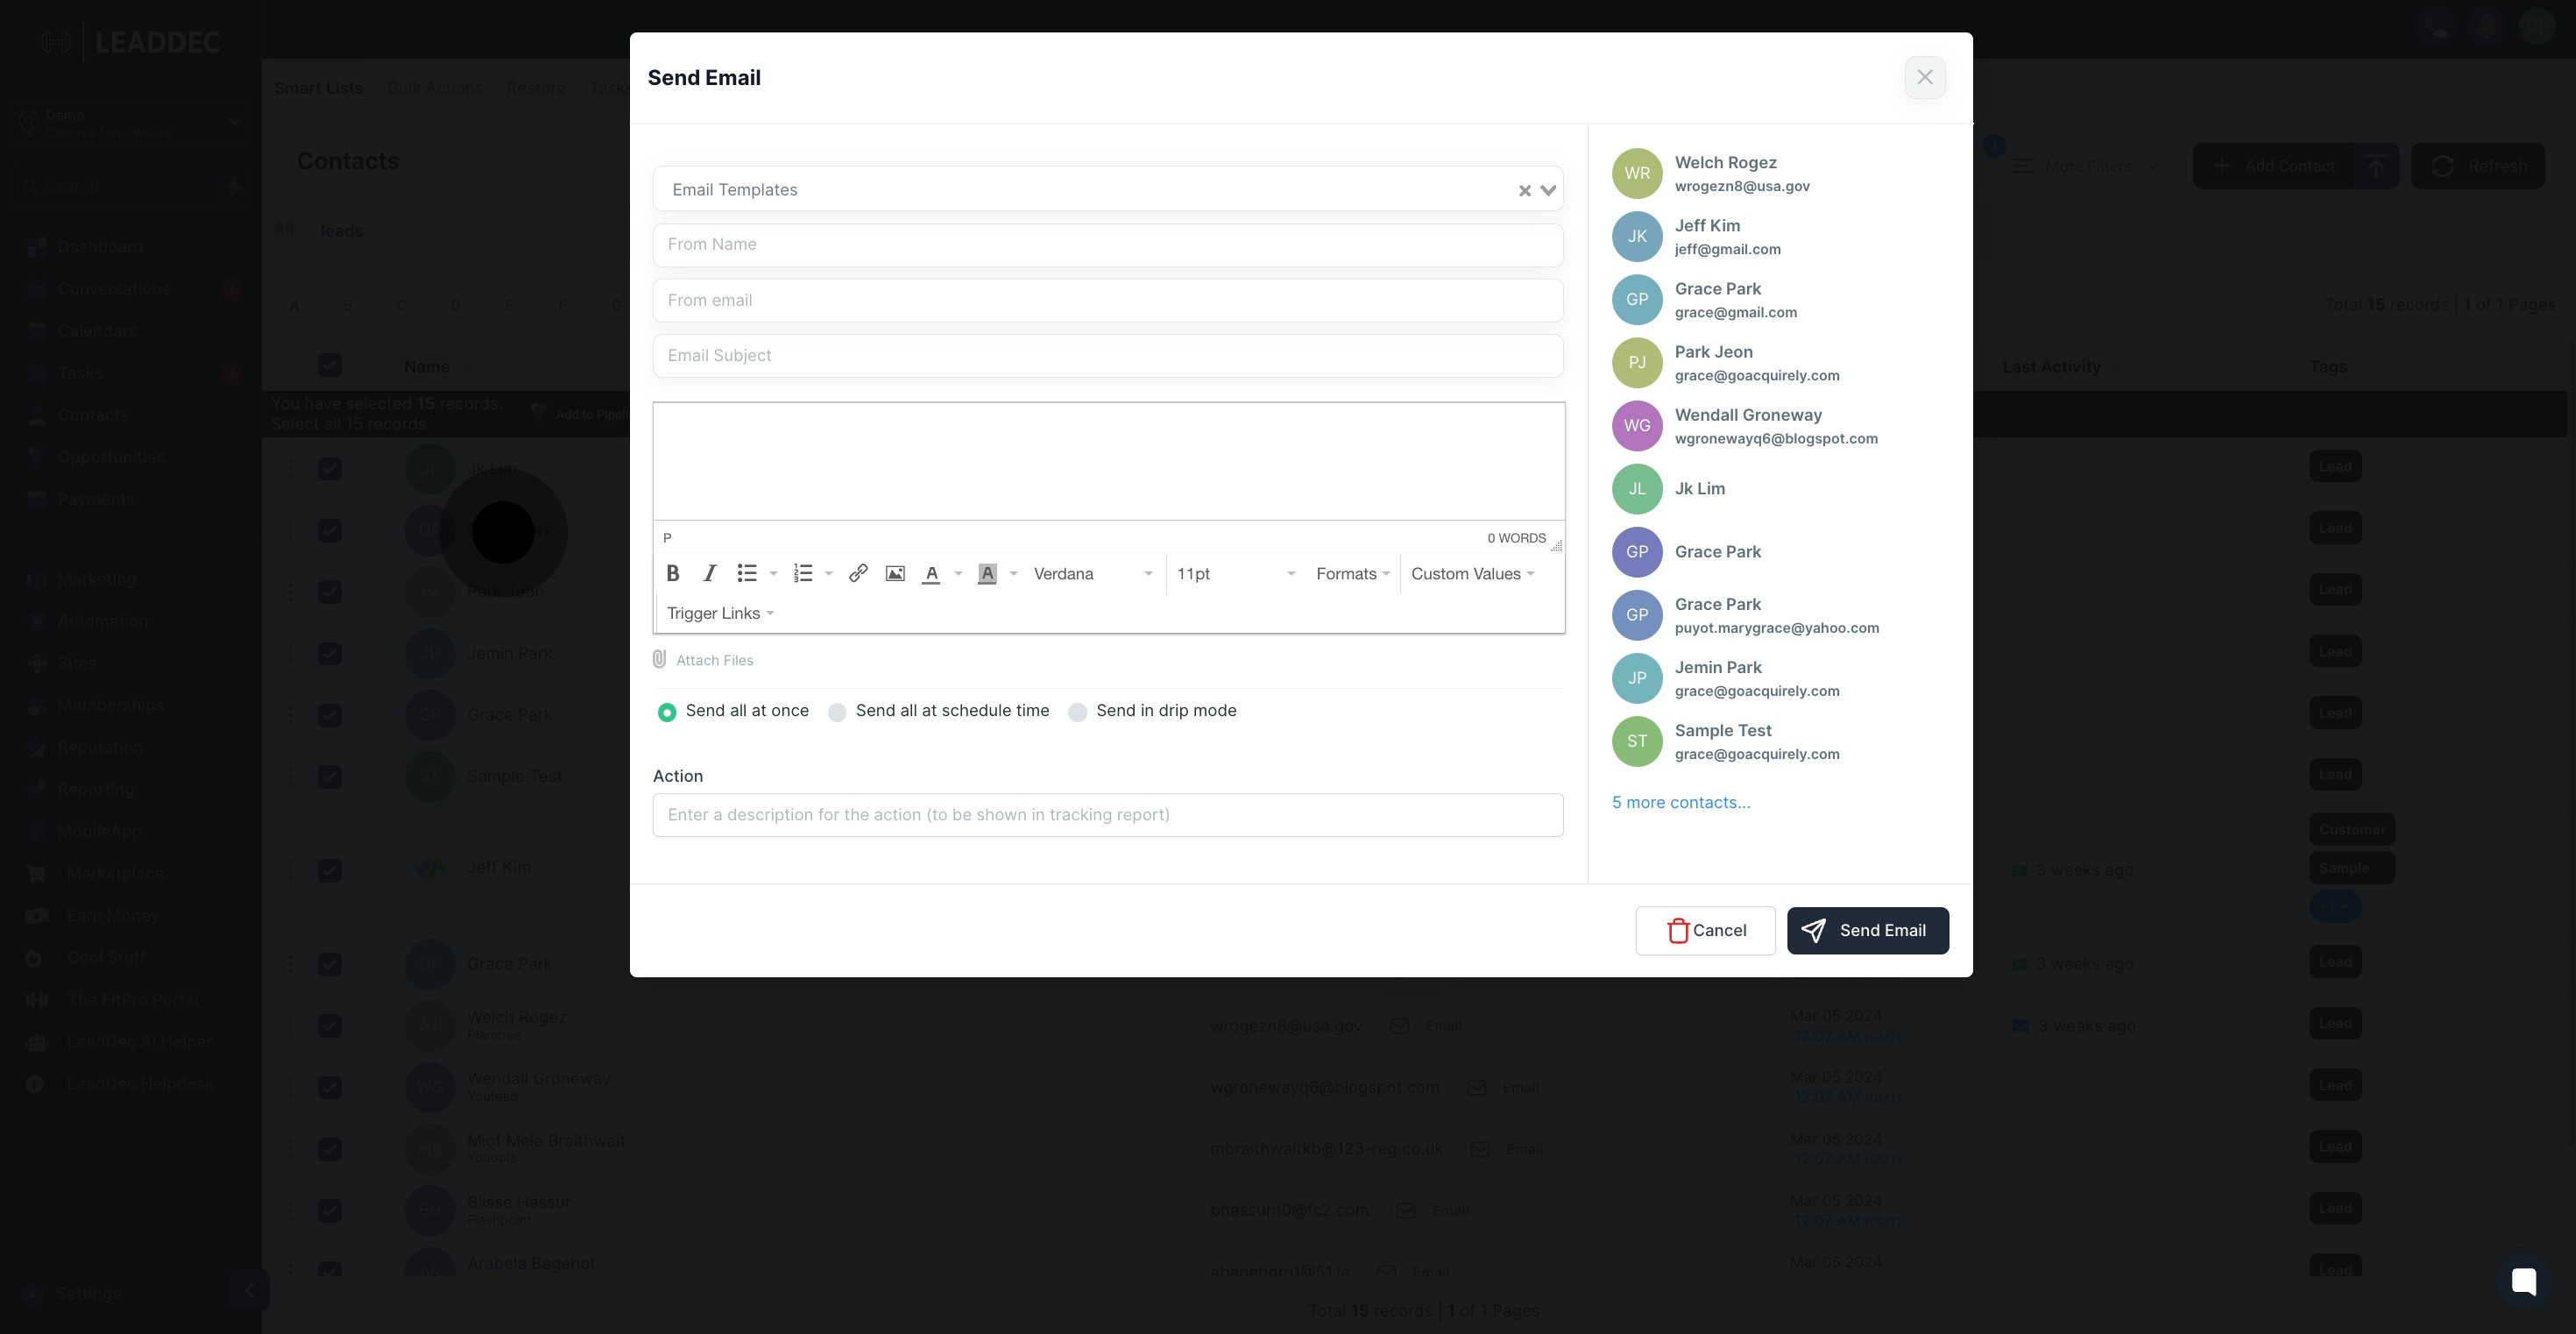
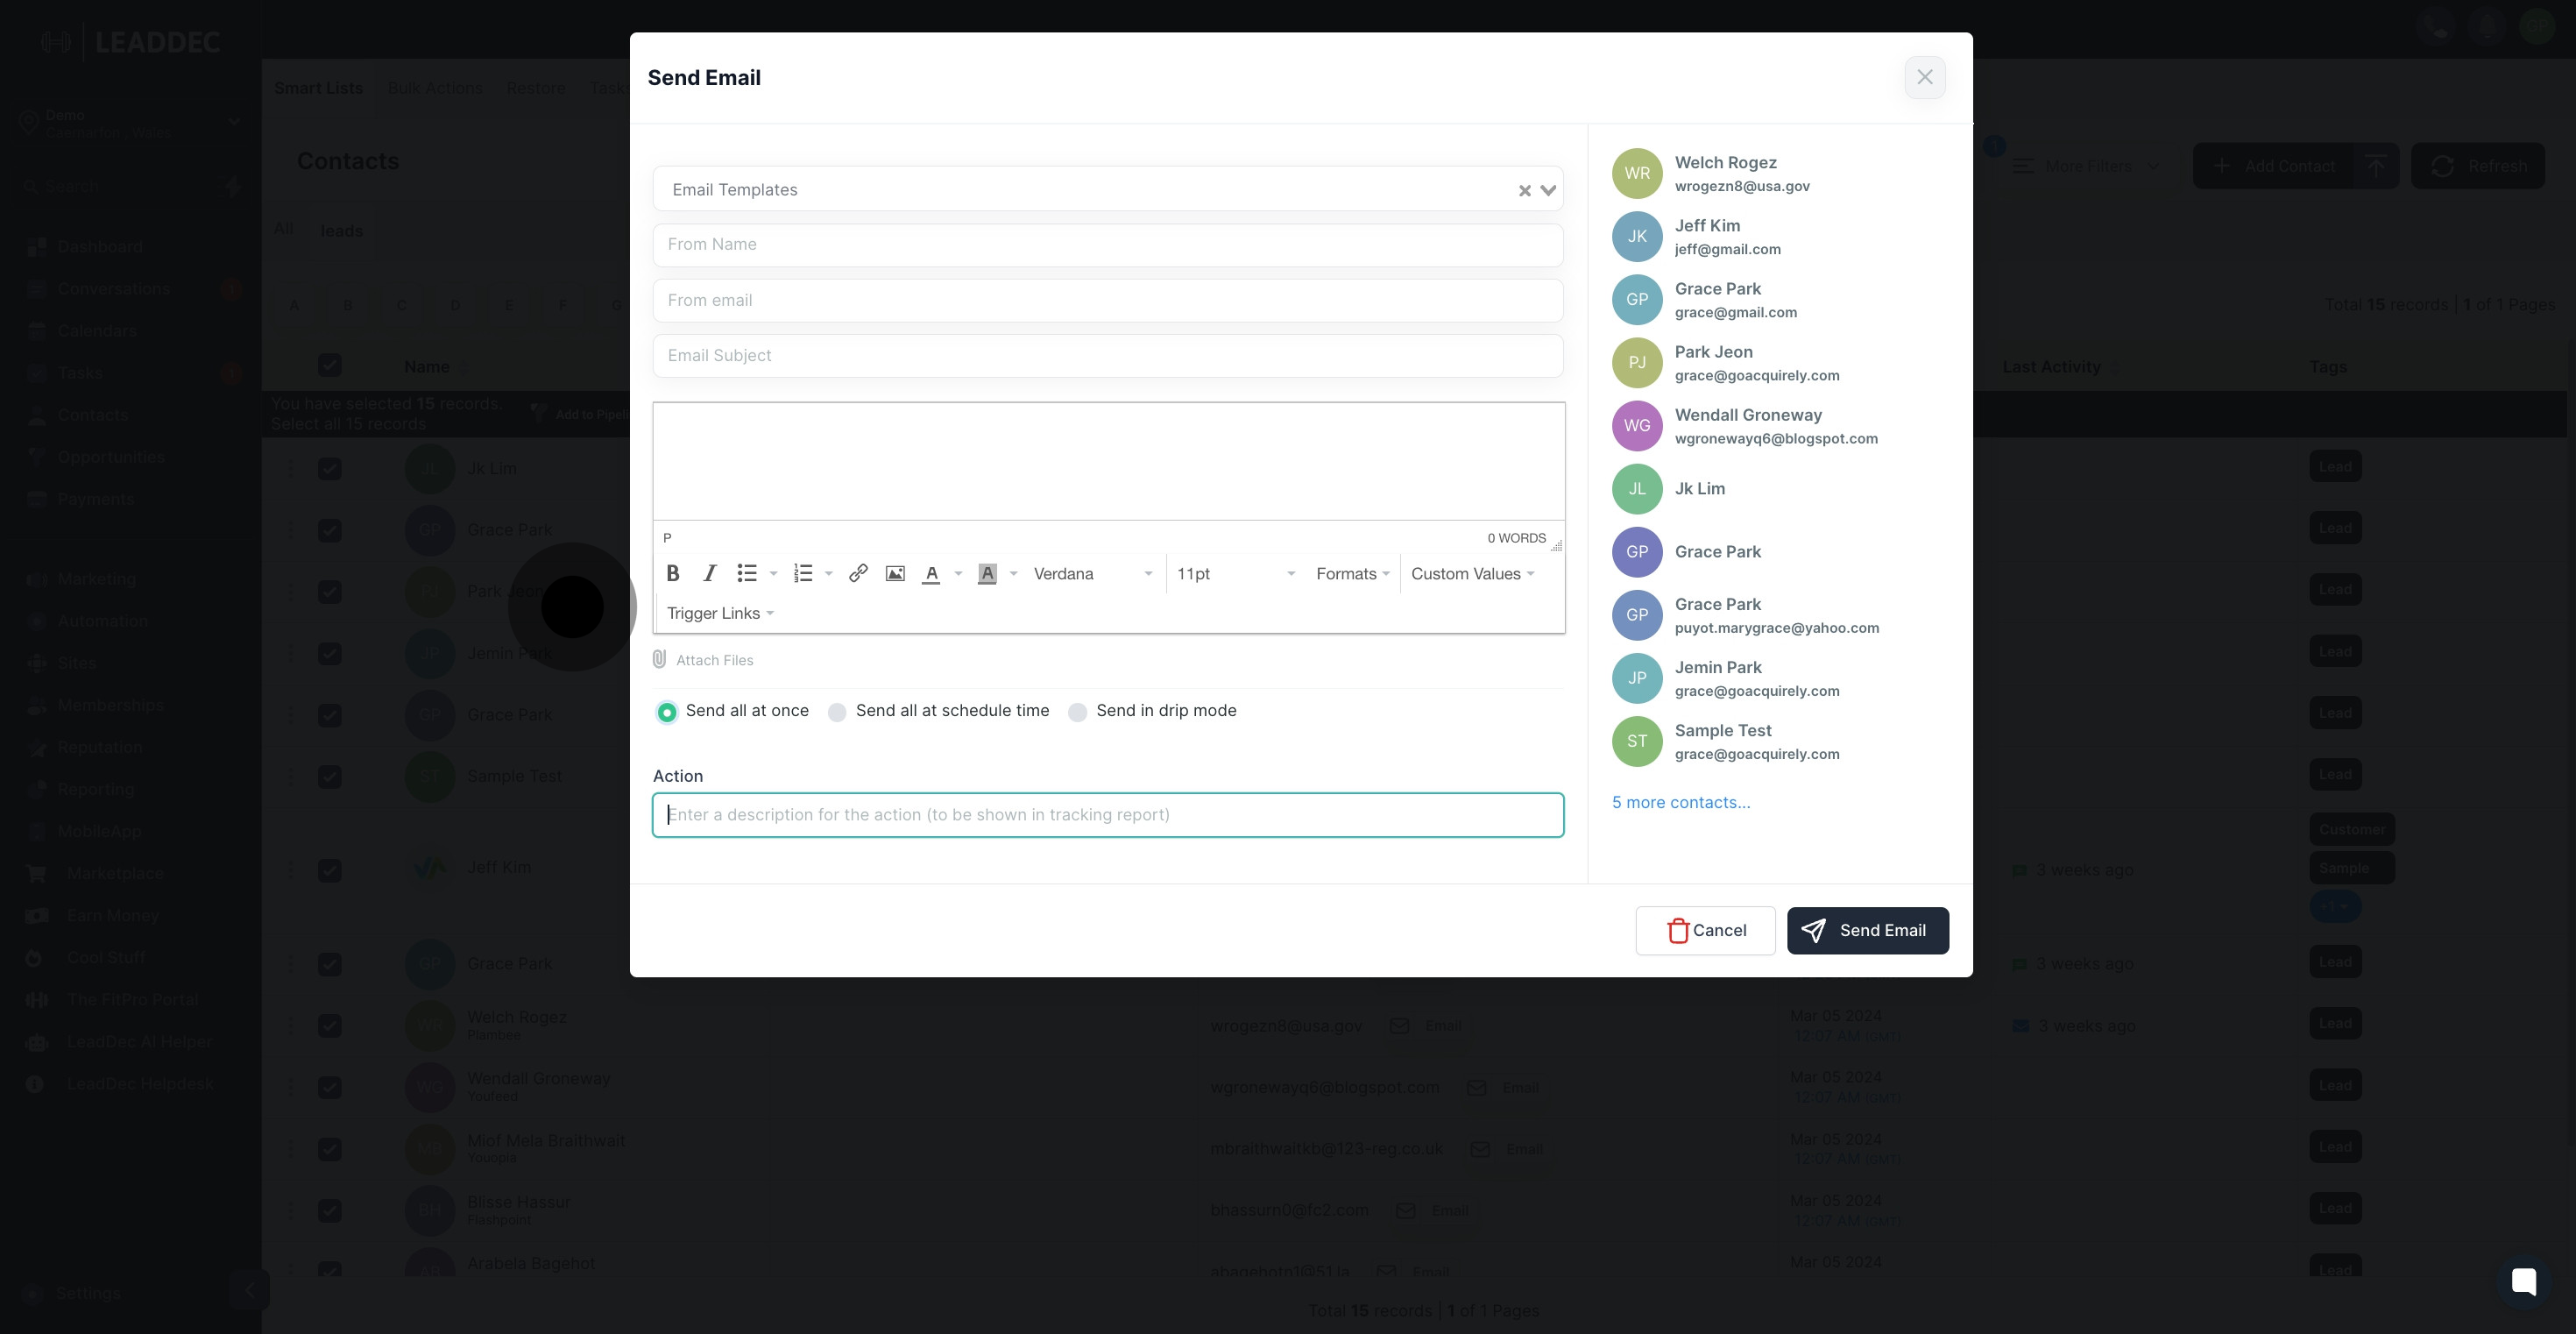
12. Enter a description for your campaign for tracking and reporting purposes.
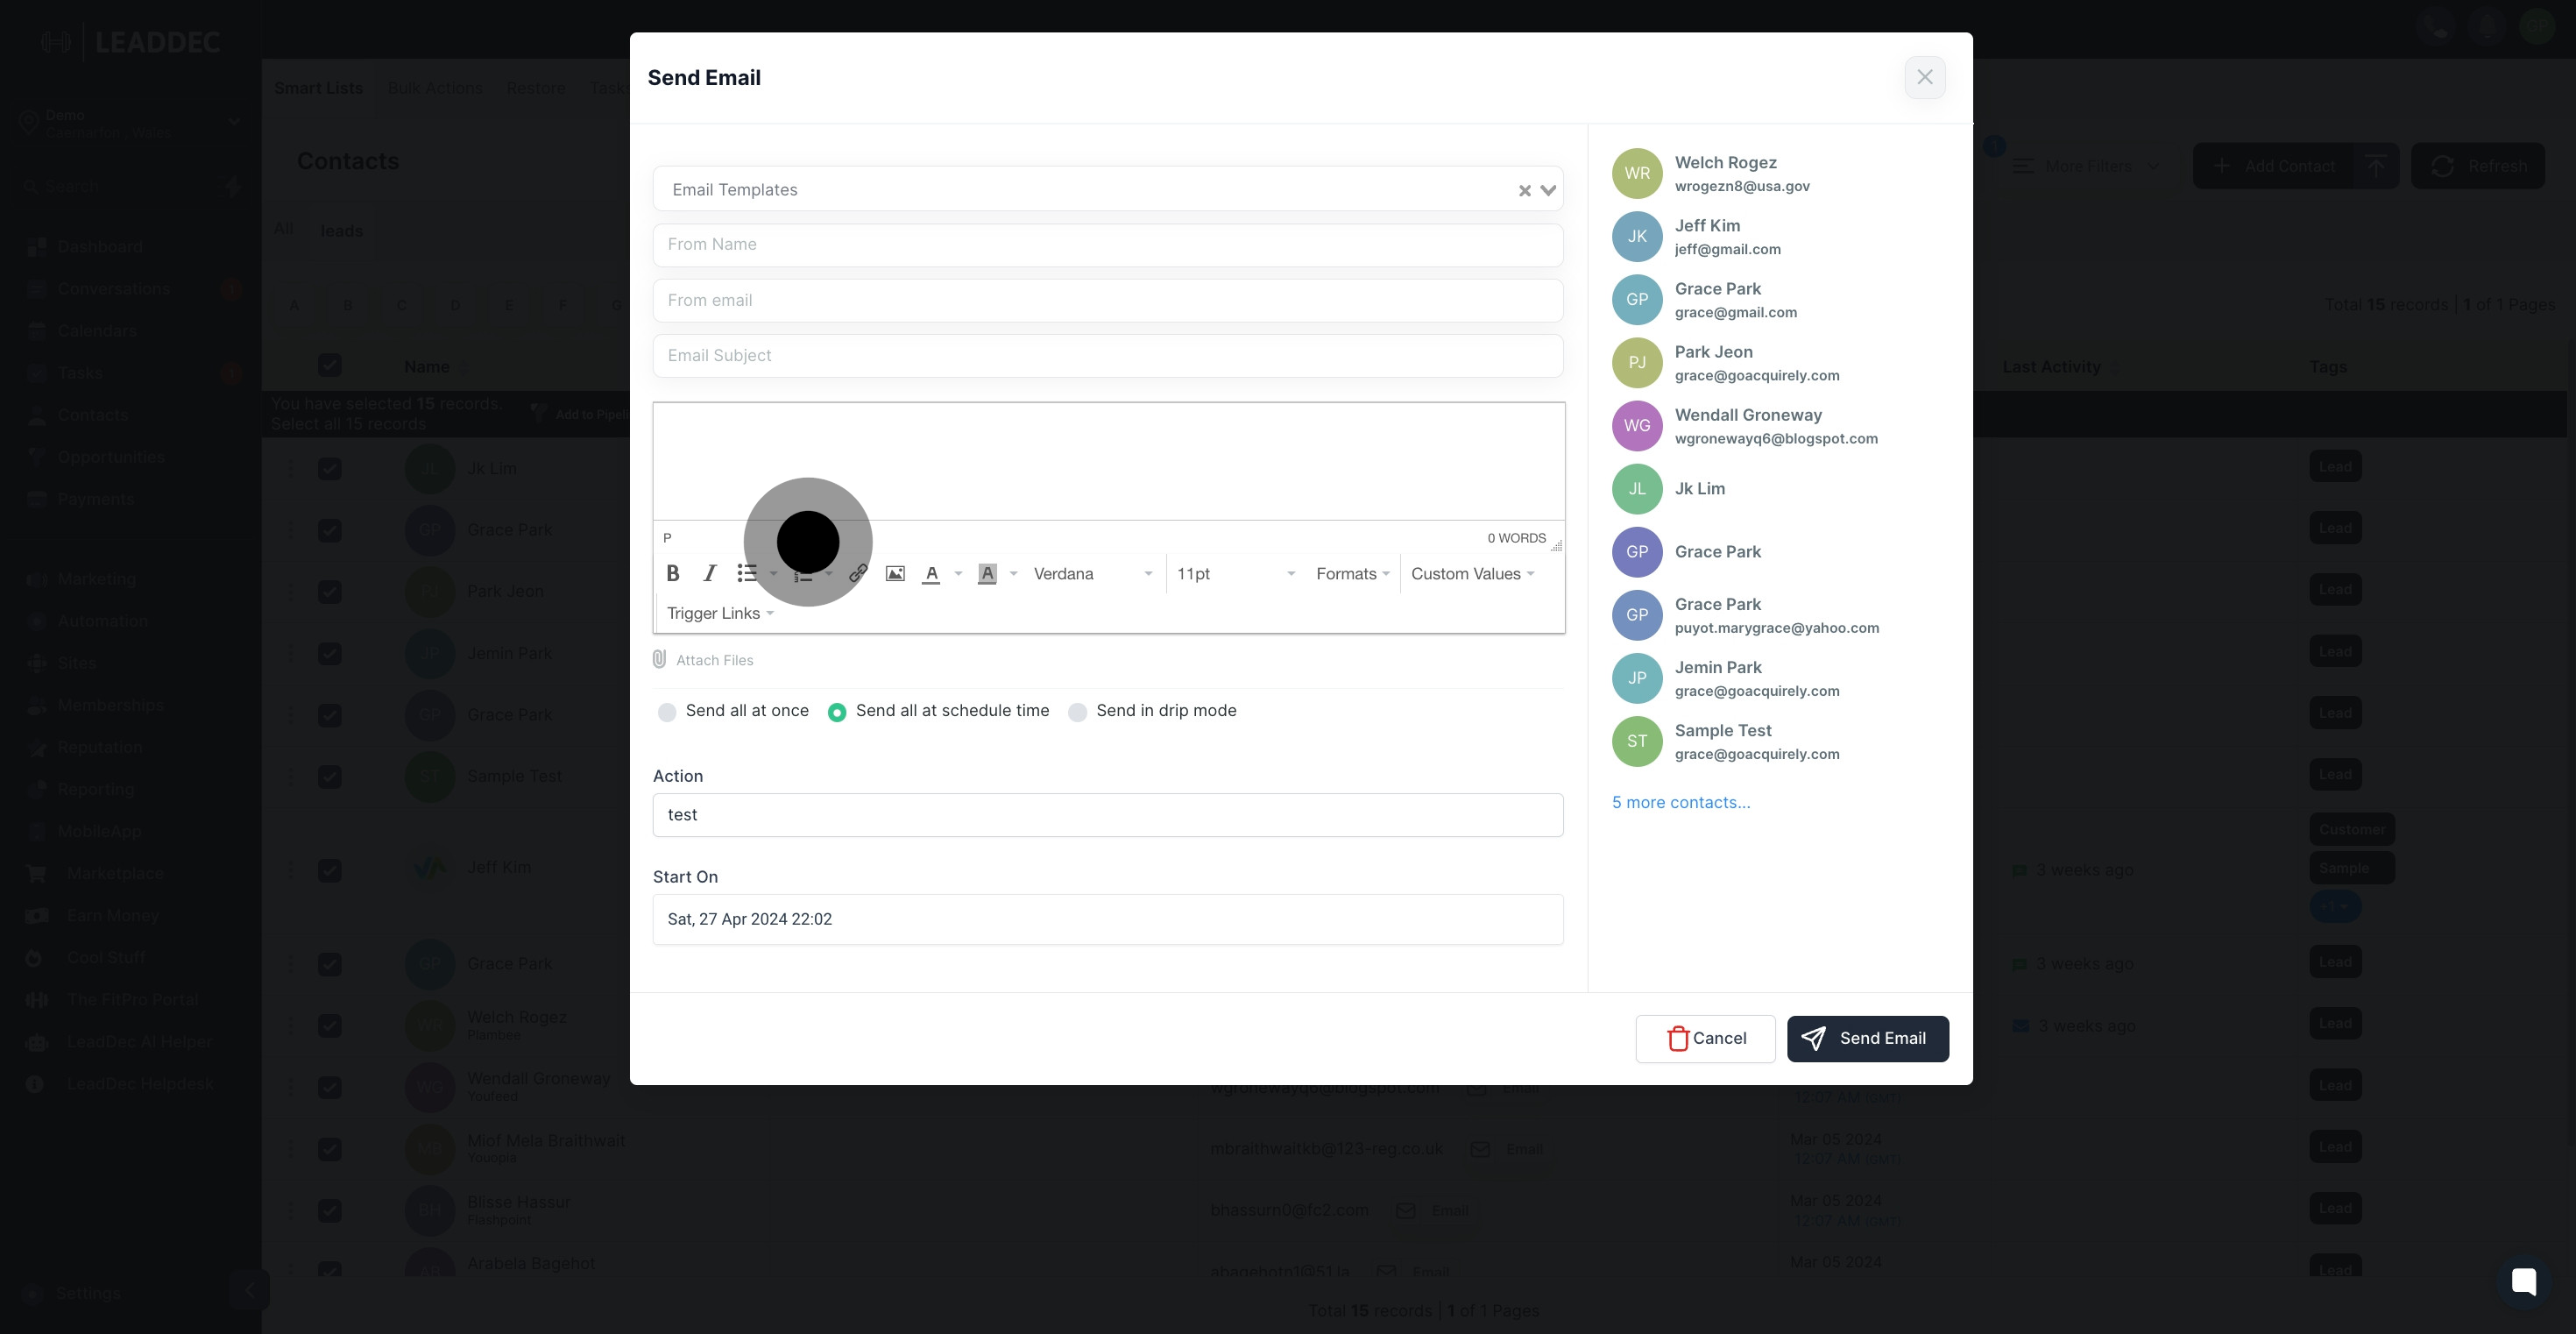
13. If scheduling the emails, choose 'Send all at a scheduled time'.
14. Specify the date and time you wish to schedule your emails for.

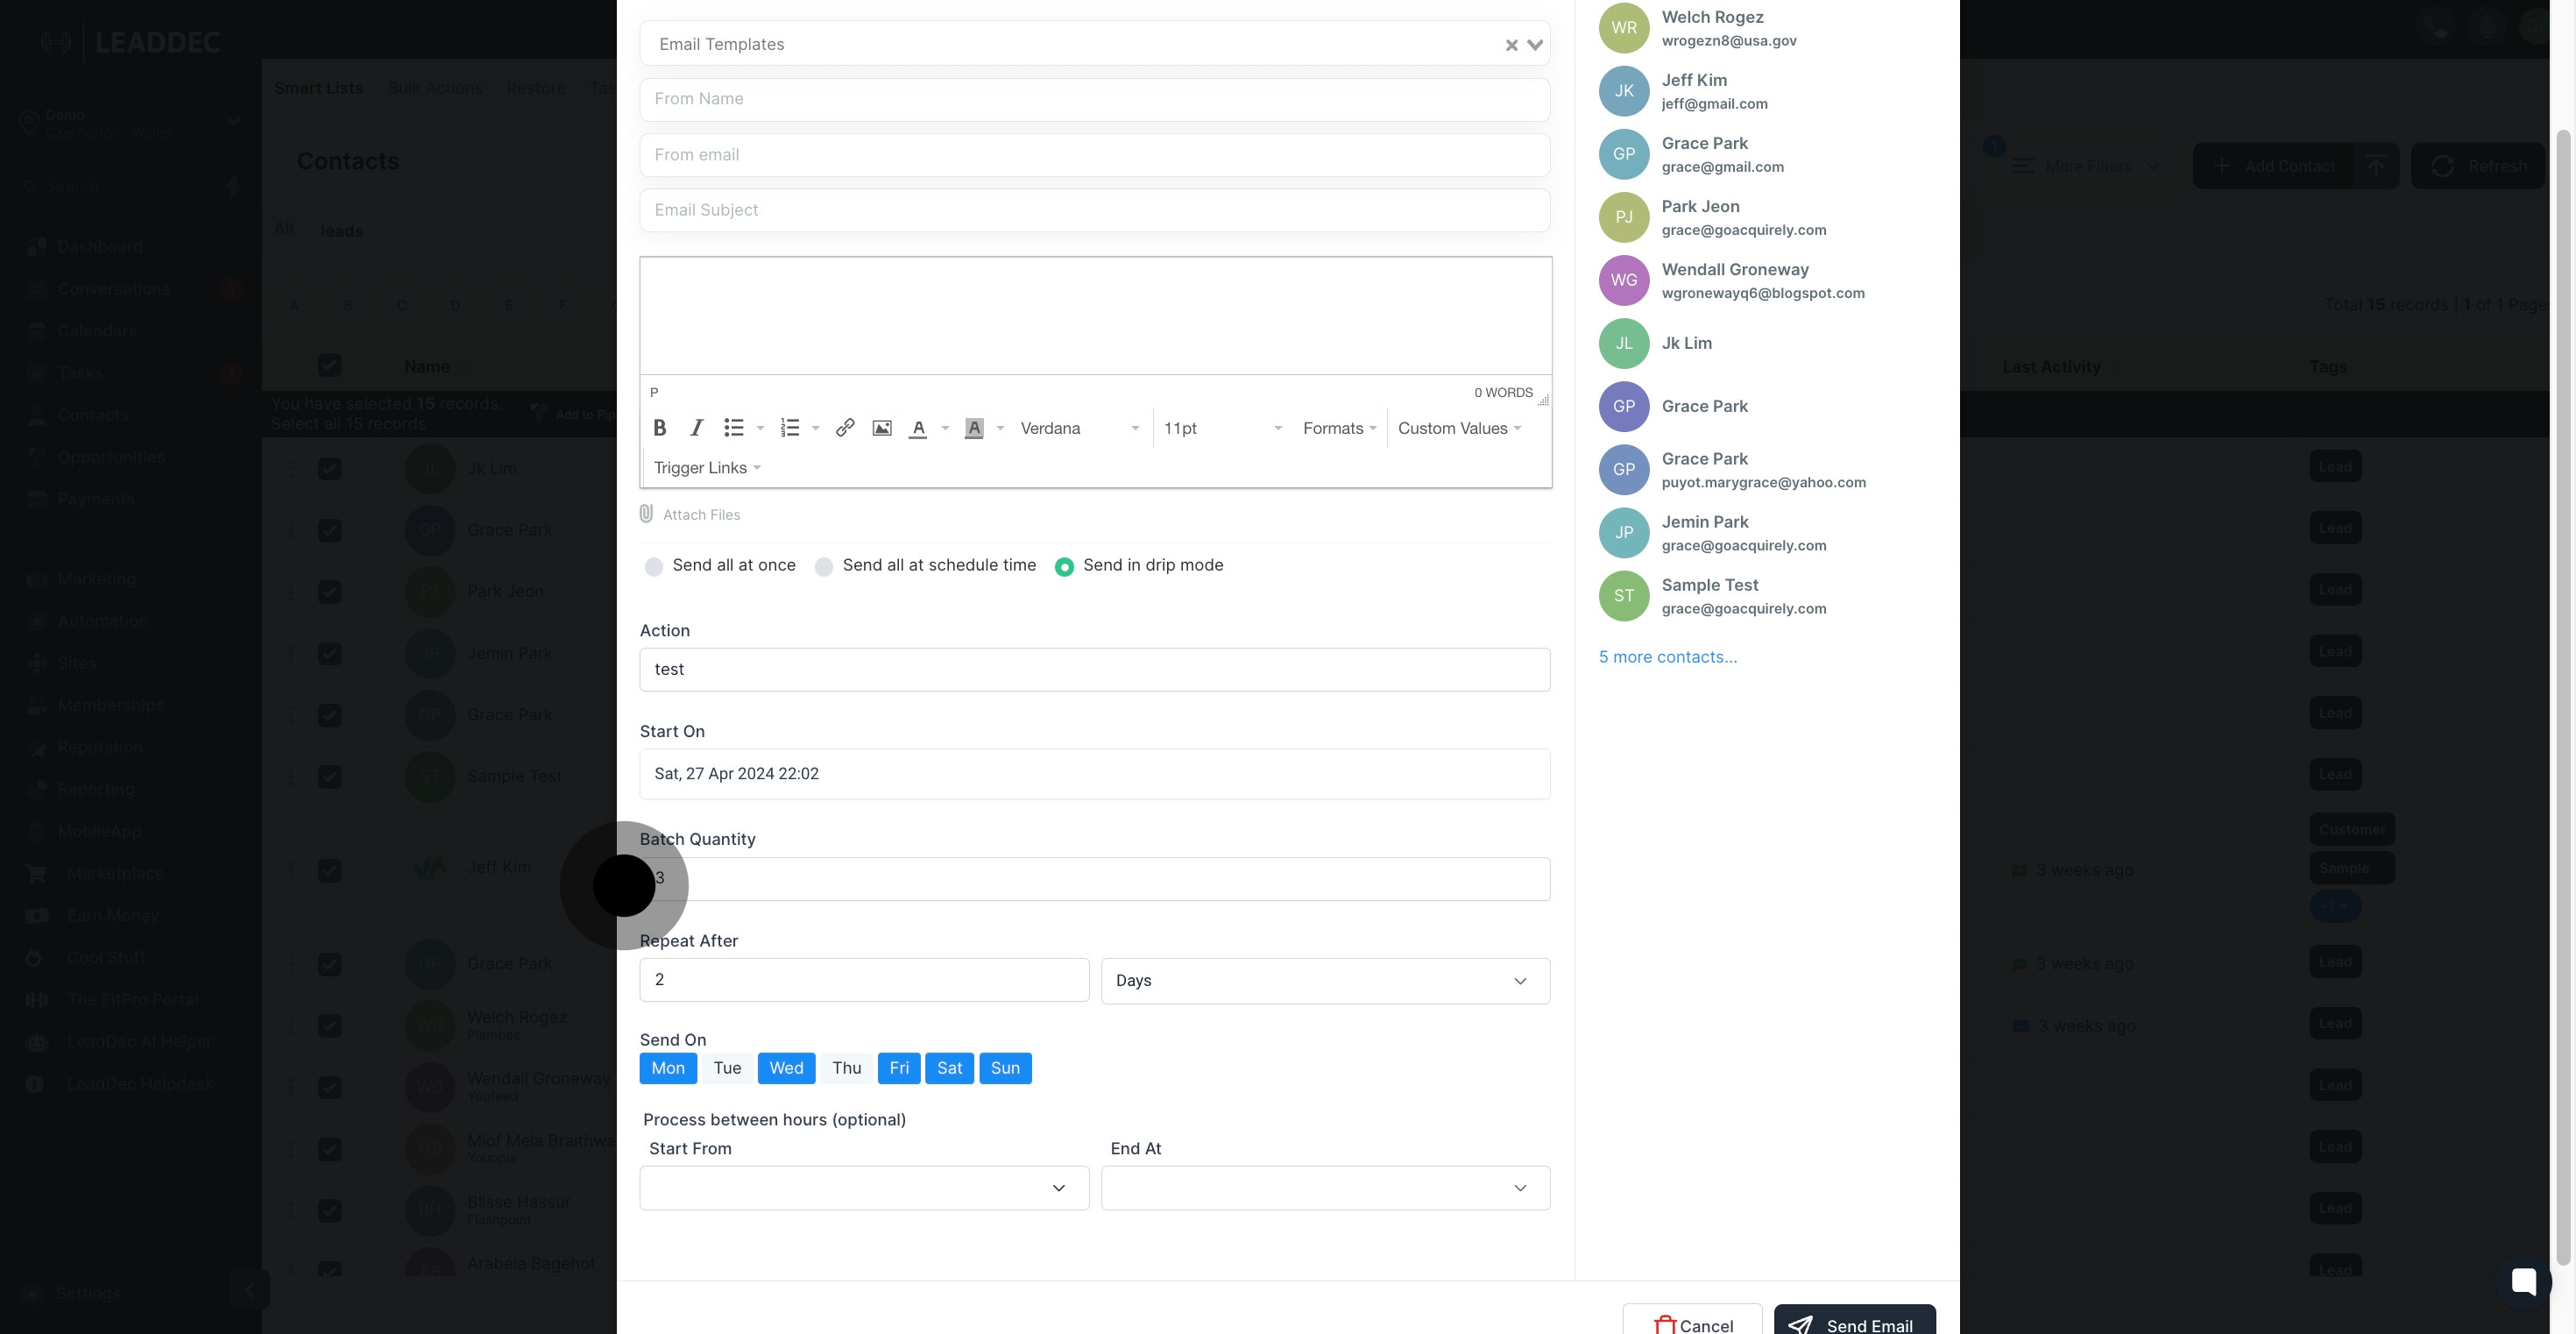
15. If you prefer distributing the emails over time, select 'Send in drip mode'.
16. Indicated the number of contacts per batch in the 'Batch Quantity' field.
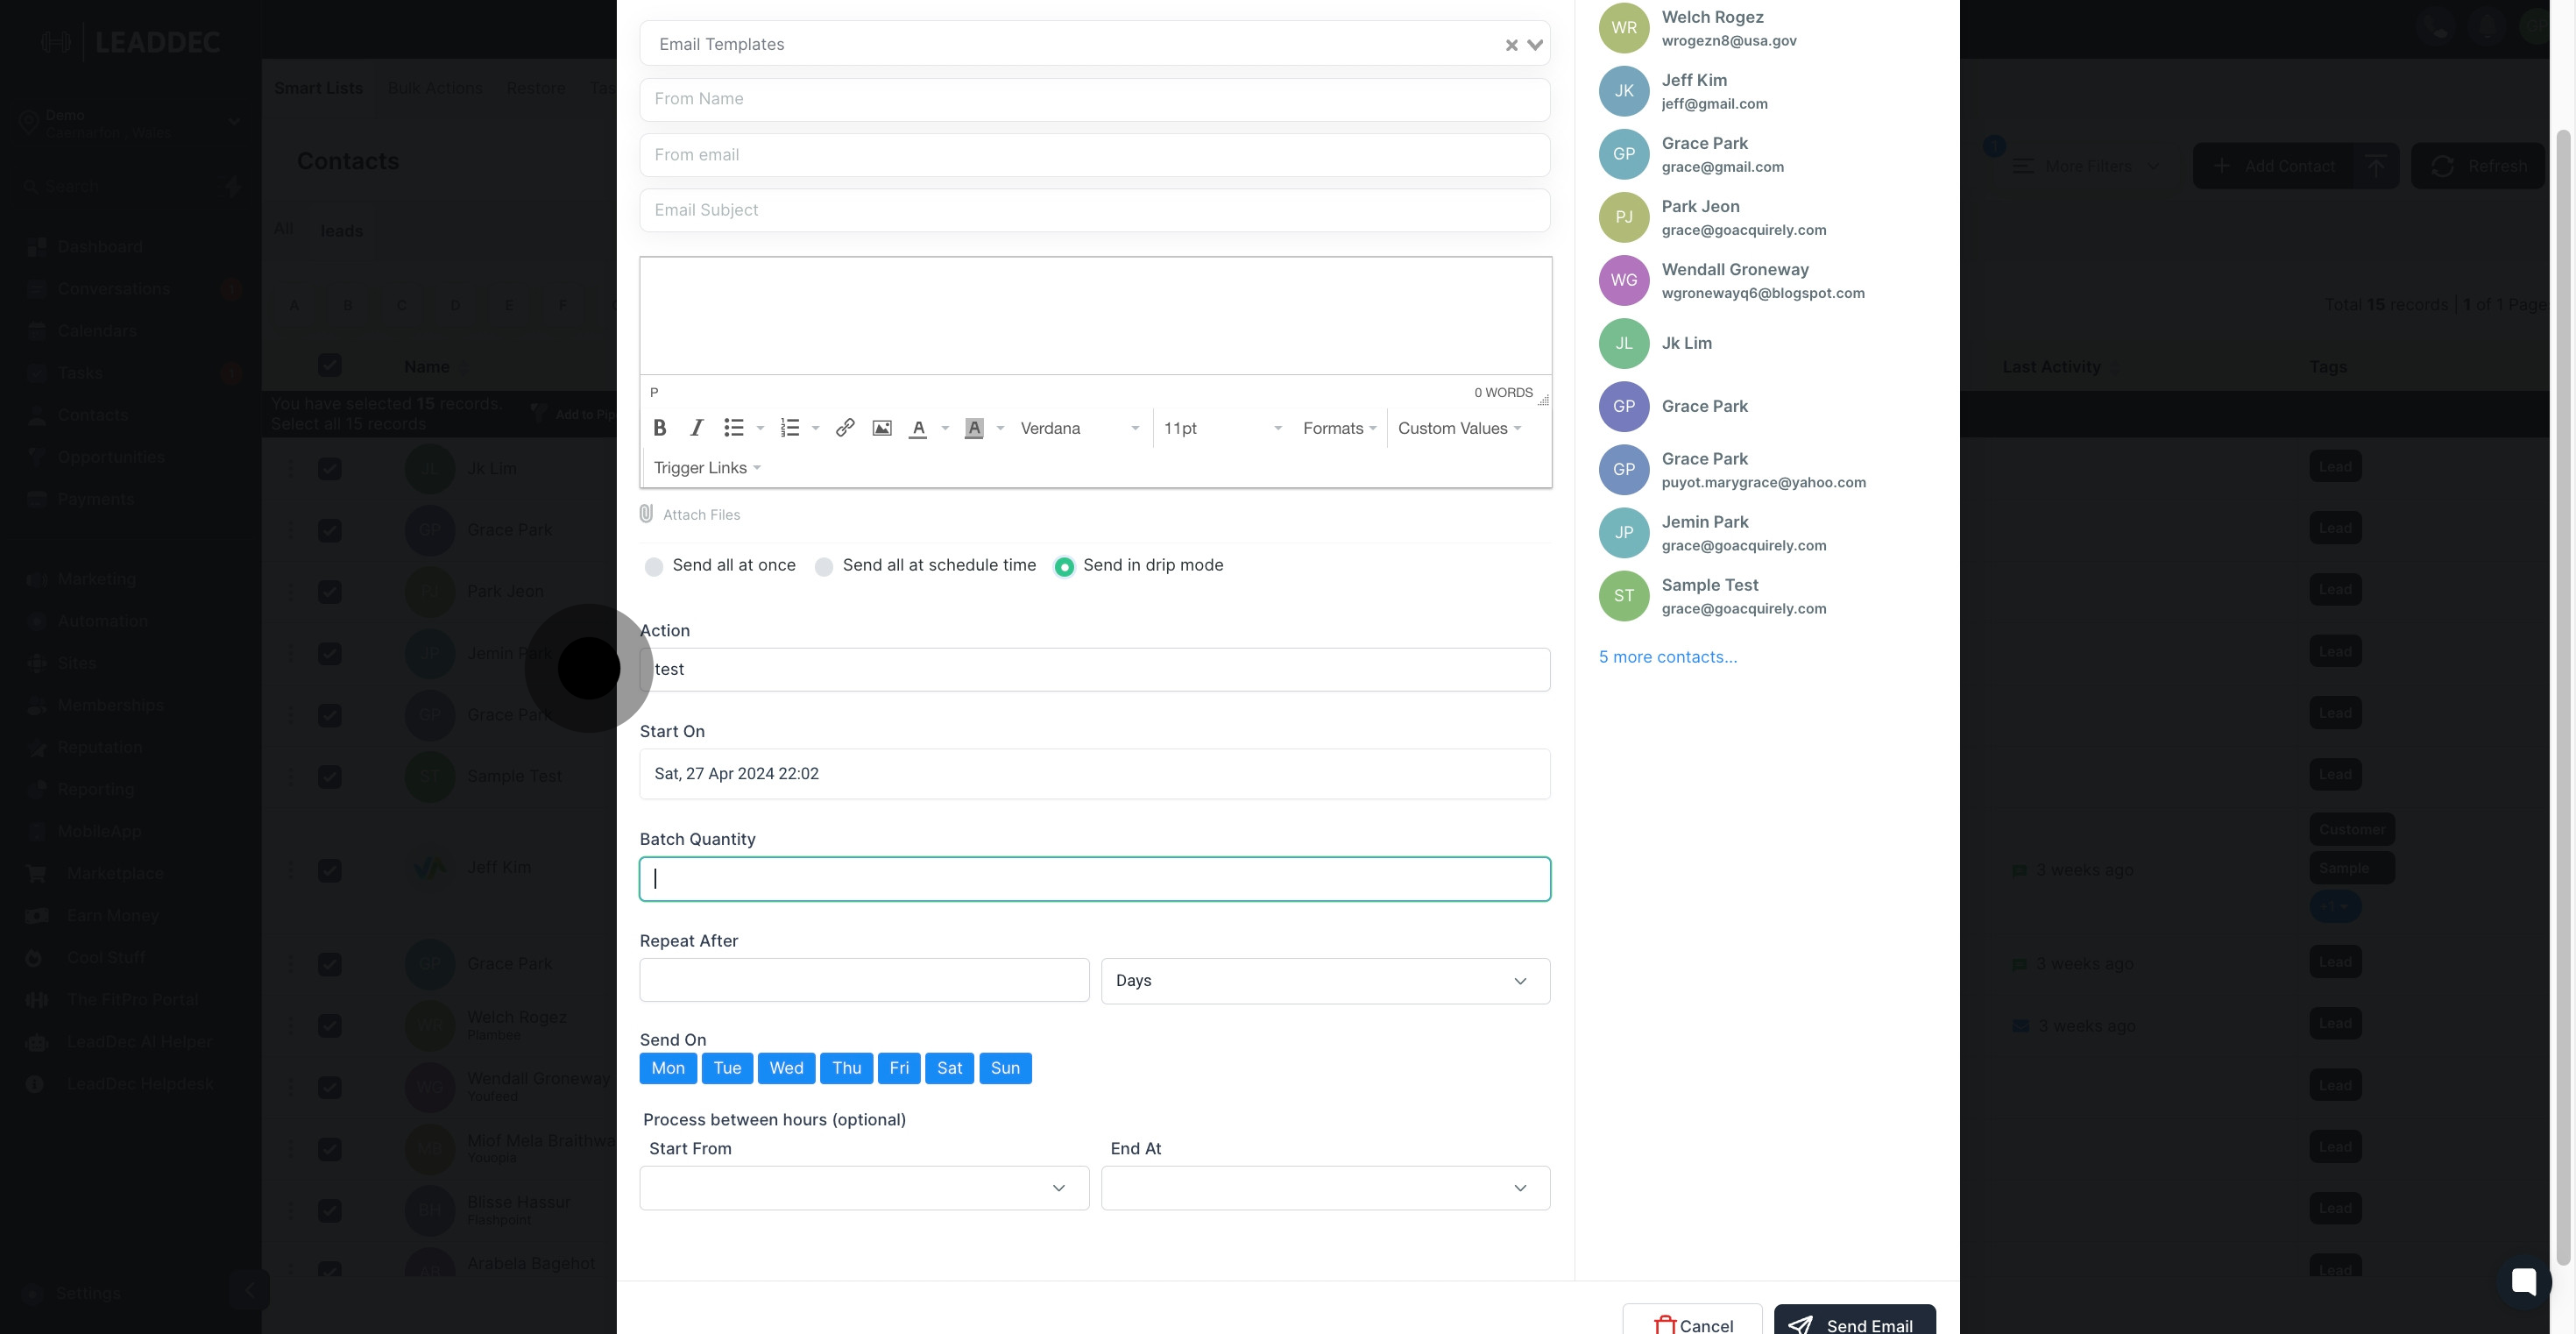
17. Decide the repeat interval for each action under 'Repeat After'.
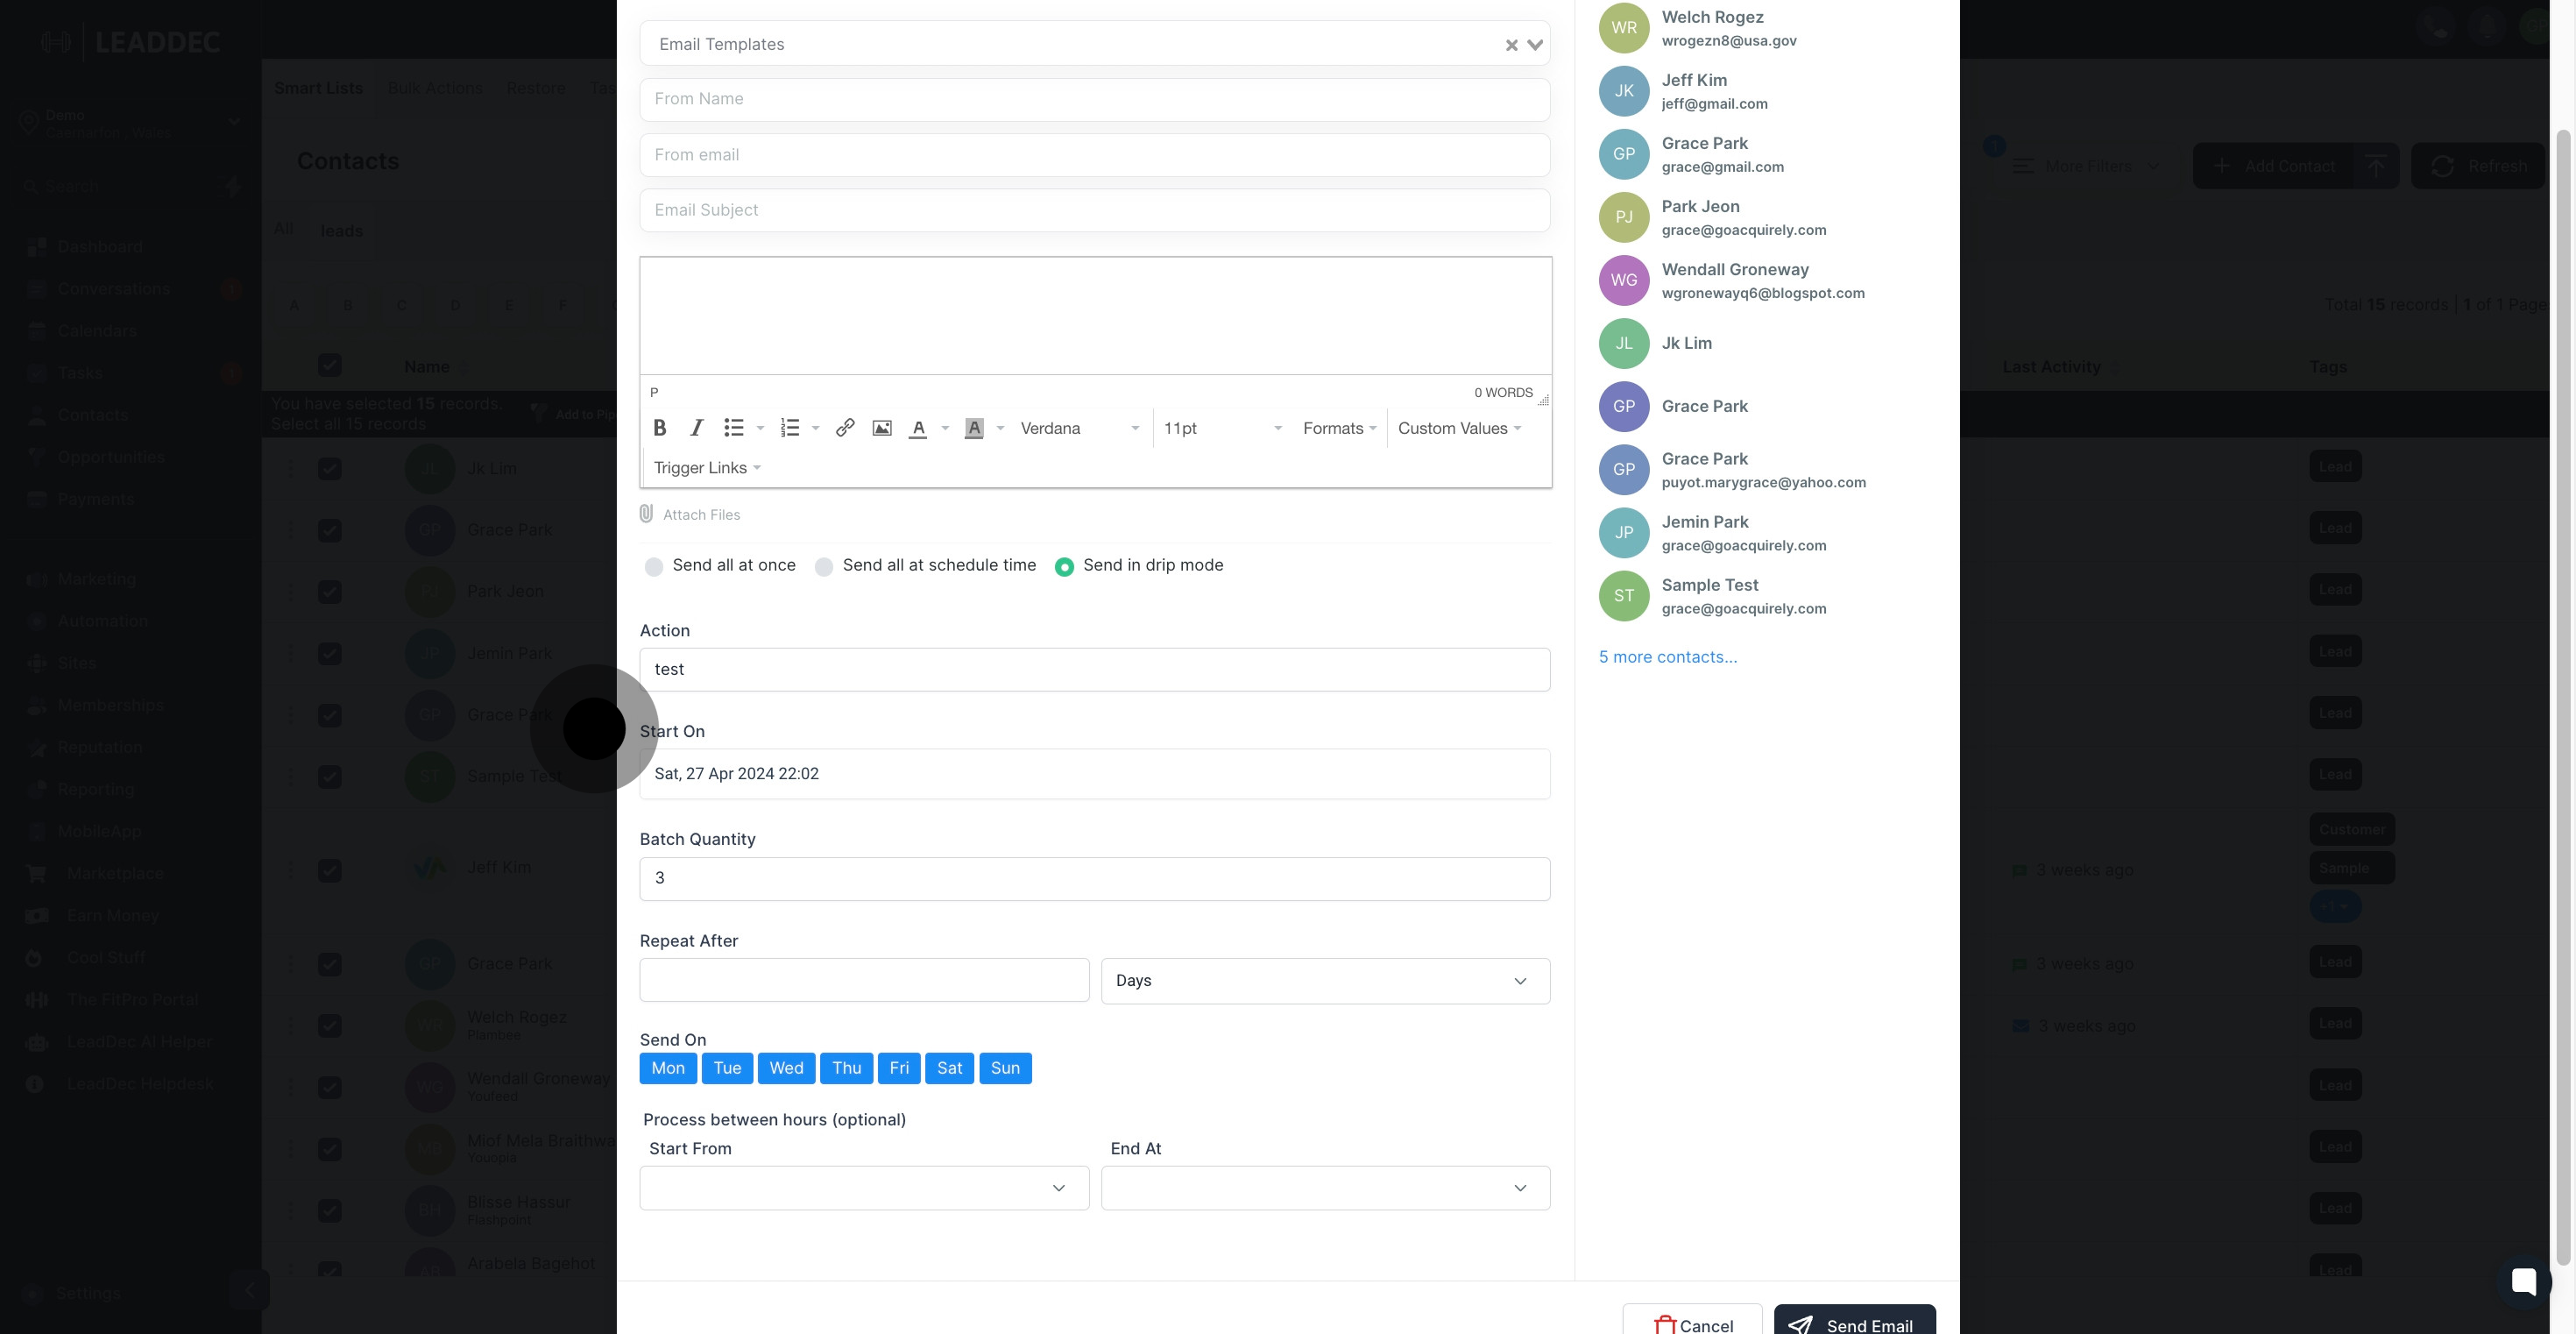
18. Specify the days to send emails with 'Send On' option.
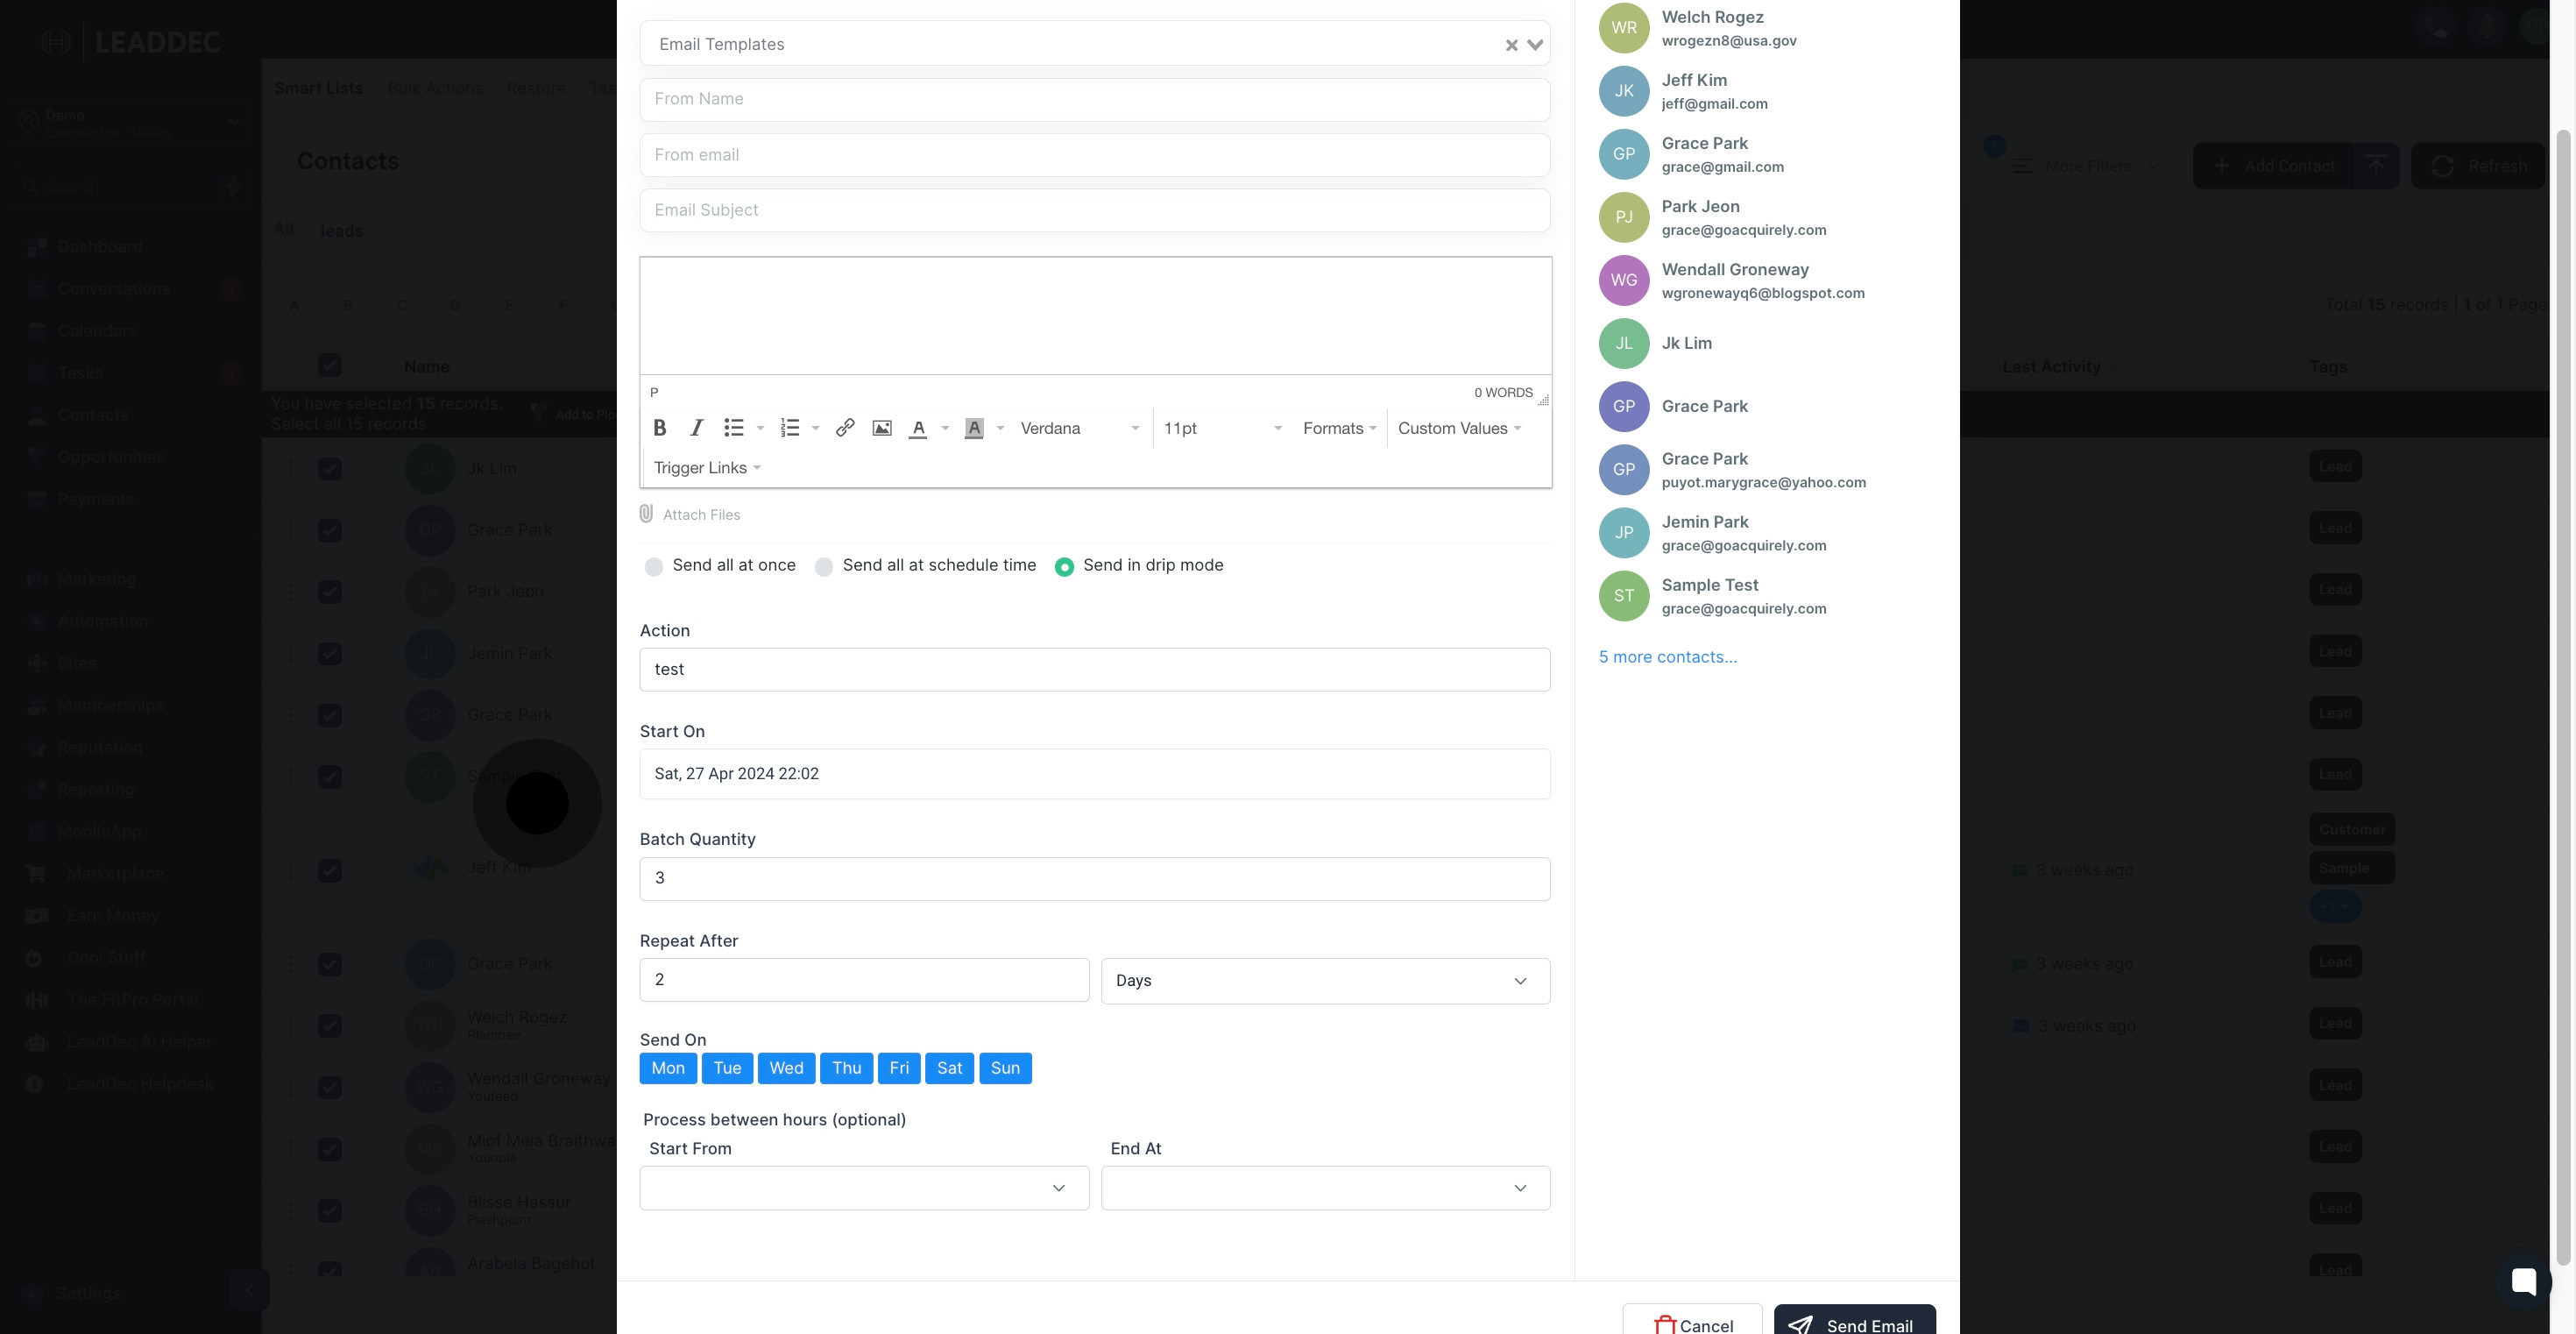
19. Also, select the operational hours with 'Process between hours'.
20. Finally, click 'Send Email' to execute the process.