How to Add Tags to Your Contacts in LeadDec

Unlock the full potential of personalized communication by learning how to add tags to your contacts in LeadDec. This concise guide walks you through the tagging process, enabling organized contact segmentation for more targeted marketing campaigns and follow-ups. Elevate your CRM strategy with the power of tagging in LeadDec.


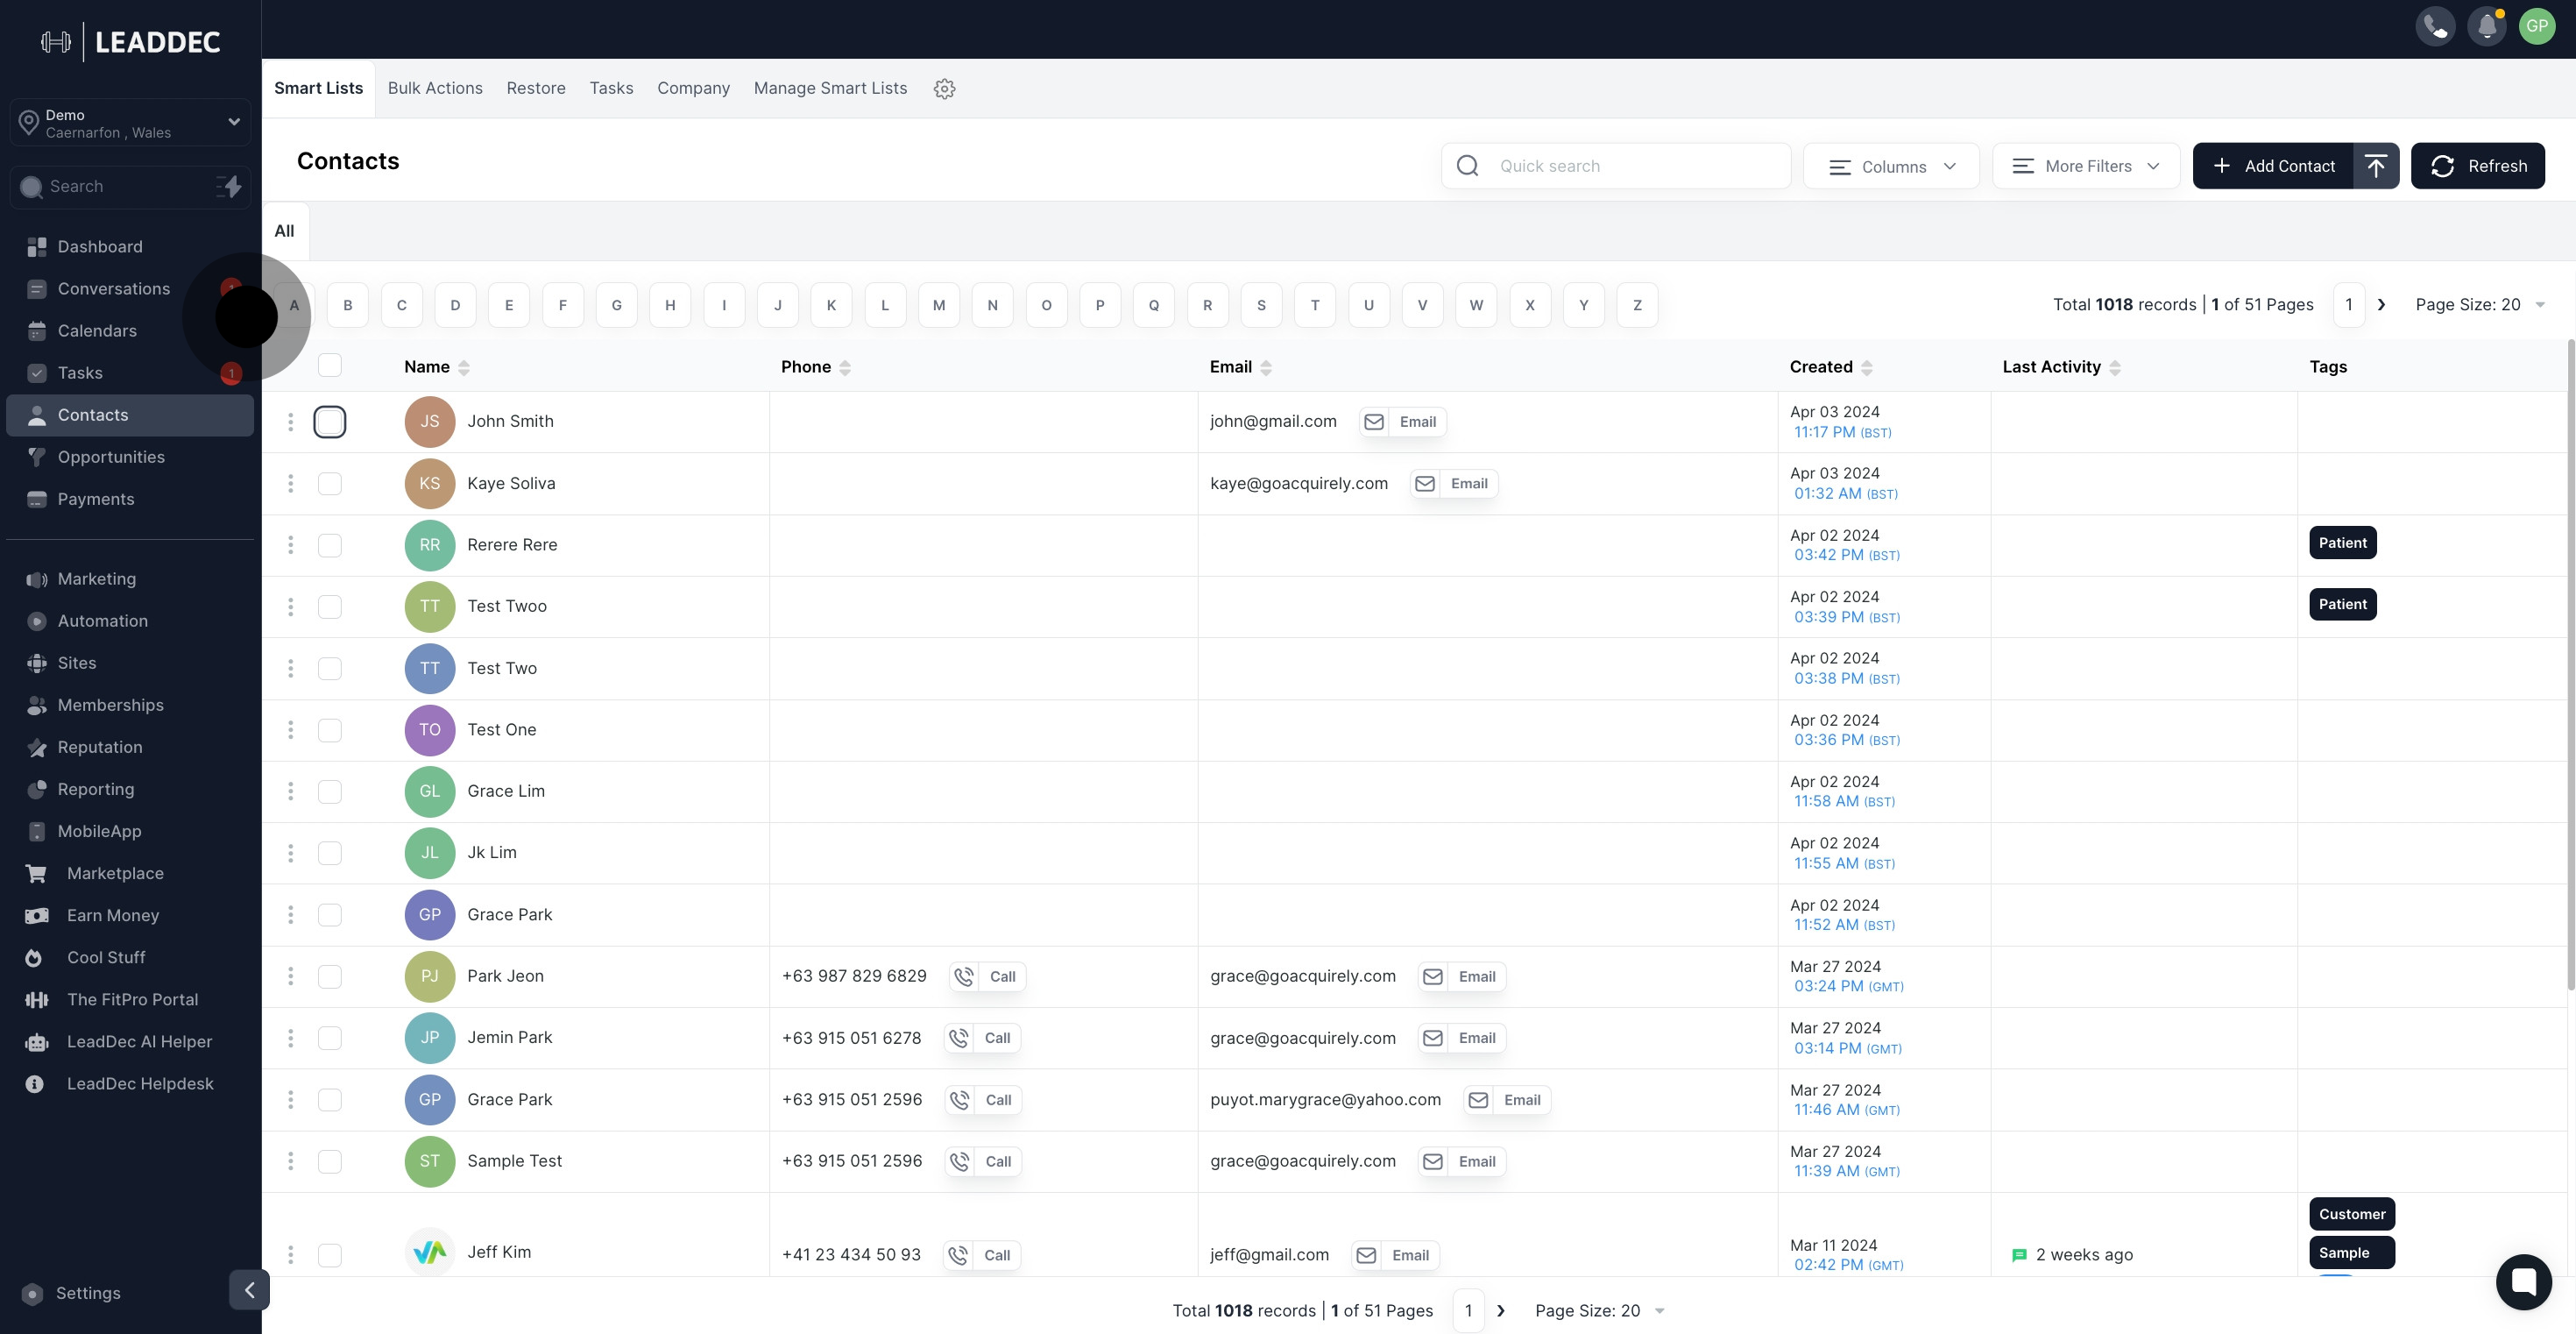
1. Begin by navigating to the 'Contacts' tab.

1 To start off, click on "contacts".

2. Next, choose the contact you wish to associate with a tag.

2 Click on the element.

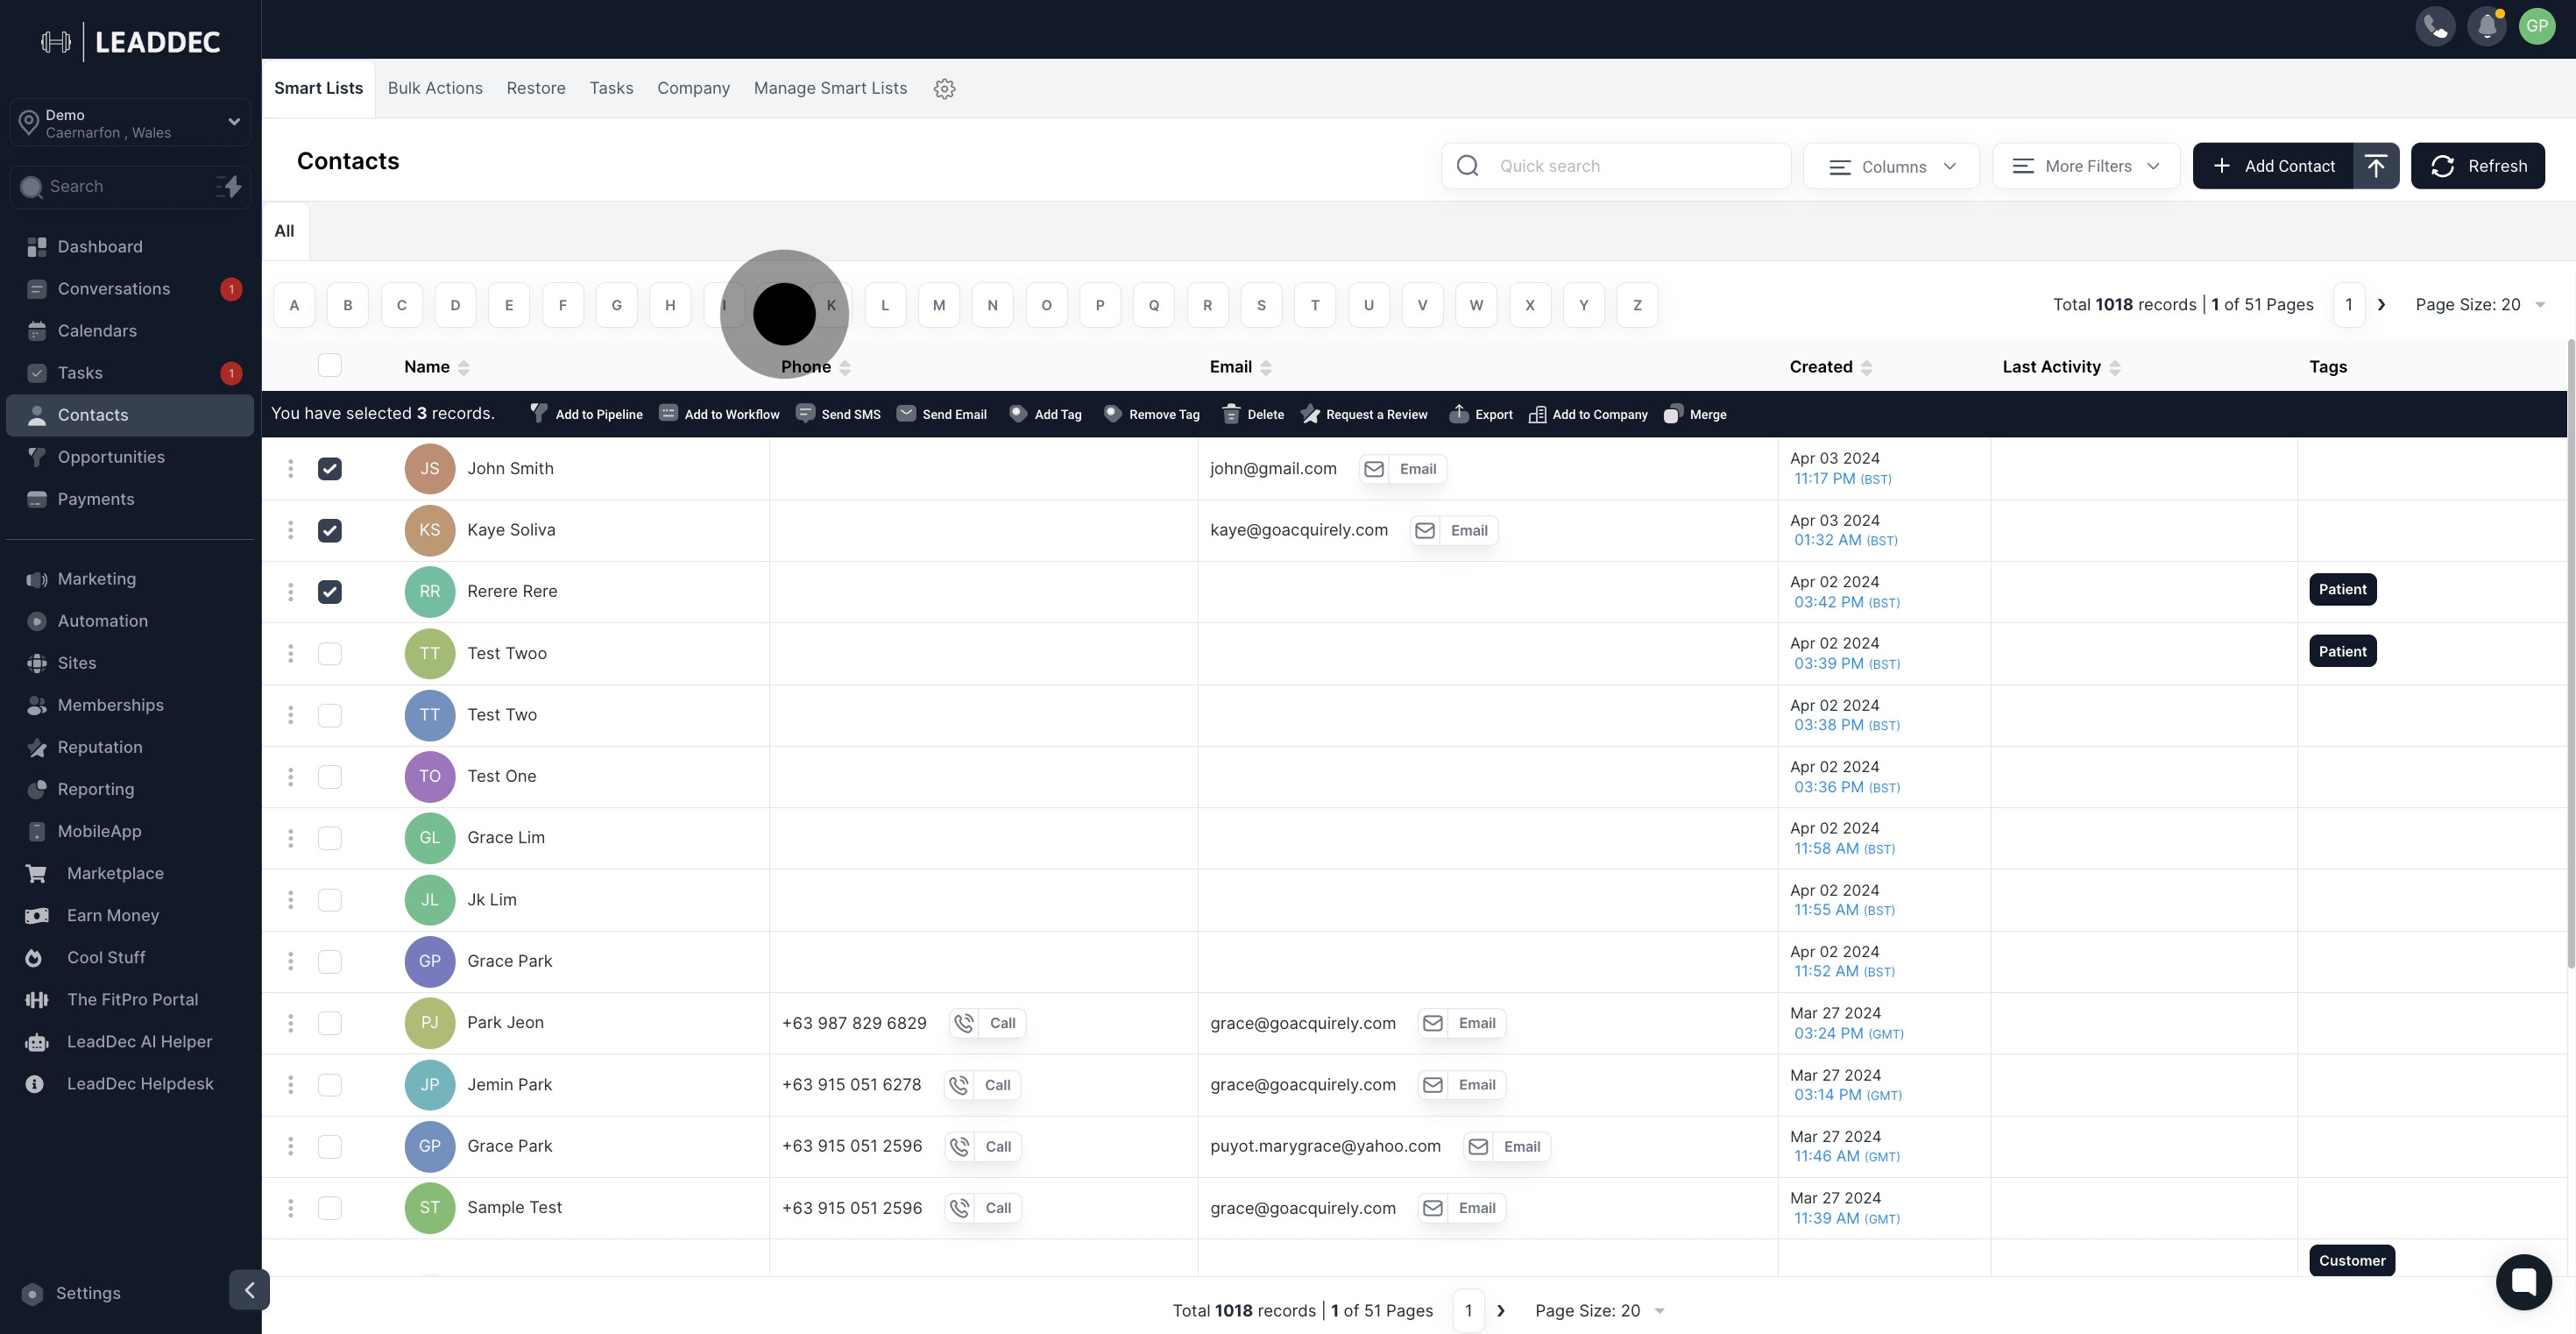
3. Don't forget! You can select multiple contacts if needed.

3 Click here.

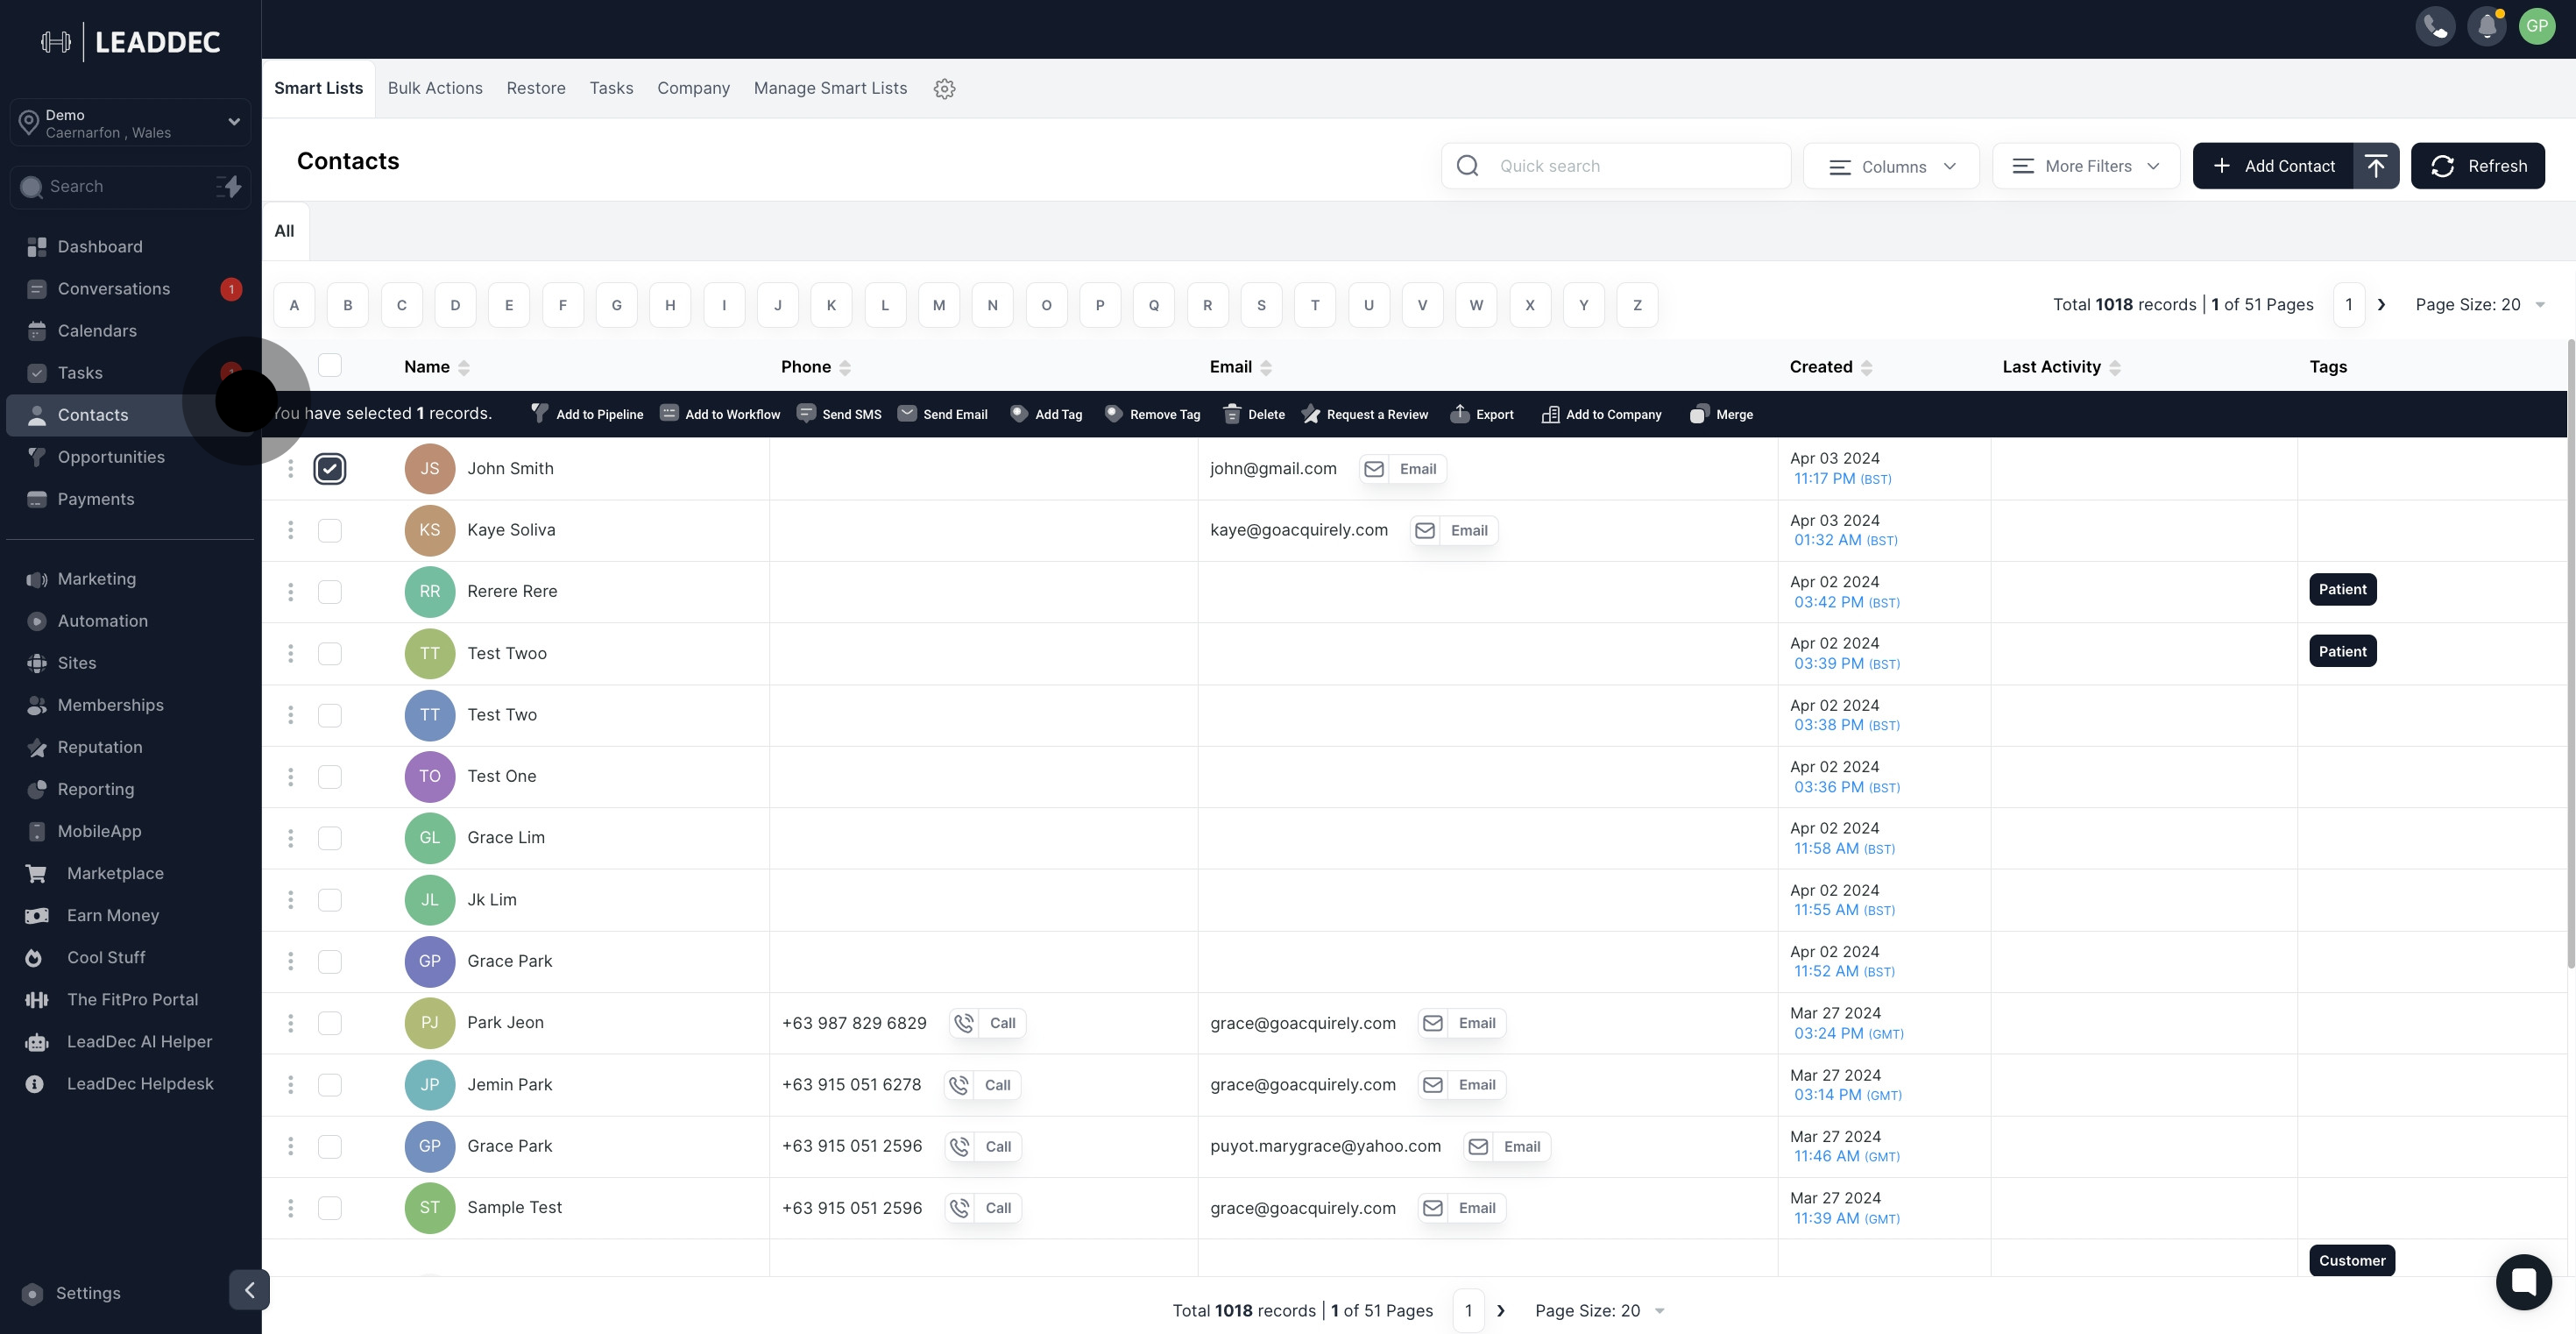
4. Now, proceed by clicking 'Add tag'.

4 Click on the element.

5. Select your desired tags from the dropdown list presented.

5 After that, click on the element.

6. Enter a suitable name for this action.

6 After that, click on the element.

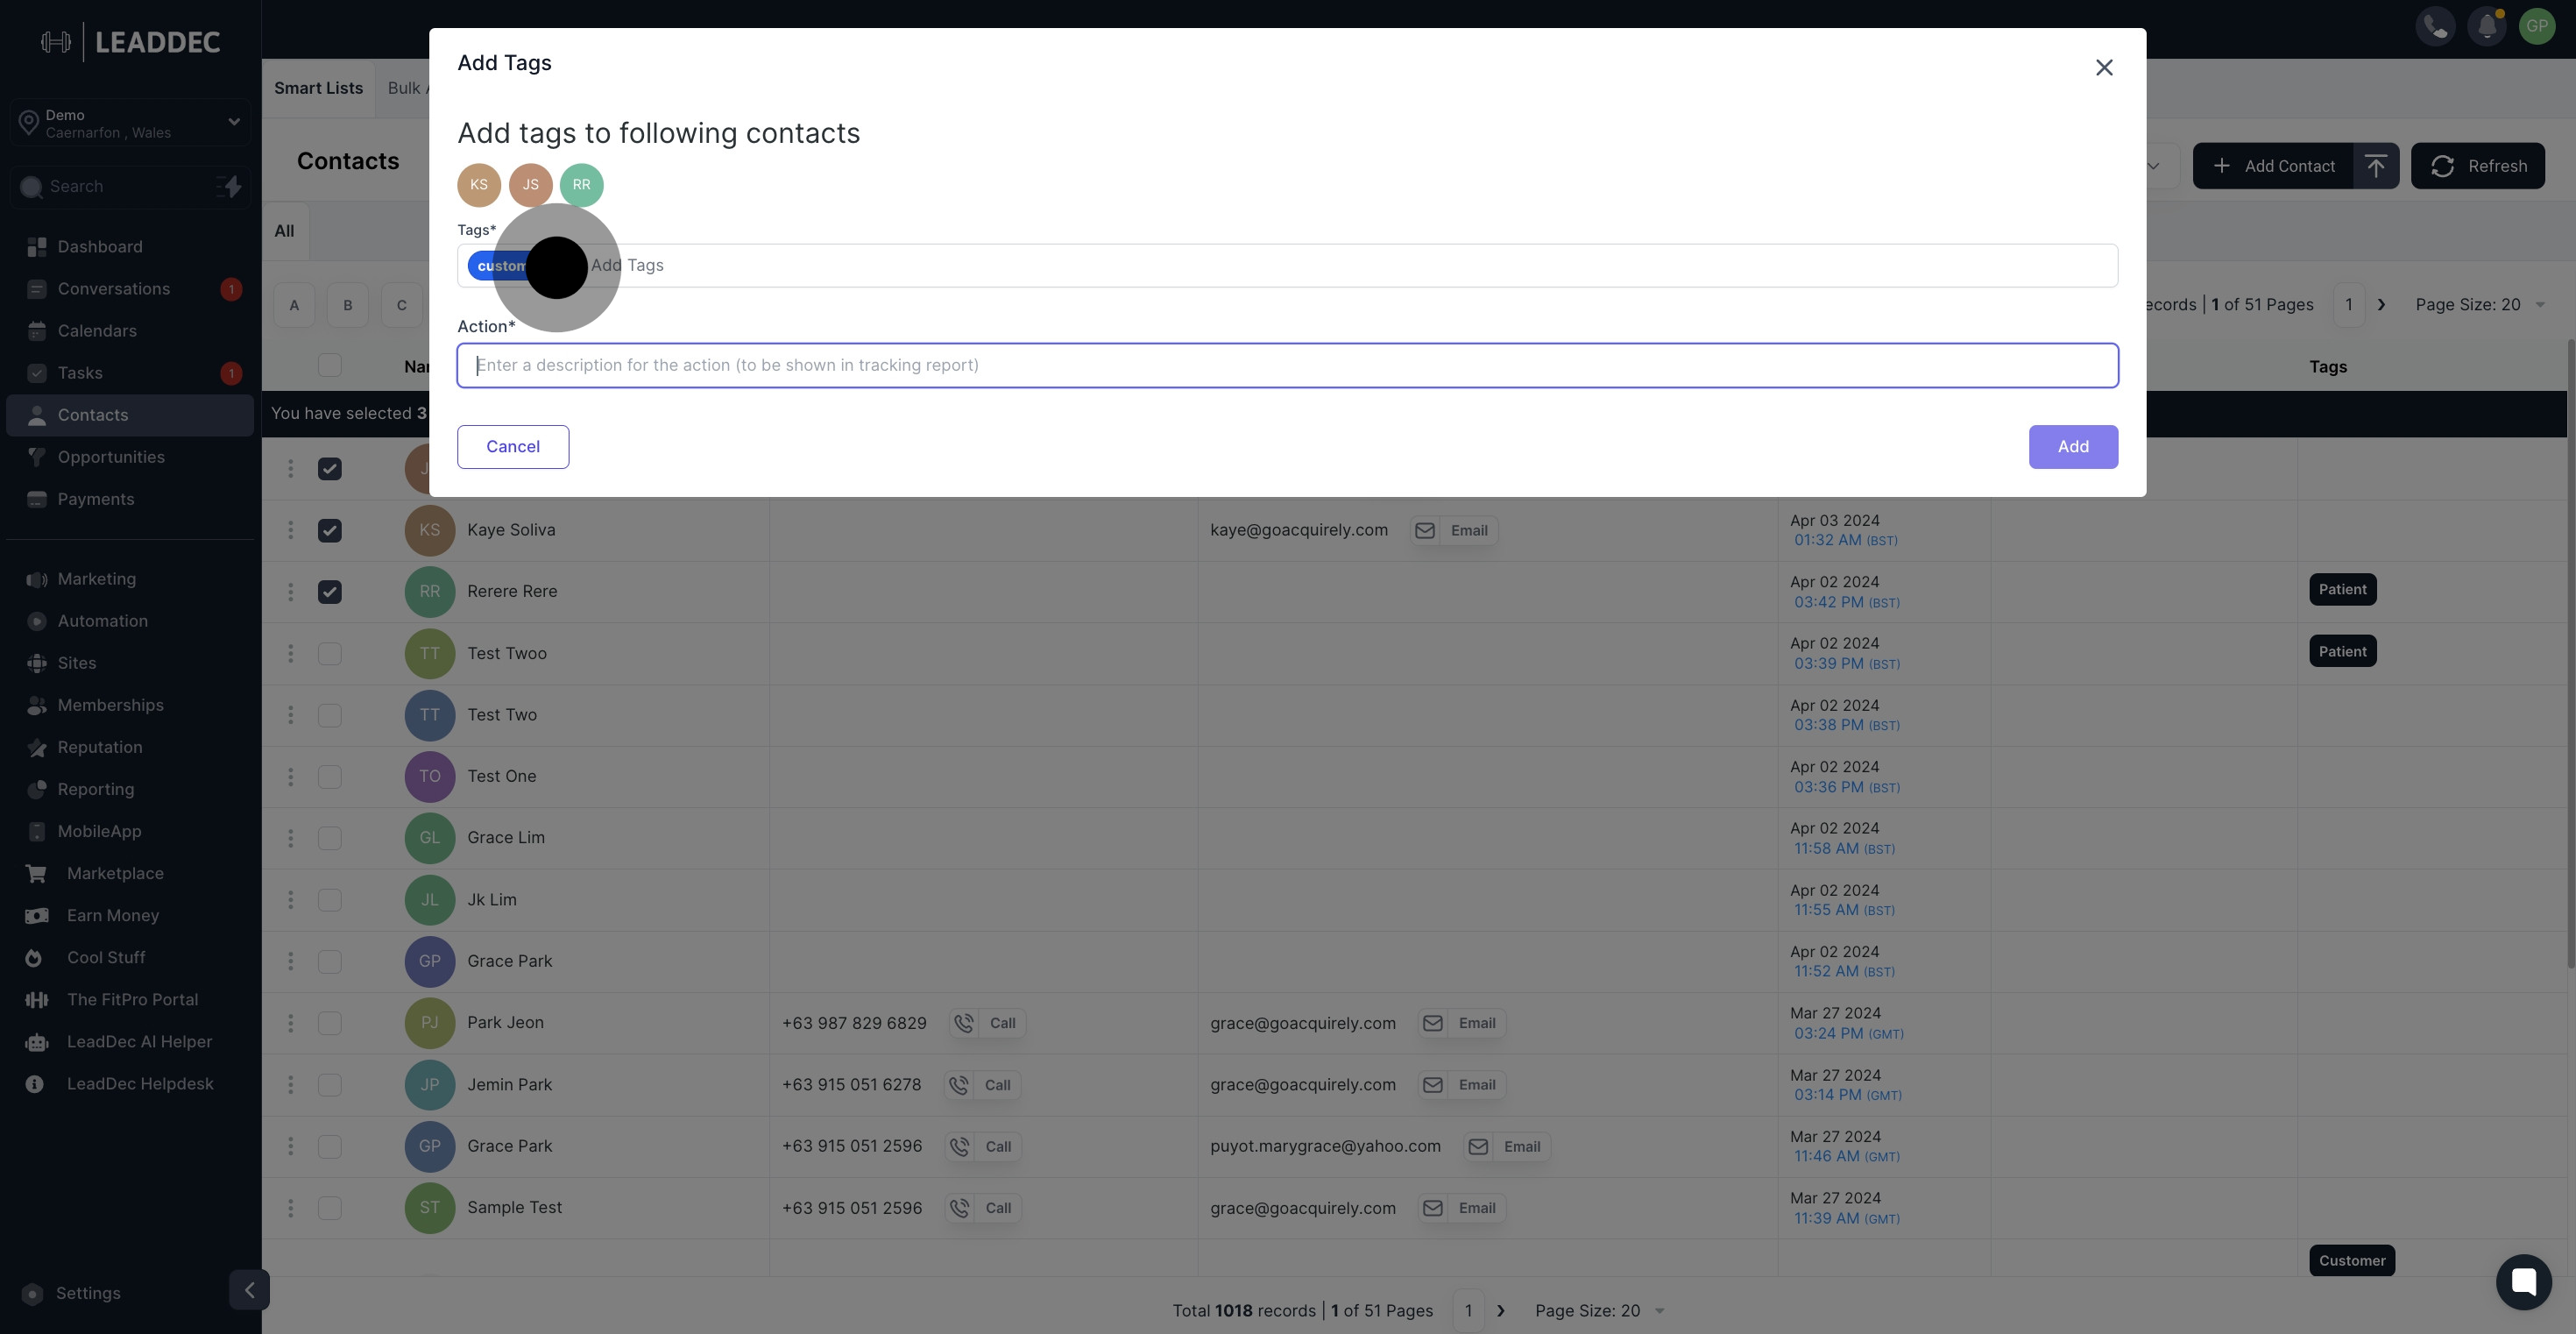
7. Finally, confirm and save your changes by clicking 'Add'.

7 Click on "Add".

Did this answer your question?
😞
😐
😁